
 LinkBack URL
 About LinkBacks


As the title implies, this isn't a home-made tool as such, just some modifications to a shop-bought tool:
The updates I've made (which are described in exhaustive detail on a series of pages on my website) are:
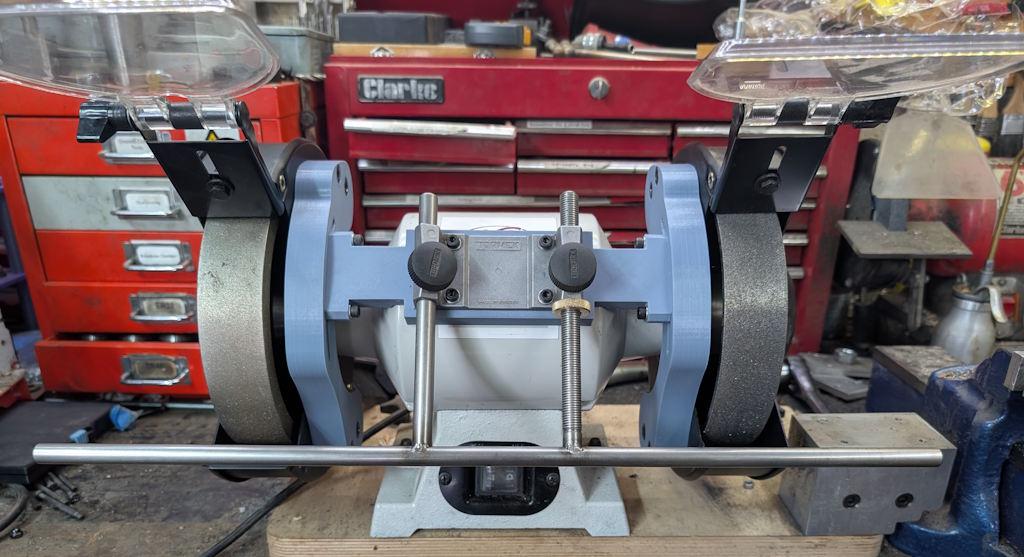
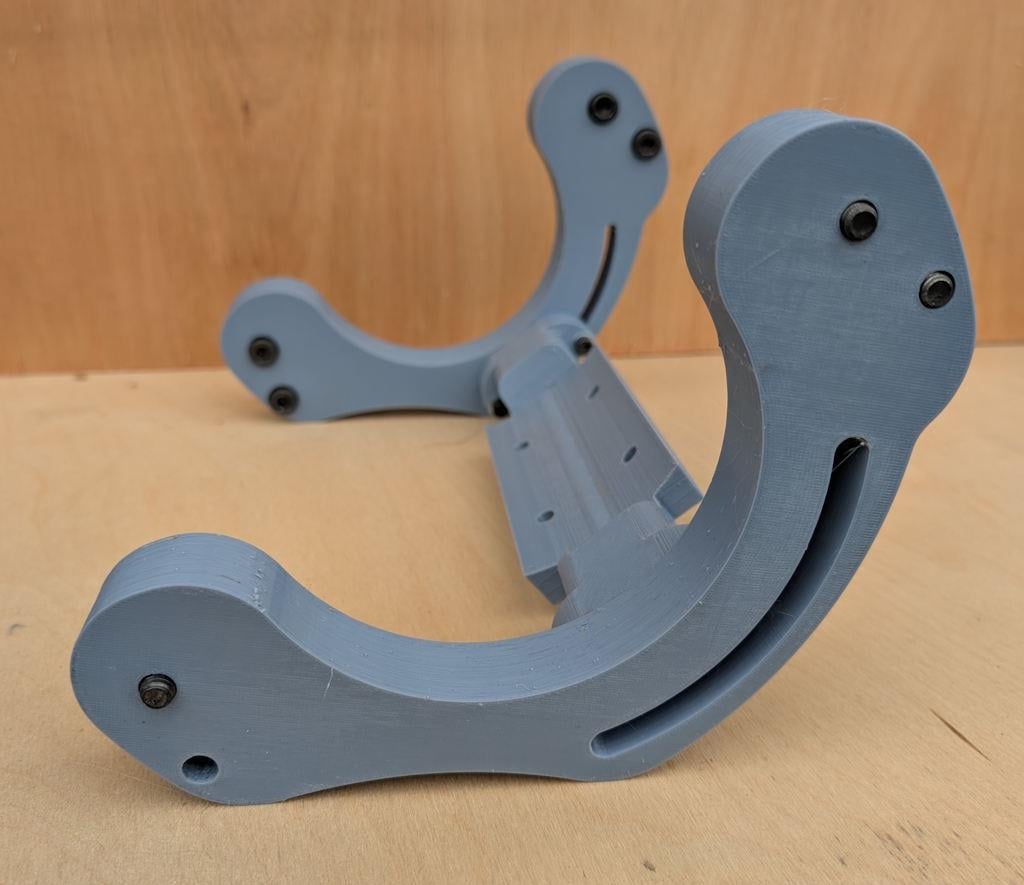
- I 3D-printed a new mount for the Tormek support arm so that it can be used on either wheel.
- I made a new "universal support" that sticks out both sides so I don't have to flip the support back and forth. As the two wheels are the same diameter (and, being CBN, will stay the same diameter), I can set up a Tormek jig for the coarse wheel and then switch to the fine wheel without changing anything.
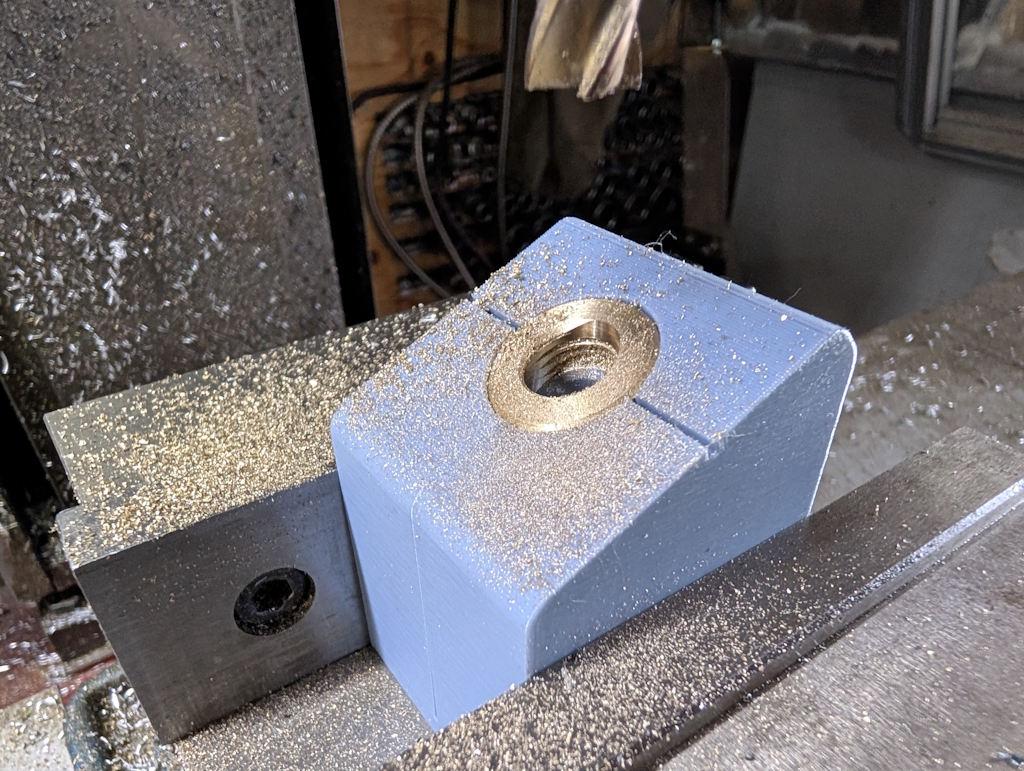
- I made a speed nut (the brass nut you can see in the picture above) to make it quicker to move the nut around on the shaft - credit to This Old Tony for the idea.
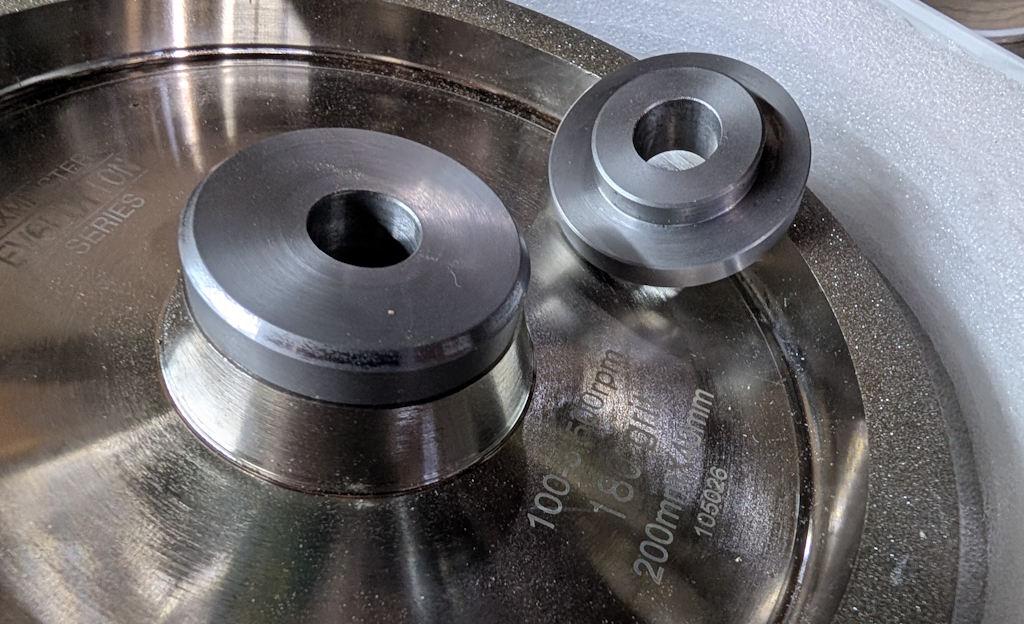
- I added a CBN wheel to the left-hand side (with some home-made bushes) to replace the original aluminium oxide wheel.
- I added some rivnuts and replaced the Phillips screws with cap screws to make it quick and easy to get the covers off.
Some excerpt photos from the build description:
Bushes:
3D-printed mount:
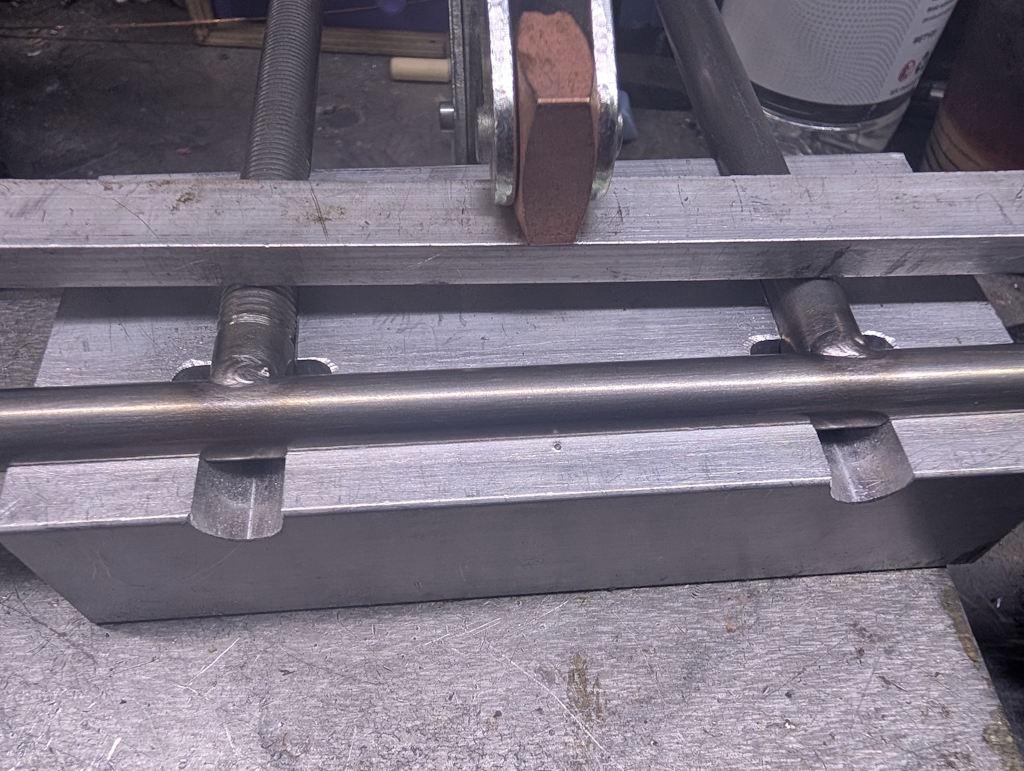
Welding the new support bar (credit to This Old Tony for the jig idea):
Drilling through the home-made nut to allow it to slide (at an angle) quickly along the bar (an idea that came from a This Old Tony video):
I used a 3D-printed jig to hold the nut in the milling machine vice. That's not something I've ever tried before and I was a bit nervous about whether it would hold well enough, but it worked just fine. I'm not sure I'd want to use it for a heavy milling operation, but for a wonky drilling job it was perfect.


 Reply With Quote


Bookmarks