
 LinkBack URL
 About LinkBacks


I have cut a lot of combs this afternoon, using this jig, which straddles a Triton router table.
I did not enjoy it much.
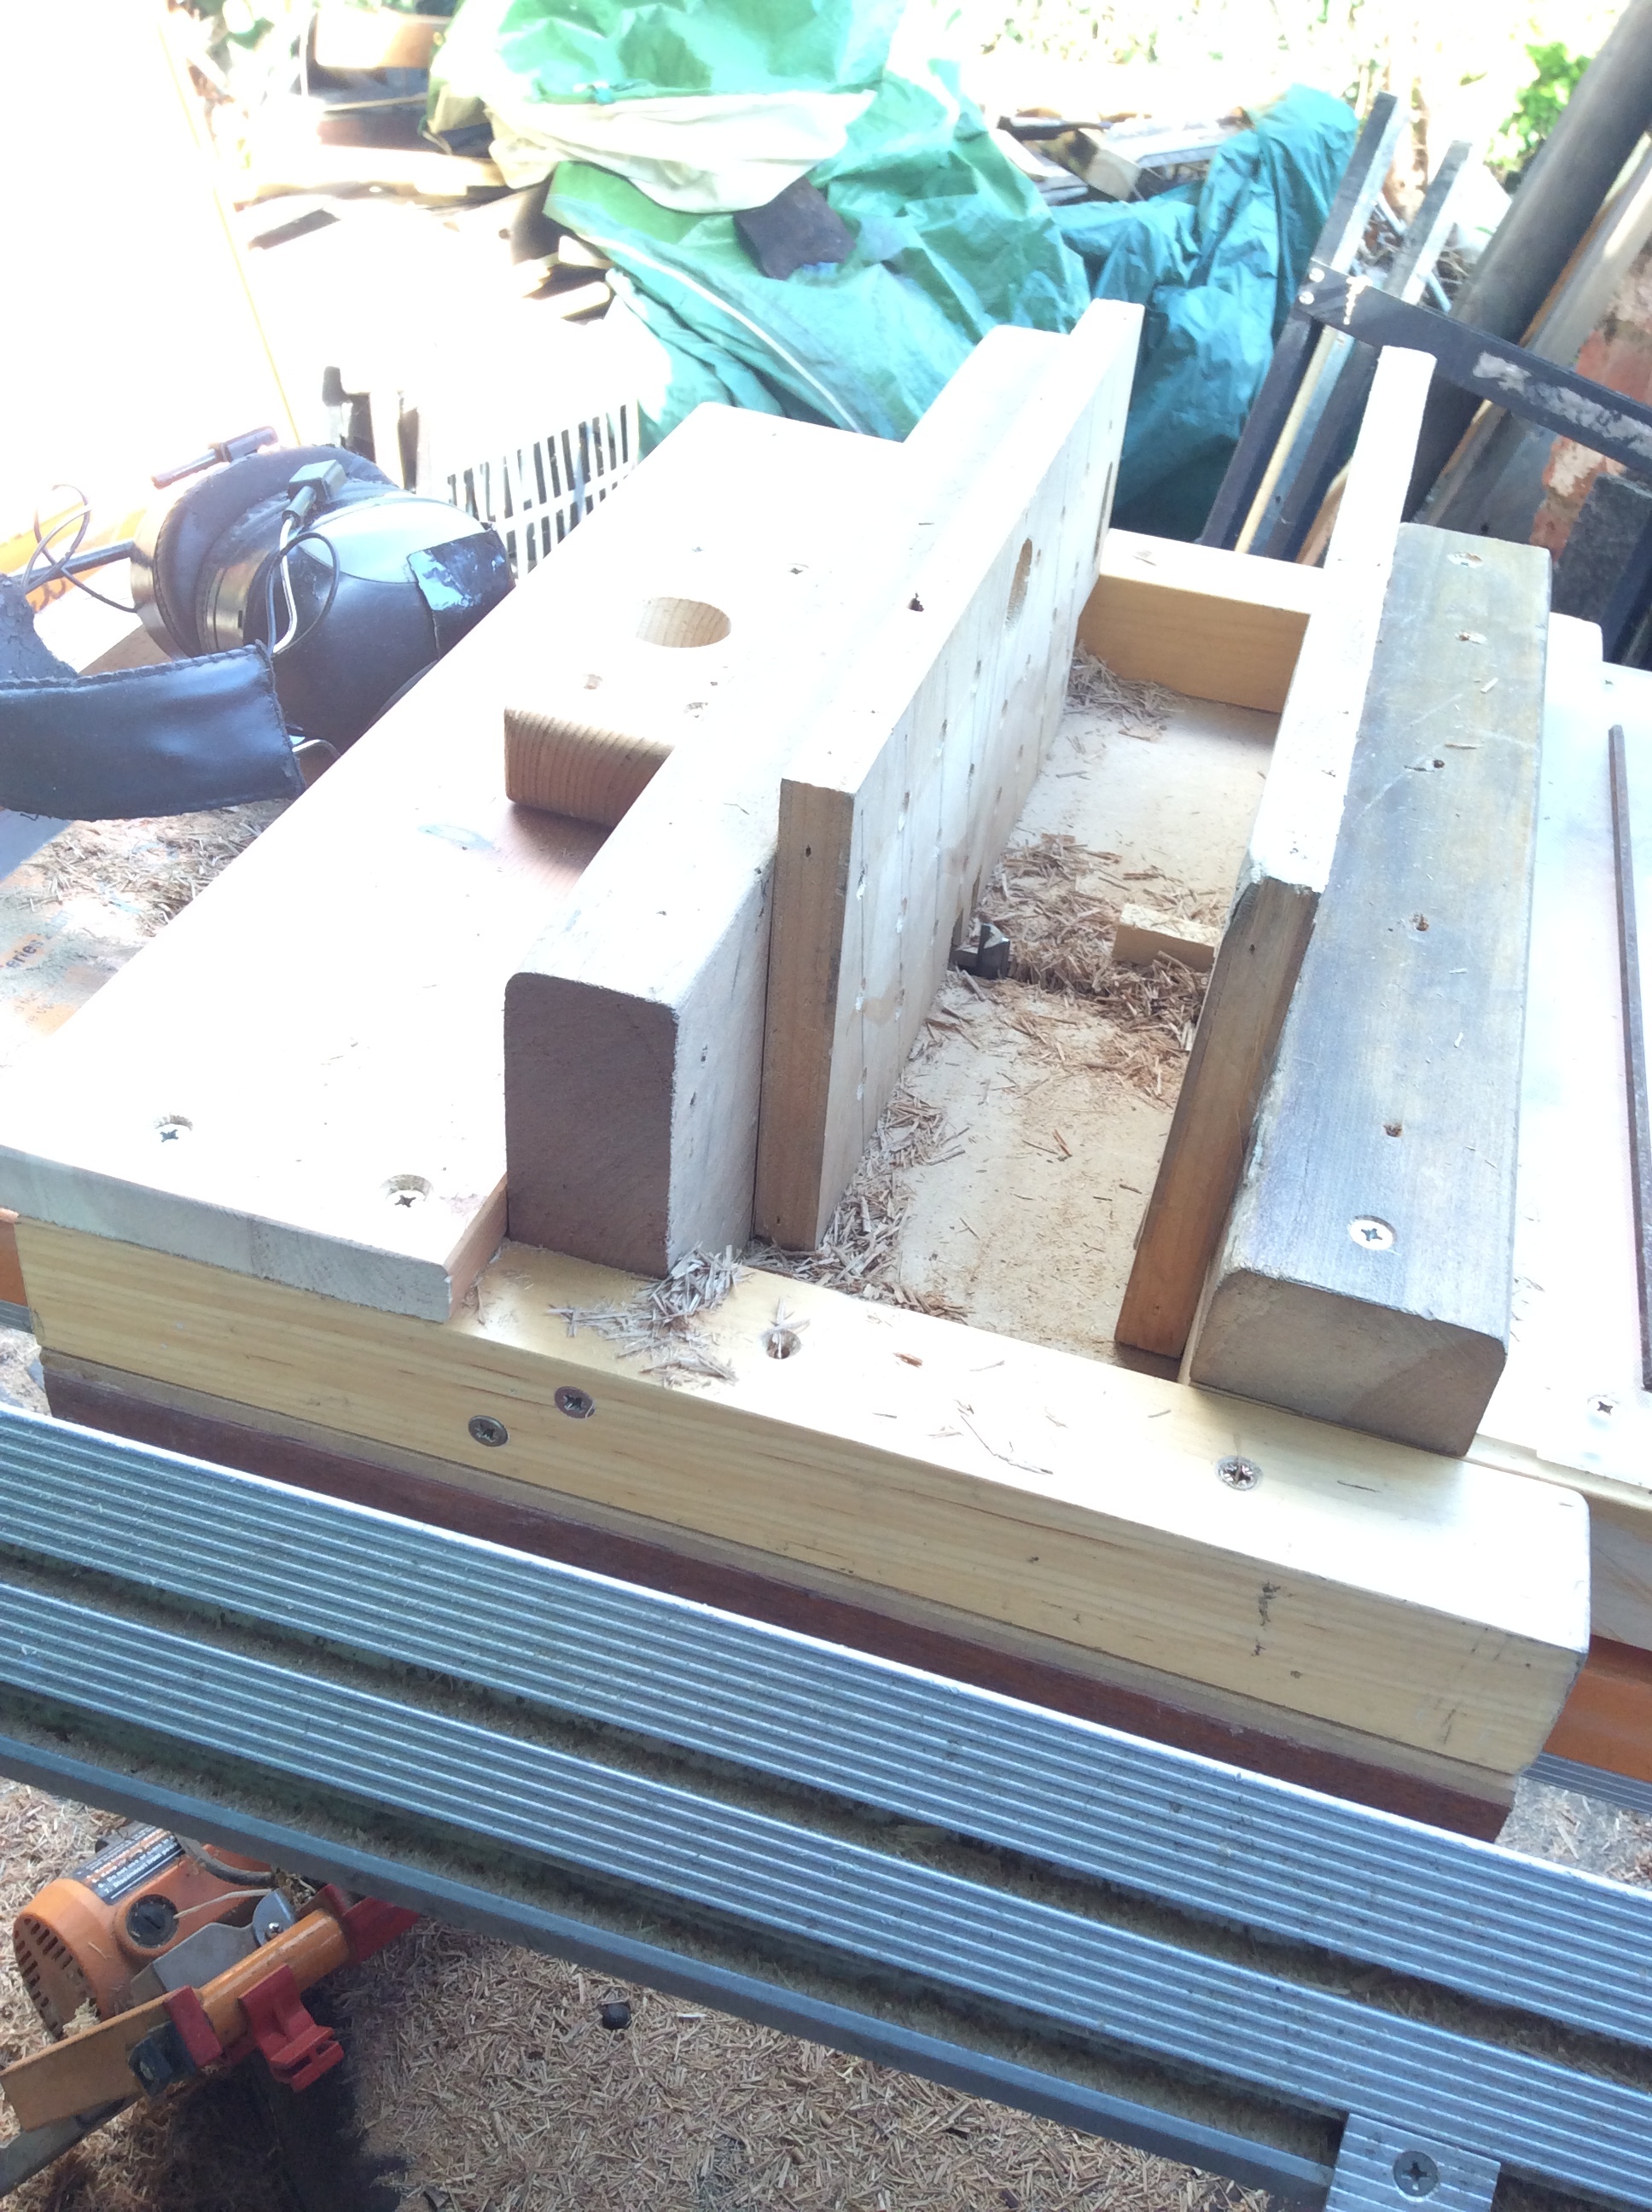
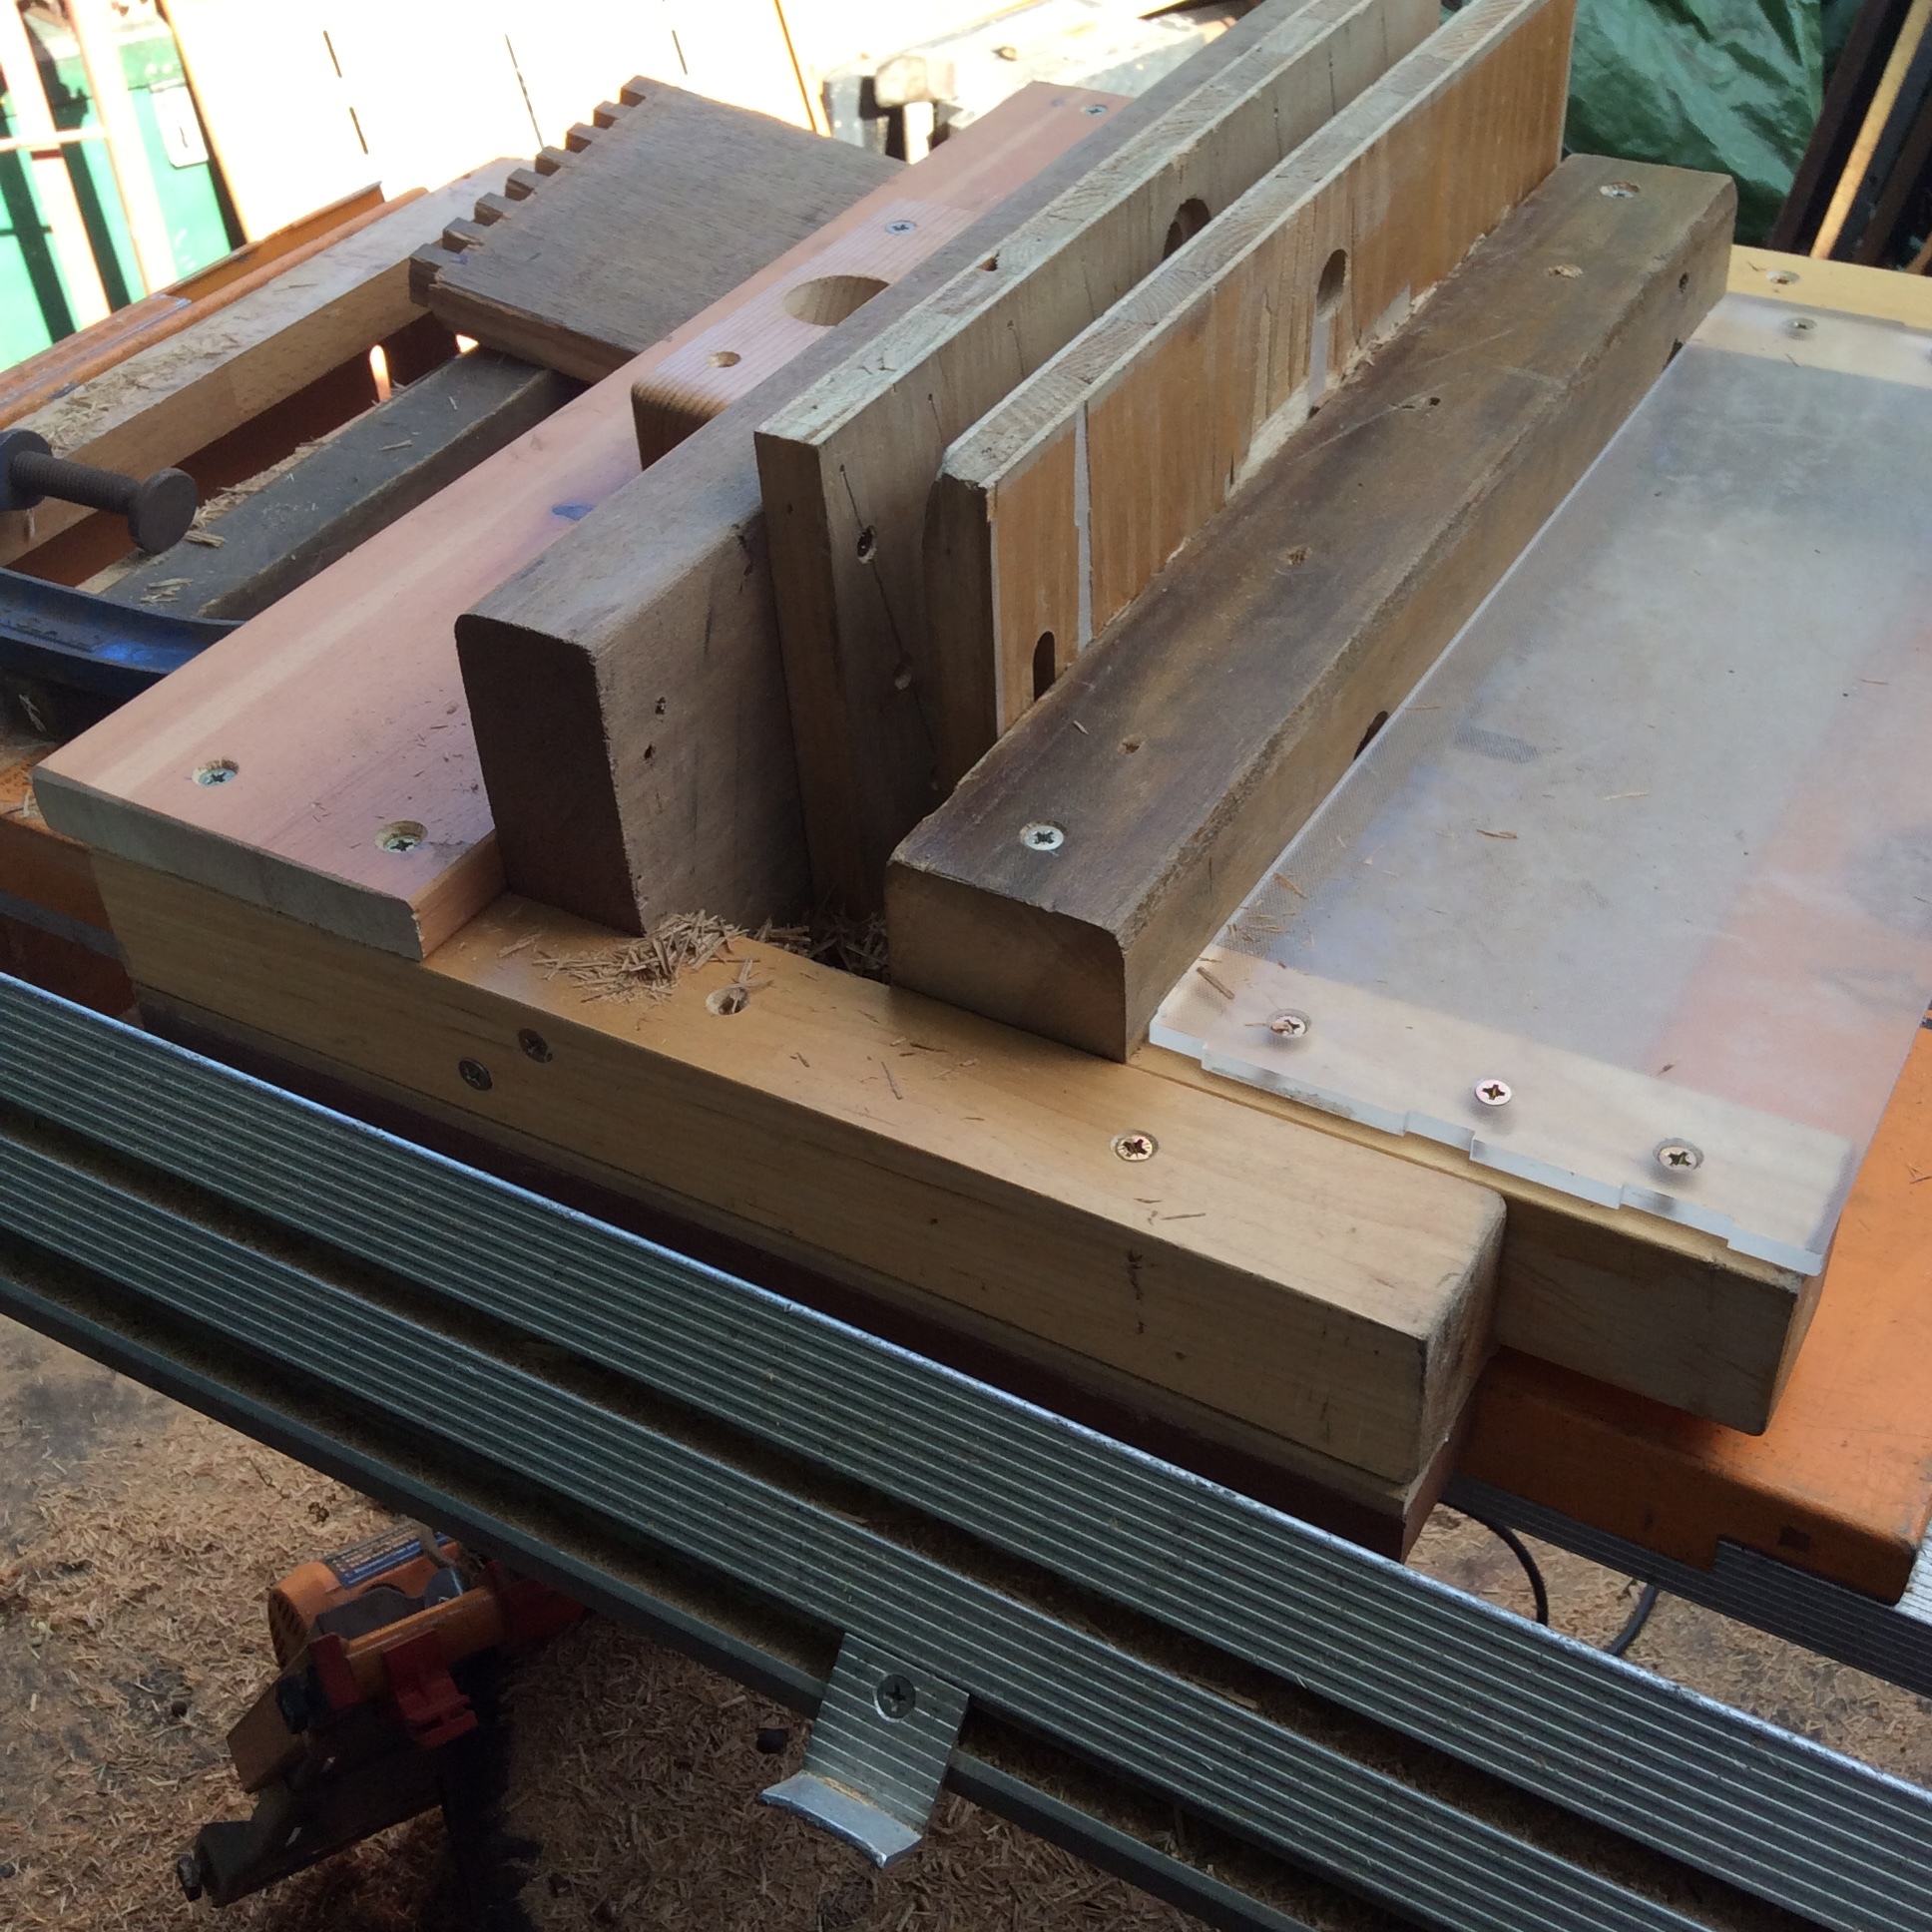
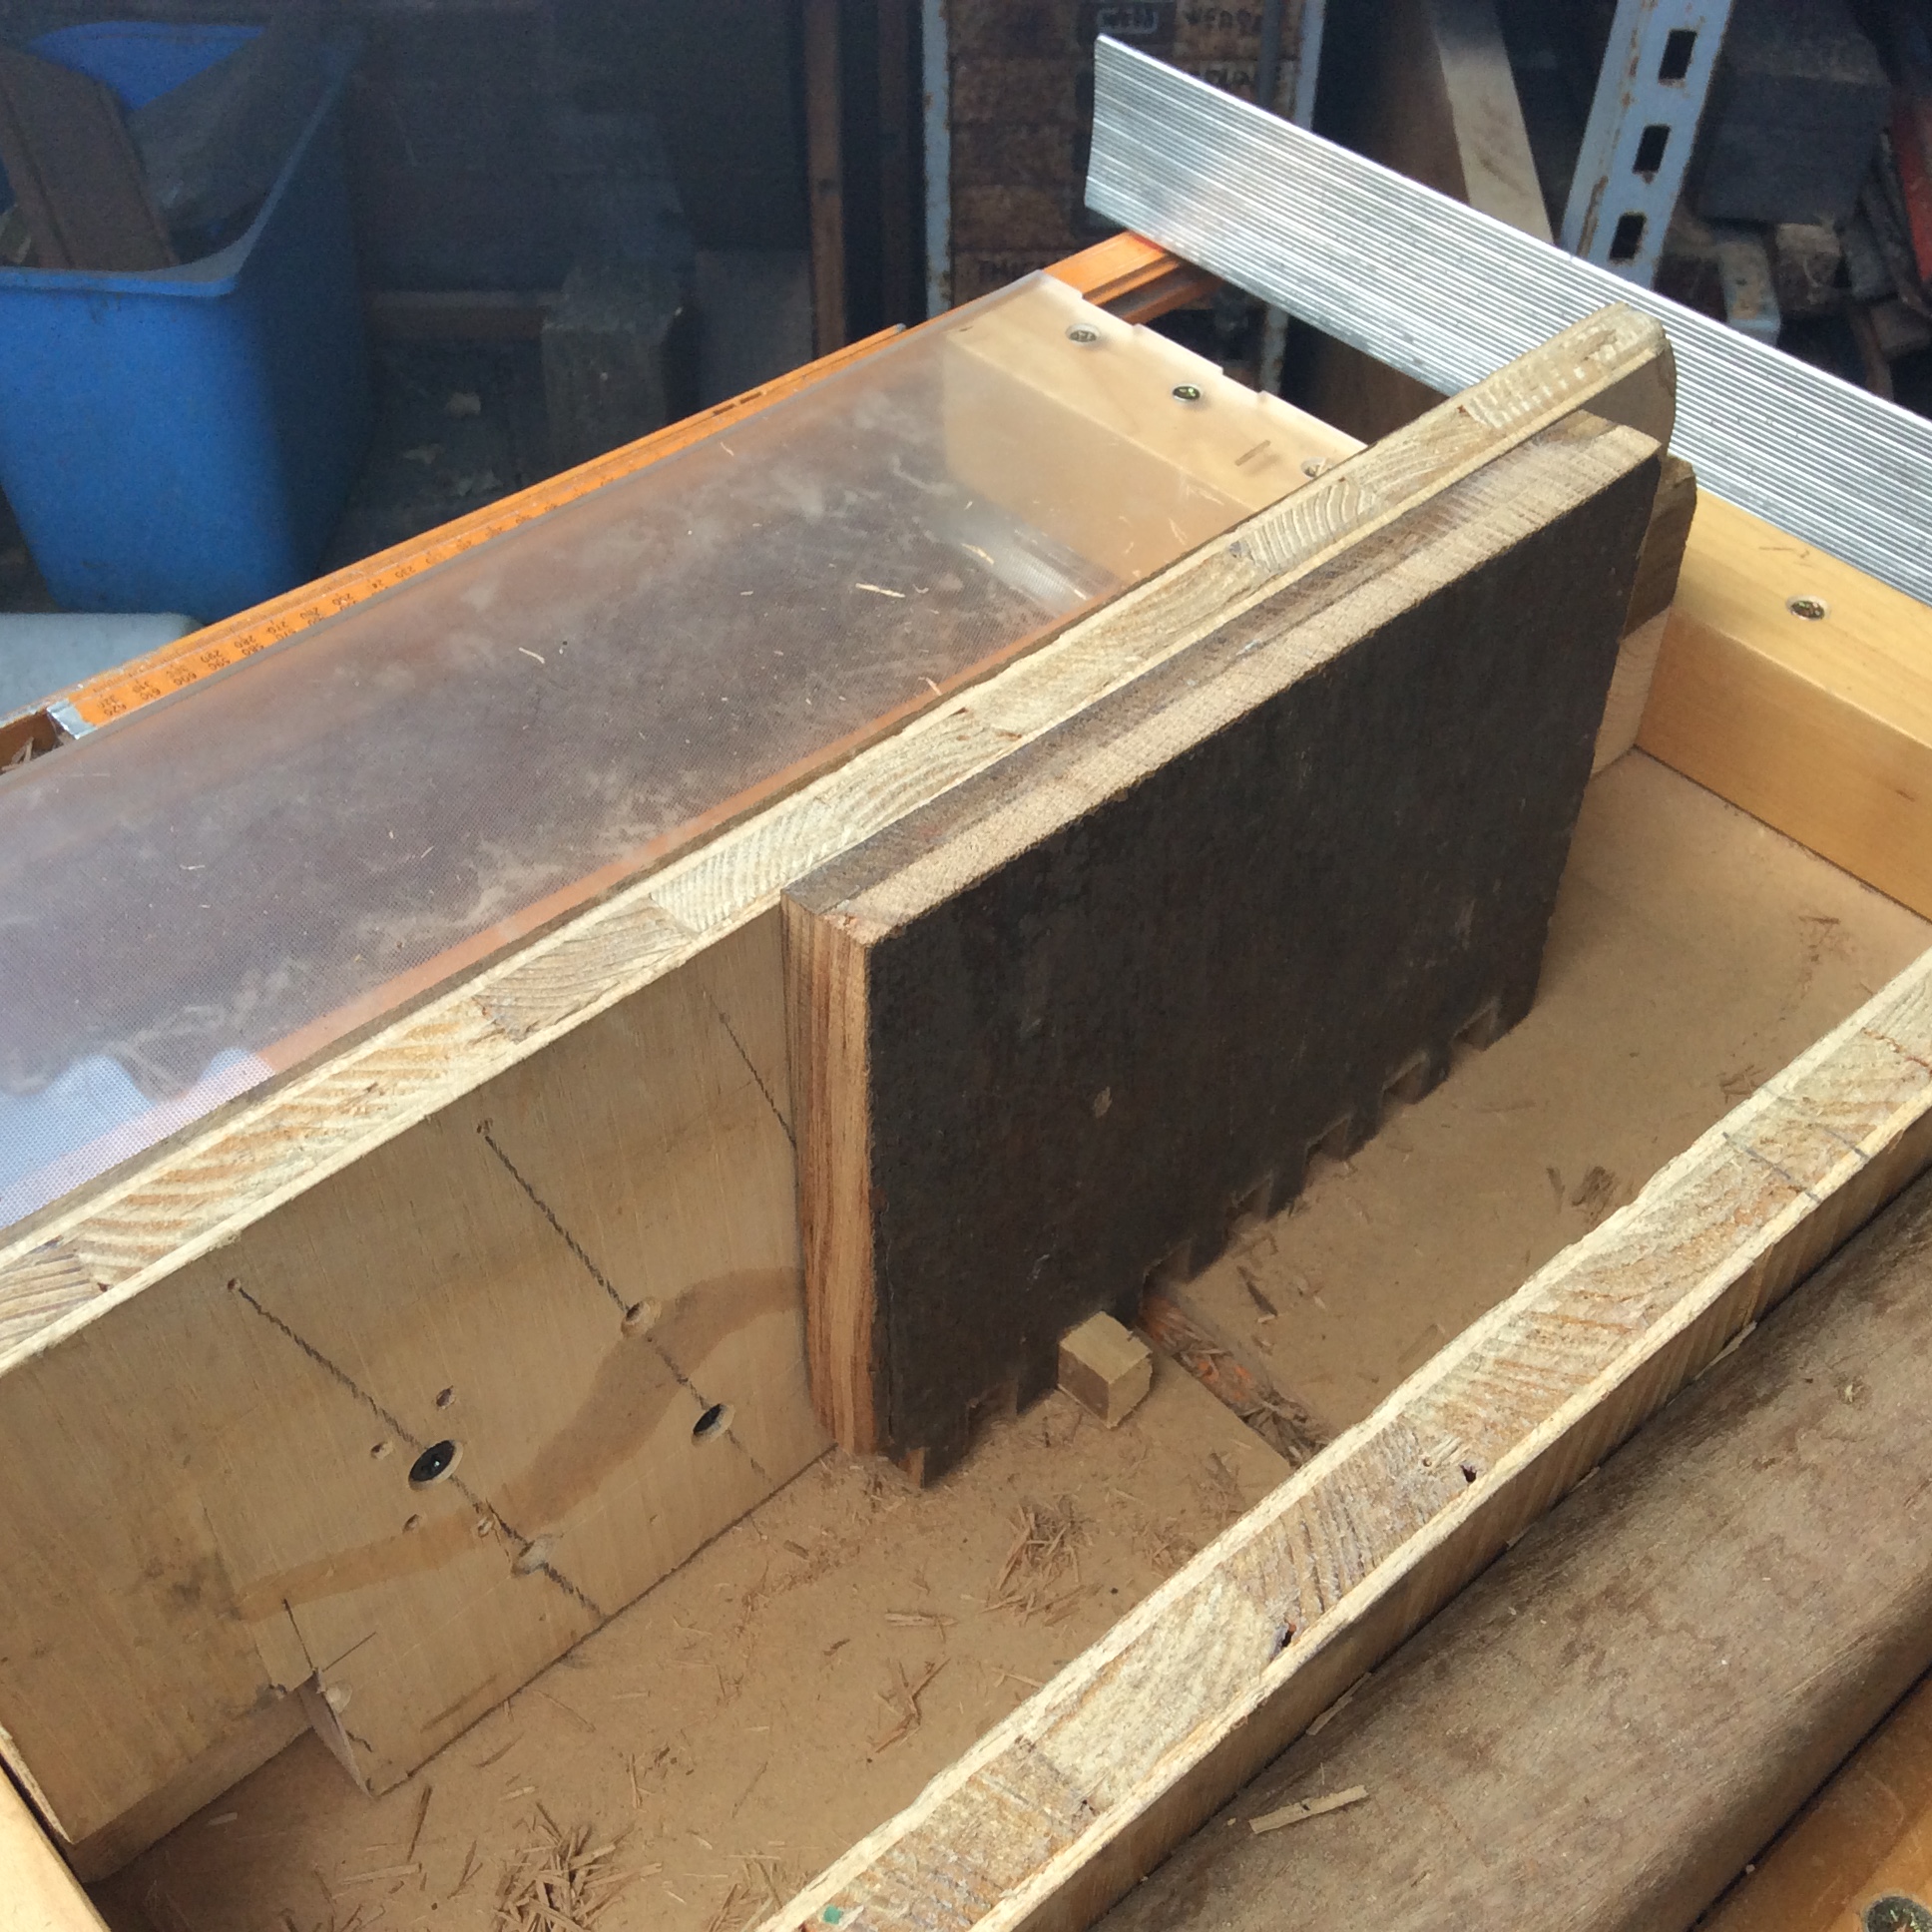
This is a view of the jig. It is made from wood salvaged from broken furniture. It is in two parts. The saddle slides on the table. It has a hole for a vacuum , but this is useless. So is the spigot beneath, nearest the cutter. The front part slides within the saddle and is used to sandwich the material between the two false fences. There is a piece of 6 mm acrylic across the top
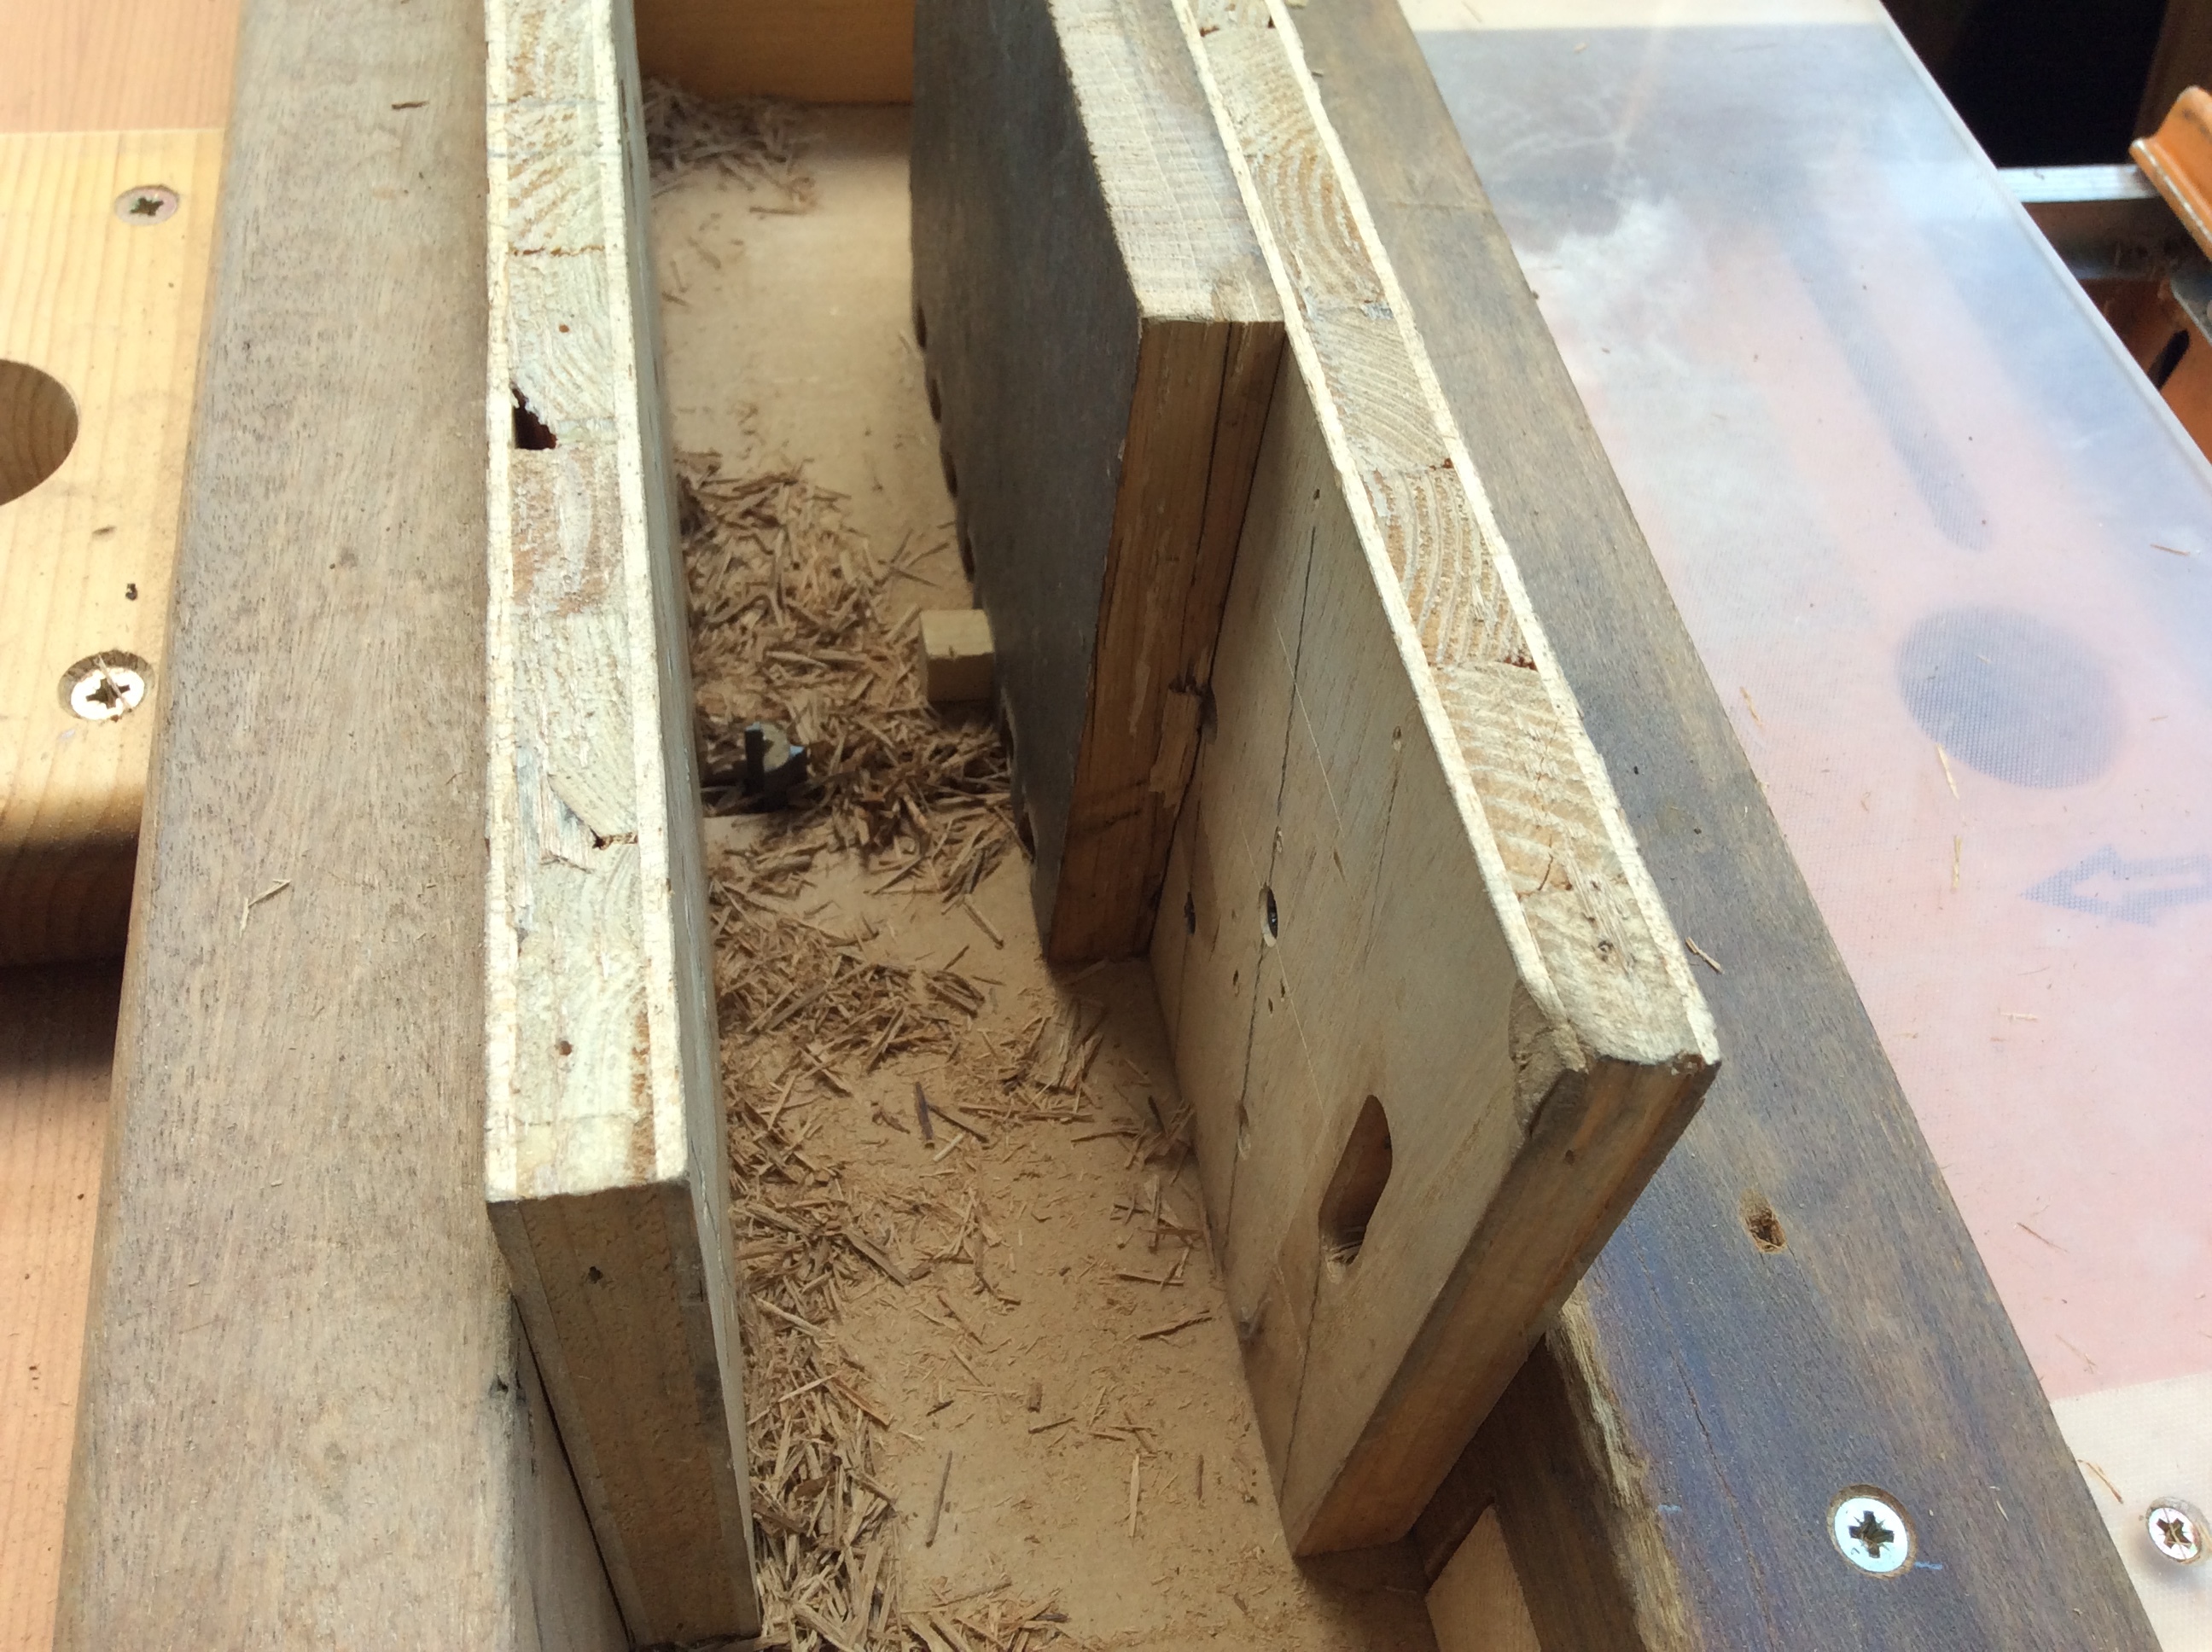
In the first, third and fifth pictures above you can just make out the notch, which is just slightly narrower than the cutter and is offset by the same amount from the cutter. The notch is screwed to the front fence and slides into a hole in the back fence opposite. You can see all the chippings, from just one pass, which the extractor does not remove.
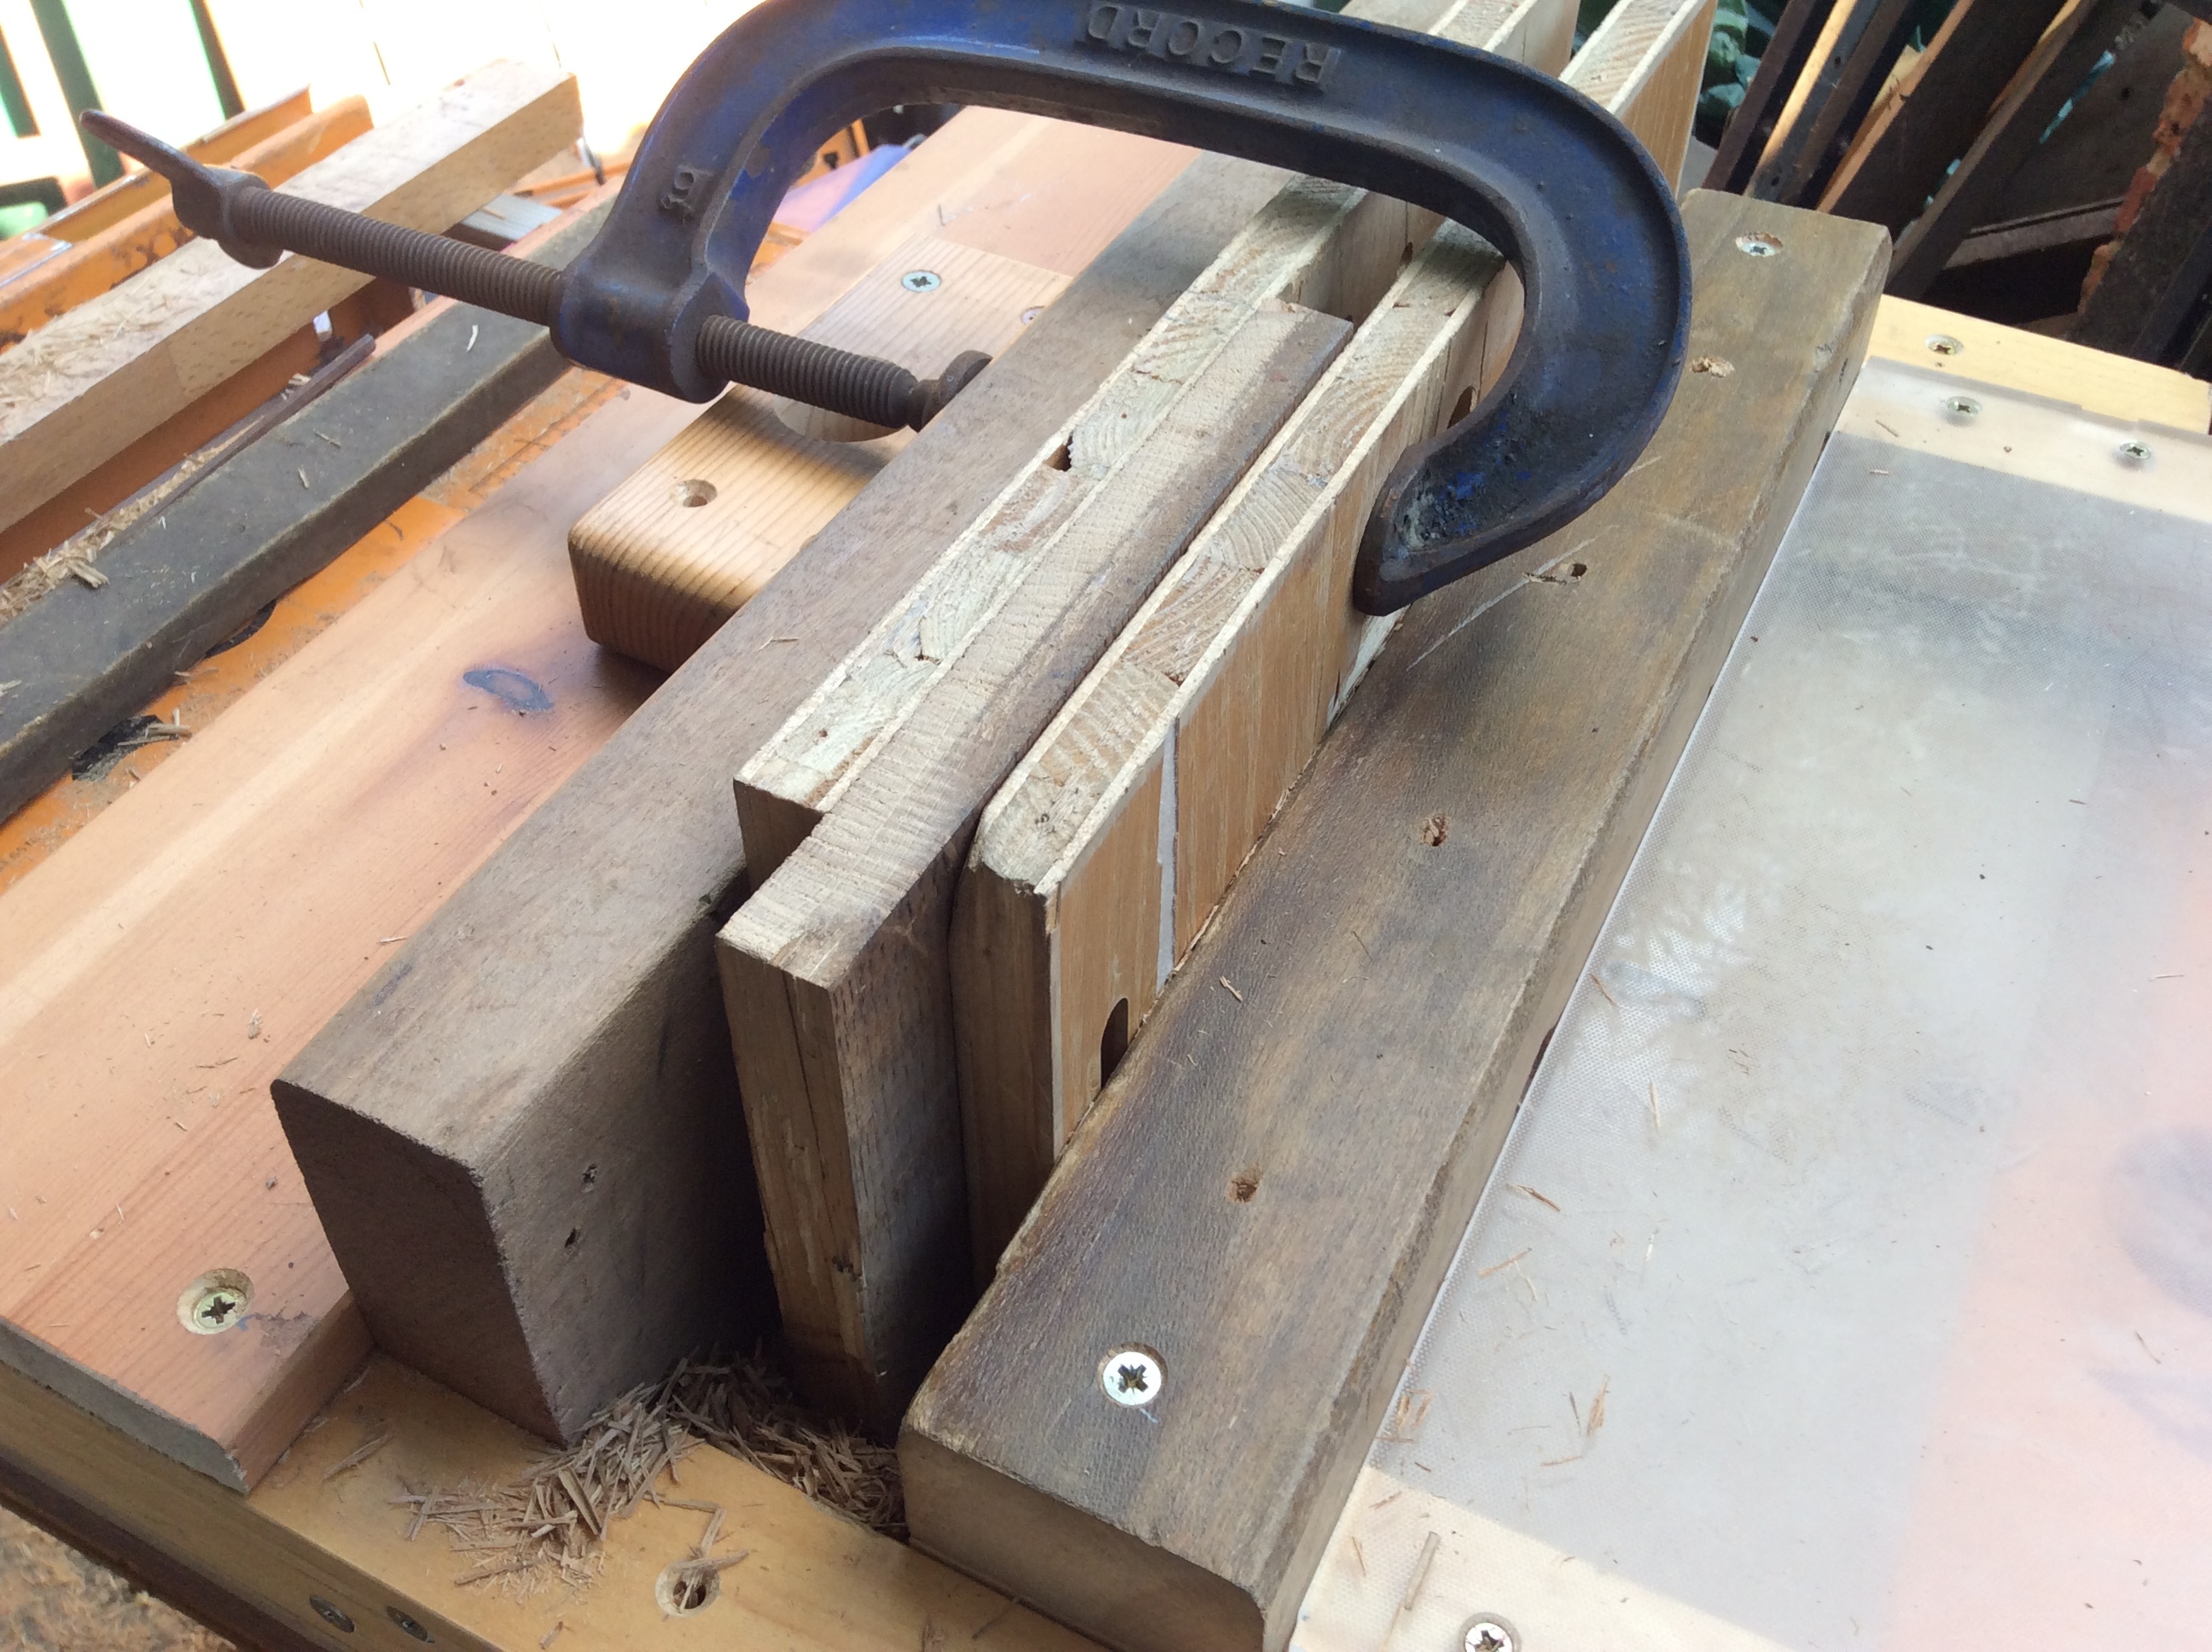
It will be seen, fourth picture, that the workpiece has to be clamped between the fences. If not, the cutter will kick it askew.
So after each tine, or finger, is cut, the clamp is unscrewed and the workpiece moved up over the notch. But since the debris has already accumulated, it has to be removed, so the front fence is slid towards me and the dust has to be brushed away. Clamp again, switch on again, cut the next tooth.
Very tedious.
Why bother with the front fence? Why not just hold the material with my fingers? Like you see in lots of videos.
Whatever the deficiencies of this jig (there are others), at least the cutter is FULLY GUARDED -, per Woodworking Machinery Regulations 1974.
I wince every time I see a film of an operative passing their hands near, or even, over an unguarded circular saw blade. When magazines publish pictures of machine operations without guards, they warn readers “Guards removed for clarity!”
Any accident in a commercial workplace, where many videos are made, would result in prosecution under Health and Safety laws.
You can troll me if you like for being priggish, or hypocritical, or over sensitive, but I am aware as I grow older that my concentration is deteriorating. Mistakes are a frequent occurrence. If you routinely have guards in place, would they protect you if you tripped when you moved round the machine?
I made the jig not because I wanted to make boxes, but to make battlements for a toy fort! But I thought that I might as well make an accurate comb jointer. I still have in the attic the toy fort my father made me for Christmas 65 years ago. He cut all the crenellations by hand with a fretsaw, mitred the edges of hardboard walls using a rasp: walls, keep, gatehouse, towers, ramp and drawbridge, all made on a little wooden stepladder, with just 2” fret clamps and less than 10 tools.


 Reply With Quote

Bookmarks