I have a number of old squares which I have been having doubts with and so need need checking apart from its use for machined items.
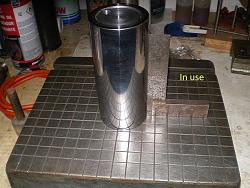
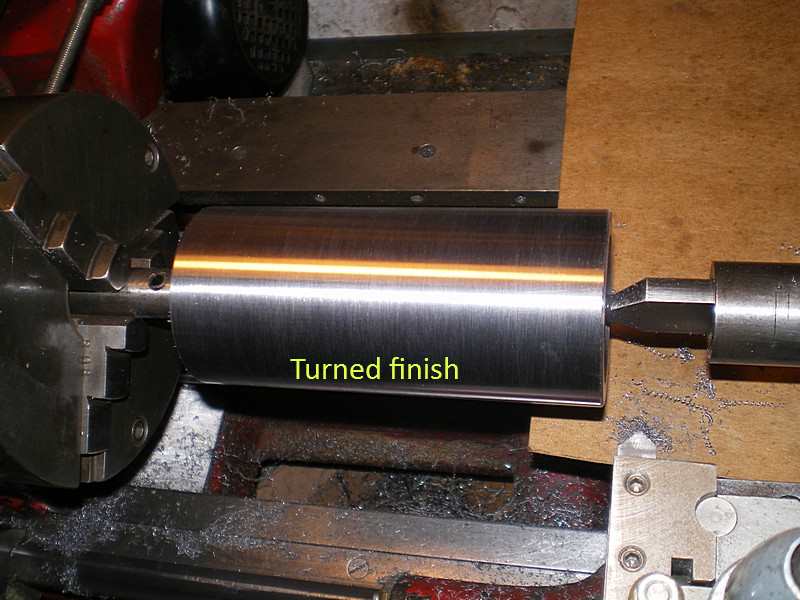
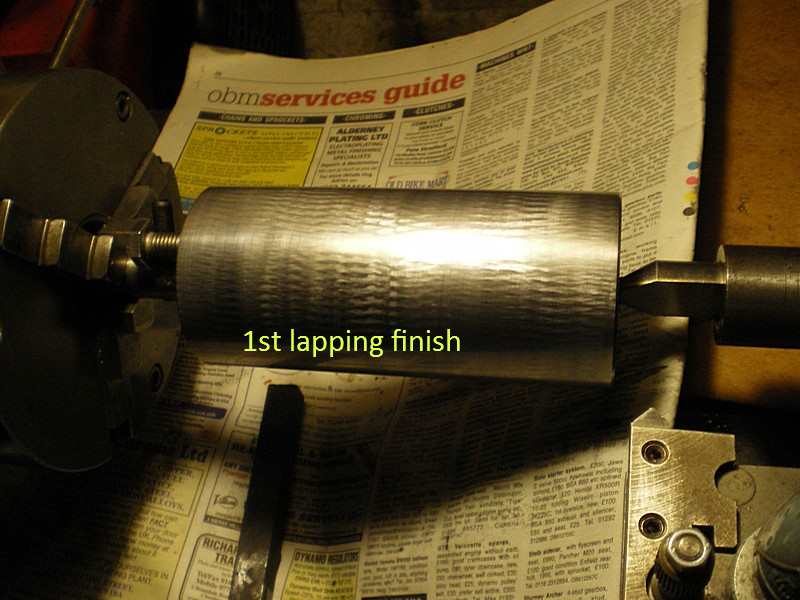
It is not that difficult to make your own cylinder square for home use say 2" x 5", accurate turning and facing between dead centres with a lapped & polished finish would suffice. With careful use and a descent steel (mine is some pre hardened mystery steel) this is not a high wear item, just a reference point. The only wear would be on the faces which could be refaced if need be.
I had to step back from the chrome like finish I had produced as the reflective effect made it difficult to use. With a 2-3 mike it is within 2 tenths on dia end for end, good enough for me.
Well after checking all my squares they are NBG so they will go to my carpentry box and I will buy a couple of good quality ones, at least I now know for sure.

 LinkBack URL
 About LinkBacks


 Reply With Quote

.
I think the next lined casket will probably be for me.
I do not know which boxes you are referring to but if card board I always soak them in heavy oil or floor wax mixed with kerro, it does a fairly good job, "Pin It")


Bookmarks