Free 186 More Best Homemade Tools eBook:  
Get 2,000+ tool plans, full site access, and more.

User Tag List

Results 1 to 4 of 4

Thread: Dog Point Screw / Dremel Tool Post Grinder

  1. #1
    Supporting Member
    Join Date
    Mar 2017
    Location
    Colorado, USA
    Posts
    42
    Thanks
    24
    Thanked 107 Times in 30 Posts

    dgbreggin's Tools

    Dog Point Screw / Dremel Tool Post Grinder

    Dog Point Screw

    A screw with a non-threaded point is called a "dog point" screw.

    Dog point screws have several applications:
    • Set screws or grub screws often have a dog point to avoid damage to the starting thread as well as the part being secured .
    • A dog point fastener can be used to help align a cover with a threaded hole, or similar application.
    • A screw or bolt with a dog point is highly resistant to cross-threading.


    I was making some fidgets for a family member using some threaded rod ("all-thread") and wanted to avoid cross threading. I was making a number of these in varying thread sizes, so I needed an easy way to manufacture them.

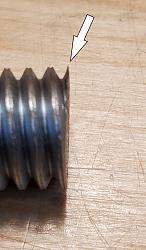
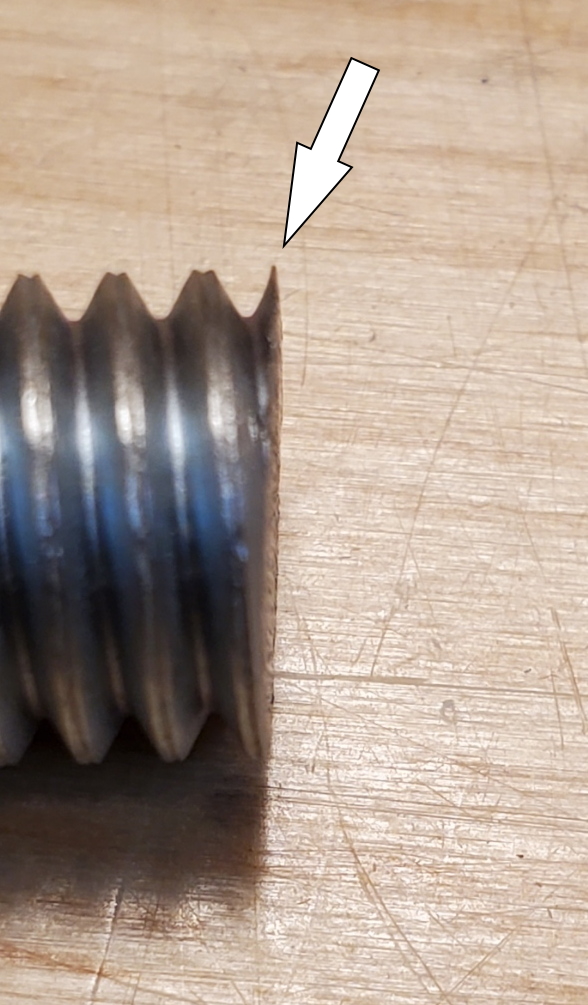
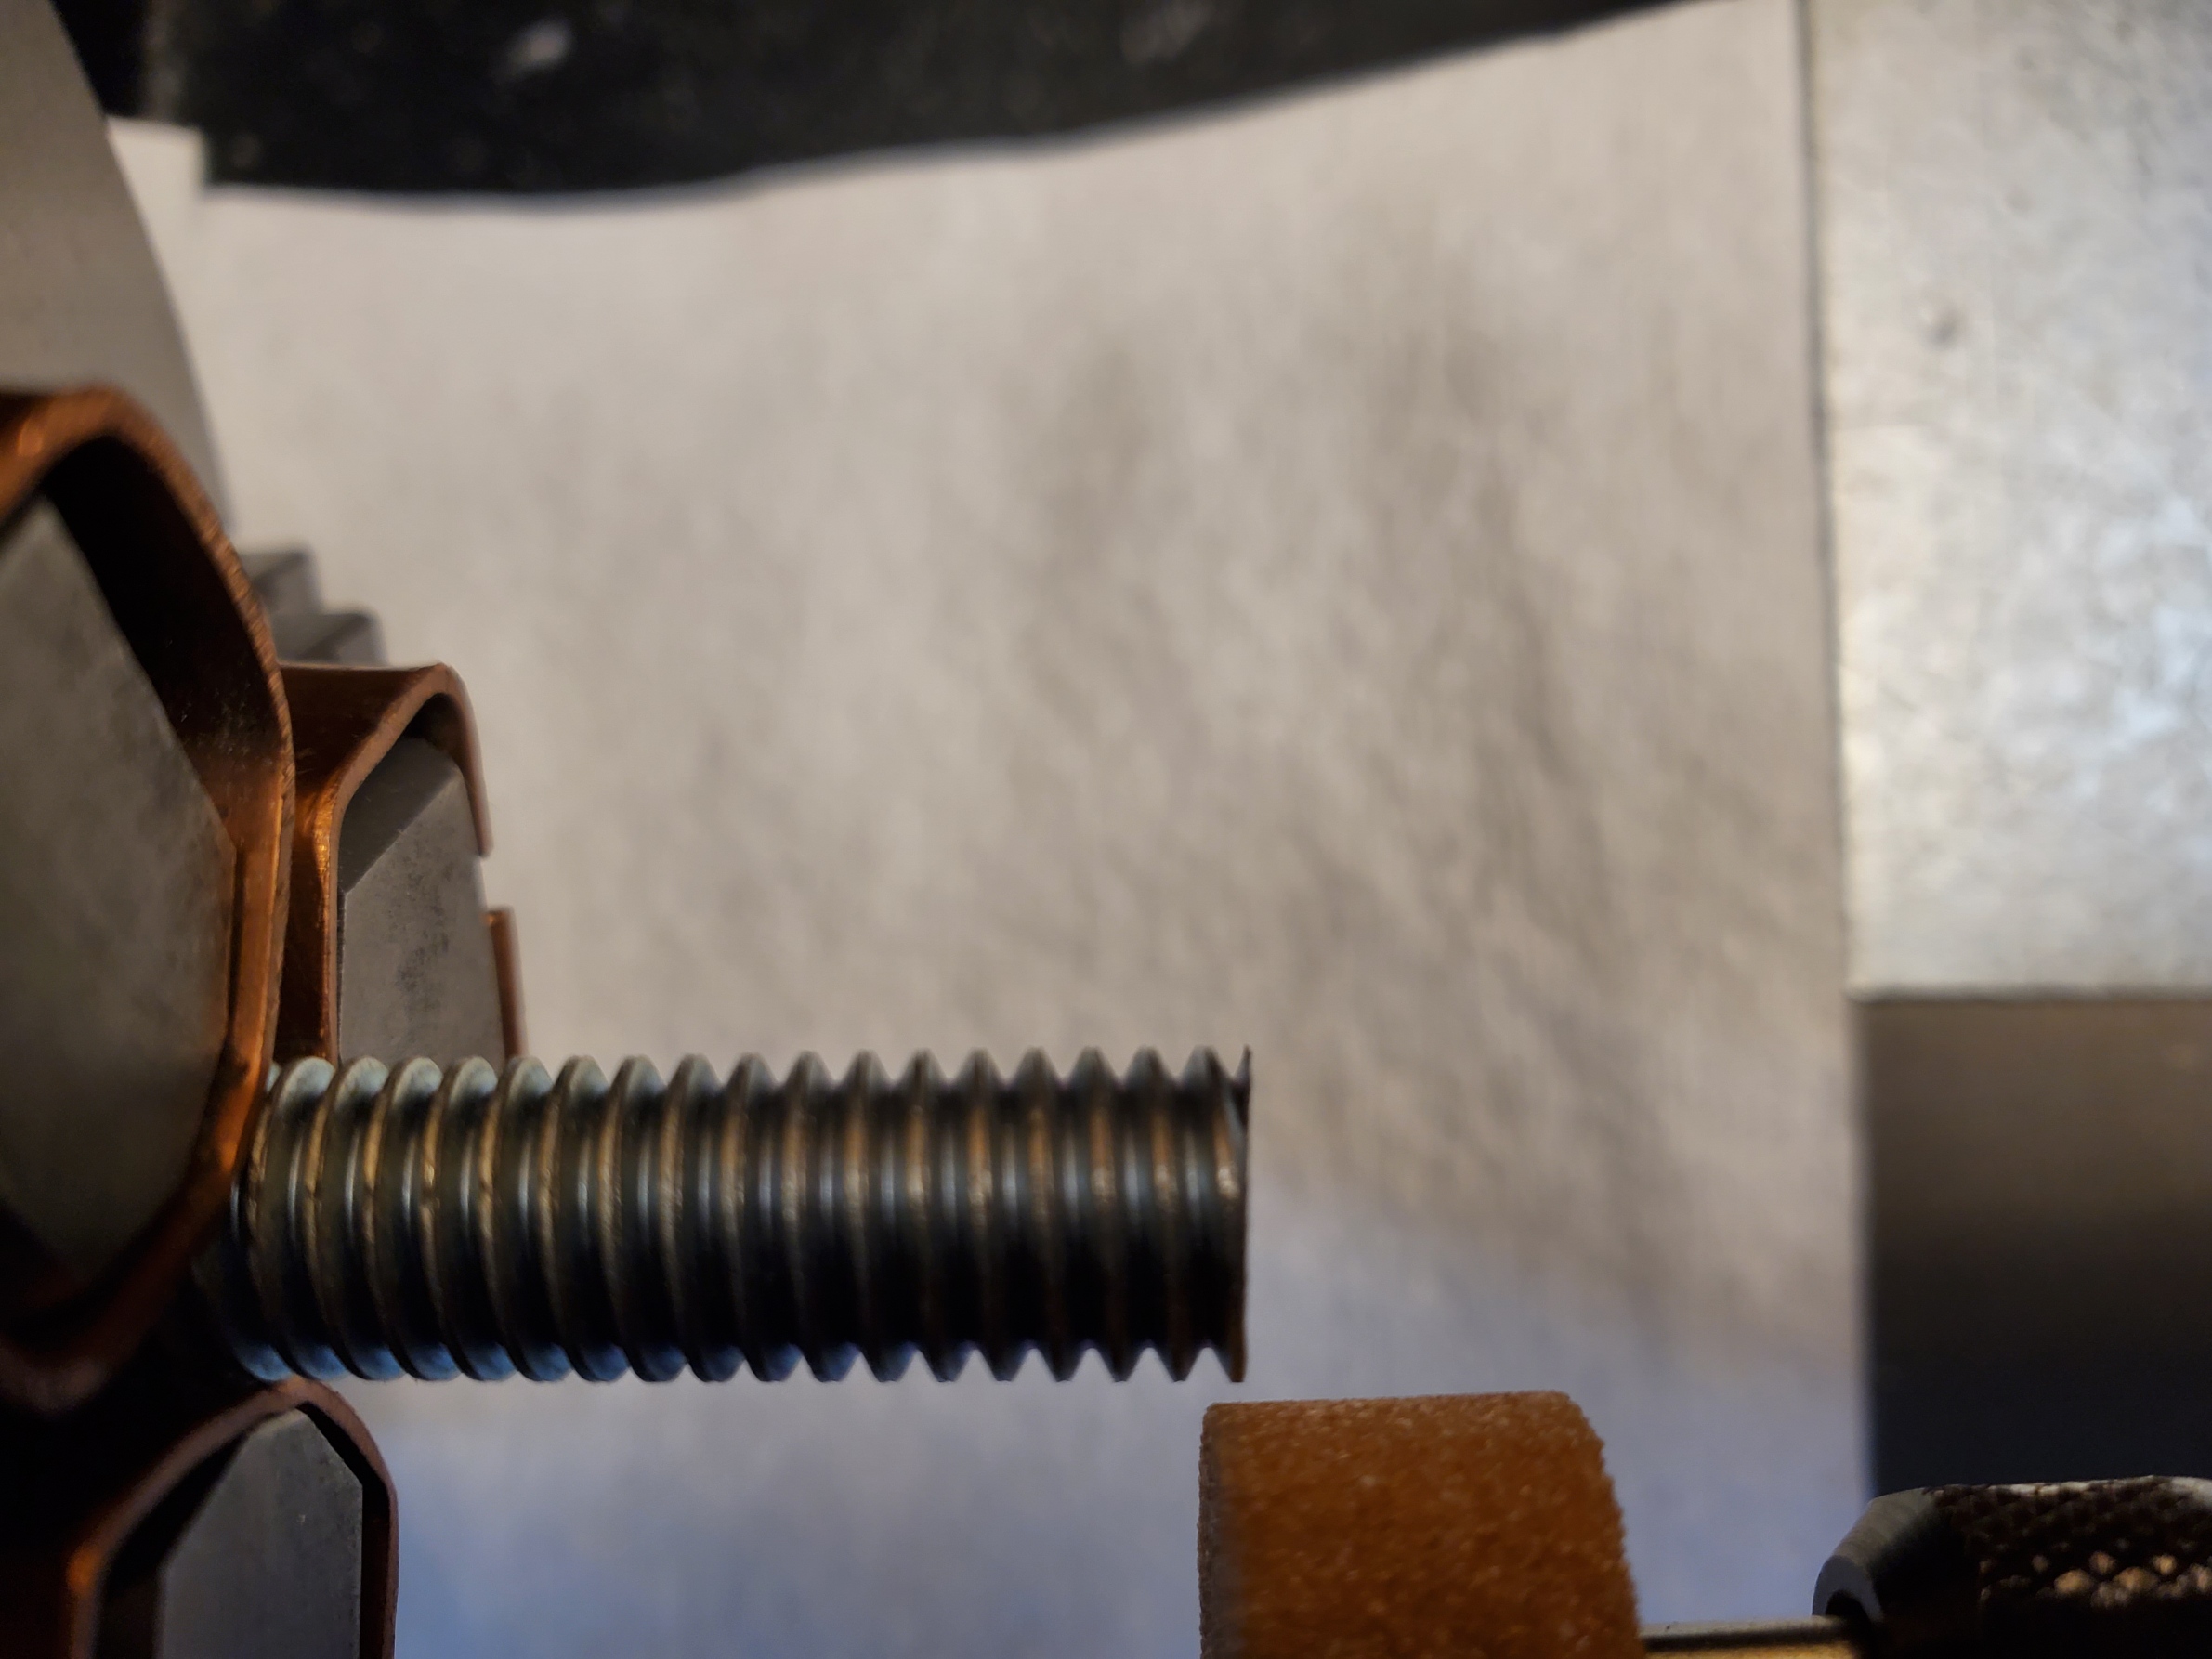
    Making a proper dog point is more complicated than simply using a lathe to machine the threads off. Cutting the threads off squarely leaves a very sharp and fragile edge at the start of the thread (where the cutting stops). This sharp edge would need to be filed or ground off. This is simple at the end of a screw, but not so simple with the dog point shape.

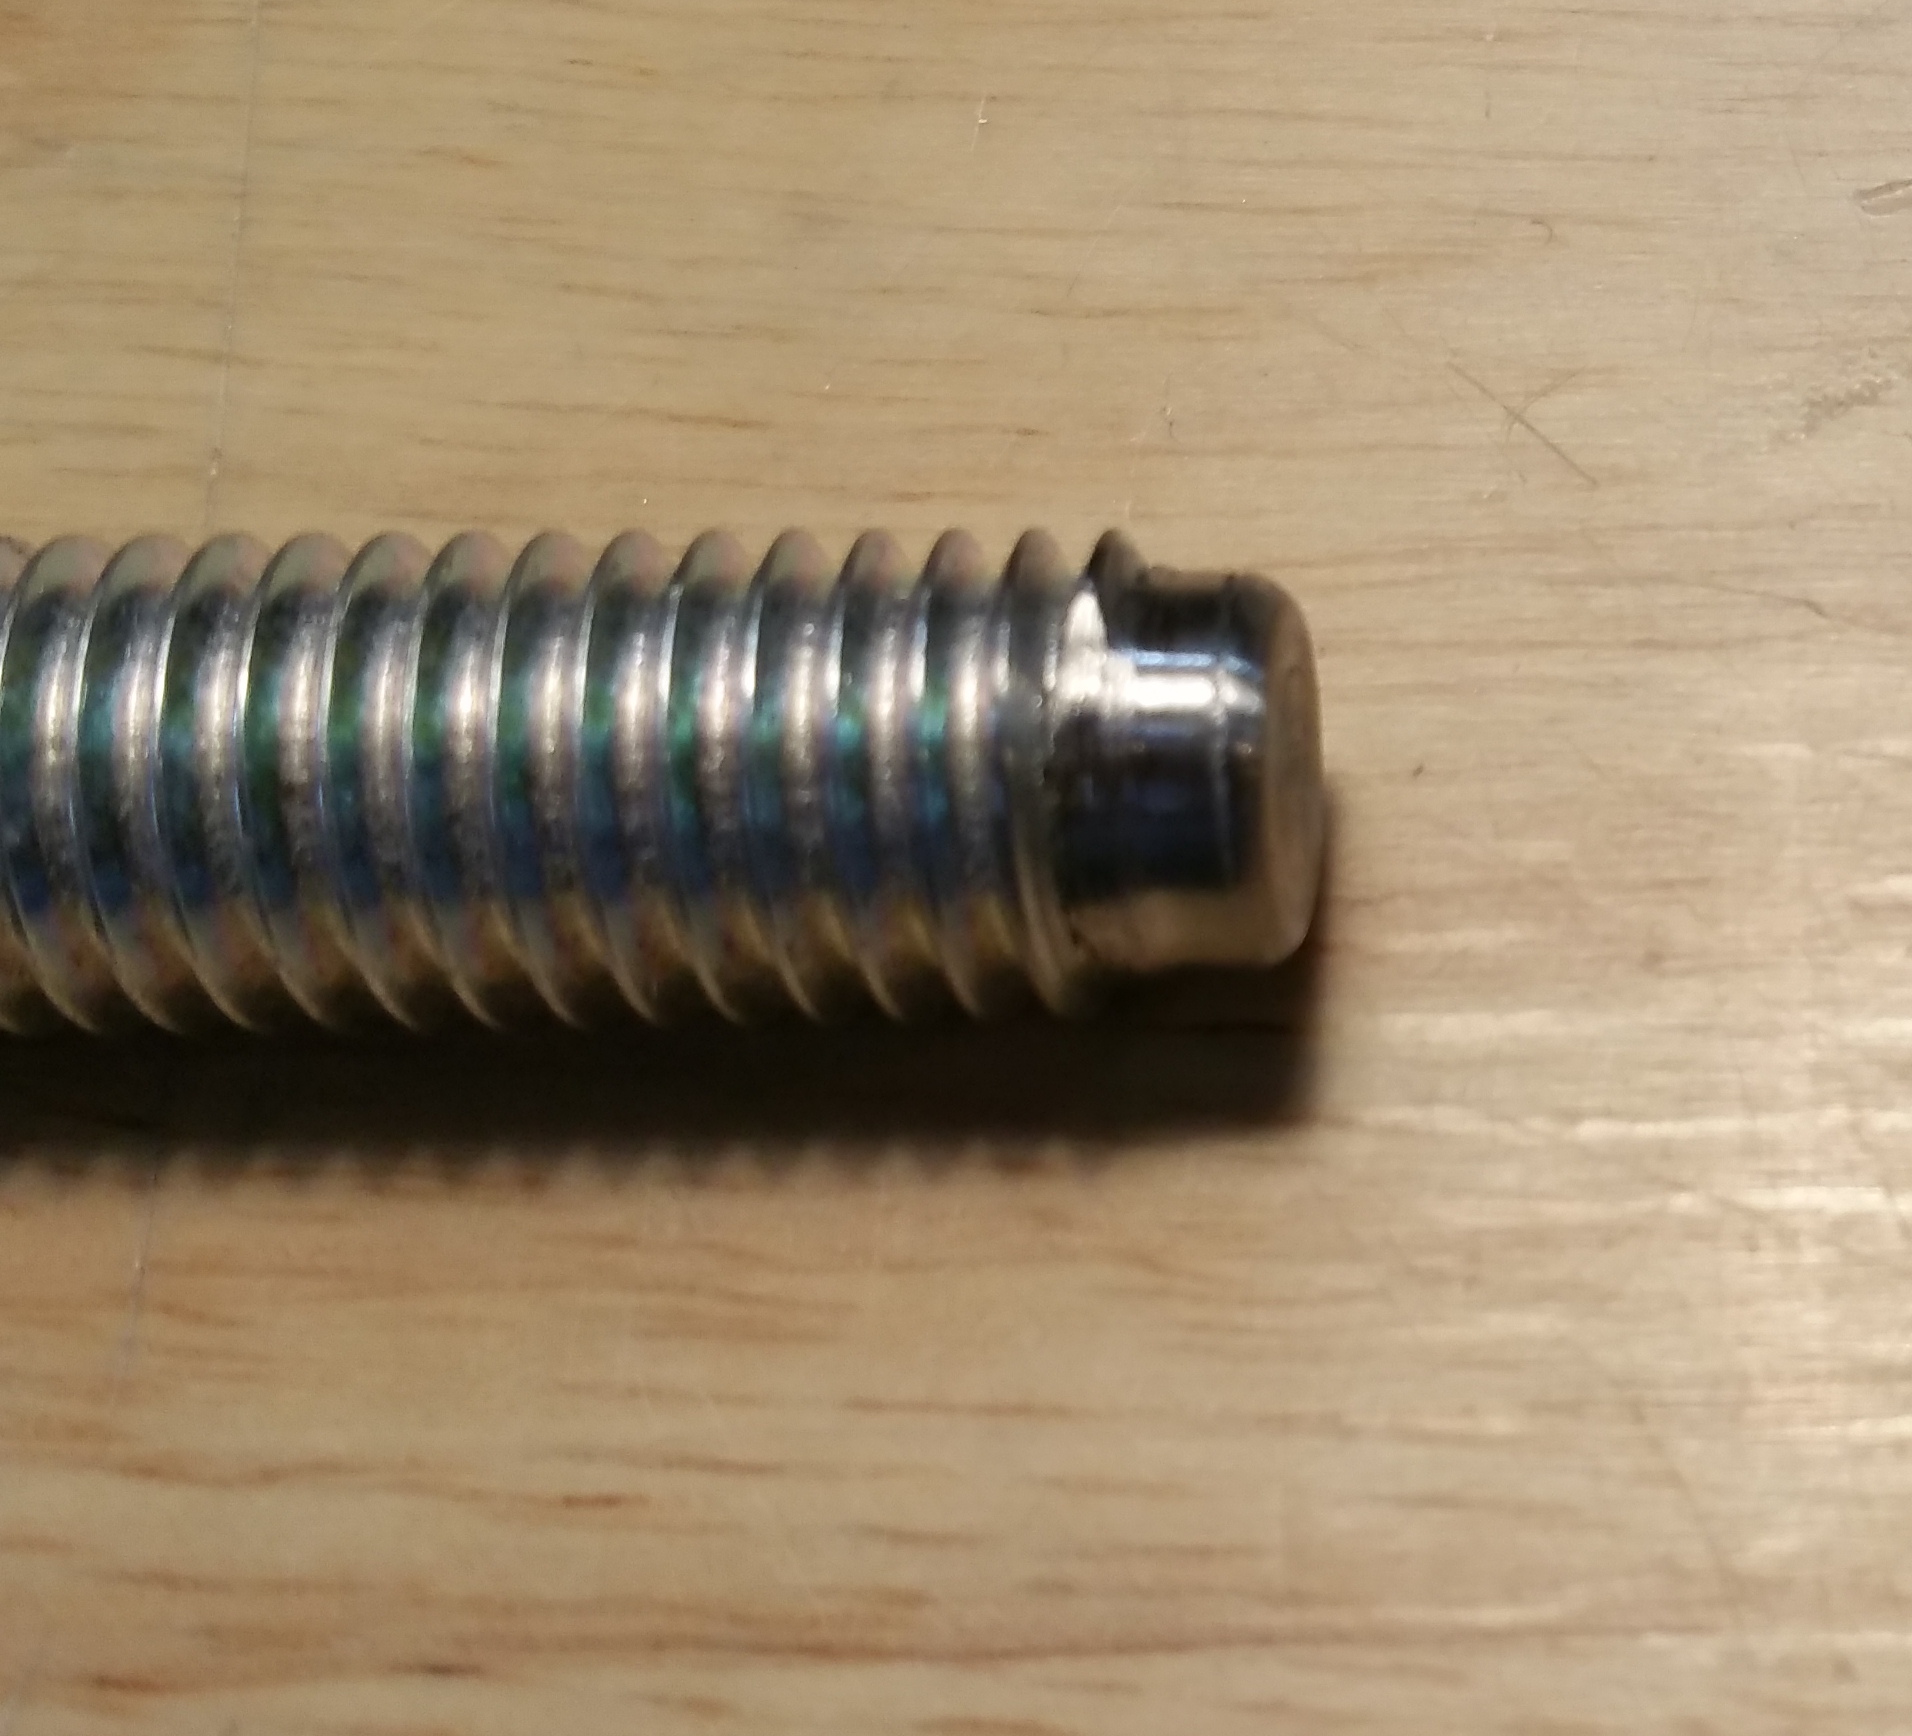
    [Left, square cut thread (not a dog point); Right, dog point made using method described]

    Dog Point Screw / Dremel Tool Post Grinder-sharp.jpg Dog Point Screw / Dremel Tool Post Grinder-dog-point.jpg


    Tool Post Grinder

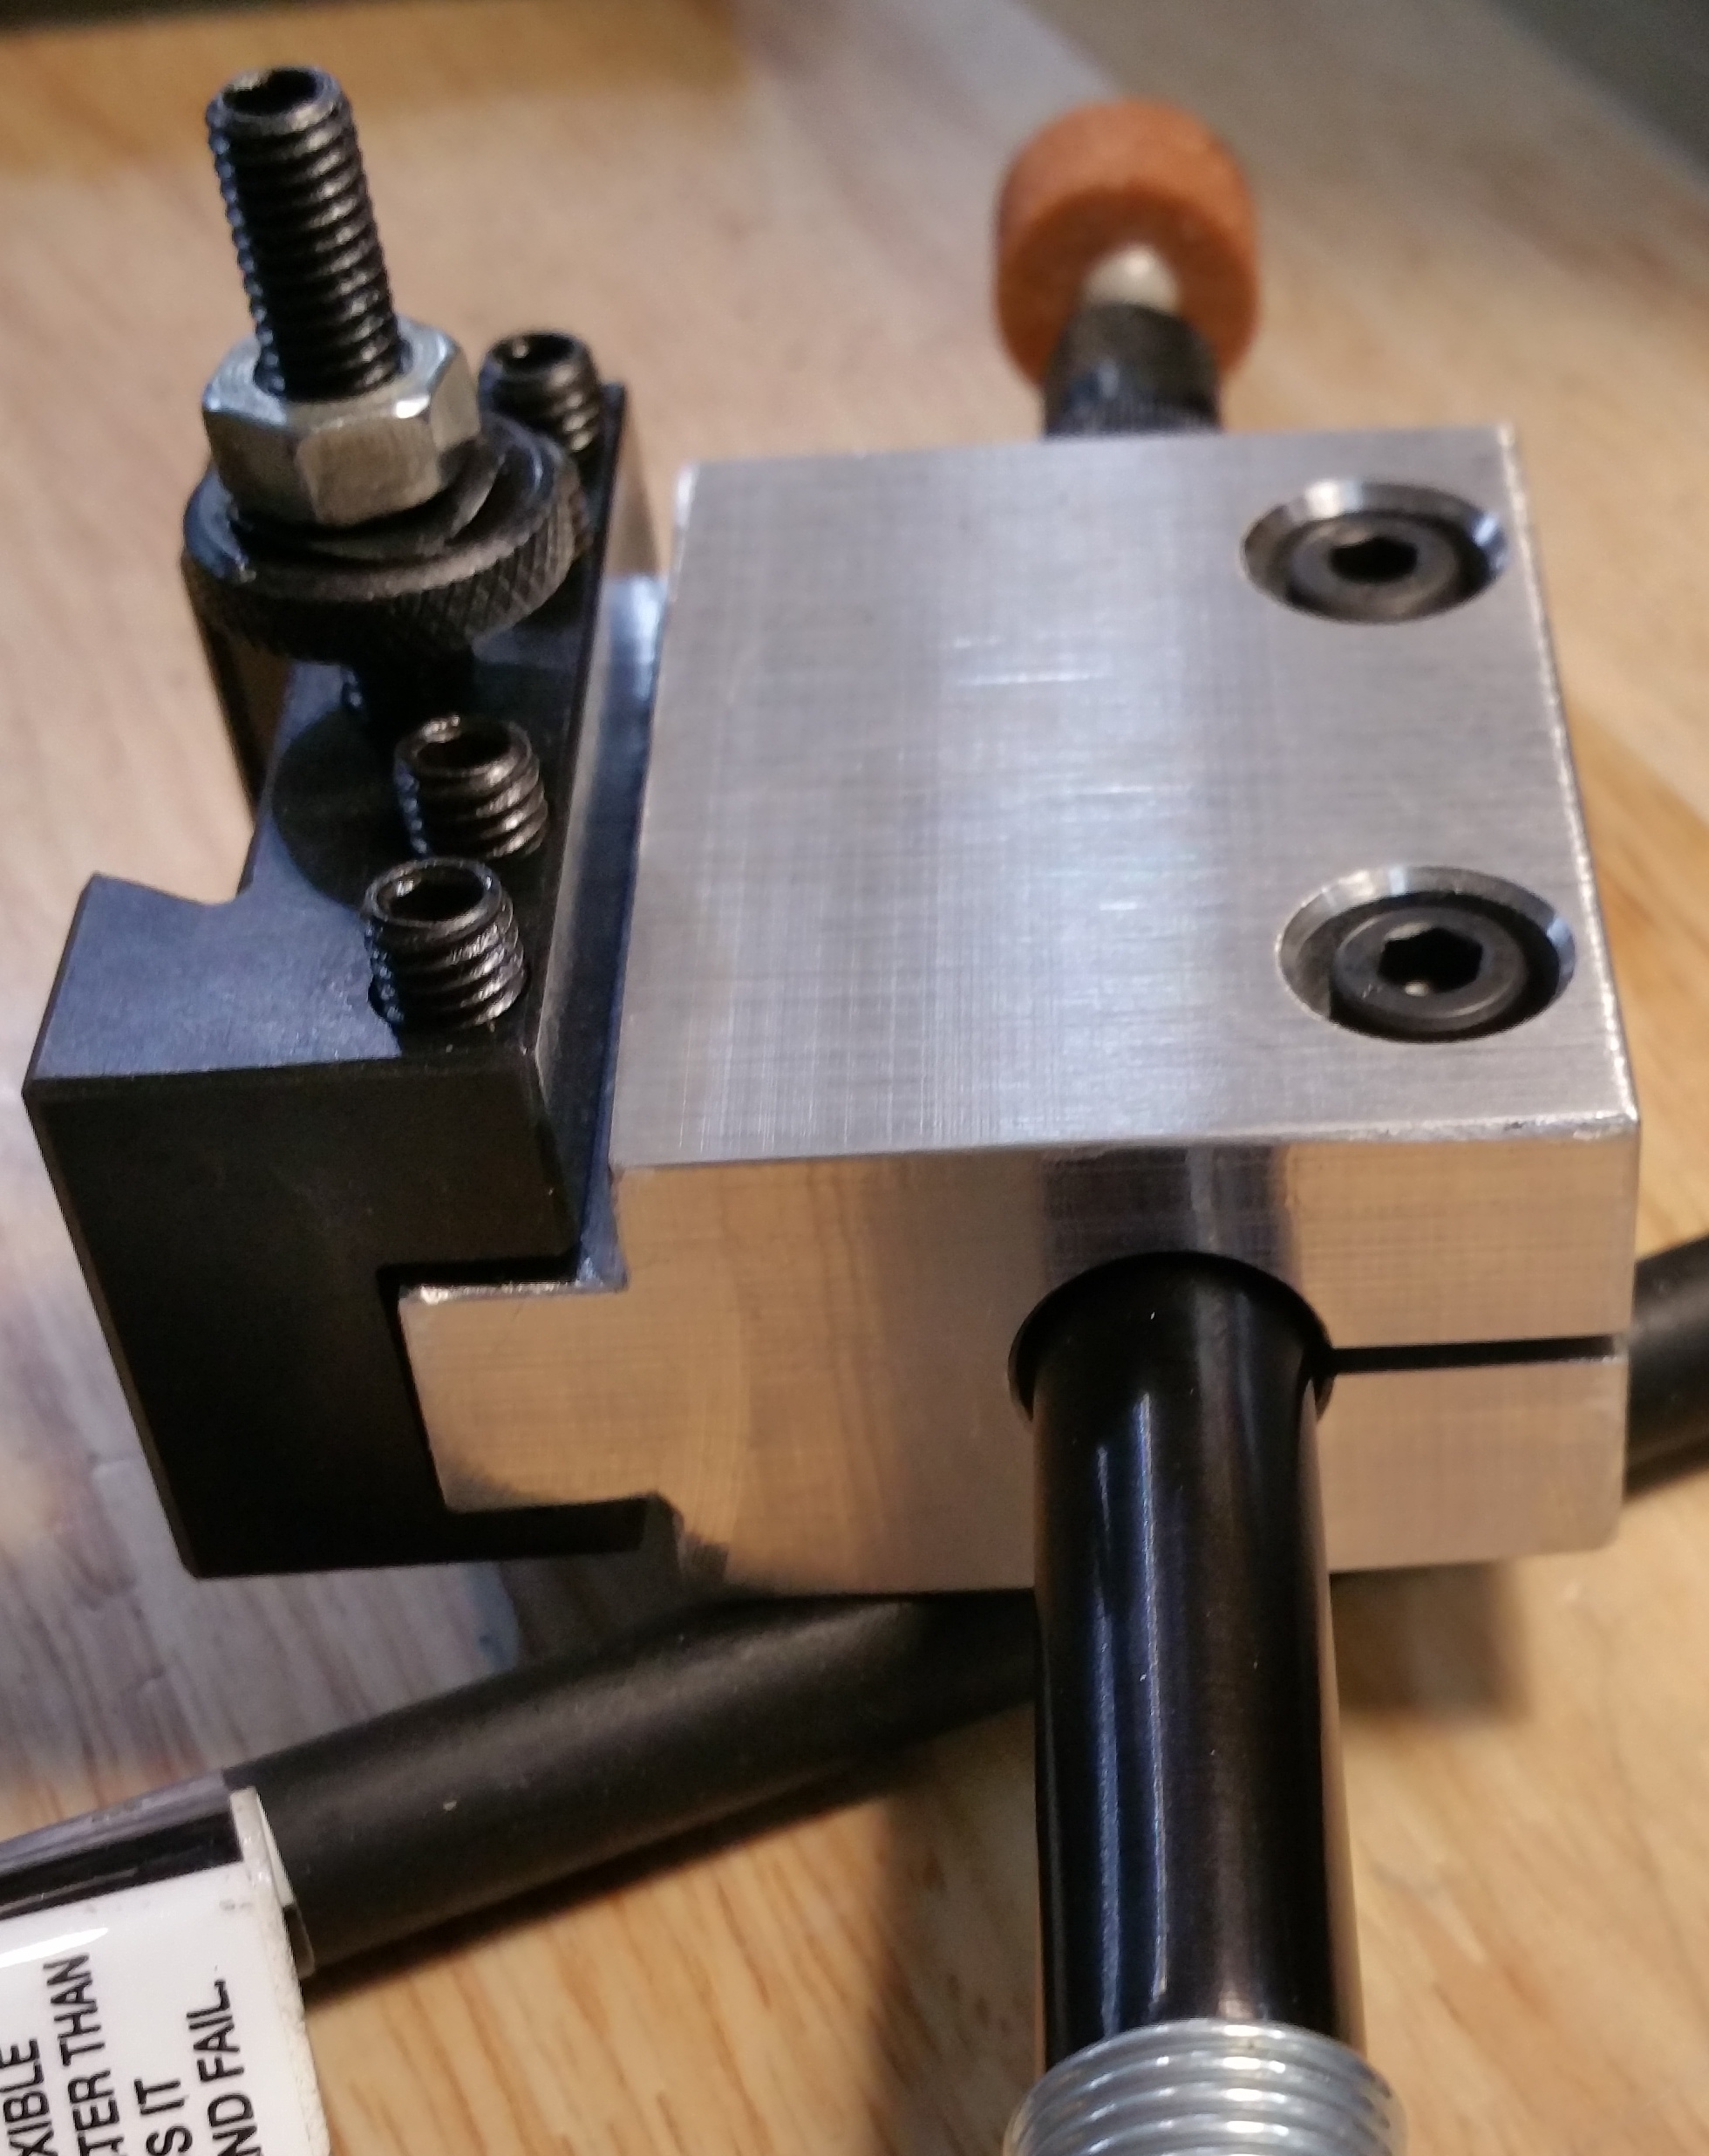
    I have a Dremel tool with a flexible shaft attachment. It is one of the older styles where the "handle" of the flex shaft is (conveniently) a cylinder. I made an adapter to secure it in a quick-change tool holder so that I can use it as a tool post grinder.

    Using the flex shaft (vs. mounting the Dremel tool itself) reduces weight and stress on the various parts of the mini-lathe. Be sure to hold or secure the body of the Dremel tool as varying load on the grindstone can feed back through the flex shaft and cause the tool to move around.

    Dog Point Screw / Dremel Tool Post Grinder-20171224_103451-c.jpg


    The Method

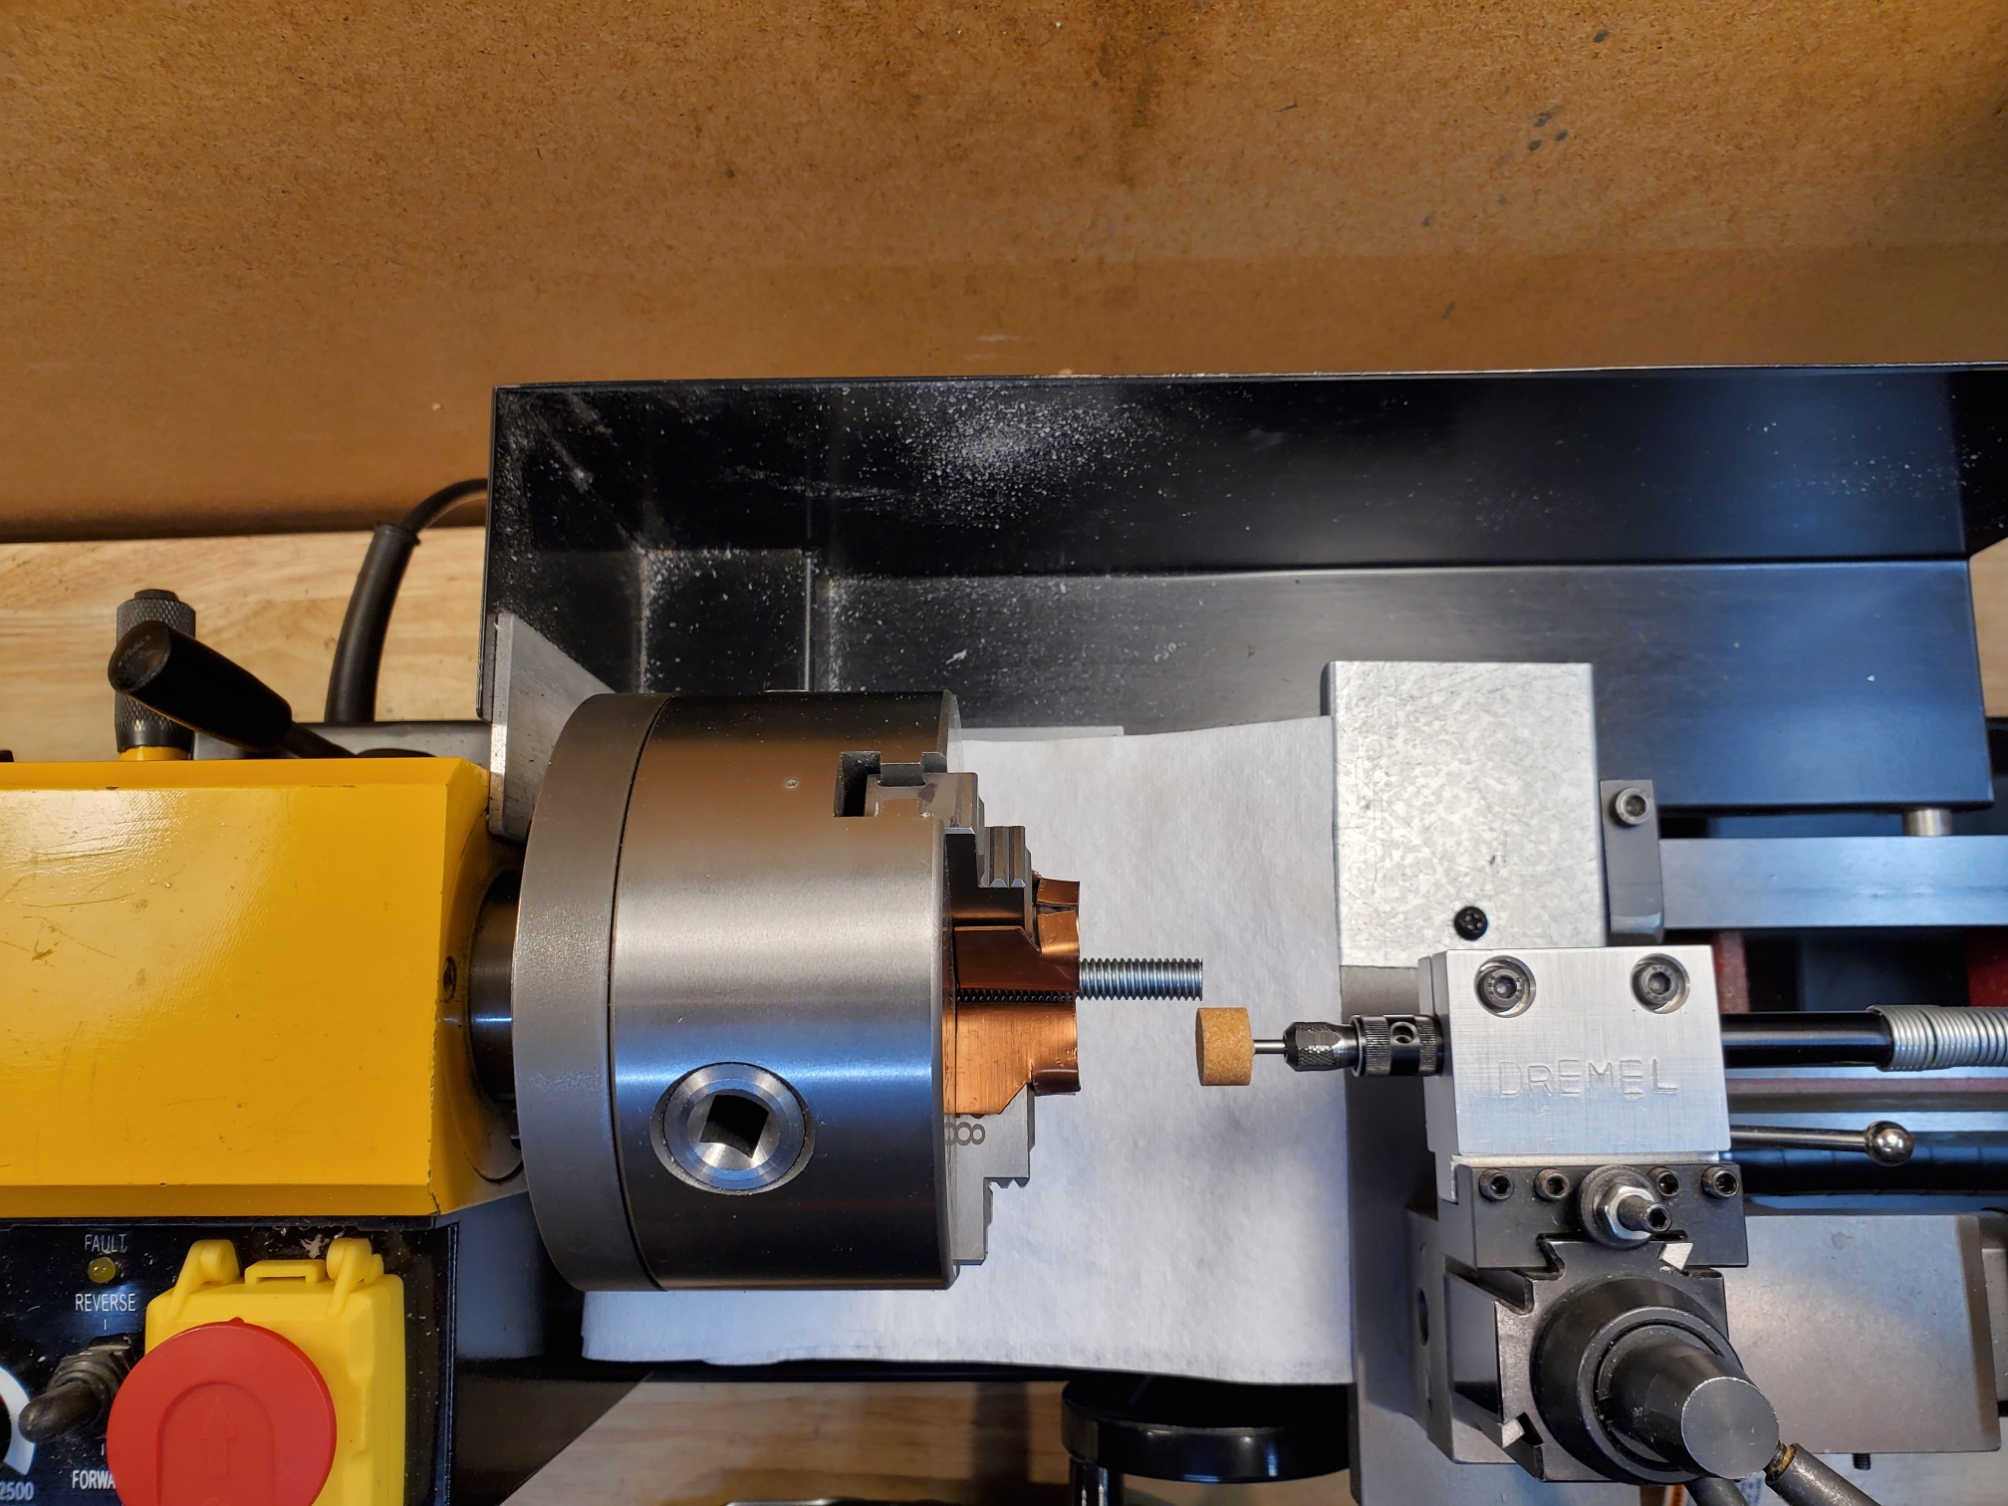
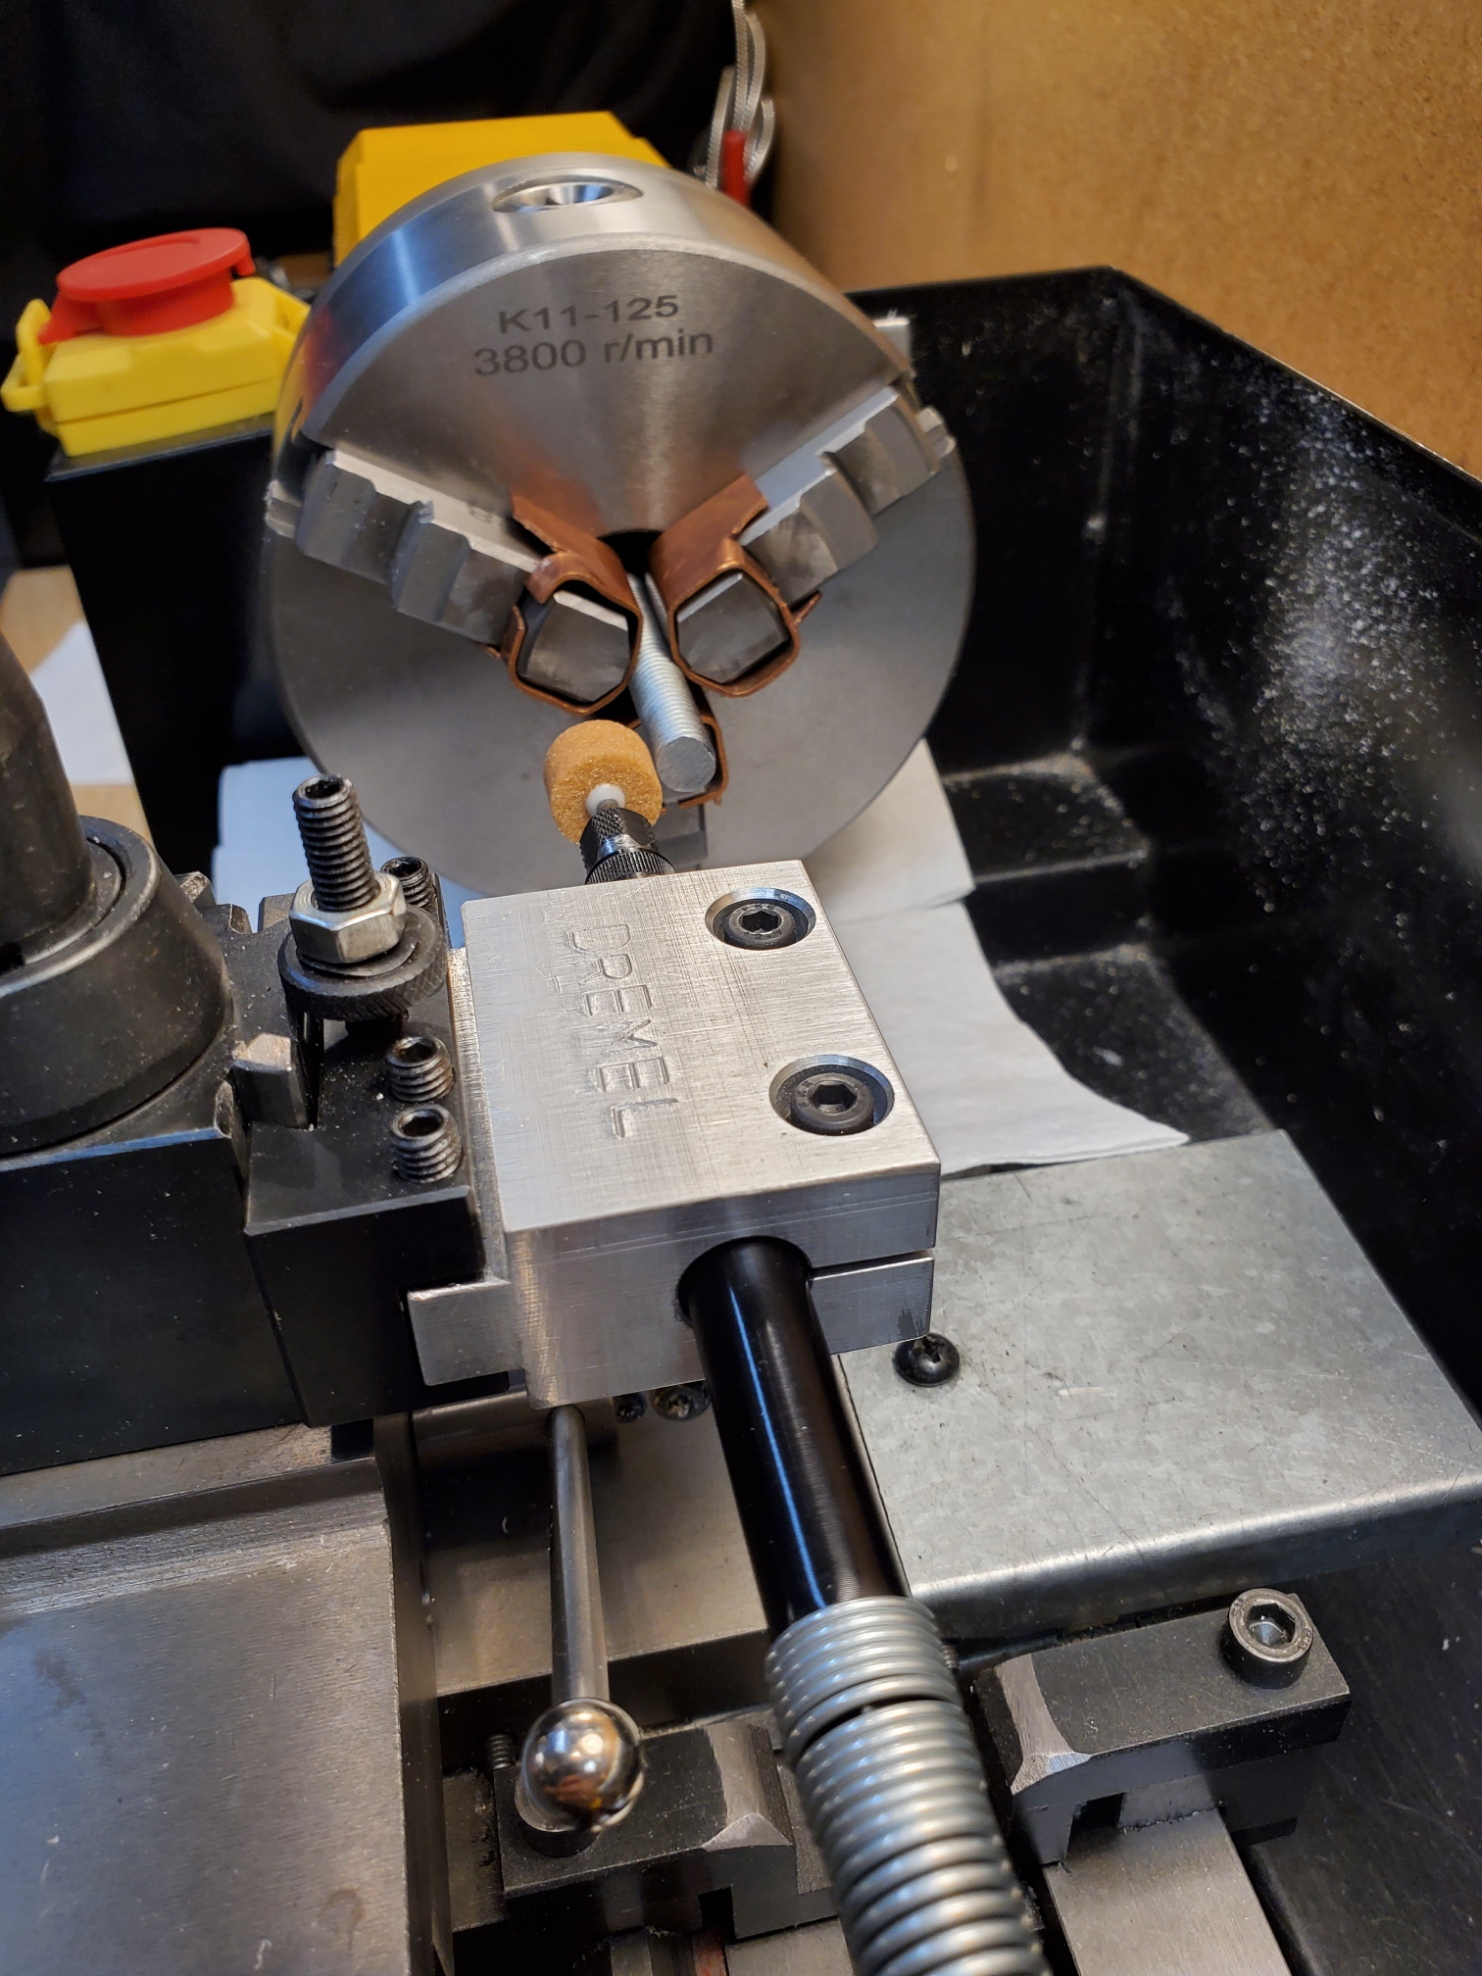
    Set up the lathe as follows:
    • Configure the lathe gear box or change gears for the thread pitch of the screw.
    • Hold the screw / rod in the lathe chuck. Use soft jaws or soft pads to avoid damaging the threads with the chuck.
    • Align the compound perpendicular to the cross slide.
    • Mount a small cylindrical grindstone in the tool post grinder. Diameter of grindstone should be selected based on the screw diameter and depth of the thread.
    • Position the tool post grinder on the tool post with the axis of the grinder parallel to the shaft of the screw.
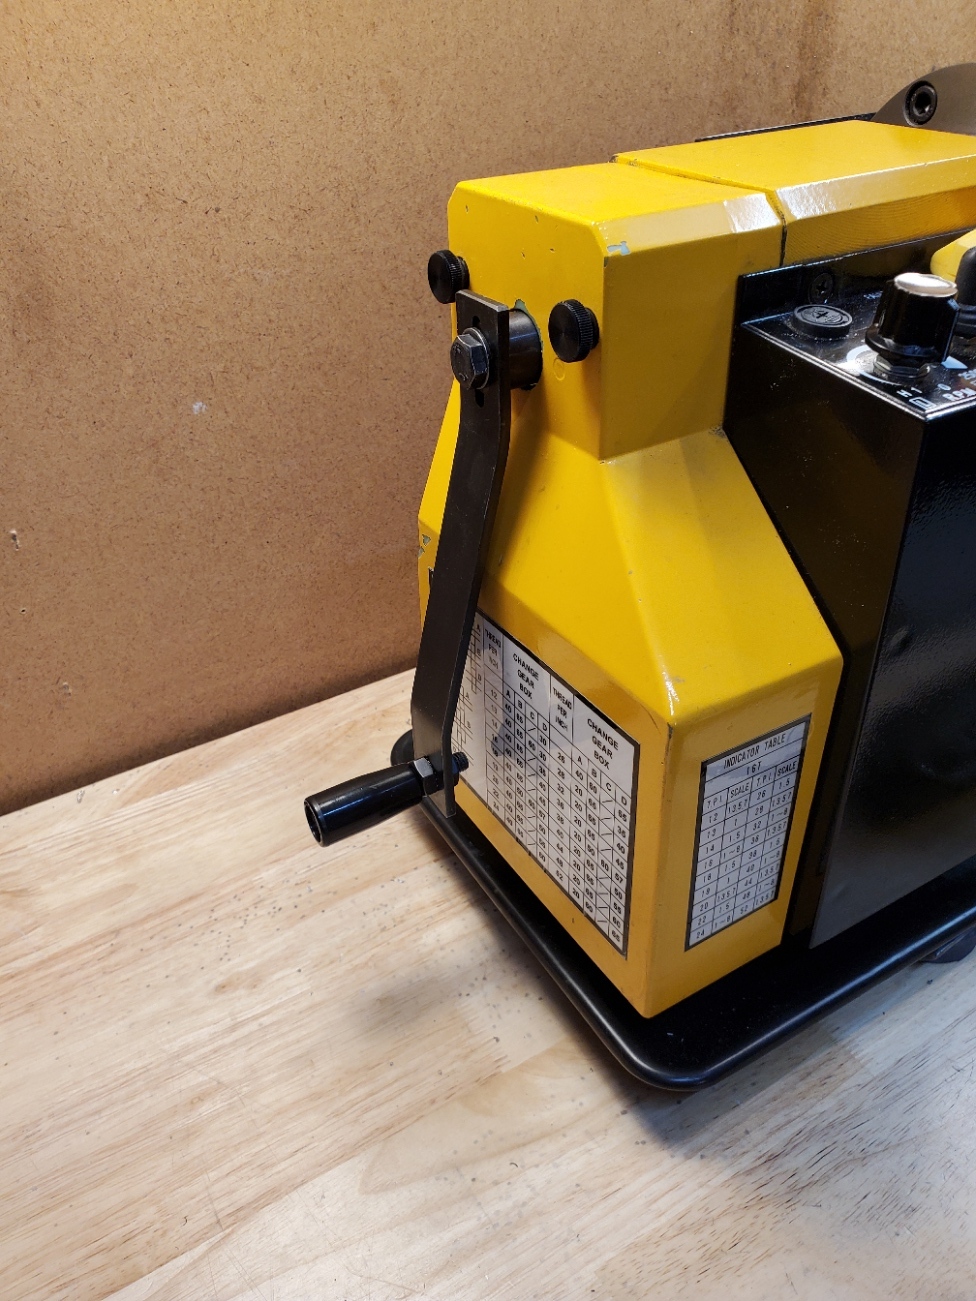
    • Install a hand crank in the outboard end of the lathe spindle.
    • Cover the ways to protect them from grinding debris.


    Dog Point Screw / Dremel Tool Post Grinder-20220901_141535-r.jpg Dog Point Screw / Dremel Tool Post Grinder-20220901_141605.jpg


    Procedure:
    • Use the carriage to move the grindstone close to the end of the screw and engaged the half nuts. Leave them engaged throughout the procedure.
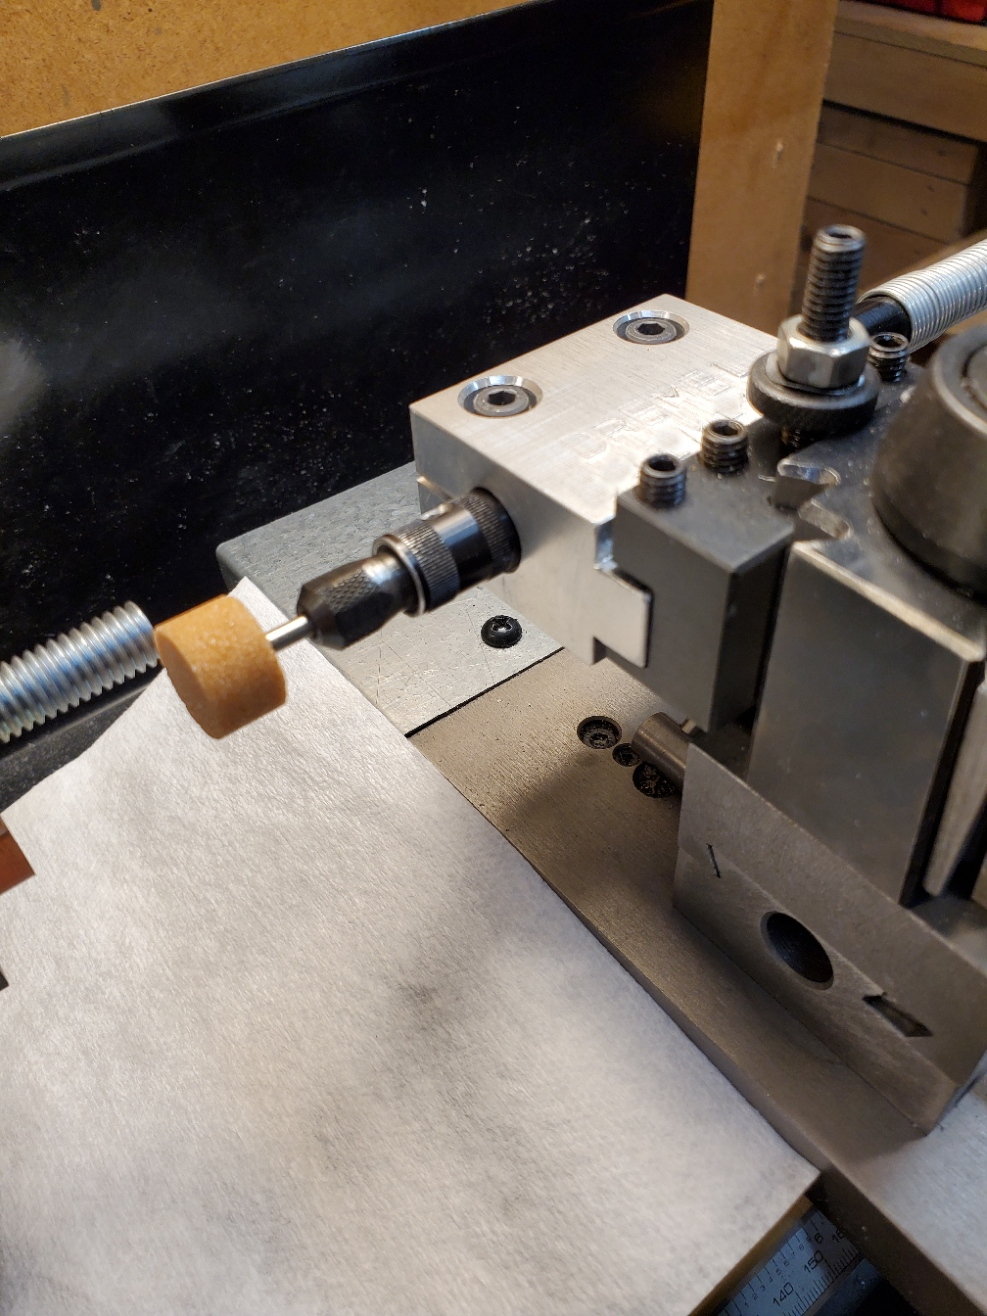
    • Use the compound to align the front corner of the cylindrical grindstone with the thread on the screw.
    • Start the grinder and use the cross-slide to set depth of cut.
    • Use the hand crank to slowly rotate the screw and advance the tool post grinder along the screw thread via the lead screw / half nuts. Turn the crank as needed to create the desired length of the dog point.
    • Multiple shallow passes may be required depending upon thread "height" and hardness of the screw material. Adjust the cross slide and compound as needed.


    Dog Point Screw / Dremel Tool Post Grinder-20220901_141557.jpg Dog Point Screw / Dremel Tool Post Grinder-20220901_141619-r.jpg Dog Point Screw / Dremel Tool Post Grinder-20220901_141627-r.jpg


    The round side of the grindstone leaves a very nice profile at the start of the remaining thread.

    If you don't have a hand crank, or if the screw is too long to allow crank installation, just turn the lathe chuck by hand.

    It should be obvious, but don't power the lathe.

    Theoretically, this method would work with almost any size screw. In practice, the precision of the corner of the grindstone will limit how small you can go.

    186 More Best Homemade Tools eBook

  2. The Following 2 Users Say Thank You to dgbreggin For This Useful Post:

    Home-PC (Sep 2, 2022), Jon (Sep 1, 2022)

  3. #2
    Supporting Member mklotz's Avatar
    Join Date
    Aug 2015
    Location
    LA, CA, USA
    Posts
    3,438
    Thanks
    357
    Thanked 6,398 Times in 2,119 Posts

    mklotz's Tools
    Whenever the end of a threaded rod is faced flat or dog-pointed, the remaining, knife-like final thread is both dangerous to hands and liable to cross-threading. Accepted practice is to generate what's called a "Higbee" thread ending. Basically, the knife edge is machined or ground back to where the thread is thicker. Near the bottom of this page...

    https://www.villamachine.com/design-for-manufacturing/

    are illustrations of a Higbee thread and another approach, a chamfered start.

    I think the method you suggest is producing something akin to a Higbee termination. But, if I understand correctly, you're also generating the dog point with the grinder. If that's the case, you could use the lathe to turn the dog point and then use your grinder setup to finish that last thread into a Higbee.

    Just some out loud speculation on my part. Good work and thanks for taking the time to present it.

    2000 Tool Plans
    ---
    Regards, Marv

    Home Shop Freeware
    https://www.myvirtualnetwork.com/mklotz

  4. The Following 3 Users Say Thank You to mklotz For This Useful Post:

    DIYer (Sep 2, 2022), integrator (Sep 2, 2022), metric_taper (Sep 2, 2022)

  5. #3
    Supporting Member
    Join Date
    Mar 2017
    Location
    Colorado, USA
    Posts
    42
    Thanks
    24
    Thanked 107 Times in 30 Posts

    dgbreggin's Tools
    Marv:

    Correct on all points. My finished product looks exactly like the Higbee pictured.

    When I was making the fidgets, I also used a variety of materials, such as plastic, brass, and aluminum. Since these are such soft materials, it didn't occur to me to start by turning the screw. Would certainly have made the steel one go faster... (where IS that "embarrassed" emoji)

    I really love the collaboration on this Forum. Post something interesting and people jump right in to refine, expand, analyze, improve, etc.

  6. #4
    Content Editor
    Supporting Member
    DIYer's Avatar
    Join Date
    Aug 2013
    Posts
    3,056
    Thanks
    773
    Thanked 1,853 Times in 1,654 Posts


    Thanks dgbreggin! We've added your Dog Point Screw to our Machining category,
    as well as to your builder page: dgbreggin's Homemade Tools. Your receipt:


    186 More Best Homemade Tools eBook

Thread Information

Users Browsing this Thread

There are currently 1 users browsing this thread. (0 members and 1 guests)

Bookmarks

Posting Permissions

  • You may not post new threads
  • You may not post replies
  • You may not post attachments
  • You may not edit your posts
  •