
 LinkBack URL
 About LinkBacks


About six years ago there was a post on this forum describing a repair to a drill press table by bolting on a steel plate,
Drill Press Table Repair
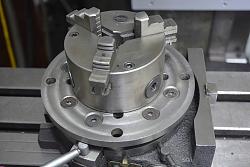
Prior to that I used a similar technique to fix and improve a 150 mm rotary table that had been machined badly in the factory.
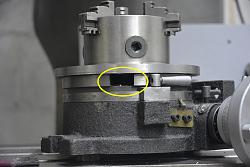
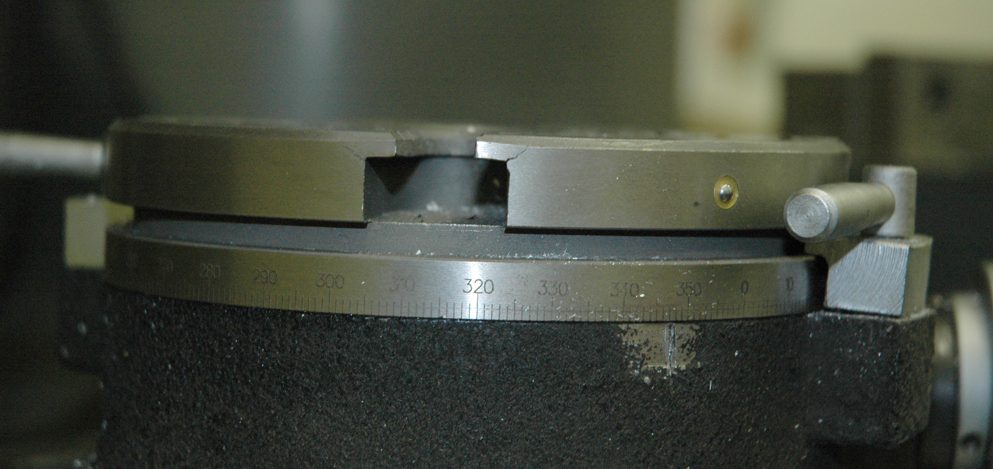
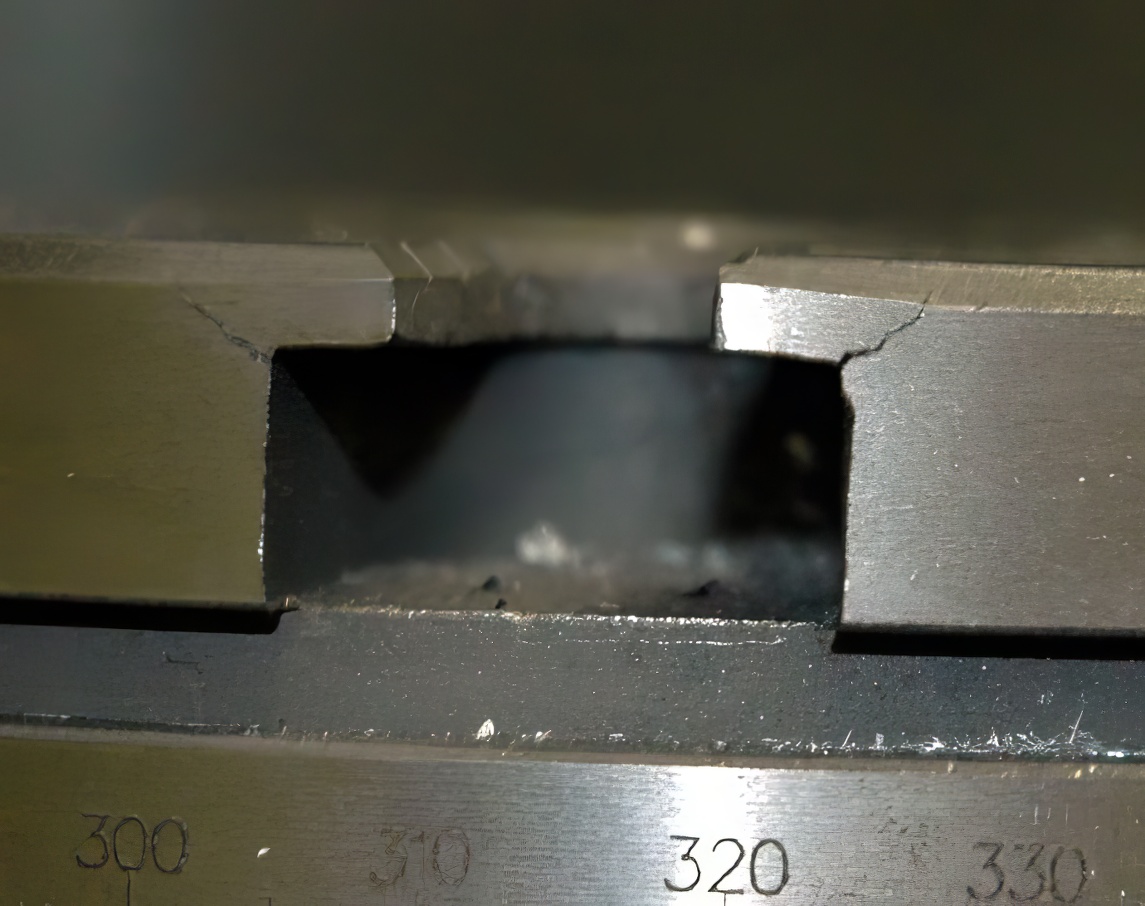
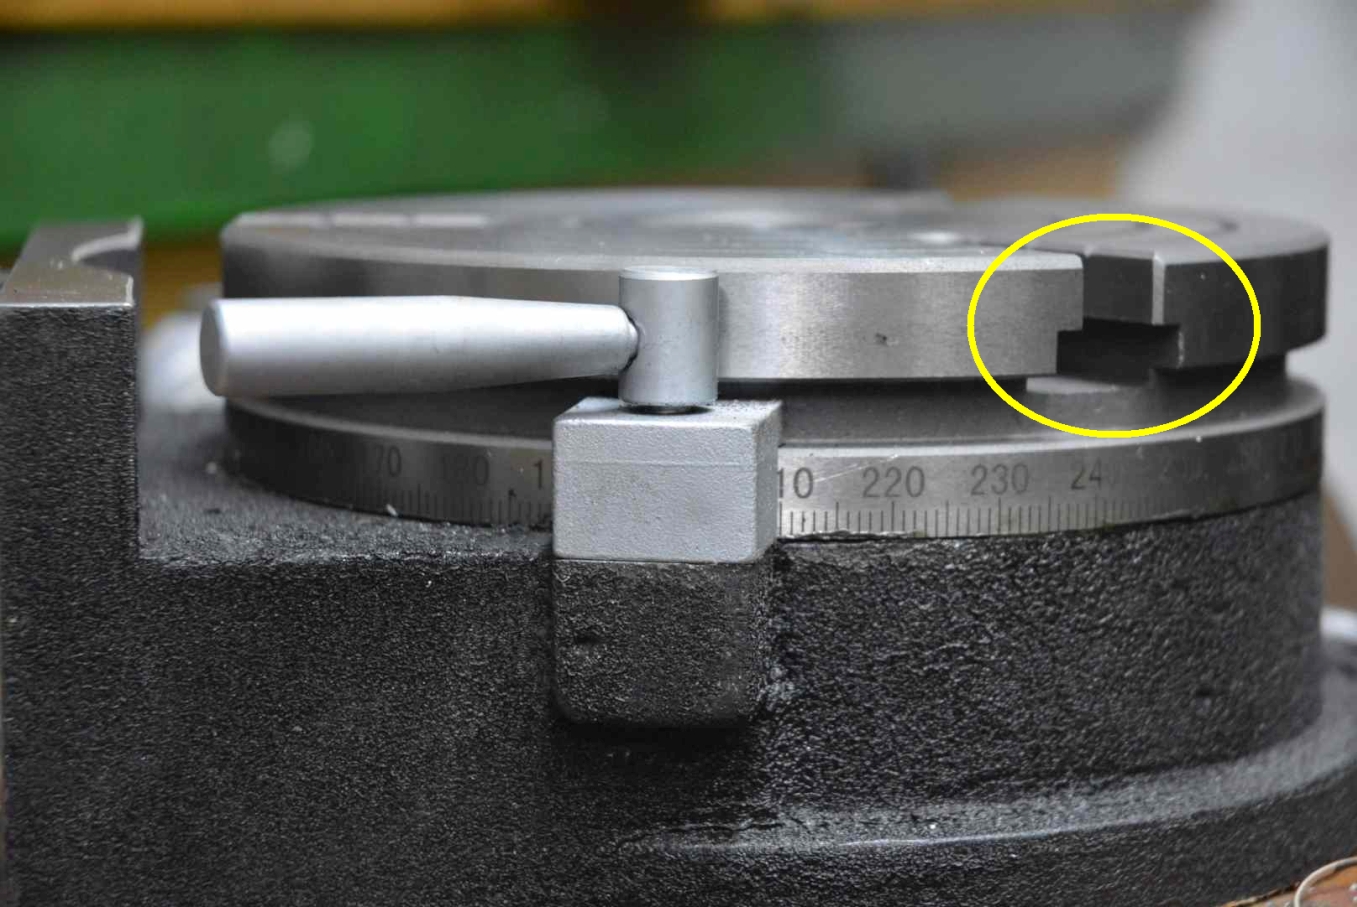
The problem can be seen here,

Click images for full size.
I guess that the T slots had been machined with a milling cutter that was meant for a larger rotab, or that two passes were made with the correct cutter at different height settings, leaving insufficient thickness to support the force from a clamping bolt and T nut. Here is another rotab for comparison with correctly machined and hence stronger T slots.
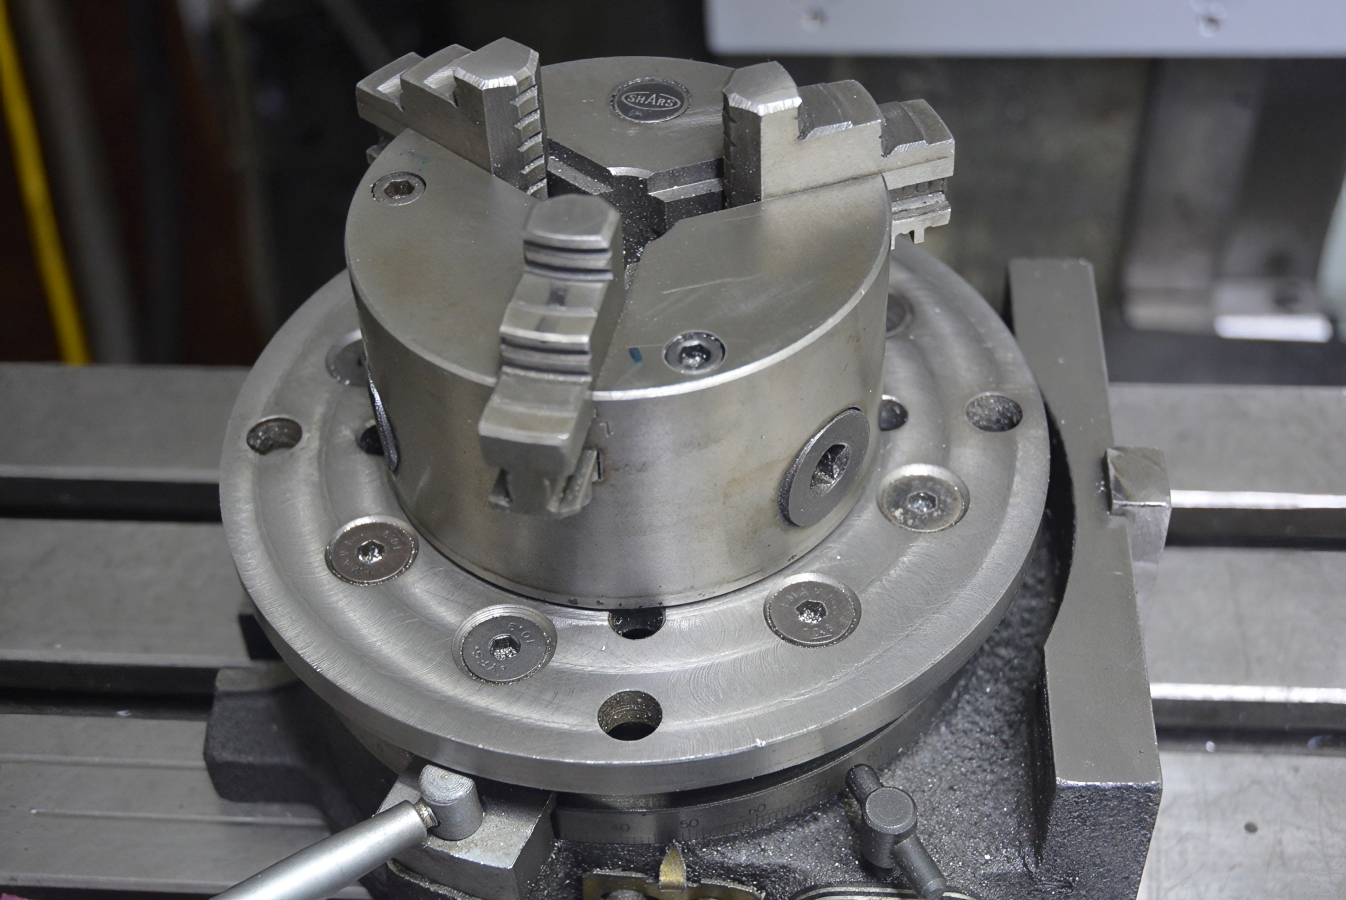
To fix the bad example I firstly machined away the top of the T slots and then took a very light truing cut on a milling machine over the whole table. I then drilled a steel plate to take countersunk screws to fix the plate to the original rotab table. Plain through holes were also drilled in the plate. These aligned with the slots in the table to take the place of the T slots. Rectangular nuts could then take the place of the stock T nuts. I used three radially disposed holes over each table slot rather than mill slots in the plate to retain strength. Had I milled slots I would have ended up with four cake slice pieces which would have been weaker and more prone to distortion and they would have needed more fixing screws. I made the plate 170 mm diameter in place of the original 150 mm and that has proved to be useful on several occasions. To finish off I took a truing cut over the steel plate
The second photo shows the stock slots with the offending weak parts removed.


 Reply With Quote

Bookmarks