 LinkBack URL
 About LinkBacks
Thanks Canobi! We've added your Fly Cutter to our Machining category,
as well as to your builder page: Canobi's Homemade Tools. Your receipt:
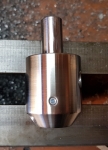 Fly Cutter by Canobi


Thanks Canobi! We've added your Fly Cutter to our Machining category,
as well as to your builder page: Canobi's Homemade Tools. Your receipt:
Fly Cutter by Canobi
New: BuildThreads.com - 300+ build posts/day (with photos)

To Canobi, real nice flycutter. Glad to see mention of the offset in conjunction with the angle. I'm not sure why, but conventional flycutters set the edge on centerline. If that is moved farther 'back' it creates some extra clearance, great for softer materials. On center, flat bits tend to slap. While the mechanics seem alike to lathe turning, clearance means more in milling. I've seen some try to generate a positive rake with inconsistent results.
When making a flycutter, the incline angle depends on the tool bit[s] you grind. Avoid acute cutting edges, they'll dig in and/ or bind. My common use of flycutters is clean fillets from a flat to adjoining wall, way better than a radiused endmill, when there is room. No laws are in place stating such cutters require a certain minimum diameter...
ncollar; hand set multiple HSS bit cutters easily when mounted in the spindle. Use gravity and two feeler gauges at a time. Then a sharp bit doesn't bite sliding shim.Originally Posted by ncollar

Sometimes you can get good results with them 'stepped' in Z axis height from cutting plane. Only need a couple thousandths variation, whichever is highest is the 'rougher'. Common to multi-flute cutters, RPM can be reduced and feed rate increased.
Sincerely,
Toolmaker51
...we'll learn more by wandering than searching...

Thank you for your kind words and advice toolmaker51
The offset measurement was a bit if a fluke this time. My dividing head's centre point is a little lower than the lathe spindle and I normally use a specially made shim for it to line them up. I actually forgot to include the shim when I raised it for the offset but it wasn't till after that I was happy about that as I'll be using round bits so the extra I will need to remove from them should be enough to make a decent flat. If not, a 10mm bar is enough to make a seat for a carbide insert, so all won't be a total loss if the flat ends up too far back from the cantre line.
I can't wait to start grinding the cutting bit actually, tool geometry is something I'm keen to get down pat. I've only just started grinding tools for the lathe after making my own mini toolgrinder (WIP still, needs some refinement but it's usable) so it'll be an intersting challenge finding the right geometry for the Fly cutter bit. If I've got things right, the cutting edge radius is small for hard materials, large for soft?
It's not the destination but the journey you take to get there that matters.
Canobi; you are welcome. Applying radius to softer materials is correct, available RPM's are a factor, including depth of cut, etc. As mentioned, it's lathe like in most respects. Envision clearance as if looking down flycutter's centerline, eyeball = to spindle.
10mm tool shank will carry an insert. I find making insert tools tedious; try silver soldering carbide on instead. All told, HSS seems to have lost prominence, where it can be applied hasn't changed. Perhaps tool grinding has declined in practice because carbide has become more widespread.
Whoever our shop's buyer/ specifier practically ignored HSS for tools in general, and no bench grinder at all. I imagine a salesman's heyday with his suggestions to a neophyte. Trying to get carbide to perform is like starting a race in the wrong direction. One of today's projects is correcting those deficiencies.
Sincerely,
Toolmaker51
...we'll learn more by wandering than searching...
Well, despite my suggestion of inserts, I hope to keep the old "artisan" aspect of engineering going as I have much love and respect for the old school machines, tools and techniques from back in the day.
It's not the destination but the journey you take to get there that matters.
PJs (Mar 26, 2018)


Whoever our shop's buyer/ specifier practically ignored HSS for tools in general, and no bench grinder at all. I imagine a salesman's heyday with his suggestions to a neophyte.
How is it even possible to keep the doors open in just about any business without one?Ok, maybe a Hospital normally wouldn't need one for patient care. I've seen bench grinders in the back room of restaurants and in dress makers shops.
Carbide inserts are great, but only a seasoned professional will know the best insert size and profile and grade for every application. Cemented (silver brazed) carbide tools can be shaped for a wide range of specialty applications. Straight out of the box their usually lacking in performance for many tasks. Not all HSS is created equal but in the hands of seasoned veteran machinist/ tooling grinder person it can be shaped to do varying operations nearly impossible to do with inserts unless those jobs are done on a CNC machine.
I personally like the fact that Canobi's fly cutter has a slightly off center set to it for the same reasons already mentioned by Toolmaker 51.Nice job even if it was as you say an accident.
Never try to tell me it can't be done
When I have to paint I use KBS products
Thank you Frank, if I can get half as good as you at making stuff I'll be a happy man
It's not the destination but the journey you take to get there that matters.
 and happily, a work colleague has lent me his bench grinder for a couple weeks, so it was time to make a bit for my flycutter and test it out, after a quick mini build session knocking together a grinder stand out of parts that came from a discarded shop display unit first:
With that complete, I set about grinding a short length of one end of the bar "Pin It")
Hi folks
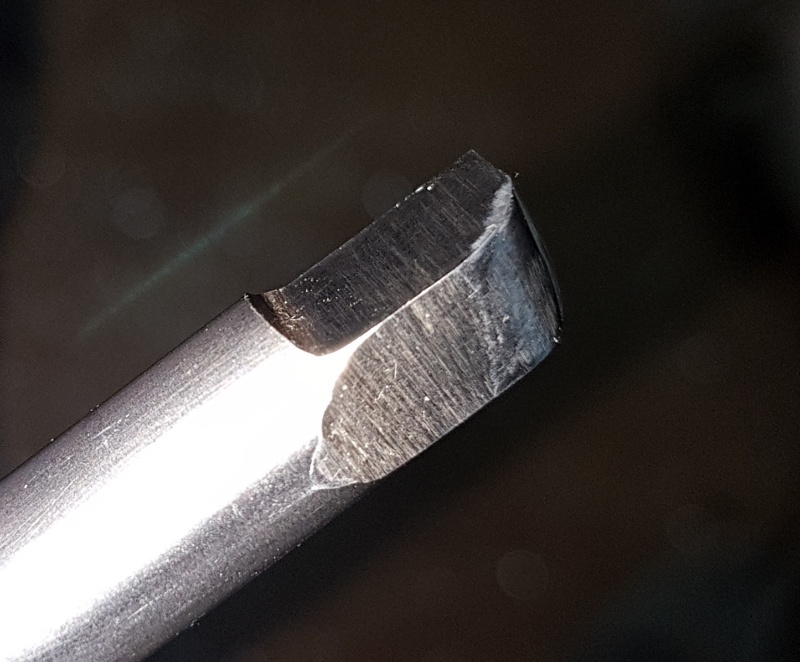
I finally got my hands on a milling vice, some 10mm diameter tool steel (10% cobilt mix) and happily, a work colleague has lent me his bench grinder for a couple weeks, so it was time to make a bit for my flycutter and test it out, after a quick mini build session knocking together a grinder stand out of parts that came from a discarded shop display unit first:
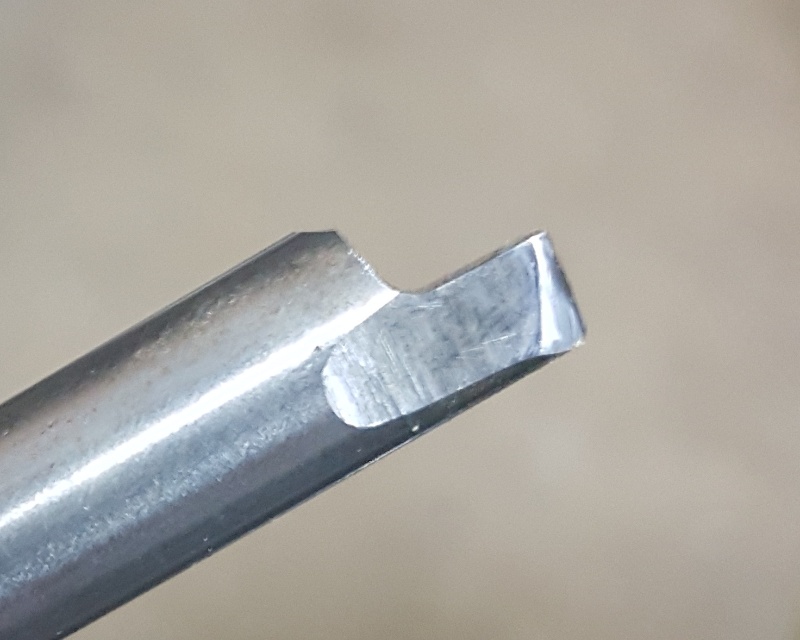
With that complete, I set about grinding a short length of one end of the bar of tool steel down to the halfway point using the side of the wheel and then ground a relief behind the cutting edge, after putting the radius on the corner.
Grinding done, I then honed the flats and radius with a medium stone, then a fine stone to get the cutting edge really crisp.
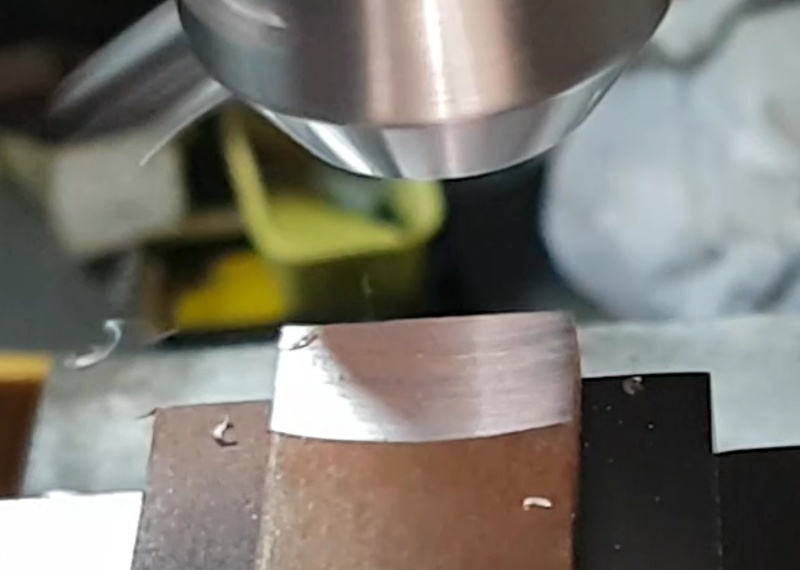
I got carried little away once I'd finished and I forgot to take footage of my first cut but I was well surprised at how well it performed. Admittedly the cutter was slapping at first and the finish wasn't all that great:
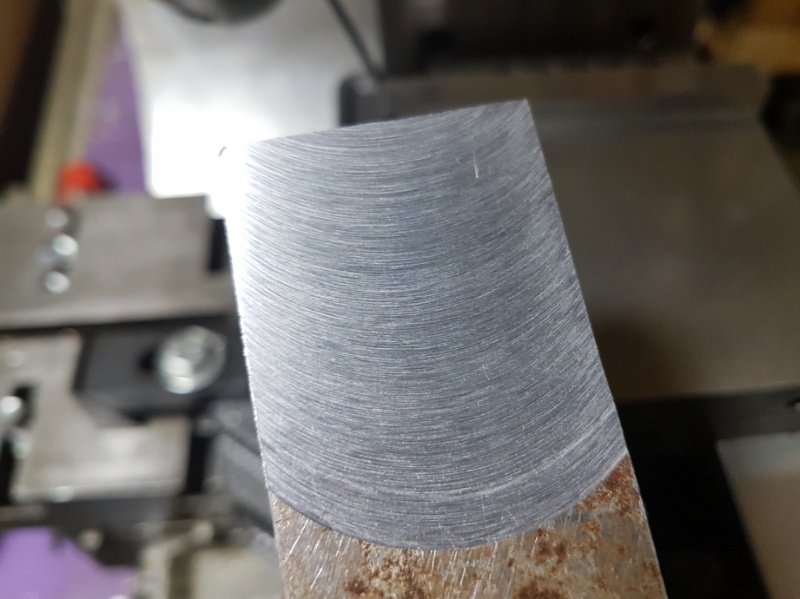
But after adjusting the cutting angle from vertical to slightly positive, it went very smoothly and quietly indeed, making a light peeling noise as it cut chips, much more akin to the sound metal make when cut with a shaper but on a smaller scale and faster.
The finish also vastly improved too, so I'm well chuffed to have managed a good grind on my first try:
My next move is to grind the other end for aluminium, then cut the bar to get the correct length bits for the cutter. I chose to do it that way as I found it easier to grind with a long shank as I could make finer adjustments carving the business end, probably as I've done wood turning before and the feel of it was much like sharpening a chisel.
I do still have one issue though and that is caused by my mills slightly bent quill. The flycutter bites in the work material again with the trailing end of the cutting radius and ruins the nice finish made by the lead cutting radius (which technically should be the only one to do the cutting). I have yet to address that issue until my skills catch up, mainly as I want to make a new quill but with a few changes and that will be quite involved.
As a way around the problem for now, my plan is to make an adaptor for the cutting bits that will bolt onto my lathe's face plate to bodge a large disc style flycutter together.
Until then, stay safe, have fun and keep those chips flyin'
It's not the destination but the journey you take to get there that matters.

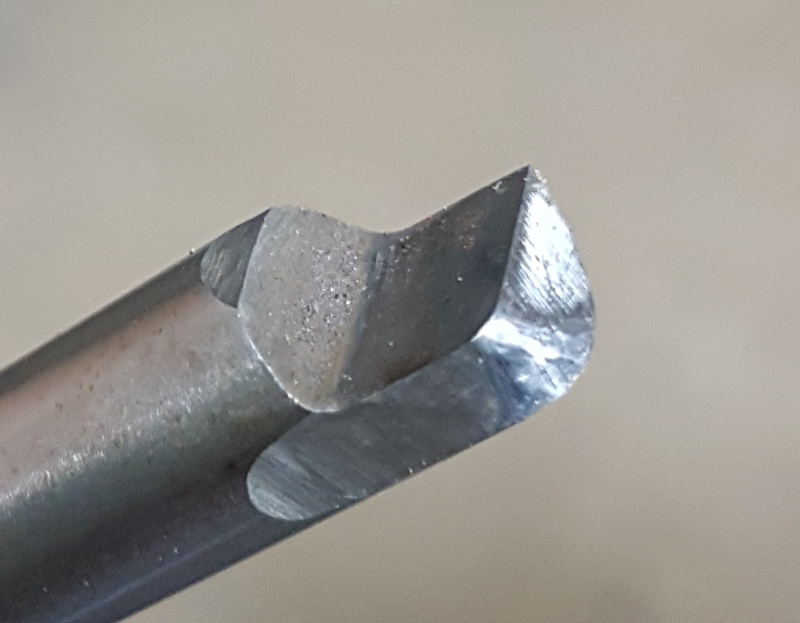
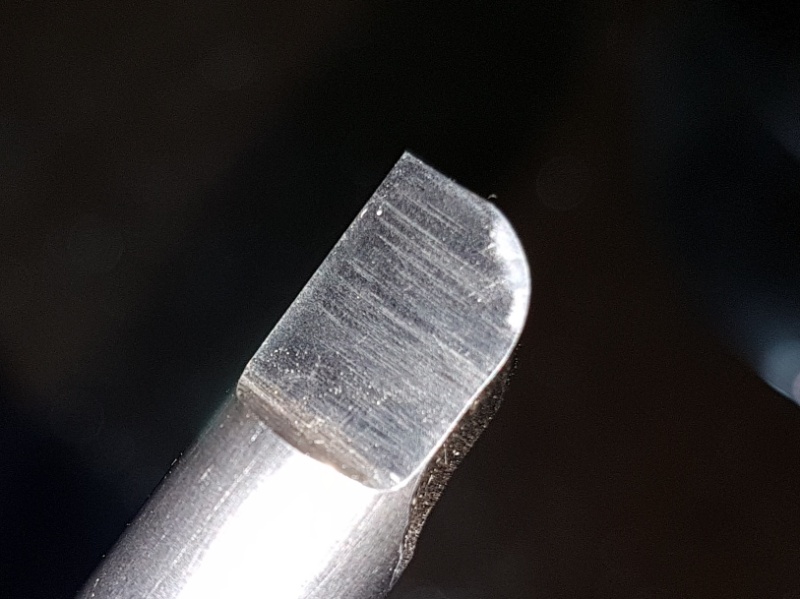
Hi again good folk
Here is my grind for aluminium I did eaeliear. Basically the same steps as i did before, I just made the radius a lot larger:
It's not the destination but the journey you take to get there that matters.
That 'bent quill' is far more common than you'd suspect. If the machine has a adjustment, it's not perpendicular. Only takes a tenth [.0001] to mark the backside of cut. Part of the marks can occur from the figurative opposite rotation as cutter passes over. The semi-circular pattern is identical to a vinyl record disc. When cutting travels over the pattern, it disrupts the peaks. Feed rate and a bit of tool radius reduce it. If tilt is forward/backward, the cut is flat but angled to the table X axis. If side to side, a very large concave/convex arc is formed along the X.
With out adjustment, any displacement of quill-spindle-casting will create that double cut. Achieving no marks is difficult, including chips of material carried by cutting edge over the previous cut, scoring the pattern.
If you really want a stoned edge, use marble, a ceramic tile or glass plate and wet silicon carbide [wet or dry] paper. Mark bit with Sharpie, Dykem etc. Dress radius, rake and clearance along selected surface [away from edge if possible] not around it. Works on HSS and carbide alike. Magnified inspection will show the result.
Last edited by Toolmaker51; Mar 24, 2018 at 10:43 PM.
Sincerely,
Toolmaker51
...we'll learn more by wandering than searching...
There are currently 1 users browsing this thread. (0 members and 1 guests)
 Posting Permissions


 Reply With Quote
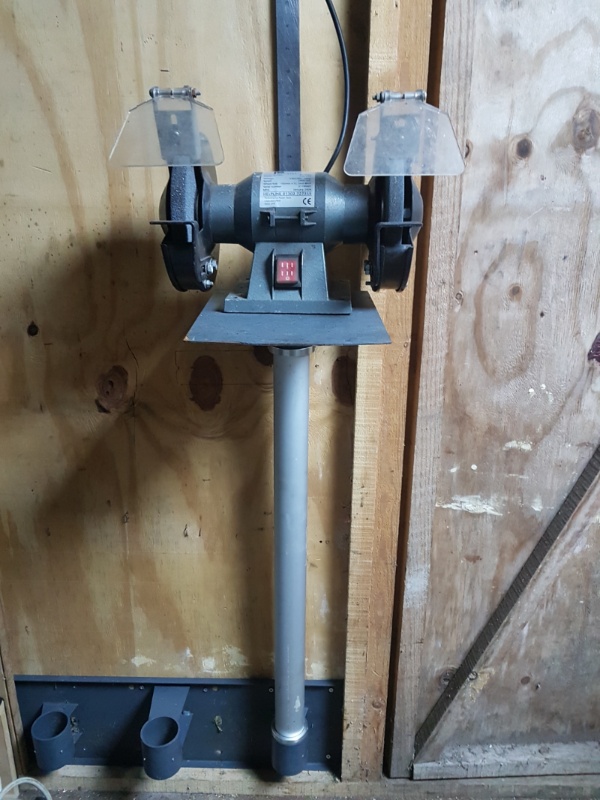


Bookmarks