
 LinkBack URL
 About LinkBacks


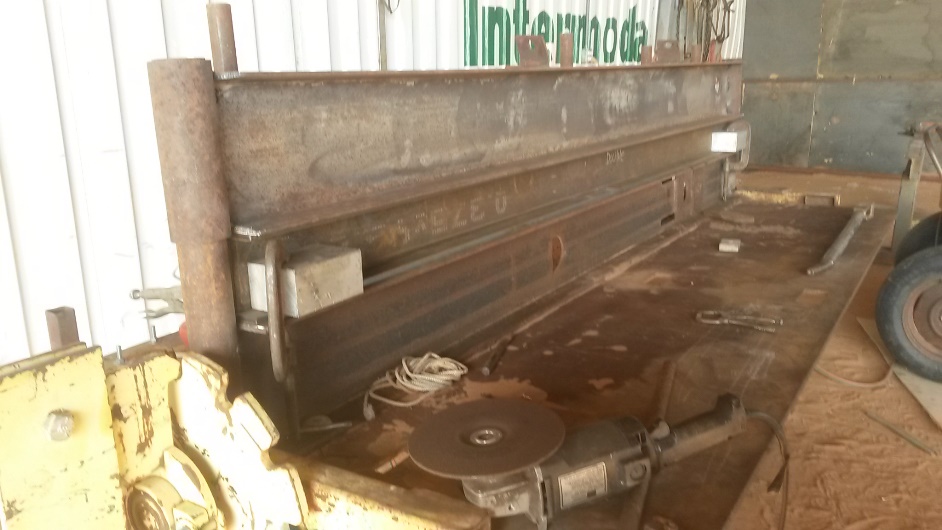
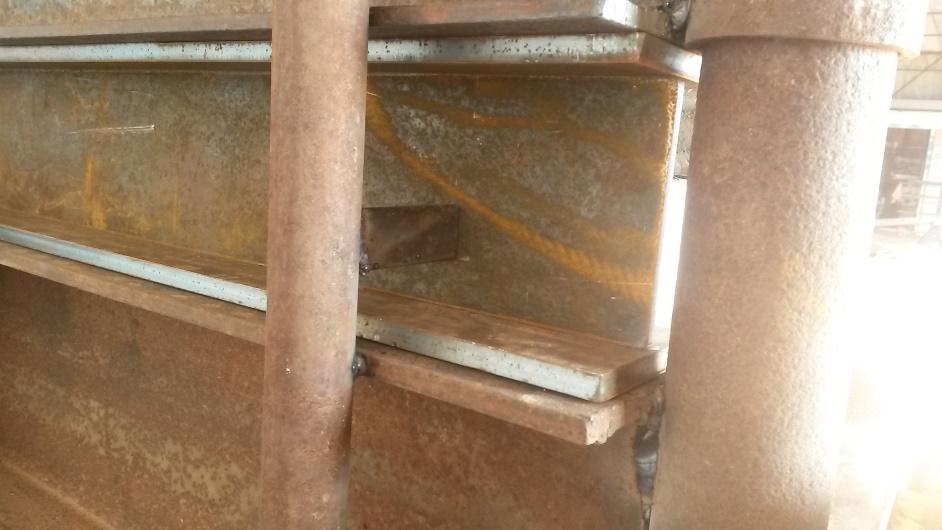
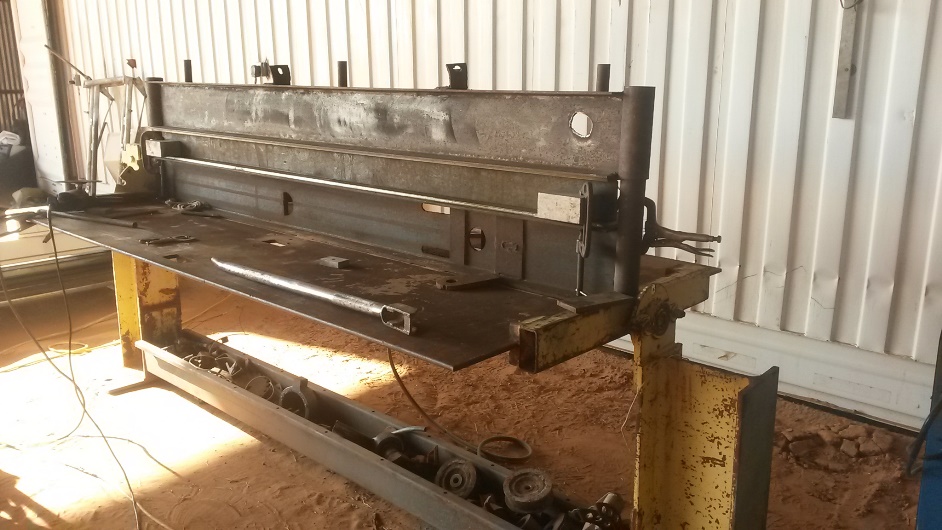
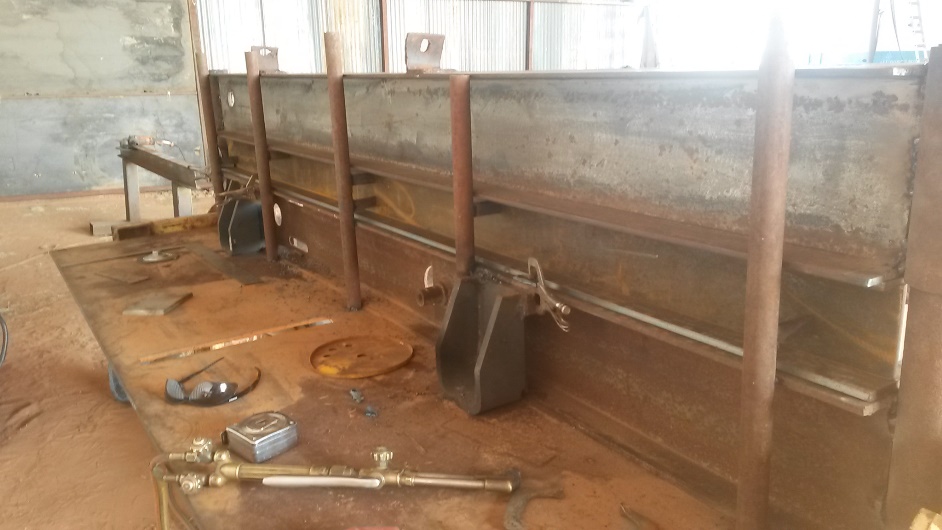
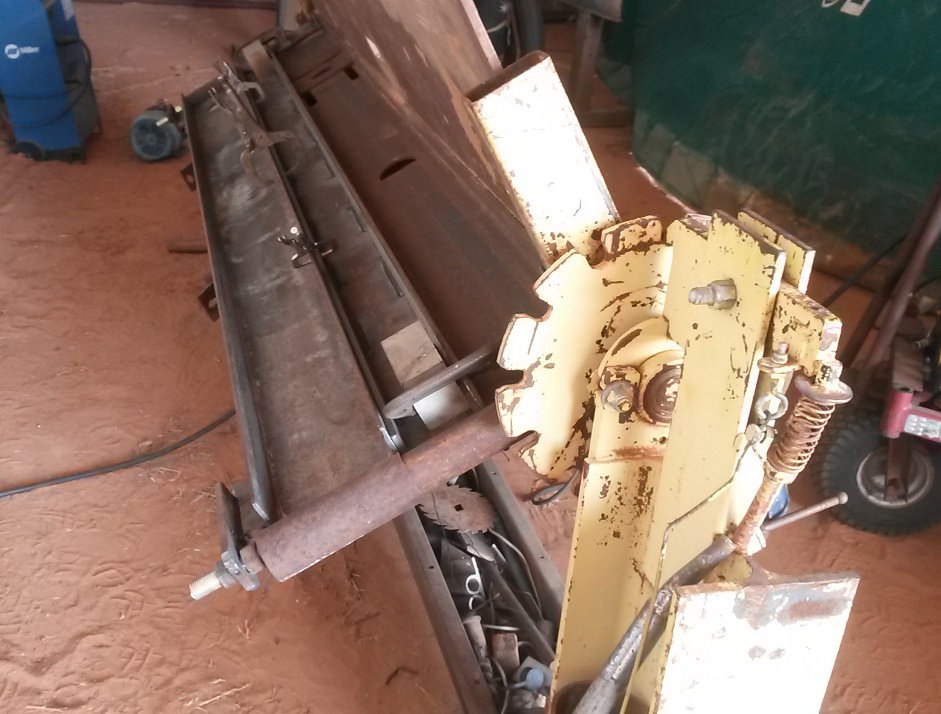
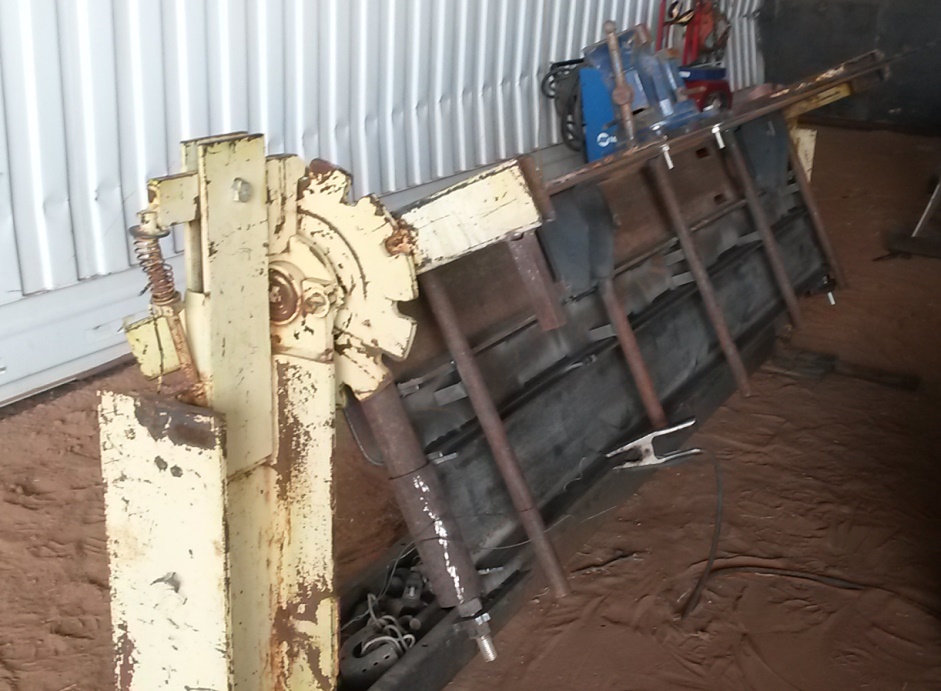
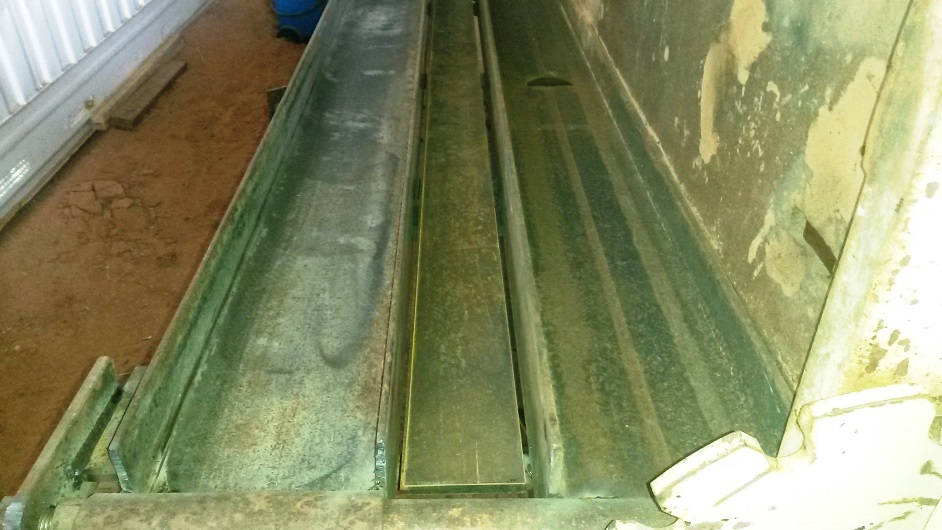
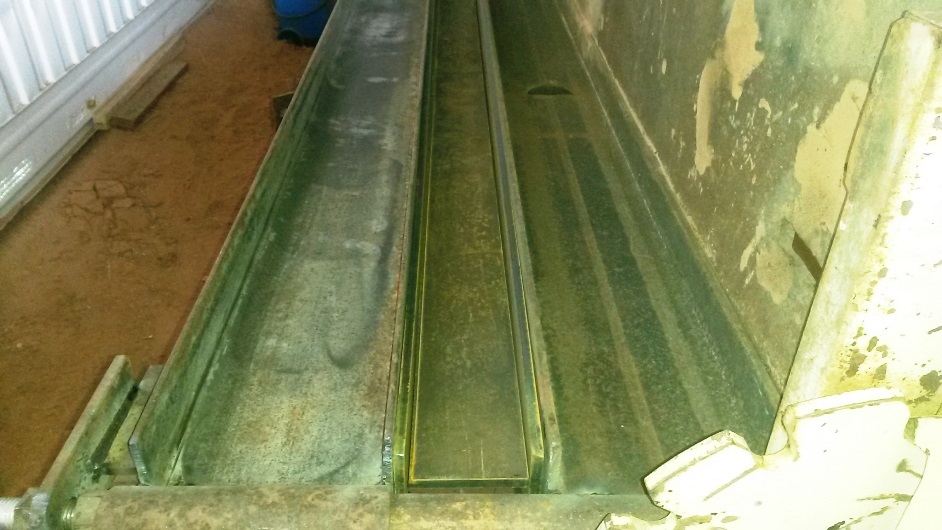
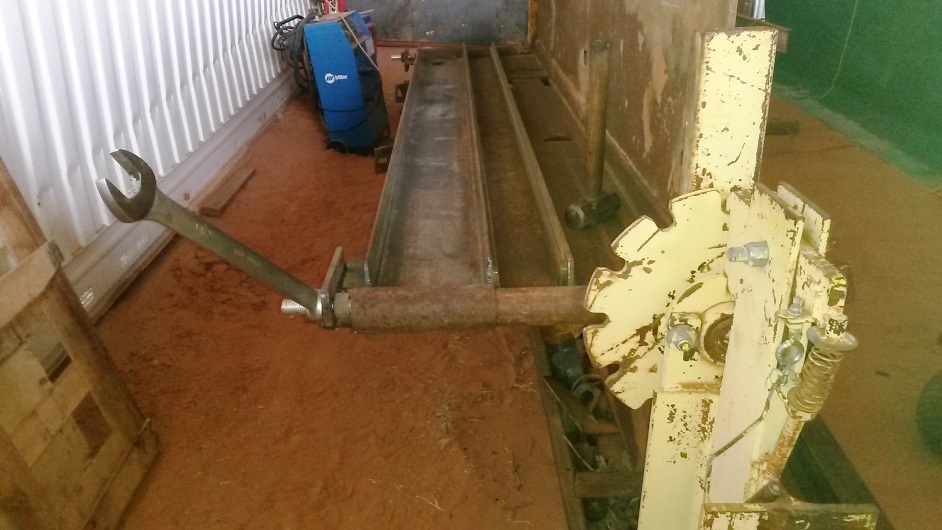
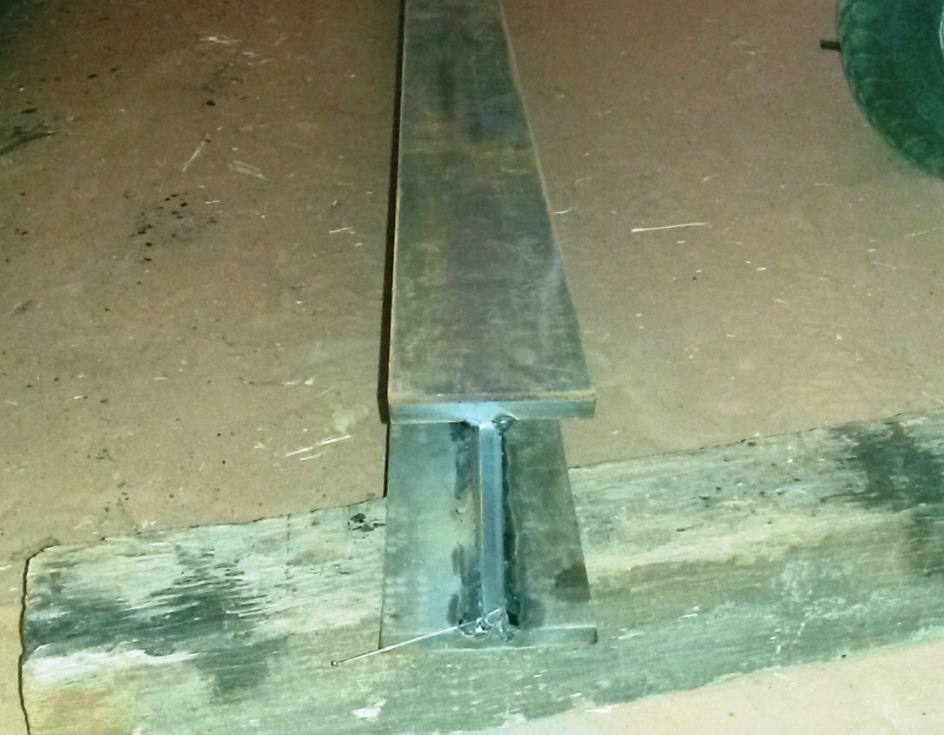
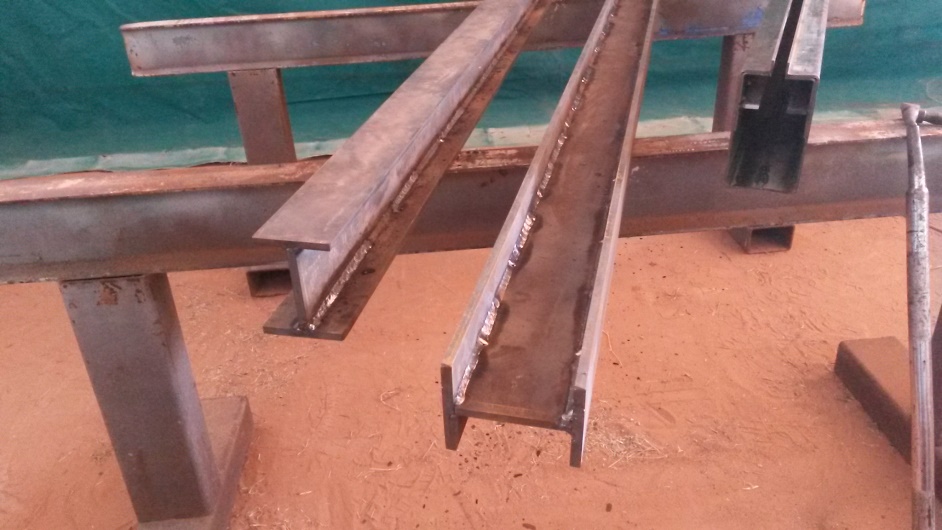
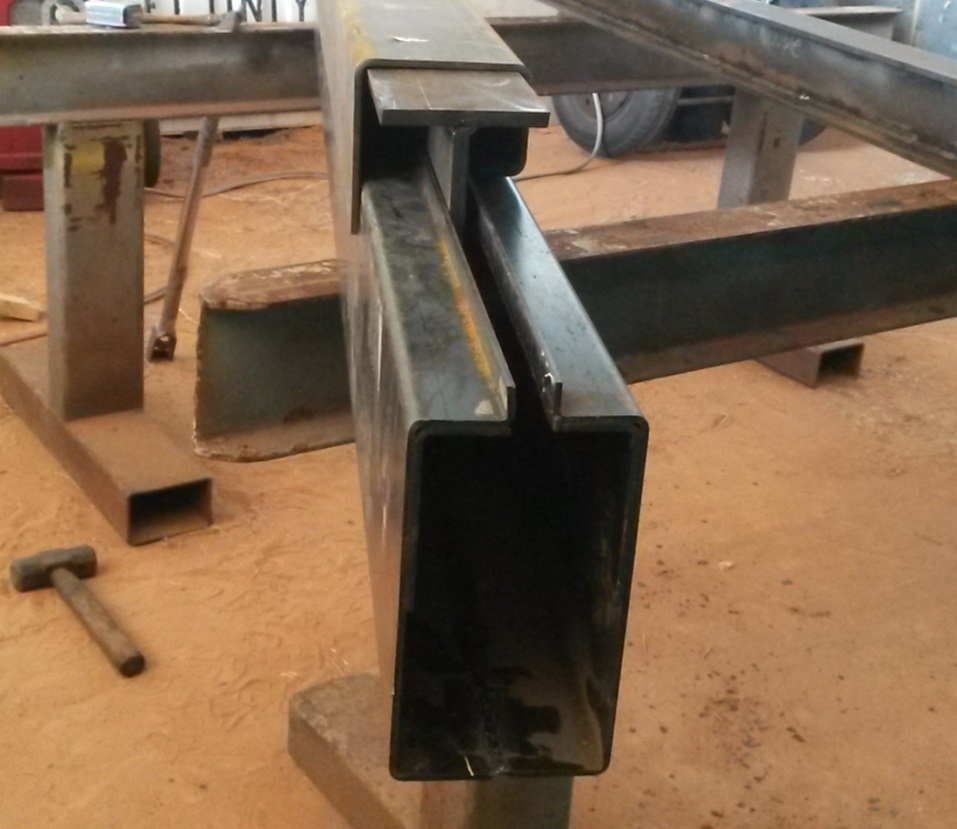
A project I am working on according to the confines of the design I need a pair of specialty "H" beams not only height but both flanges are dissimilar in widths I could possibly locate a beam suitable in height and flange thickness then I would have to mill both sides of 1 flange but the real problem was no beam mill makes beams out of high enough strength material to suit my requirements meaning I would have to up size to achieve the strength I want, or I would have to have buy fabricated beams to my specifications. This is fine as it will ultimately be cheaper for me to buy than make, but there is not enough money in the piggy bank to buy a minimum run of 1000ft. just so I could have 16 feet of beam for the proto type.
So utilizing the strong back beam of my tilt top table
https://www.homemadetools.net/homema...-welding-table
to make a fit up jig/ welding fixture.


 Reply With Quote
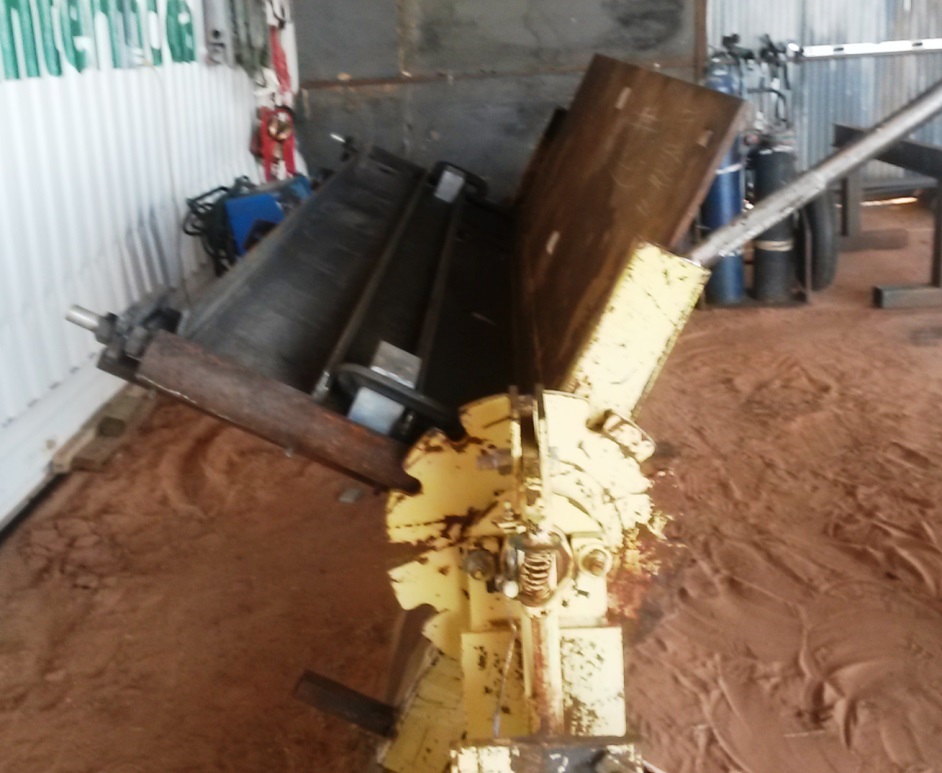


Bookmarks