Free 186 More Best Homemade Tools eBook:  
New: 300+ fresh build posts/day from 275 forums → BuildThreads.com

User Tag List

Results 1 to 5 of 5

Thread: Hub seal adapter

Threaded View

  1. #1
    Supporting Member Frank S's Avatar
    Join Date
    Aug 2015
    Location
    Peacock TX
    Posts
    12,611
    Thanks
    2,677
    Thanked 11,100 Times in 5,384 Posts

    Frank S's Tools

    Hub seal adapter

    When it comes to older equipment such as my Taylor 23,000 lb forklift many things are either no longer available or require special ordering at exorbitant prices. When ever possible I won't play their game.
    Click image for larger version. 

Name:	IMG_20220610_182807hs.jpg 
Views:	174 
Size:	301.1 KB 
ID:	43012
    Click image for larger version. 

Name:	IMG_20220610_183226hs.jpg 
Views:	149 
Size:	307.1 KB 
ID:	43013
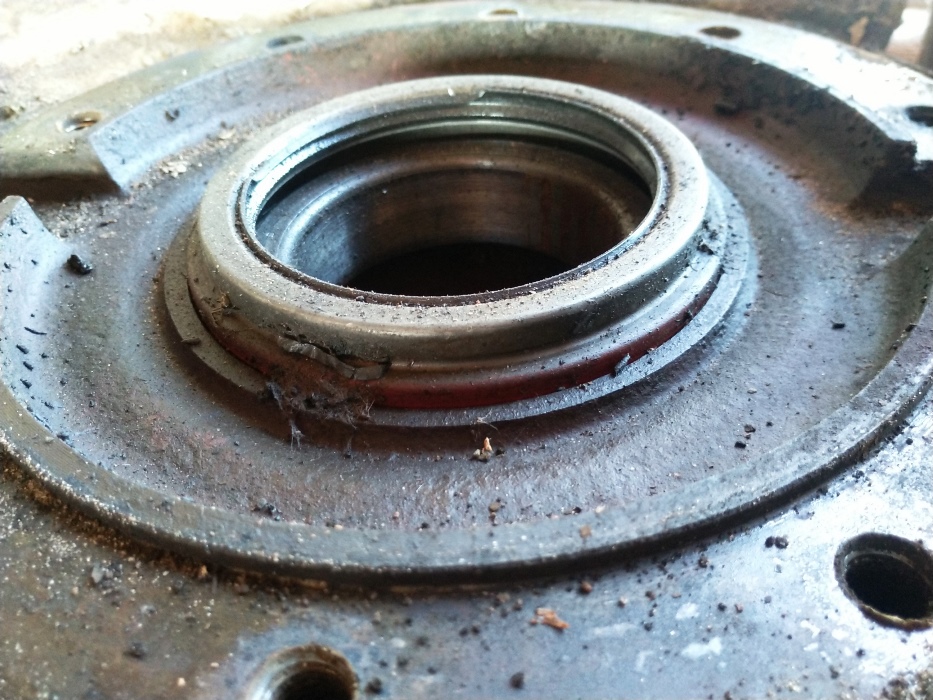
    Such is the case with the hub seal for the planetary drive axle. I found the correct seals for $200.00 apiece but they were a 12 week delivery, Yeah RIGHT! Not going to happen in Frank's world.
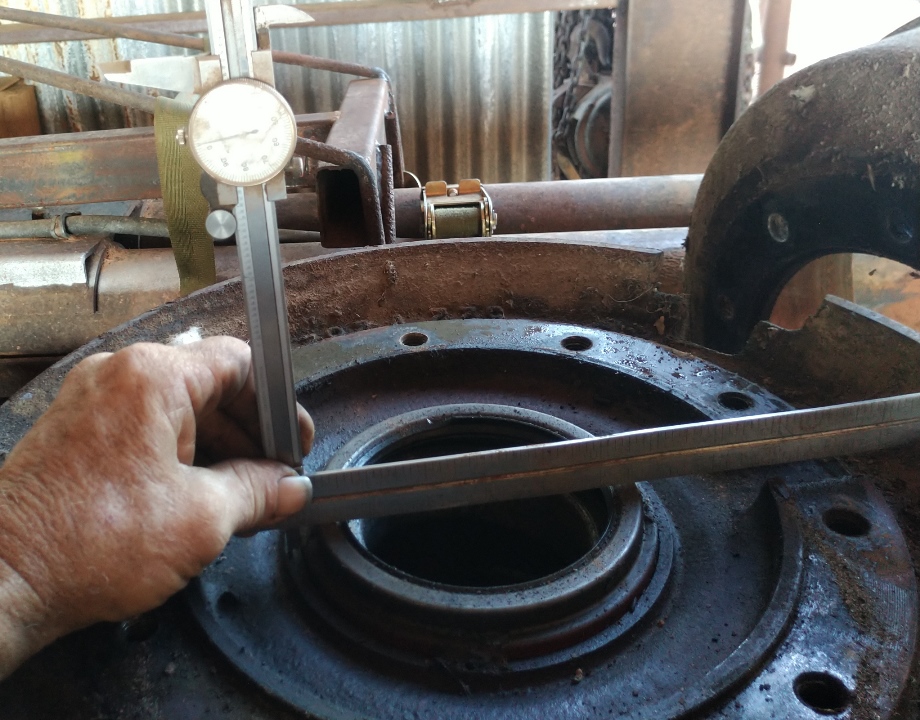
    The only thing really important is the inside diameter being correct for the spindle the height and OD can be delt with providing the OD happens to be smaller than the original.
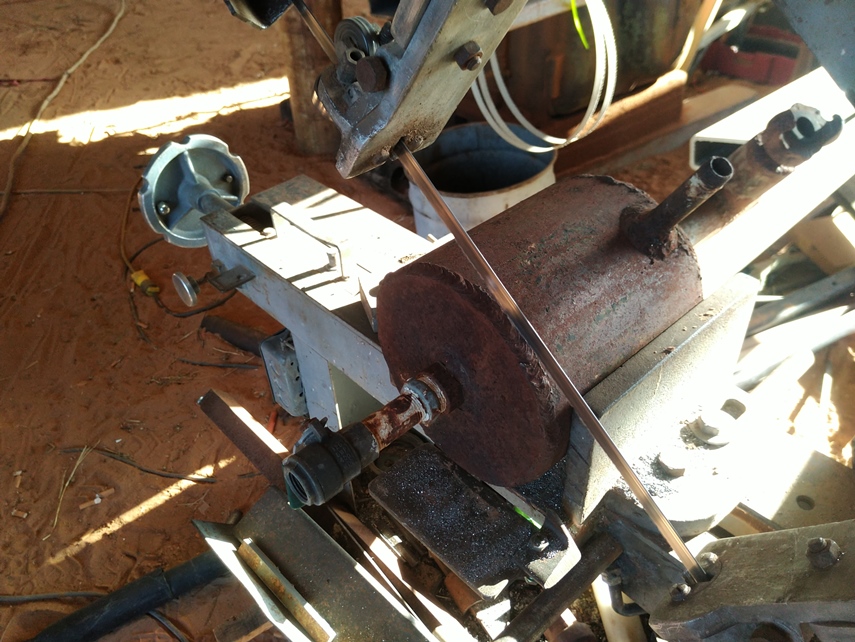
    So here is what I did I researched for double lip seals of the correct ID and came up with a pair for $15.00 apeice + $5.00 shipping It was immediately a no brainer as to what I would do next. What I needed was a cylinder with a small enough ID and a large enough OD to machine an adapter from. The only thing was I didn't have one. Next venture was to find something I could increase or reduce in size to make the adapters out of
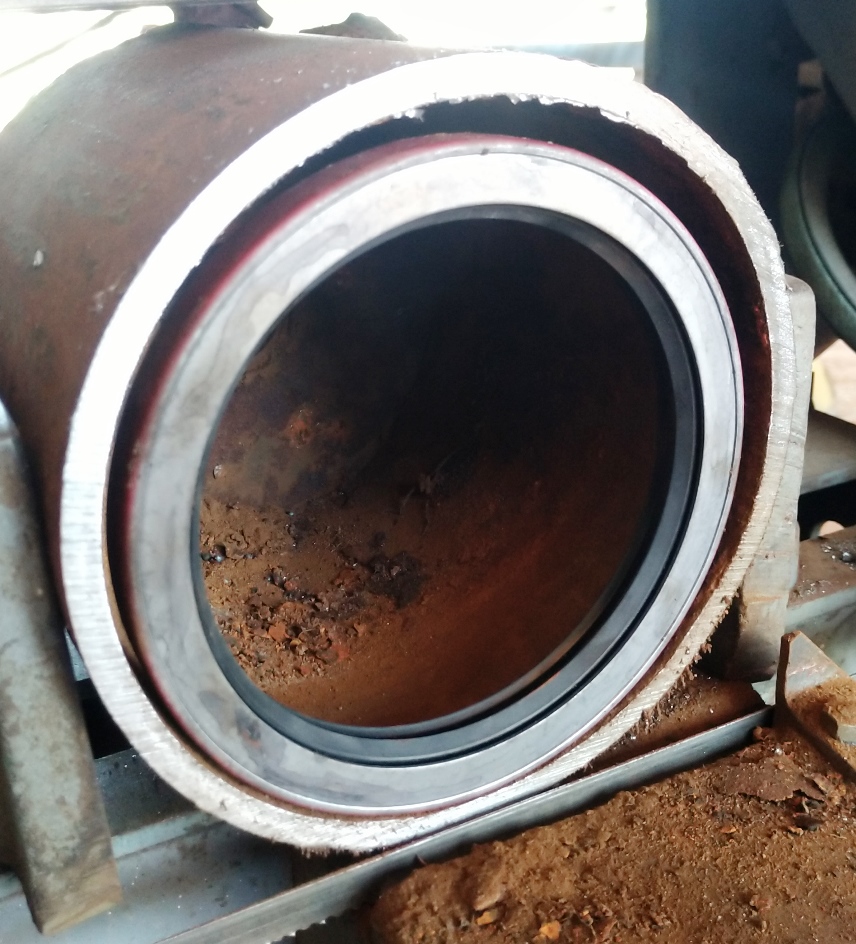
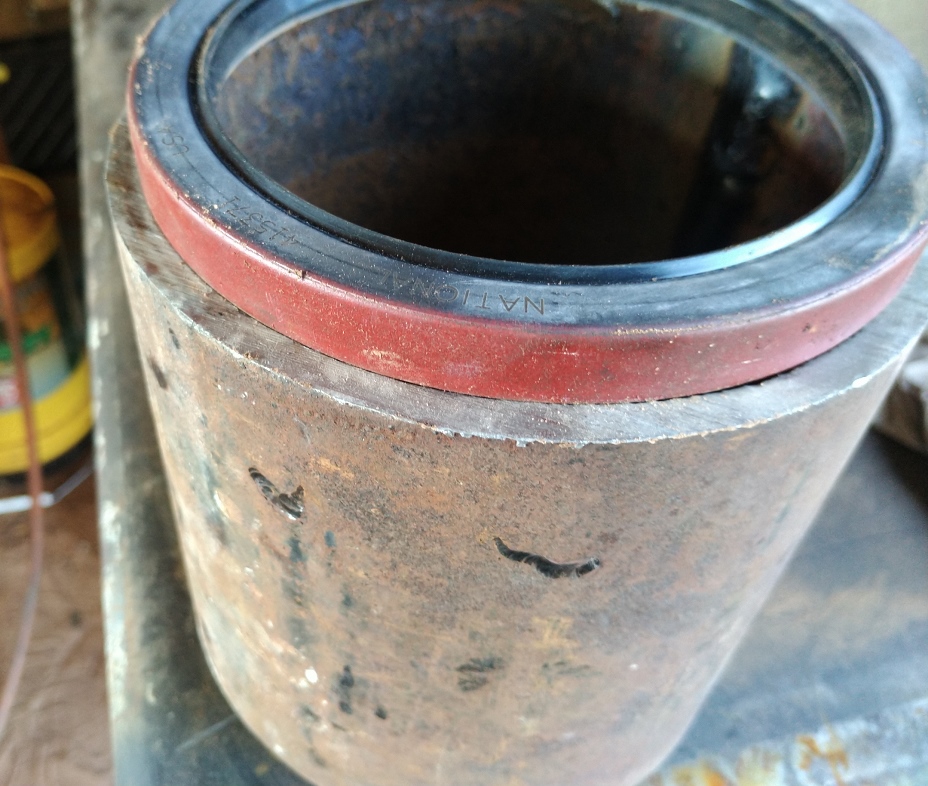
    I found this
    Click image for larger version. 

Name:	IMG_20220610_185851hs.jpg 
Views:	169 
Size:	285.8 KB 
ID:	43011
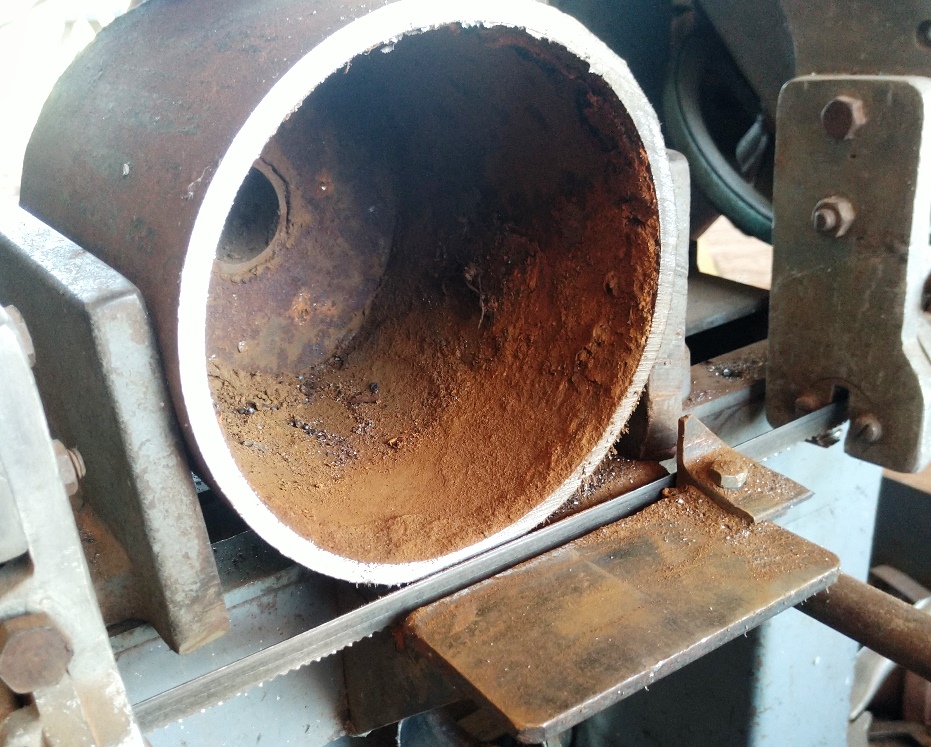
    After cutting it open this was what I had to work with
    Click image for larger version. 

Name:	IMG_20220611_120500hs.jpg 
Views:	181 
Size:	333.8 KB 
ID:	43014
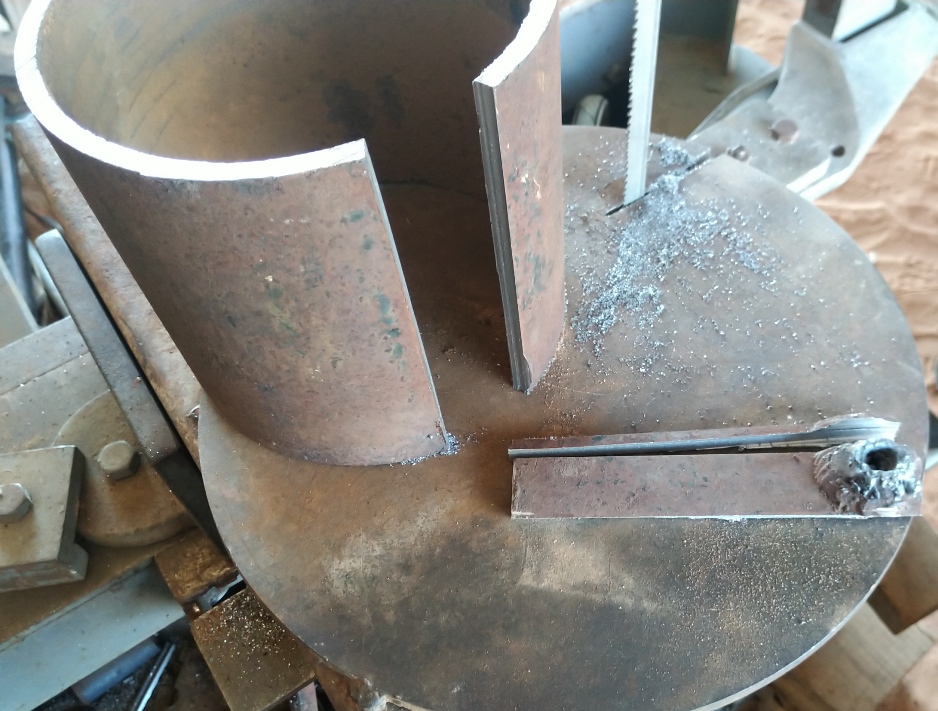
    Needs to be about 1/2" smaller ID so I can machine it out to fit the new seal
    Click image for larger version. 

Name:	IMG_20220611_120703hs.jpg 
Views:	153 
Size:	324.9 KB 
ID:	43015
    First cut was not going to be enough so cut it a second time
    Click image for larger version. 

Name:	IMG_20220611_141603hs.jpg 
Views:	157 
Size:	300.0 KB 
ID:	43016
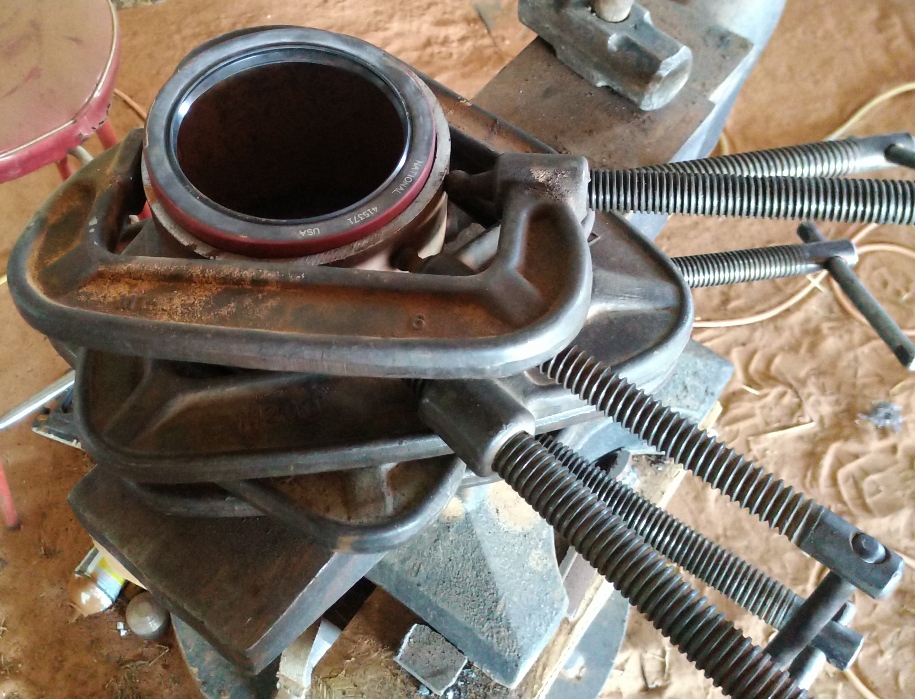
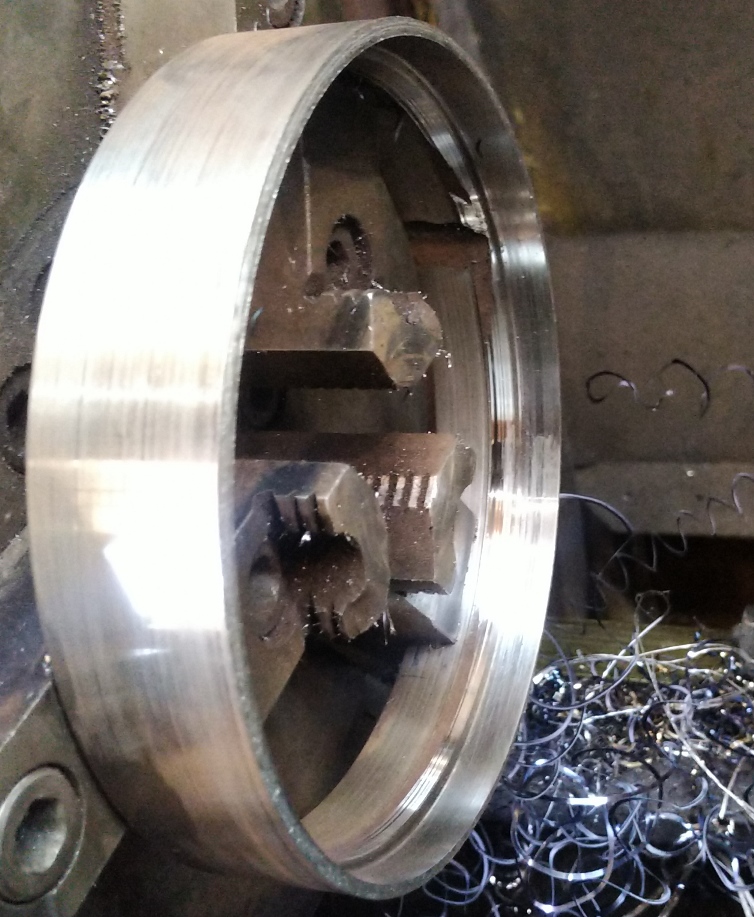
    Now to reduce the OD by clamping it down in size It is going to be close needs thicker wall thickness but it is what I have to work with hopefully I can make it cylindrical enough to require minimal machining
    Click image for larger version. 

Name:	IMG_20220611_143950hs.jpg 
Views:	169 
Size:	347.7 KB 
ID:	43017
    The OD is very close as well
    Click image for larger version. 

Name:	IMG_20220611_144002hs.jpg 
Views:	167 
Size:	307.3 KB 
ID:	43018
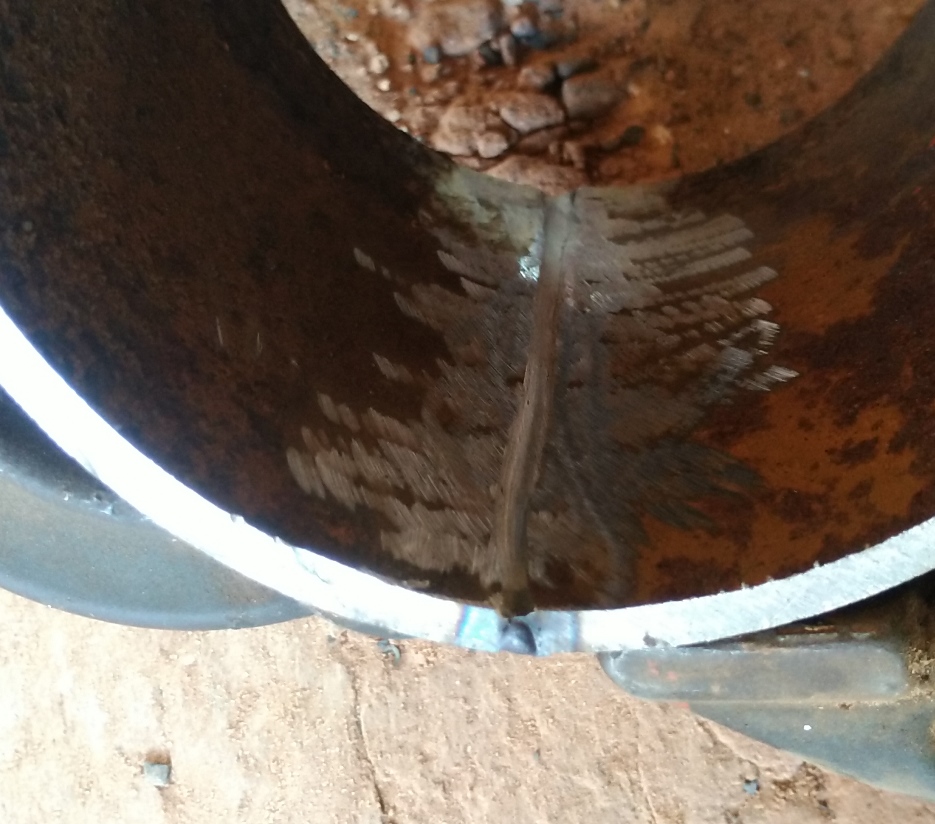
    After tack welding I ground a deep grove on the inside to weld first since it is easier to grind the outside to the root weld than welding the outside first and doing it vice versa
    Click image for larger version. 

Name:	IMG_20220611_144740hs.jpg 
Views:	178 
Size:	267.1 KB 
ID:	43019
    Now the groove in the outside ground all the way into the inside weld
    Click image for larger version. 

Name:	IMG_20220611_145253hs.jpg 
Views:	169 
Size:	367.7 KB 
ID:	43020
    the Weld
    Click image for larger version. 

Name:	IMG_20220611_145452hs.jpg 
Views:	167 
Size:	354.5 KB 
ID:	43021
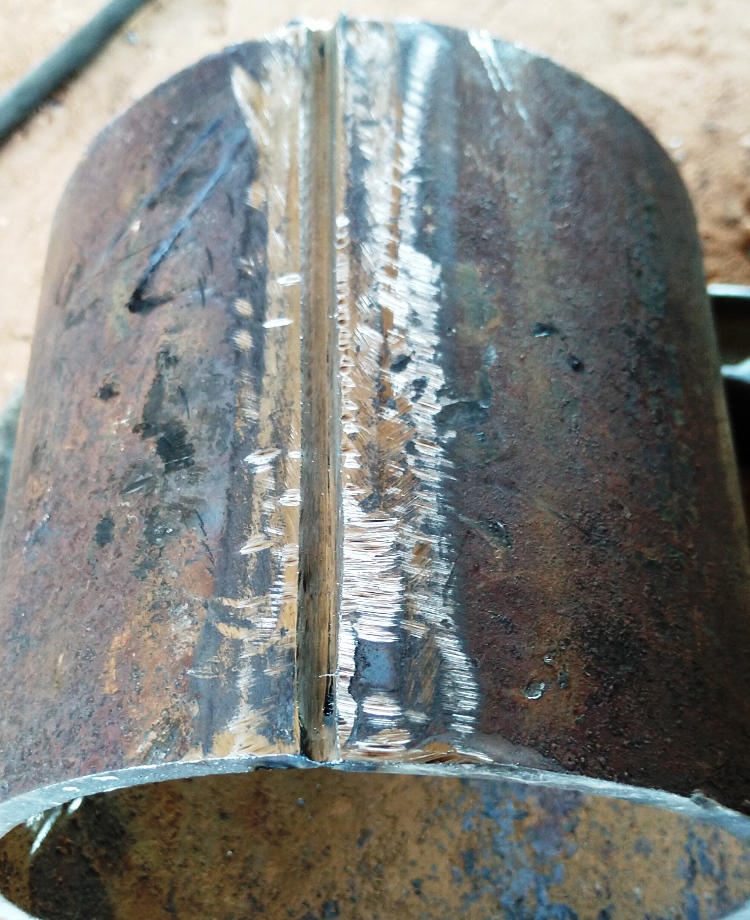
    Looks round enough or as close as it is going to get If I don't get full clean up I'll epoxy the void
    Click image for larger version. 

Name:	IMG_20220611_163315hs.jpg 
Views:	181 
Size:	309.8 KB 
ID:	43022
    It is really going to be close but crossing fingers
    Click image for larger version. 

Name:	IMG_20220611_163328hs.jpg 
Views:	169 
Size:	307.1 KB 
ID:	43023
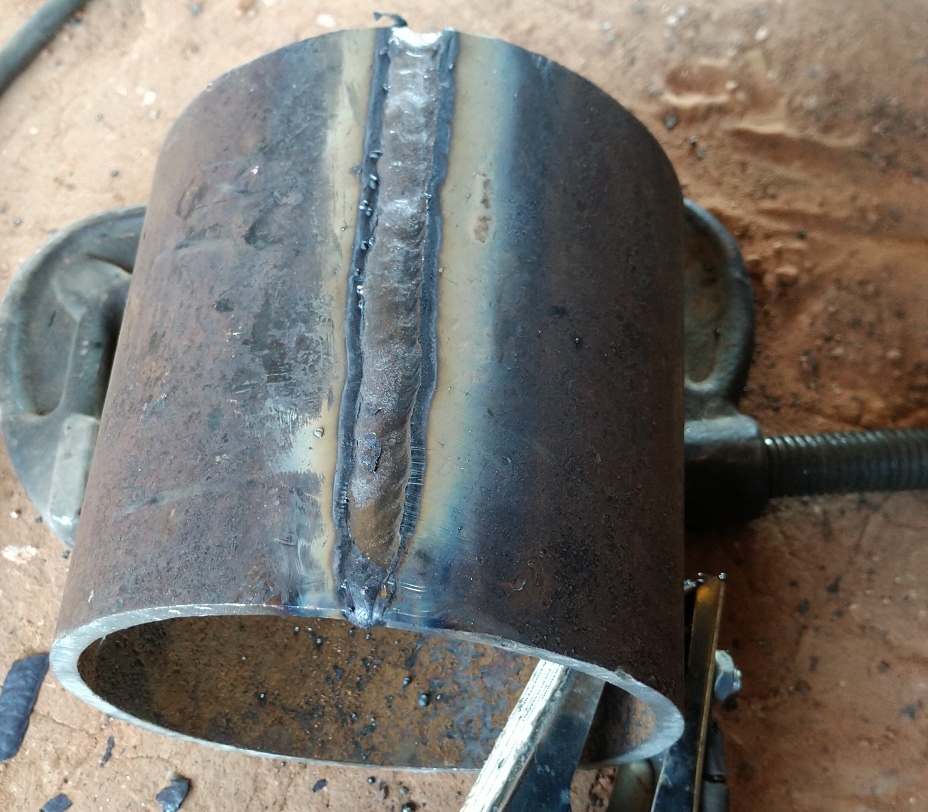
    ID done doing the OD
    Click image for larger version. 

Name:	IMG_20220611_174825hs.jpg 
Views:	172 
Size:	310.2 KB 
ID:	43024
    Now machining the opposite end for the bearing clearance
    Click image for larger version. 

Name:	IMG_20220612_105259hss.jpg 
Views:	160 
Size:	286.0 KB 
ID:	43025
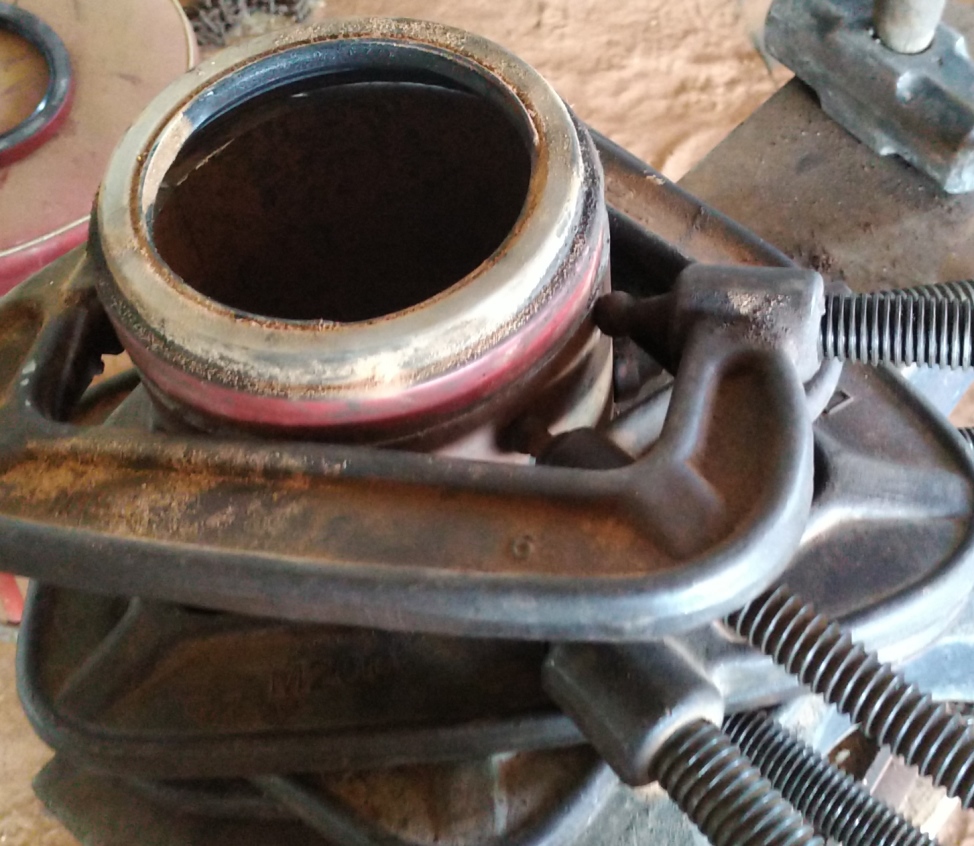
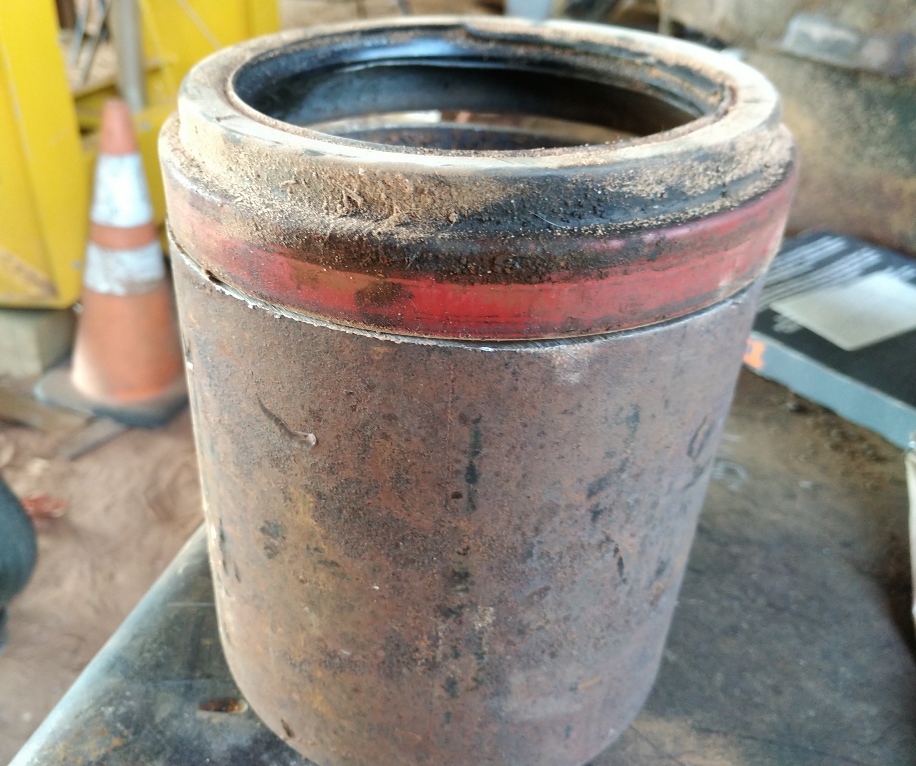
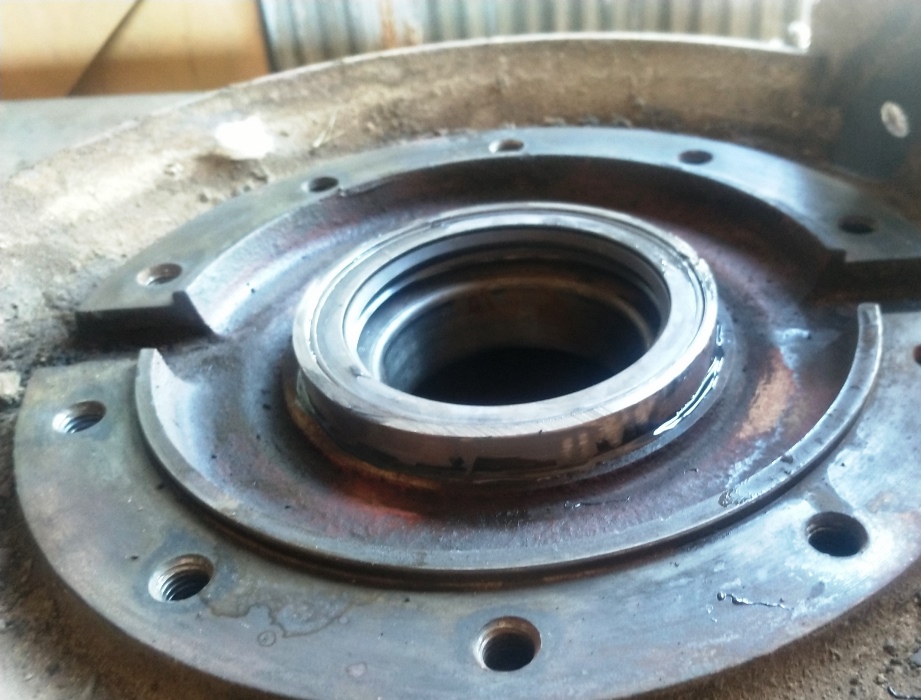
    Seal and adapter installed just a very small amount of Devon plastic steel epoxy to fill a couple small voids and insure a good tight fit
    Click image for larger version. 

Name:	IMG_20220615_154326hs.jpg 
Views:	154 
Size:	216.7 KB 
ID:	43026
    Never try to tell me it can't be done
    When I have to paint I use KBS products

  2. The Following 5 Users Say Thank You to Frank S For This Useful Post:

    baja (Jun 17, 2022), Jon (Jun 16, 2022), katy (Jun 17, 2022), KustomsbyKent (Jun 16, 2022), metric_taper (Jun 16, 2022)

Thread Information

Users Browsing this Thread

There are currently 1 users browsing this thread. (0 members and 1 guests)

Bookmarks

Posting Permissions

  • You may not post new threads
  • You may not post replies
  • You may not post attachments
  • You may not edit your posts
  •