
 LinkBack URL
 About LinkBacks


There have been some recent posts here about bandsaws and bandsaw wheels. This is quite topical for me as I am making a bandsaw in spare moments. Accordingly I thought that it might be of interest to post how I made my wheels.
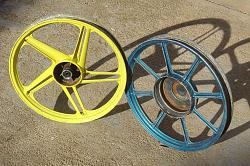
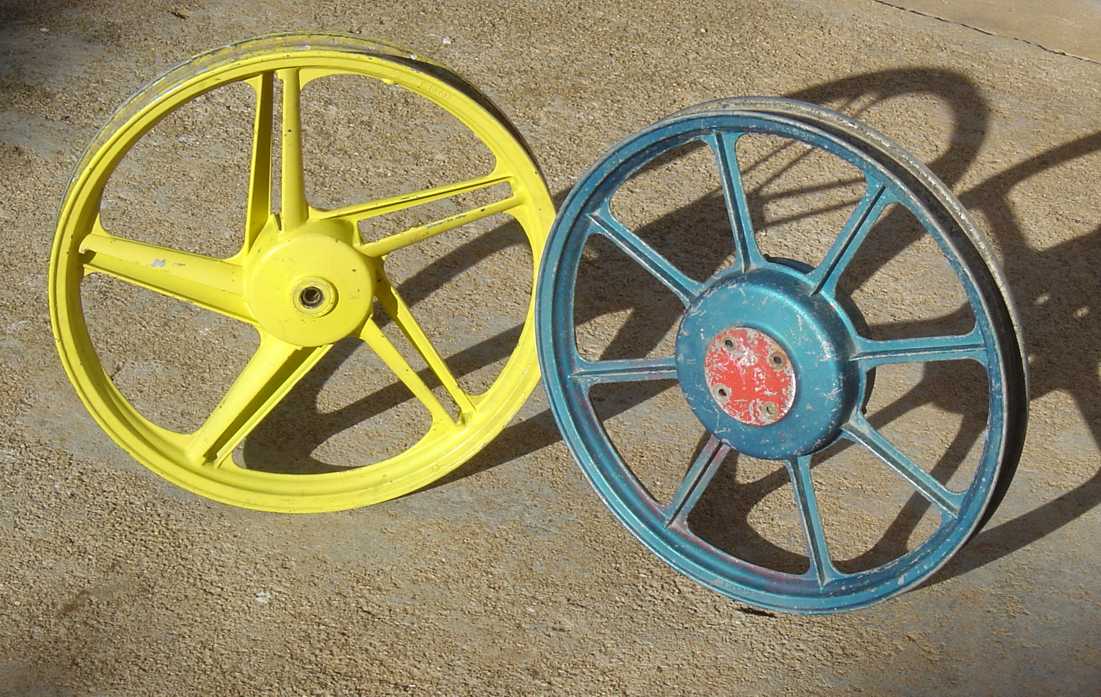
I wanted a bandsaw with a throat of around 16" and I thought that wheels from a moped might be a good starting point and i found a couple at a local Saturday flea market. They were from different mopeds but one was a front wheel with bearings and brake. The other was a rear wheel without bearings for a single sided mounting.
Click thumbnails for full size view.
The yellow wheel was a front with bearings, the blue was a single sided rear without bearings.
Firstly I was disappointed with the absence of bearings in the rear, thinking that I would have to make a bolt-in bearing housing. However as we'll see, it worked out really well.
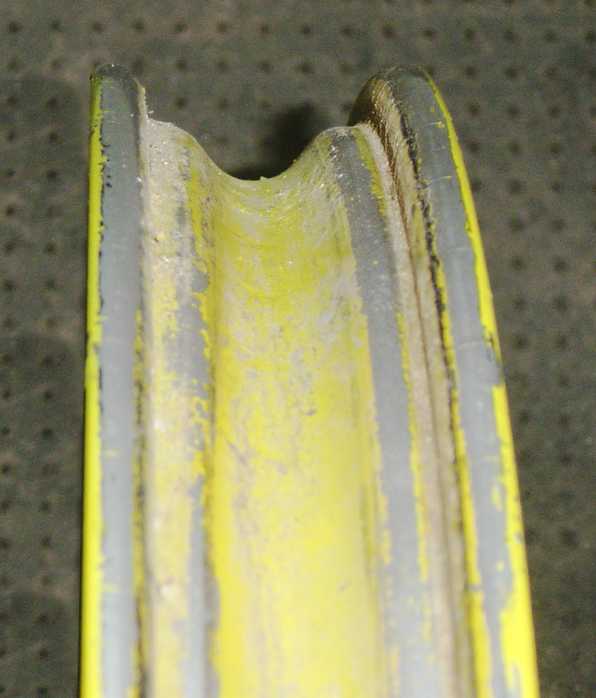
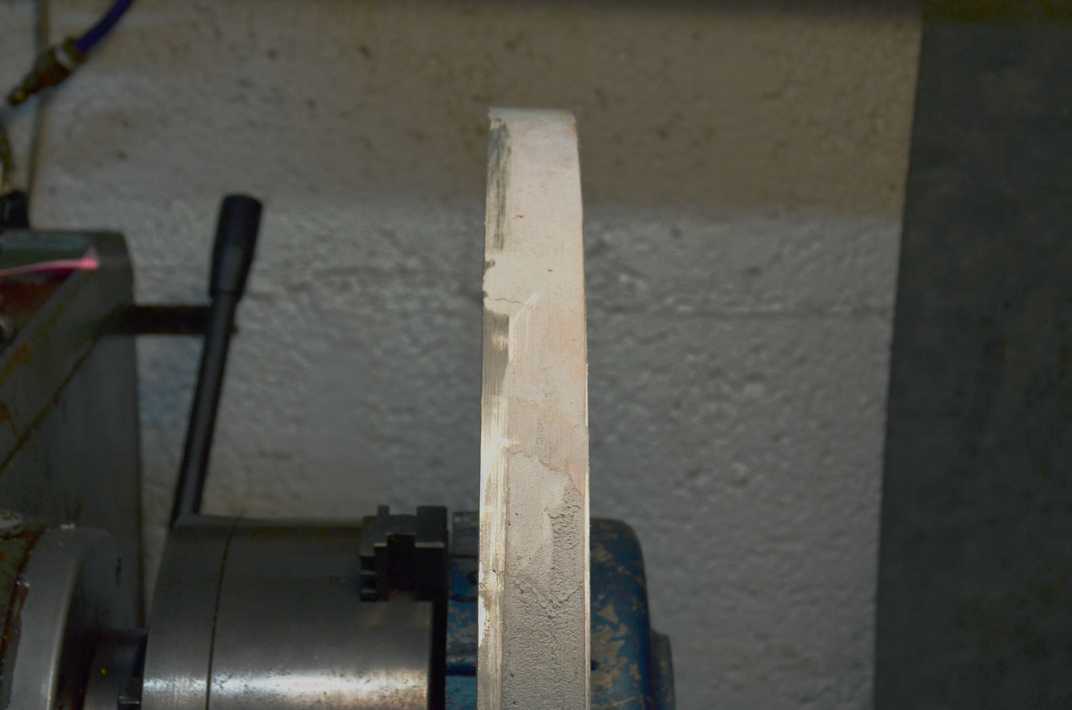
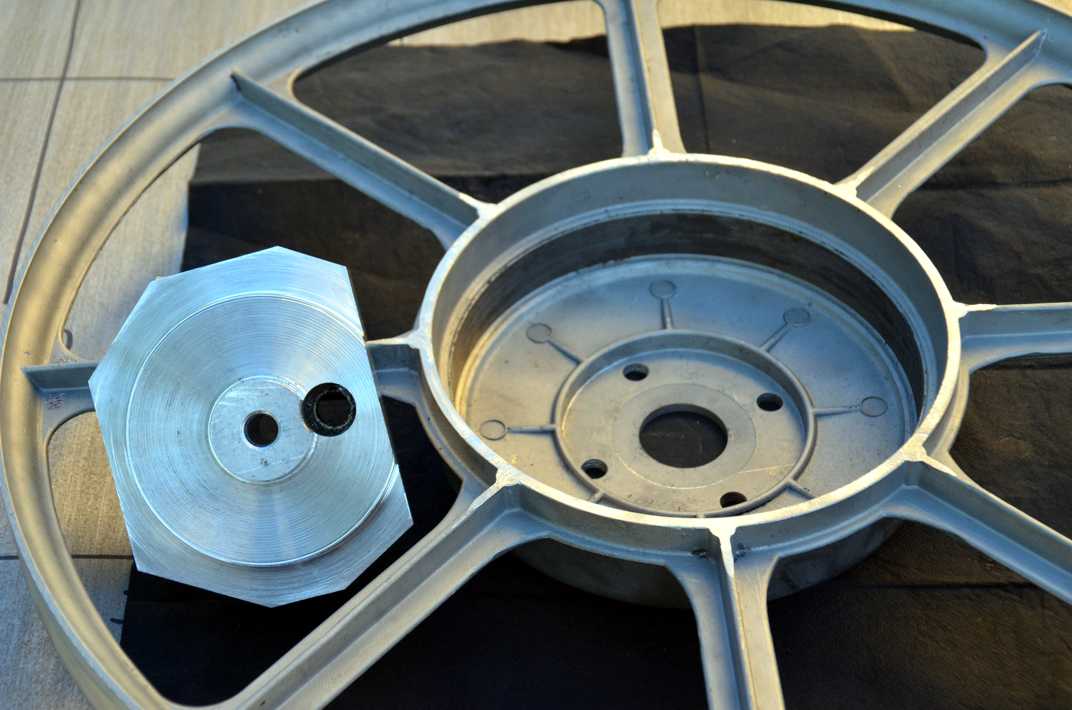
From the beginning I knew that the rim shape was not suitable as the surface for the saw blade to run on but I thought that it would be easy enough to fill the well with polyester car body filler. It is easy to apply, sets hard, easy to machine and adheres to metal very well. With a rubber belt glued on it would be protected from the saw blade teeth. Most ot the outer rim would need to be machined away. I am planning on running 1/2" wide blades and so a final rim width of a bit over double that seemed about right. I knew that holding the wheels near the centre would result in chatter on the rim when turning so to reduce the amount of turning I used my little 55 year old Burgess bandsaw to cut off as much of the surplus rim as possible. In the 1970s I had a business making cast wheels for motorcycles and so I was aware of the machining requirements. Back then I had mounting fixtures which held the wheels by the inside of the rim to prevent chatter but to repeat similar fixturing for these two wheels would have been way too much work.

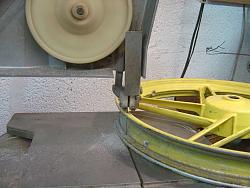
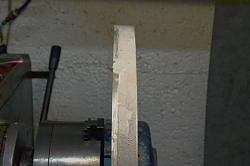
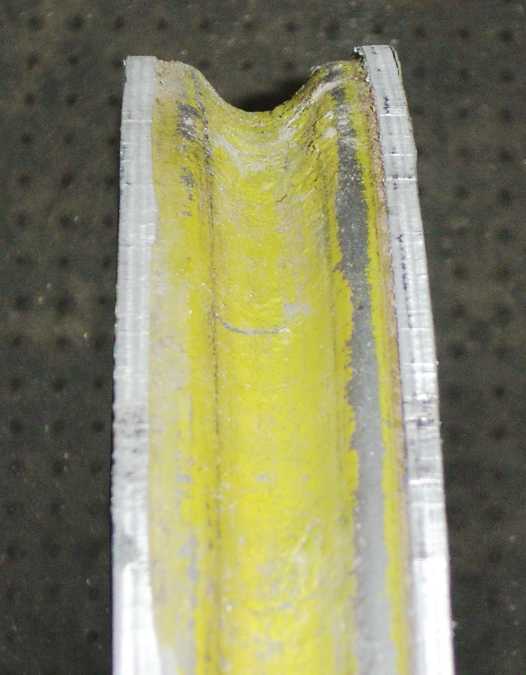
On the left; is the original rim shape, centre; shows sawing the outer rim off, right; the cut down rim section.
After sawing, the major part of the machining was to narrow the rims. Chatter on the sides would only be a cosmetic issue and I decided to call it knurling. Only minimal machining was needed to true the outer diameter. I used paint stripper and finished with bead blasting to clean them up, with particular attention to the rim well to ensure a good surface for the filler.
On the left is the lower wheel after filling, to the right is the top wheel after machining the crowned surface.
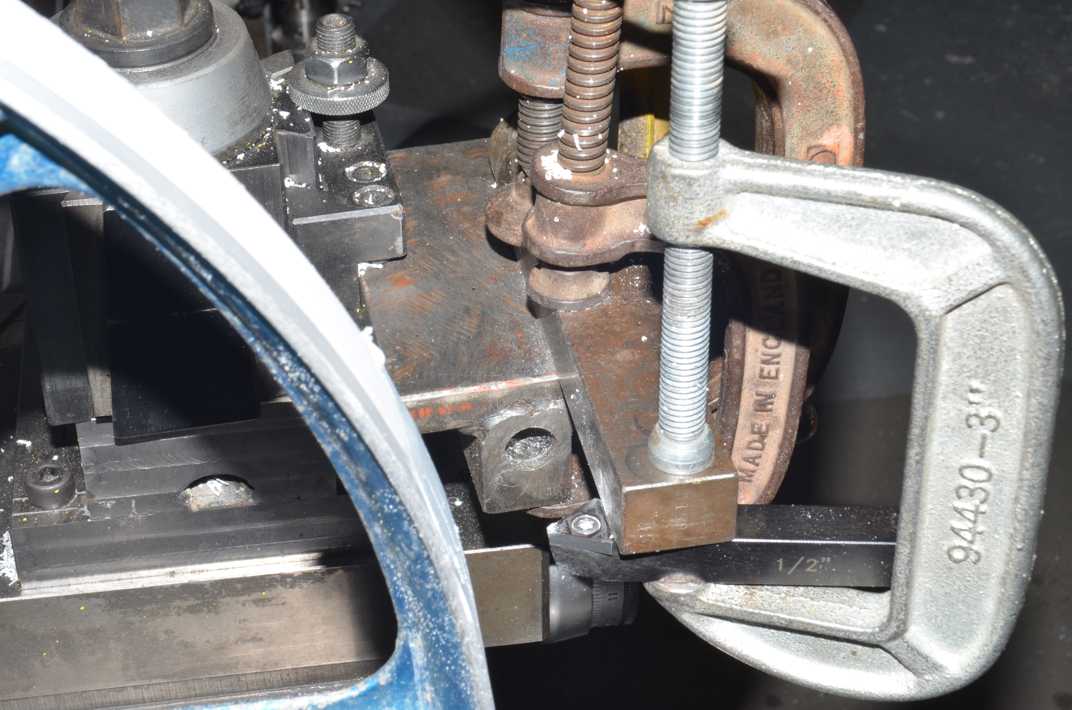
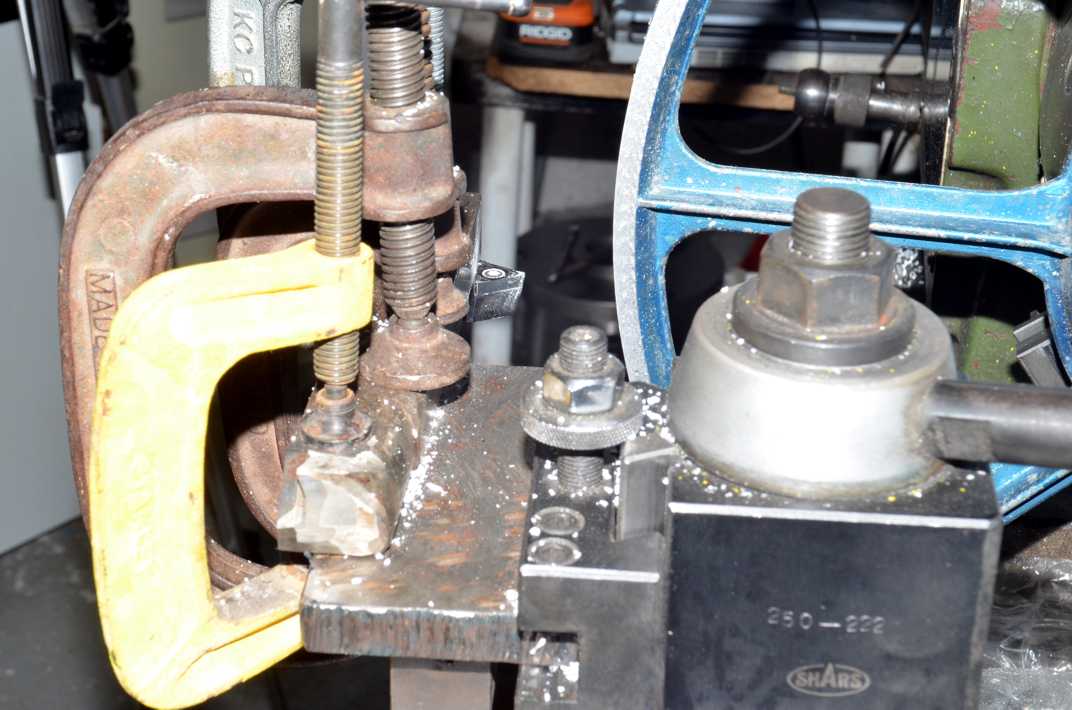
Back in the 70s I had lathes big enough to swing wheels over the bed but those days are past and fortunately my current lathe has a gap bed, so for the first time since new I removed the gap to be able to swing the wheels. I jury rigged a tool holder extension to fit out around the rim, as shown in the following.
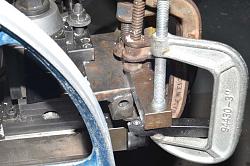
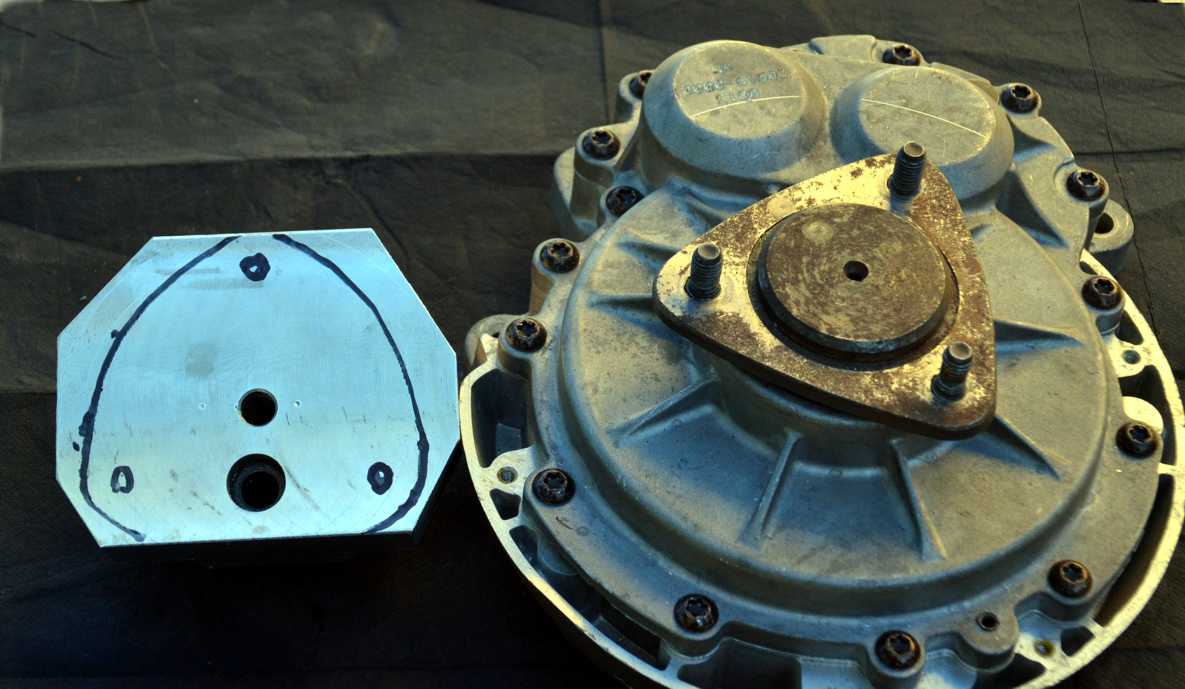
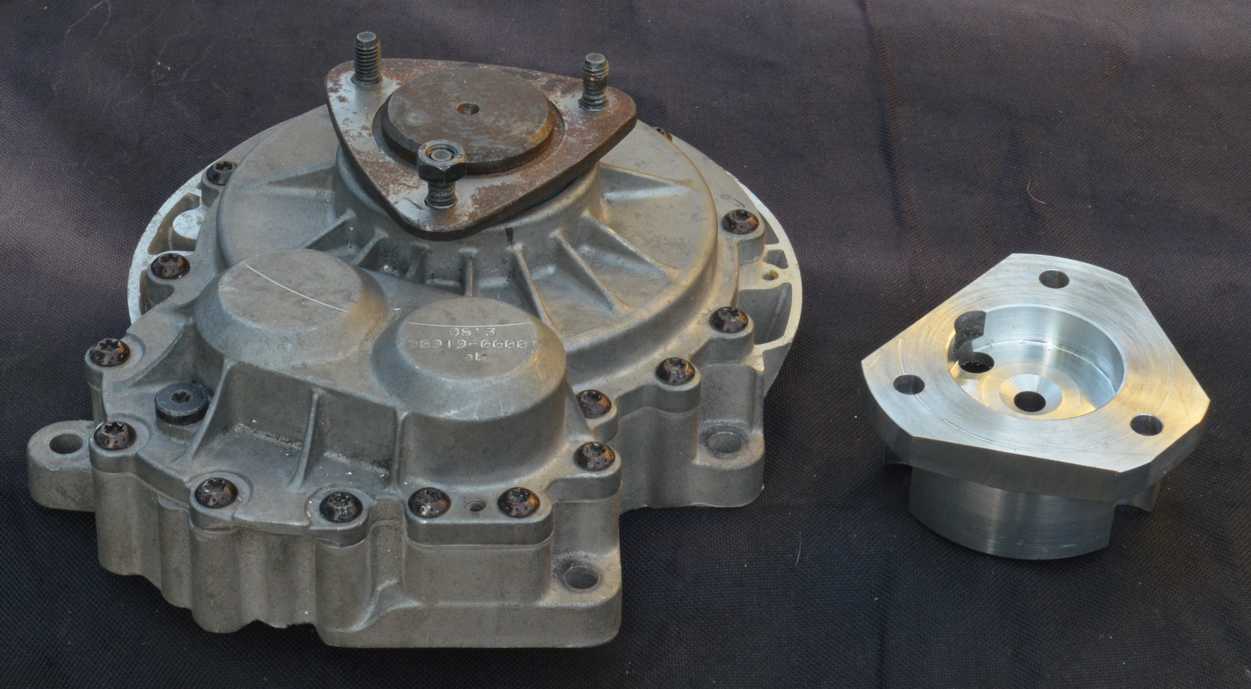
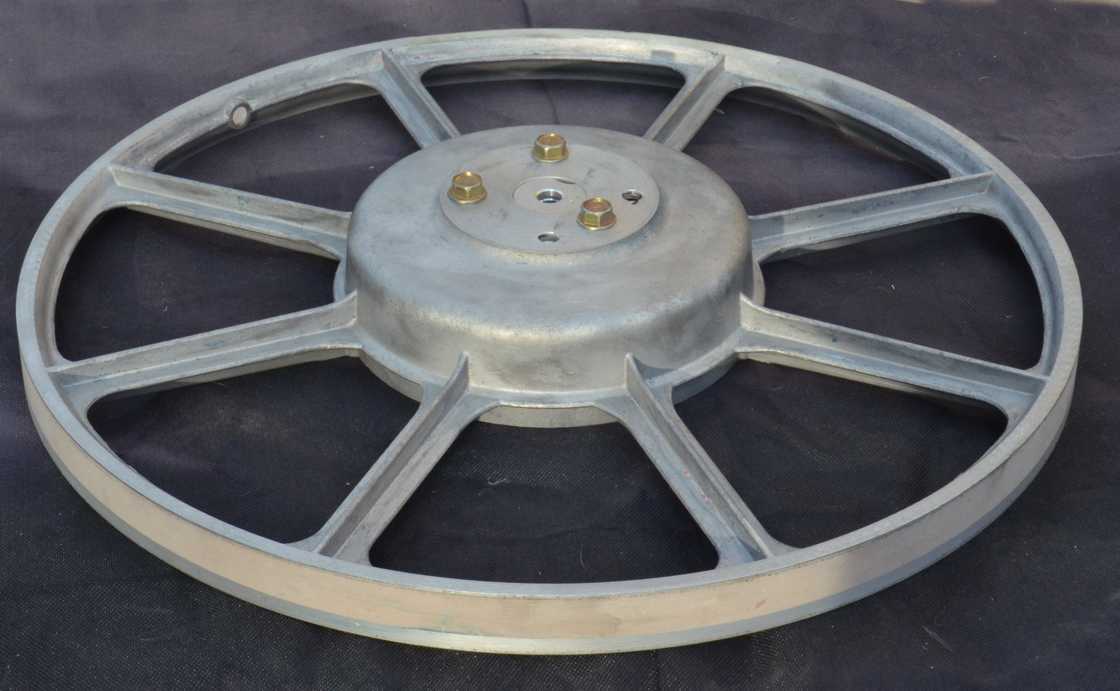
I had a 25:1 gearbox which looked to be a good way to get the blade speeds suitable for metal cutting, the output of which was a flange with 3 studs. After offering up the rear wheel it became obvious that I only needed to make a spacer to fit the wheel onto the gearbox, no need to make a bearing carrier after all.

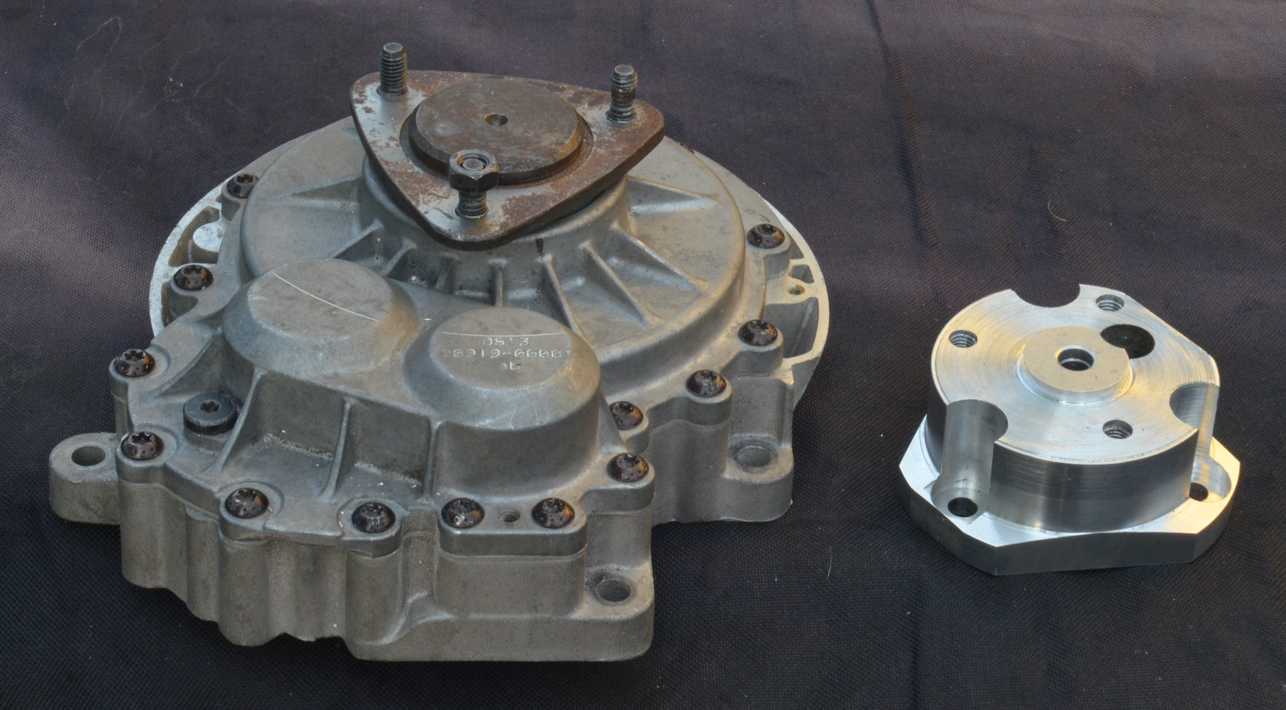
Both sides of the unfinished spacer. The non-central hole and piece missing from one side is just something that was in the block out of the scrap box. Note the register in the centre of the wheel.

Finished spacer.

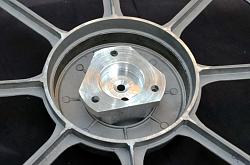
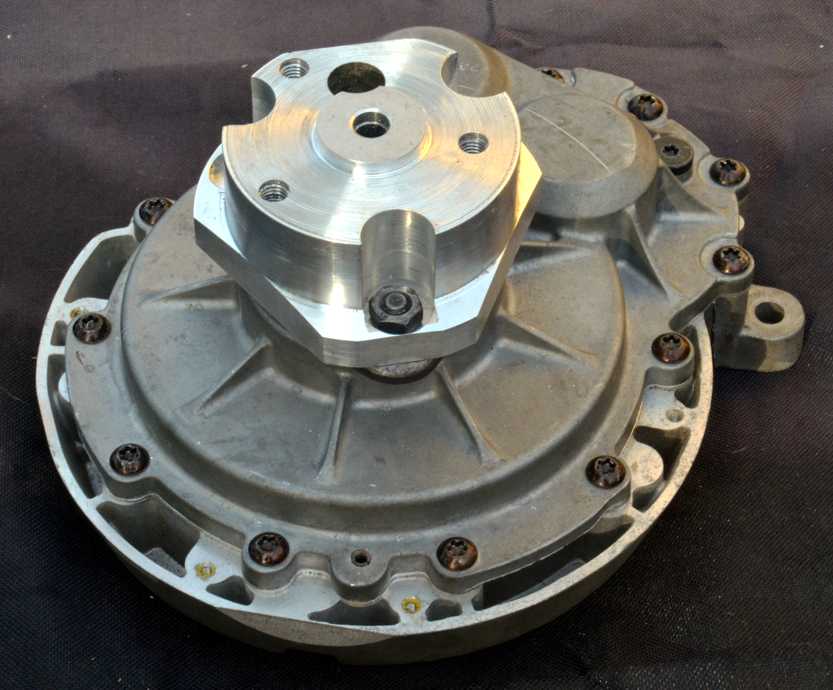
Spacer fitted to gearbox and wheel.
When I get a moment I'll elaborate some more on the rest of the bandsaw.


 Reply With Quote

Bookmarks