
 LinkBack URL
 About LinkBacks


If patterns and moulds are considered as tools then this is in the right place.
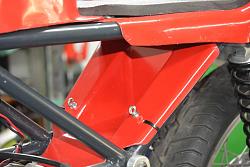
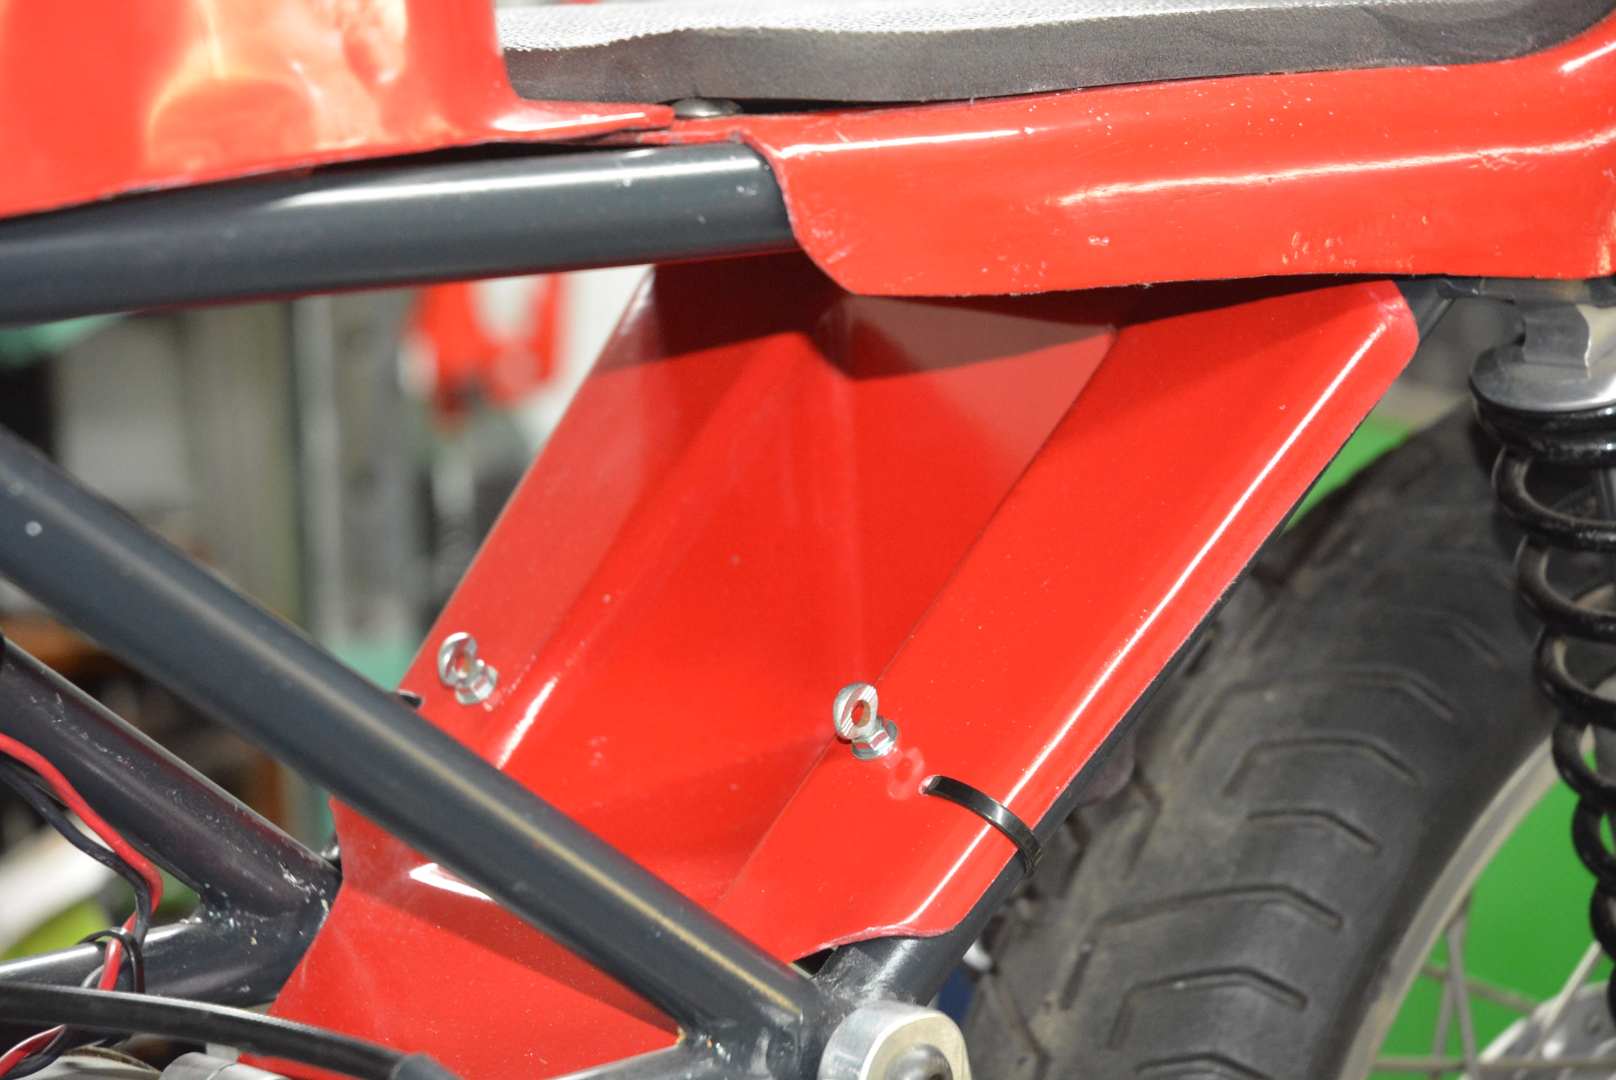
I wanted to make a combined battery box and rear mudguard for my race motorcycle.
Click for full size.
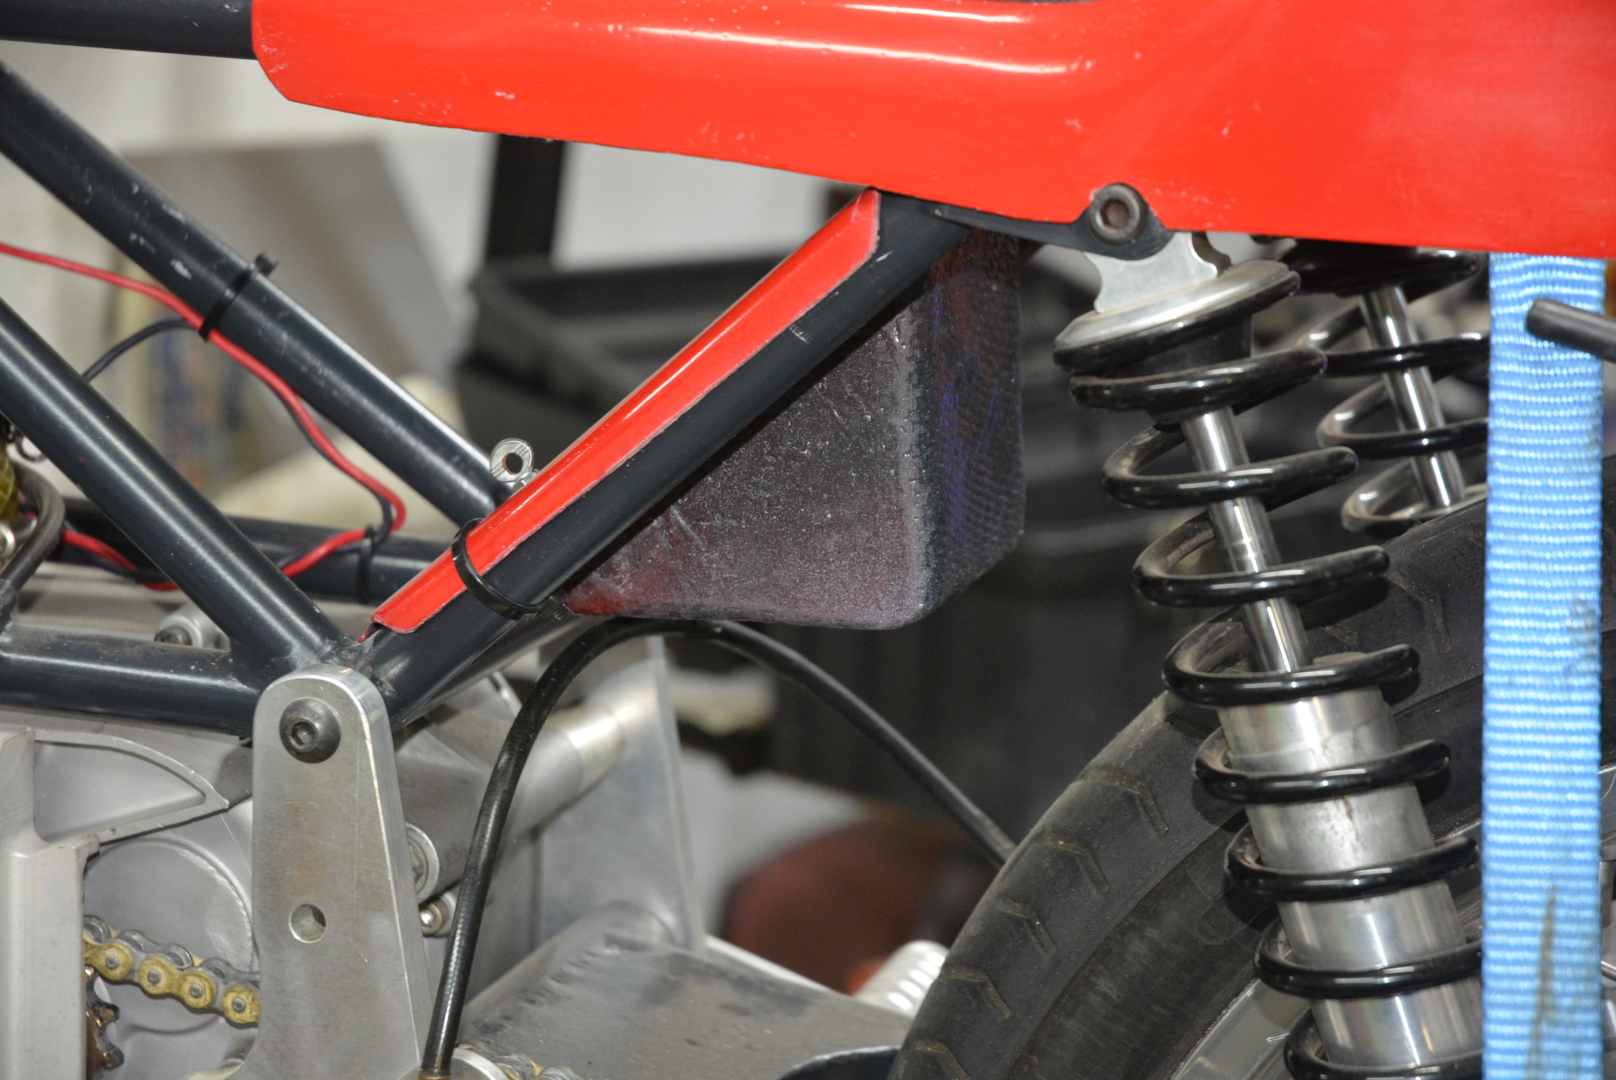
Composite work can be a real rabbit hole, especially if you are chasing a good finish. The battery box was relatively easy. Firstly I made a sheet metal version to fit the bike.
The rough joins between the box and the flat surface, and any holes were filled and rounded off with special wax, just like real pattern makers for castings. The above picture is after the mould was made and there is no wax, it lifted away with the mould. The resin releases very easily off parcel tape so I covered most of the flat area with it to smooth out surface imperfections. The box part had a slight draft to let the mould release. My spot welder, described in an older post, was used to glue it together.
The mould after cleaning up and polishing. On the mould you get a second chance to smooth surface defects and make any other adjustments. In this case I wanted to change the level of part of the top section to give a little more clearance for a frame cross tube. I added a piece of 2 mm polypropylene which gave a flat finish at a raised level. That is the black piece, riveted to the mould underneath. The rivets were outside of the required area. Some run off areas had been added to the pattern, they were made from cardboard held in place and covered with parcel tape. You use what you have. I also put parcel tape on the run off areas on the mould, just for some smoothing. The scribed lines show through on the finished moulding as cut lines, derived from the metal pattern.
At the most maybe I will need to make another one or two pieces from this mould, but if I planned on more then there would be more work. I would make a piece from this mould as another pattern , then I would fix any imperfections, leave the run off areas and then make the production mould from that.
Then I could make the actual piece, cut it to size and sand it down (a third chance to fix surface imperfections) to take the paint. The mould was polished, which helps with the part releasing and that polished finish transfers to the part, but a polished surface is not the best to take paint. hence the need for sanding. Only then is it ready to fit. I made it to have the smooth side on the front and the rough side facing the wheel and whatever muck that throws at it. It came out pretty well considering the small time that I spent on the pattern and mould. A small rabbit hole this time, but still a rabbit hole.
P.S. I normally wax and polish a pattern and new mould with about 5 or 6 layers leaving each to dry before the next and then apply a PVA or chemical release agent over that. I was in a bit of a hurry to finish this so I took a chance and just used a thick layer of PVA. You cannot use multiple layers because each new layer will tear up the one below it. I was a bit worried about the mould releasing easily from the box area and I was prepared to destroy the pattern if necessary to get the mould off. To my delight the mould released with no problem and so I used a single layer of PVA release agent on the mould and the part also released easily from that.


 Reply With Quote


Bookmarks