-
5 Attachment(s)
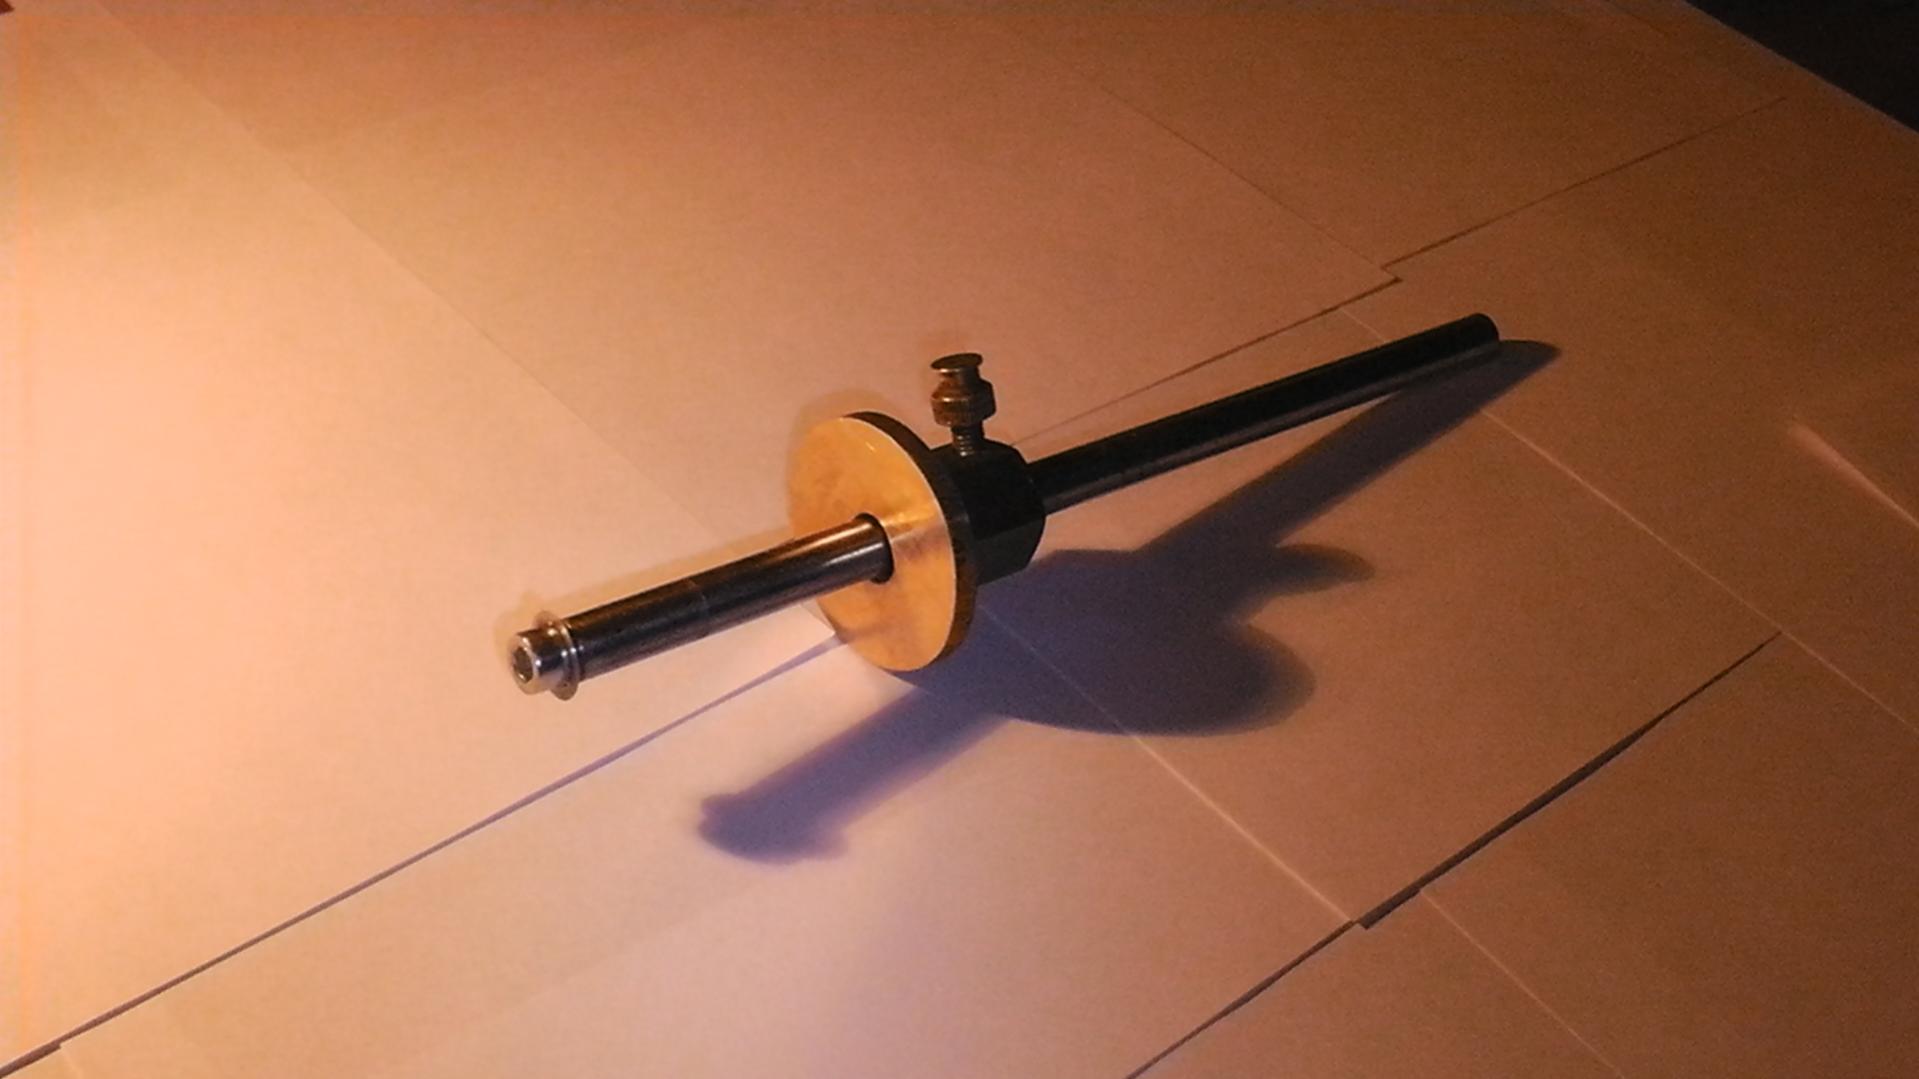
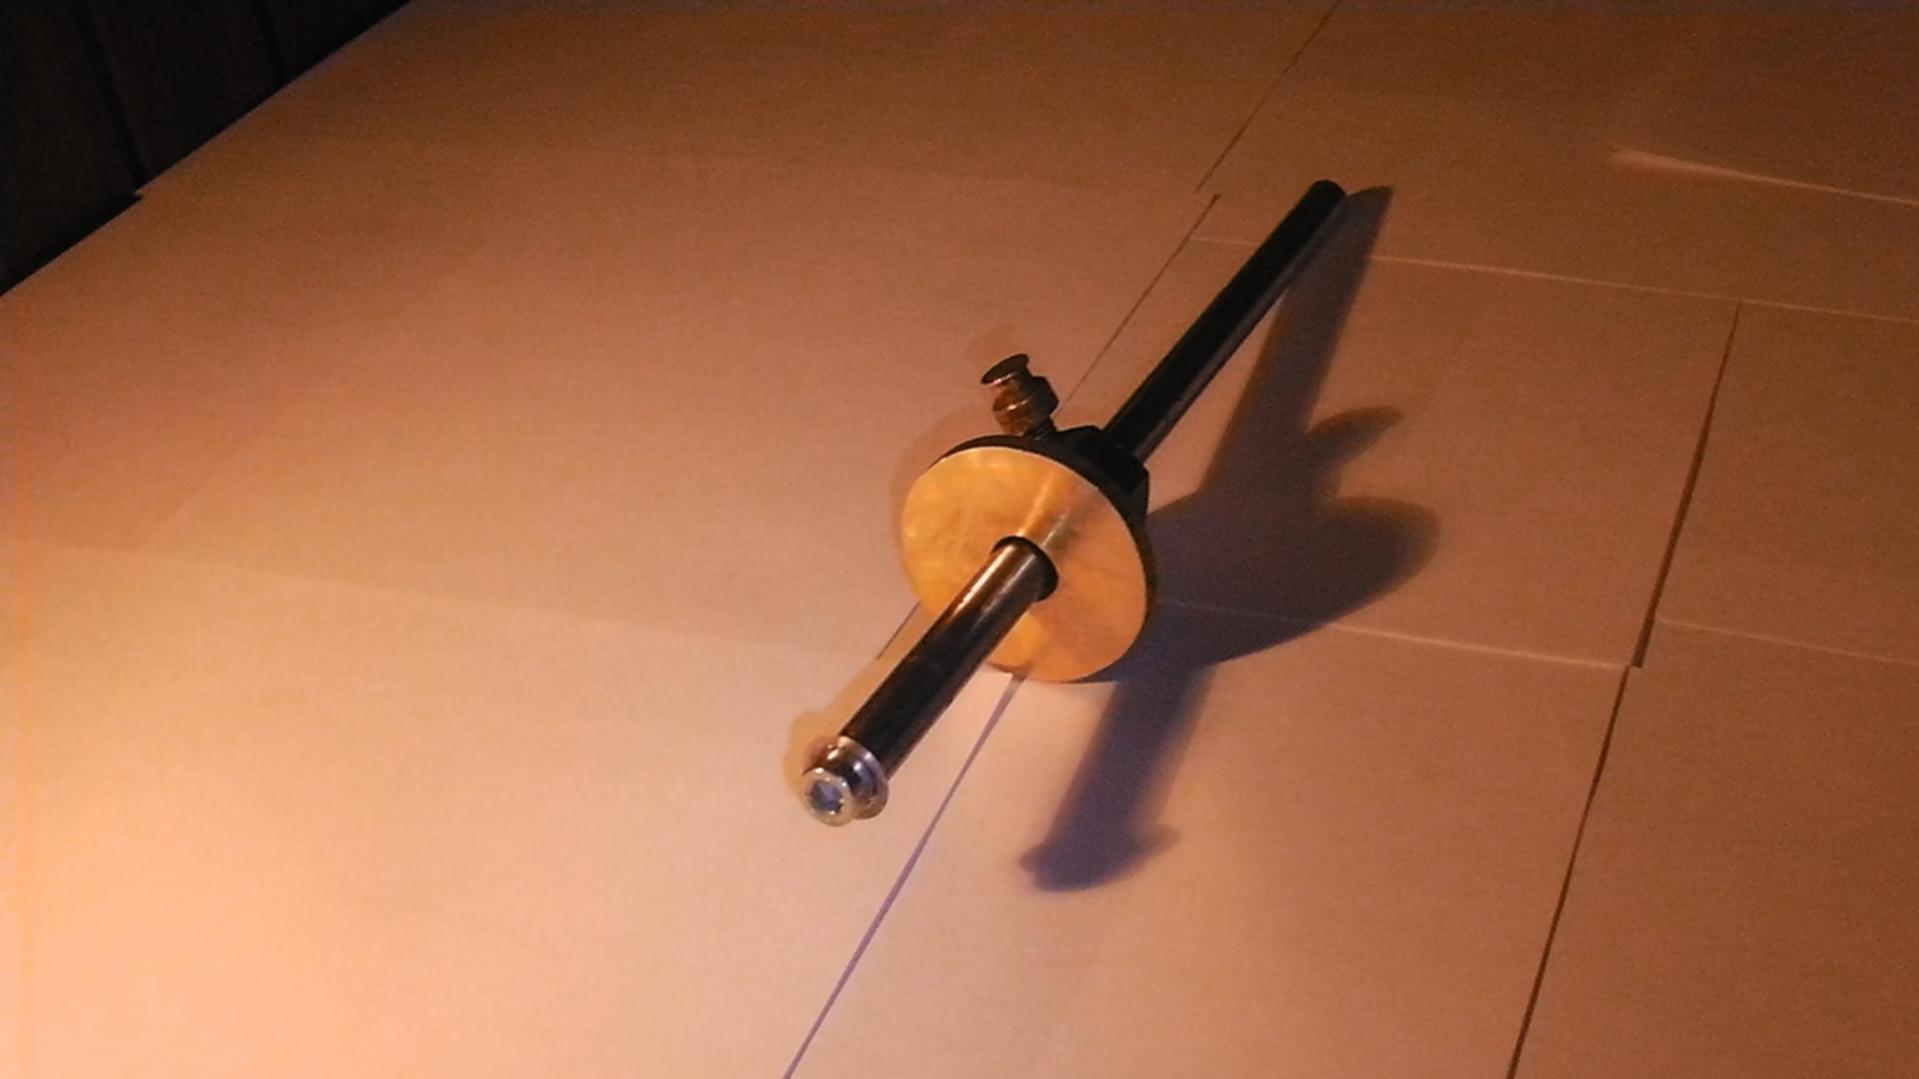
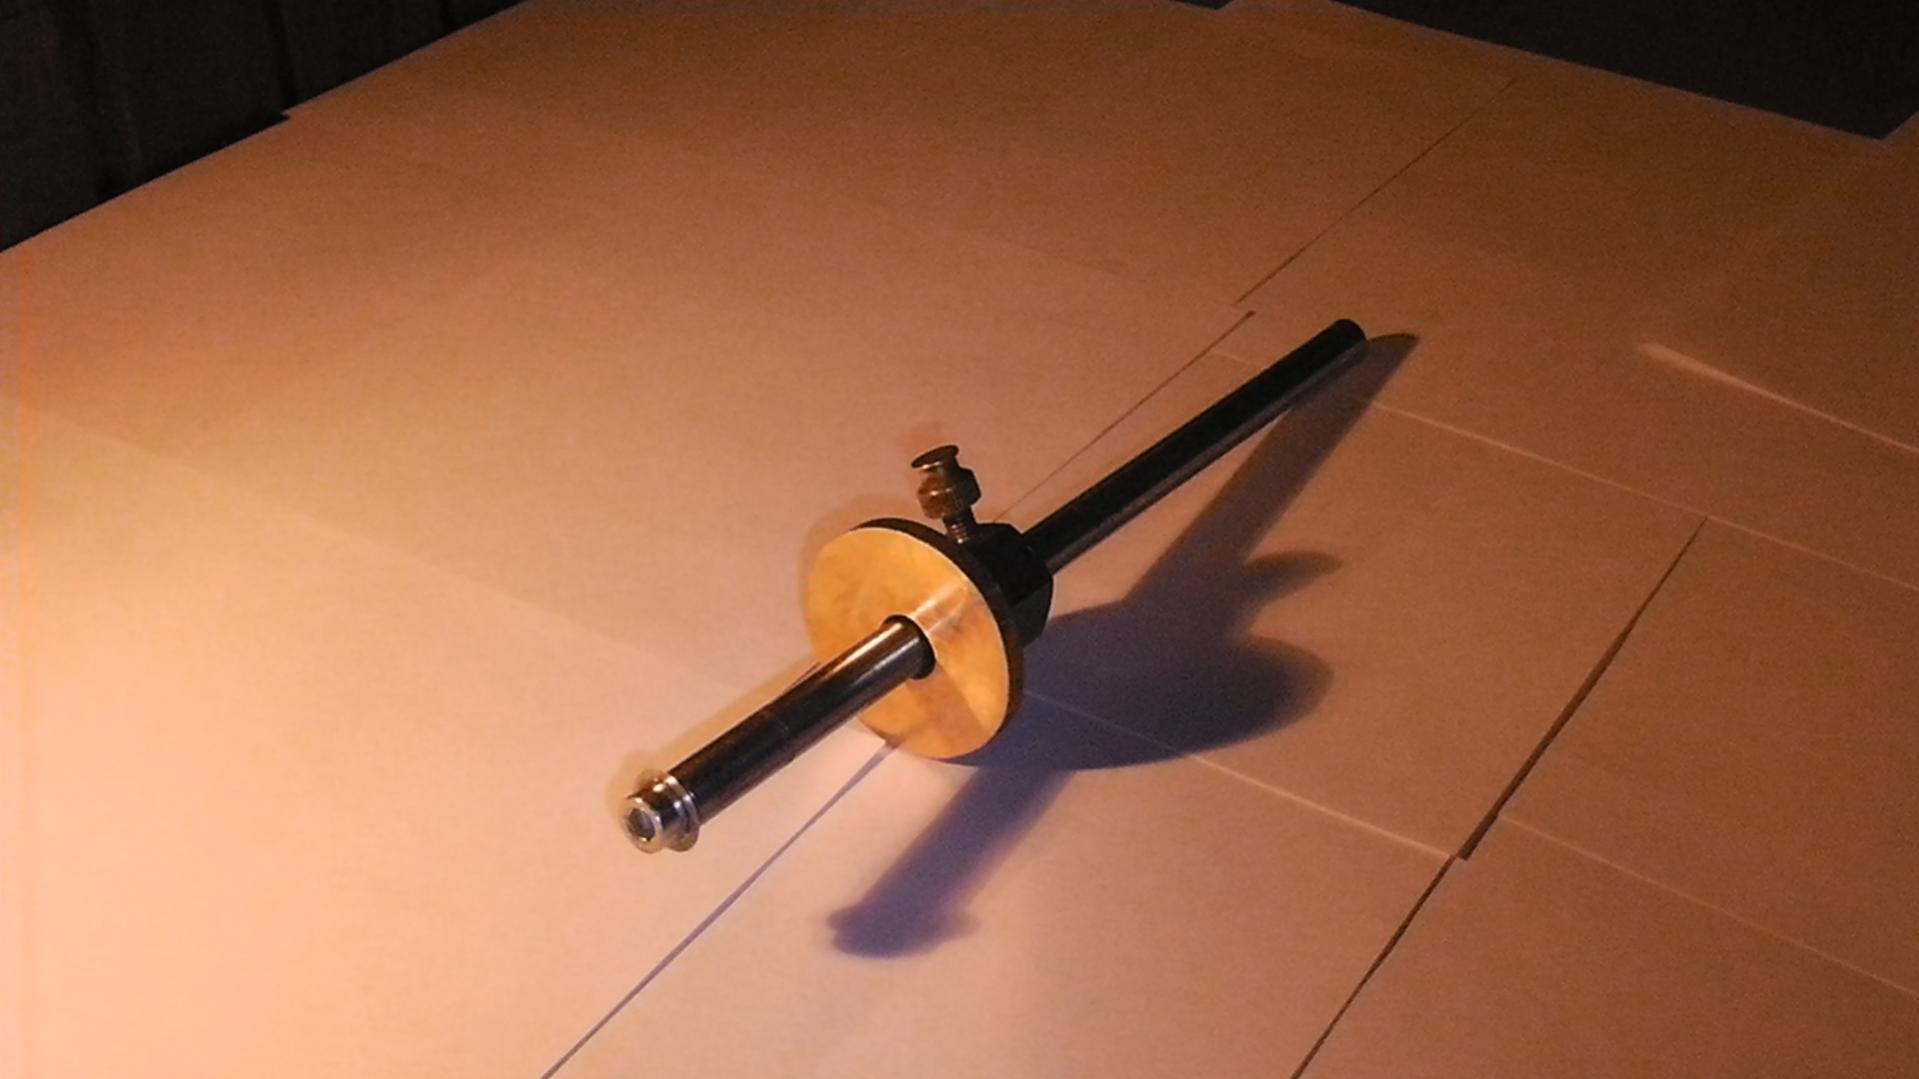
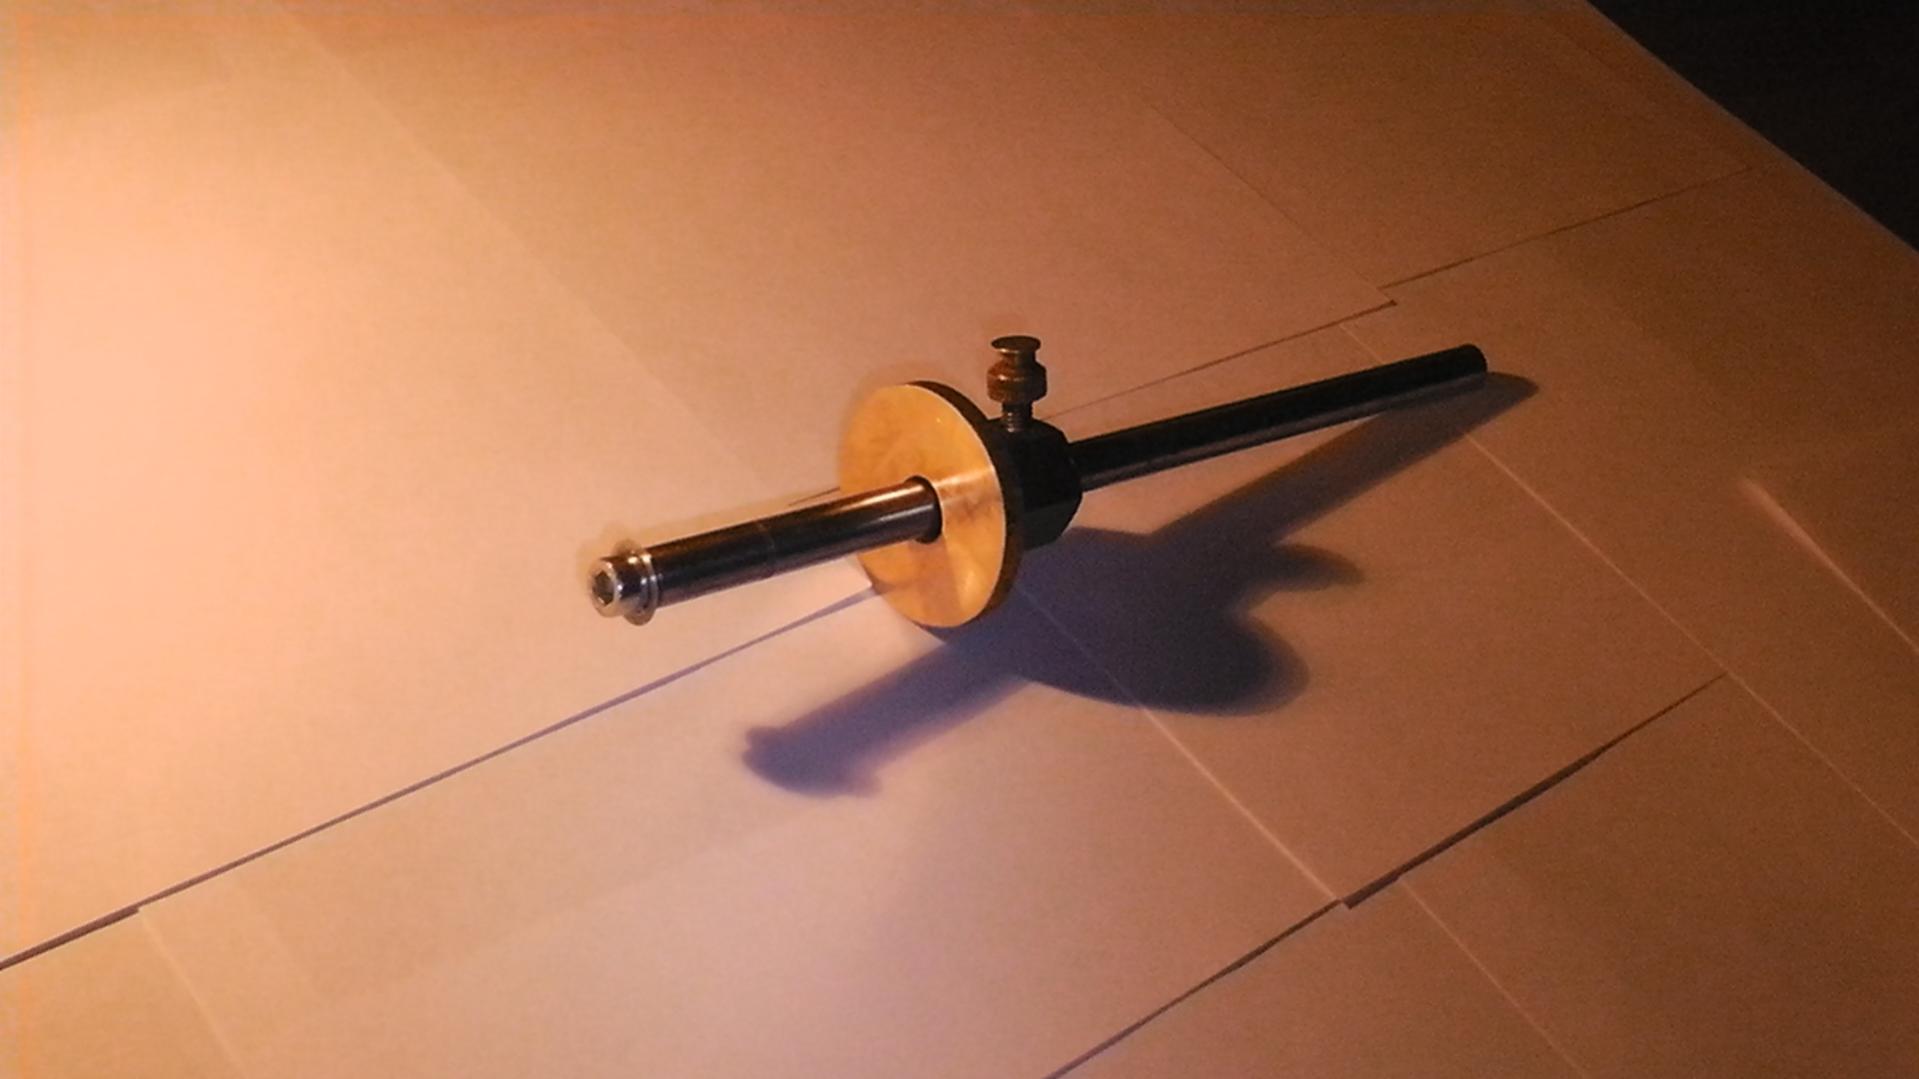
Making a marking gauge
In this video I make a marking gauge from a 10mm steel rod, a 30mm steel hex bar, 5mm thick brass, some screws and a washer.
For the cutting part of the marking gauge I used a normal washer that I've attached to a blot with two nuts and chucked it in a drill to sharpen it on a grinder. I then used stone to do the final sharpening. For the glue up I've just used regular 5 minute two part epoxy.
Very useful tool for any woodworker, especially for those that use a lot of hand tools. It doesn't take a lot of time to make it and you pay a fraction of a cost of a new one.
To tap the holes I've used a homemade tap wrench which is one of the most useful tools that I've ever made. I may make another one just to show how it's done if there is any interest in that.
Hope you enjoy and thanks for watching.
Build video:
https://www.youtube.com/watch?v=CydjPfqbNiU
Attachment 4054Attachment 4055Attachment 4056Attachment 4057Attachment 4058
-
Thanks Garage workshop! I've added your Marking Gauge to our Marking Gauges category, as well as to your builder page: Garage workshop's Homemade Tools. Your receipt:
<div id="blocks">
<div class="block b1 pngfix">
<div class="bimg">
<div>
<a href="http://www.homemadetools.net/marking-gauge-42"><img src="http://www.homemadetools.net/uploads/124401/marking-gauge-42.jpeg"
/></a></div>
</div>
<div class="head pngfix"></div>
<div class="left pngfix"></div>
<div class="right pngfix"></div>
<div class="blockover b1 pngfix">
<div class="title">
<a href="http://www.homemadetools.net/marking-gauge-42">Marking Gauge</a>
<span> by <a href="/builder/Garage+workshop">Garage workshop</a></span>
</div>
<div class="tags">tags: <a href="http://www.homemadetools.net/tag/marking">marking</a>, <a href="http://www.homemadetools.net/tag/gauge">gauge</a></div>
</div>
</div>
</div>