
 LinkBack URL
 About LinkBacks


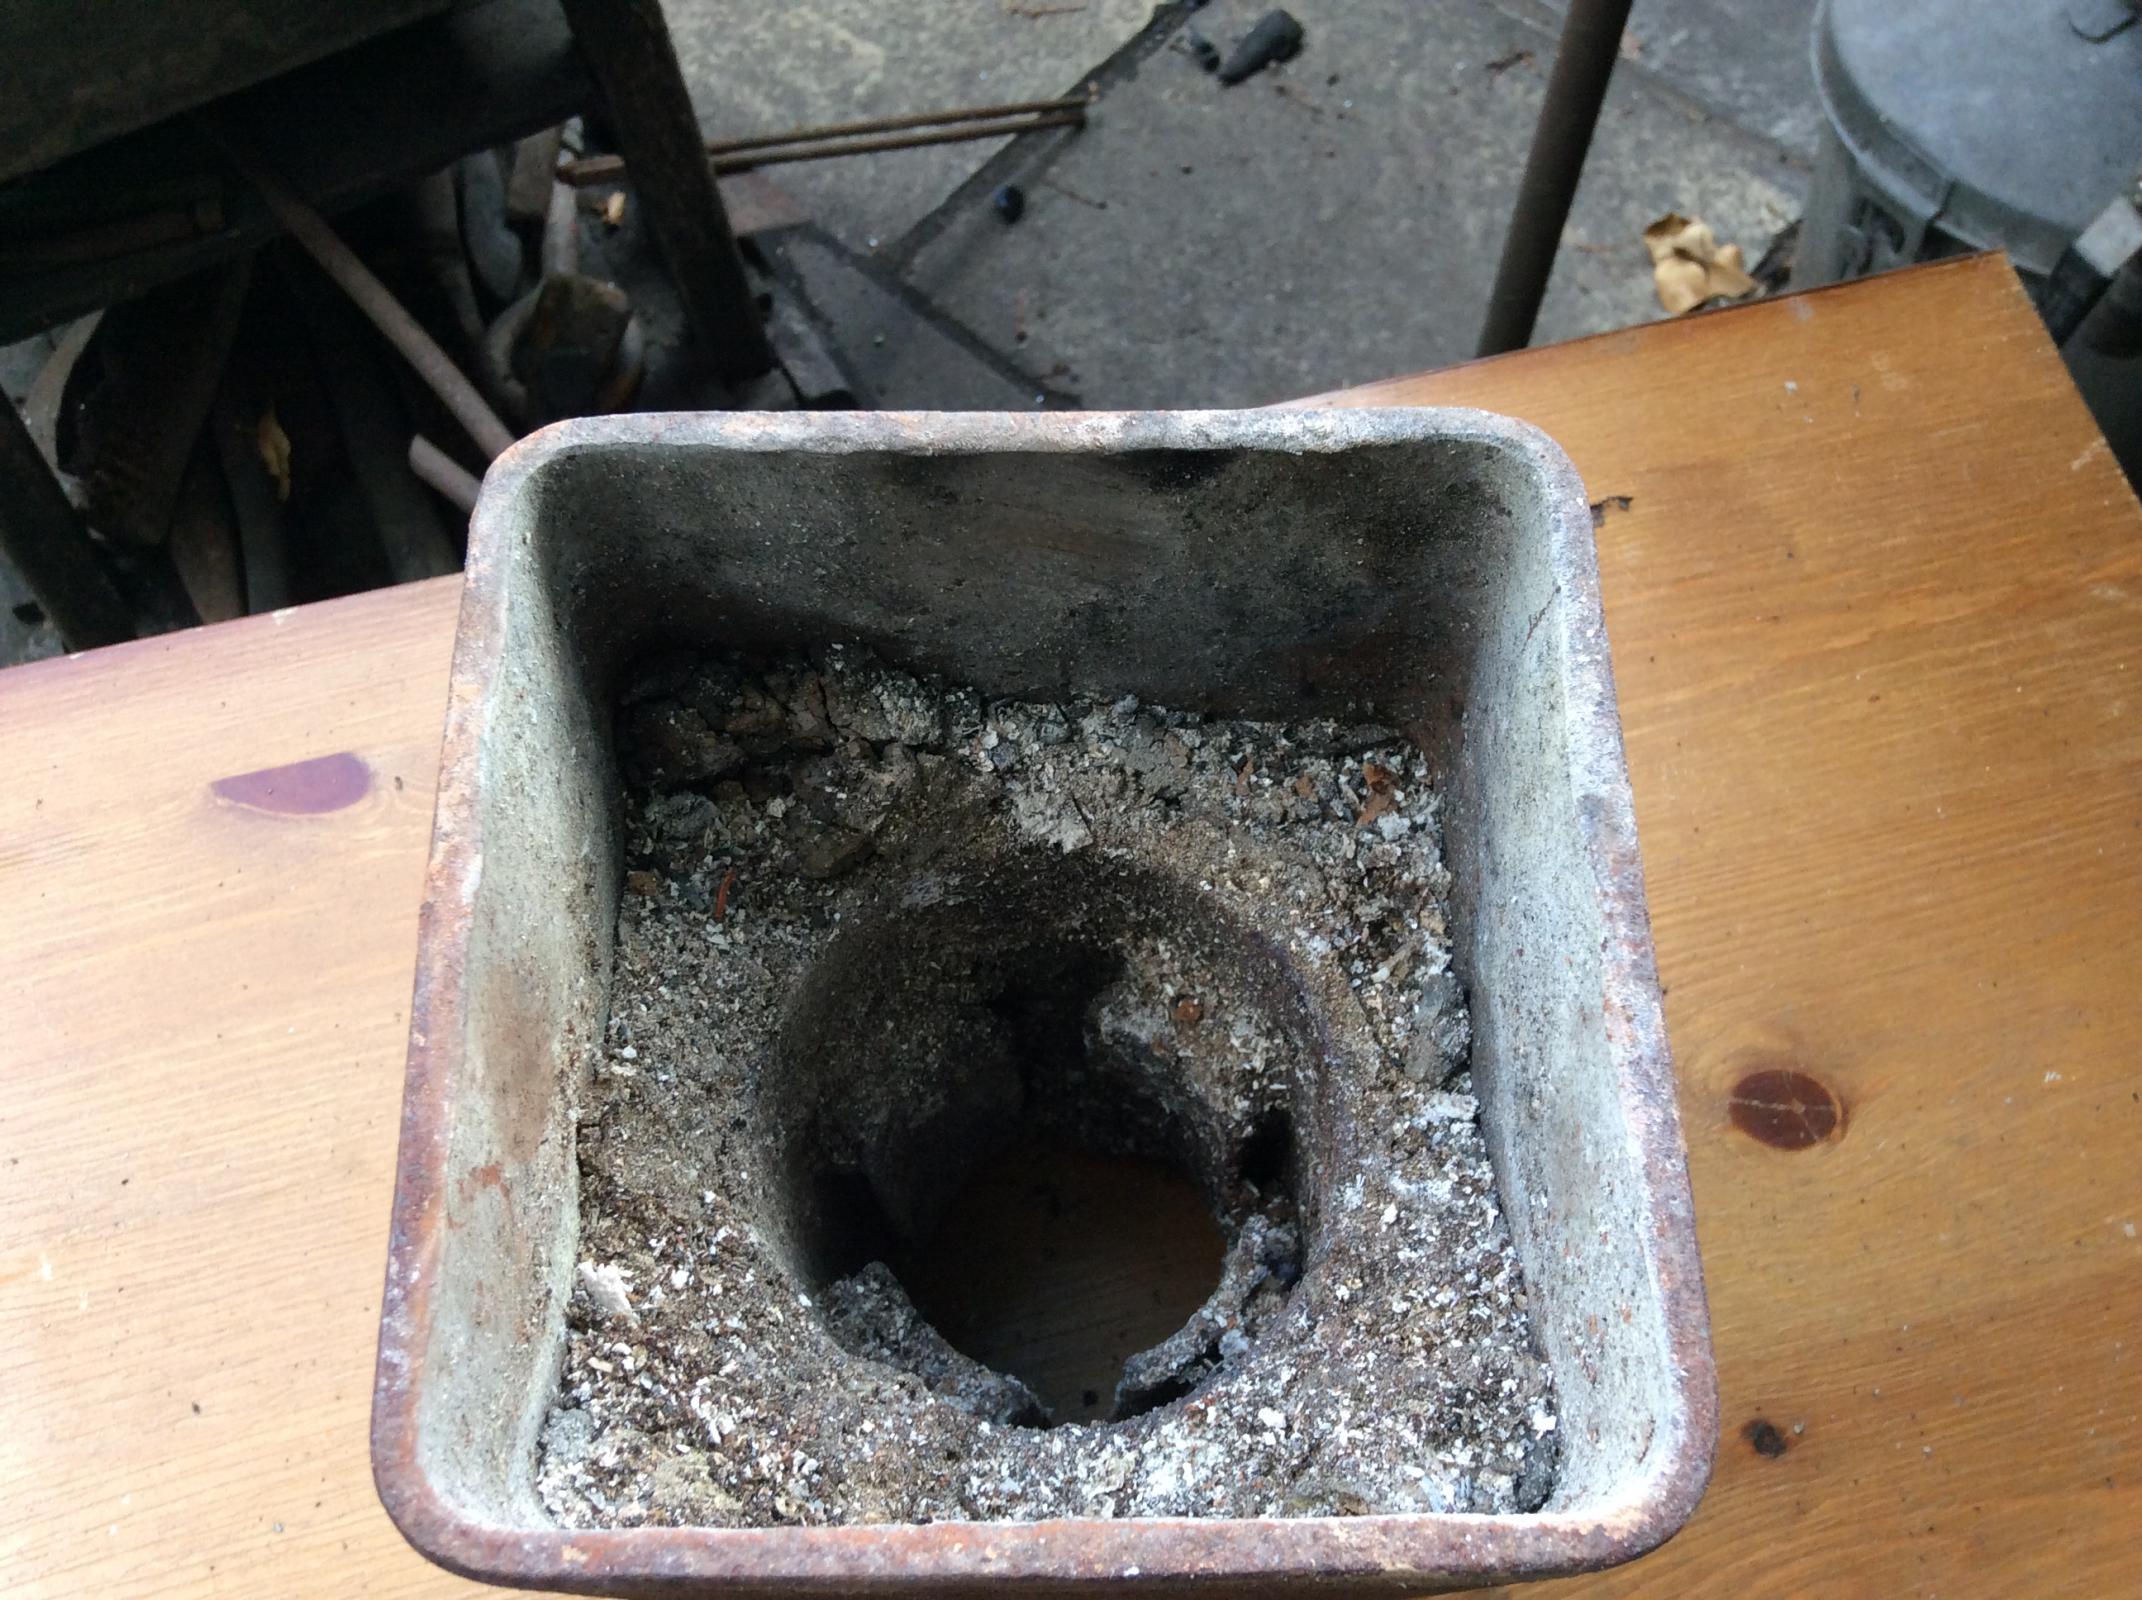
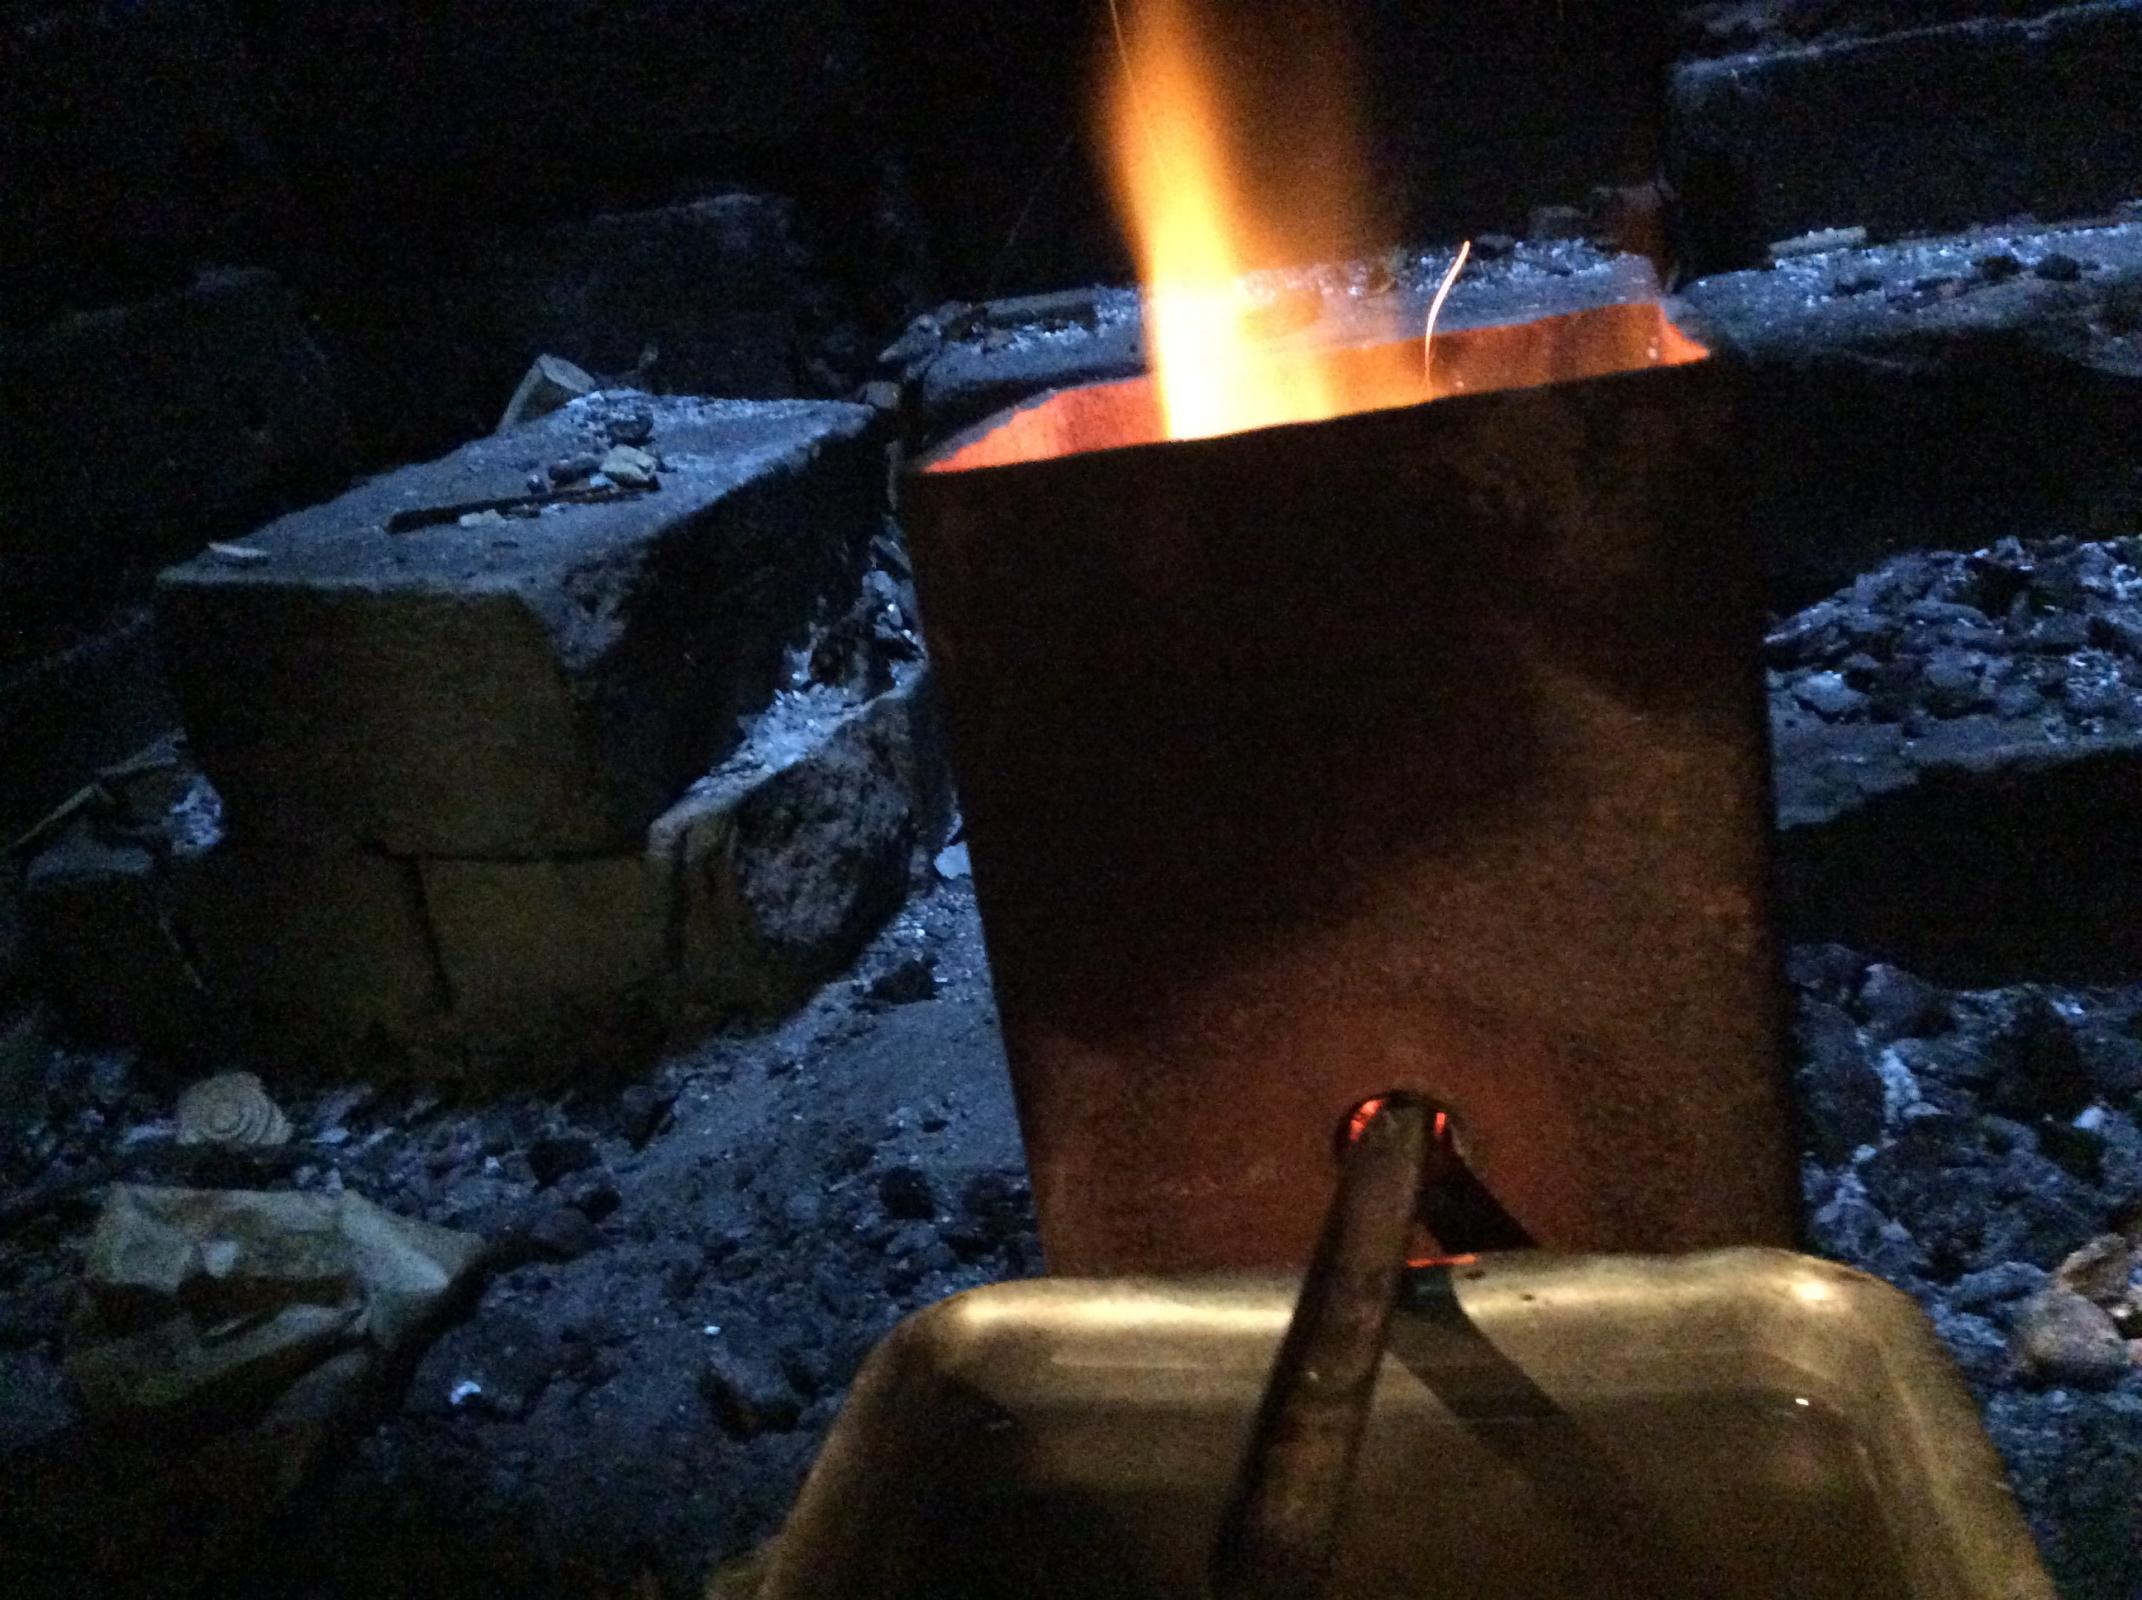
This is a cheap and easy way to forge small components, without losing them in a larger fire, and it is possible to keep short lengths cool enough to hold them with your fingers when hammering. You can use a coffee can, as I have in the past, but this is a luxury version. The core is a stator, with the copper removed of course, because that was the valuable bit. I have placed the stator inside a short length of 5 x 5 box tube. The stator is held centrally by some clay I rammed down. A 5/8 hole was drilled beforehand through both components. The hole was kept opk9en with a dowel when adding clay. After several heats, the clay is still intact.
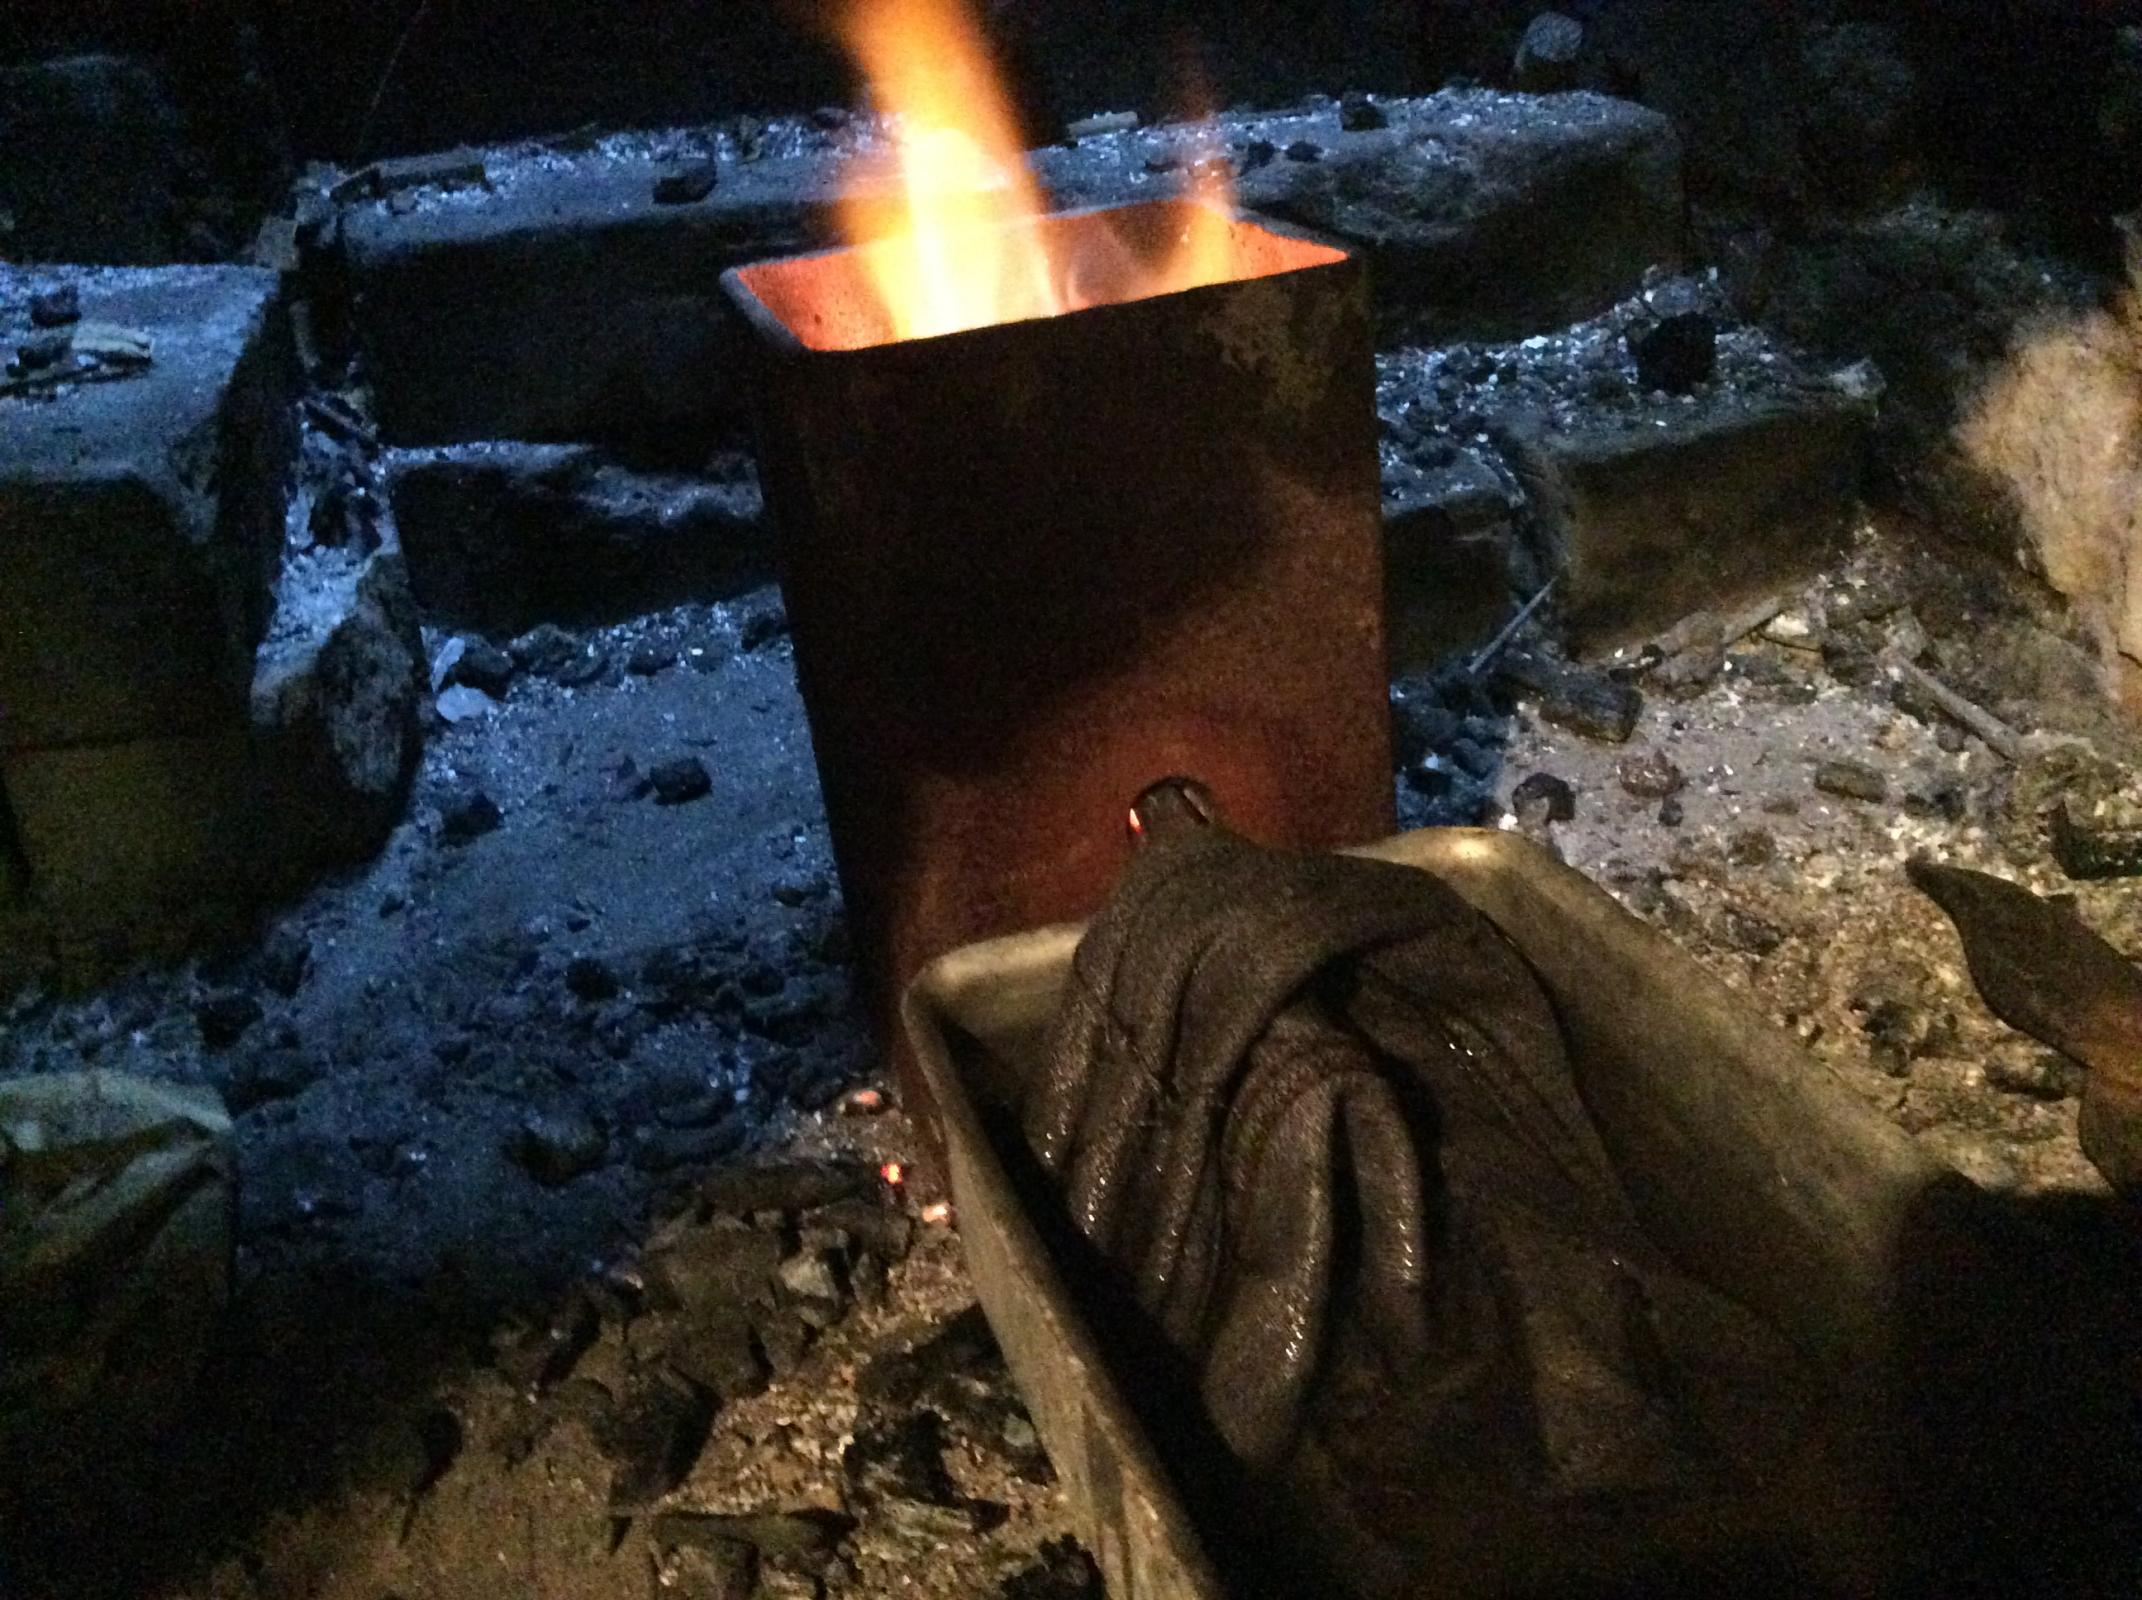
What I am doing here is forging a tang on a gouge. In front of the hole I drilled in the box tube, where the gouge has been inserted is a small tank of water, with a wet cloth draped over the cool end. This preserves the gouges temper. It is quite awkward to hold a gouge in tongs, I have not got a pair dedicated for them, and the steel is so springy, it bounces right out of the ones I have got at the first or second blow with the hammer. However, I can comfortably hold the gouge with my fingers.
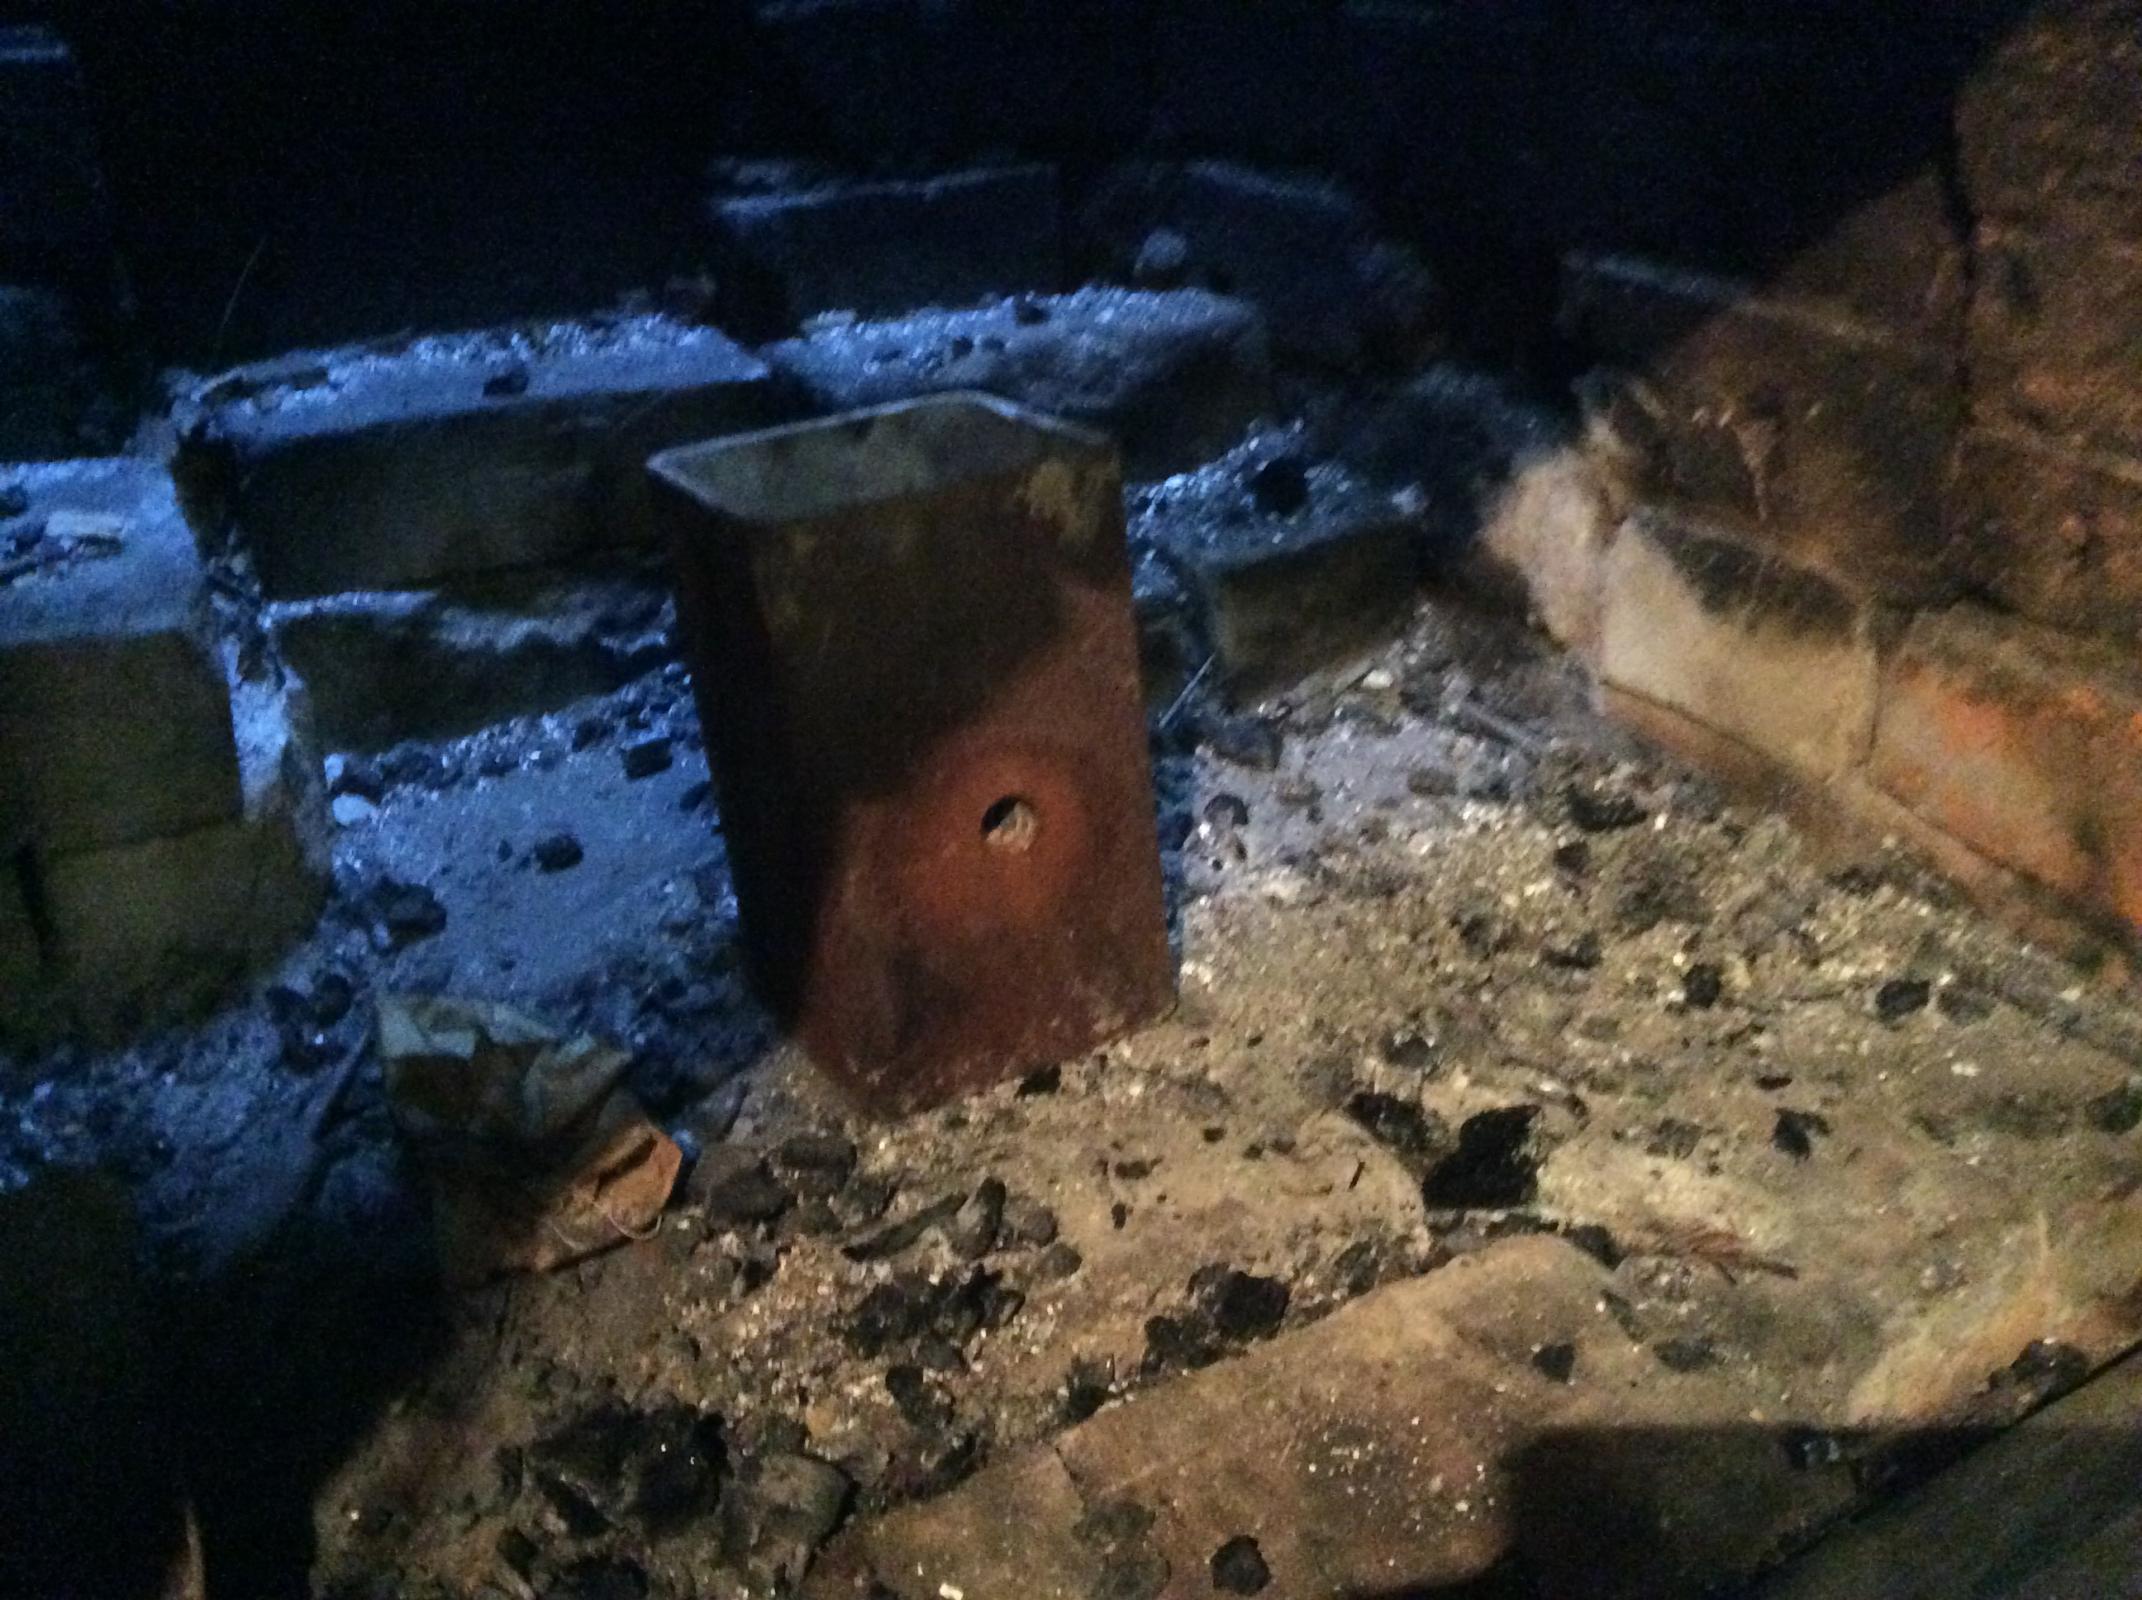
You see the forge just as it is lit at first. It is placed over the tuyere, which I posted on a previous occasion.
You can see that the air flows through the eye of an old sledgehammer, which has sufficient mass to prevent slag sticking to it.
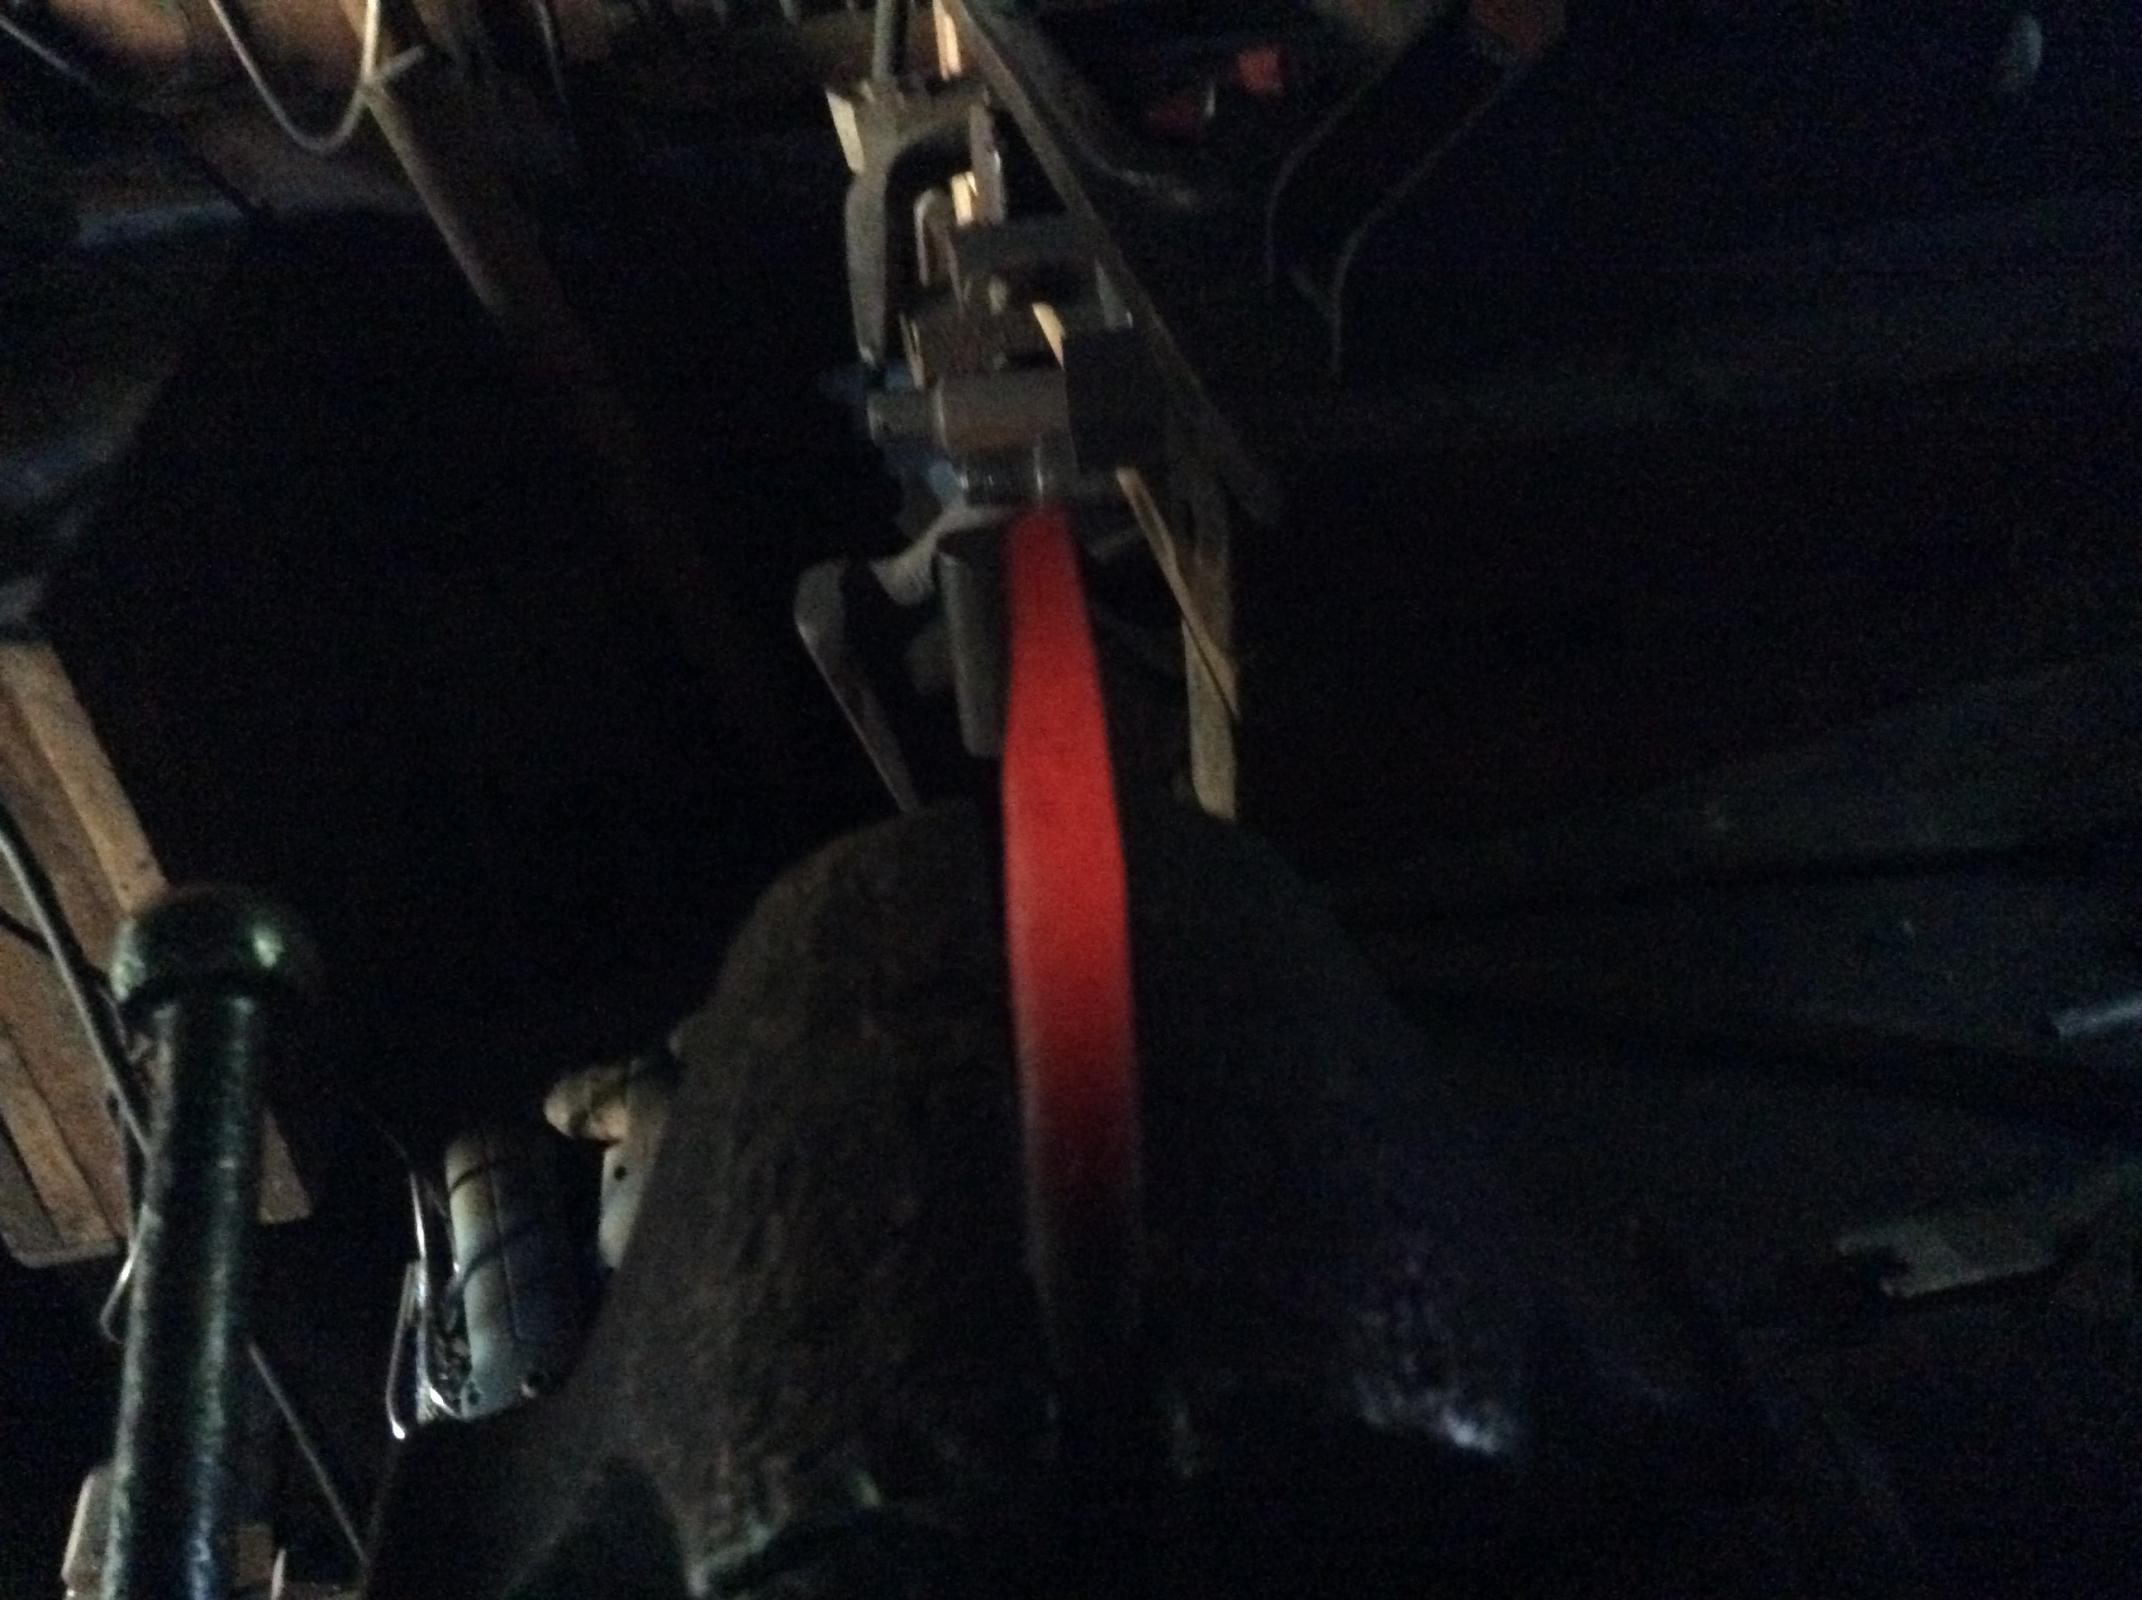
Heres another view of the gouge heating up, before the rag covers it. The rag does not burn at all.
Finally, a picture of the forged tang in the vice
The process of lighting up, heating to red and forming the tang is about six minutes. (I am using homemade charcoal)
If you do not have a forge, but a length of tube, cast iron or steel about 6 foot long, you can suspend this from the branch of a tree, hook a coffee can to it(having punched a few holes in the bottom, and use that as a forge: with a bit of a breeze, it will draw, but its a slow process. I repaired a broken 2 chisel that had snapped at the bolster once, forging out the shoulders, ending up with a shorter chisel, but one that still held its edge. That was 20 years ago, and I still use it frequently.


 Reply With Quote

Bookmarks