-
10 Attachment(s)
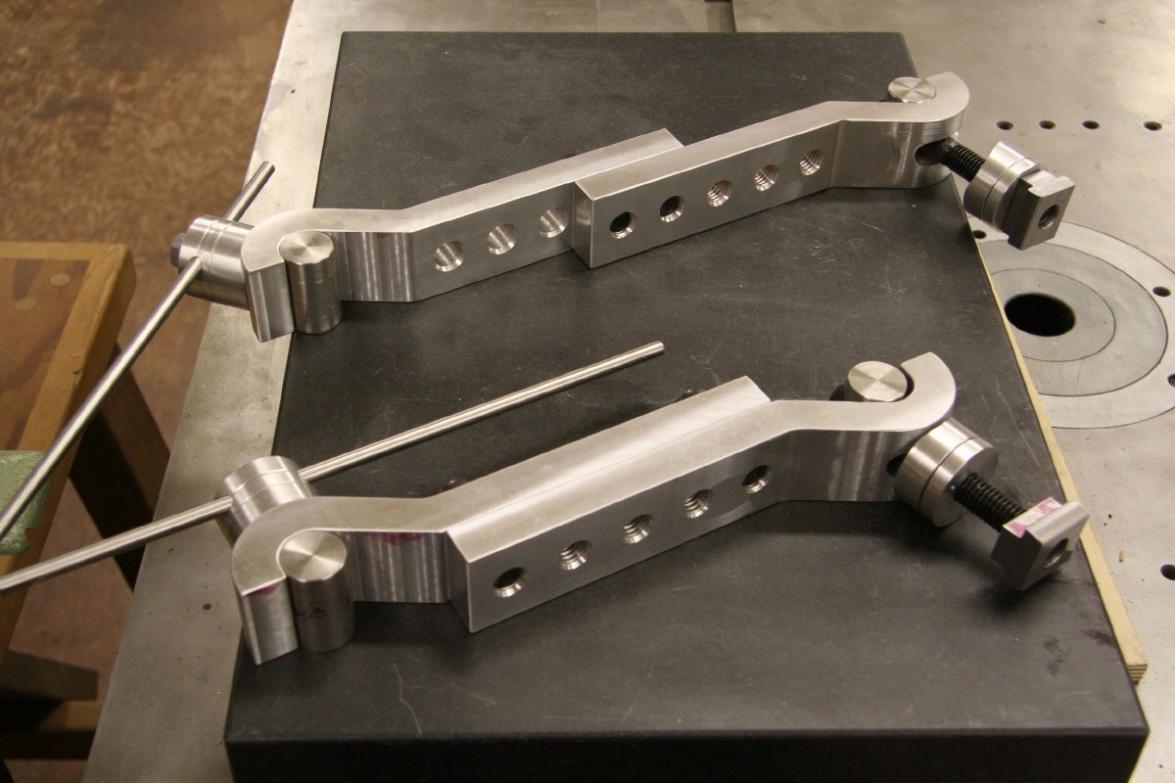
Milling Work Stop
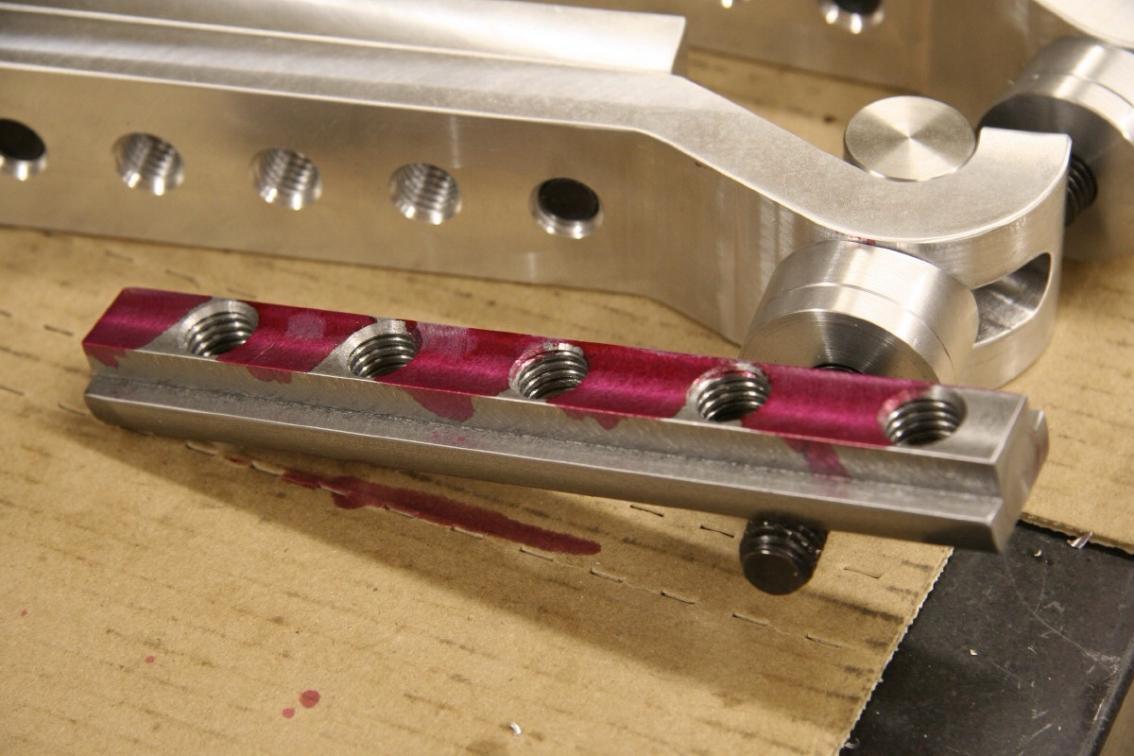
The work stop was inspired by Tom Lipton of Oxtools. I made two of these for about $70.00, one for my son and myself for Christmas. This style of work stop is great, the best I have ever used.
Attachment 1228Attachment 1229Attachment 1230Attachment 1231Attachment 1232Attachment 1233Attachment 1234Attachment 1235Attachment 1236
I have many more photos.
-
Great work! An attractive and useful piece. What material was used?
Ken
-
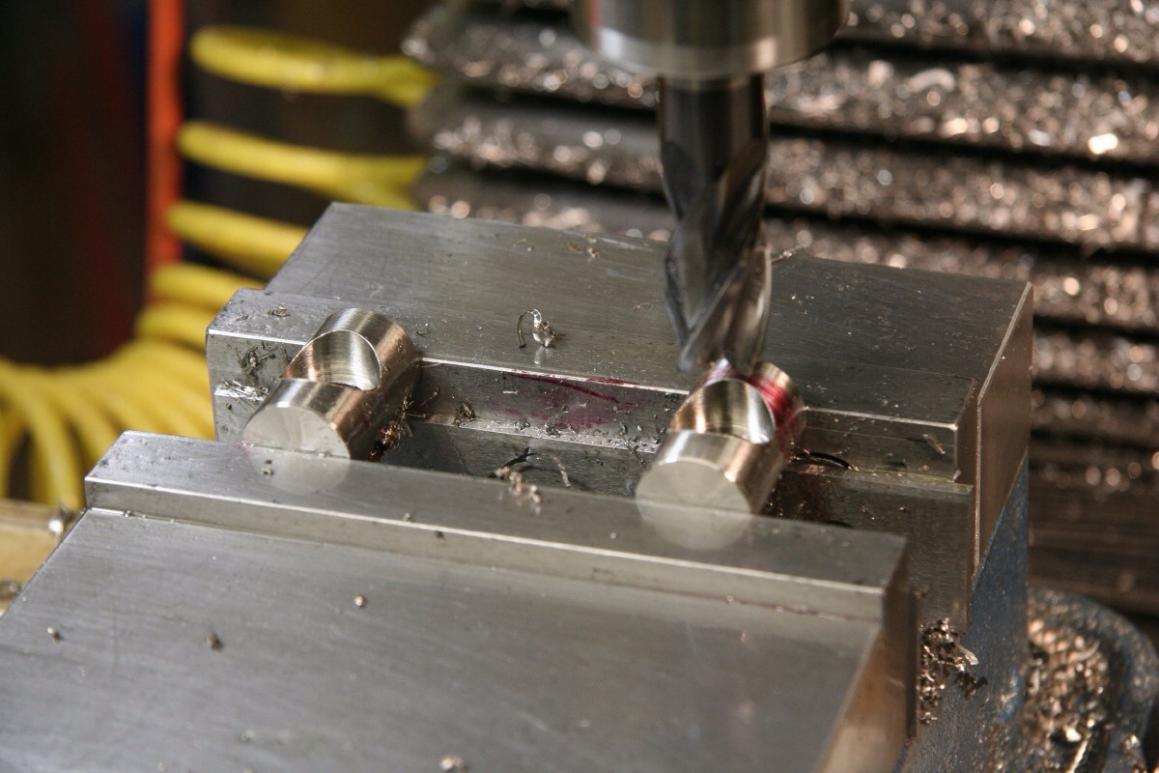
I used 6061 alu, Stainless -Pins, top stud, position rod, 1018 steel for 'T' nuts, Steel socket head cap screws.
-
Thanks! I thought it looked like 6061, but didn't want to make assumptions... :-)
I'll get it added to the database shortly.
Ken
-
Thanks Catfish! I've added your Milling Work Stop to our Machining category, as well as to your builder page: Catfish's Homemade Tools. Your receipt:
<div id="blocks">
<div class="block b1 pngfix">
<div class="bimg">
<div>
<a href="/milling-work-stop"><img src="/uploads/74808/milling-work-stop.jpeg" alt="Milling Work Stop" /></a> </div>
</div>
<div class="head pngfix"></div>
<div class="left pngfix"></div>
<div class="right pngfix"></div>
<div class="blockover b1 pngfix">
<div class="title">
<a href="/milling-work-stop">Milling Work Stop</a> <span> by <a href="/builder/Catfish">Catfish</a></span> </div>
<div class="tags">
tags:
<a href="/tag/milling">milling</a>, <a href="/tag/stop">stop</a> </div>
</div>
</div>
</div>
-
-
Look like a very versatile design. Very well made, as usual.
-
Hello,
I'm a Milling Newbie - what do you do with this thing ? Why is it a useful tool ? Does it define a repeatable reference point in 3d space that you line things up against to make 20 identical widgets ?
-
Steamingbill, Yes to all. Also if you need to remove your one off widget you can then replace it in the same location.
Thanks, Randy
-
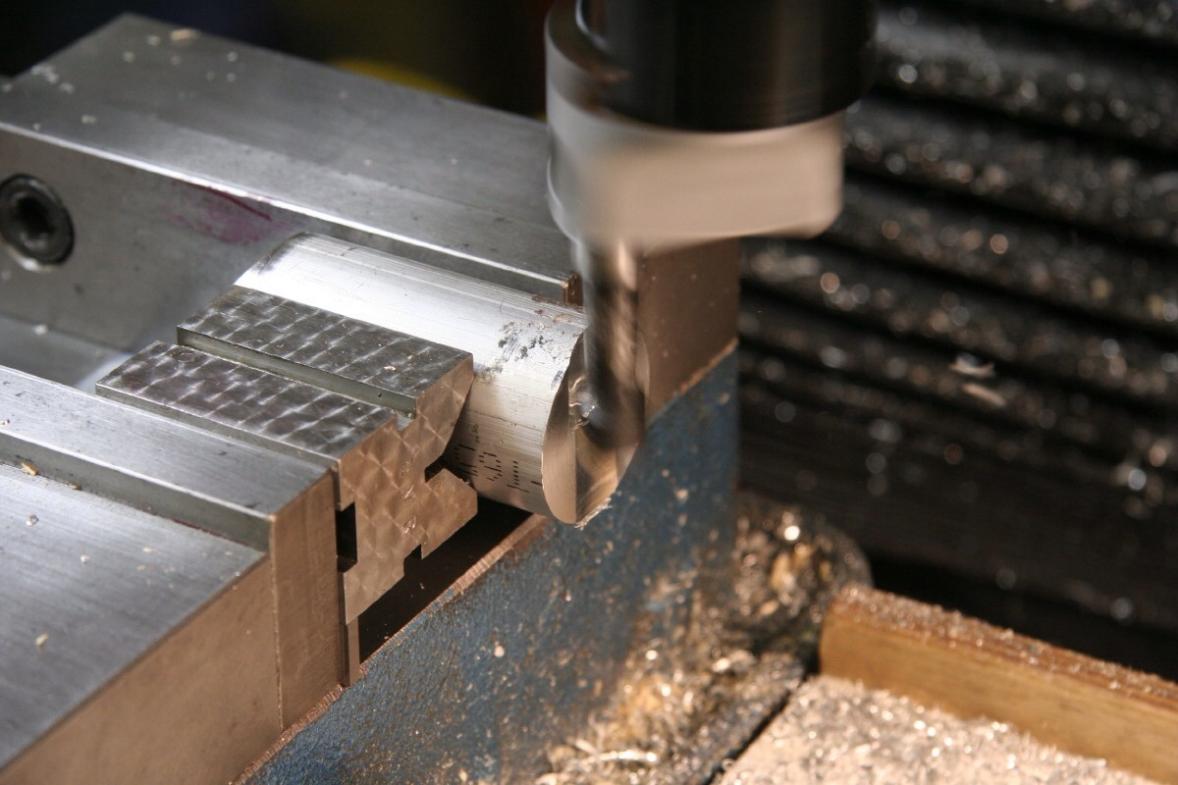
Randy,
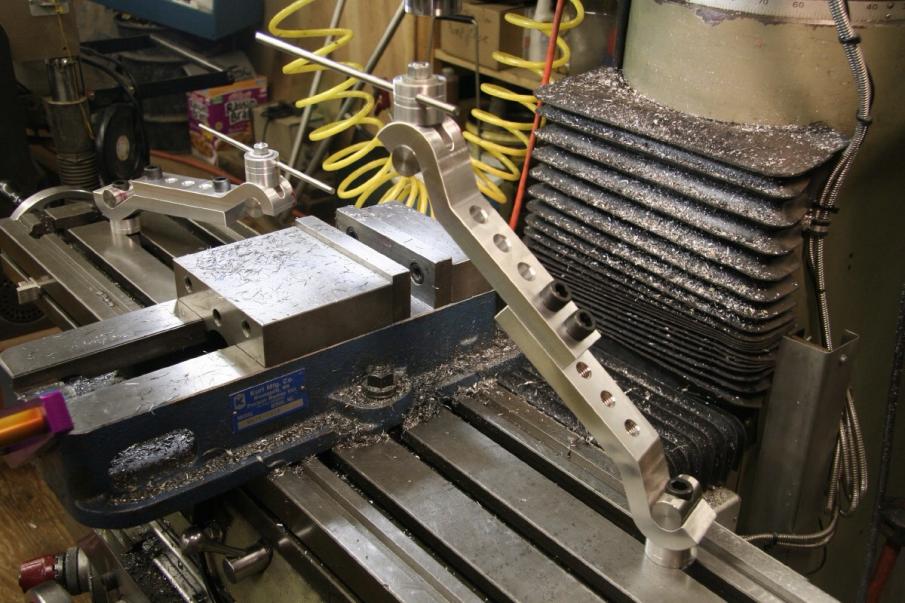
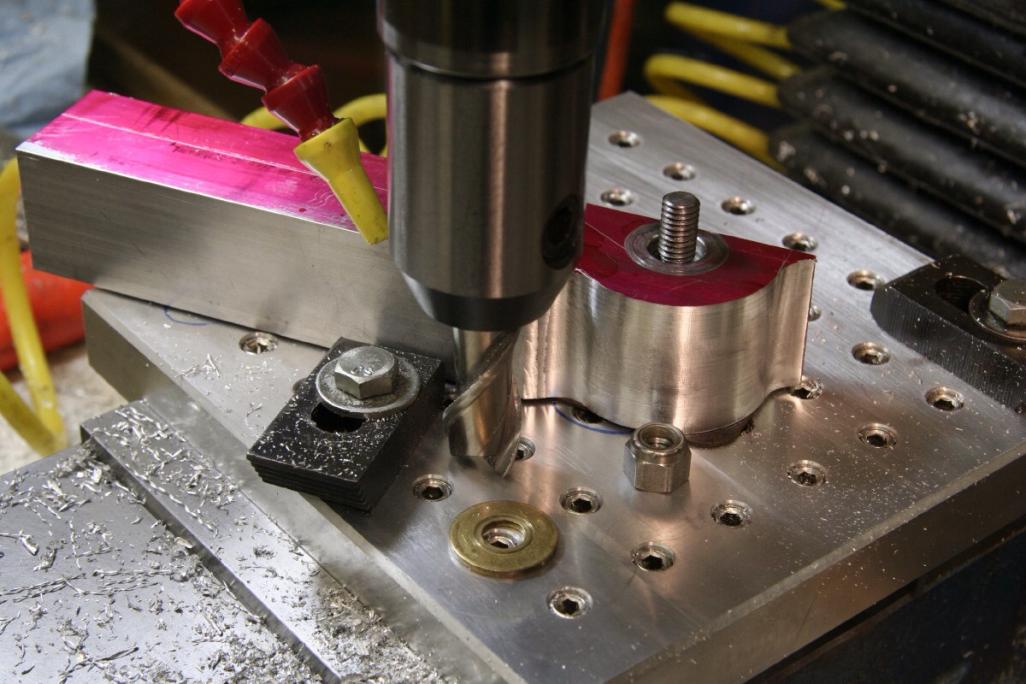
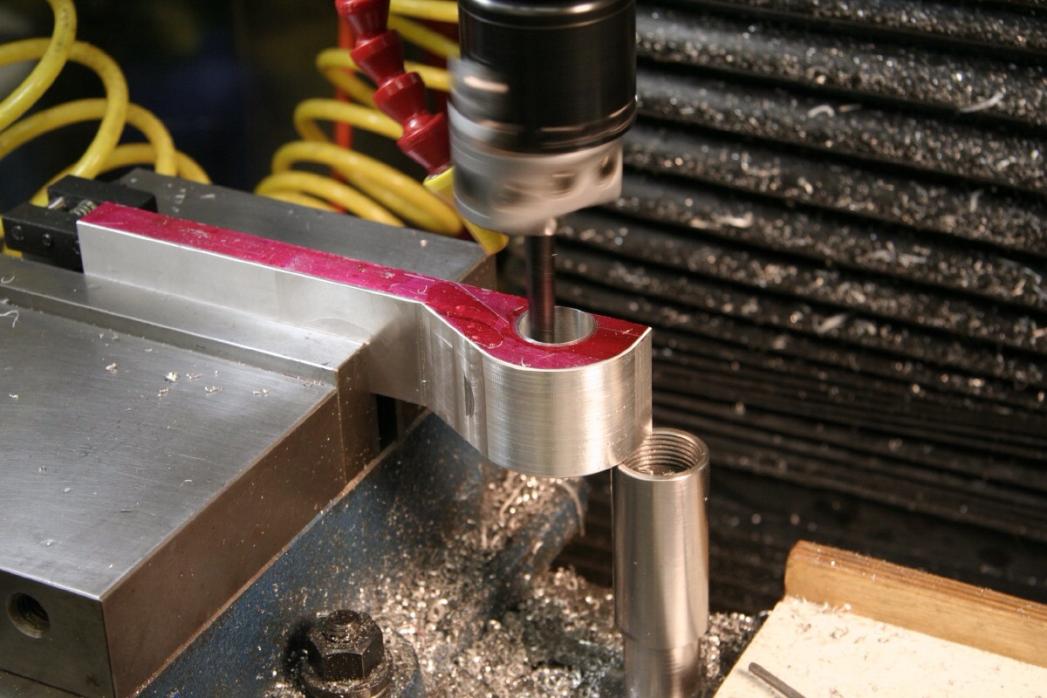
Beautiful to look at and very useful. I like your technique for milling the curved surfaces by hand rotating the part between the two stops. I have several projects than can use this method. What depth of cut did you use for each rotation around the threaded rod until you arrived at the final depth?
Regards, Paul
-
Paul,
I used a shoulder bolt I made turned to fit the pivot hole, you want no play in the pivot. I think it was about 0.050 to 0.100
in the Z axis and about 0.020 to 0.030 in the X or Y axis depending on how you look at it. A few safety points, make sure the setup is rigid, have plenty of leverage, have stops in the axis of rotation, go slow on the feeds, make sure that when you are making a cut if you let go the cutter will not grab and throw the piece at you. I made two of these stops and did 4 ends. This did take me awhile to do, go slow. Randy
-
Randy - Thank you for your method details and safety advice. Definitely can't rush this type of milling when working this way and no climb milling - Thanks, Paul