-
4 Attachment(s)
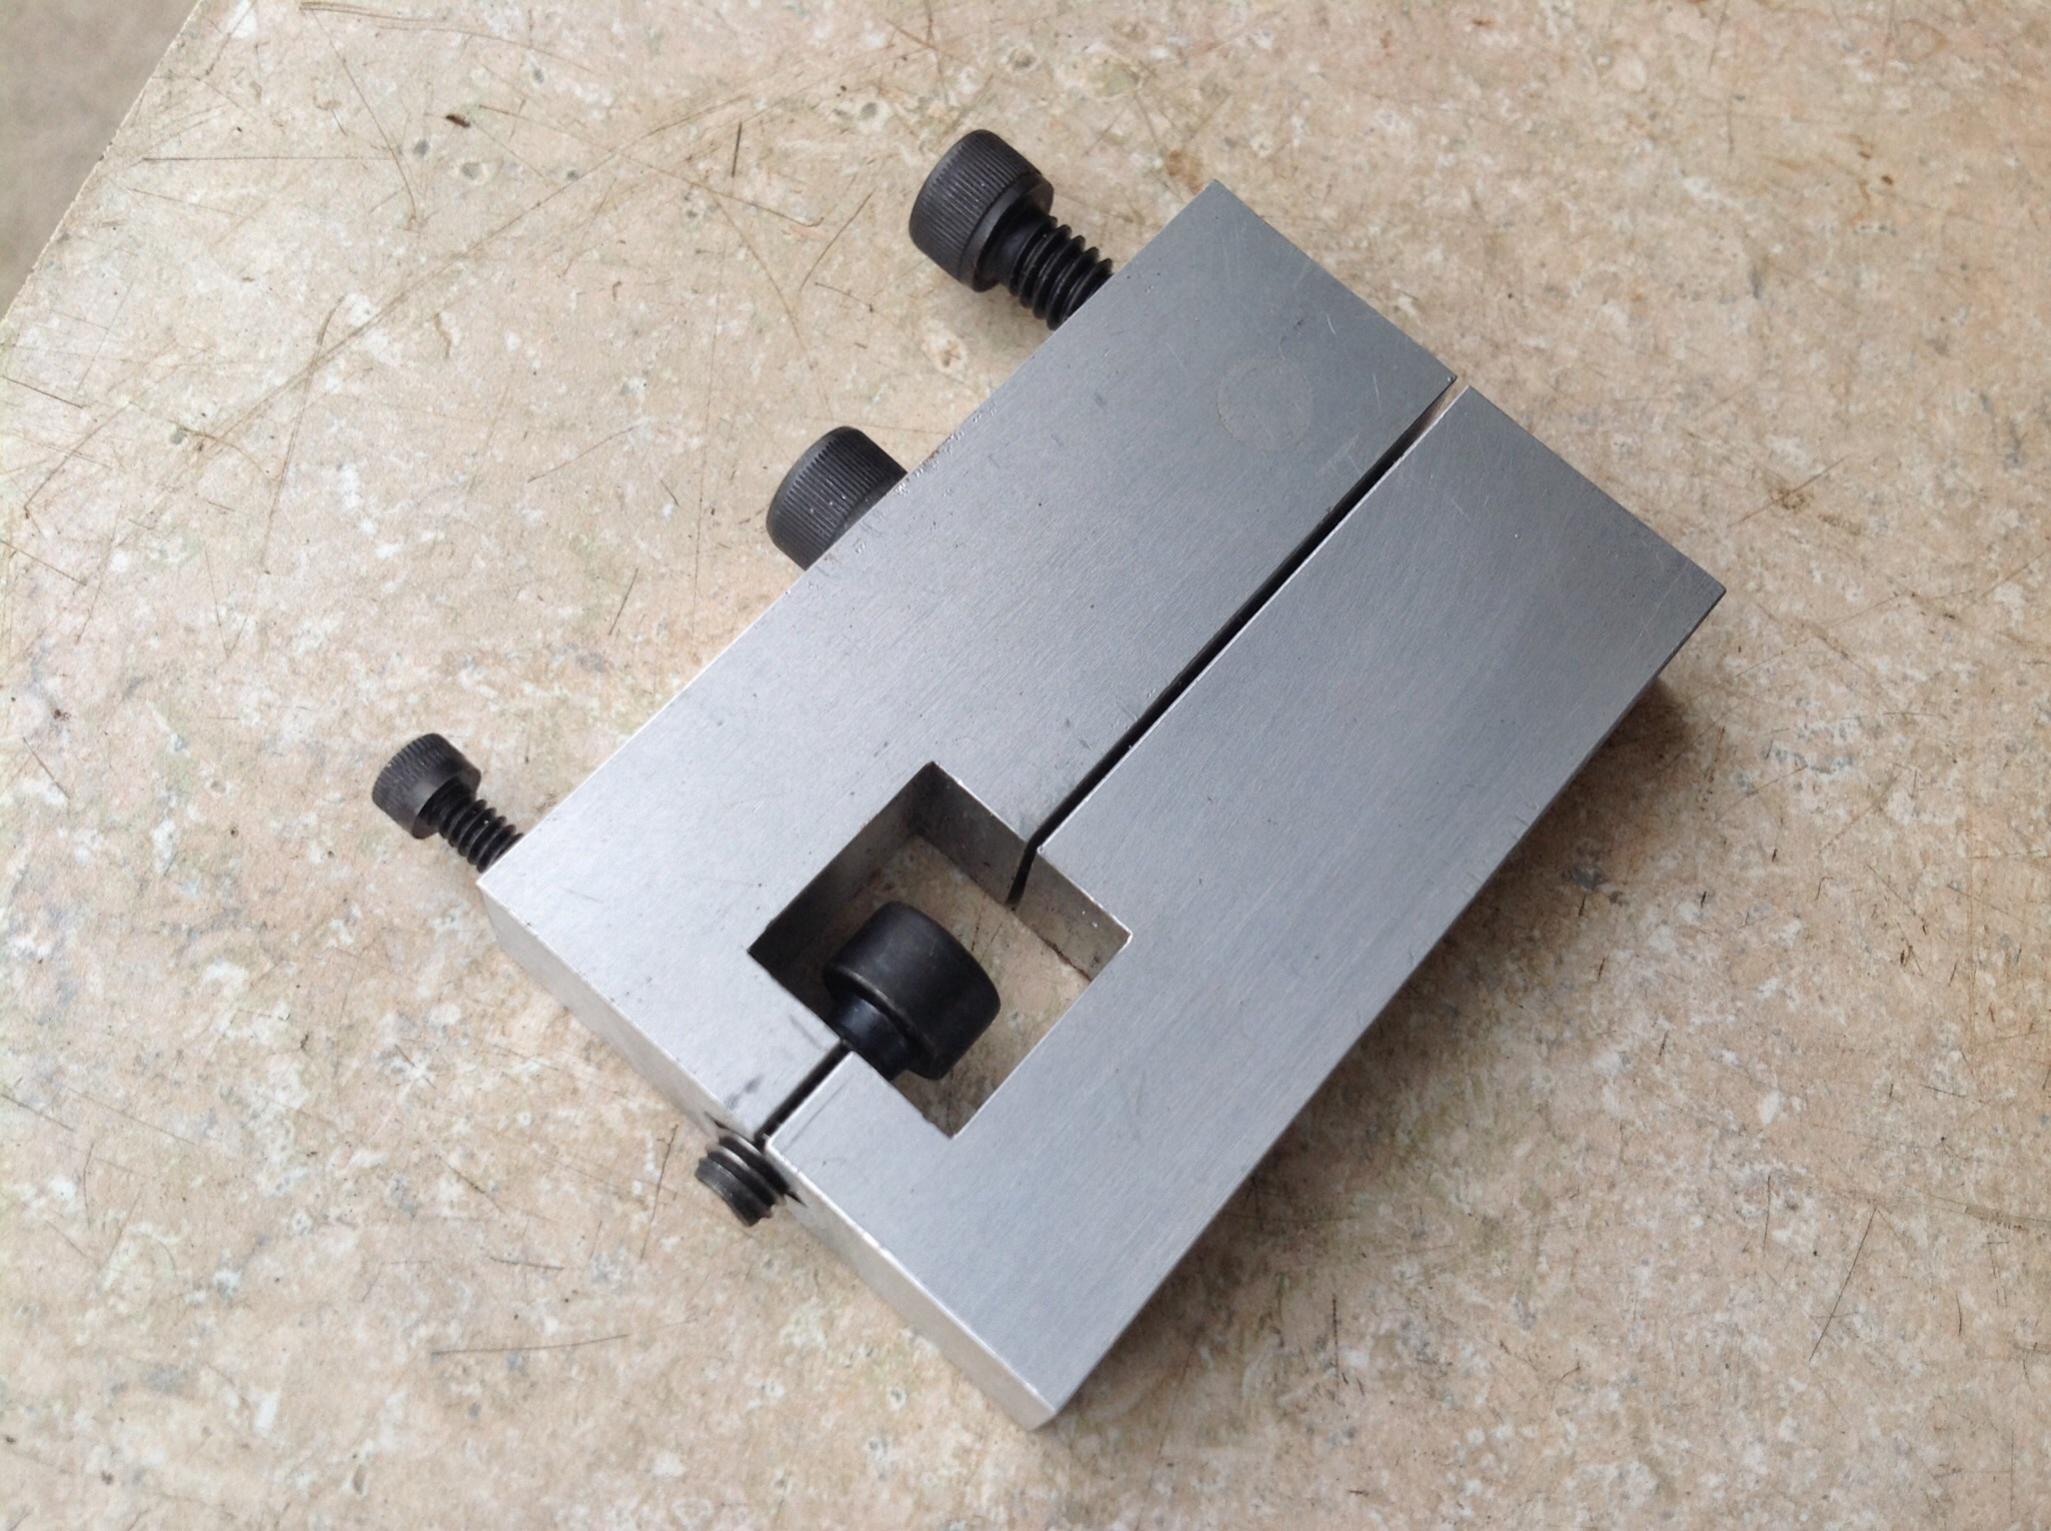
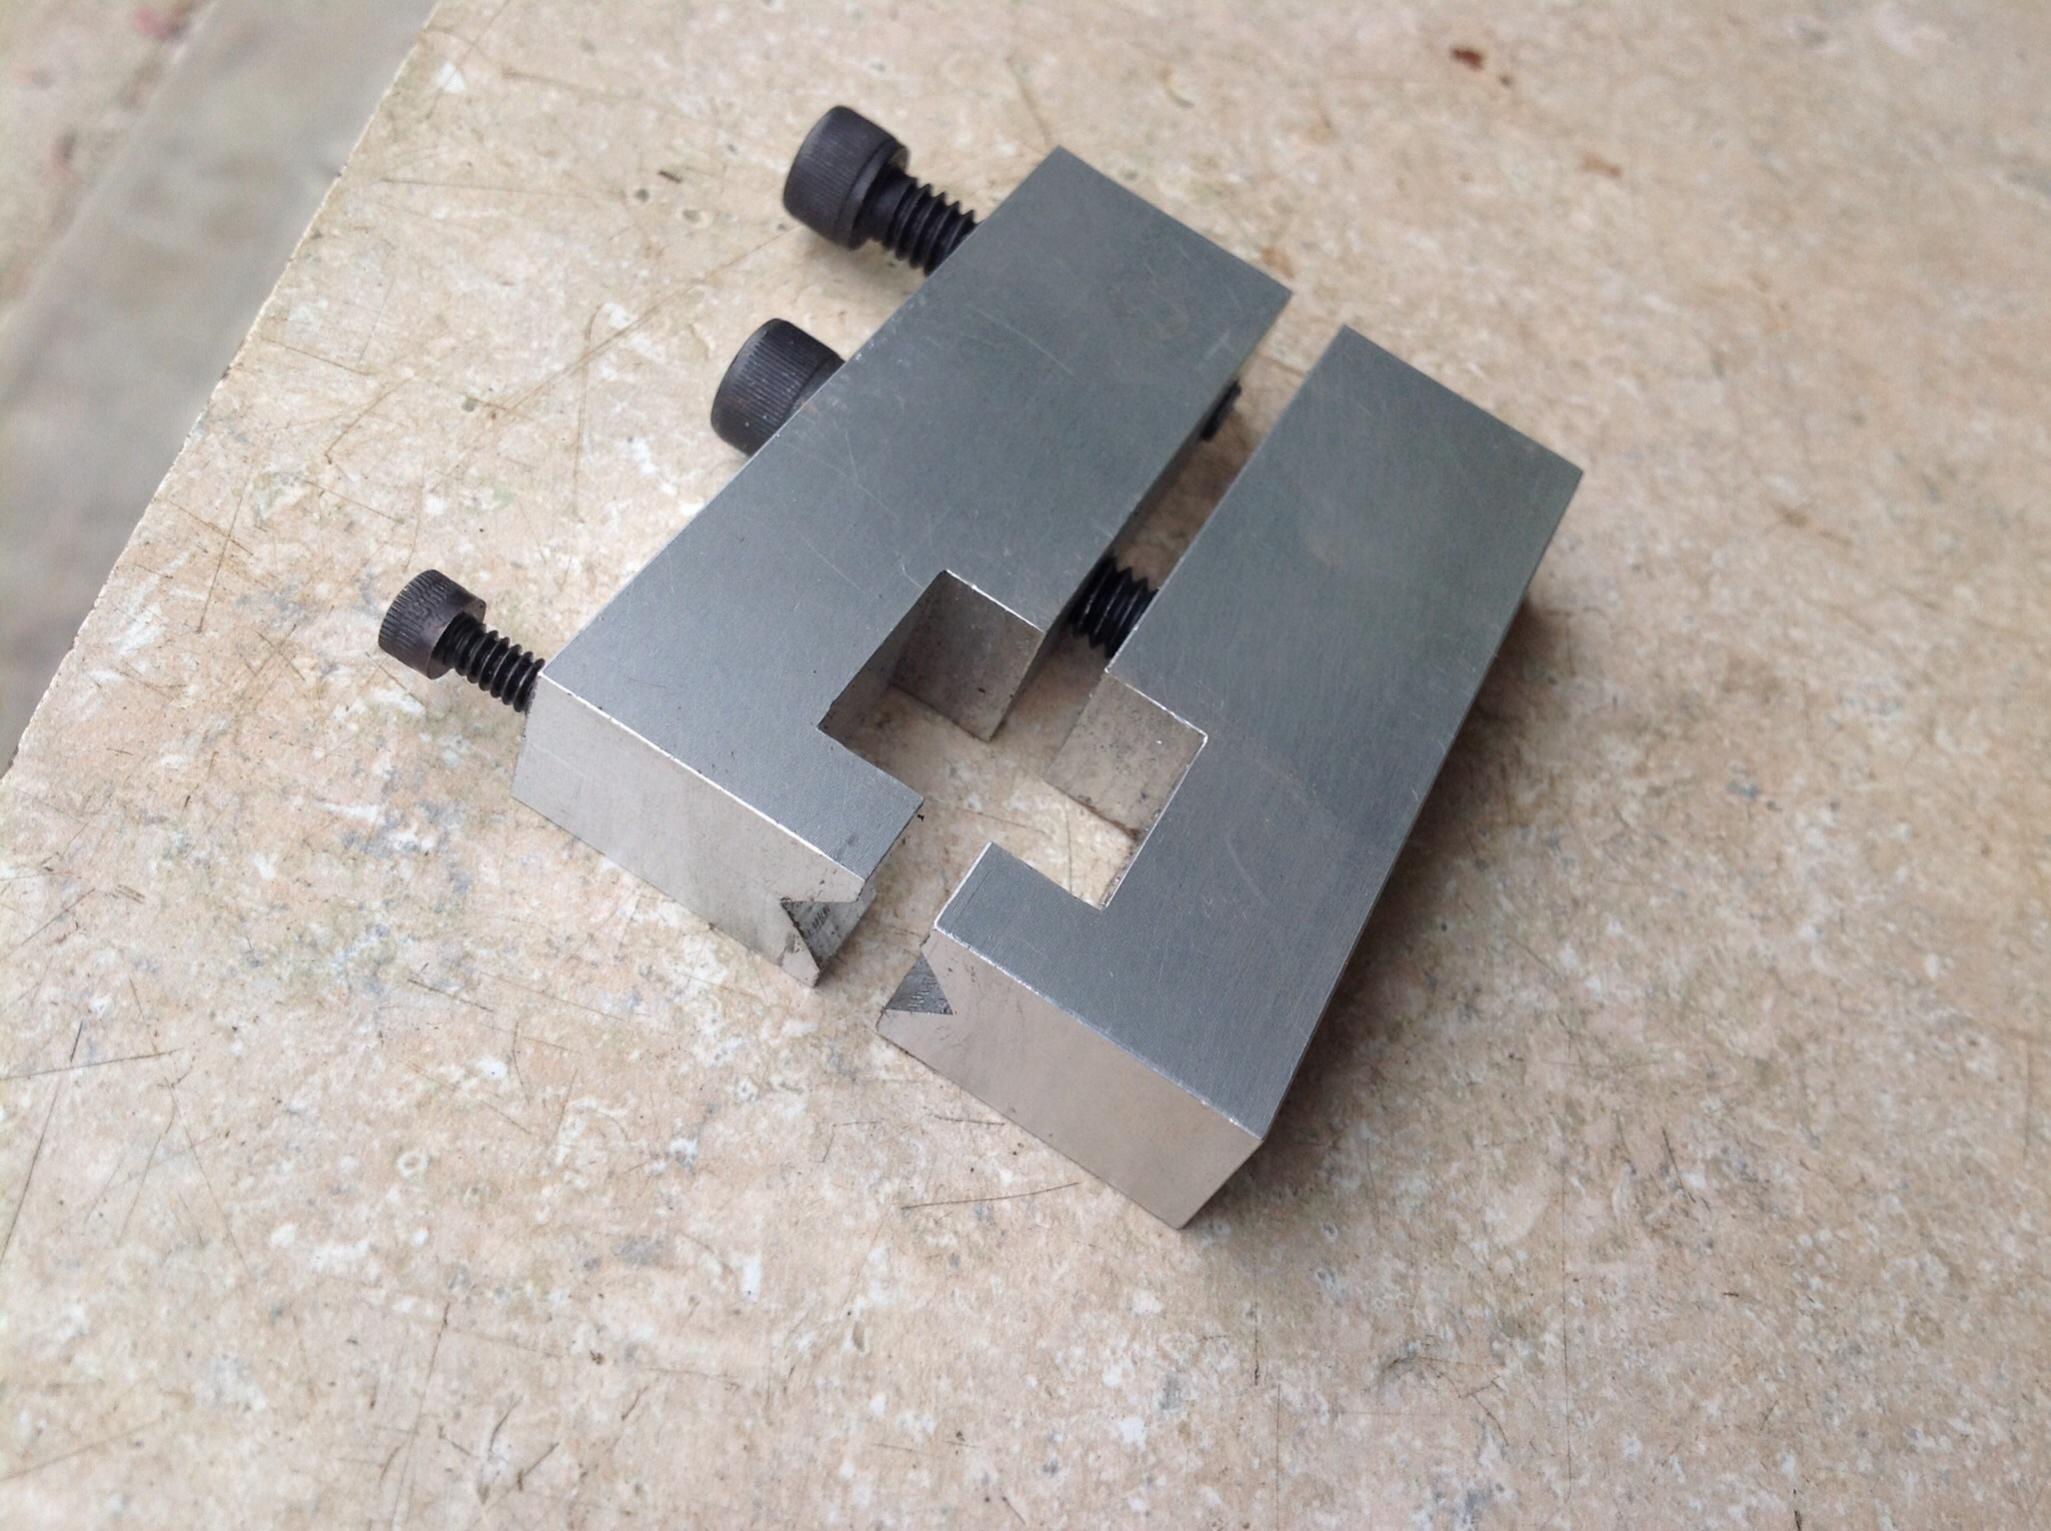
Mod Marv's Lantern vise
A while back marvklotz posted his "Lantern Vise" and I was stuck with how once again he had posted a very useful tool idea.
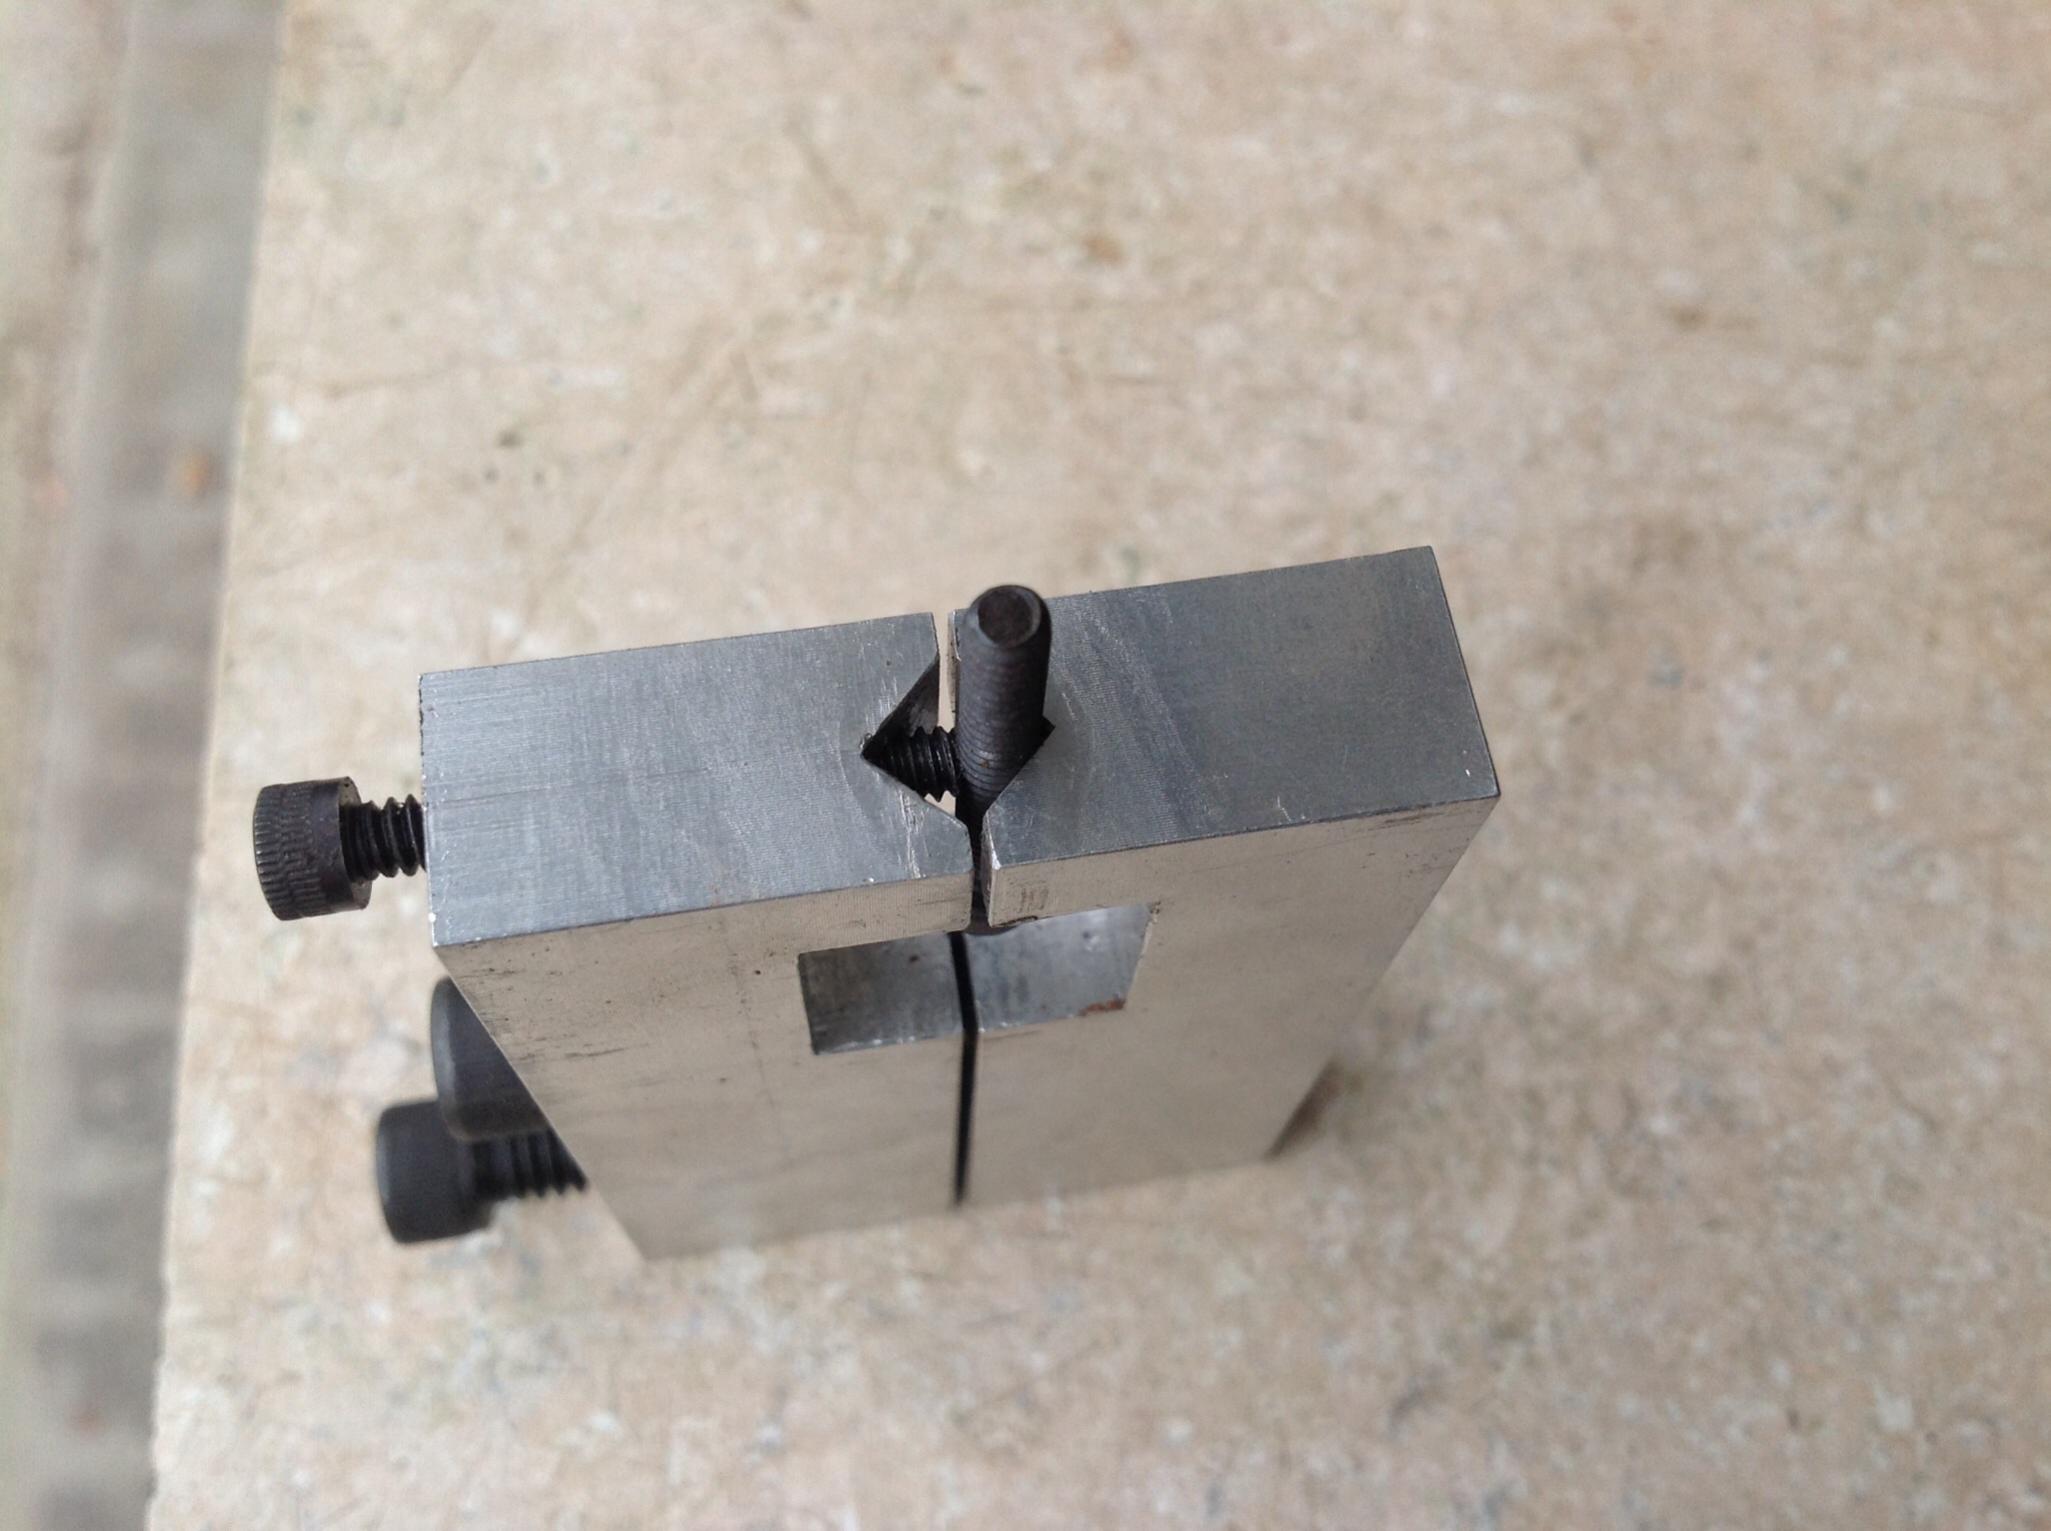
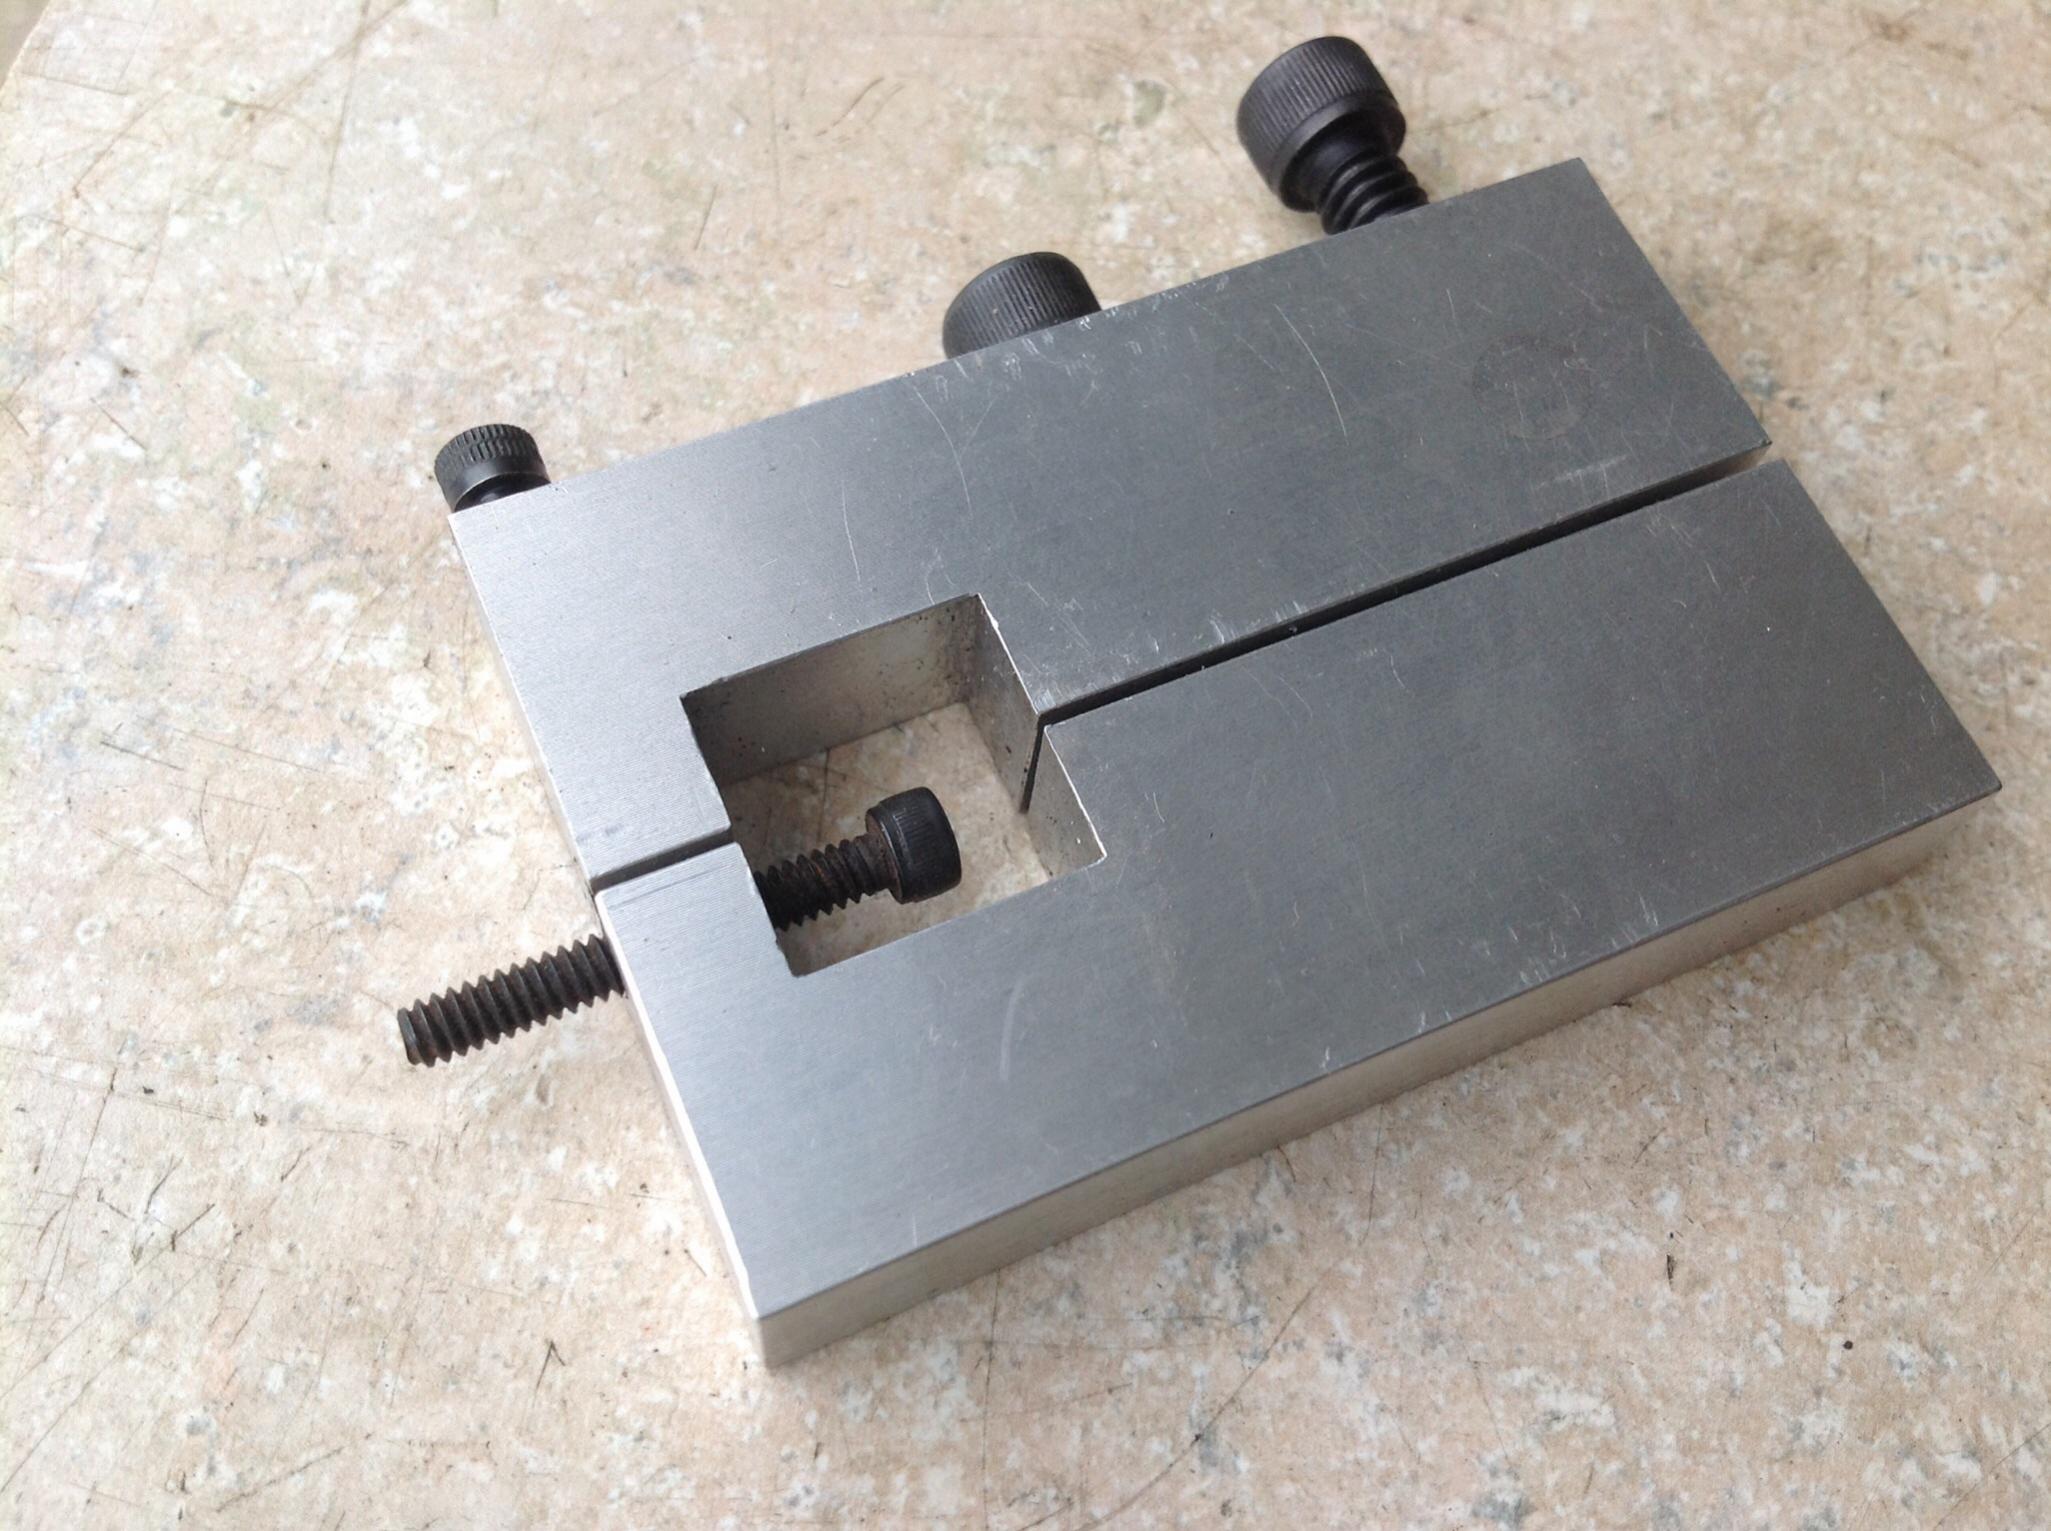
I'm using 80/20 extrusions for my main projects and am always having to modify the length of the 1/4" allenhead screws. Often just taking off 1/8" or less. This vise was just what I have been wishing for. I added the V cuts to the jaws and also the screw in the jaws so I could still grab really small screws. It also lays nicely on my mitre Gage on my metal bandsaw making the operation safe and easy. It also has come in handy for holding the screw head out to be able to grind heads for clearance. Another job I'm always having to do.
Thanks Marv :bow:
Attachment 19217Attachment 19218Attachment 19219Attachment 19220
-
You're very welcome, C-Bag. The bill for my royalties payment will be in the mail soon. (Just kidding, I get my payback from the fact that folks find some of my ideas good enough to use in their own shops.)
Nice job, BTW. Looks very professional.
-
Thanks Marv. This is my first attempt to cut a V and pointed out painfully that I had much to learn.
The finish was much nicer before I started using it. It is aluminum so scars easily. The finish was all done on the old Atlas 7b shaper. As close to a ground finish as possible without a surface grinder.
-
To make cutting small V-grooves easier, get yourself a "drill mill"...
2 Flute 90° Angle "Drill-Mill" Single End Mills
They're available in a variety of diameters and point angles. One major advantage is that they make it a doodle to place the center of the V-groove exactly where you want it, something that's difficult, though not impossible doing it the tilted-workpiece way.
-
Good tip. My next thing to learn on the shaper is how to cut V's and dovetails. I was going to try it with this project but I thought I had it more figured out on the mill with a regular two flute end mill. That's when I realized it was a little more complicated than I had envisioned. I'm sure there is some simple process to it that I'm not aware of. I did learn a lot though. My new DRO on the old mill/drill really came in handy. I ended up getting it close enough for this.
-
C-Bag,
Very nicely made fixture. I have been looking for something like this but didn't think of the Vee grooves to accommodate the various screws diameters. Now , I think of making a series of these to accommodate different screw diameters. Great inspiration.
Thanks,
Paul Jones
-
<!-- BEGIN /var/www/html/homemadetools/protected/modules/zeus/views/tool/postUpdate.php -->
Thanks C-Bag! We've added your Lantern Vise to our Vises category,
as well as to your builder page: C-Bag's Homemade Tools. Your receipt:
<div id="blocks">
<div class="block b1 pngfix">
<div class="bimg">
<div>
<a href="http://www.homemadetools.net/homemade-lantern-vise">
<img src="/uploads/203553/homemade-lantern-vise.jpeg"/>
</a>
</div>
</div>
<div class="head pngfix"></div>
<div class="left pngfix"></div>
<div class="right pngfix"></div>
<div class="blockover b1 pngfix">
<div class="title">
<a href="http://www.homemadetools.net/homemade-lantern-vise">Lantern Vise</a>
<span> by <a href="http://www.homemadetools.net/builder/C-Bag">C-Bag</a></span>
</div>
<div class="tags">tags:
<a href='http://www.homemadetools.net/tag/vise'>vise</a> </div>
</div>
</div>
</div>
<!-- END /var/www/html/homemadetools/protected/modules/zeus/views/tool/postUpdate.php -->
-
Thanks Paul. This vise covers a lot of sizes because of that cross screw in the jaw. Haven't tried to see the largest it will go. The major factor is the head and most of what I've been doing is socket heads. I have thought though of making a larger one but tend to not think that far ahead.
The basic idea Marv came up with is fantastic, just needed a couple of tweeks and its handier than a shirt pocket full of sliced bread!
-
1 Attachment(s)
That shirt pocket increases! Now it carries loaves of bread?
Vee's of most sizes are more easily produced by cutting a relief before removal [or just before finishing depending on methods in play] Vee portion itself.
Attachment 19240The relief keeps the 'corner' and side of the cutter from being engaged by material. Just flip part and run other edge; both sides now more alike than other means. A big deal when final finish is after heat treating etc.
Hack saw, band saw. circular blade, cutoff wheel, end mill...all applicable. Then with a little preparatory set up, symmetrical form is simplified. Also allows in milling/ grinding/ shaping using same cutting action to finish both sides, one at a time; avoids profiling one side while end milling other.
-
Makes sense TM51. How would you do the relief cut? Like with a small end mill, or? Sorry, I'm a noob.