Free 186 More Best Homemade Tools eBook:  
Get 2,000+ tool plans, full site access, and more.

User Tag List

Results 1 to 6 of 6

Thread: Modification to 6 x 9 Combination Sander Roller Guard

  1. #1
    Supporting Member natie123's Avatar
    Join Date
    Sep 2017
    Location
    Eastern Cape, RSA
    Posts
    32
    Thanks
    60
    Thanked 121 Times in 18 Posts

    natie123's Tools

    Modification to 6 x 9 Combination Sander Roller Guard

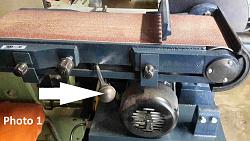
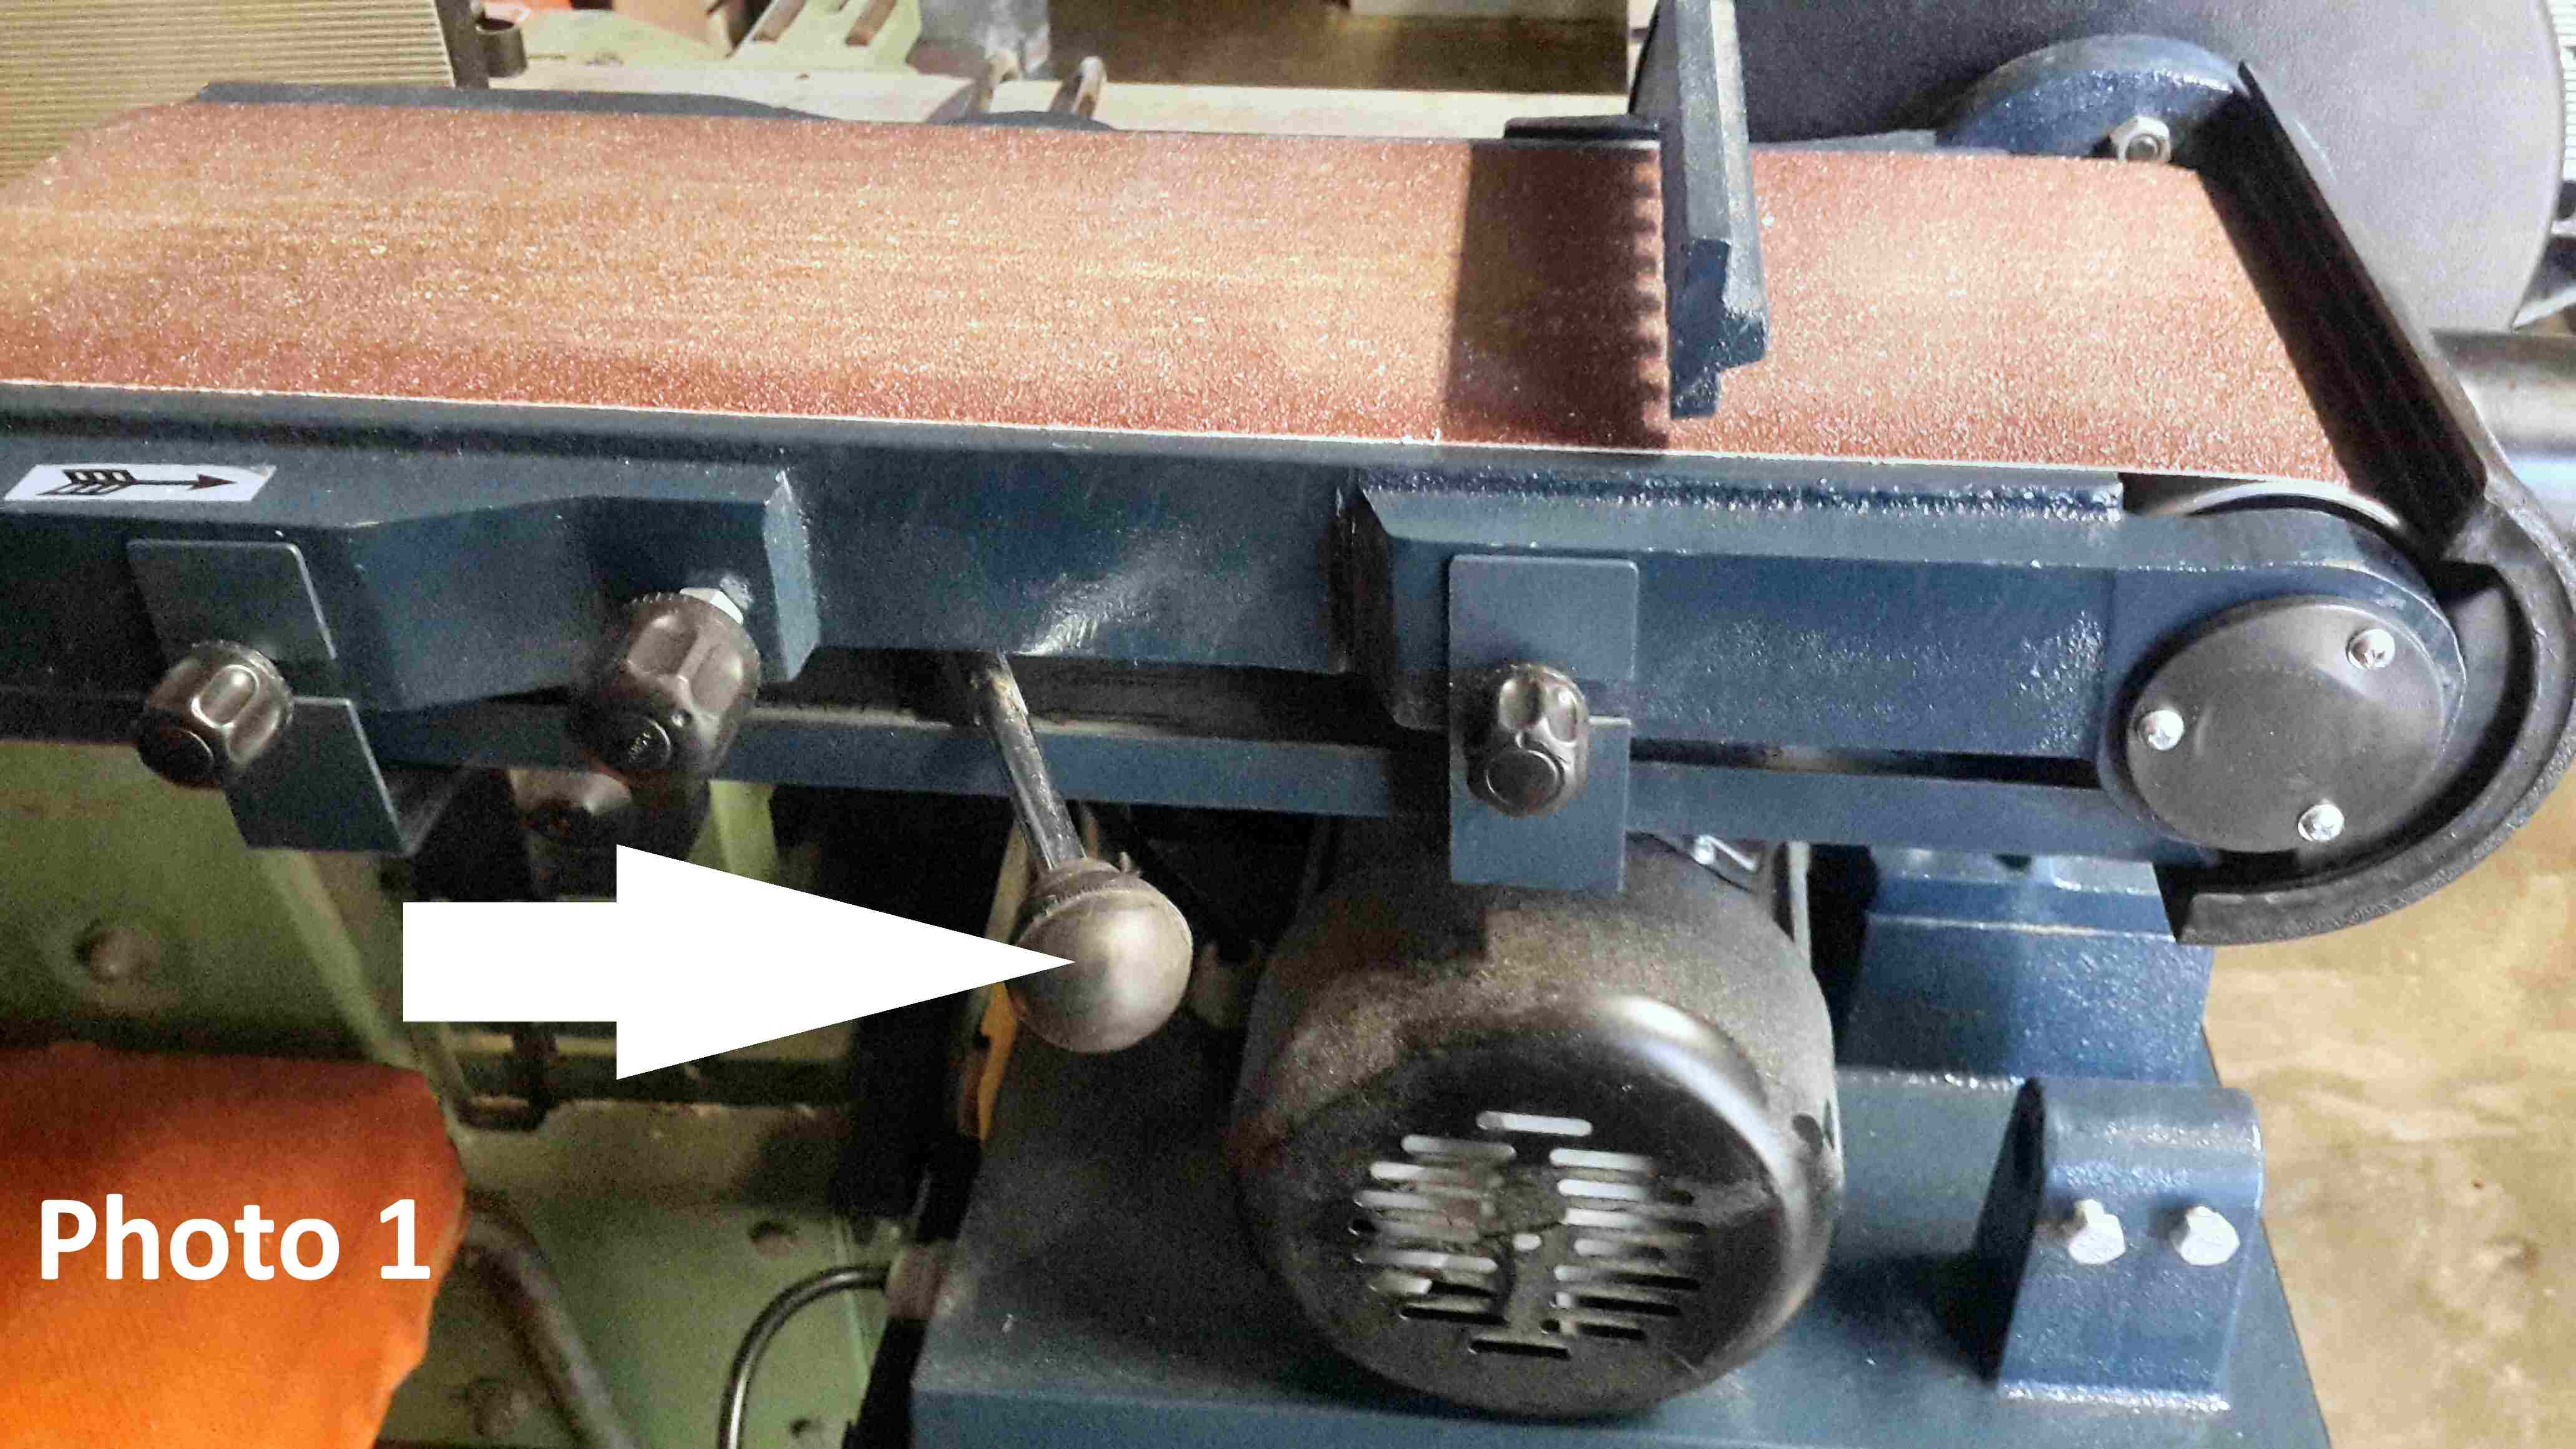
    I recently acquired a combination disk/belt sander of Eastern manufacture. One of the plus points of the tool is the quick release tension lever used when changing belts (Photo 1). Other models require a tedious process involving adjusting tension and re-tracking the belt every time you change belts. Unfortunately the roller guard/dust port, which needs to be removed when changing belts, is affixed with four M4 screws (one on the left-hand side and three on the right-hand side), which have to be unscrewed every time you change belts.
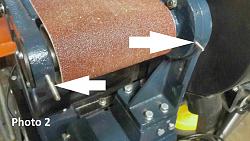
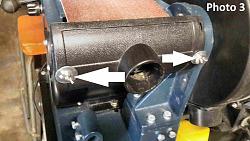
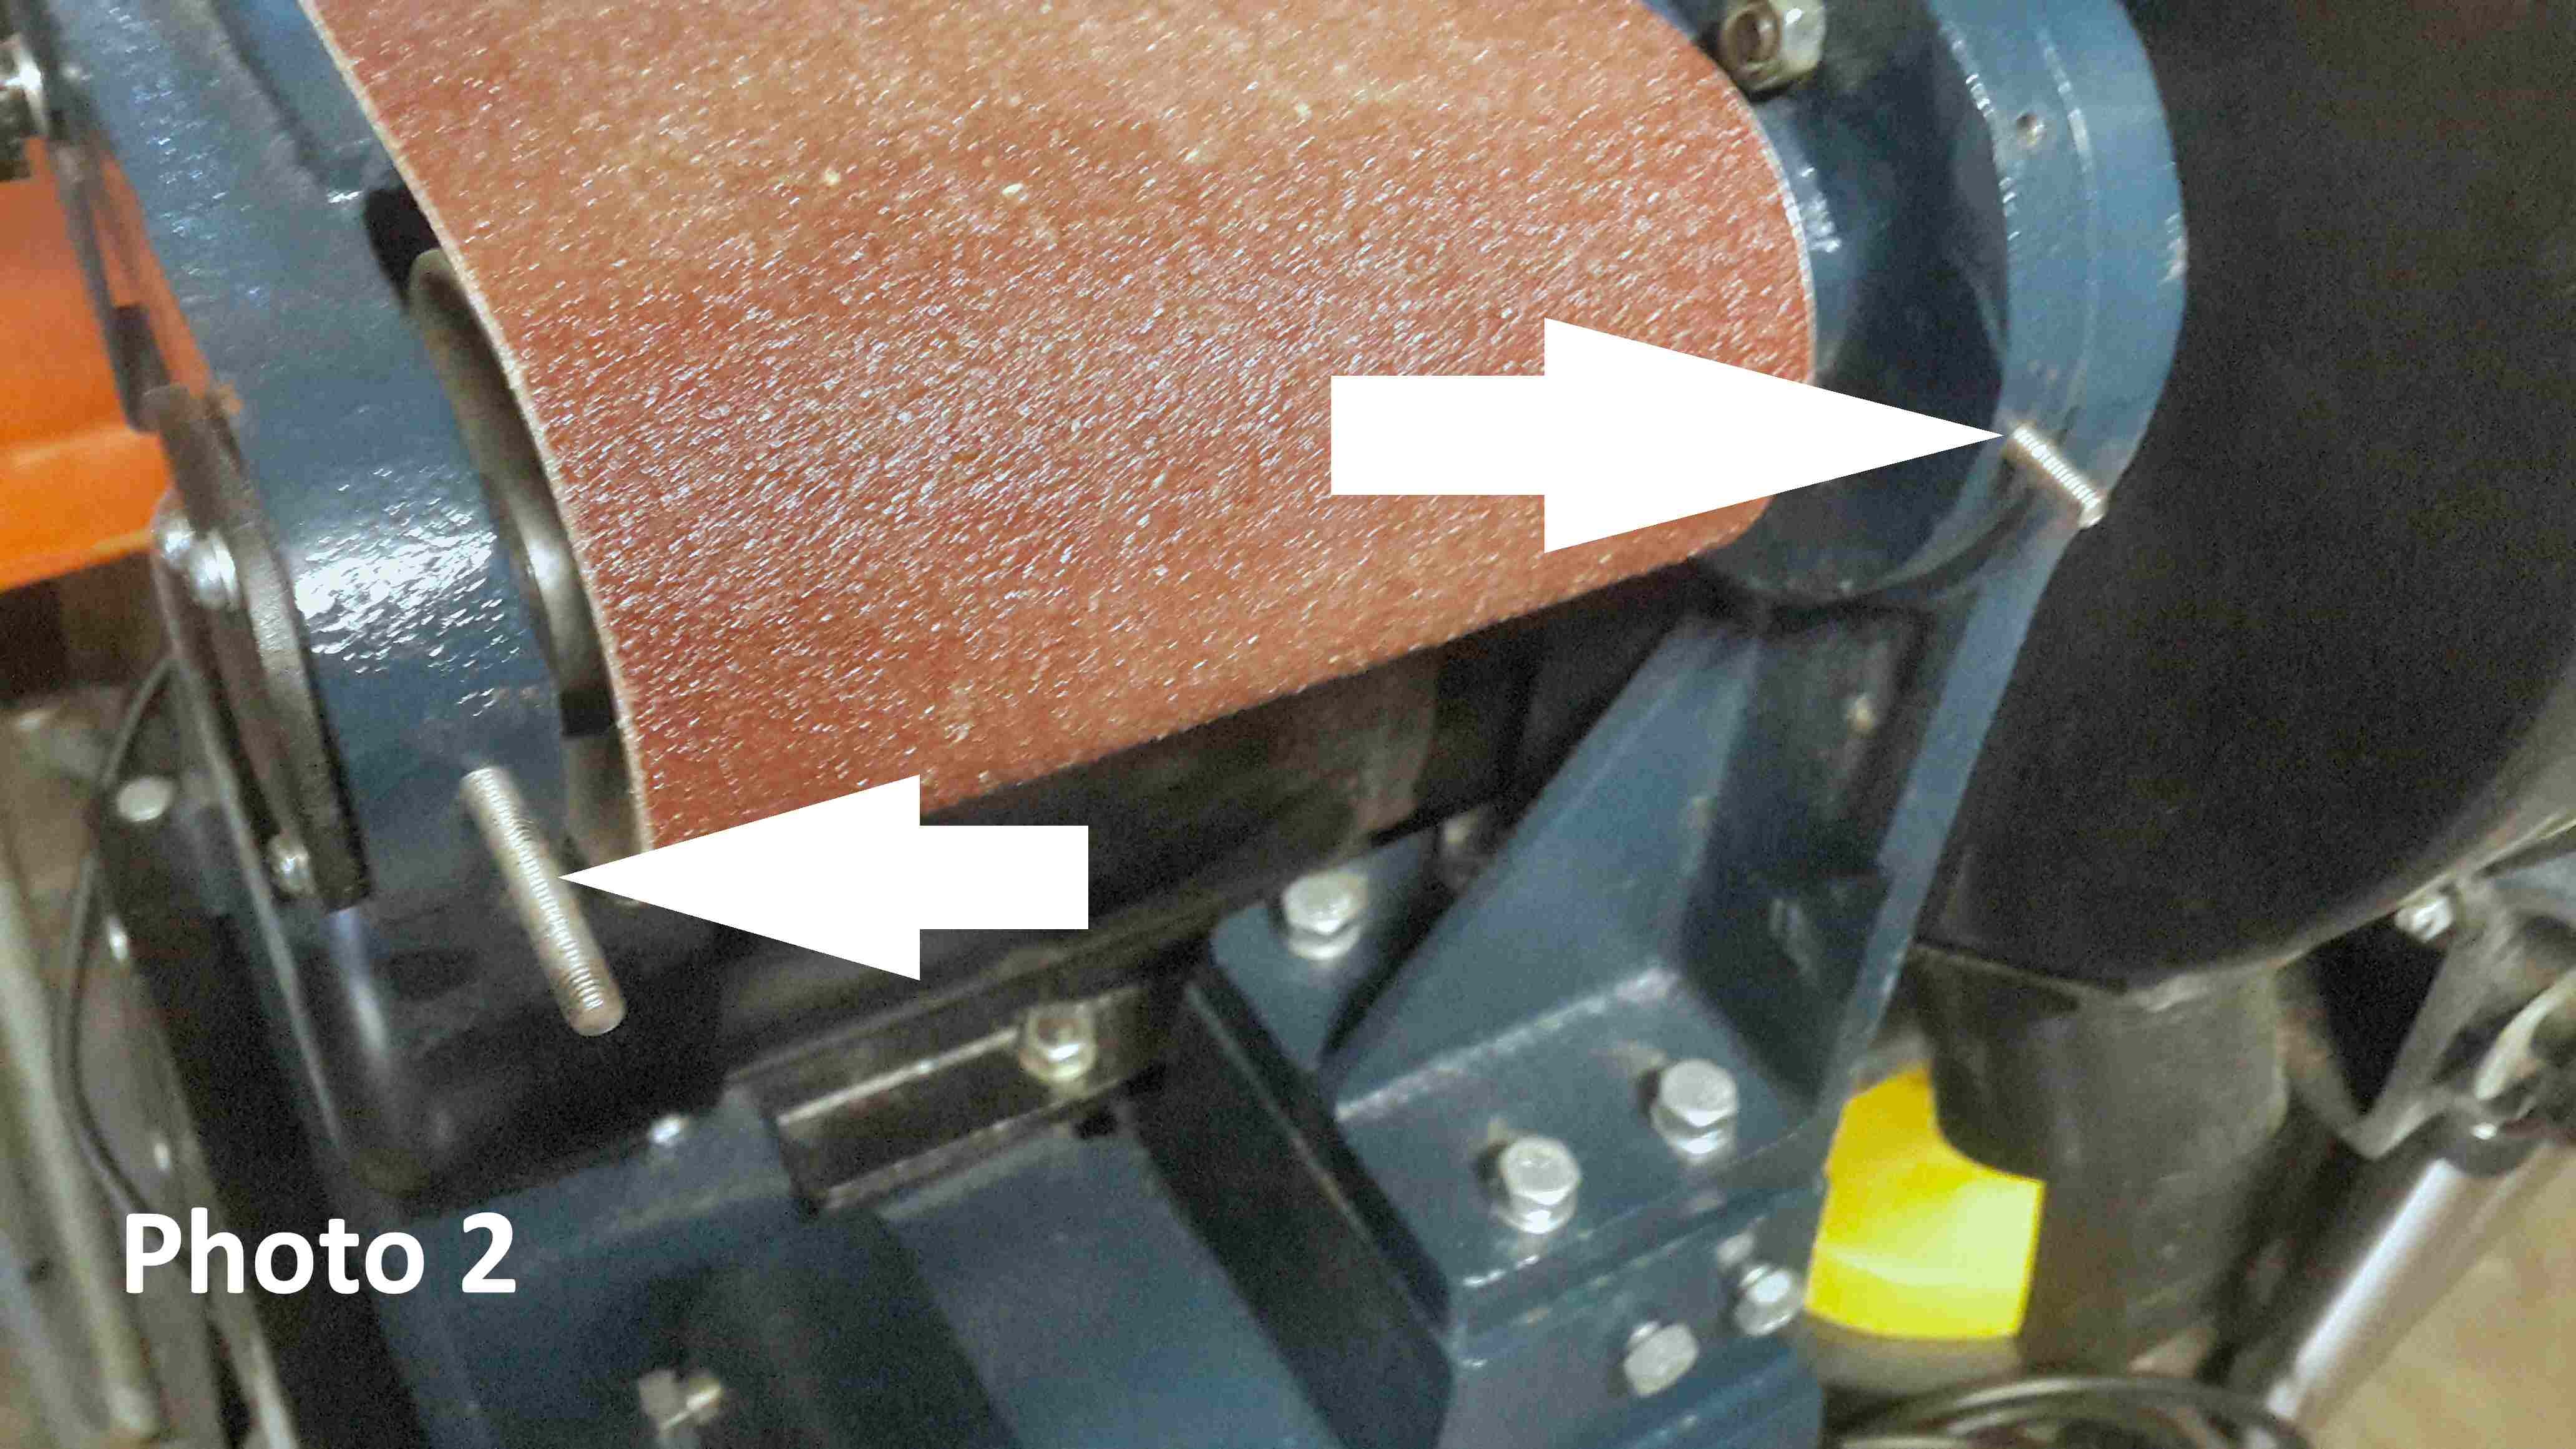
    I do not want to use the tool without the ability to connect my shop vacuum to the dust port. I therefore drilled and tapped the hole on the left-hand side and the center hole on the right hand side to M5. I then inserted a section of M5 threaded rod on either side (Photo 2). The cover is then affixed with M5 wing-nuts and fender washers (Photo 3). It now takes a few seconds to unscrew the wing-nuts and remove the cover when changing belts (without using tools).
    Modification to 6 x 9 Combination Sander Roller Guard-6x9-photo-1.jpg Modification to 6 x 9 Combination Sander Roller Guard-6x9-photo-2.jpg Modification to 6 x 9 Combination Sander Roller Guard-6x9-photo-3.jpg

    186 More Best Homemade Tools eBook

  2. The Following 5 Users Say Thank You to natie123 For This Useful Post:

    Gregraper33712 (May 18, 2018), PJs (May 17, 2018), rlm98253 (May 17, 2018), rossbotics (May 18, 2018), Seedtick (May 17, 2018)

  3. #2

    Join Date
    Jun 2016
    Posts
    25
    Thanks
    12
    Thanked 16 Times in 8 Posts
    Good move Natie123. My next project for certain.

    May I strongly suggest another modification that is safety related.

    If yours is like mine the on/off switch is directly under the belt and that means that if the belt shreds and you instinctively reach for that switch all the flesh CAN be flayed from your hand.

    A friend had a belt shred on his and as he reached for the wall switch to kill it he leaned forward a few cm and lost the tip of his nose. Not pretty.

    Unfortunately I will not be home for a few days yet so I cannot send photos today of how I modified mine but I will as soon as I get the chance.

    2000 Tool Plans
    Last edited by Mi Tasol; May 18, 2018 at 07:29 PM.

  4. #3
    Content Editor
    Supporting Member
    DIYer's Avatar
    Join Date
    Aug 2013
    Posts
    3,056
    Thanks
    772
    Thanked 1,852 Times in 1,653 Posts


    Thanks natie123! We've added your Sander Guard Modification to our Sanding category,
    as well as to your builder page: natie123's Homemade Tools. Your receipt:


  5. #4
    Supporting Member natie123's Avatar
    Join Date
    Sep 2017
    Location
    Eastern Cape, RSA
    Posts
    32
    Thanks
    60
    Thanked 121 Times in 18 Posts

    natie123's Tools
    Thanks Mi Tasol. Sounds scary. Will certainly check if my machine poses the same risk. Awaiting your photos.

  6. #5

    Join Date
    Jun 2016
    Posts
    25
    Thanks
    12
    Thanked 16 Times in 8 Posts
    Quote Originally Posted by Mi Tasol View Post
    I will as soon as I get the chance.
    These photos show the original and relocated positions of the original switch. Also shown is the knee switch I am about to fit. USD26 from Amazon (https://smile.amazon.com/Switch-Star...ds=hy56+switch). The same make and model costs $100 in Aus, the postage from Sydney is more than the postage from Seattle, and AusPost regularly take 12 days from Sydney (1800km/1200miles) so I got it four days faster as well. Amazon also have a similar switch for only USD 13.99 but I know this brand so went with it.

    Modification to 6 x 9 Combination Sander Roller Guard-1.jpg

    Modification to 6 x 9 Combination Sander Roller Guard-2.jpg

    Modification to 6 x 9 Combination Sander Roller Guard-3.jpg

    I should have purchased a mounting box for it from Amazon as well as it does not quite fit the local boxes, looks like another weeks delay.

    Nearly forgot - the bearings between the belt spindle and the drive pulley fail regularly on the brand I have (not the only victim) and one of them is a standard bearing with a groove cut in it for a circlip. Not available in Aus. Thank god for the Loctite bearing glue.
    Last edited by Mi Tasol; May 26, 2018 at 05:37 PM. Reason: bearings

  7. The Following 2 Users Say Thank You to Mi Tasol For This Useful Post:

    Jon (May 27, 2018), natie123 (May 27, 2018)

  8. #6
    Supporting Member natie123's Avatar
    Join Date
    Sep 2017
    Location
    Eastern Cape, RSA
    Posts
    32
    Thanks
    60
    Thanked 121 Times in 18 Posts

    natie123's Tools
    Thank you for the photos Mi Tasol. This modification will greatly enhance safety. I like the idea of the knee switch. Some of my other machines will also be safer with a knee or foot switch.


    186 More Best Homemade Tools eBook

Thread Information

Users Browsing this Thread

There are currently 1 users browsing this thread. (0 members and 1 guests)

Bookmarks

Posting Permissions

  • You may not post new threads
  • You may not post replies
  • You may not post attachments
  • You may not edit your posts
  •