
 LinkBack URL
 About LinkBacks

Being in the motorcycle repair trade, being able to balance a wheel after fitting a tyre is essential. I have long been toying with the idea of making a new balancer, since my old one made out of scrap that was lying around had a few issues. So here it is.
The working theory is that, on it's own axle, the wheel will always rotate until the heaviest part is at the bottom. To aid with the smooth rotation, the balancer's axle makes use of the wheels own bearings in the hub, as well and resting on another set of bearings.
Once the wheel has settled (notice the pendulum action of the wheel in the video) the heaviest point is at the bottom. Then it's just a matter of adding weight to the topmost point, and adjusting the amount of weight to counterbalance the discrepancy in the wheel itself.
The wheel is correctly balanced when it stops rotating at different points each time it is prompted.
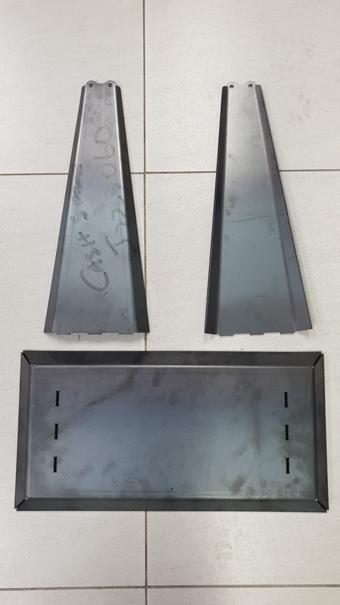
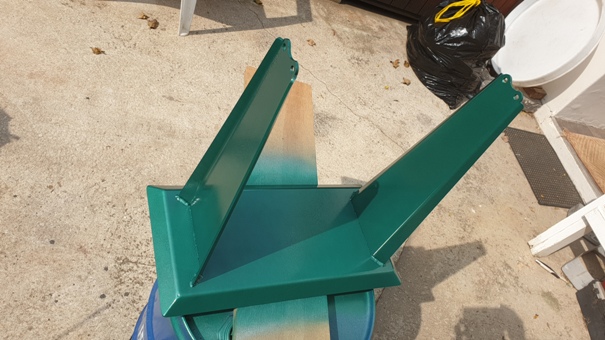
I had the frame laser cut and bent professionally.
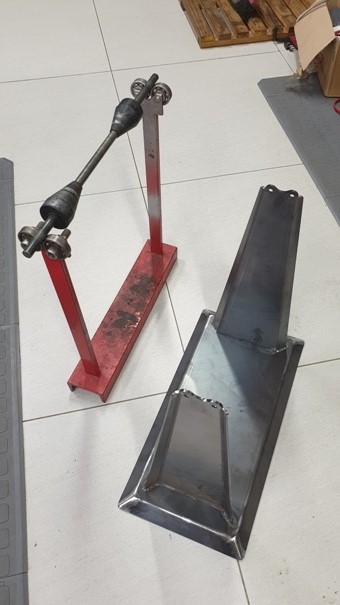
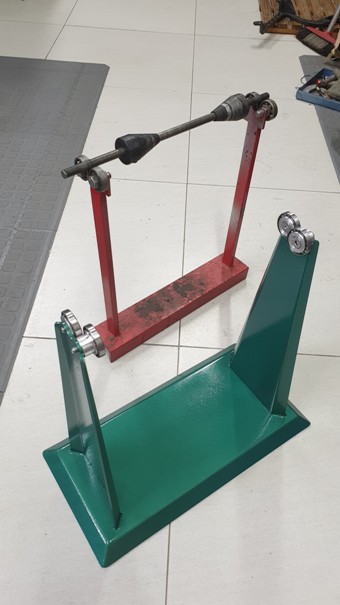
Here it is welded up, alongside the one it will be replacing.
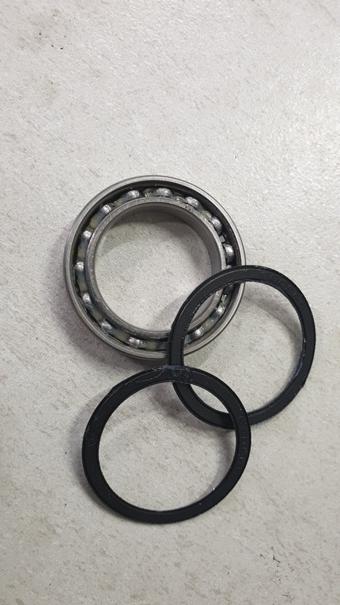
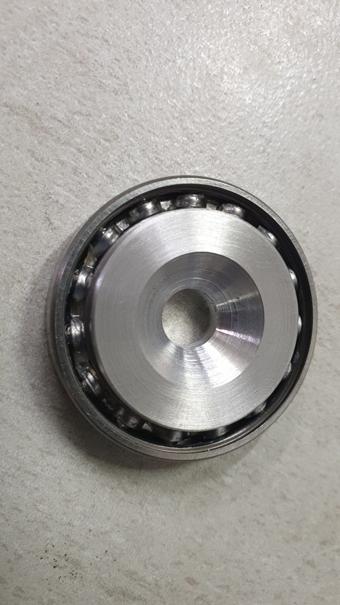
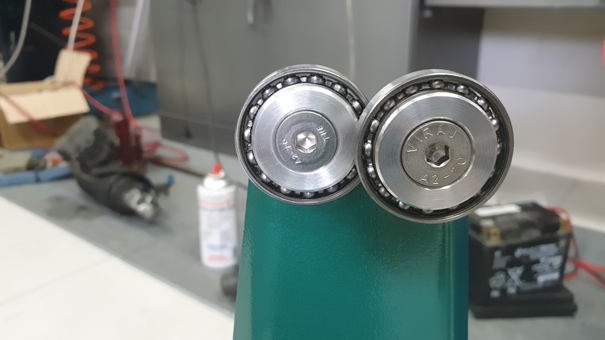
The new bearings were stripped of their seals and cleaned out to reduce most of the resistance.
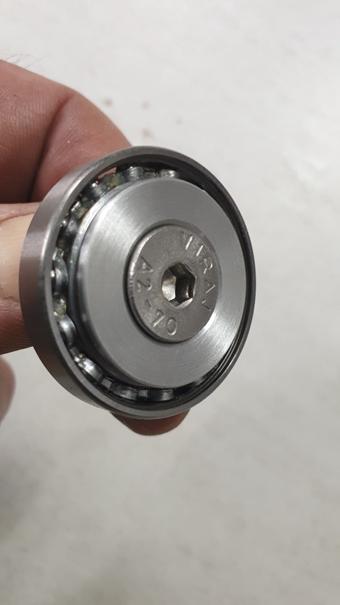
Inserts were turned on the lathe to attach the bearings to the frame uprights.
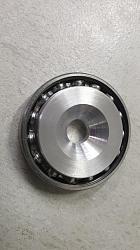
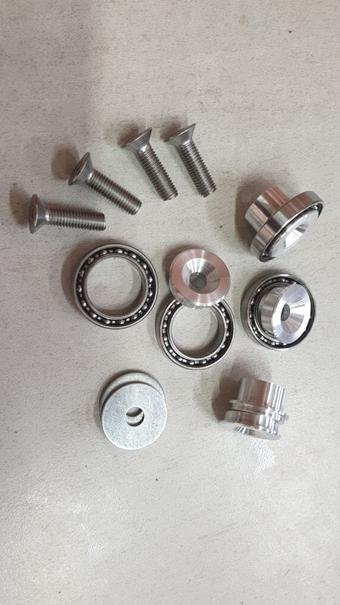
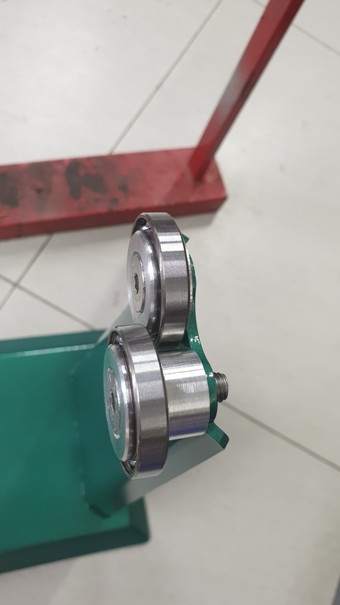
Here is the complete set of bearings and inserts. Two are shorter, and two longer. This is to enable the bearings to overlap each other to reduce the depth of the "V" they create. I didn't want the axle lying deep in the "V", as this creates extra pressure on the bearings. I wanted it lying instead on the "V" as it were.
A quick lick of paint
And assembled alongside it's predecessor.
Here the overlap in the bearings can be seen.

And here it is in action.


 Reply With Quote

Bookmarks