Free 186 More Best Homemade Tools eBook:  
Get 2,000+ tool plans, full site access, and more.

User Tag List

Page 2 of 2 FirstFirst 1 2
Results 11 to 14 of 14

Thread: Electro-etching Metal Using a Stick On Label

  1. #11
    Supporting Member schuylergrace's Avatar
    Join Date
    Sep 2020
    Location
    Mesa, Arizona
    Posts
    355
    Thanks
    283
    Thanked 169 Times in 106 Posts
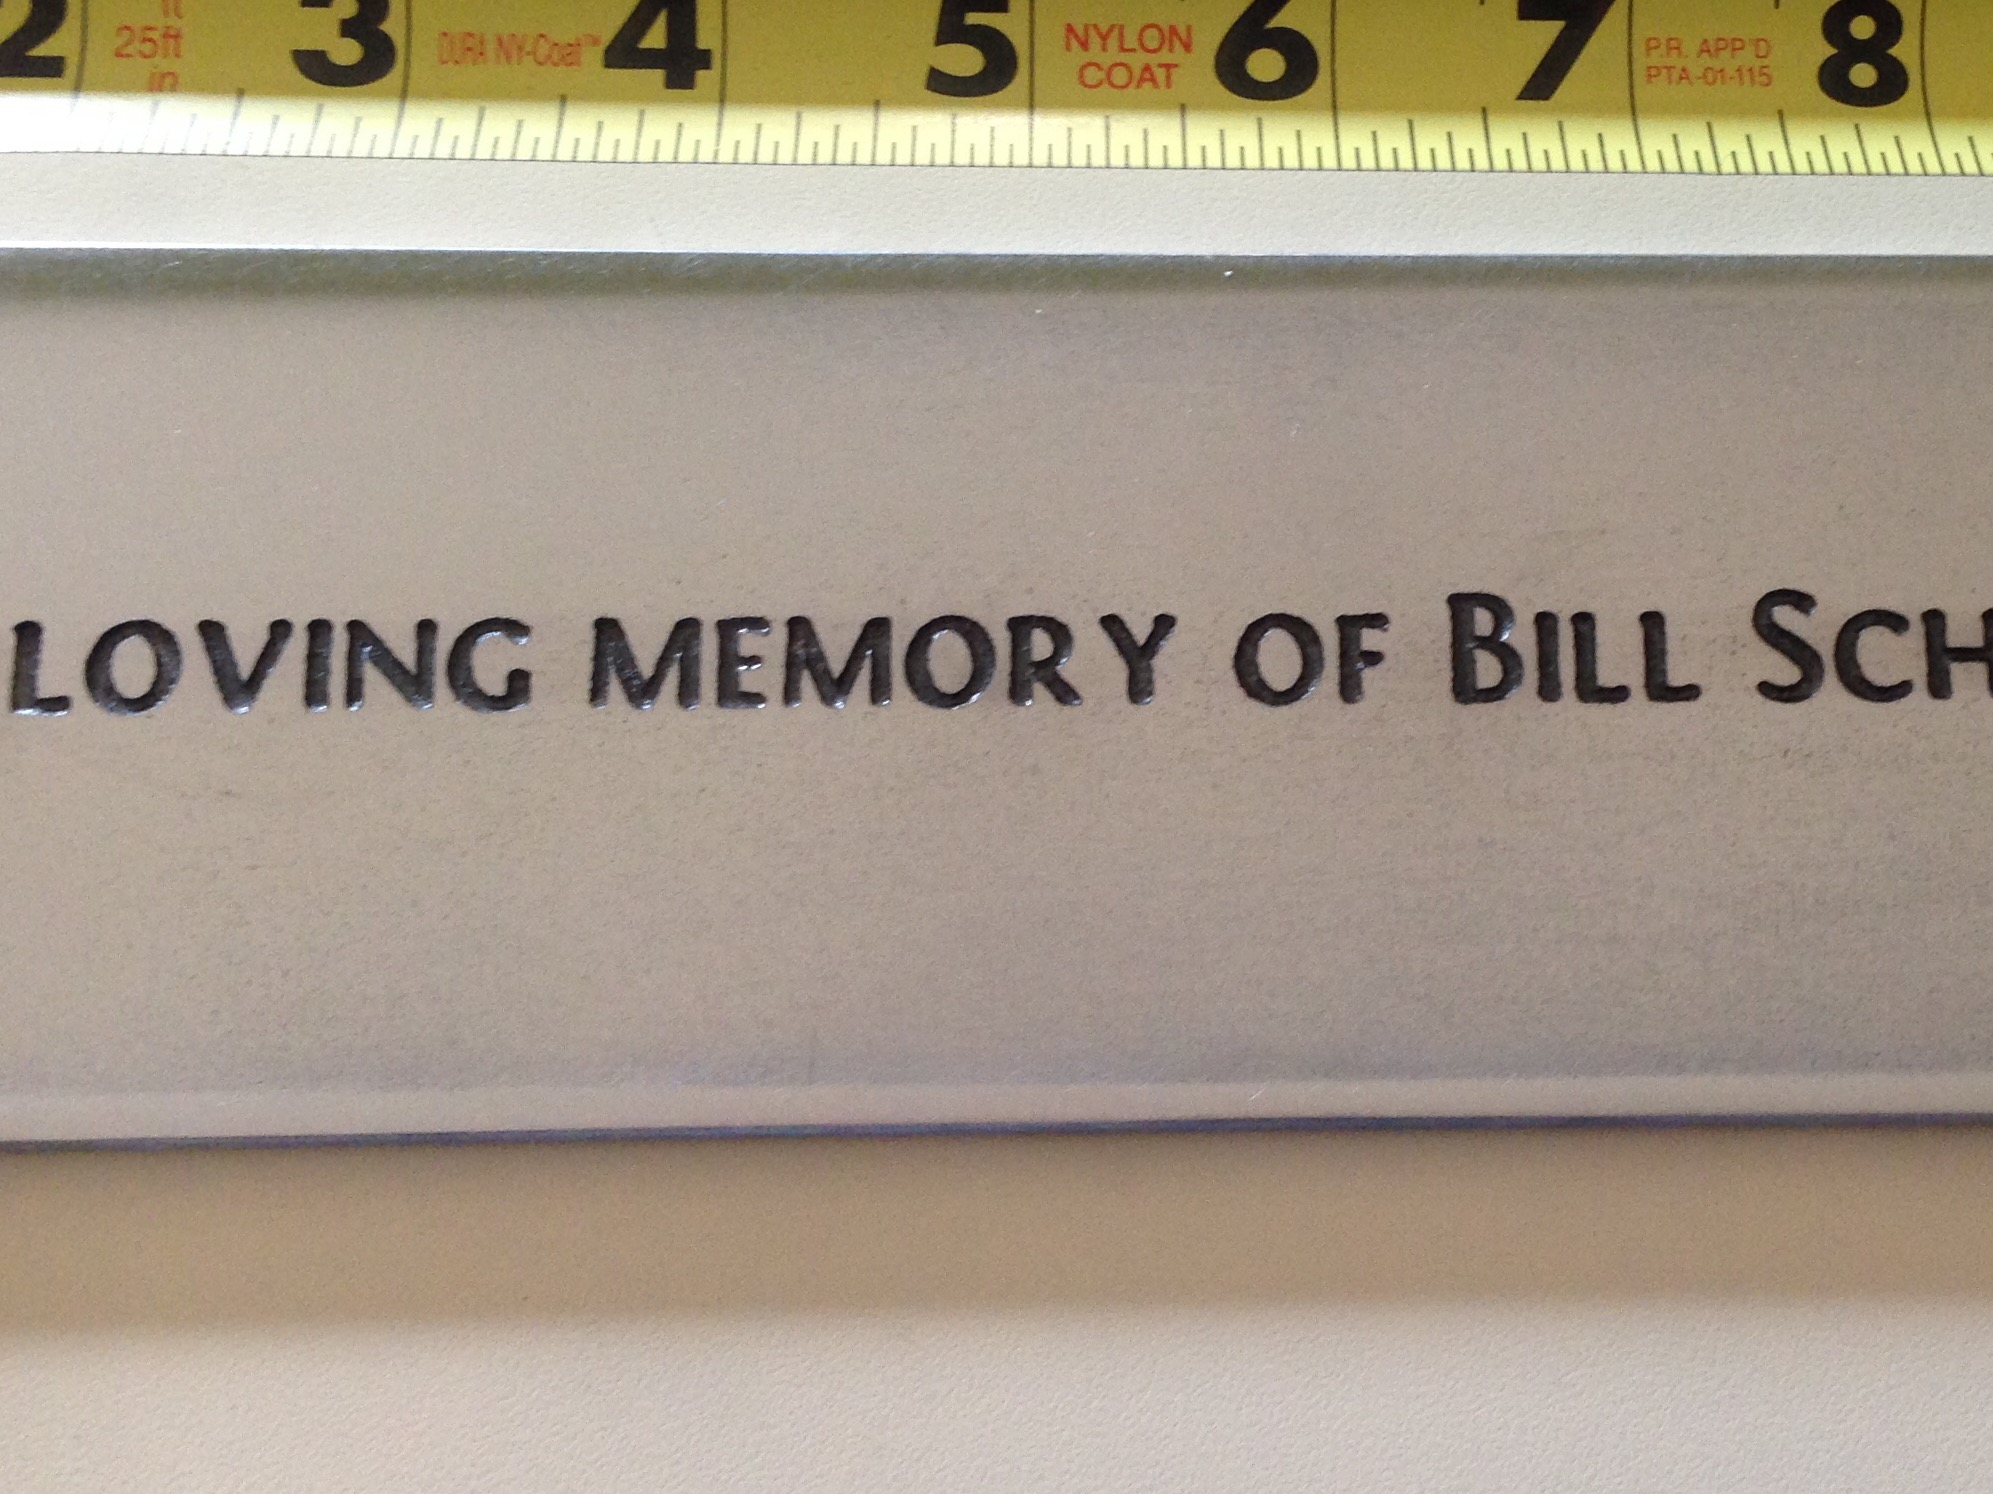
    This is a piece of hot rolled mild steel plate I electro-etched to about 1/16" depth. I made a stencil from heavy duty, self adhesive vinyl, attached an electrode to the back of the blank, attached the stencil, and sealed the rest of the blank, except the lettering, to confine the etch to just the letterforms. Instead of etching it with a swab, the entire blank was submerged in a tub of saturated brine, along with a separate electrode made from another piece of steel. If I'm not mistaken, the etch took about 30 minutes, but I don't have the details in front of me (time, voltage, polarity, and current). It was easy enough that this was just my first attempt after running a test piece, and it turned out nicely. When I get around to it, I want to try it on designs with both broader etched areas, as well as finer details.Electro-etching Metal Using a Stick On Label-plaque-sample-fontin.jpg

    186 More Best Homemade Tools eBook

  2. The Following 2 Users Say Thank You to schuylergrace For This Useful Post:

    JoeVanGeaux (Jul 23, 2021), rgsparber (Jul 23, 2021)

  3. #12
    Supporting Member rgsparber's Avatar
    Join Date
    Nov 2012
    Location
    Phoenix, AZ
    Posts
    1,277
    Thanks
    733
    Thanked 2,758 Times in 649 Posts

    rgsparber's Tools
    How did you cut the stencil?

    Rick

    2000 Tool Plans
    Rick

  4. #13
    Supporting Member schuylergrace's Avatar
    Join Date
    Sep 2020
    Location
    Mesa, Arizona
    Posts
    355
    Thanks
    283
    Thanked 169 Times in 106 Posts
    Quote Originally Posted by rgsparber View Post
    How did you cut the stencil?

    Rick
    I used a Cricut Maker machine. I believe I did the original layout in Adobe Illustrator, so I'd have more tools to get it just right (the typeface is Fontin). Getting this deep of an etch was right at the limits of what the vinyl adhesive would hold up to, but the test piece had a couple of spots where the vinyl separated enough to let the blank etch underneath. That was mostly because I wasn't perfectly careful about getting it well-adhered to the blank and making sure there were no air bubbles under the vinyl, especially at the edges.

  5. #14

    Join Date
    Nov 2019
    Posts
    1
    Thanks
    0
    Thanked 1 Time in 1 Post
    Came out pretty damn good!


    186 More Best Homemade Tools eBook

  6. The Following User Says Thank You to souljah714 For This Useful Post:

    schuylergrace (Aug 8, 2021)

Thread Information

Users Browsing this Thread

There are currently 1 users browsing this thread. (0 members and 1 guests)

Tags for this Thread

Bookmarks

Posting Permissions

  • You may not post new threads
  • You may not post replies
  • You may not post attachments
  • You may not edit your posts
  •