14 Attachment(s)
Silver Soldering threaded joint technique.
Hi All
This is a technique I use to silver solder two components held together with a thread.
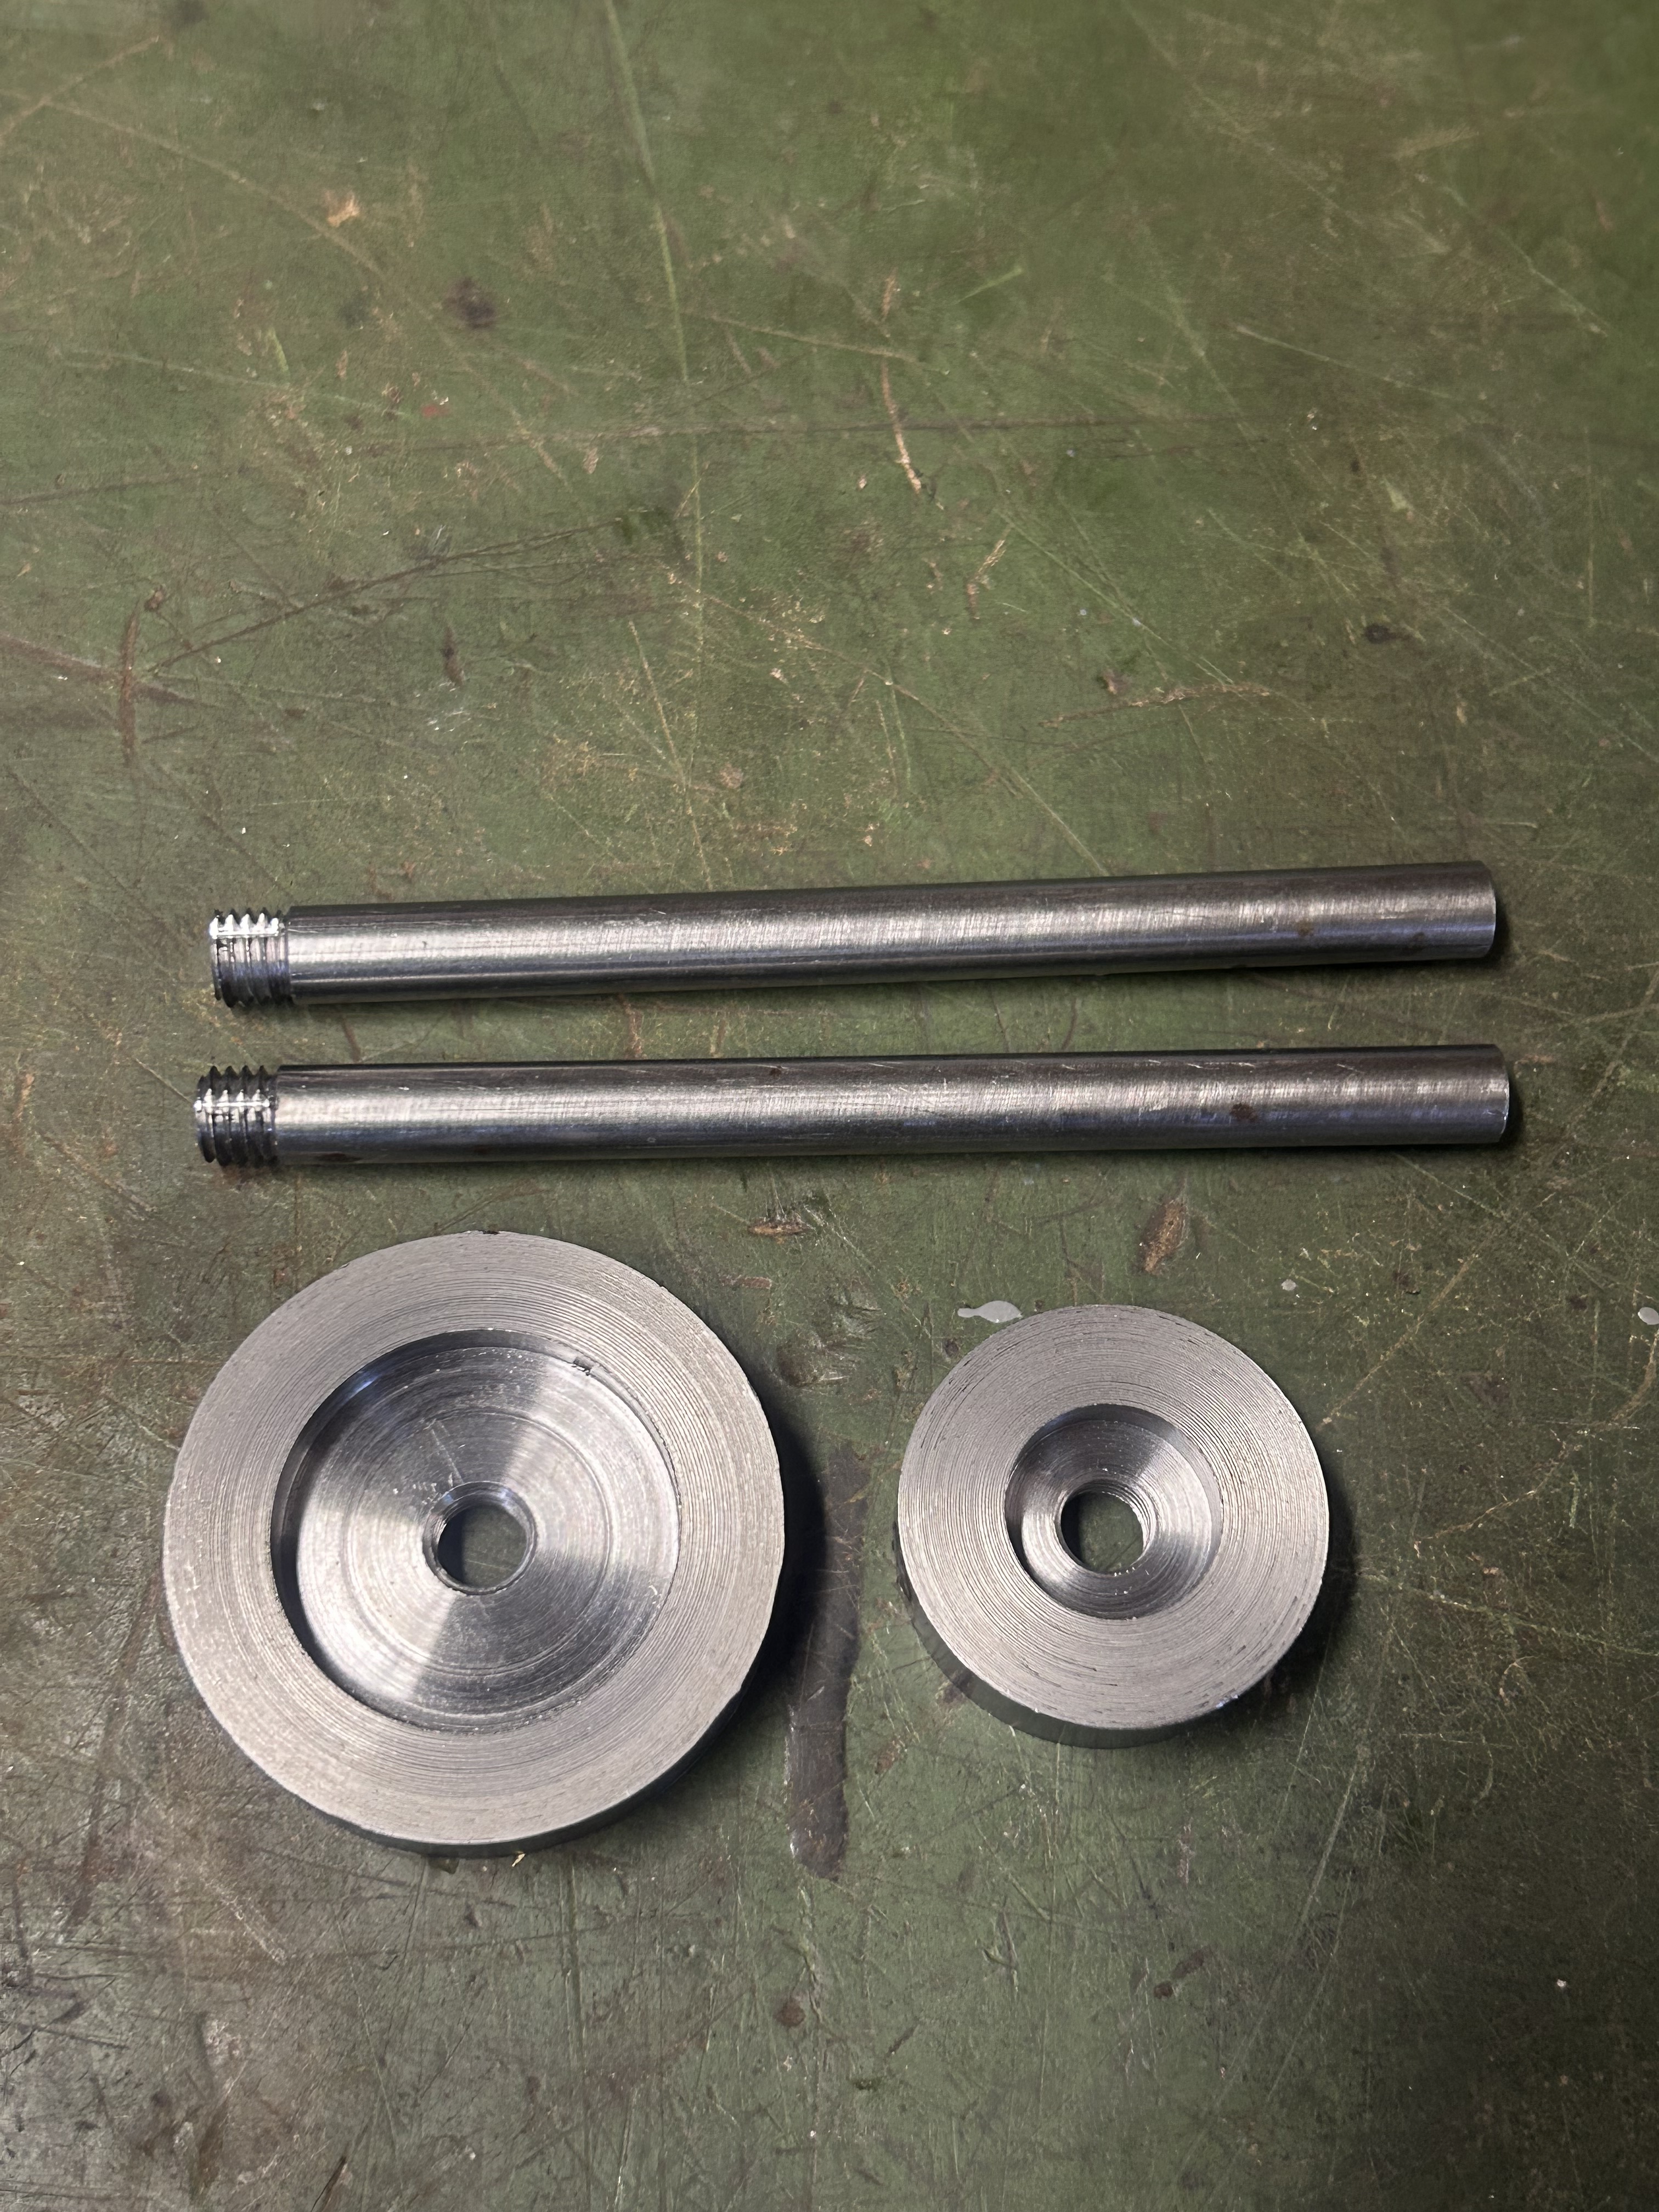
I am currently making the pistons for my 3” Foden Steam Wagon. These could have been machined from solid bar but would have been very wasteful. So opted for a two piece fabrication, silver soldered together. The fabricated pistons and rods are left oversized so they can be machined to dimensions after silver soldering, to make sure everything ends up true and concentric.
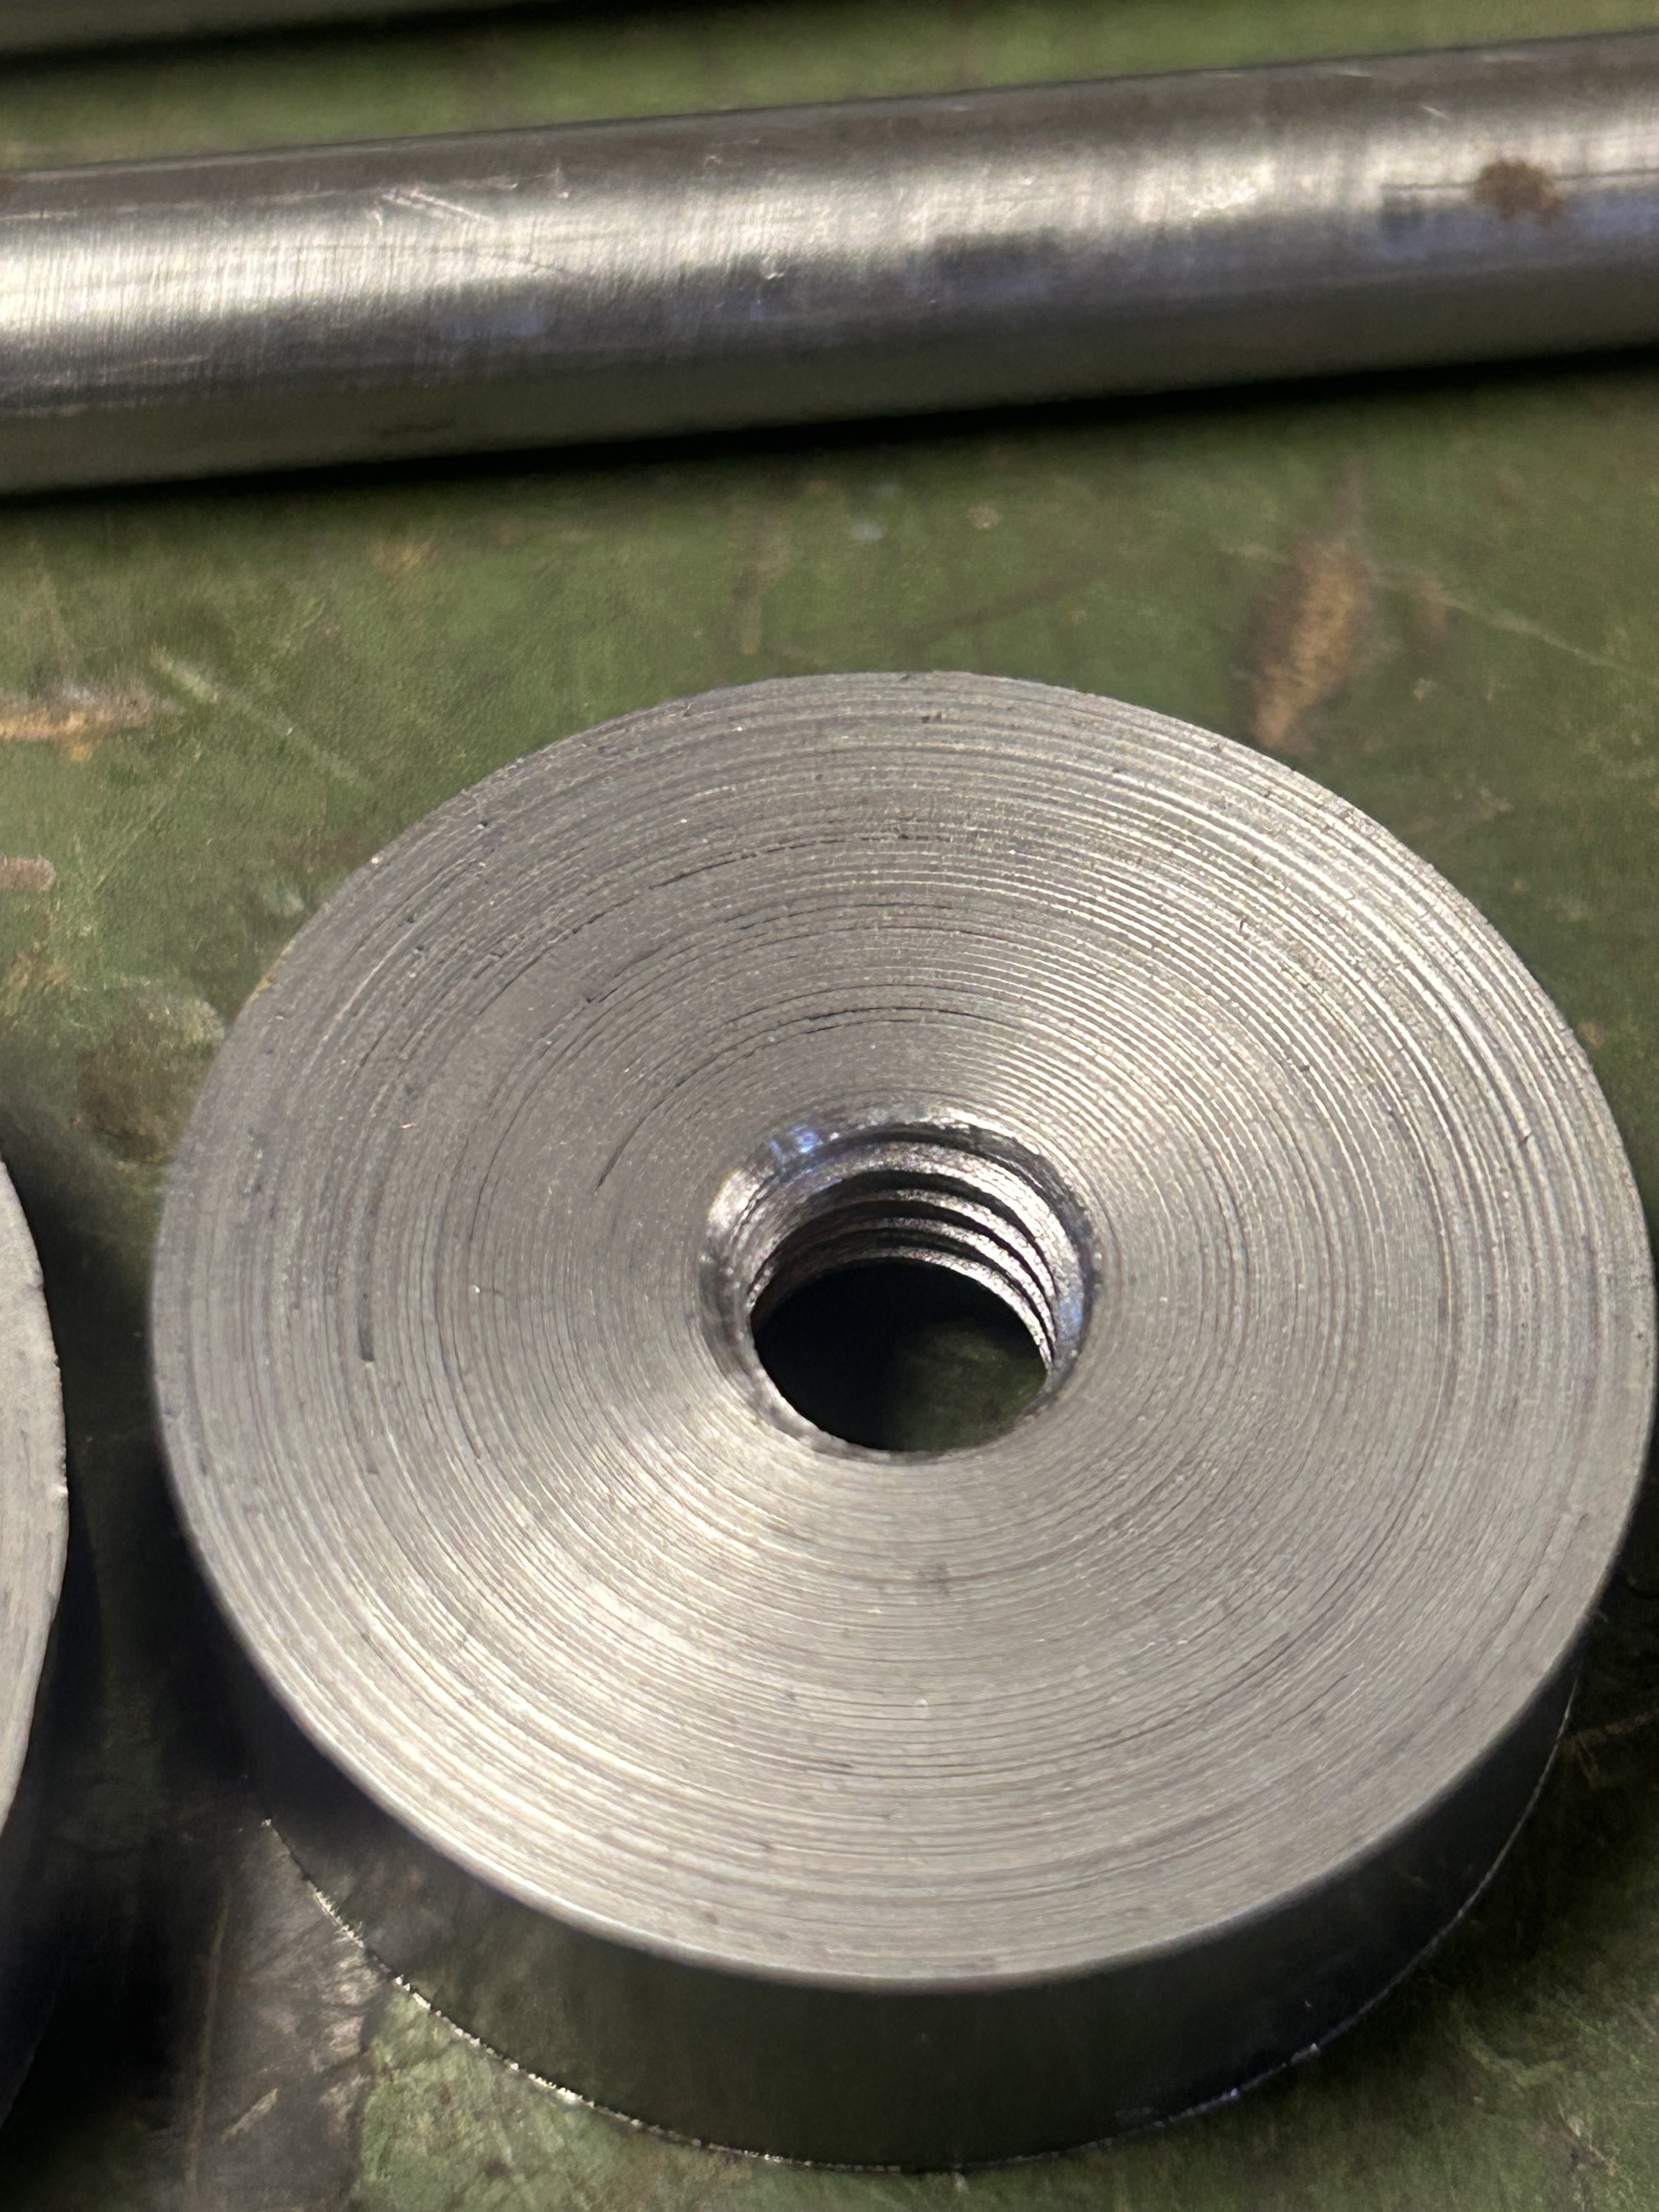
The two pieces were threaded M8 for added strength and then soldered. To ensure the solder on a joint like this can flow freely through the joint and around the threads, I like to plane a groove along the thread to aid good penetration through the joint. The threads are also not tightened as the solder relies on a gap for the capillary action for the solder to flow.
The photos will help show the process.
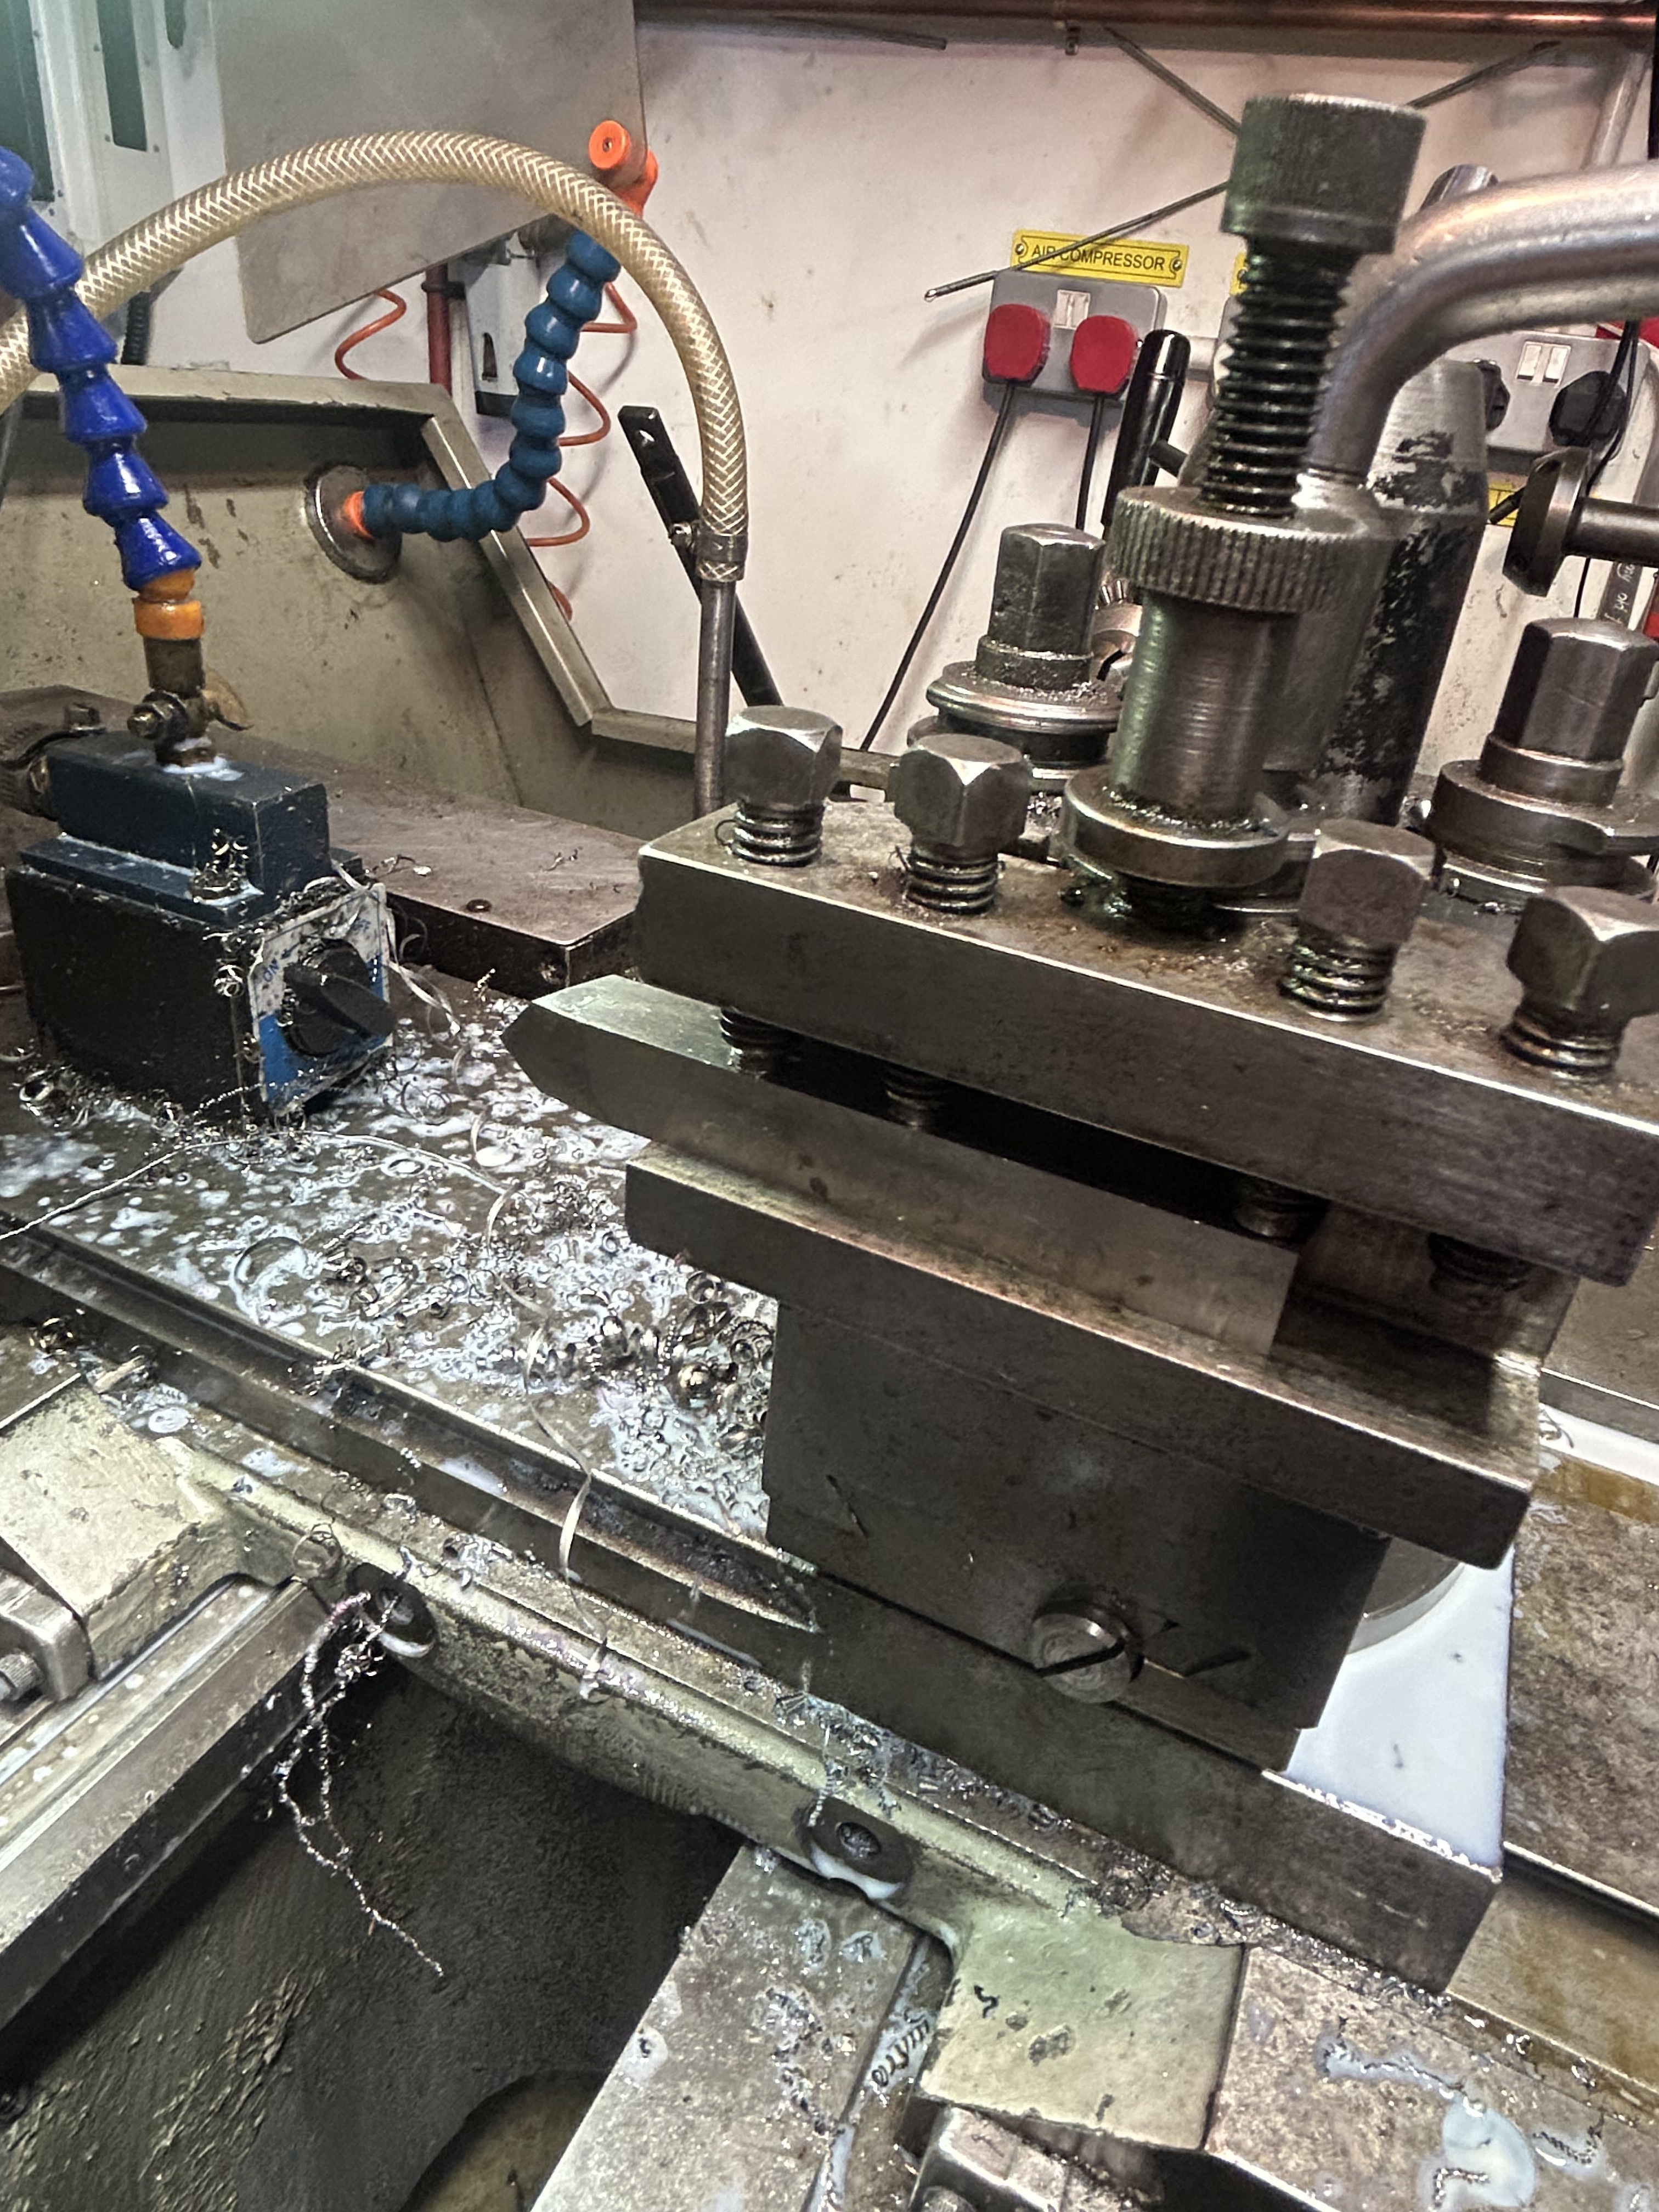
Attachment 47589 HSS chamfering tool turned on its side so the grove can be planned/broached.
Attachment 47590 Tool in place ready to cut grove.
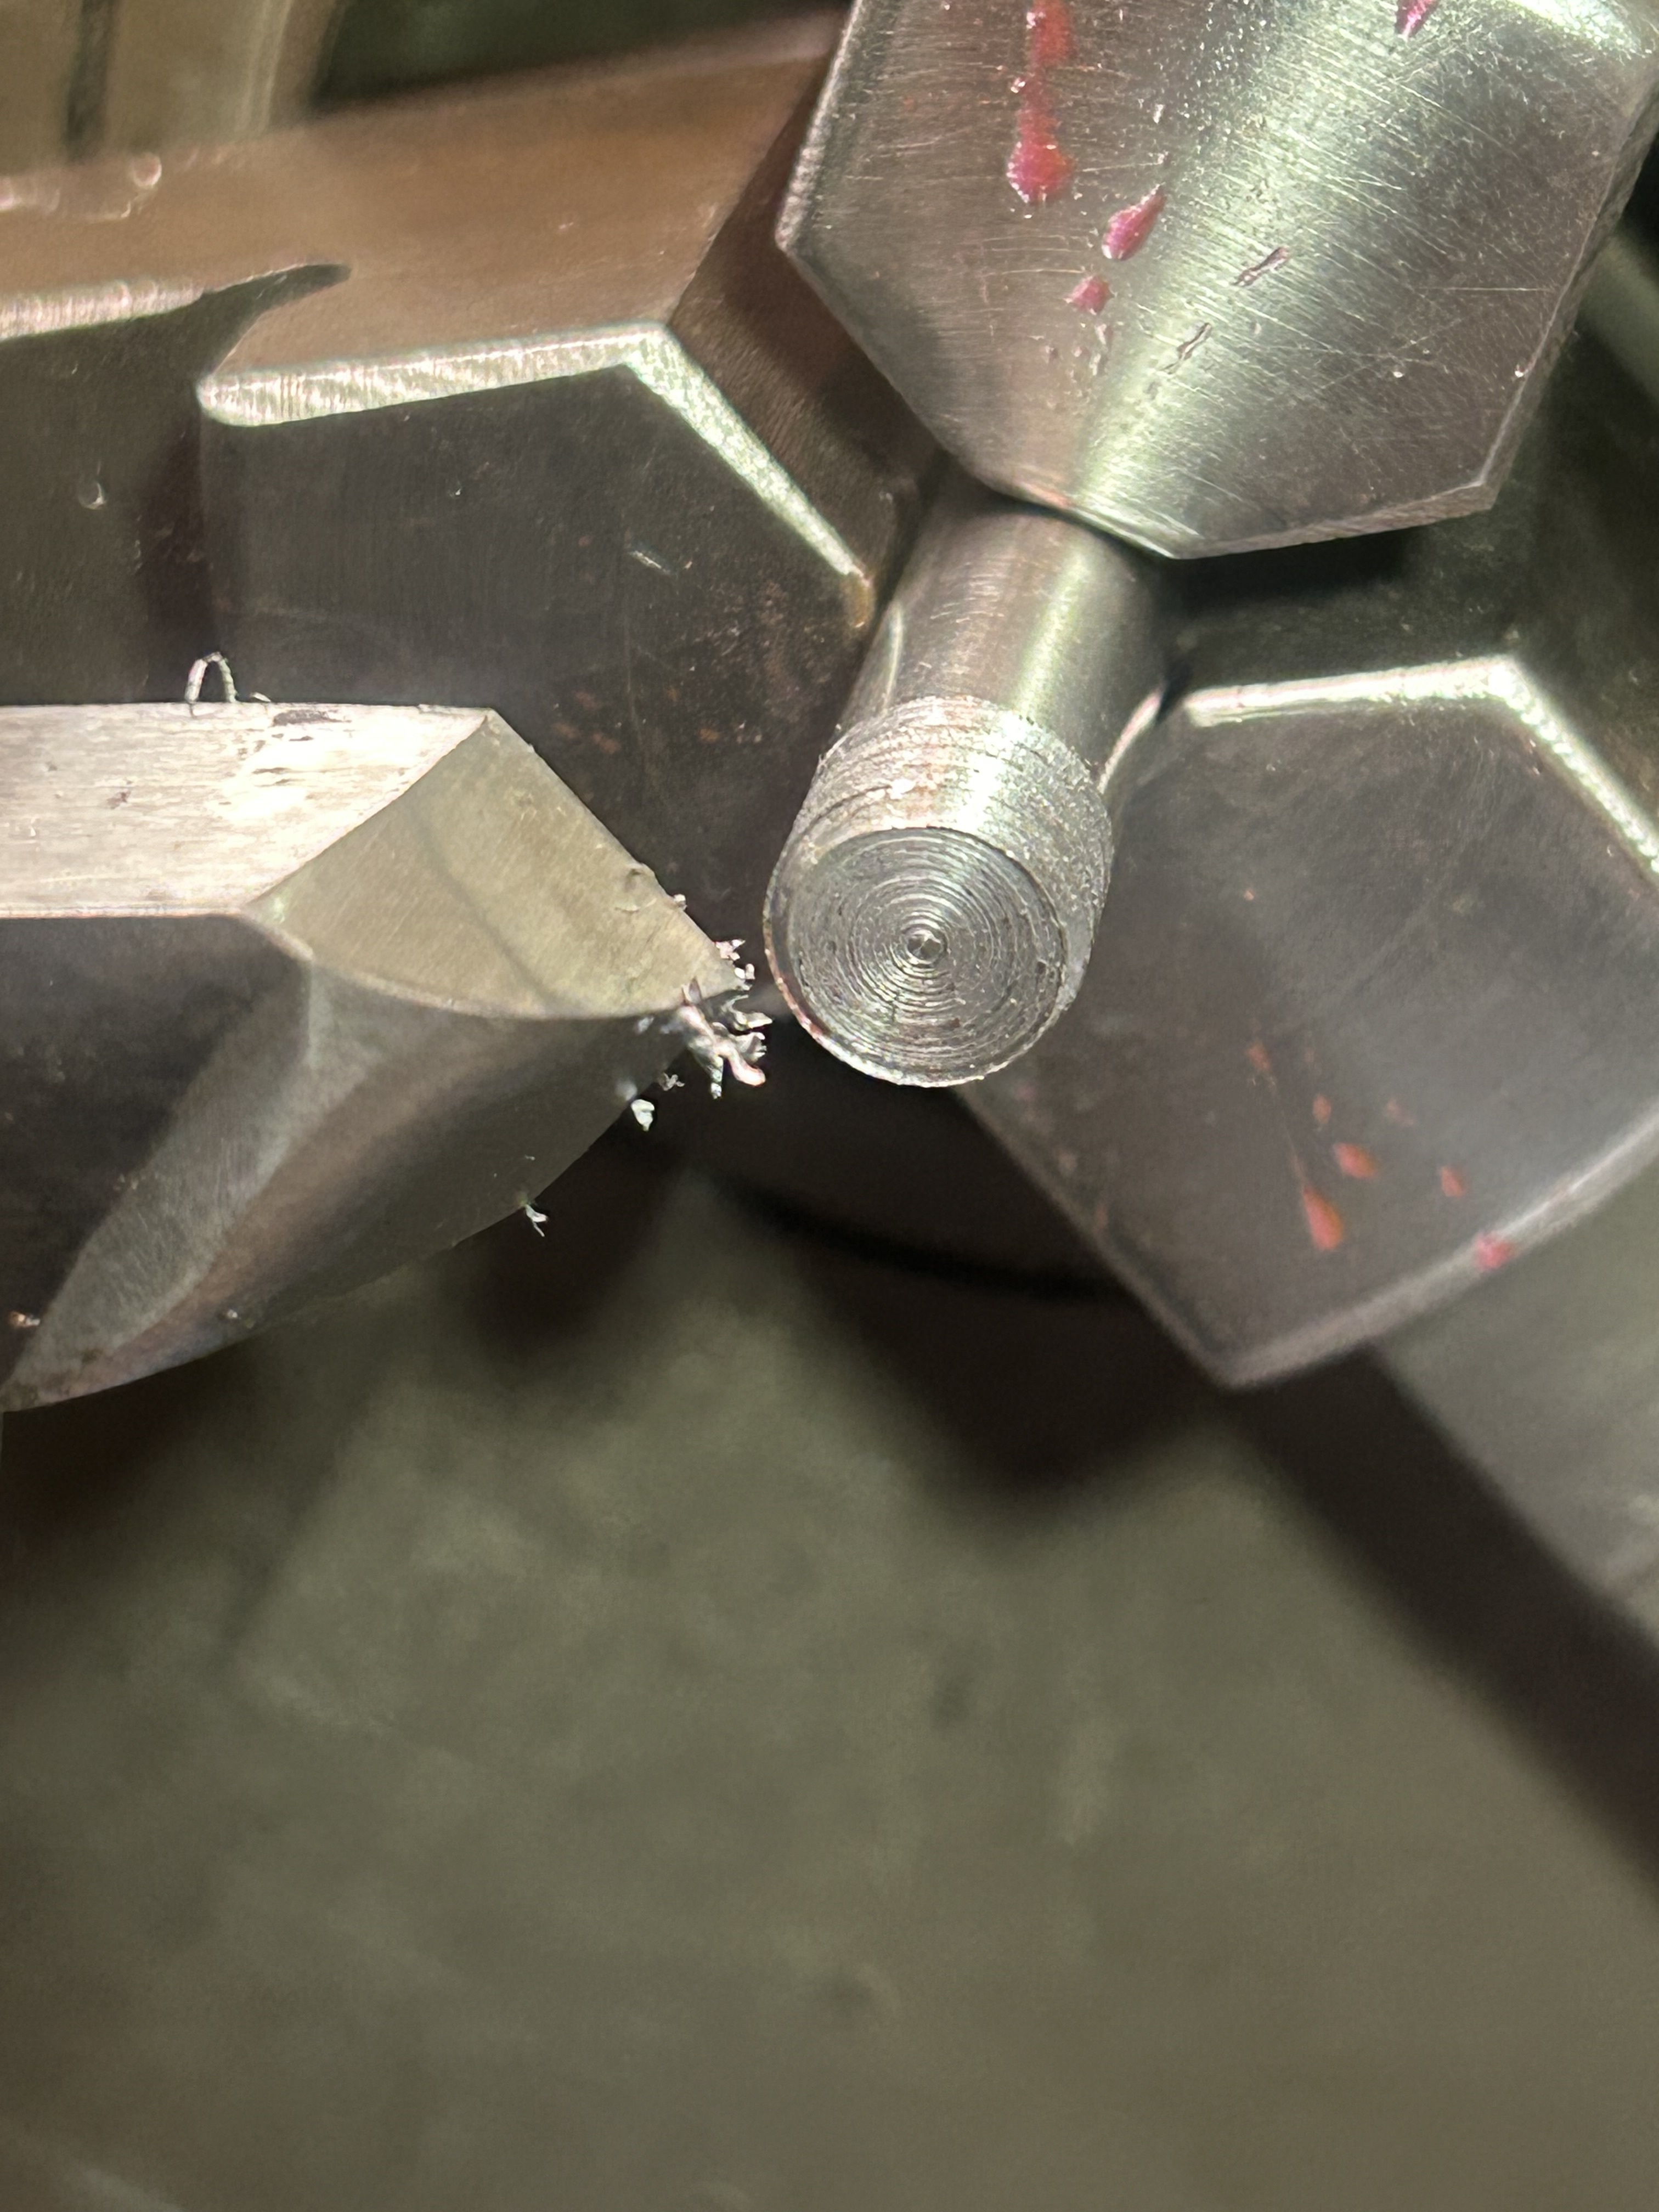
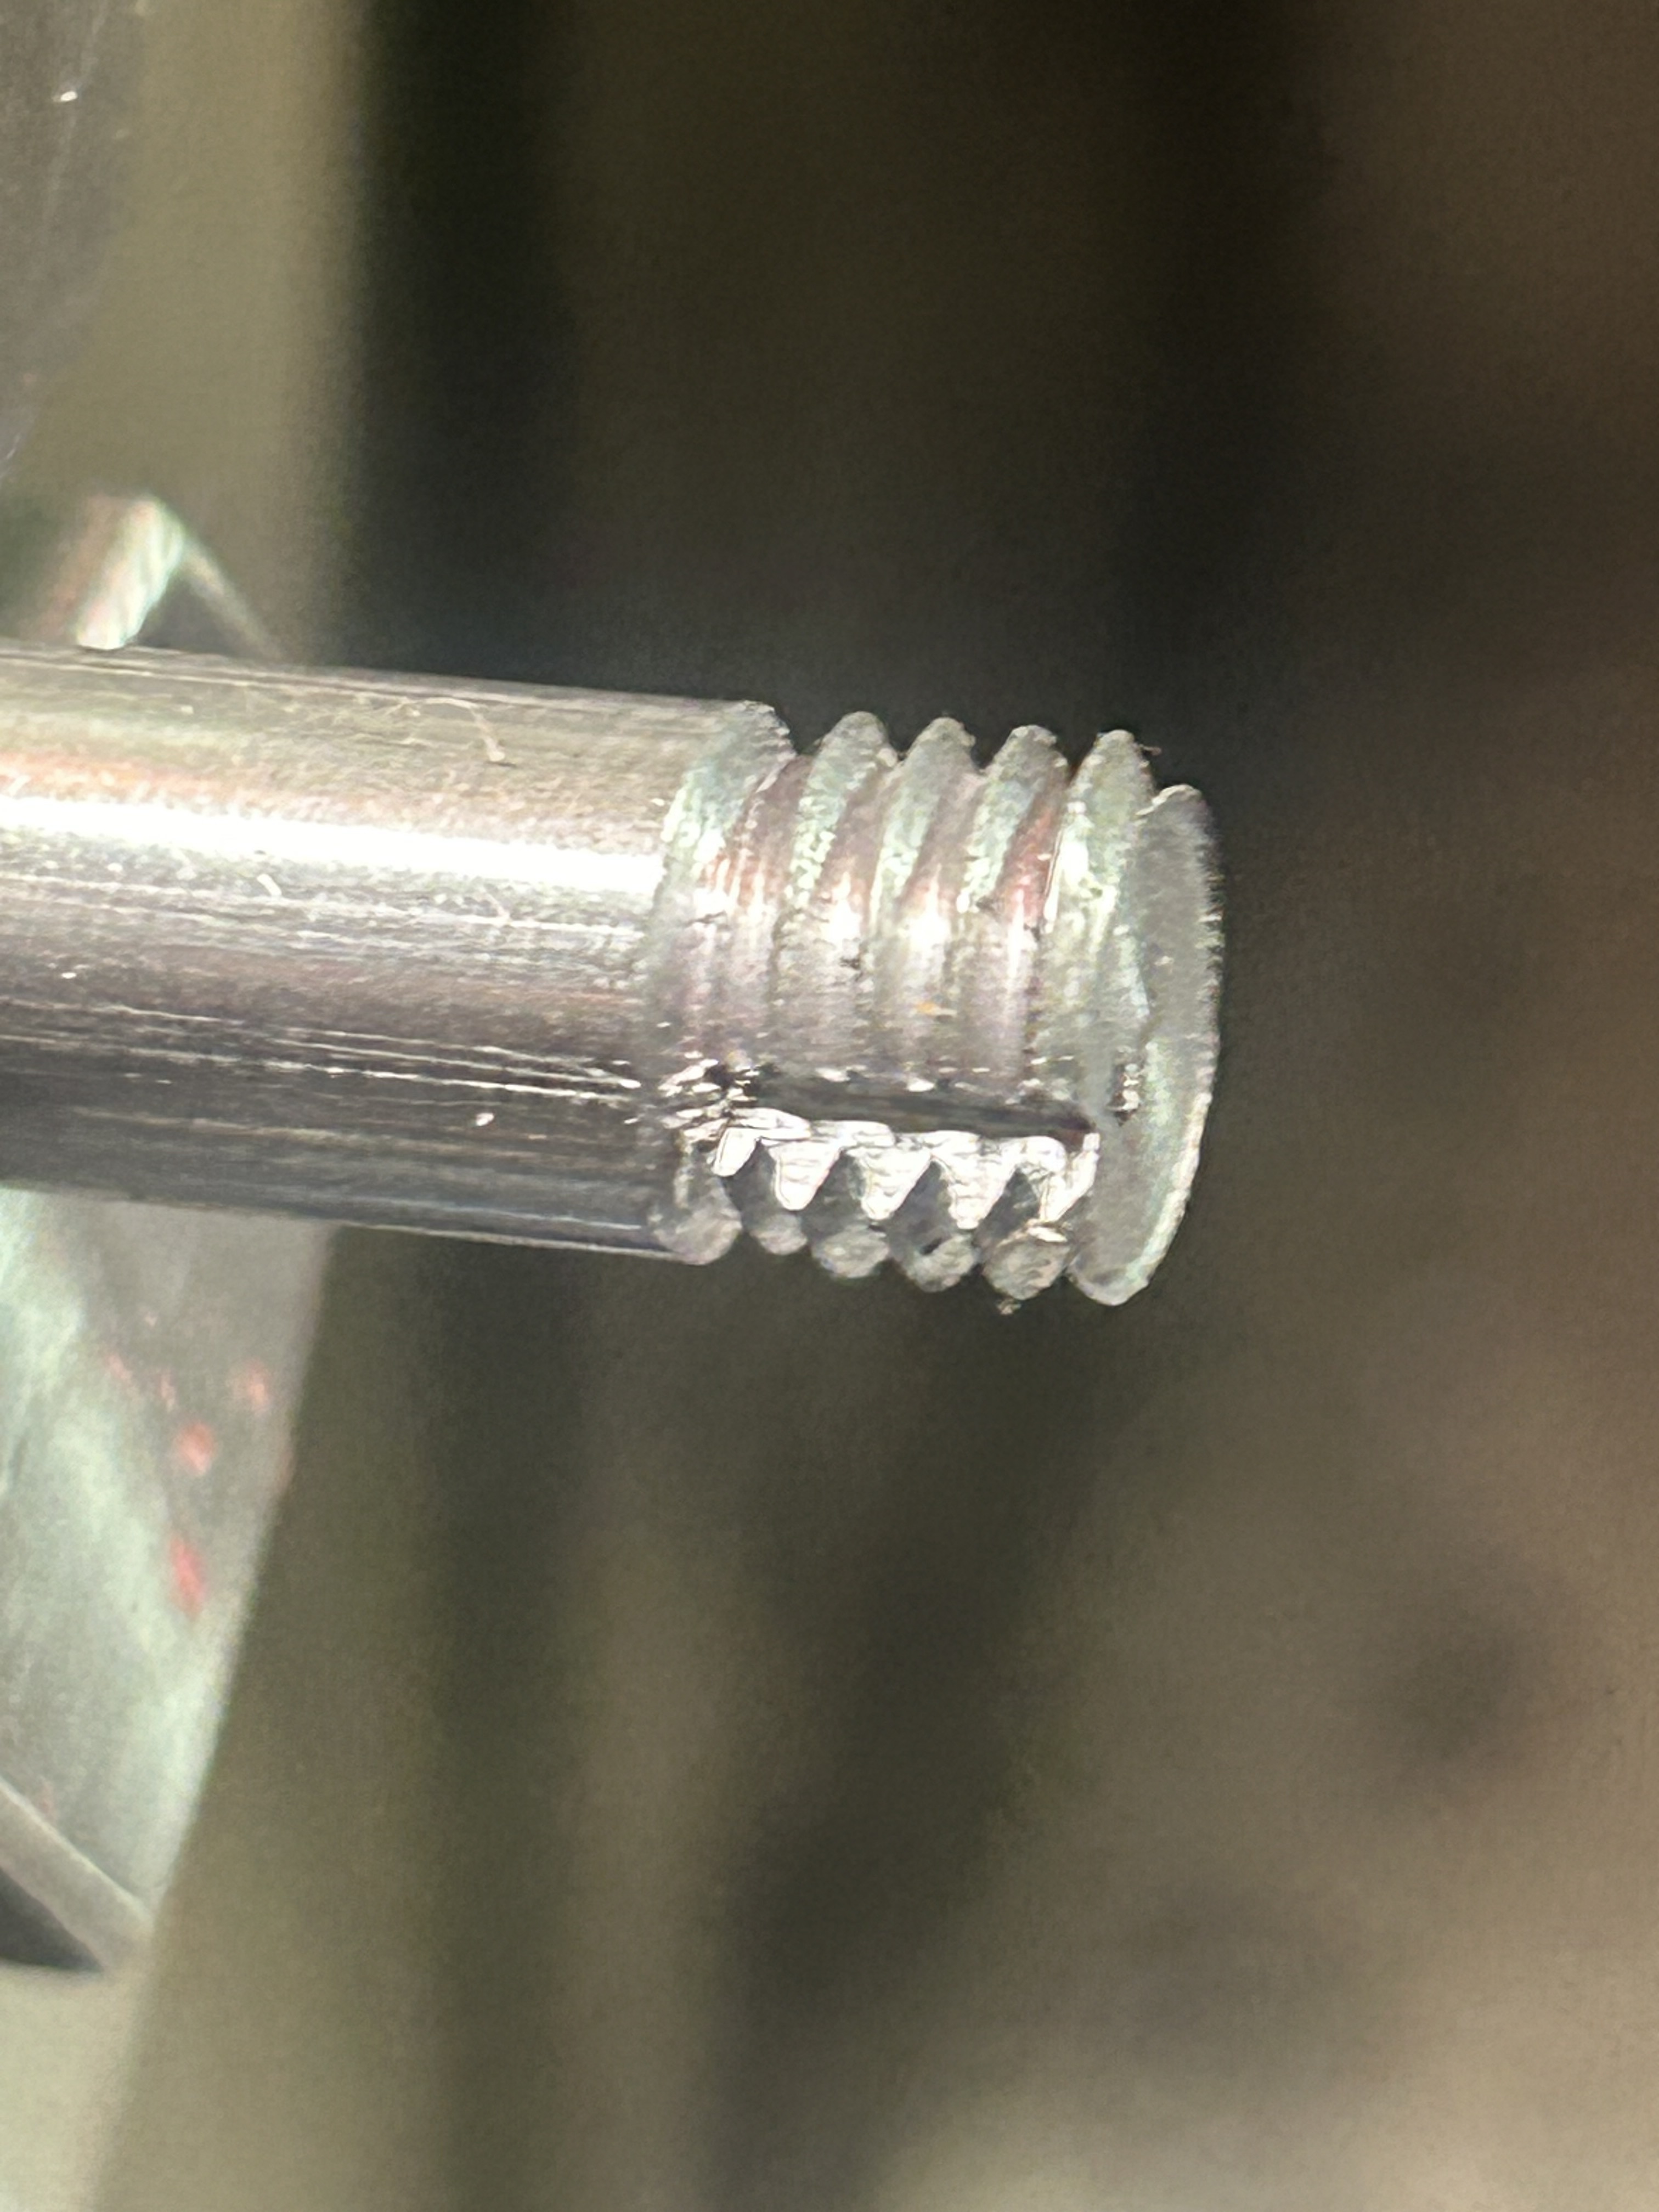
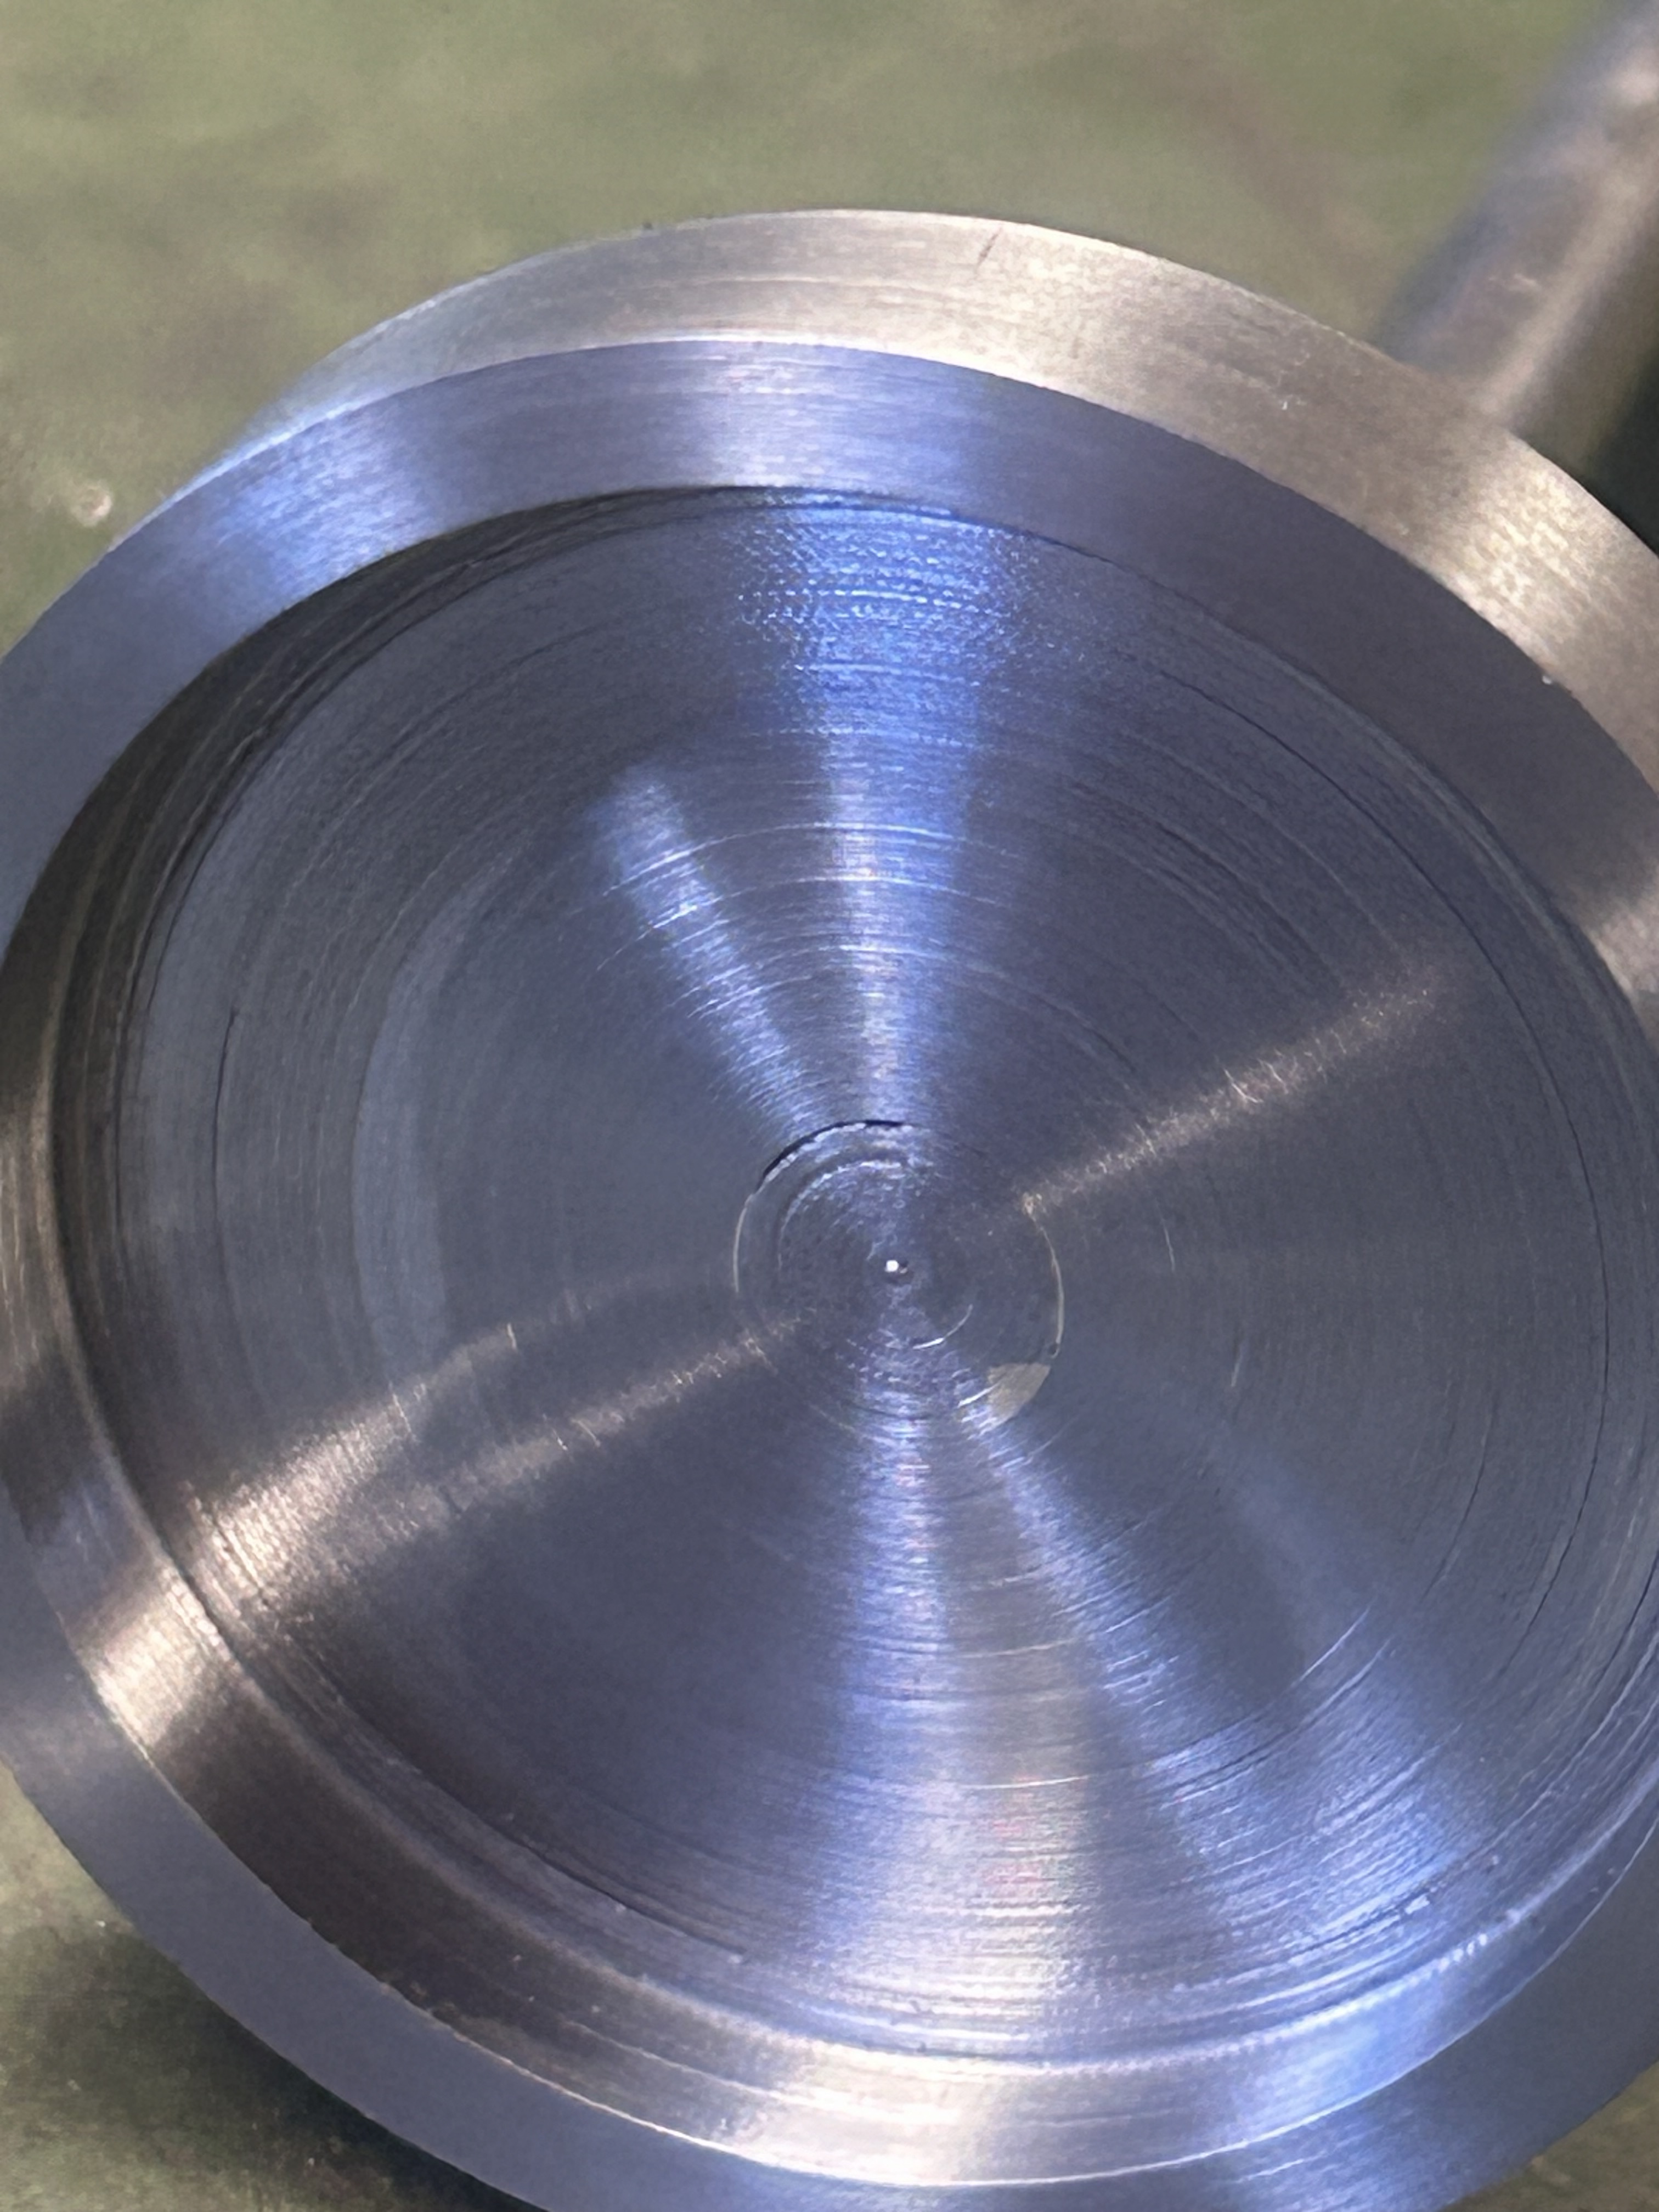
Attachment 47591 Cut grove along thread.
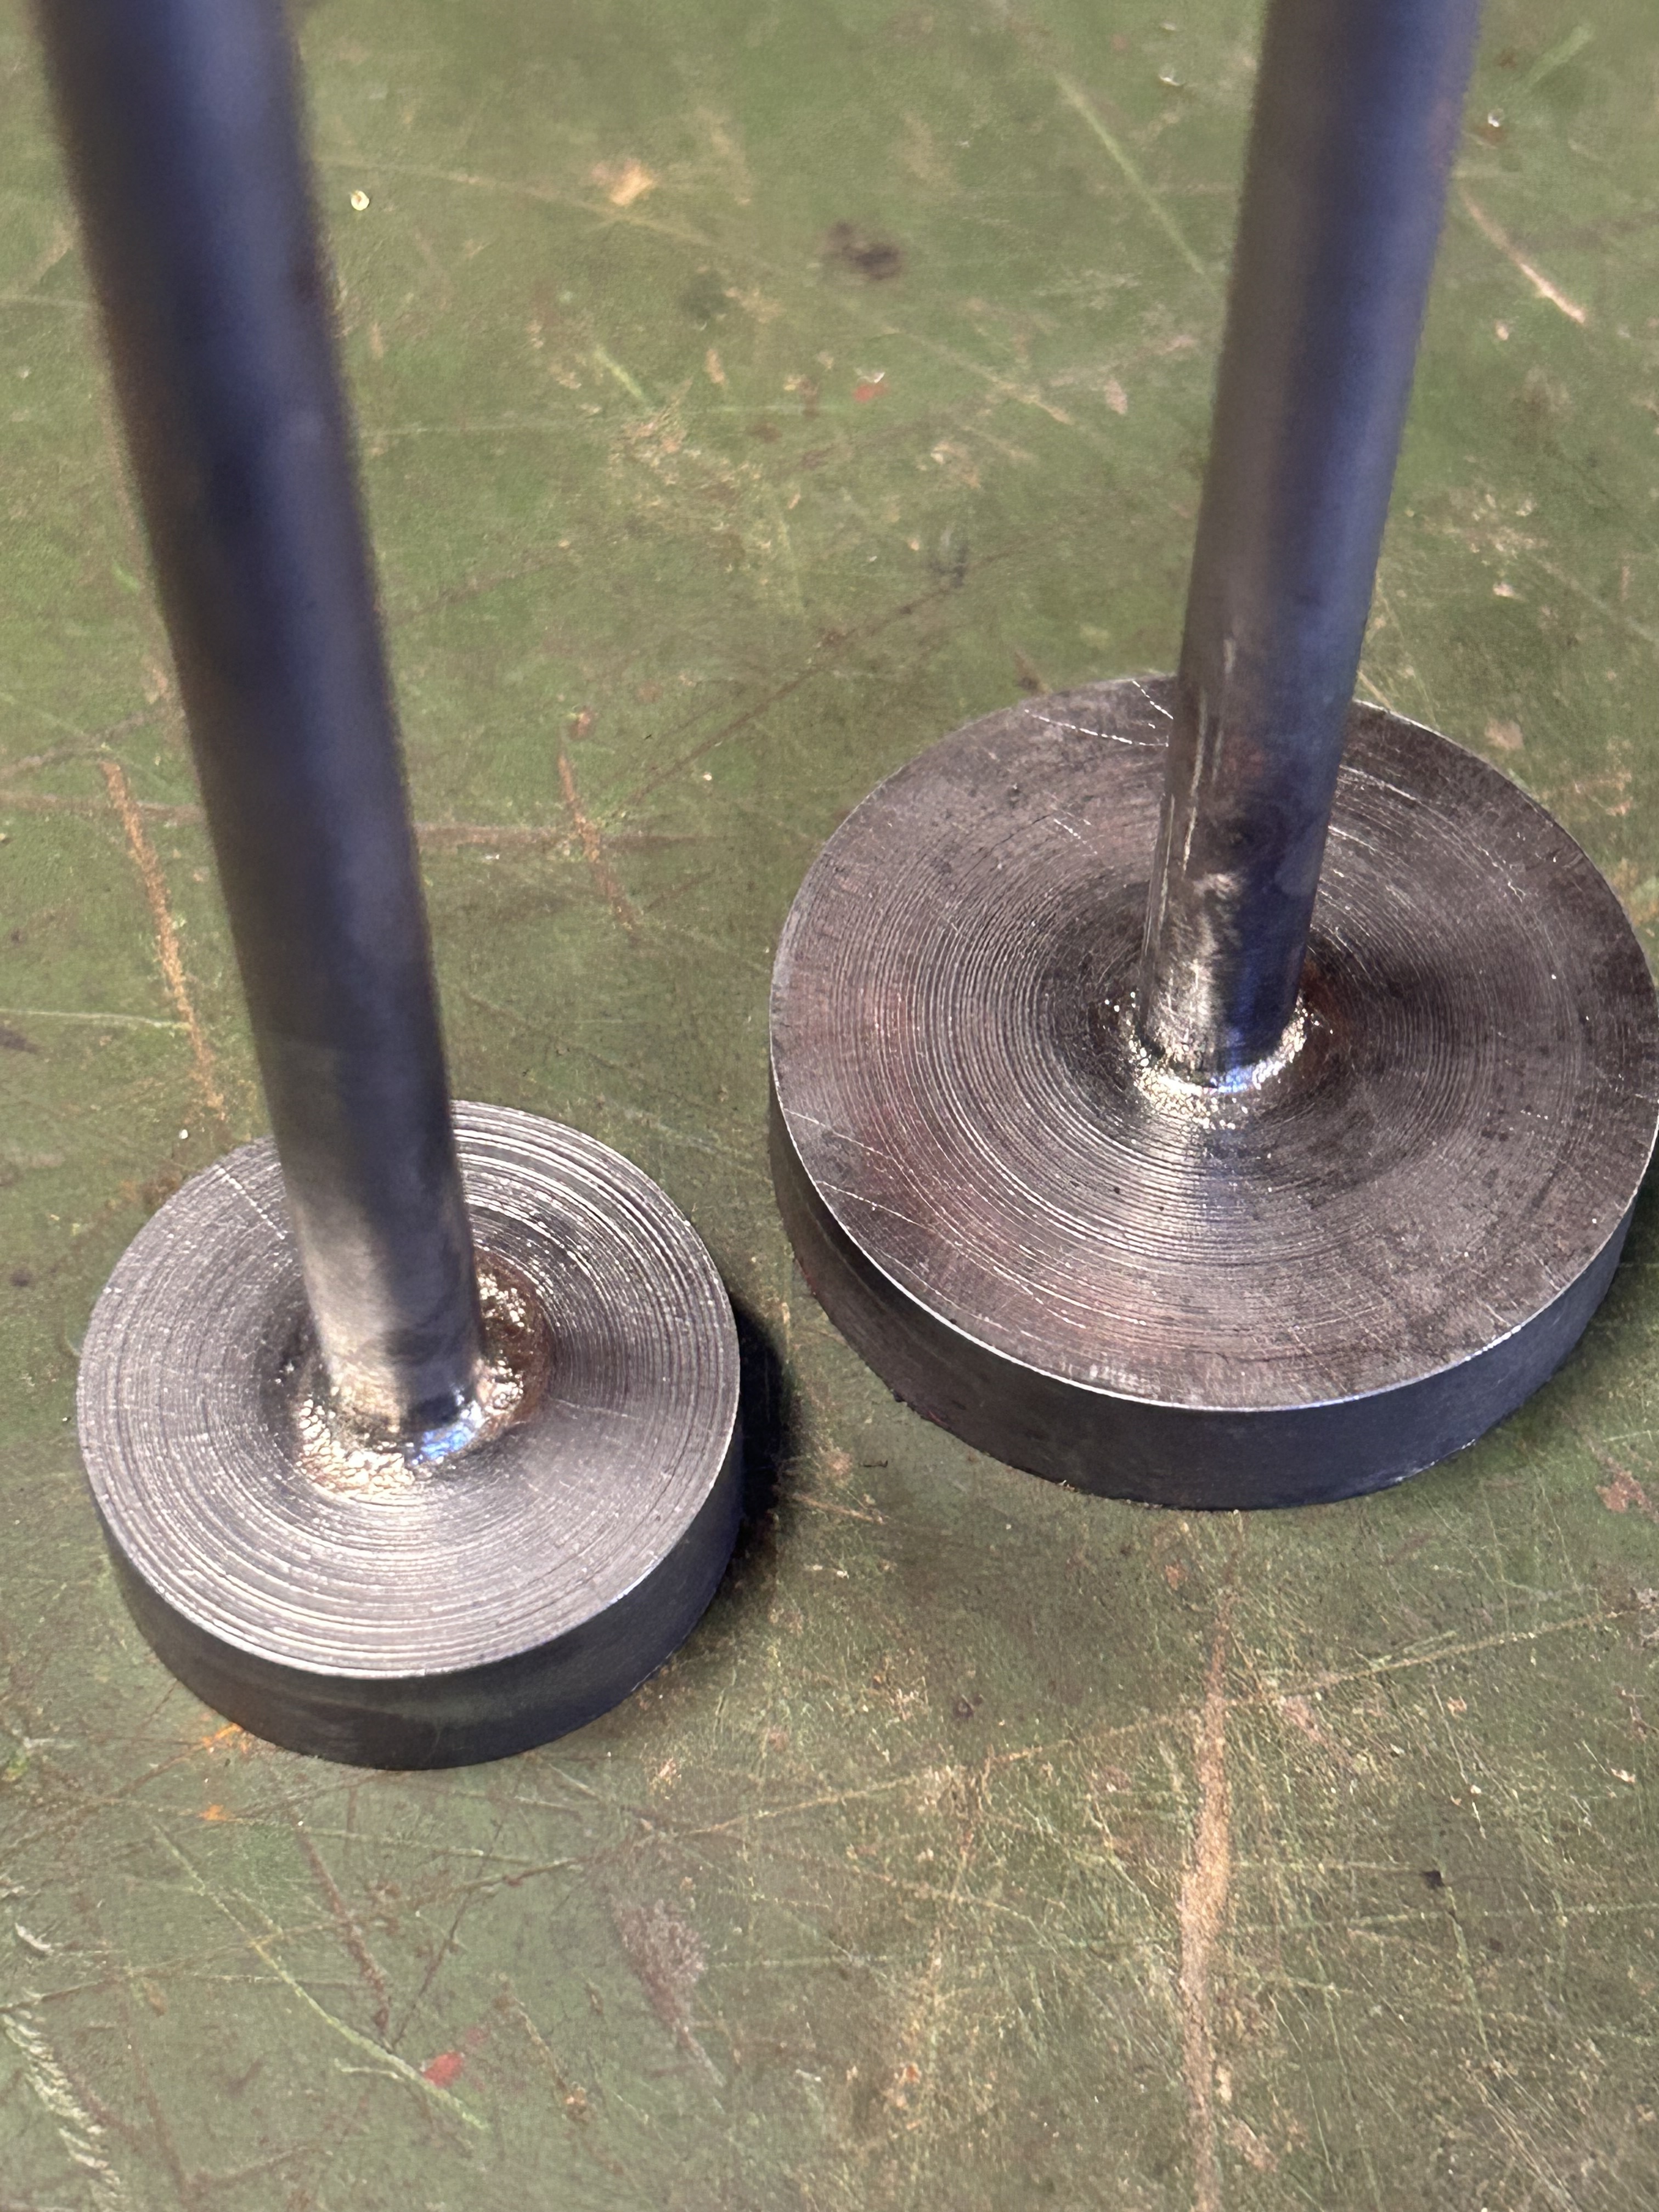
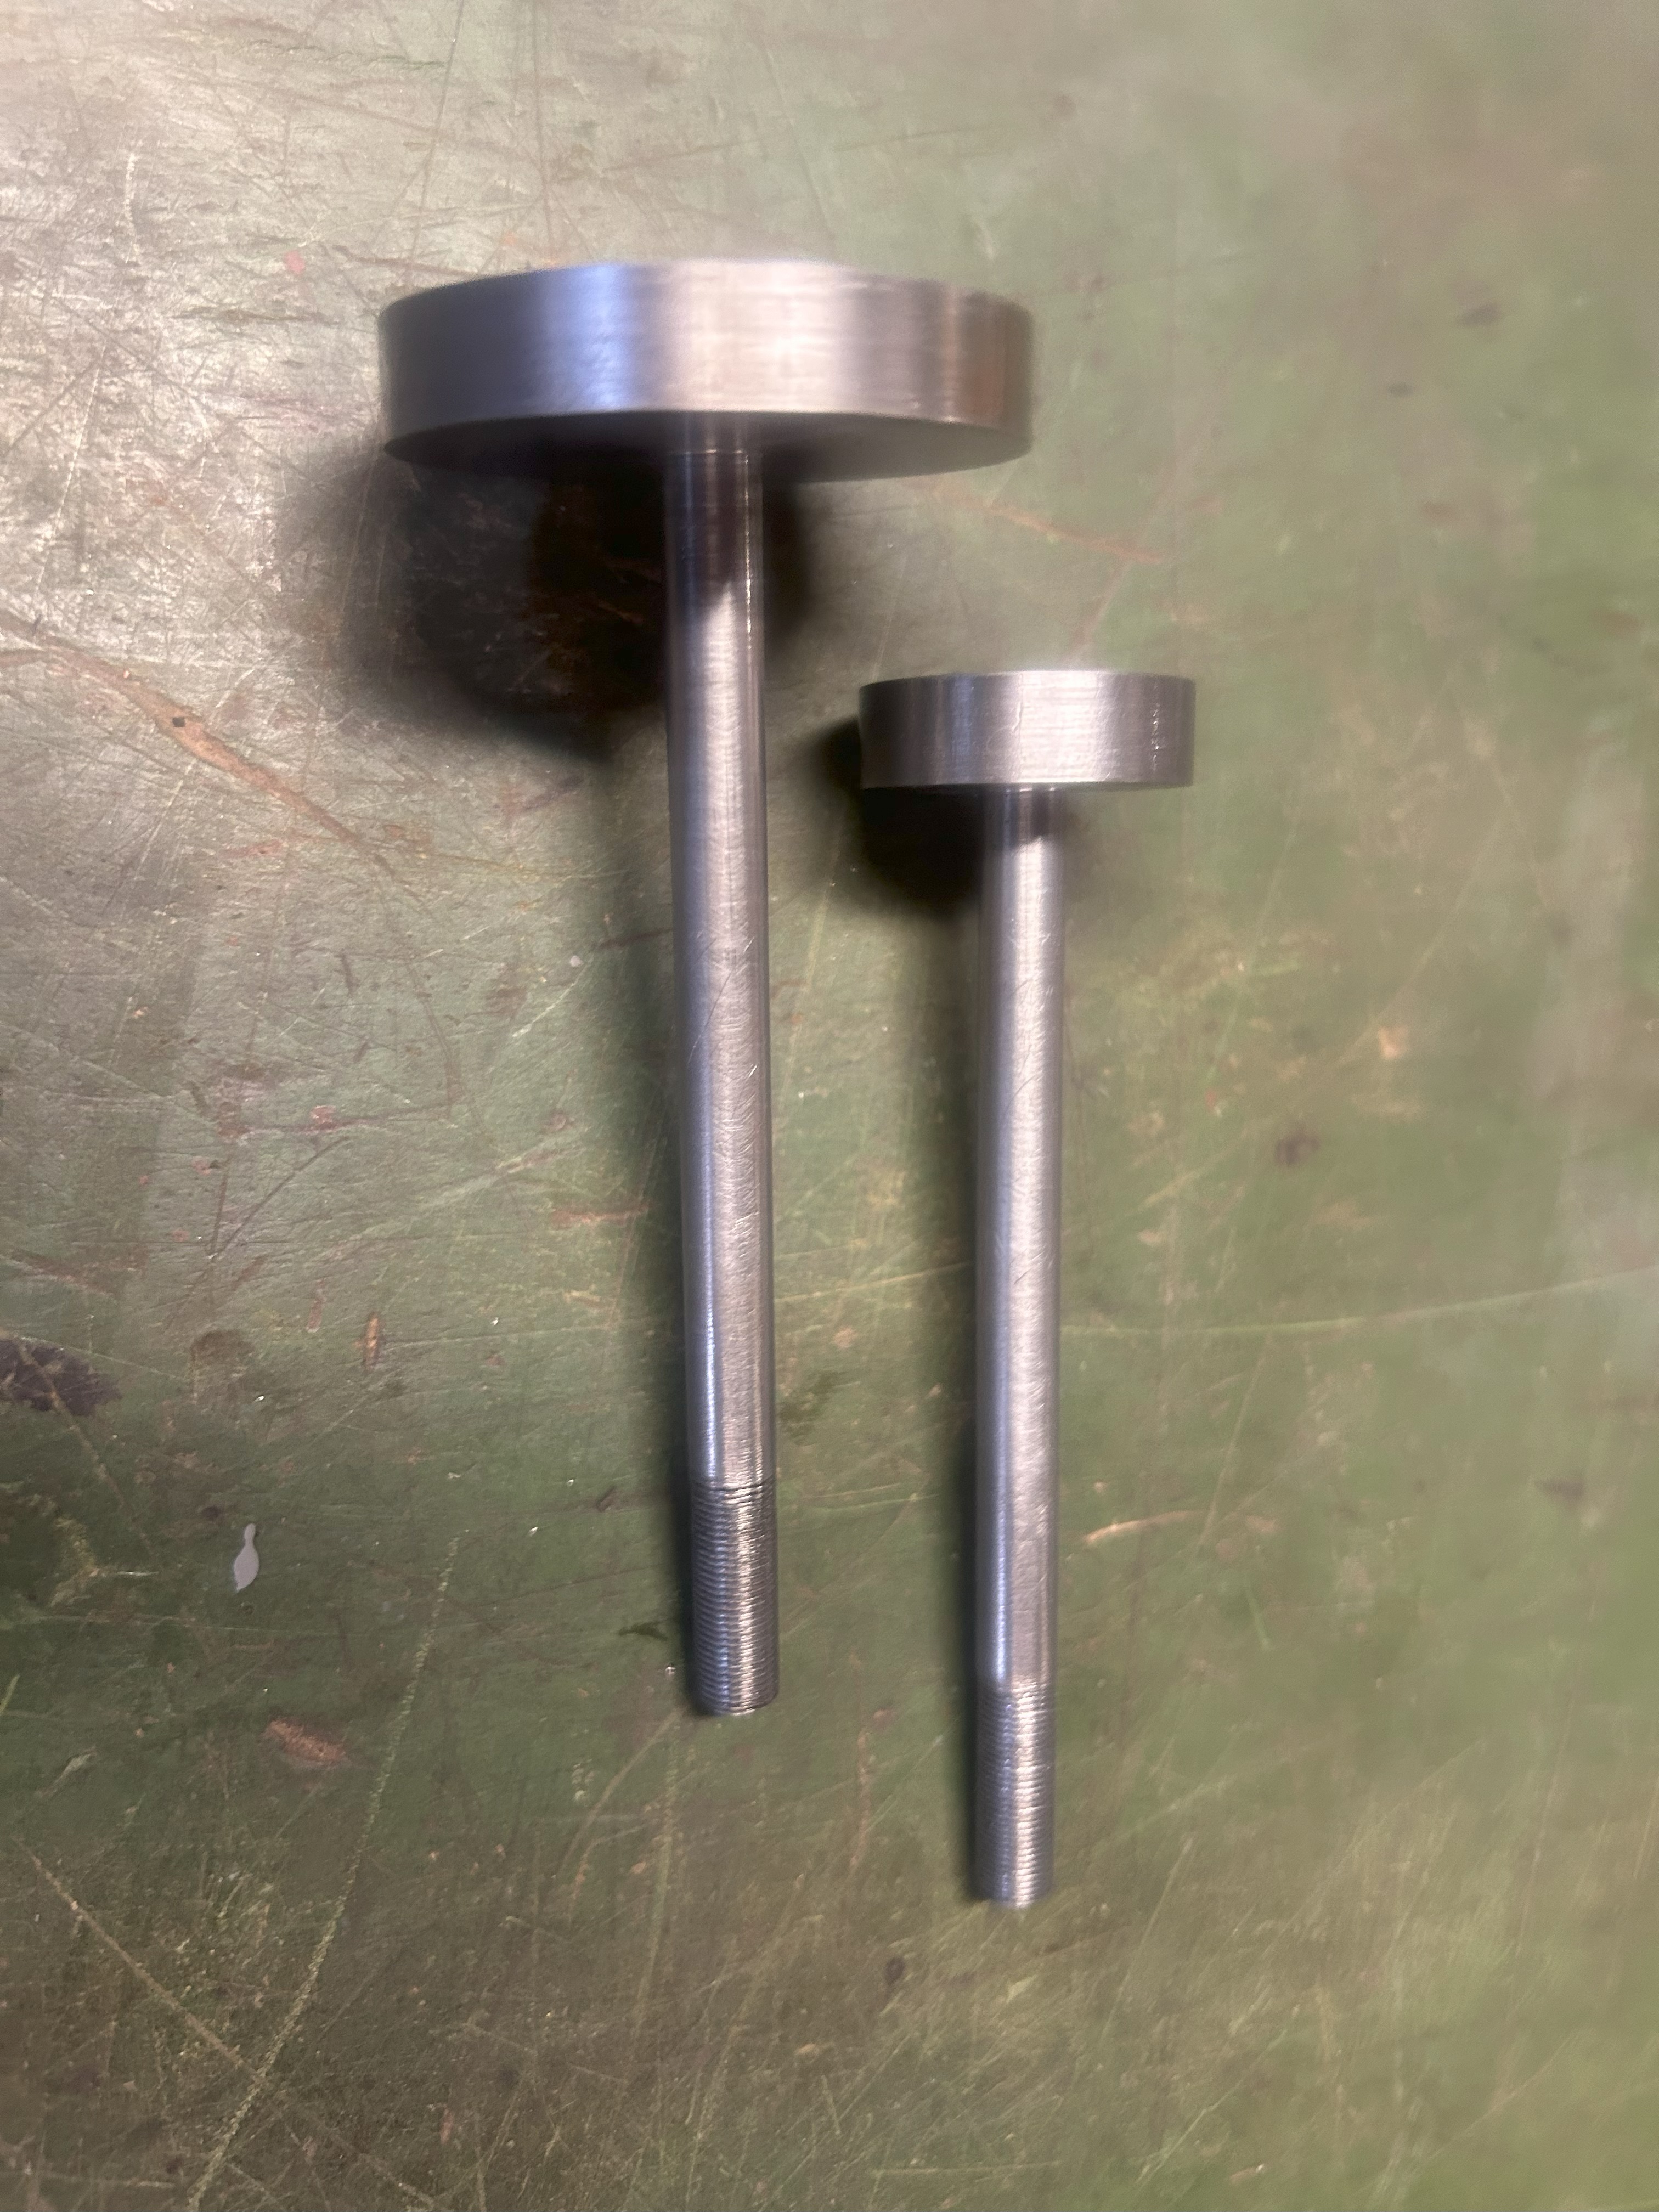
Attachment 47592 Piston and rods ready for soldering.
Attachment 47593 High pressure piston blank.
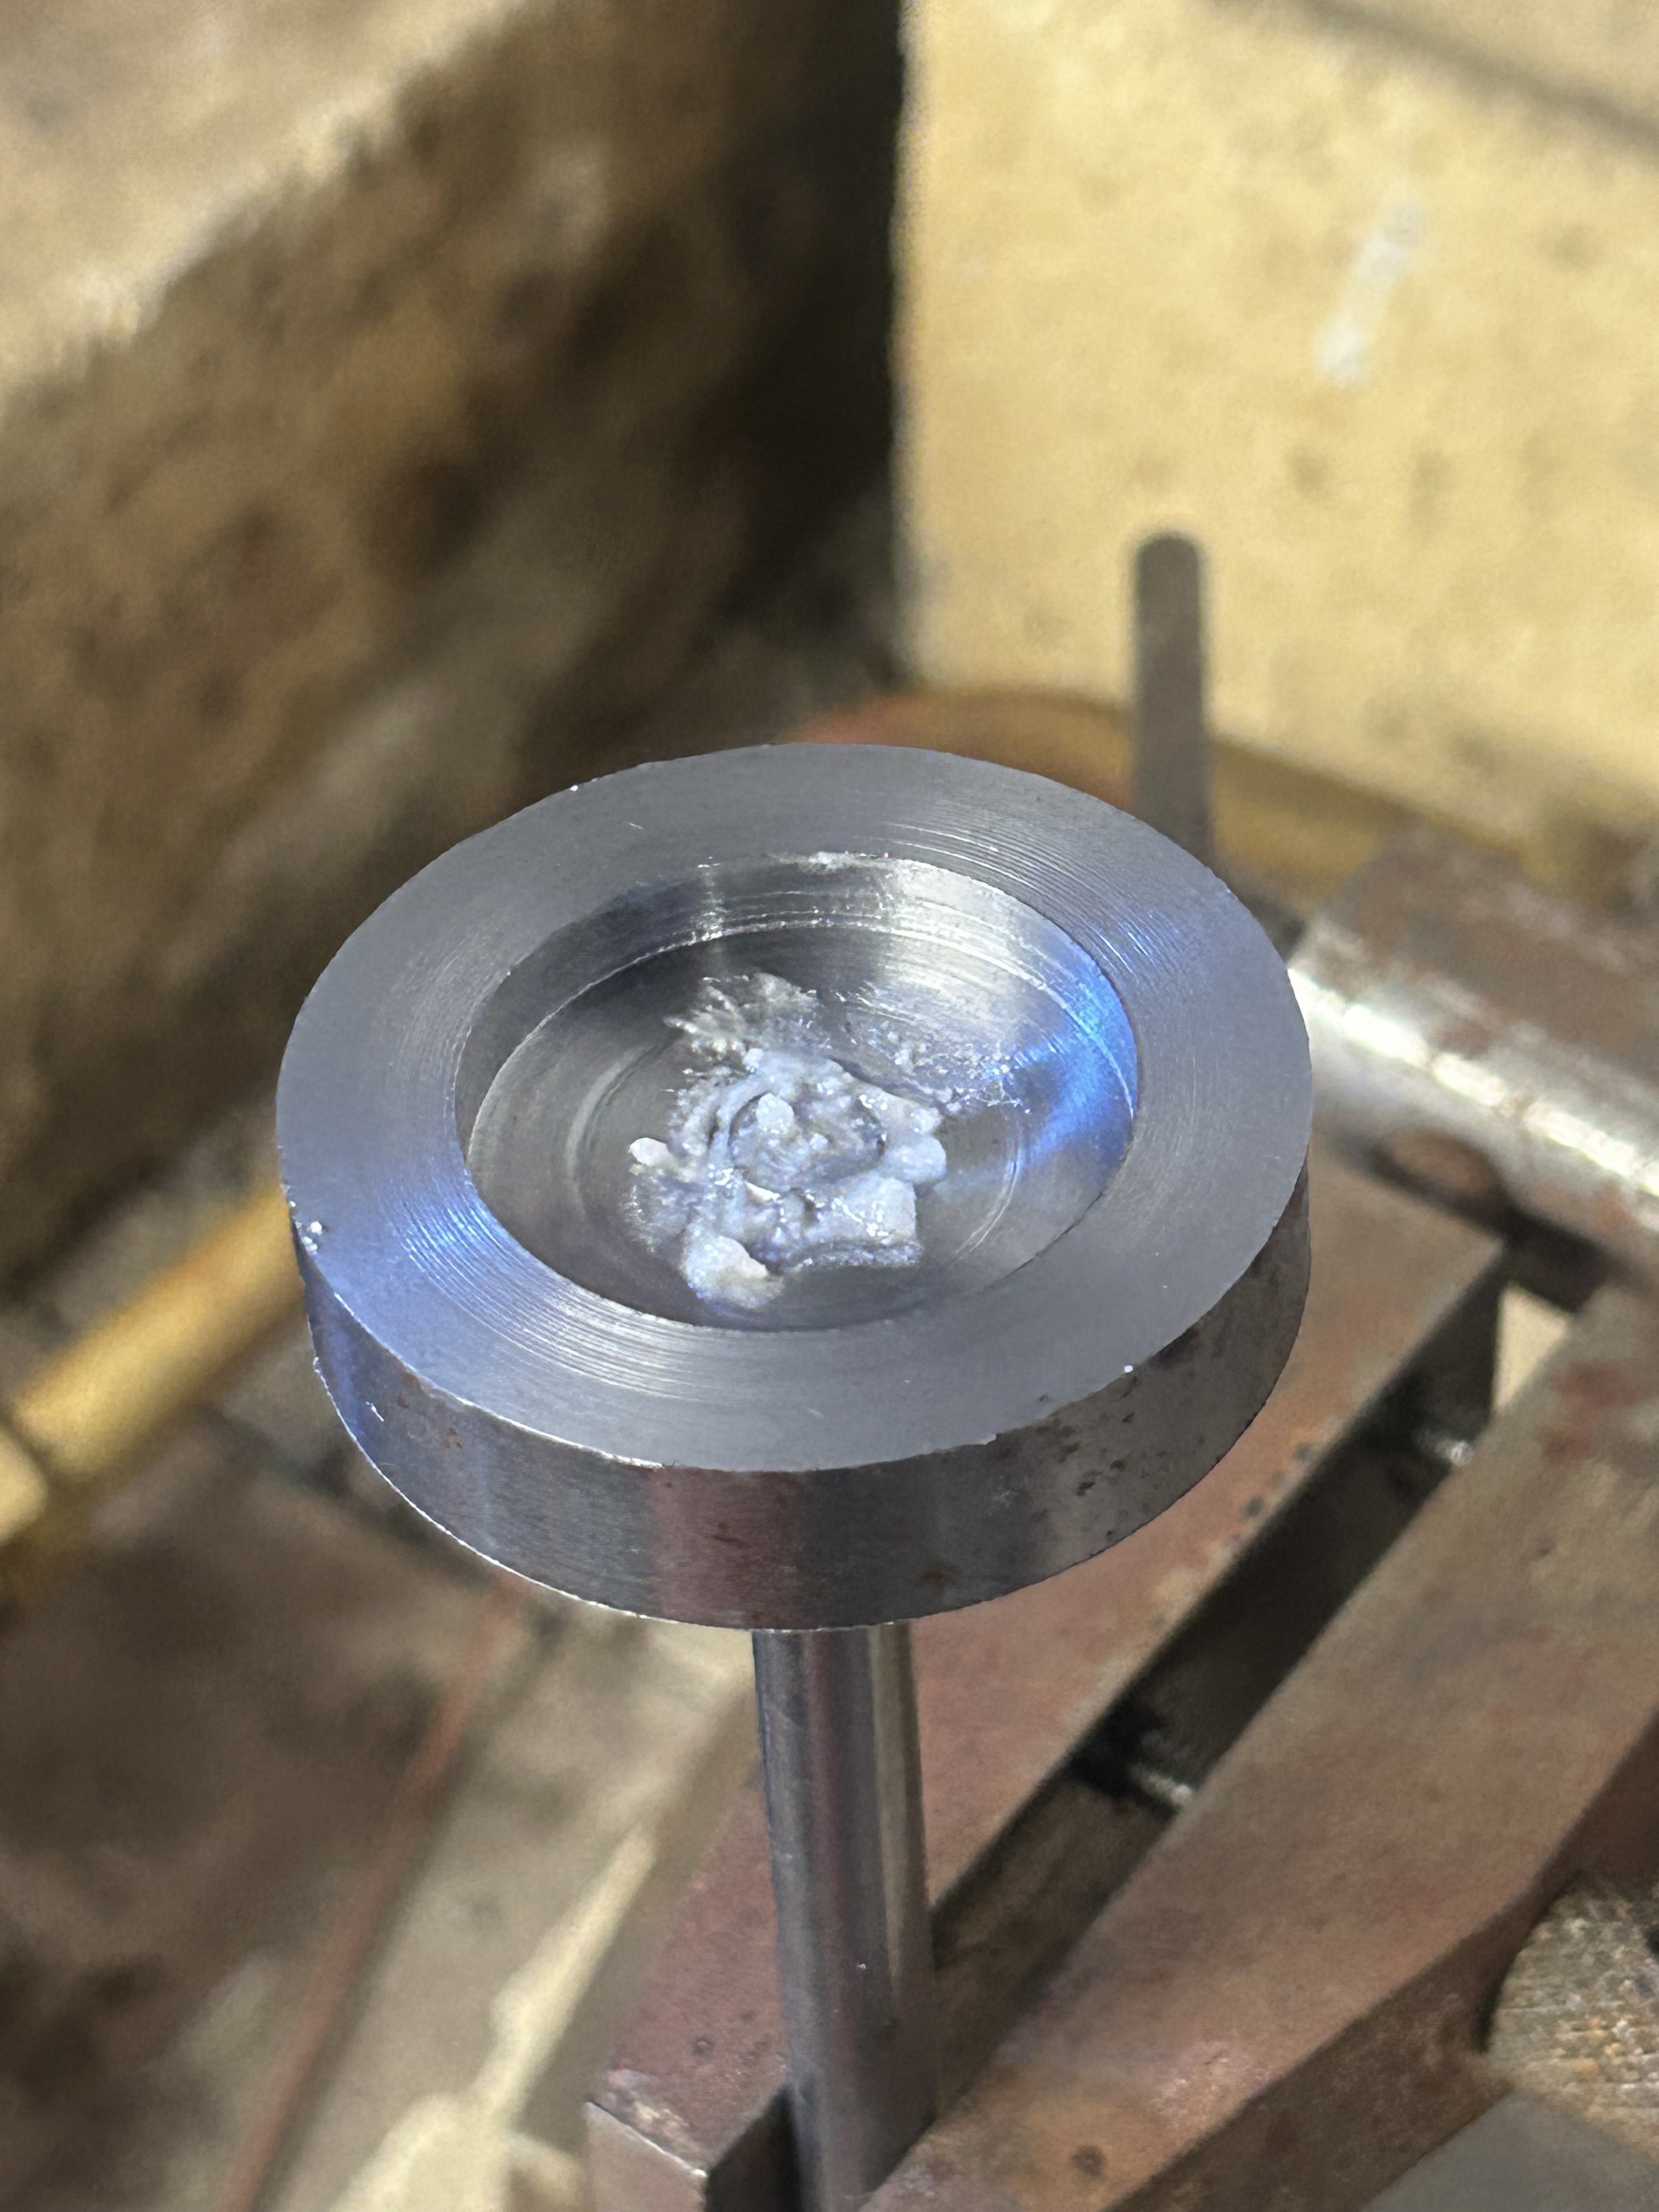
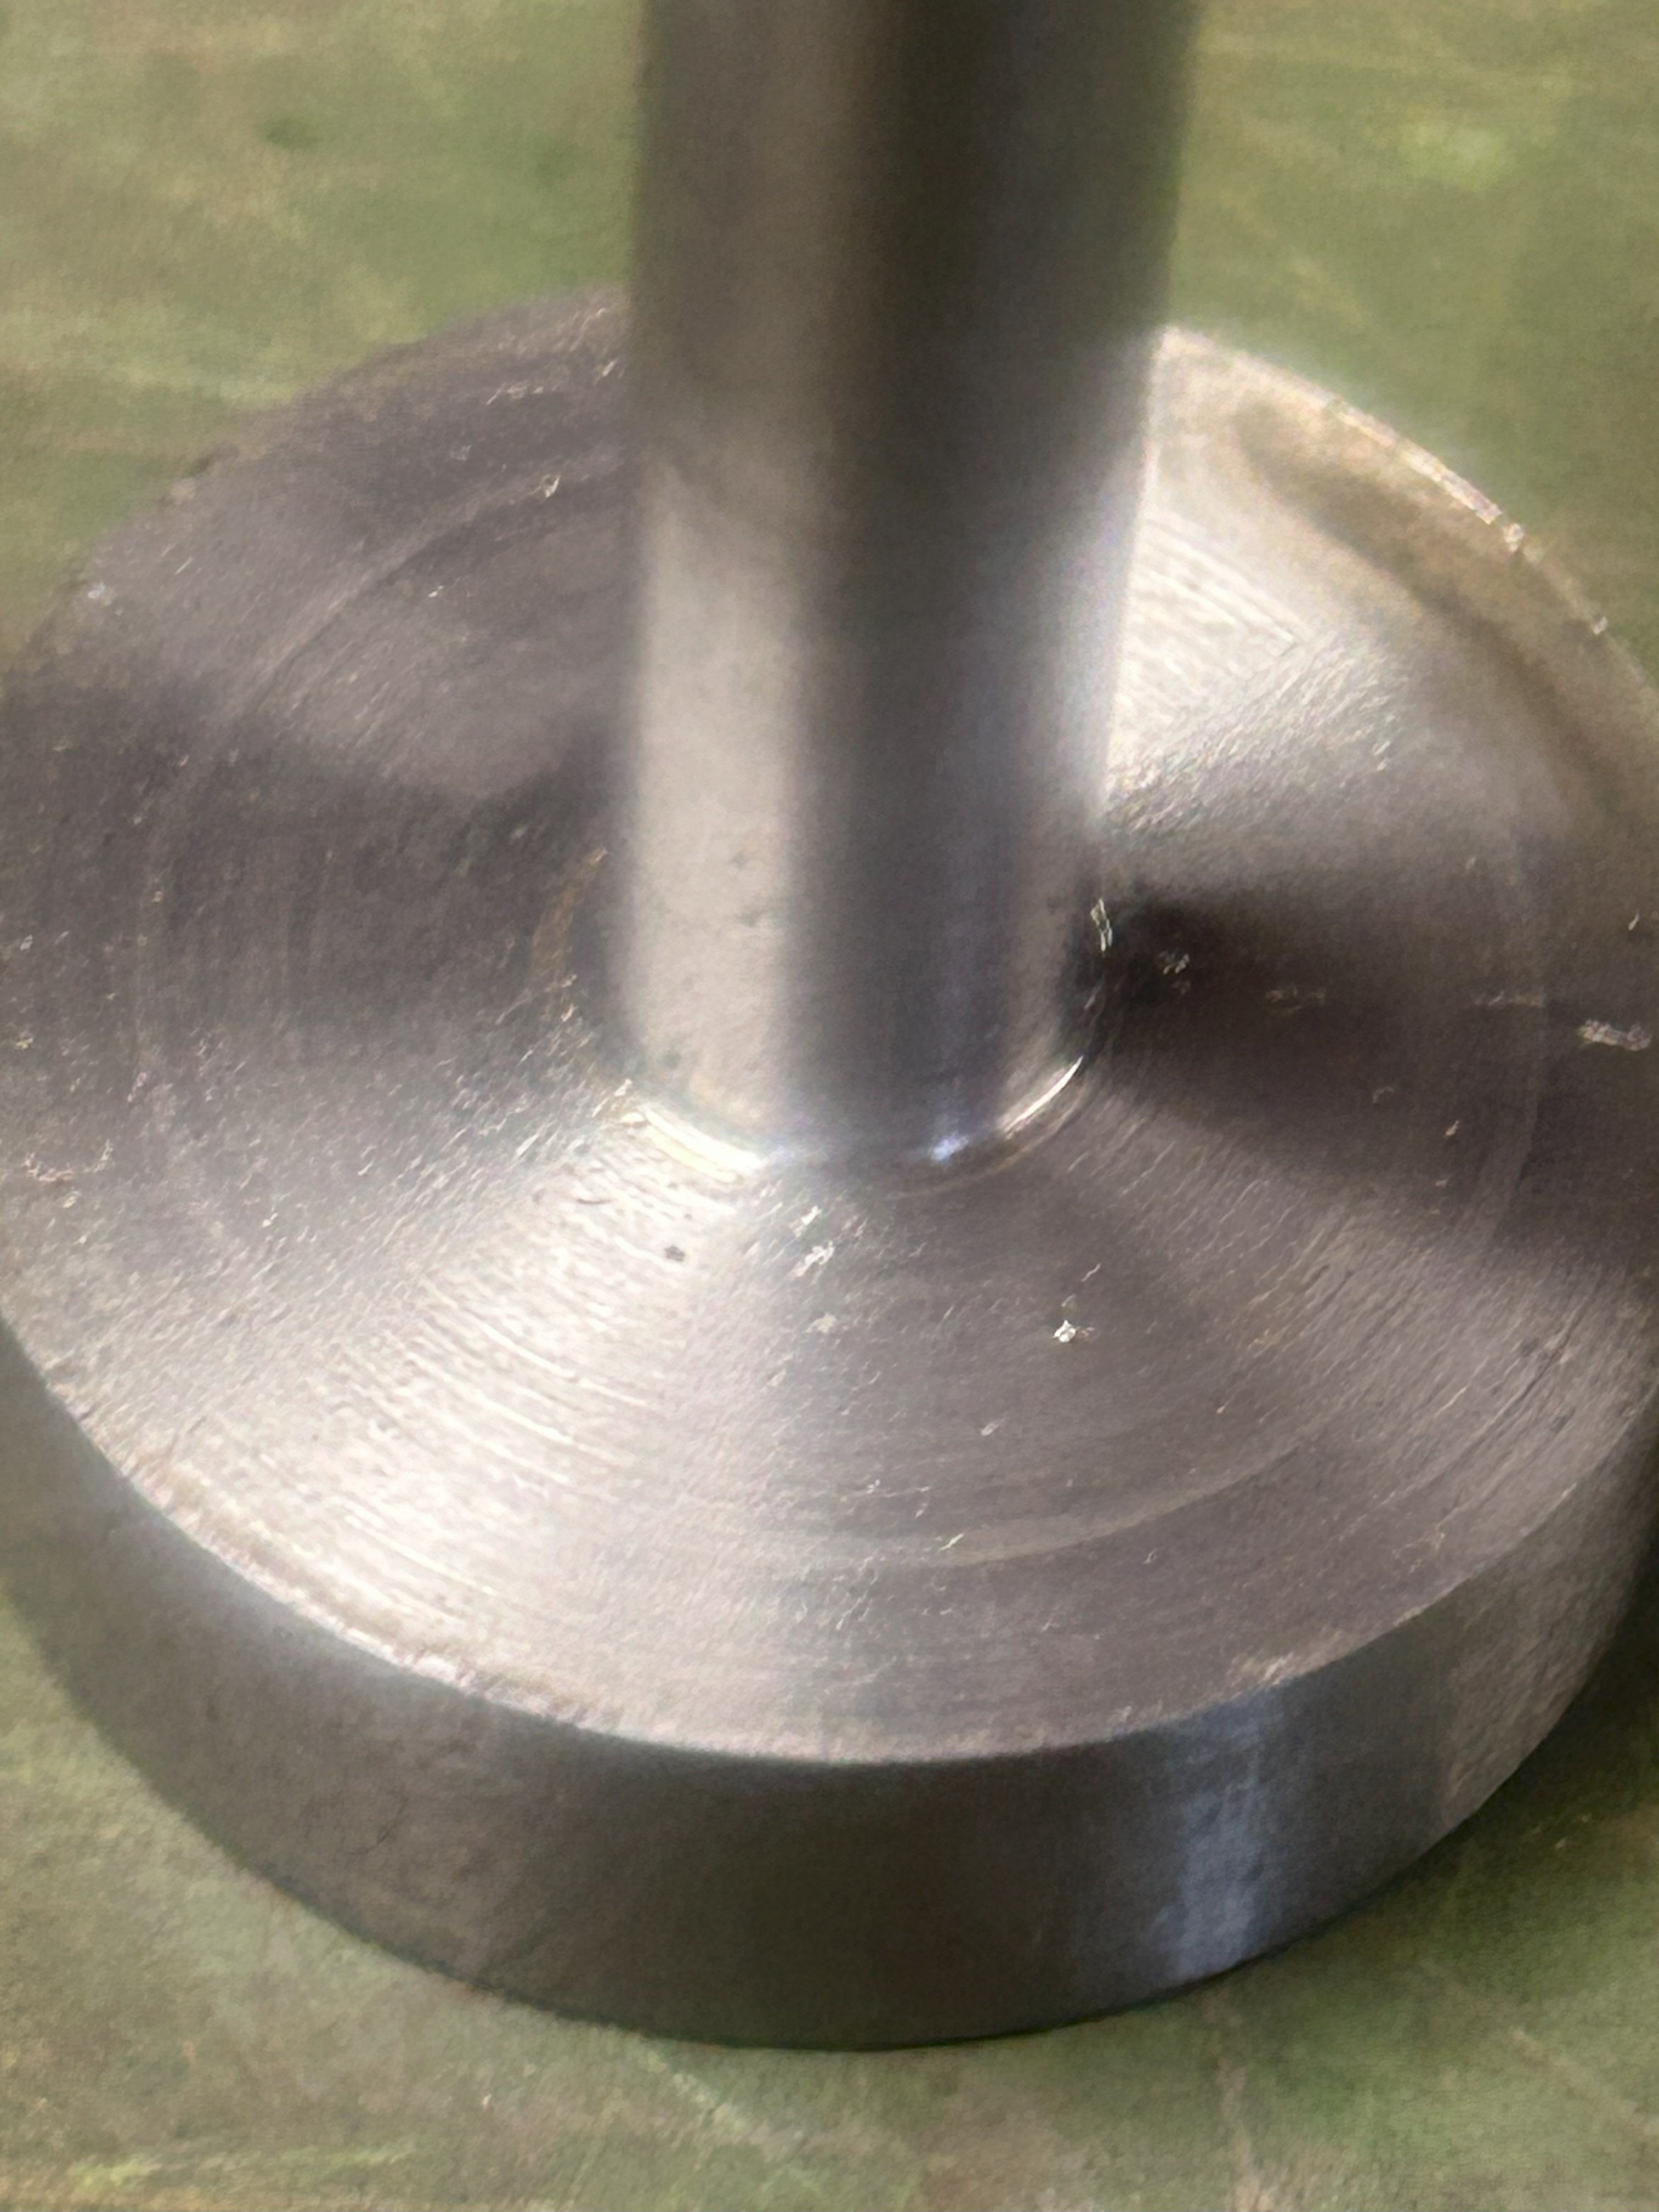
Attachment 47594 Attachment 47595 Fluxed joint ready for heat and soldering.
Attachment 47596 Attachment 47597
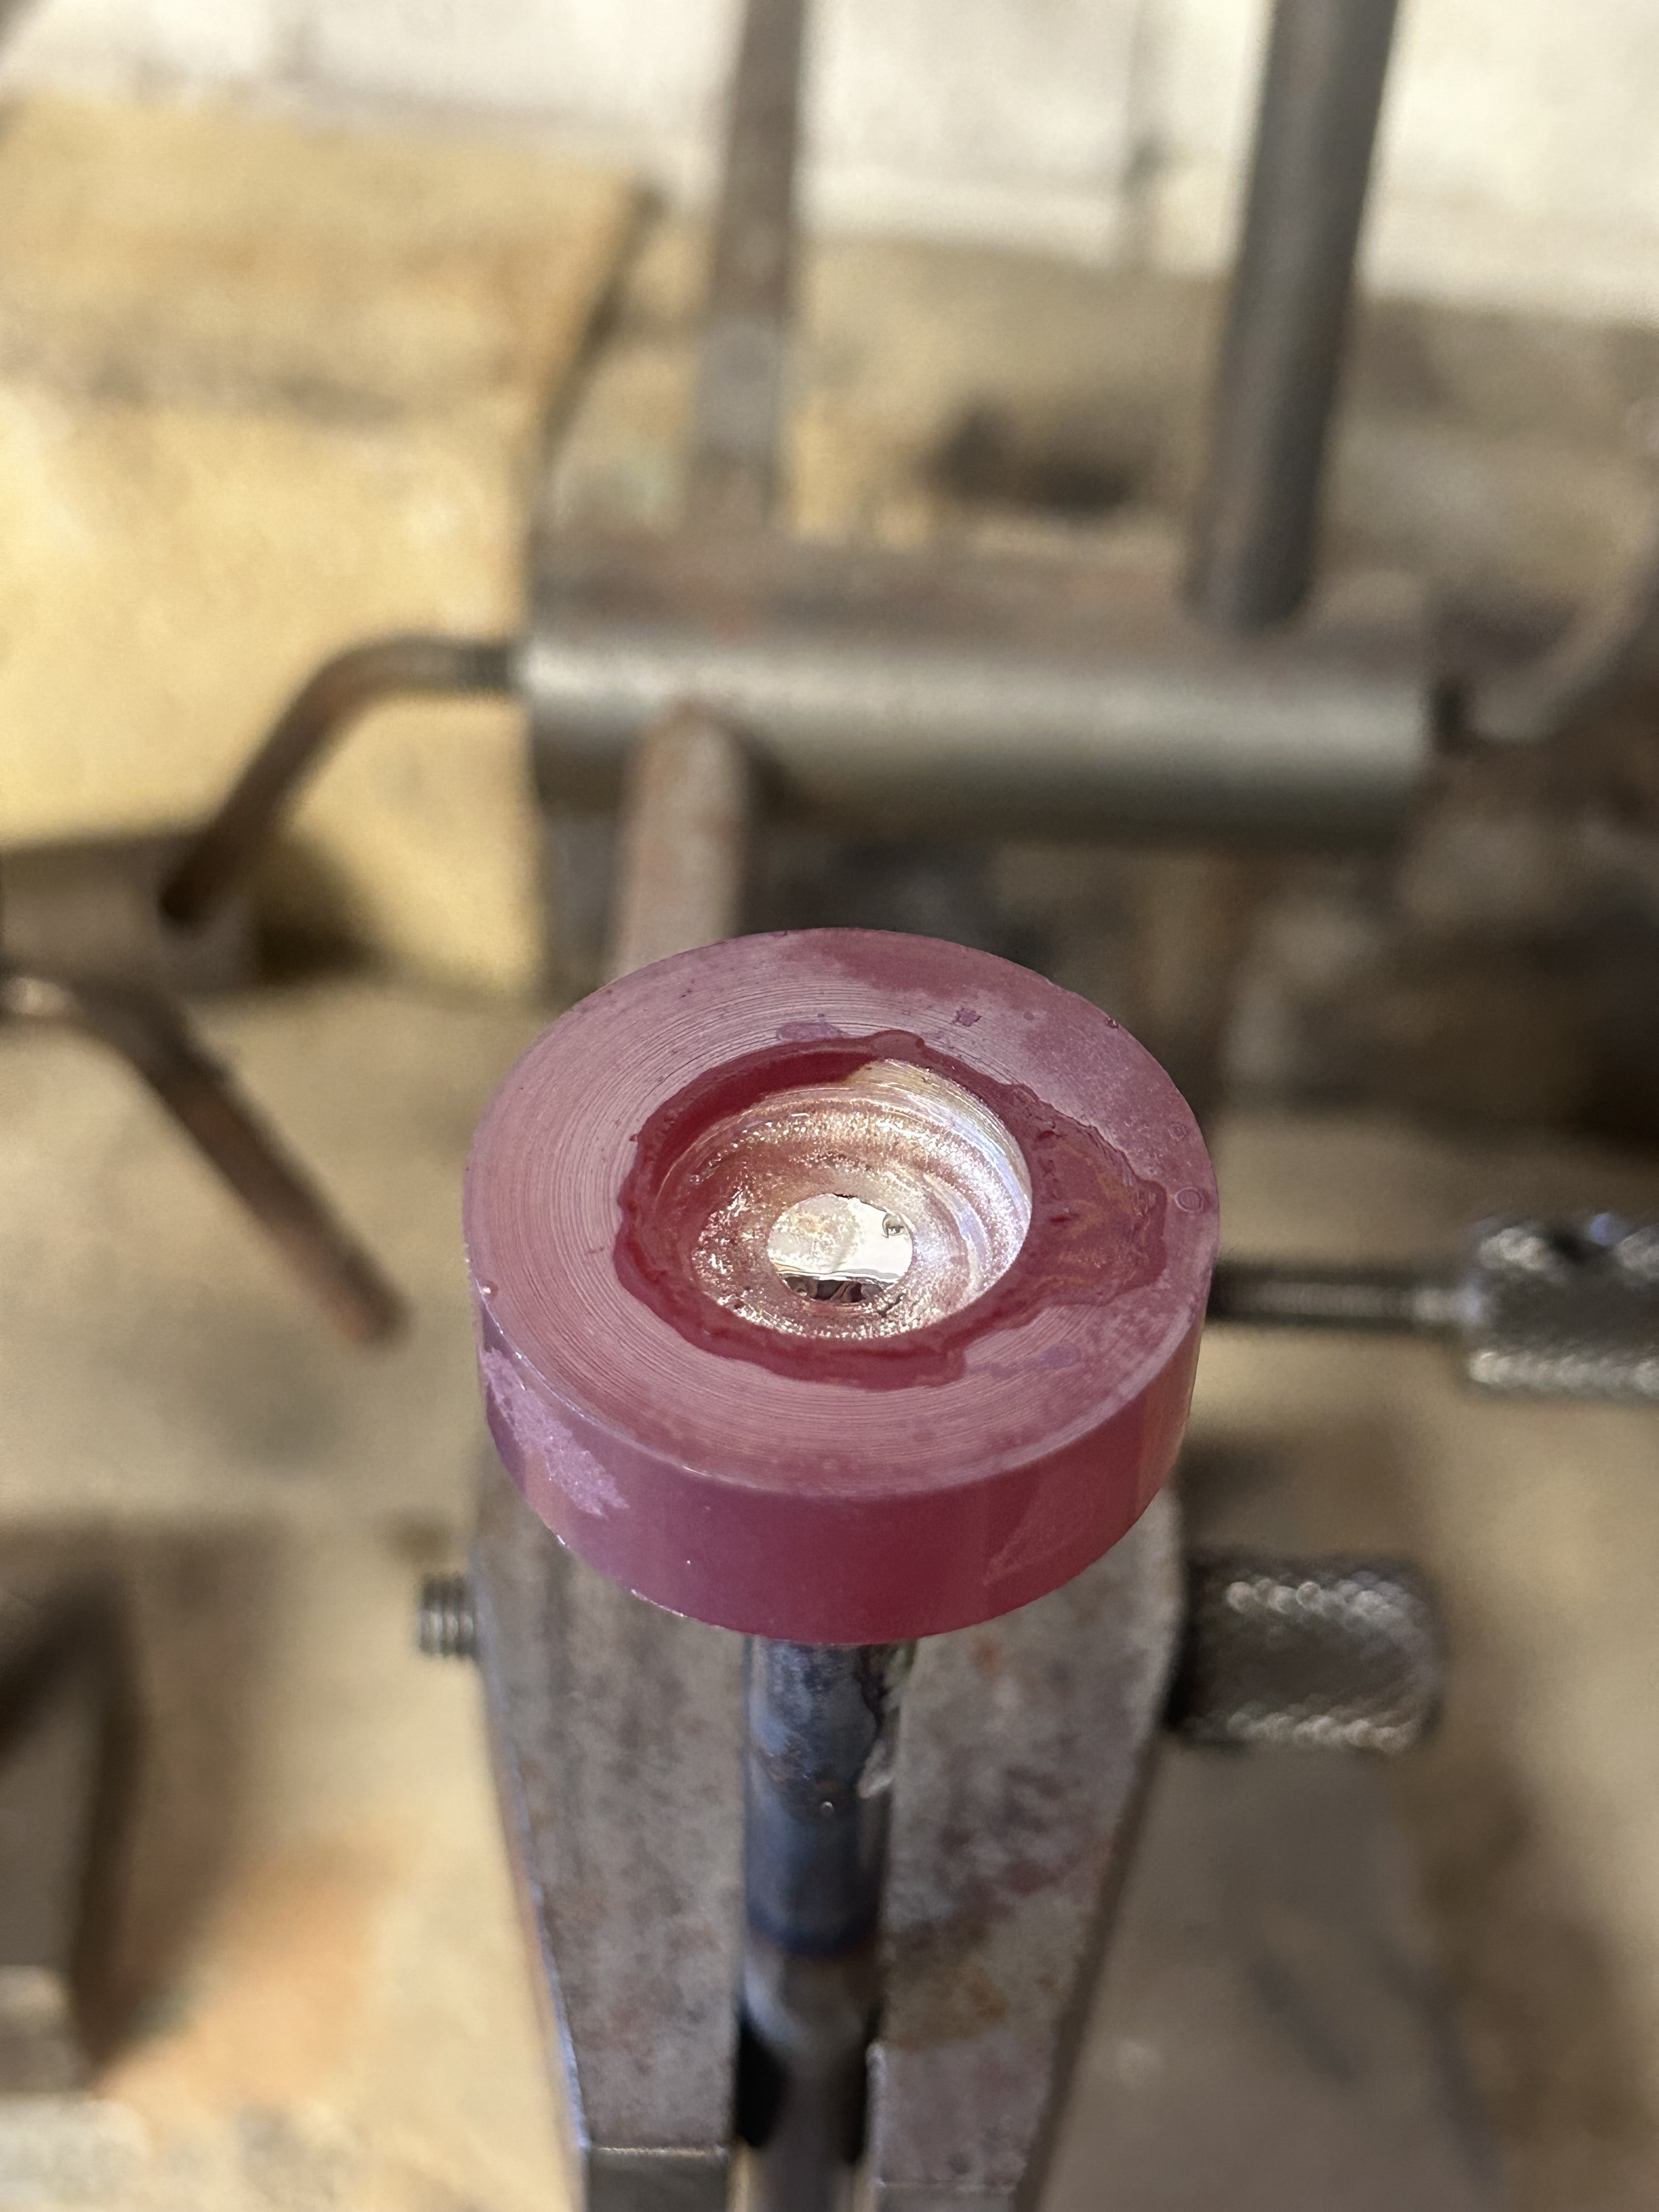
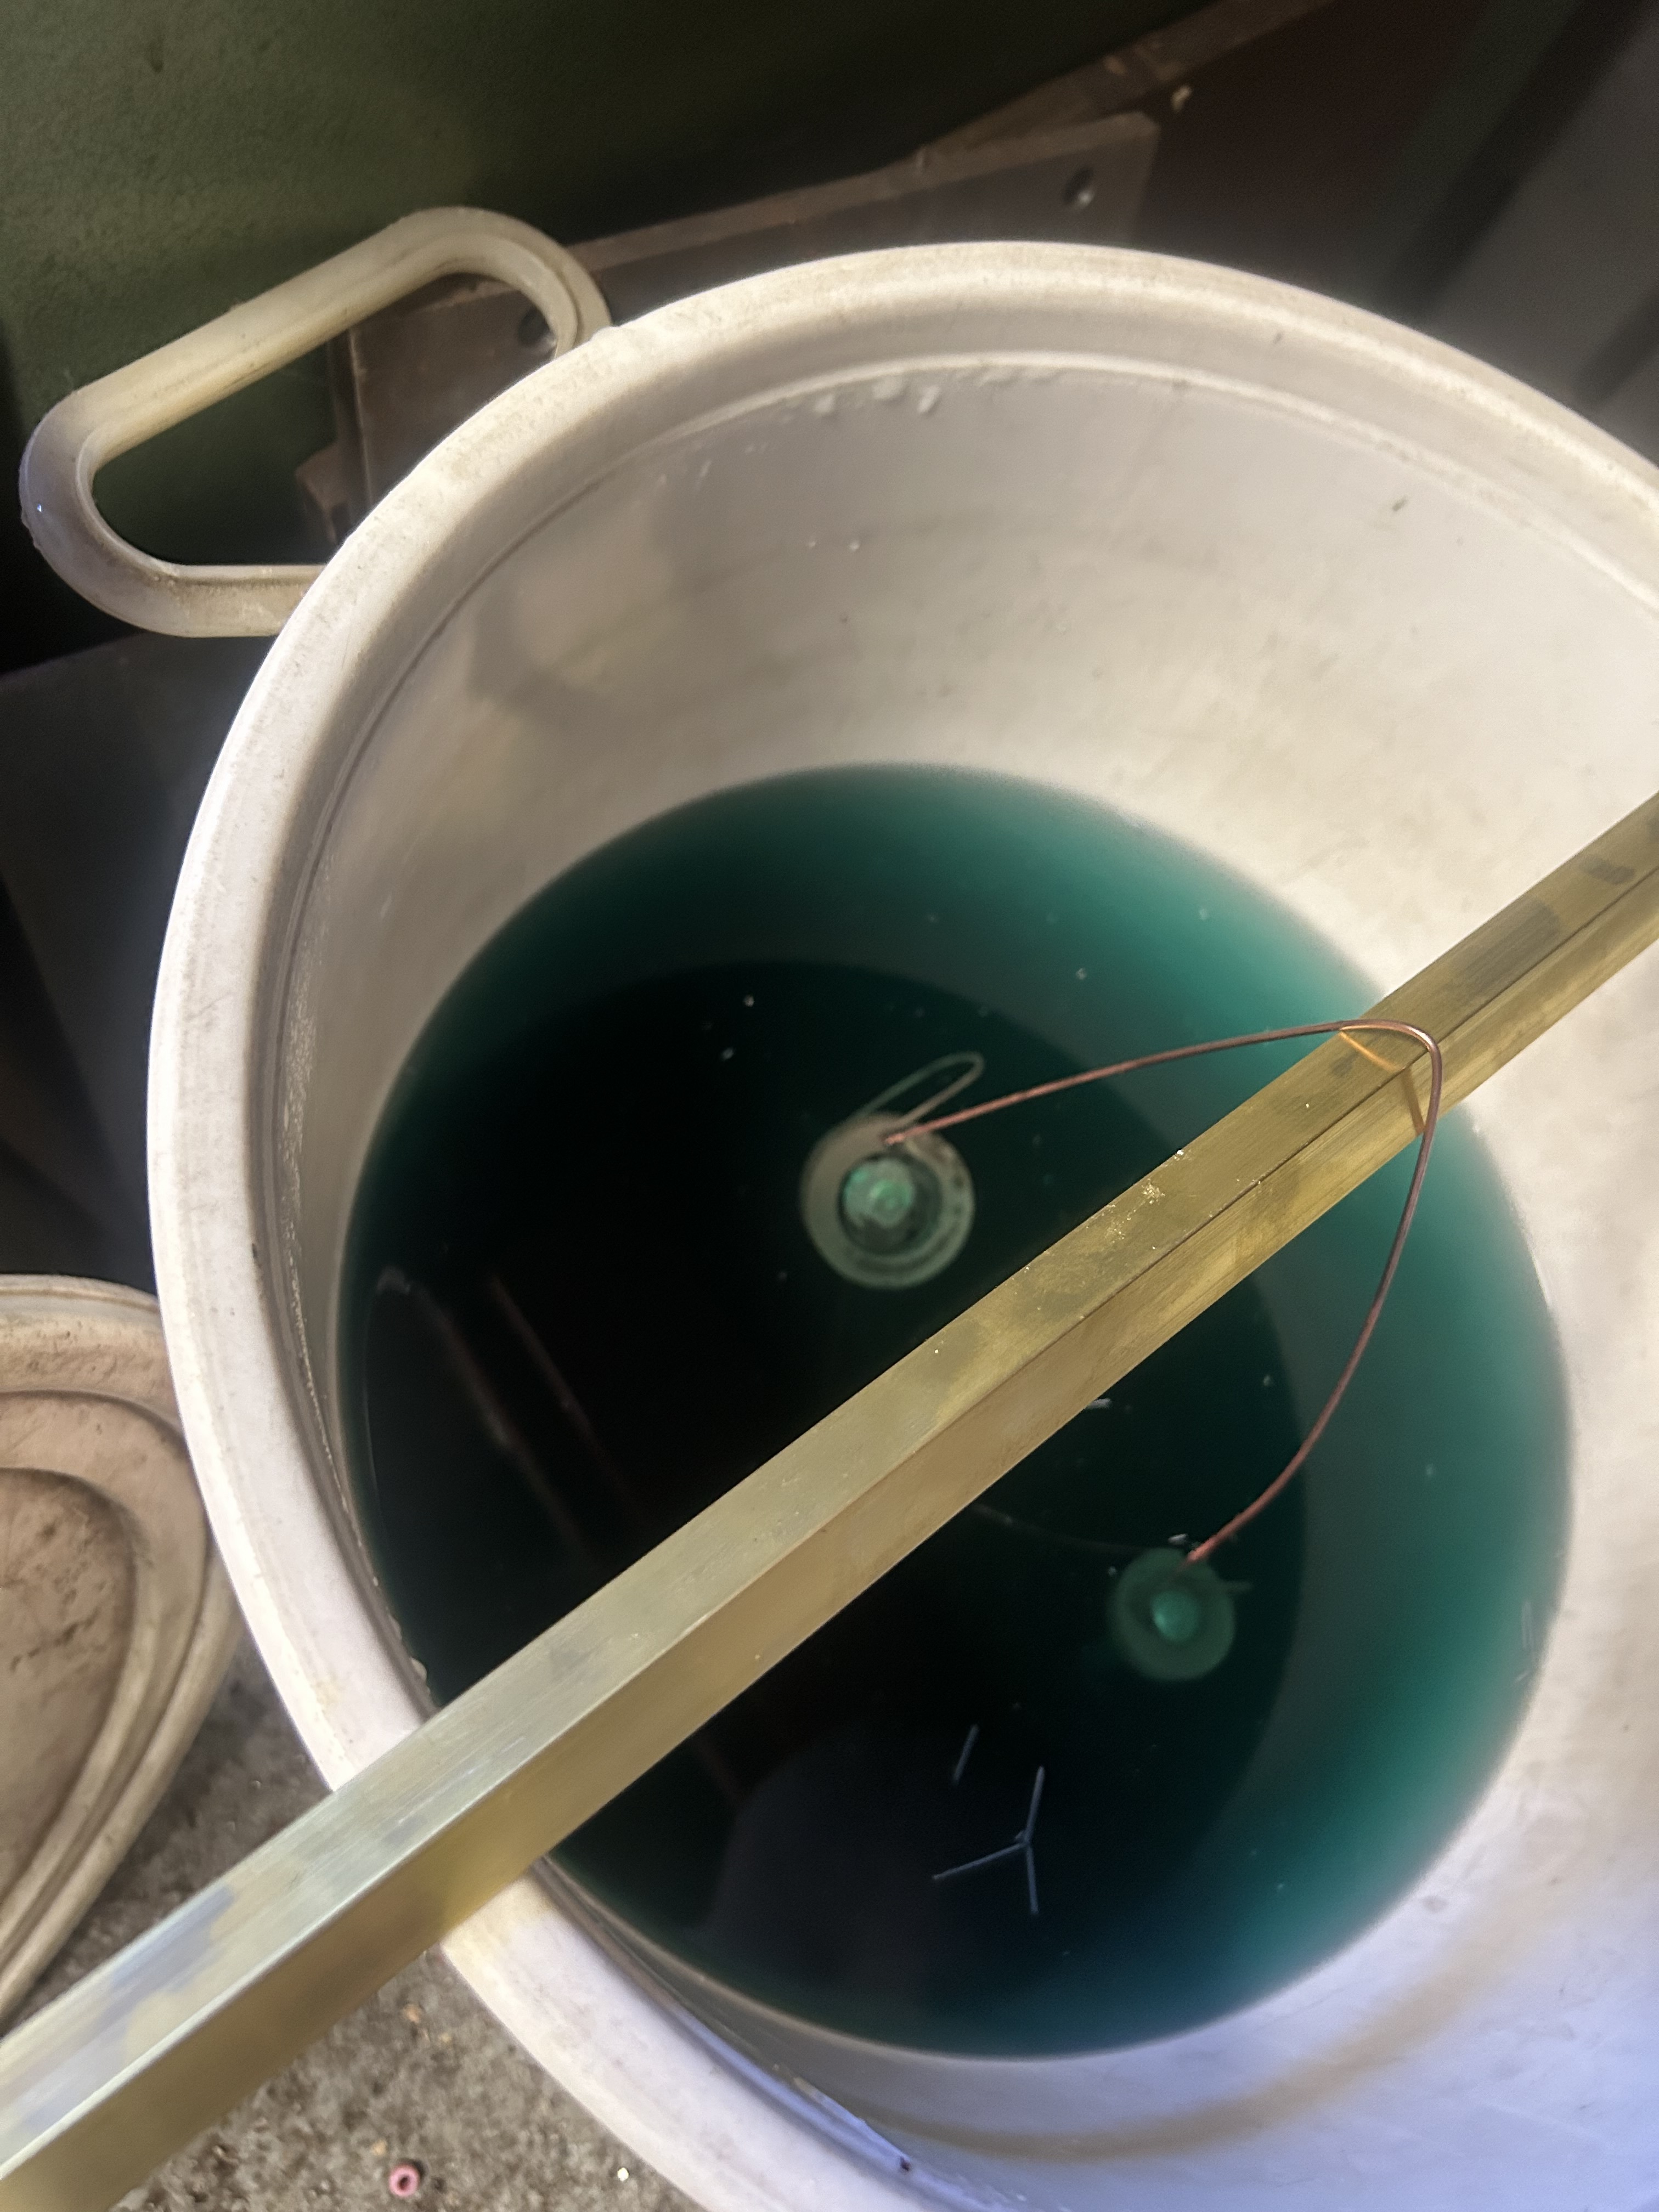
Attachment 47598 Pickle bath to remove flux.
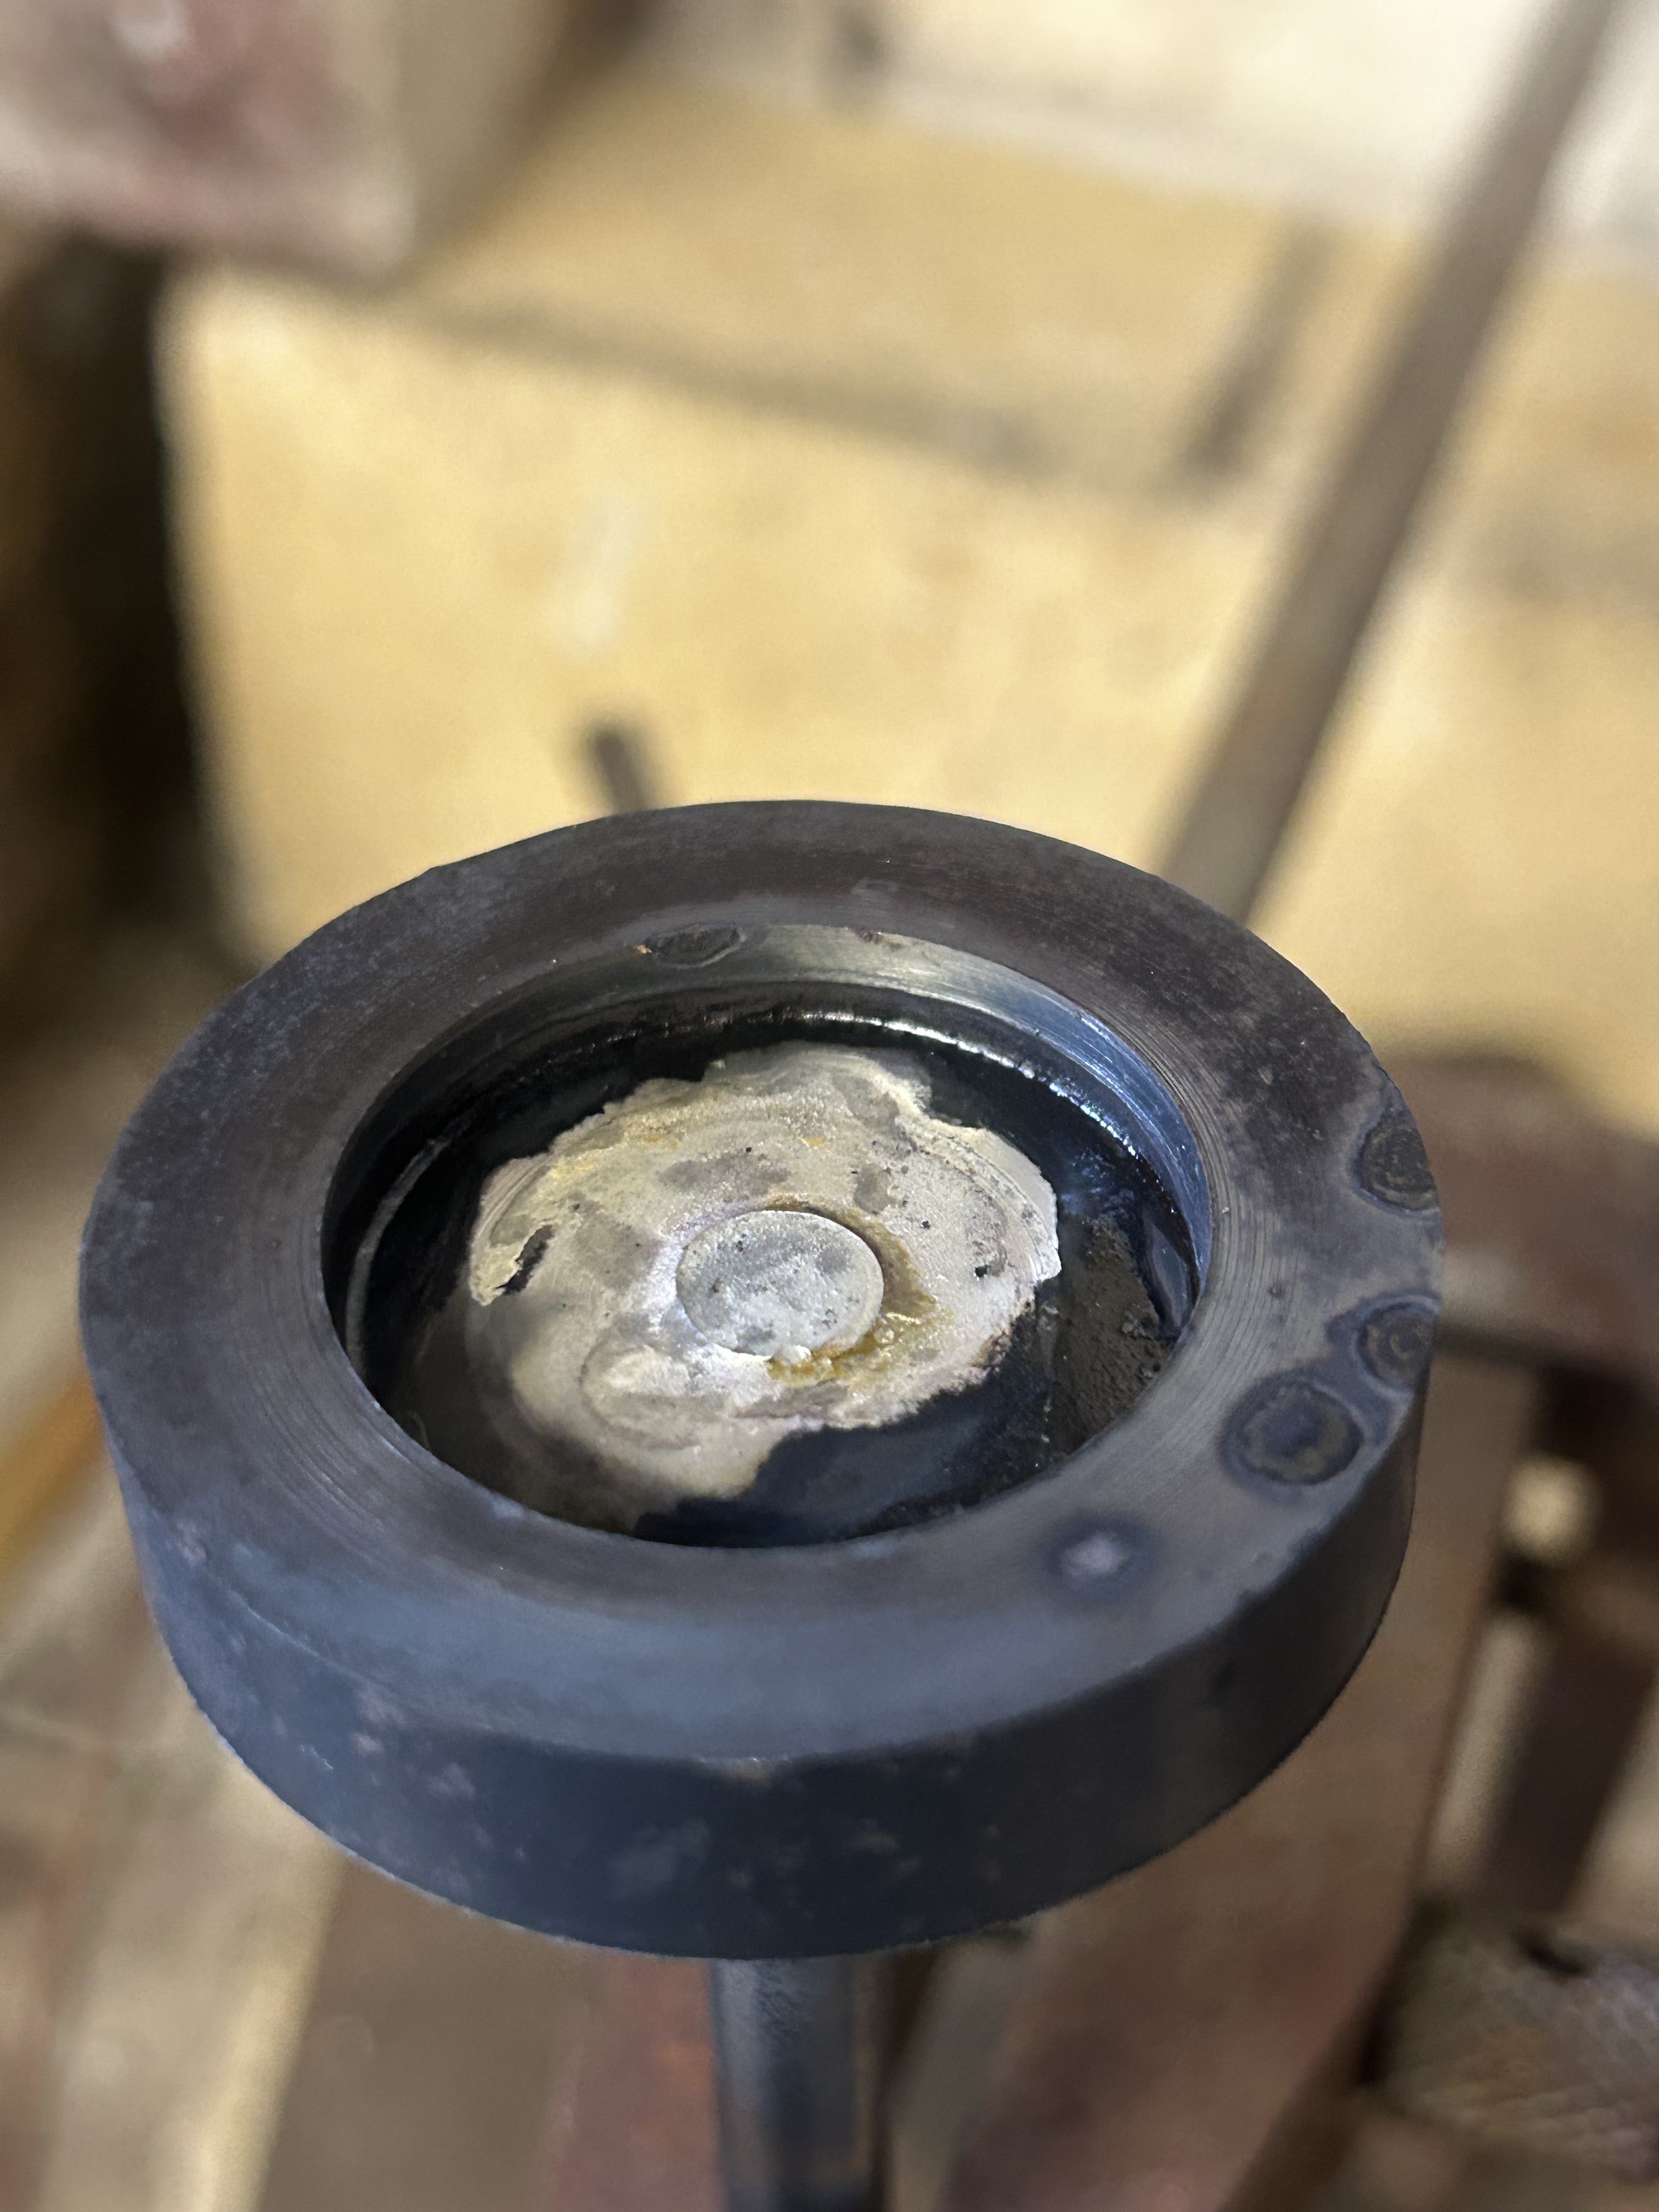
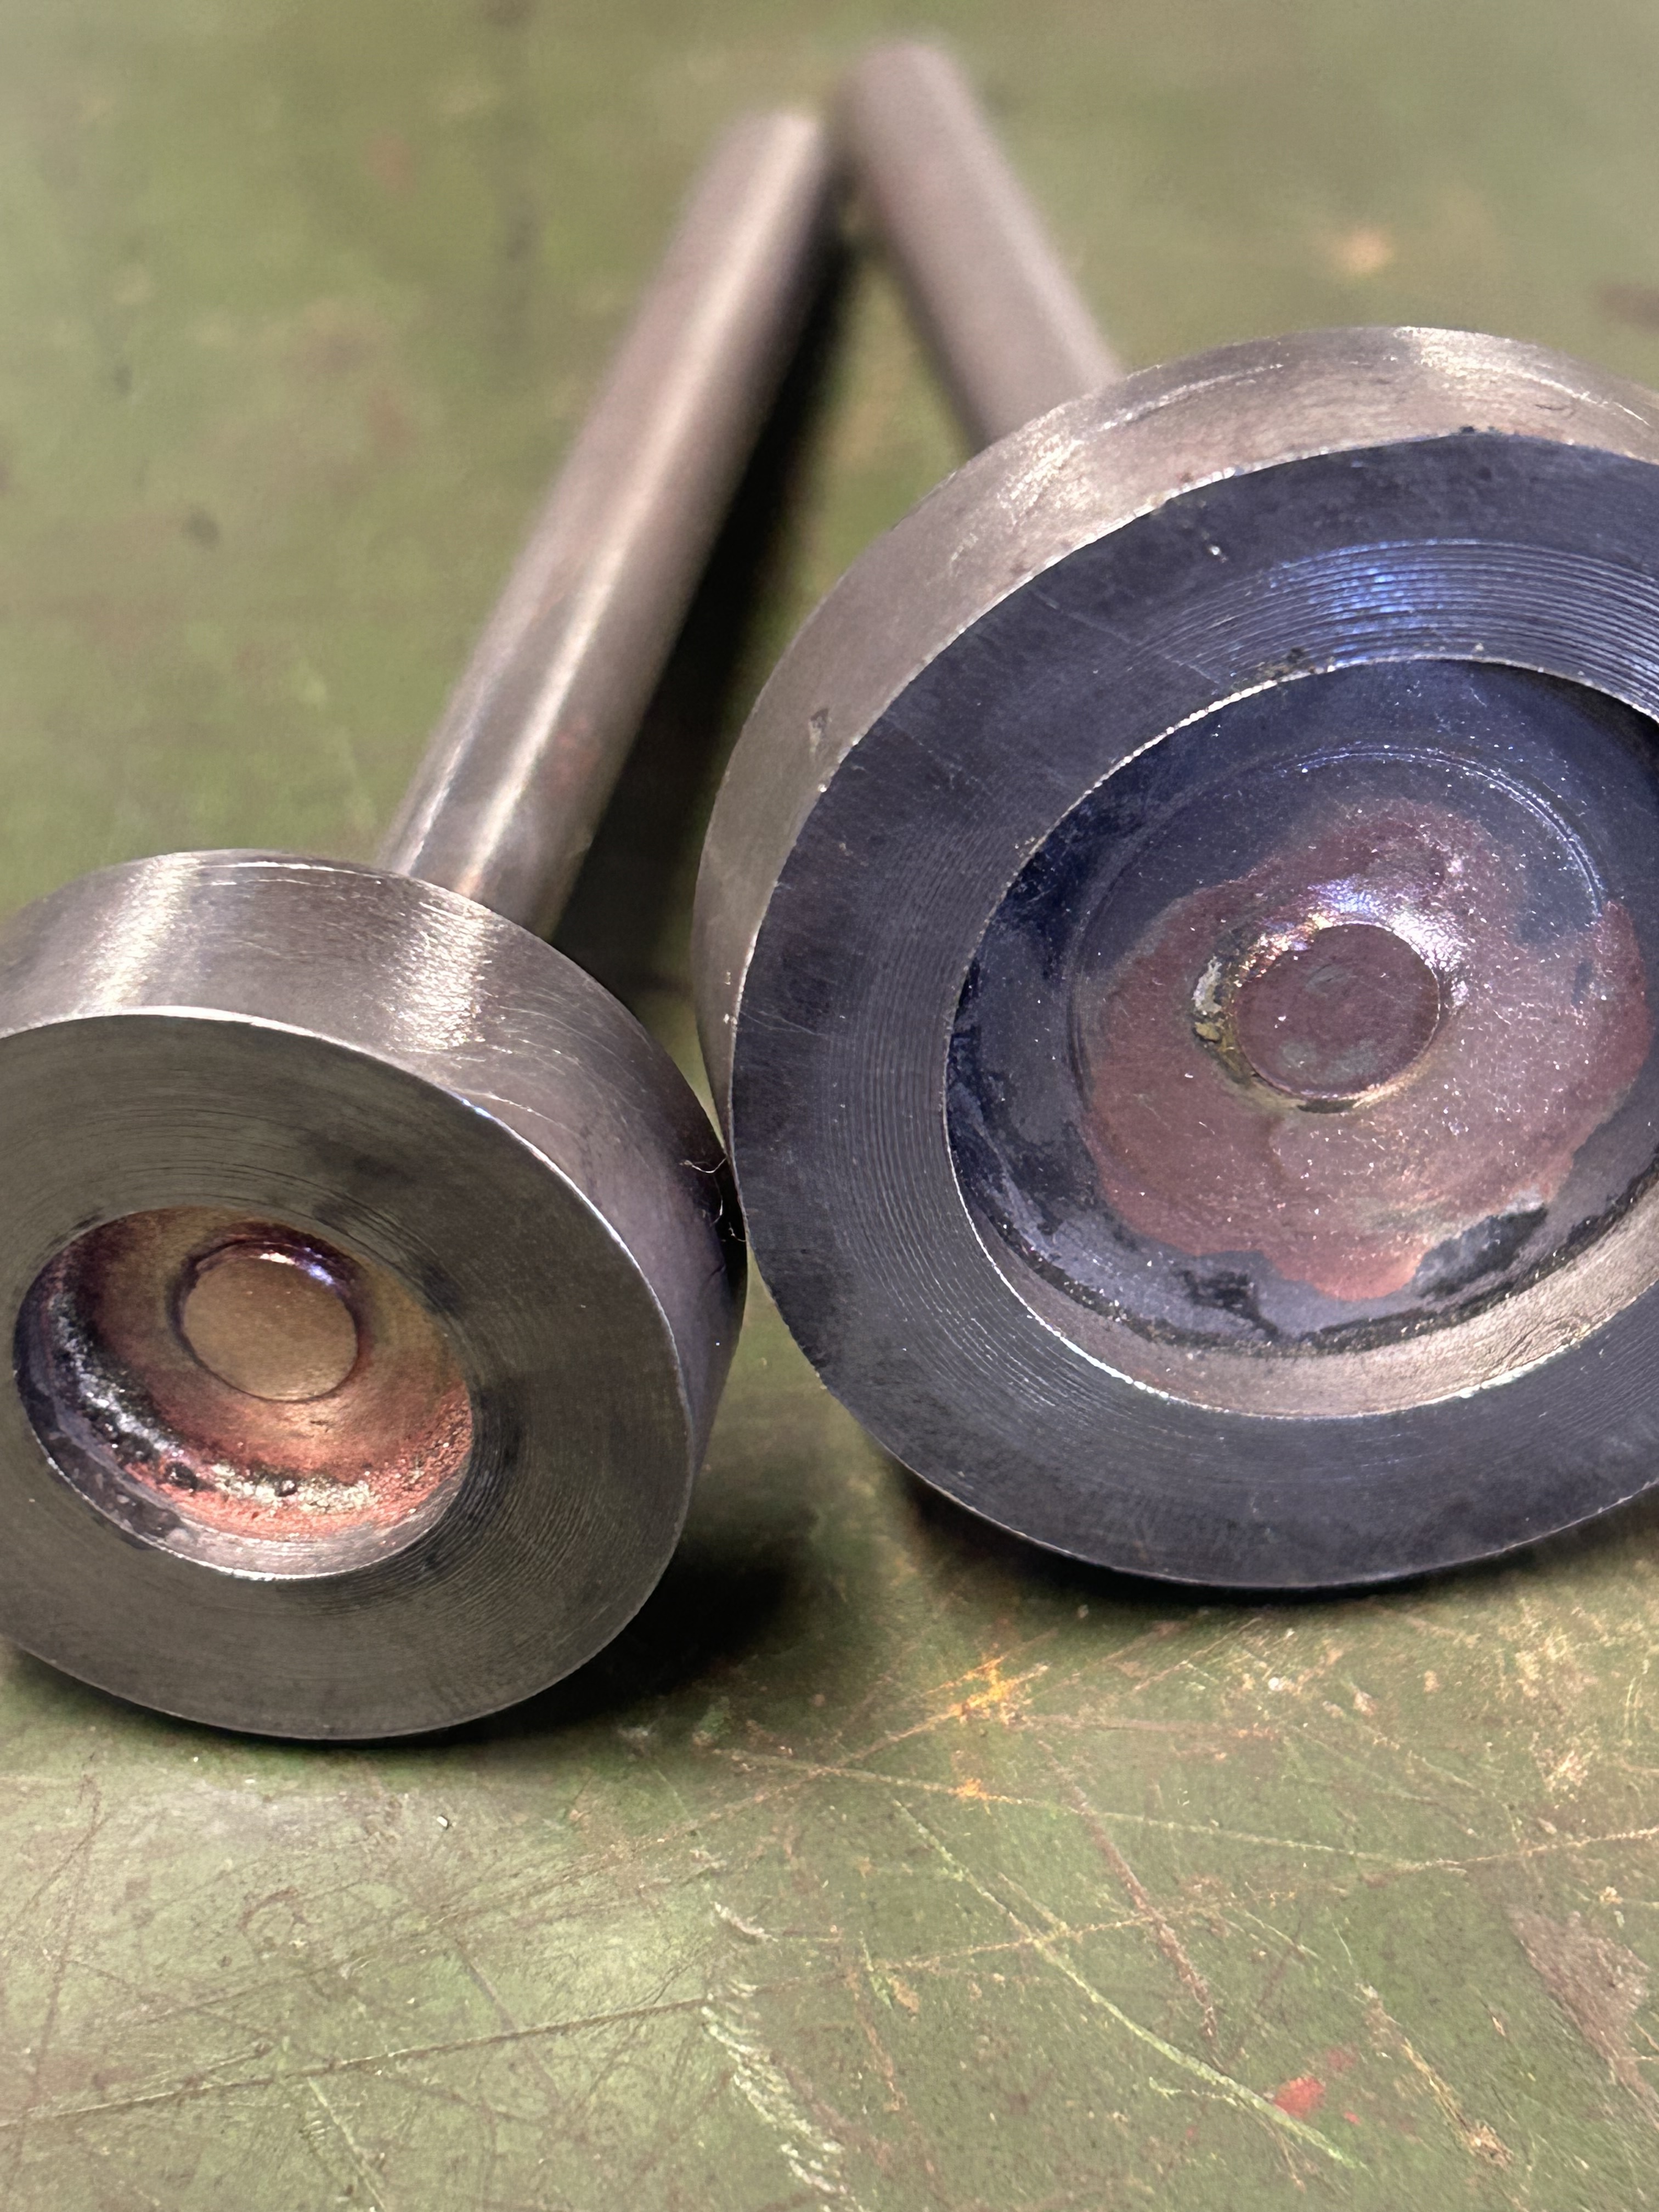
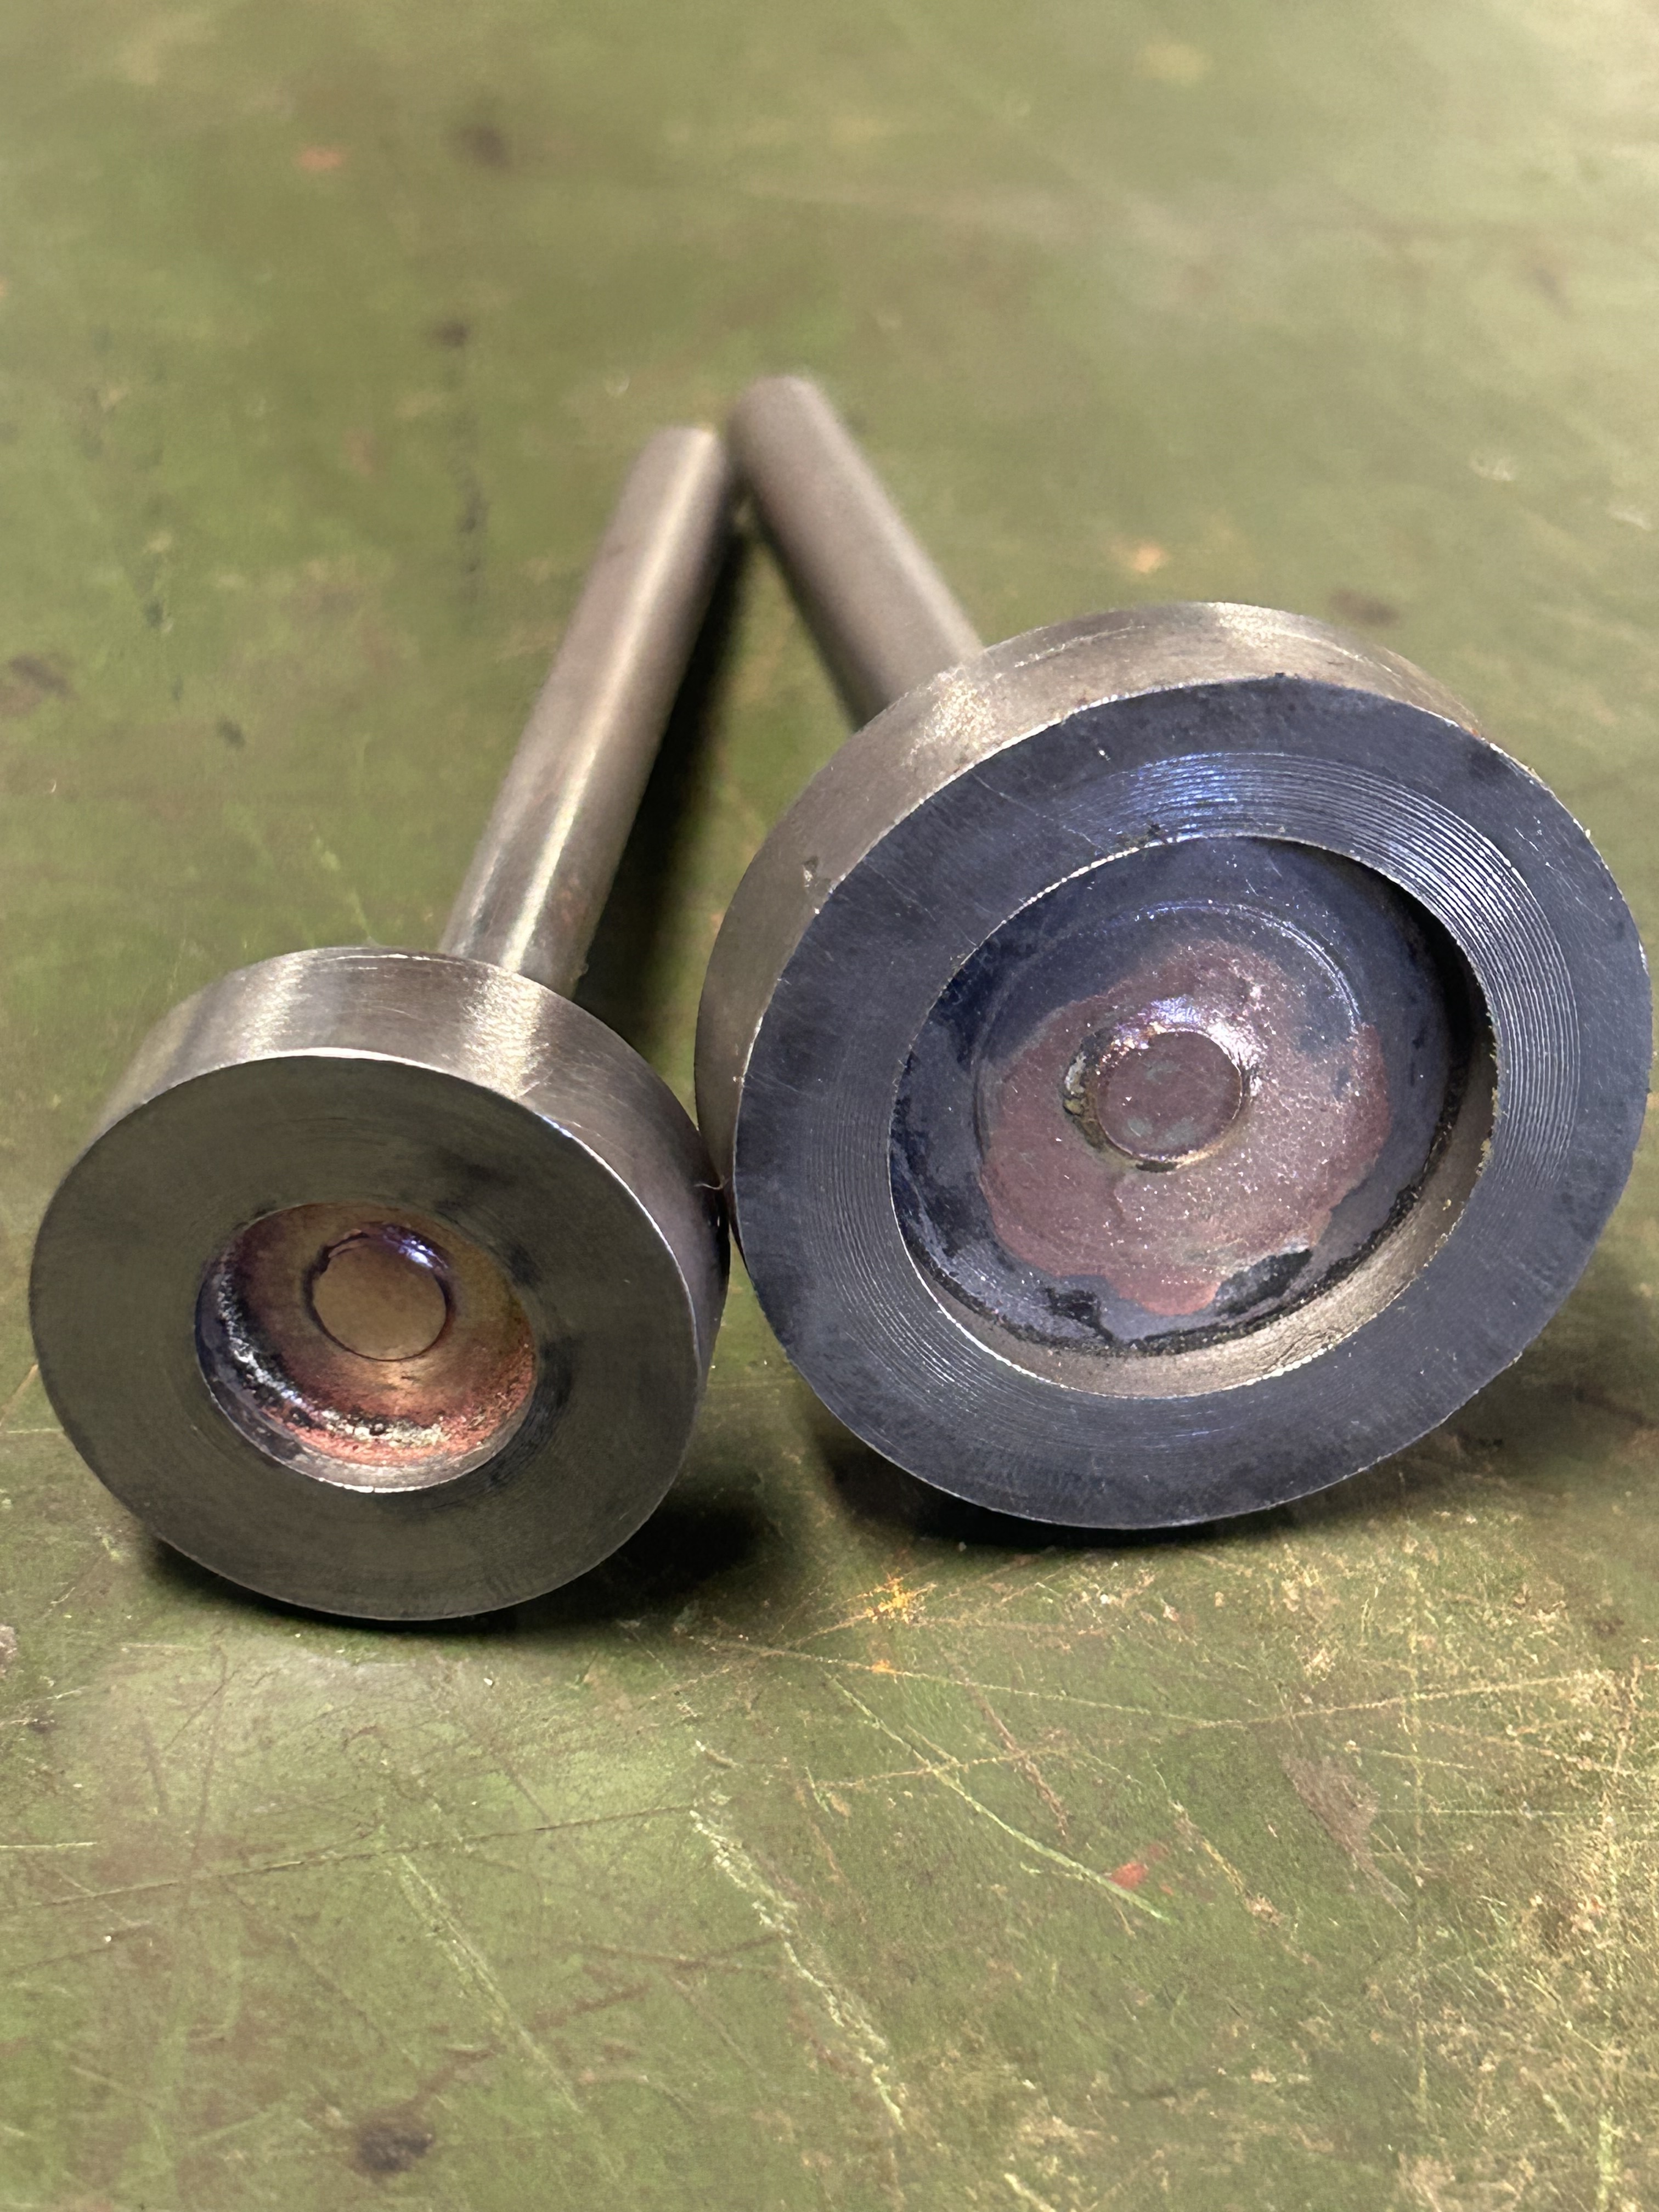
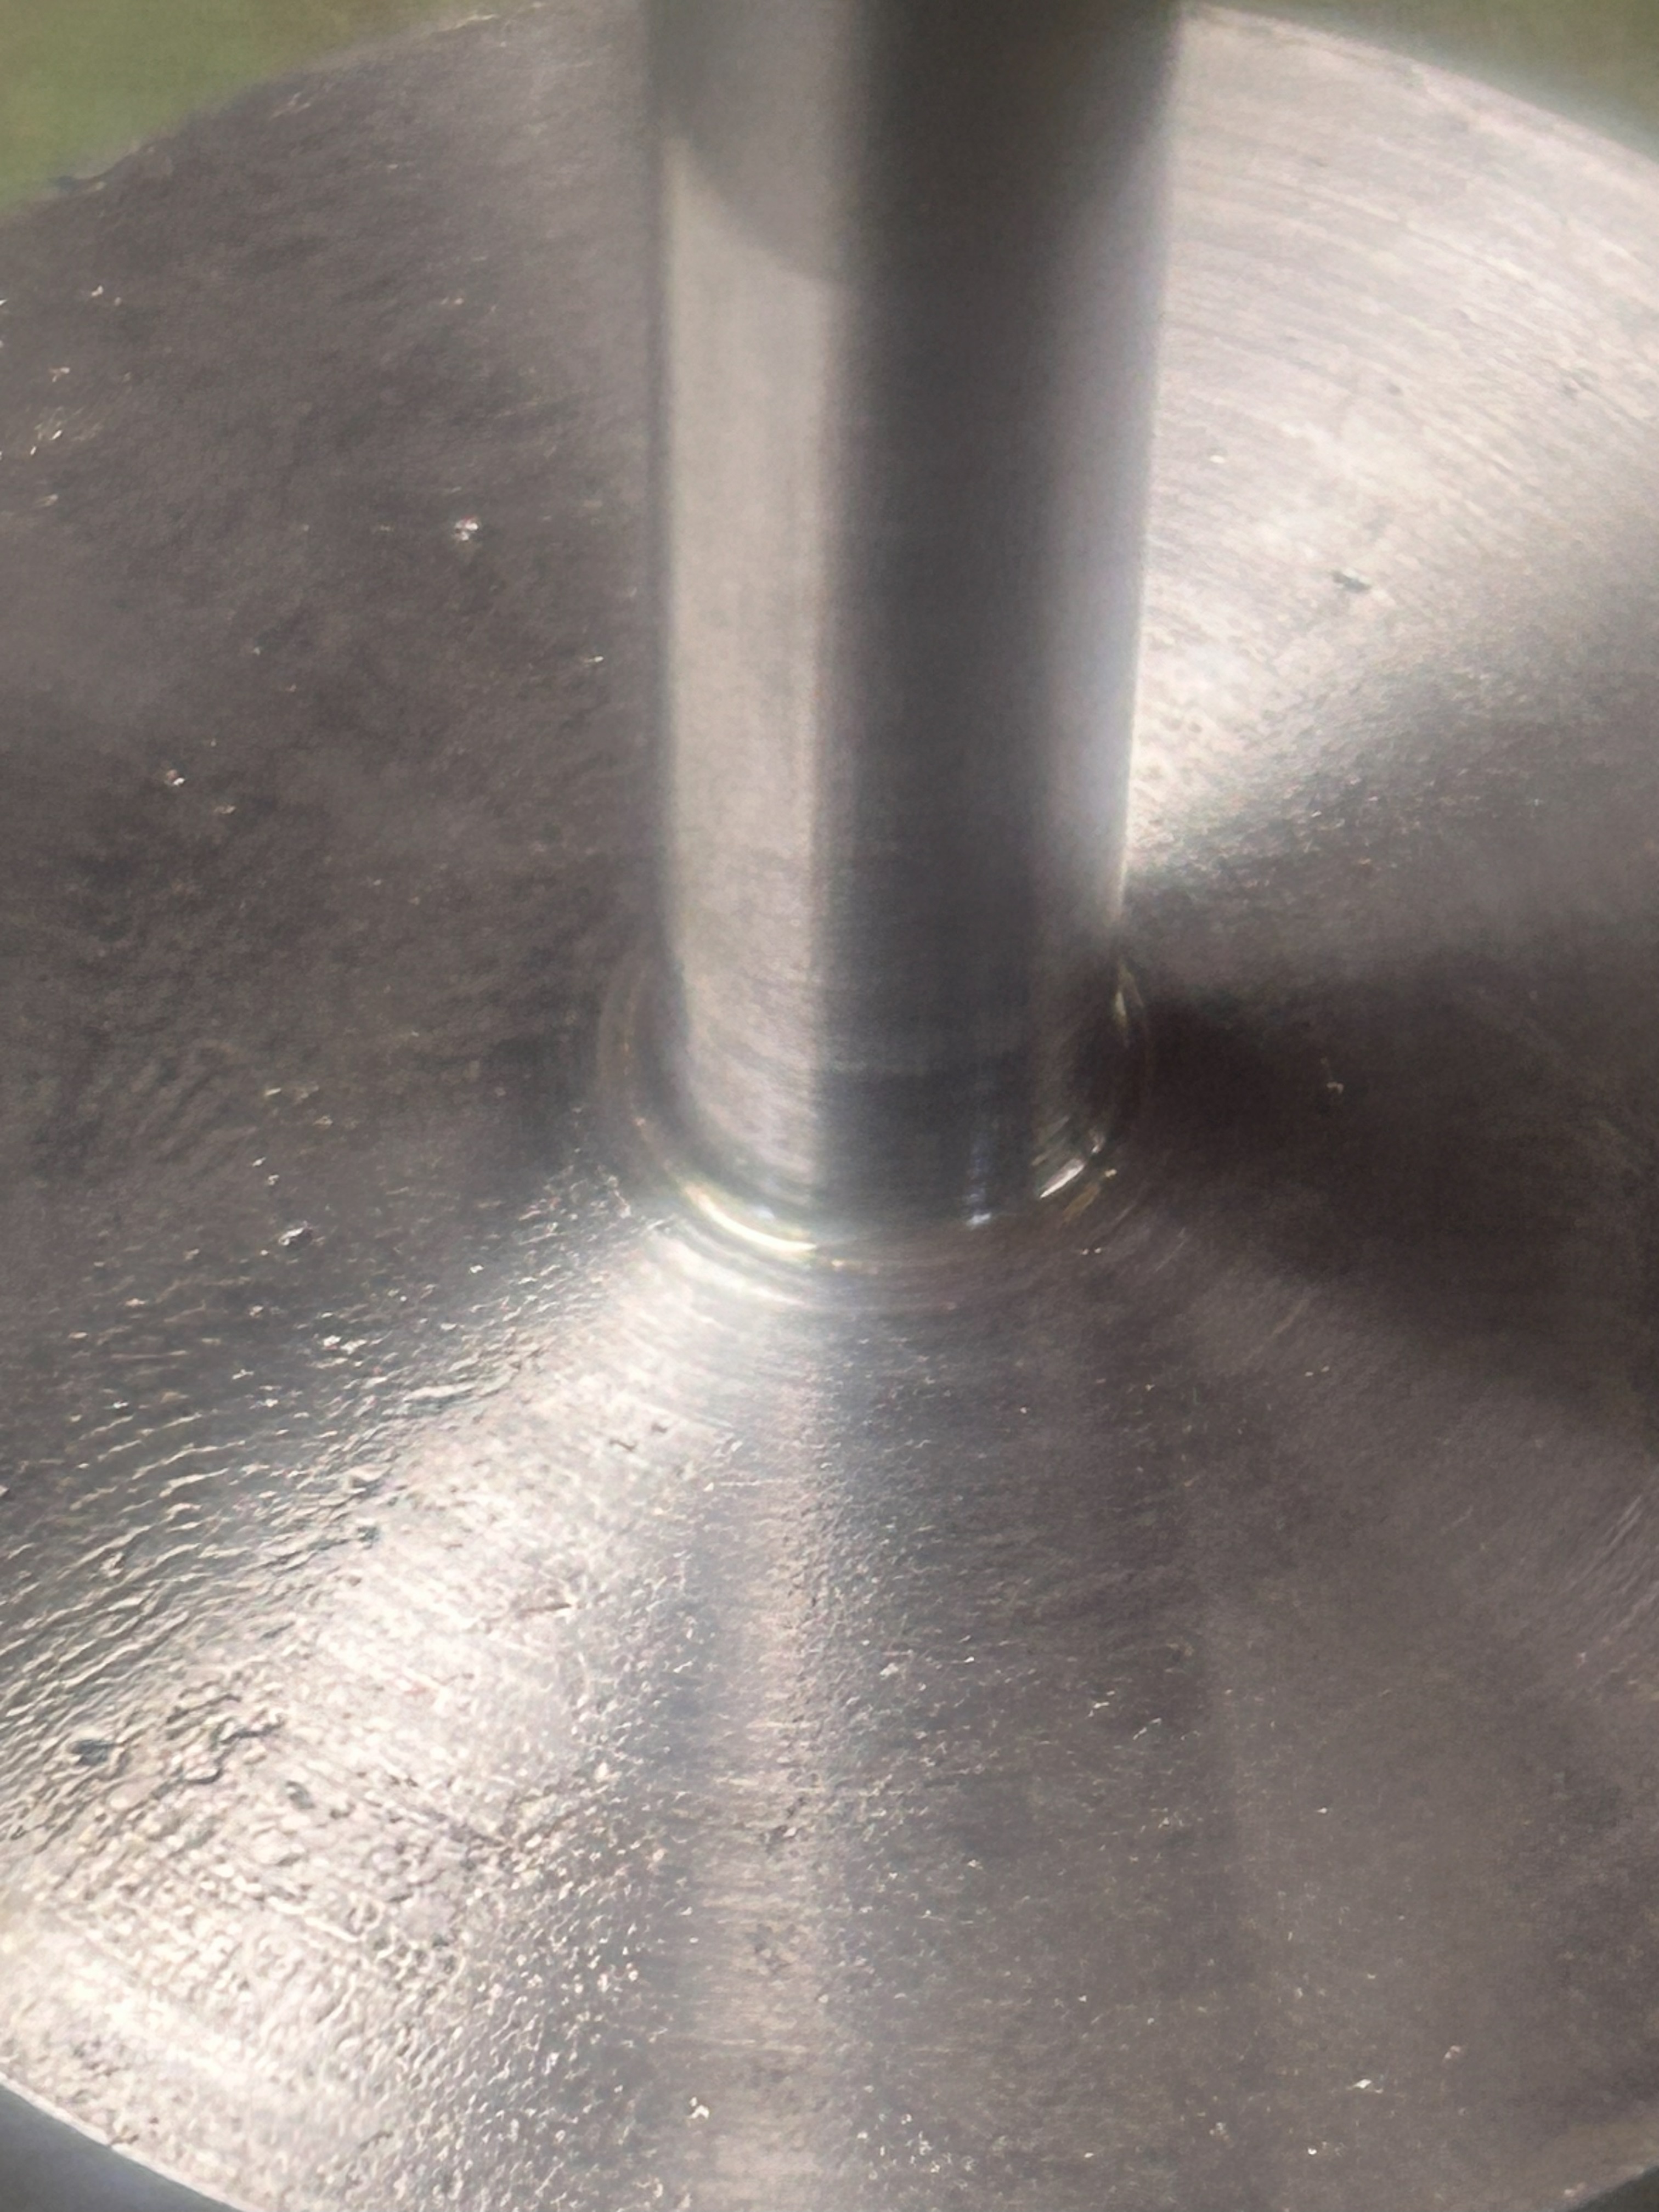
Attachment 47599 Solder flowed all the way through the joint.
Attachment 47600 Attachment 47601 Both HP and LP fabrications ready for finish machining.
Attachment 47602
Finished turned low pressure piston. The solder has flowed in and around thread and the groove is also filled by the solder making for a strong joint.
Thank you for viewing and hope you find this helpful.
The Home Engineer.
