Free 186 More Best Homemade Tools eBook:  
New: 300+ fresh build posts/day from 275 forums → BuildThreads.com

User Tag List

View Poll Results: plz transfer to FINISH PROJECT

Voters
0. You may not vote on this poll
  • transfer to FINISH PROJECT

    0 0%
  • transfer to FINISH PROJECT

    0 0%
Results 1 to 4 of 4

Thread: spill free can

Threaded View

  1. #1
    CHP
    CHP is offline
    Supporting Member CHP's Avatar
    Join Date
    Oct 2015
    Posts
    15
    Thanks
    3
    Thanked 32 Times in 6 Posts

    CHP's Tools

    Thumbs up spill free can

    Here are a few pictures of a spill free container
    that I build for my shop . I forgot to take a picture before
    soldering everything but there is a rare earth
    magnet in the container. It stay on my lathe tail stock with cutting
    fluid in it Enjoy

    I like this size container
    Click image for larger version. 

Name:	1.JPG 
Views:	389 
Size:	65.7 KB 
ID:	7859
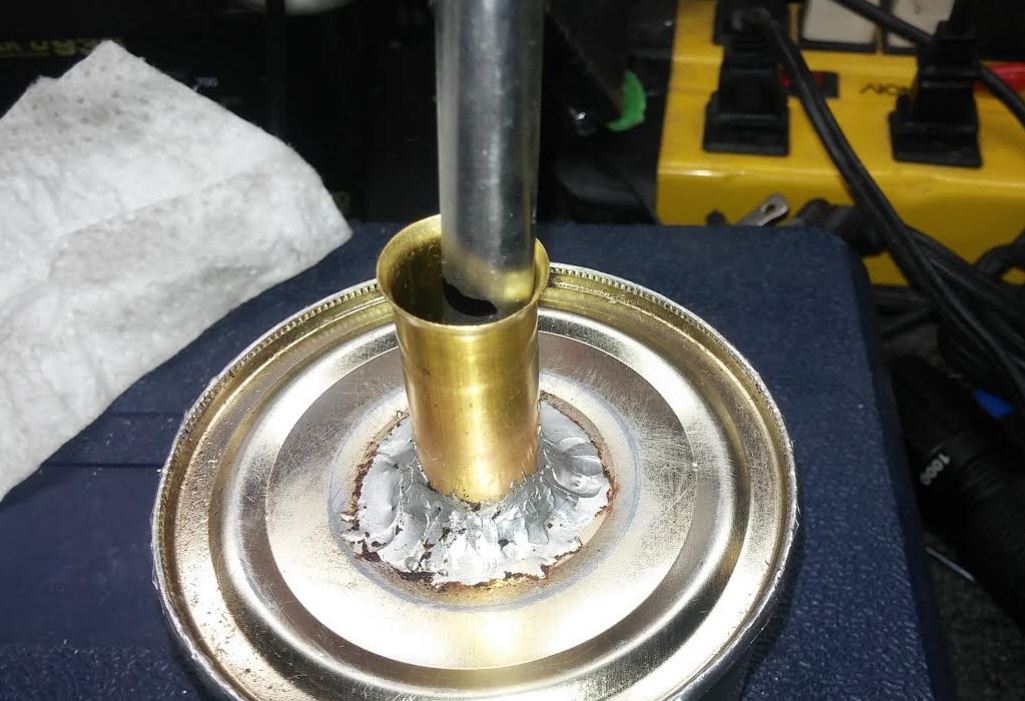
    once empty and clean you must sand the edge before soldering
    Click image for larger version. 

Name:	3.JPG 
Views:	444 
Size:	104.6 KB 
ID:	7860
    I used .062 solder make the job easier
    Click image for larger version. 

Name:	4.JPG 
Views:	393 
Size:	82.6 KB 
ID:	7861
    I then hold everything rite with a C clamp and solder the joint
    Click image for larger version. 

Name:	5.JPG 
Views:	403 
Size:	41.2 KB 
ID:	7862
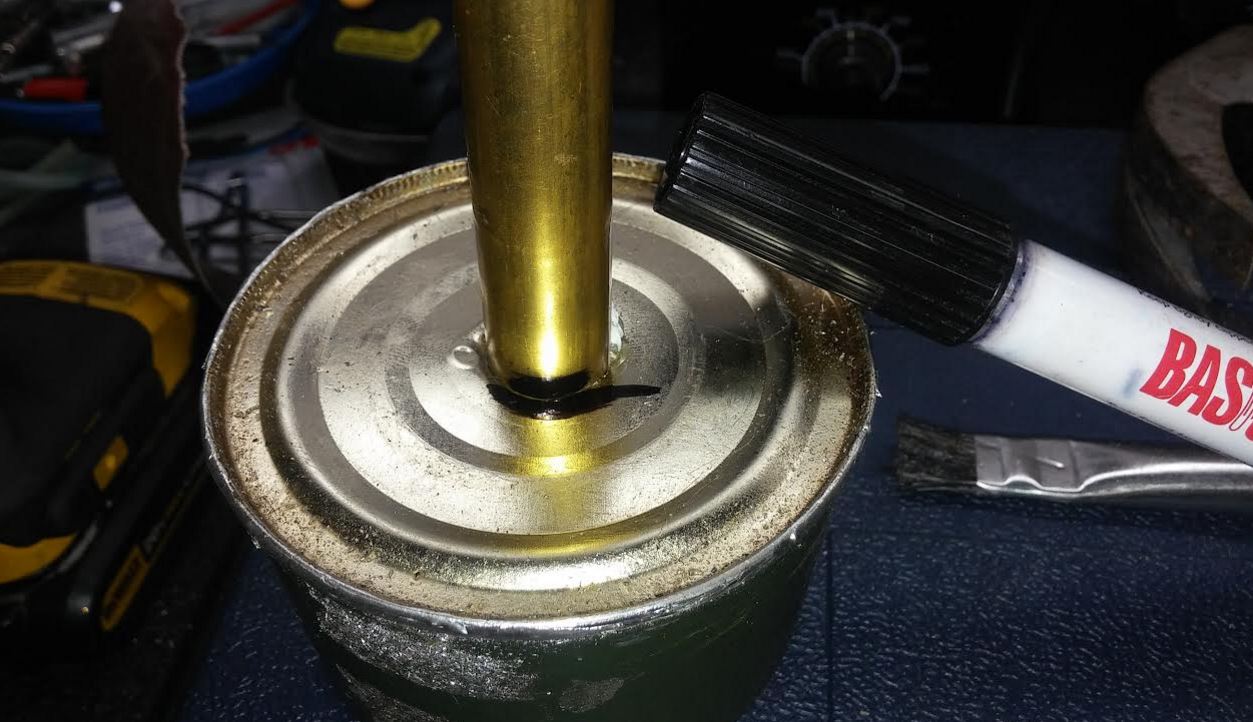
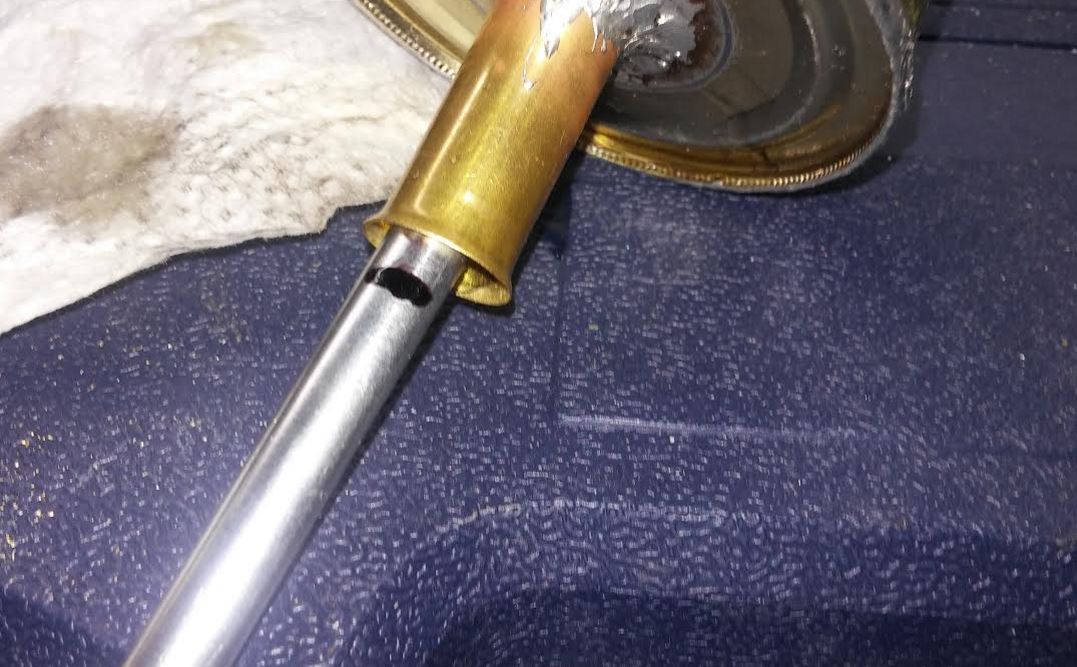
    then I find a small brass tubing to fit my brush
    Click image for larger version. 

Name:	6.JPG 
Views:	390 
Size:	128.1 KB 
ID:	7863
    I use a damping punch to make a nice flare
    stop my brush from shredding
    Click image for larger version. 

Name:	7.JPG 
Views:	405 
Size:	136.4 KB 
ID:	7864
    Click image for larger version. 

Name:	8.JPG 
Views:	394 
Size:	132.8 KB 
ID:	7865
    then I make a hole as close fit as possible
    Click image for larger version. 

Name:	9.JPG 
Views:	384 
Size:	133.6 KB 
ID:	7866
    Click image for larger version. 

Name:	11.JPG 
Views:	414 
Size:	141.3 KB 
ID:	7867
    I then mark how long I need to cut the pipe, it's push all the way to the bottom.
    Click image for larger version. 

Name:	Capture3.JPG 
Views:	404 
Size:	135.0 KB 
ID:	7869
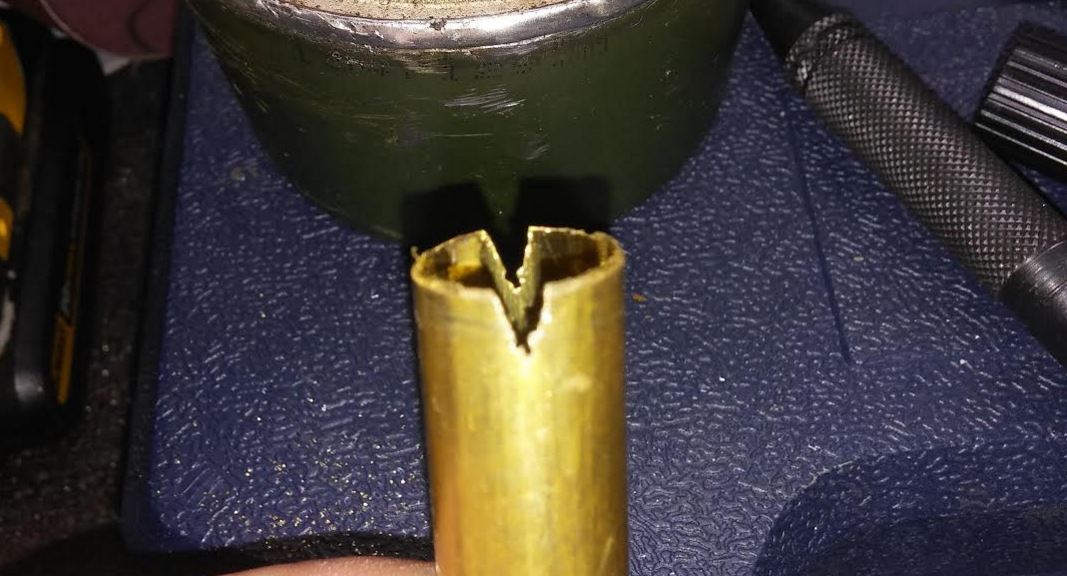
    on the other end I make a small V with a file
    Click image for larger version. 

Name:	10.JPG 
Views:	420 
Size:	102.3 KB 
ID:	7868
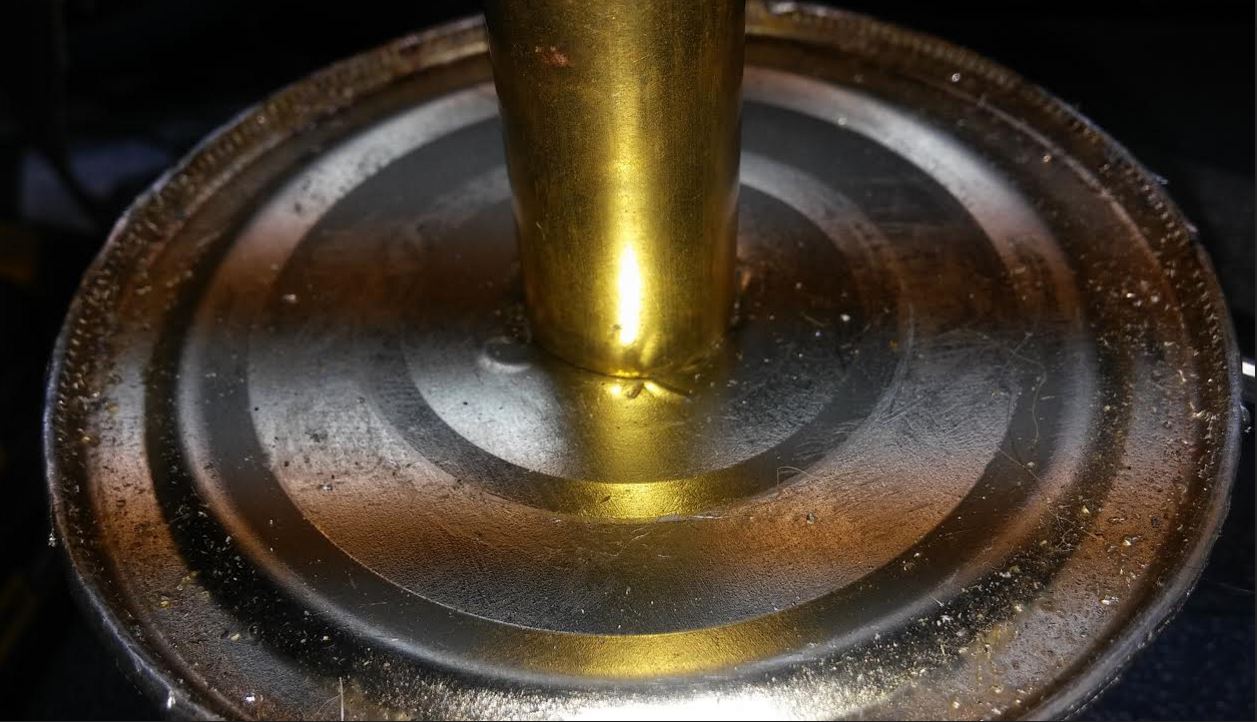
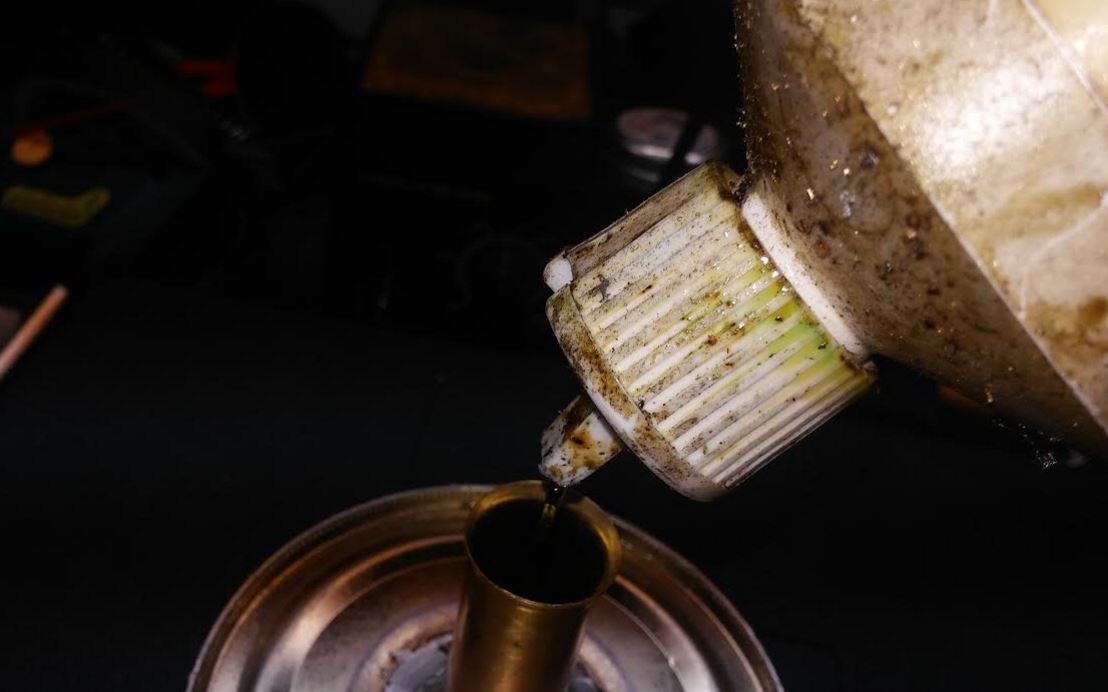
    then I solder my pipe as straight as possible and fill it to about half
    Click image for larger version. 

Name:	can up.JPG 
Views:	427 
Size:	110.5 KB 
ID:	7870
    Click image for larger version. 

Name:	12.JPG 
Views:	419 
Size:	68.2 KB 
ID:	7871
    and Voila you can flip this upside down if you wish and nothing will come out
    Click image for larger version. 

Name:	14.JPG 
Views:	424 
Size:	122.3 KB 
ID:	7872

    enjoy

    this thread is completed but can't change it HELP
    Last edited by CHP; Feb 2, 2016 at 09:42 AM.

  2. The Following 3 Users Say Thank You to CHP For This Useful Post:

    Jon (Feb 6, 2016), kbalch (Jan 29, 2016), mwmkravchenko (Feb 12, 2022)

Thread Information

Users Browsing this Thread

There are currently 1 users browsing this thread. (0 members and 1 guests)

Tags for this Thread

Bookmarks

Posting Permissions

  • You may not post new threads
  • You may not post replies
  • You may not post attachments
  • You may not edit your posts
  •