4 Attachment(s)
Treadmill motor adaptation for Bridgeport type mill.
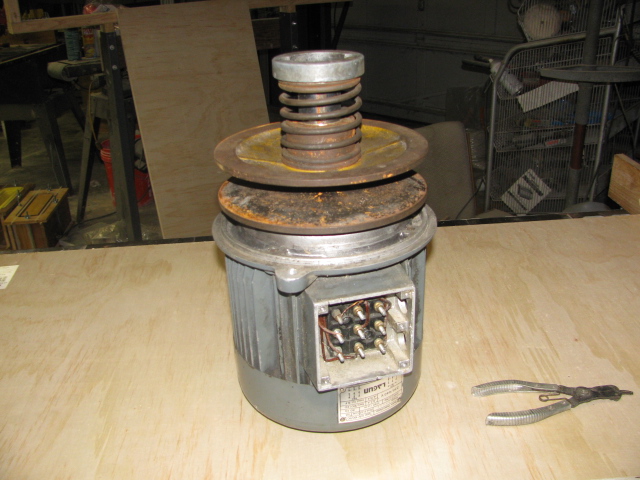
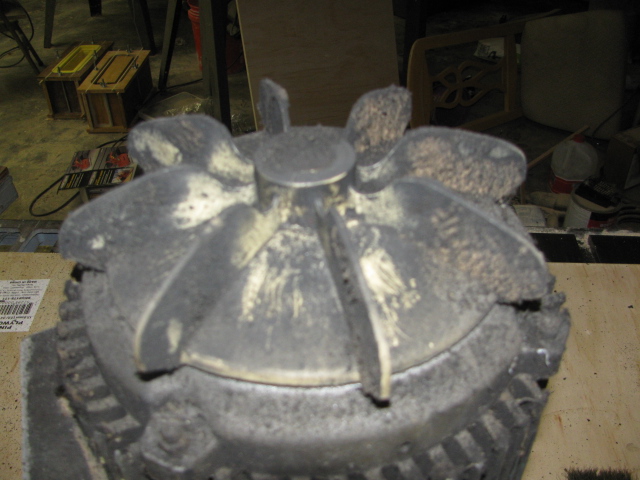
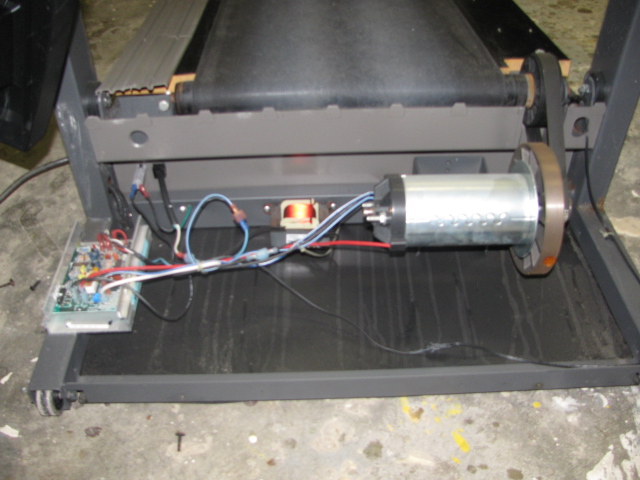
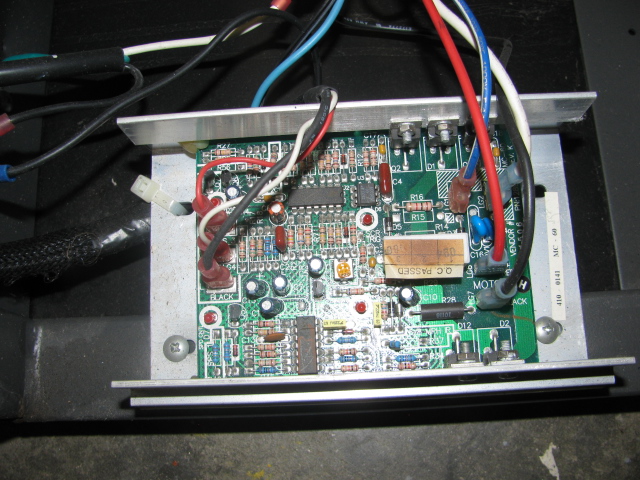
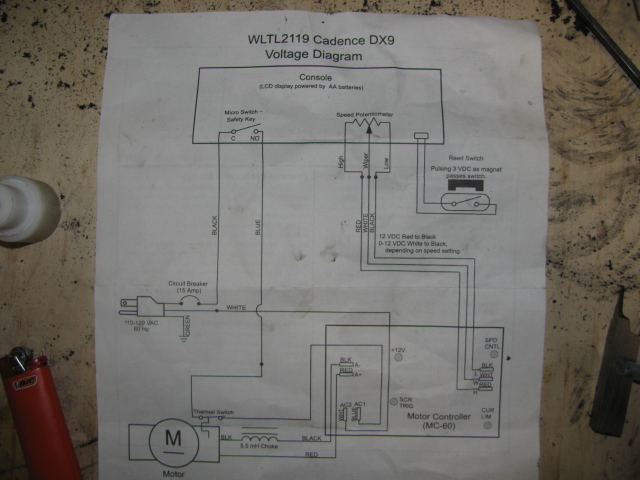
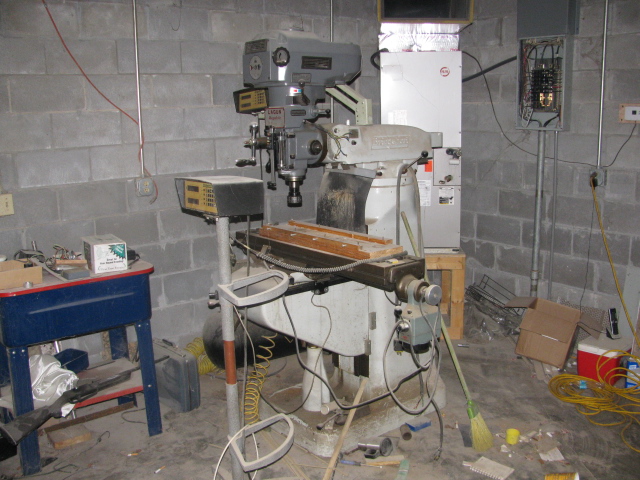
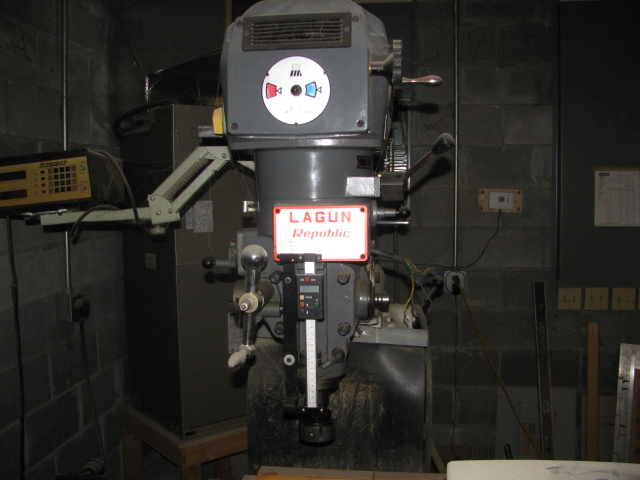
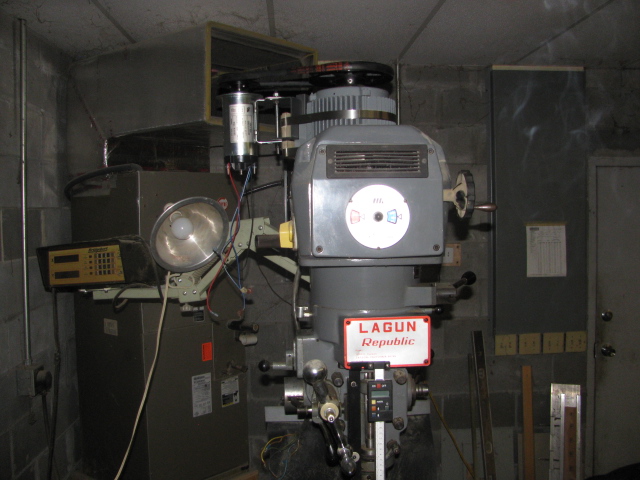
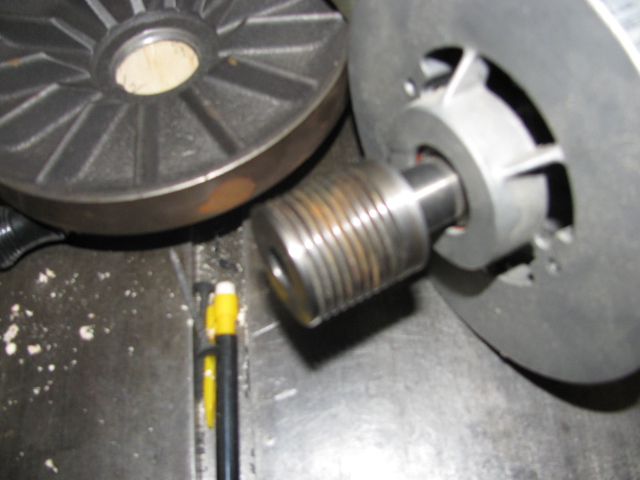
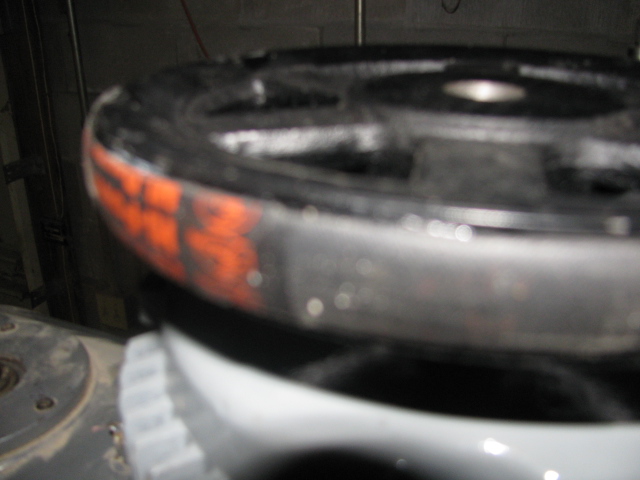
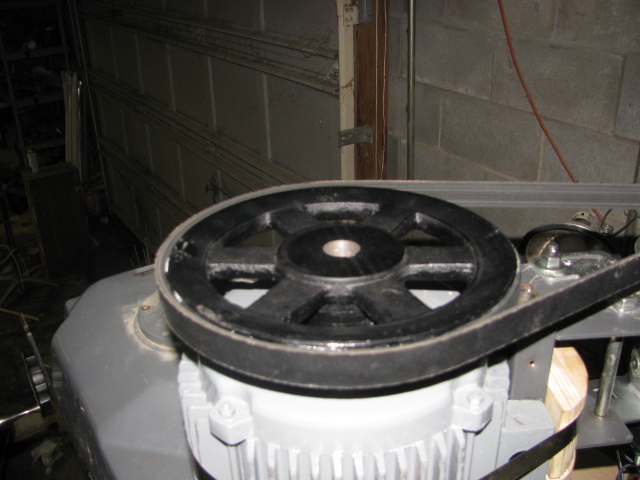
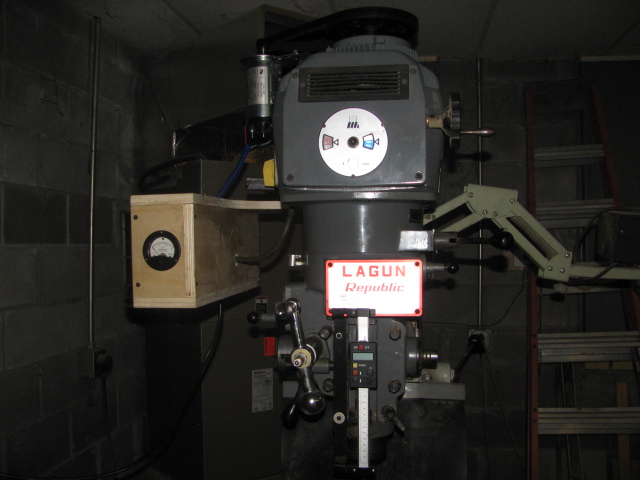
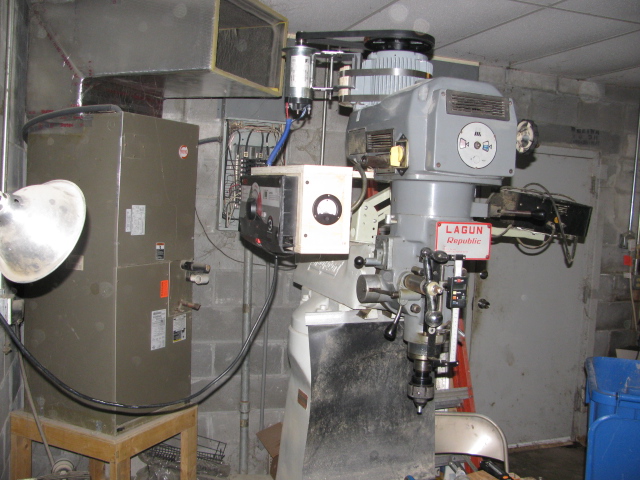
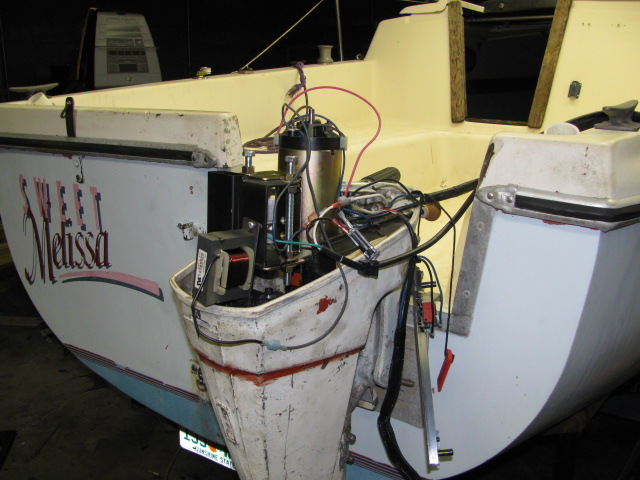
My name is Robert Brown AKA, machiningfool. I hope I am in the right place. A few minutes ago I went to the garage and collected some ideas on how to adapt the treadmill motor to the mill and to my surprise this project will be simple and straight forward. I like to use the KISS principle, keep it simple stupid, stupid being me. After removing the cooling shroud and removing the plastic fan, oh boy there was a 3/4 inch shaft just waiting for a pulley. I am approaching this project with an attitude, that I don't want to get too invasive, so I am going to keep the present 3 phase motor in place along with the variable speed belt system and power the whole mechanism with the treadmill motor. What this does is that I will have complete control of the high and low transmission of the mill and have two ways of controlling speed. One with the built in variable speed belt system and with the variable speed control of the treadmill motor. One advantage of using a treadmill motor is that there is no wiring involved, only placing the controlling electronics where you want them. The only wiring that will be required with this install is a reversing switch. I don't know if this type of adaptation has ever been done, I haven't checked the CNC forum, but I think that this will be a very cheap alternative to the, mill motor go bad situation. Total cost will be, treadmill 55 dollars, two pulleys, one belt. The reversing switch is already on the mill, so will need some short wires. I will attempt to upload some pictures as I watched the video on how to do it. I always like either, way to goes, or raw criticism, they are both appreciated. Robert Brown. Here are some pics., I hope.Attachment 4061Attachment 4062Attachment 4063Attachment 4064
4 Attachment(s)
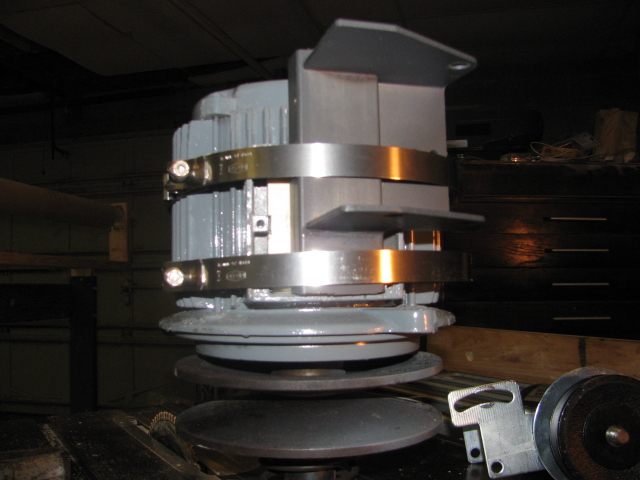
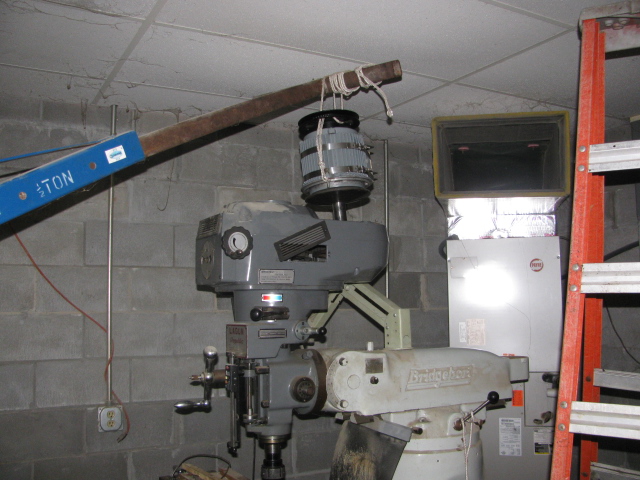
Third day report on mill motor adaptation
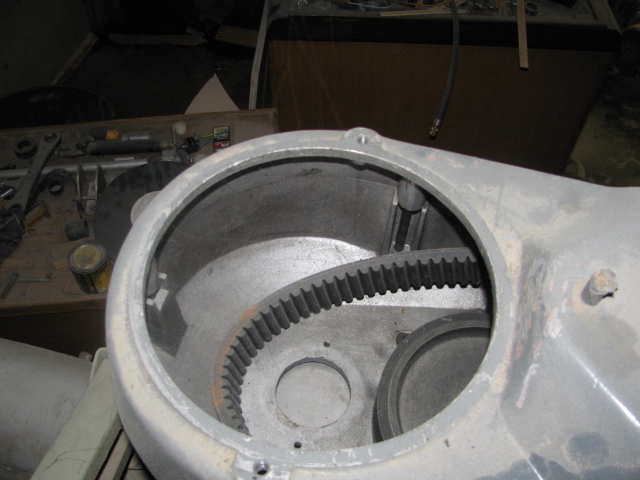
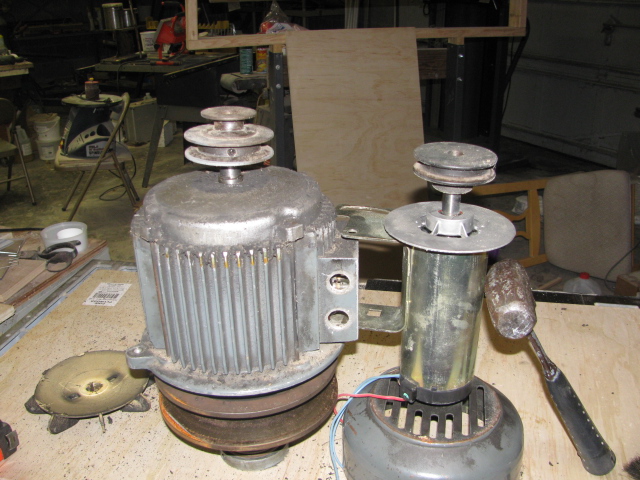
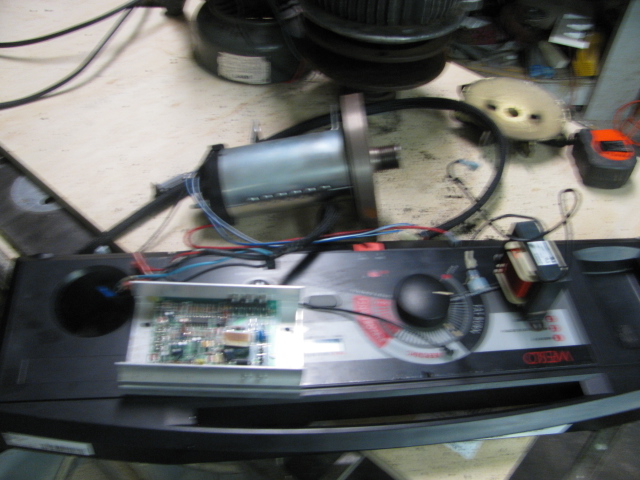
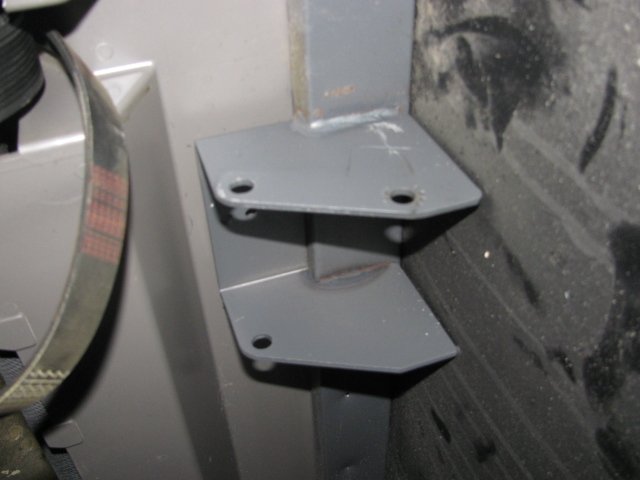
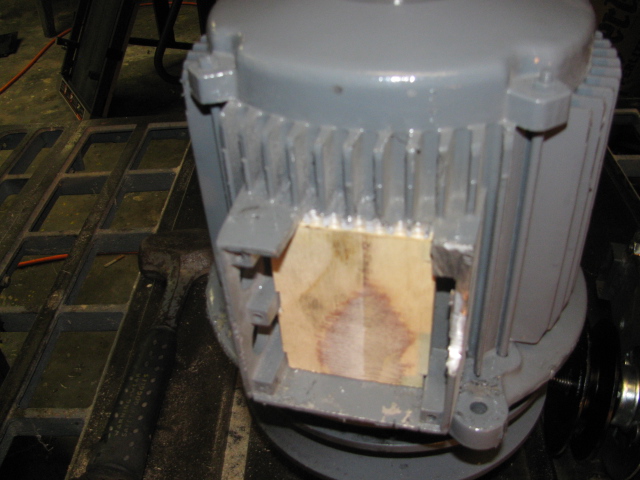
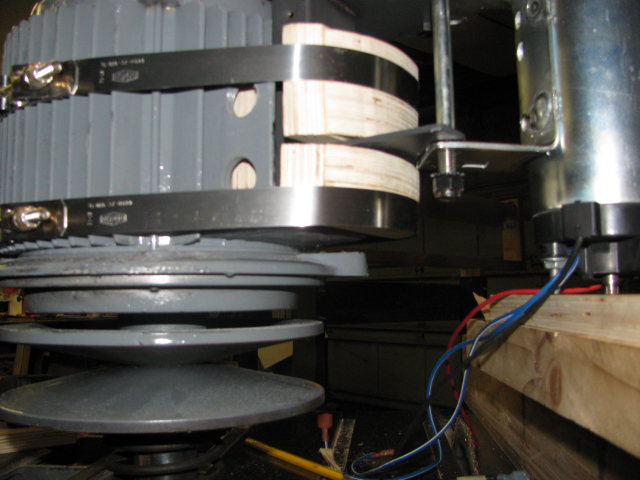
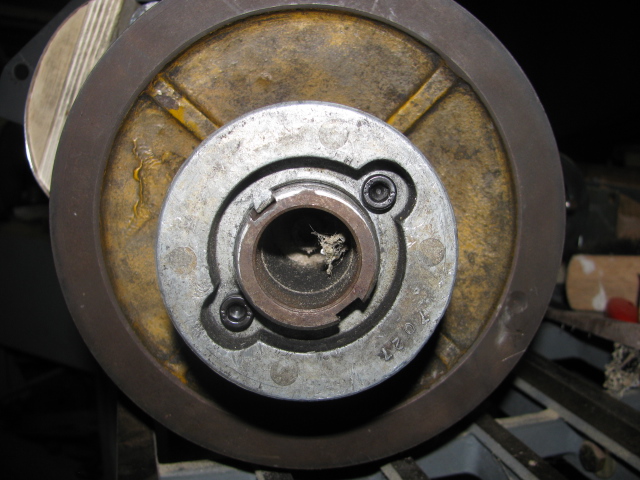
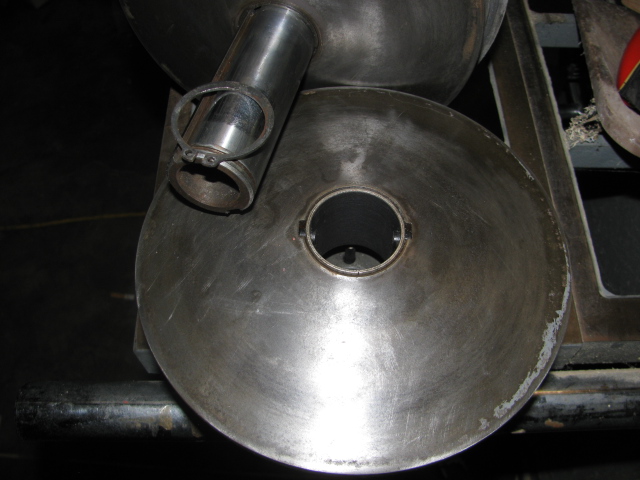
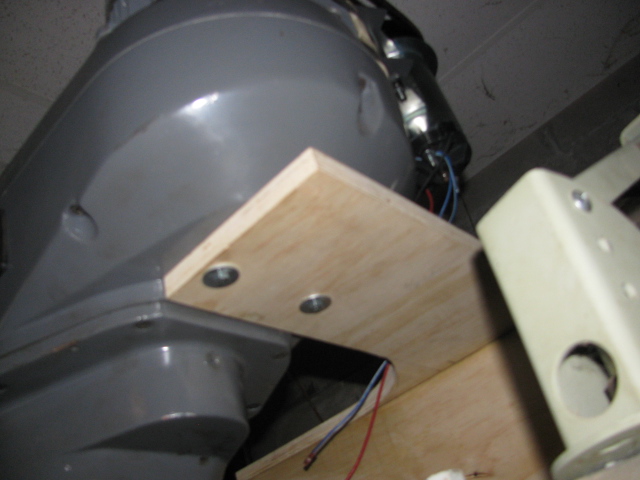
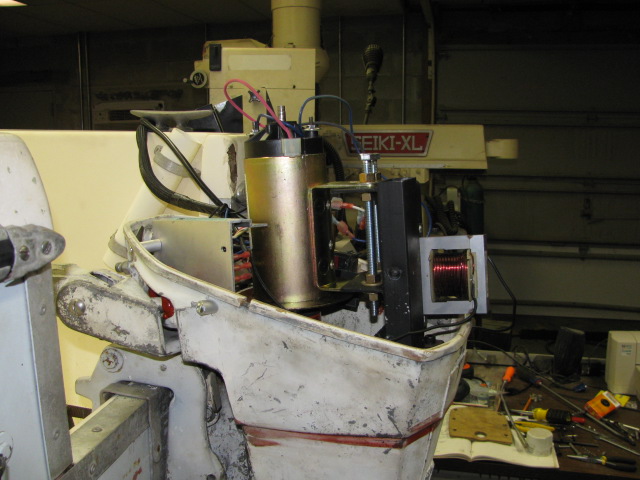
Mounting the treadmill motor the way I am doing it has its challenges, because there is no where to secure the mount. I came up with this universal procedure whereby the mount will be secured by stainless T nut straps wrapped around the existing motor and then securing the treadmill motor mount as I will show you in the pictures below. The advantage of this type of install is that it will work for any mill. I had an advantage with this Lagun motor is that the electrical box is cast into the motor casting, so I am using that for stability. Today I bored out the pulleys for the motors and fabricated the mount. I cut out the original mount from the treadmill and sized it to the mill motor and will secure it with T nut straps, I think it will be sturdy enough. The original motor turned at 1825 rpm and I believe this treadmill motor turns at 4800, so I am using a two to one reduction, so I think that will do it, after all, I will have variable speed from the treadmill controller and also the variable speed belt drive on the mill. The Lagun mill was 3 hp and this treadmill motor is 2.25, plenty of power for the way I run my mill. I am not a hotrodder when it comes to milling. By using the original mount from the treadmill, the adjustment design is retained. I am using a 5/8 inch belt and pulleys. The T nut straps were a little difficult to find around Tampa, but I found two around 9 1/2 inch diameter, but they are a little too big, so tomorrow I will fill the gap with some wood planted around the motor to take up the slack. Here are some pics. Robert Brown AKA machiningfoolAttachment 4070Attachment 4071Attachment 4072Attachment 4073
3 Attachment(s)
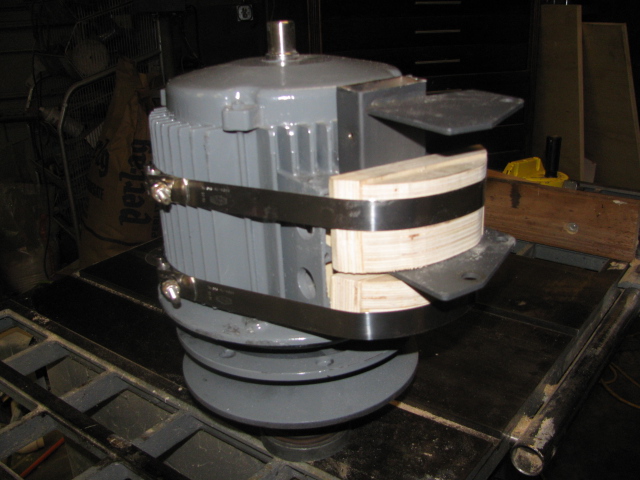
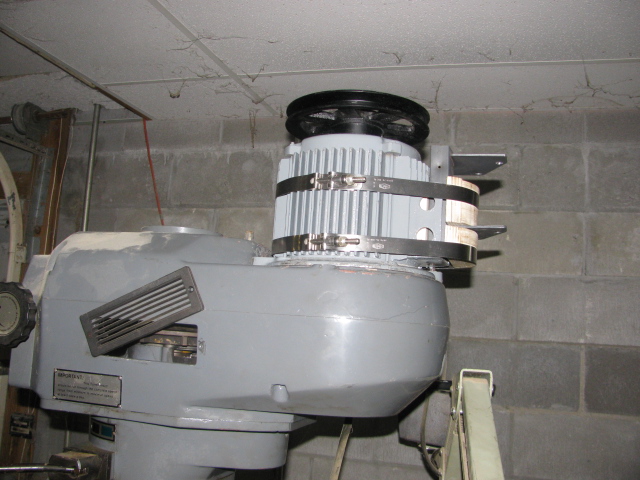
Motor mount is finished, pictures.
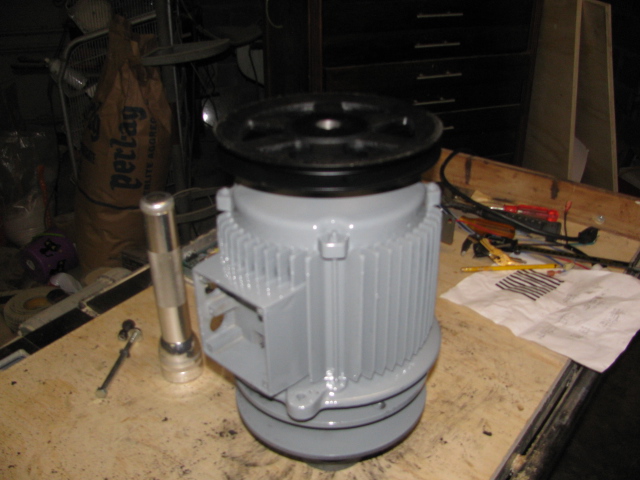
Well, this project went as if I knew what I was doing, unlike some of my other projects. This is the fourth day into the project. The straps worked out well and by using the original mount that came off of the treadmill, it made the adaptation simple. Now all I have to do is reinstall the mill motor into the mill and locate the positions of the controls, so here are some pictures of the treadmill motor installed complete with belt. This installation will work with any Bridgeport type mill. Total cost, pulleys-90.00, belt-10.50, treadmill-60.00, straps-18.00. Two hundred is a lot better than 800.00 to 1200.00, and if this motor goes bad, it's only 150.00. Robert Brown AKA machiningfoolAttachment 4086Attachment 4087Attachment 4088
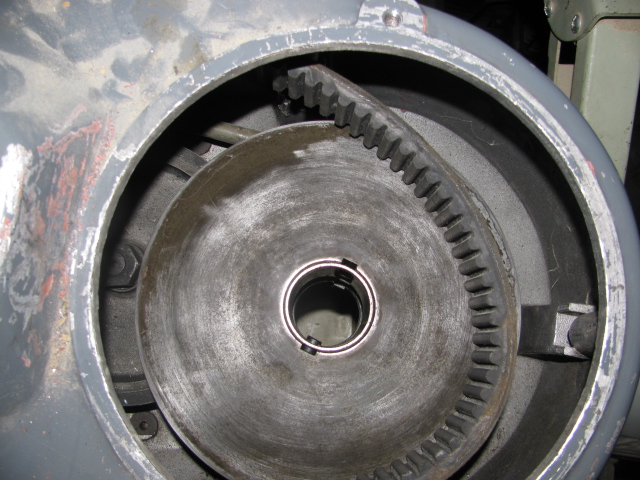
7 Attachment(s)
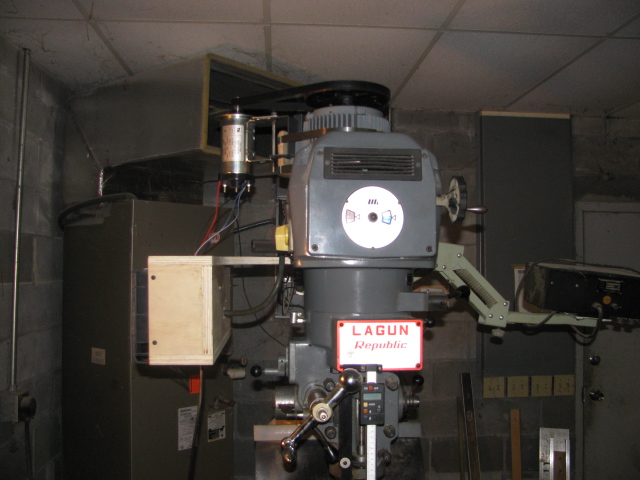
Installing Lugan 3 hp. variable speed motor.
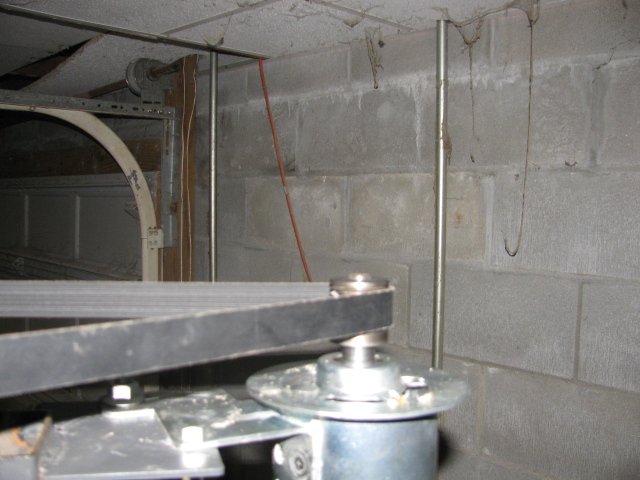
The above post correctly describes the sequence of the install, but I will say, I have been working all day installing the motor, it is not easy, even the prescribed way. First one of the keyways came out when I was lowering the motor and I didn't know it, so when I tried to reinstall the C ring it wouldn't go because the collar was in a bind. I saw something lying on the floor and yes, it was one of the keys, but when I reinstalled it there was no longer a bind and from there on it was fairly easy after having to by a 33.00 set of expansion ring pliers. It is now installed correctly. It would be quite a bit easier with two people, a luxury I don't have. Here are some pictures portraying the install. As it turns out, designing the treadmill motor adaptation was easier then the install of the stock motor on the mill. Thanks for all of the interest, the rest of the adaptation will be coming here shortly. Robert Brown - machiningfoolAttachment 4095Attachment 4096Attachment 4097Attachment 4098Attachment 4099Attachment 4100Attachment 4101
2 Attachment(s)
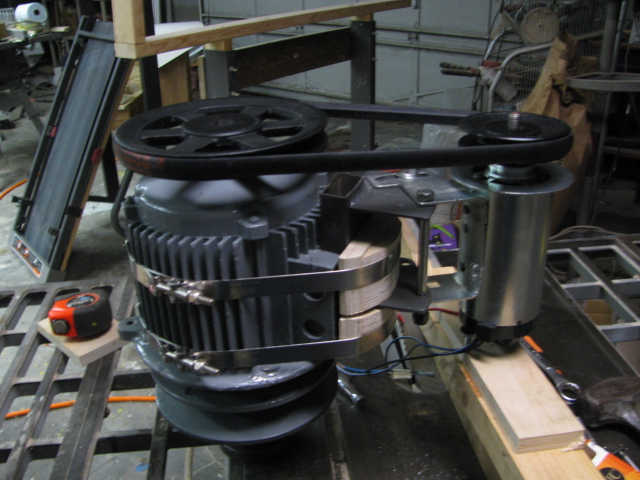
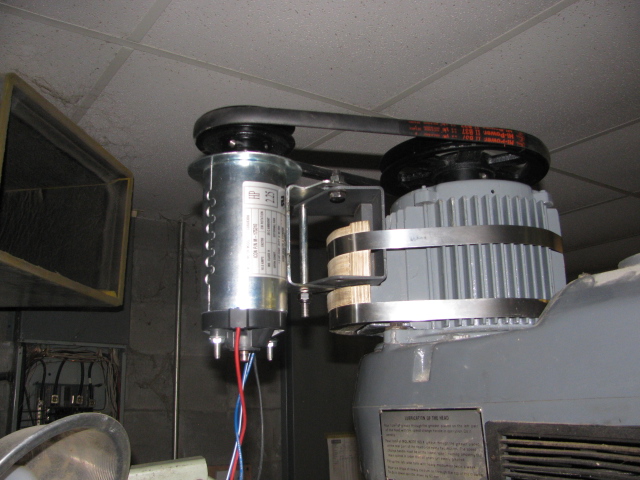
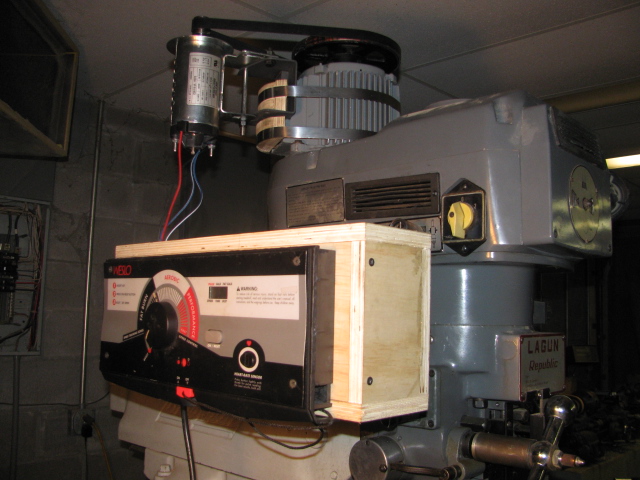
Treadmill motor powered Lagun mill a success, finished.
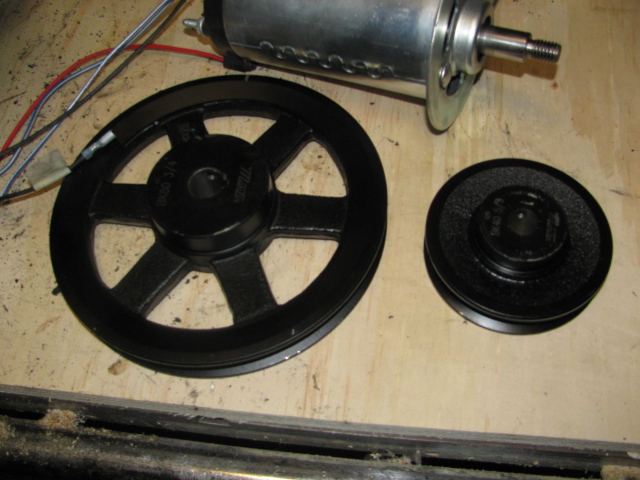
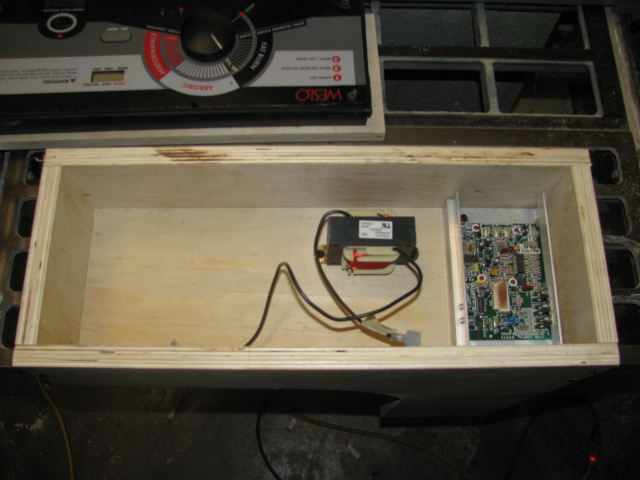
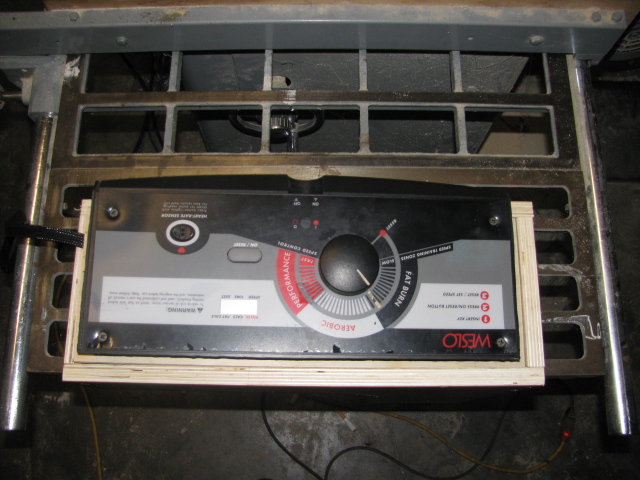
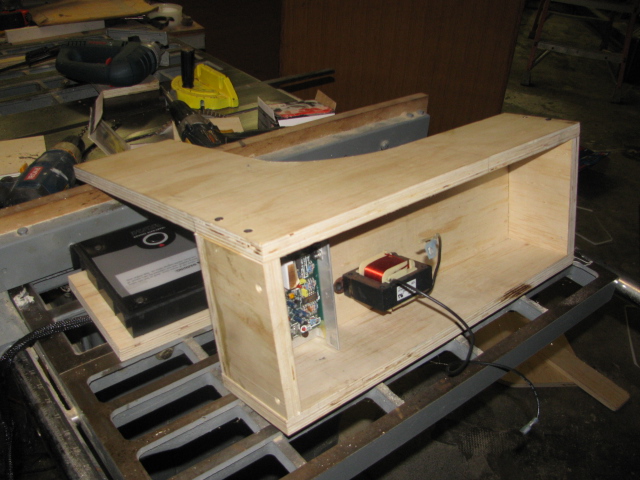
:popcorn:[url] Well, the original 1 1/4 inch pulley on the treadmill motor did it. With a 1:7 ratio it now has enough power for the mill. I powered it up today as you will see in the video and it runs fine. Spindle speed is 2000, can go higher, but motor is running cool at that speed. That is in high speed gear also runs smooth in low speed. Here are some pictures of the pulleys, I am using the same type belt as the original treadmill only larger 38 inches. I took the 5/8ths inch v belt, cut and wrapped around the large pulley and glued it with CA. The belt runs nicely on it. I am also going to try to upload a video, we shall see. Robert Brown machining fool.Attachment 4153Attachment 4154[video=youtube;jcKwKfgV961]https://www.youtube.com/watch?v=jcKwKfgV96I