
 LinkBack URL
 About LinkBacks


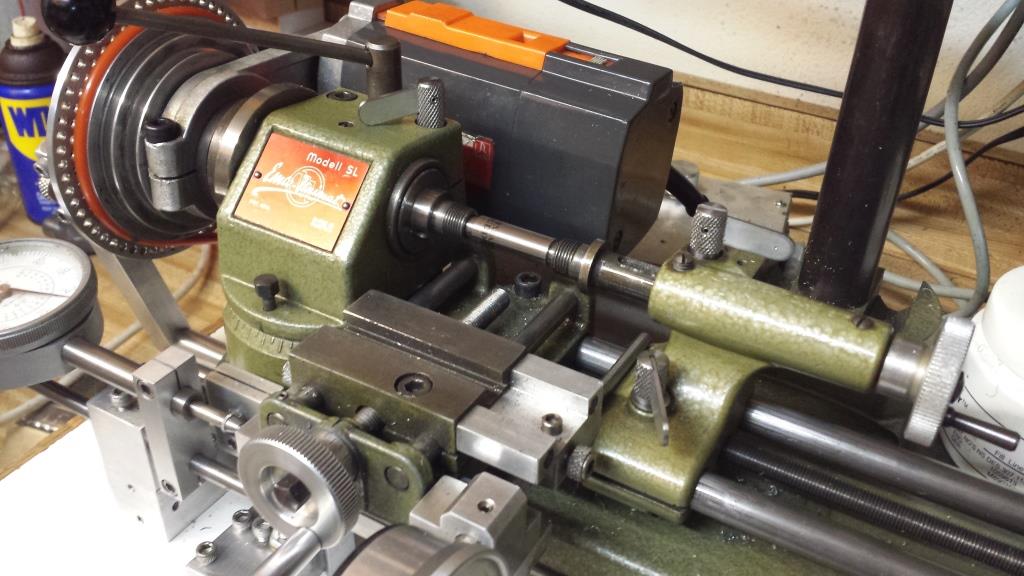
I have been using "Unimatt Buddy Pin" (yes two Ts) for my general headstock alignments for many years and I highly recommend it for those using the Unimat SL 1000. It is fast and can get the alignment extremely close for most work. See the photo below
Earlier this week I reviewed the YouTube video by Tom Lipton where he shows how he aligned the lathe headstock after leveling the whole lathe. Tom uses a 2.5” dia. 6061 aluminum rod held in the chuck to make test cuts. The rod should have a sufficient diameter so it doesn't flex due to its own weight (very thick walled pipe also works). Tom removes material from most of the center length so just short sections on the two ends are left for making test cuts. Comparing the ODs at both ends measures the headstock alignment and how much to adjust. The lathe must be precisely leveled to ensure there is no twist in the lathe bed that can affect the headstock alignment.
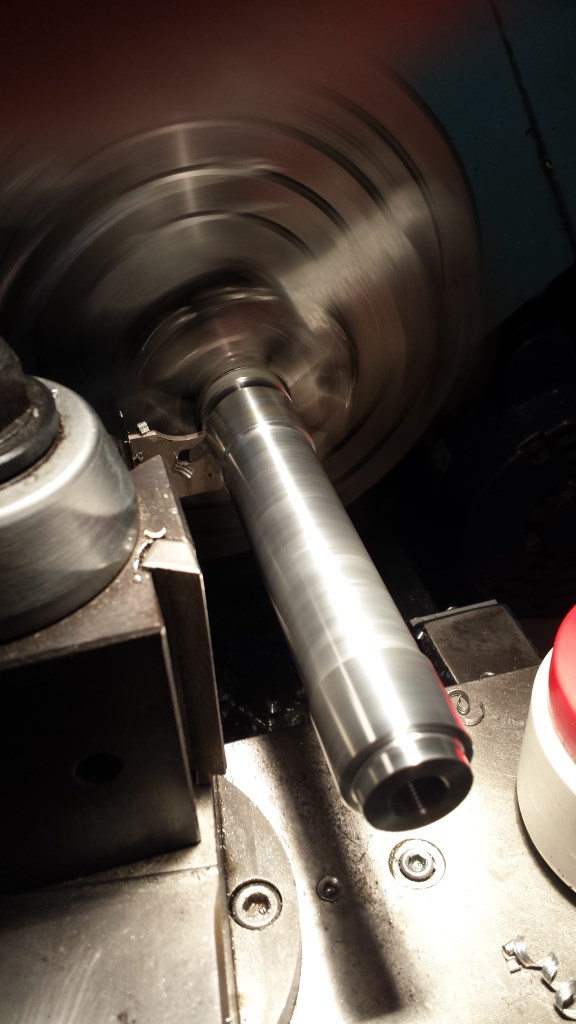
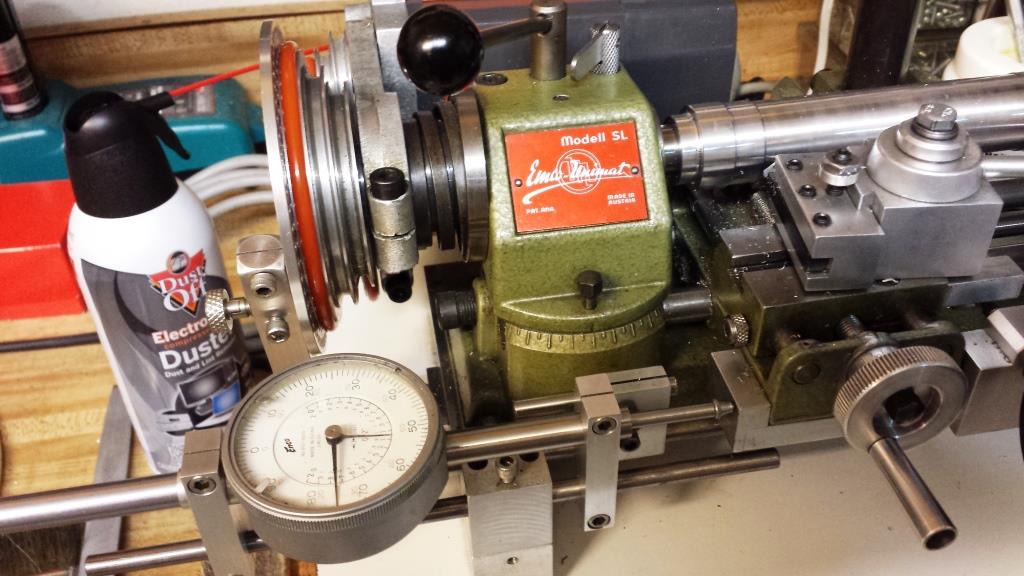
I made a similar 6061-T6 aluminum test bar but only 1.125" in dia. and 5.25" long for aligning the 3" swing Unimat headstock. The test bar has an M12X1 internal thread for mounting directly on the Unimat spindle (but could modified to a small diameter on one end for holding in the 3 or 4 jaw chucks). I made the test bar with my 12" swing lathe and decided to check this lathe before I cut-off the part for use on the Unimat. I used a Mitutoyo 1" to 2" digital micrometer to make the measurements over a 5" center-to-center distance. Using a blue Sharpie to blue the surface, I machined off a few tenths, and after waiting for the part to cool (and turned off the halogen work light), finally measured several times. Each time the difference measured at either was 0.00010" or 0.00015". I was using a carbide insert tool and probably should have used a honed HSS tool to keep the part from being pushed away rather than cut (and perhaps a larger bar of aluminum). The 12" swing lathe had been re-leveled a couple months ago and I think the 12" swing lathe spindle alignment meets my typical level of precision.
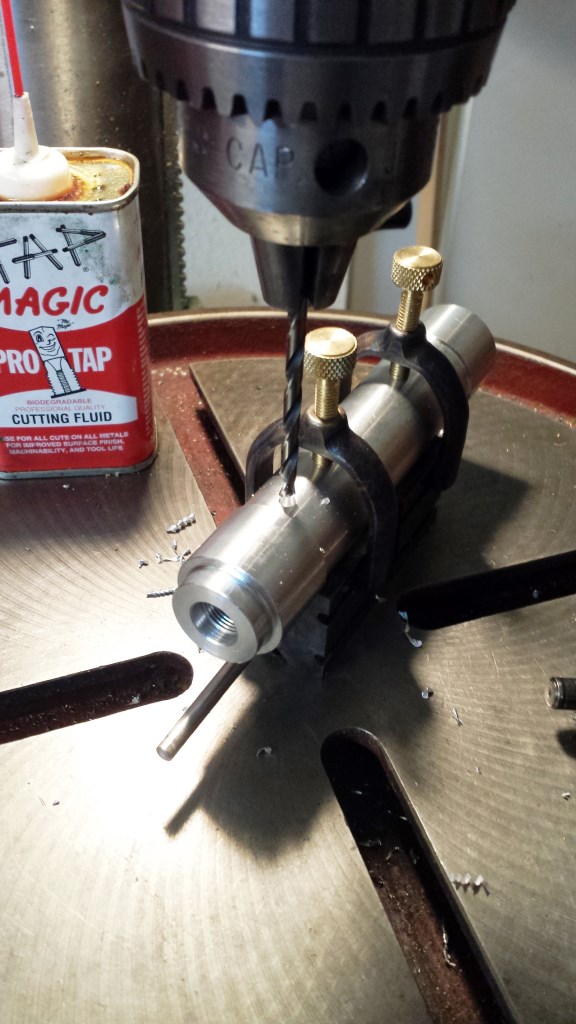
Before mounting the test bar on the Unimat, I drilled a 4mm hole for a tommy bar needed to tighten and remove the test bar from the spindle.
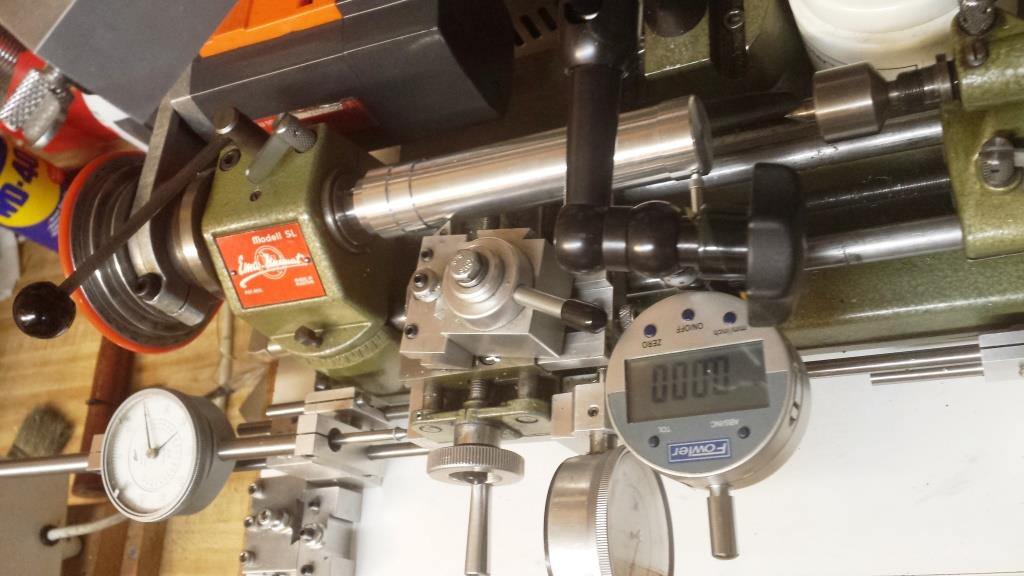
Mounting the test bar on the M12X1 threaded spindle is an excellent way to directly measure the headstock alignment without using lathe chucks. I have used the “Rollie's Dad's Method” for checking the headstock alignment on my 7” swing mini lathe (and using shims under the headstock to make alignment adjustments). The method works great because the math works no matter what type of machine you are checking. However, the Unimat chucks are too small to make this technique practical so I used direct mounting on the Unimat spindle.
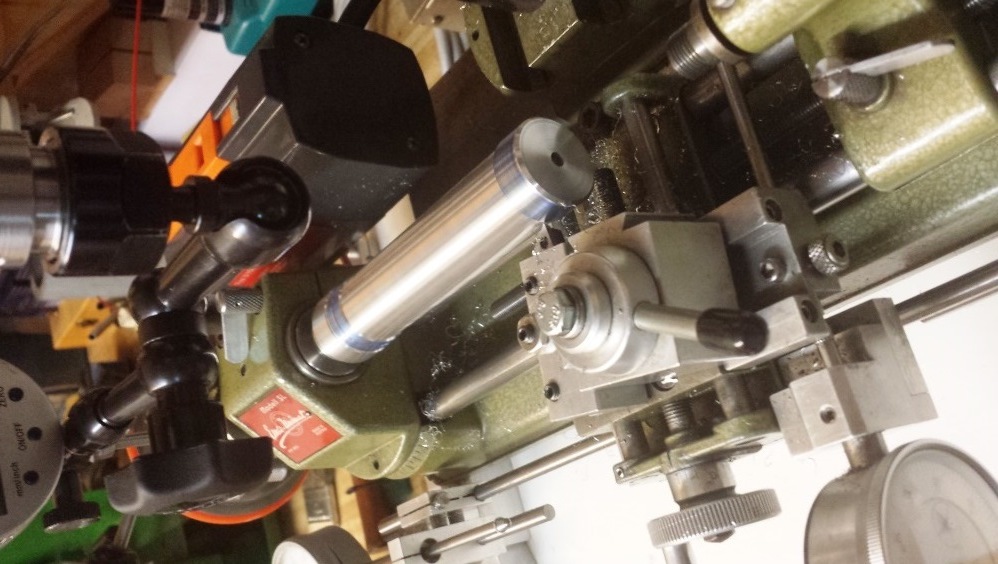
This time I used a honed HSS insert from Arthur R Warner (a direct replacement for carbide inserts that fits the same insert tool holder) to lightly machine the test bar. I used a blue Sharpie to color the surface to make sure both the surfaces at the headstock and tailstock ends were actually machined.
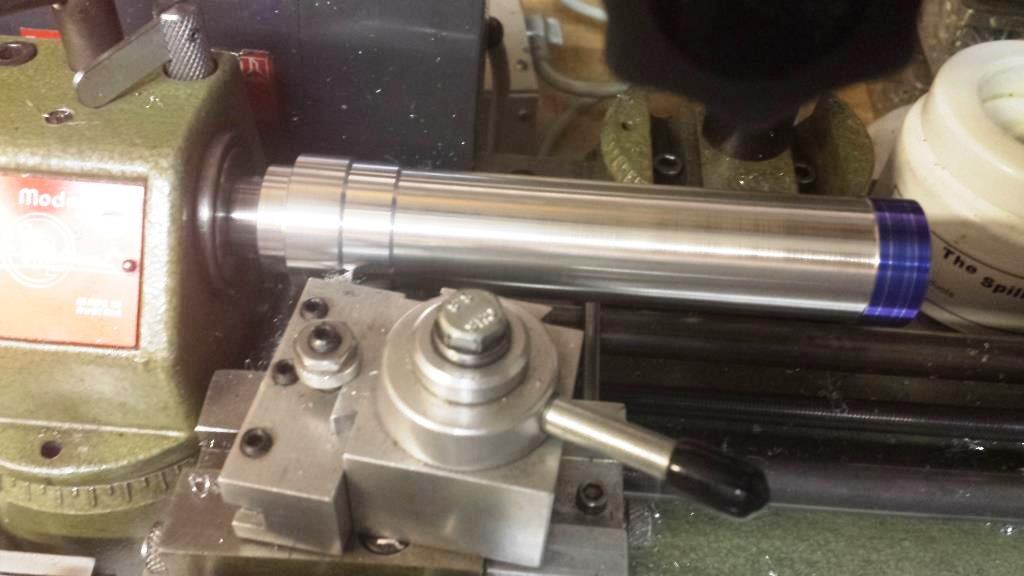
Measuring the difference between the machined diameters and divided by two provides the approximate distance to swing the Unimat headstock. The Unimat lathe has a headstock that can be rotated for machining tapers and is locked in place with a special set screw. Using this features also allows aligning the headstock. However, the headstock pivoting point is near the center of the headstock and not at the spindle end where one of the measurements was taken - hence the approximation.
The process takes several iterations and the alignment can be set to within 0.0001 to 0.0002” in alignment over 5”. In addition, future alignments can be started from the now machined test bar and the process will be much faster. In some cases just aligning with the machined test bar will be good enough.
I hope this helps others who may need to align their Unimat headstock.
Thank you,
Paul


 Reply With Quote

Bookmarks