
 LinkBack URL
 About LinkBacks


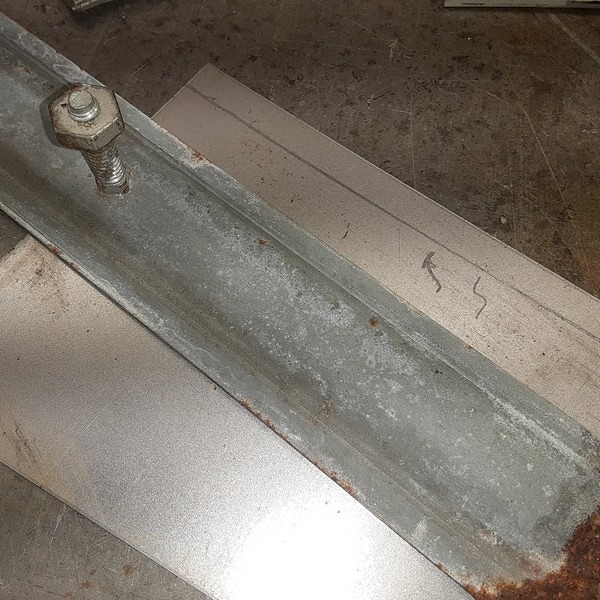
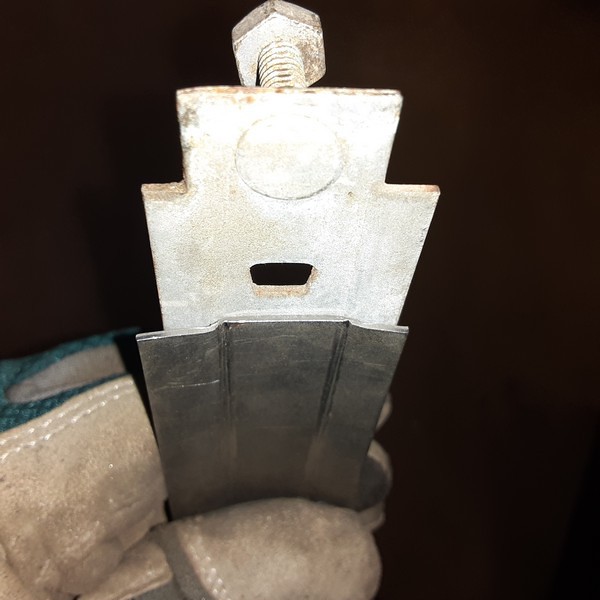
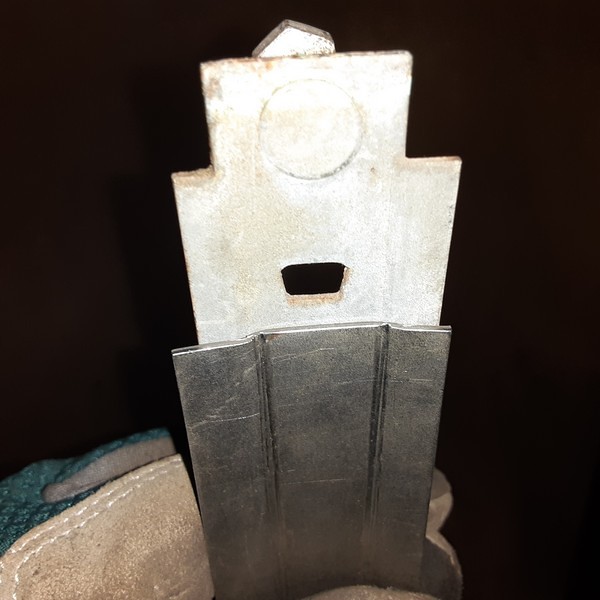
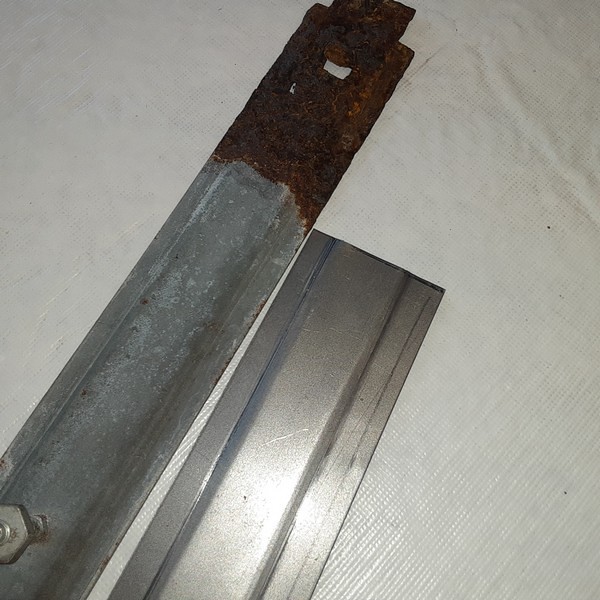
If you looked thru my bead roller thread here is the reason for all of the upgrades. In the process of pulling my '56 wagon apart for rust repair and repainting I removed the C pillar covers. These are held on with a metal plate that bolts thru the C pillar.
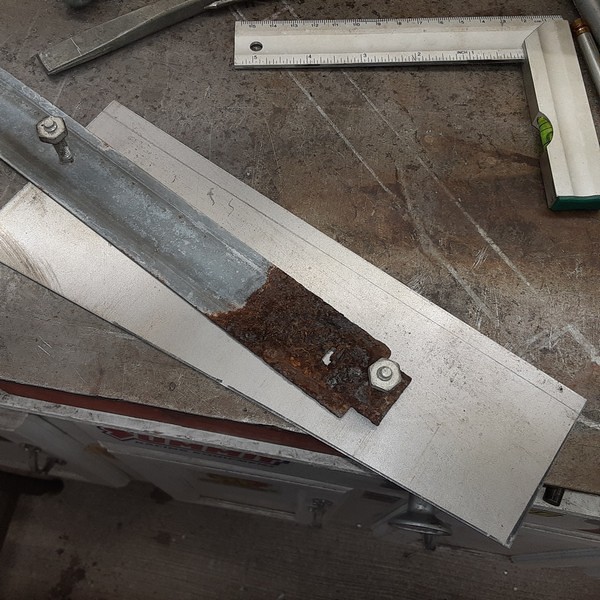
The lower 3rd of one of them is badly rusted.
I was going to just replace this portion but, now that the bead roller is capable of making this shape, I will just make a whole new plate.
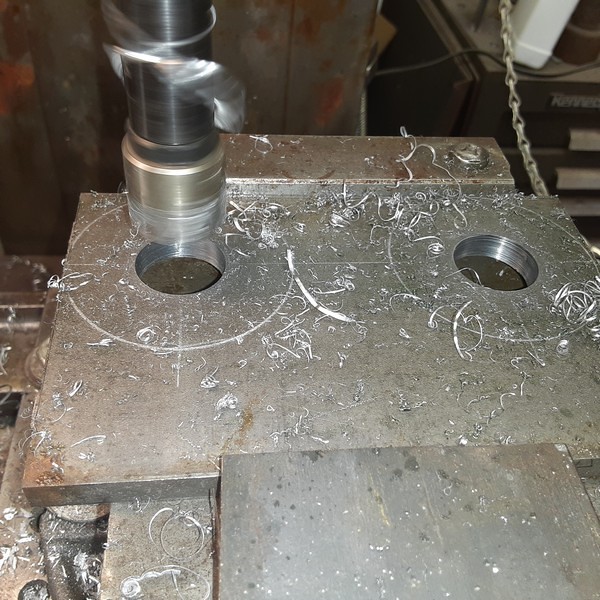
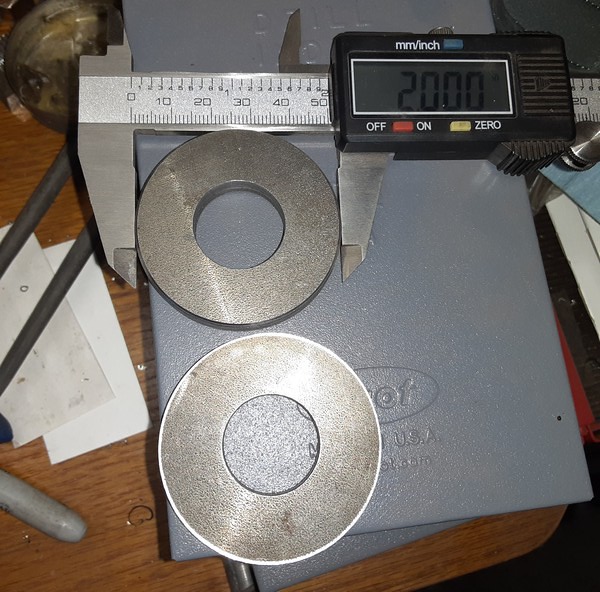
I made a couple of washers out of 1/4" plate to make the flange portion. I used a Rota-broach to bore the initial hole. An .875 dia broach fits my HF roller shafts very nicely.
After chunking these out on the bandsaw I knocked the corners off with a cut-off wheel and a grinder.
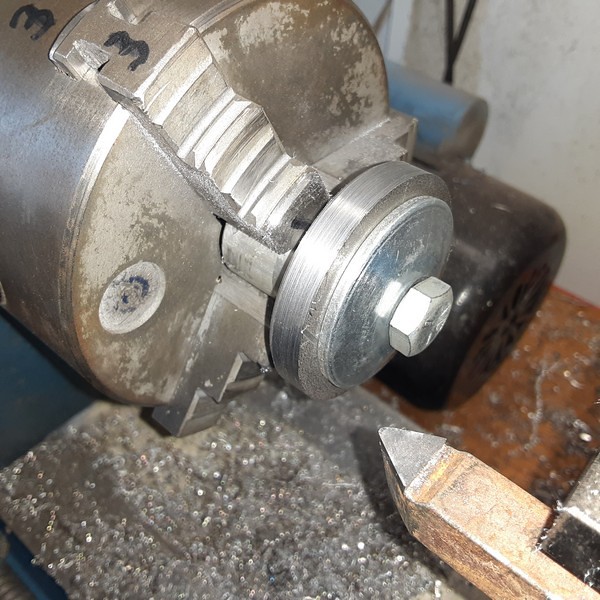
I turned a mandrel out of a chunk of scrap aluminum, drilled and tapped it for a 3/8-16 bolt and spun the washers down to a 2" diameter on the old Smithy lathe.
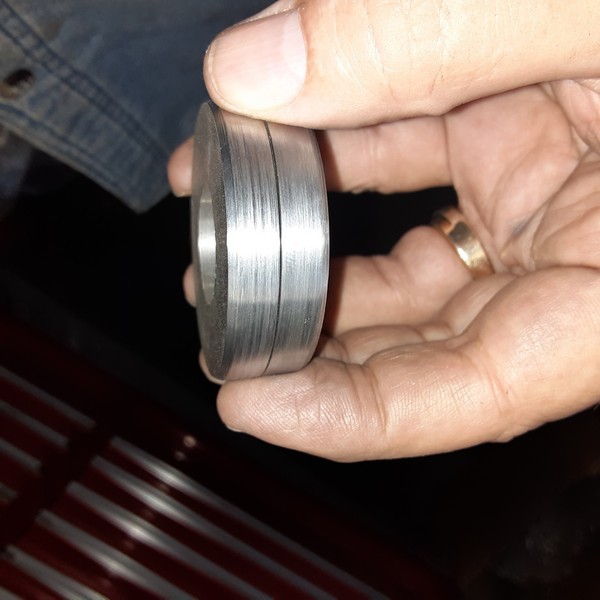
These needed a sharp edge to make that corner of the flange. I put a 45 on the other edge to make them reversible for other uses.
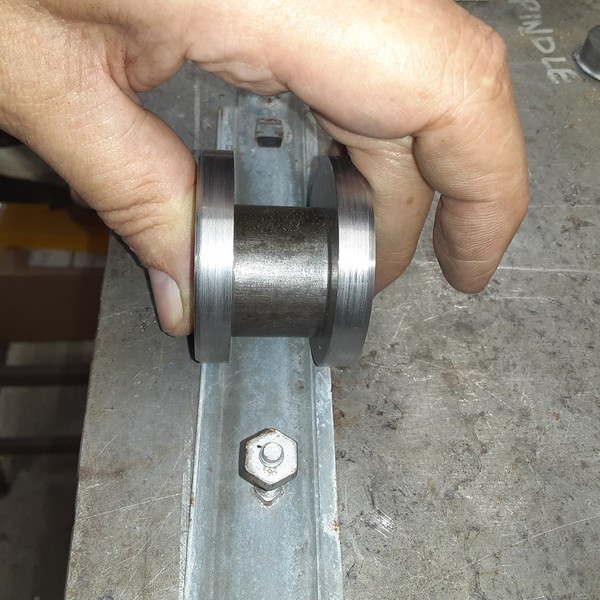
A spacer was made out of DOM 1 1/4 tube to set the width. I ended up making two of these as the first one was a bit too narrow.
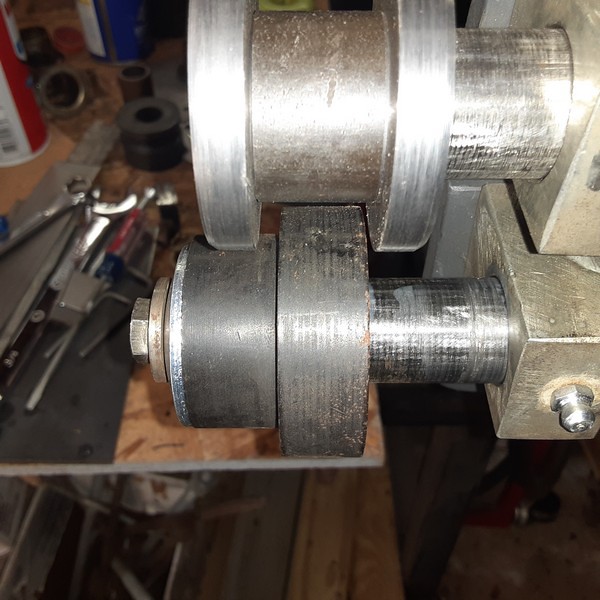
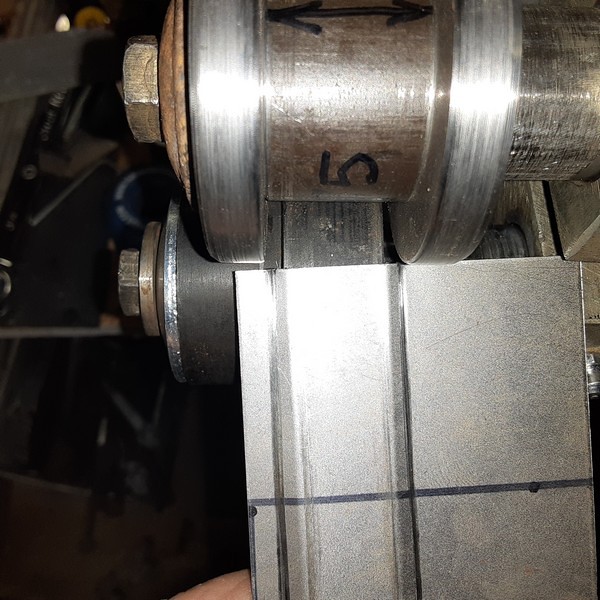
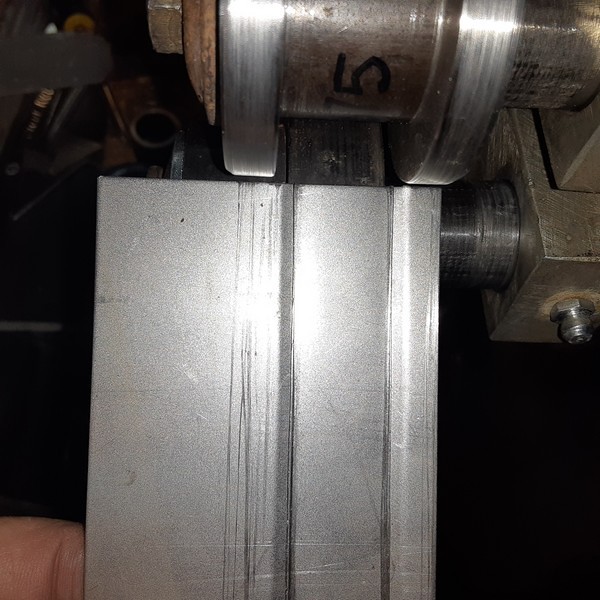
Set up in the roller. Being able to adjust the spacing with the top bar was a big plus! I used one of the standard forming dies in the lower position to make the "bump up". It was a perfect fit to the inside of the original plate.
I ended up running a couple of test pieces. The first one was a bit narrow (not that it really matters) and another with the wider spacer.
The pieces turn out very nice after a few trips thru the dies. The initial forming takes 6 or 7 trips, sneaking up on the full depth.
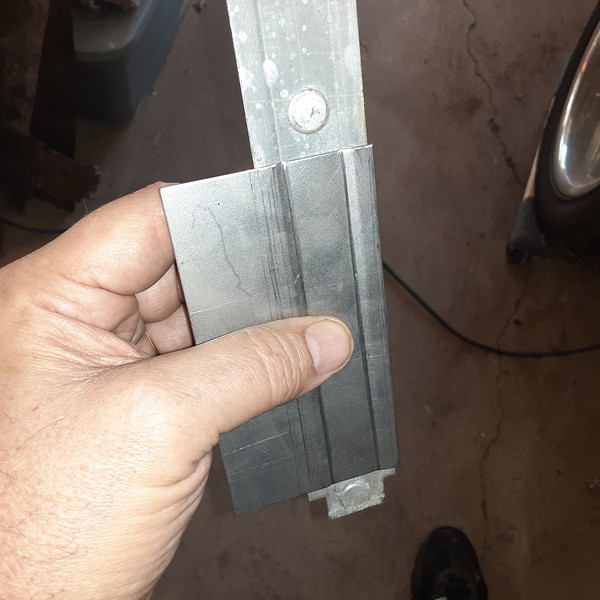
As you can see the initial forming puts a bit of a tip into the flanges AND a bit of a curve into the length of the piece.
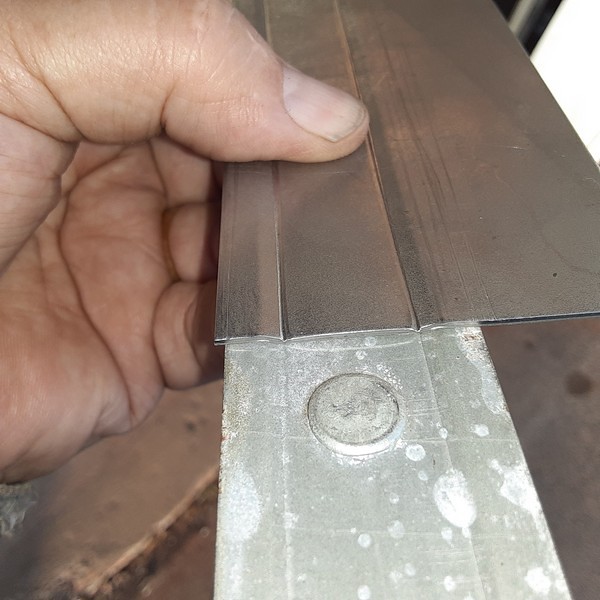
To flatten the flanges out and remove the curve I turned the piece over and ran it thru the dies "upside down". I backed off the pressure and kept increasing it until the flanges came out totally flat. Only took 3 or 4 trips to get it flat.
This will work great and gets me a piece that is not reproduced for these cars...
Mark


 Reply With Quote

Bookmarks