
 LinkBack URL
 About LinkBacks


A chill plate can used to welding to prevent burn through in certain situations. Typically for thin pieces when full penetration is desired or in some heavy duty industrial welding applications. The chill place can be removed or left in place. You can read more about here, https://amarineblog.com/2020/12/19/w...e-in-welding/.
I have a lot of 1/16 x 1 x 1 angle iron. (1.7 x 27 x 27 mm) This material is from shipping crates I get from behind the Tractor Supply Company store. I pick them up anytime there is one out when I drive by.
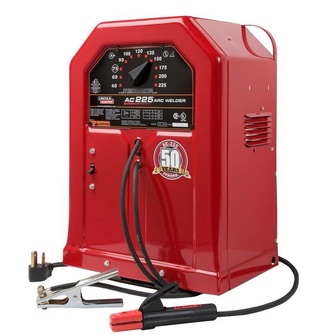
This material is perfect for the frame of a project I am making. My only welder is an antique Lincoln 220 Amp AC "buz box". Even at the lowest 40 Amp setting it is very easy, for me anyway, to burn through the thin material. Like this one only his great great grandson, maybe with a 3rd great.
The use of a chill plate seemed like a possibility. Some small pieces of 1/4 t0 3/8 steel plates in my recycle bin are perfect and serve a dual purpose. They are nice and flat providing a perfect surface for clamping parts in place. There is a danger however of welding the frame to the plate.
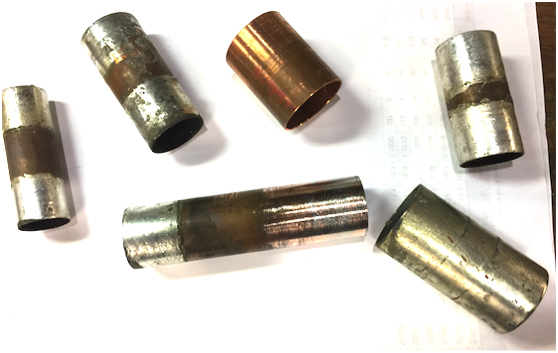
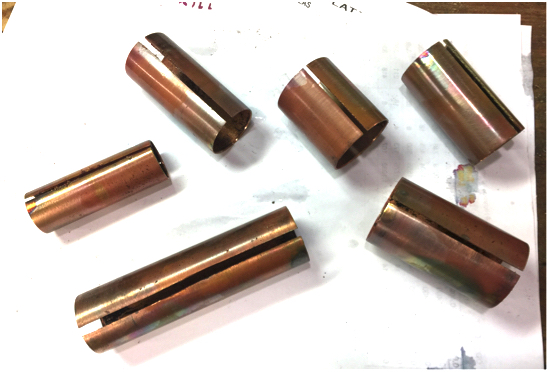
Some chill plates are made of thick copper. Copper conducts heat away from the weld quickly. I do not have any thick copper plates laying around. I do have a lot of of copper plumbing pipe in my recycling collection.
I selected some short pieces,
cleaned them up,
slit the sides with a hacksaw,
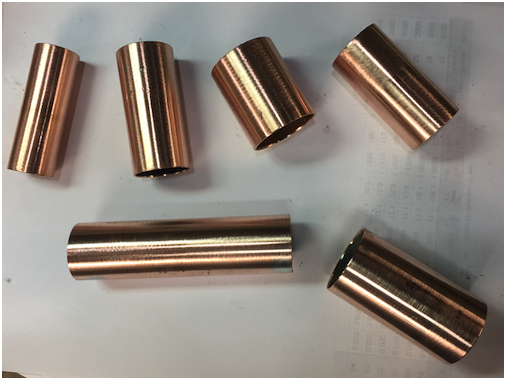
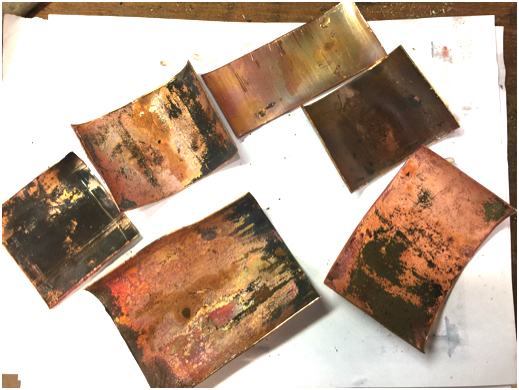
annealed them by heating with a propane torch and drop into cold water
bent them open,
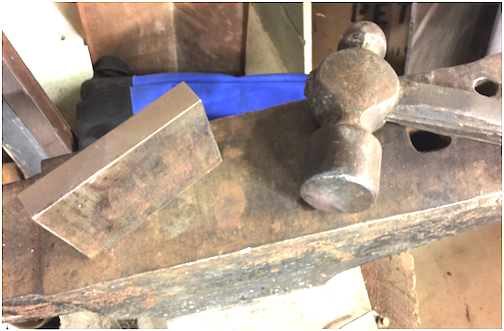
flattened with my grandpas old hammer and anvil and a flat steel plate,
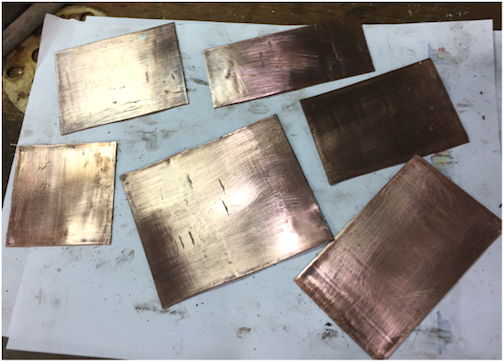
Finally, clean again.
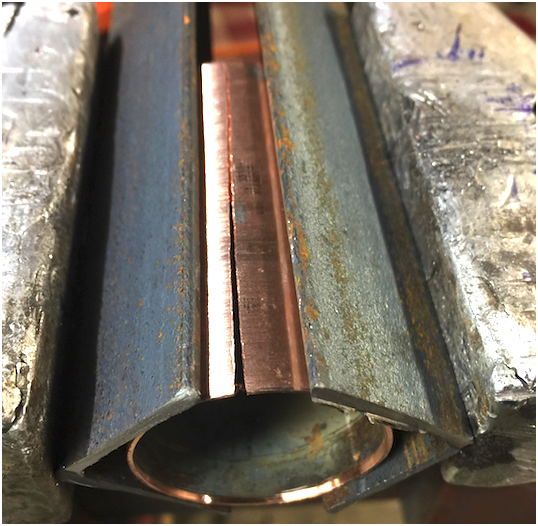
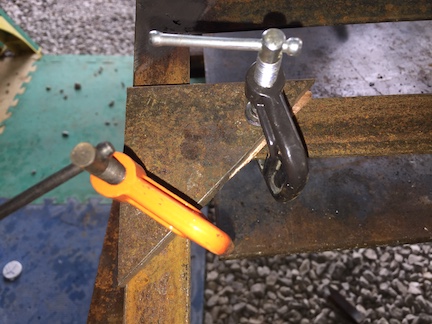
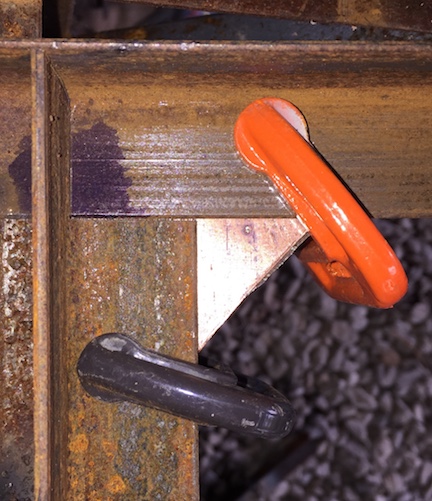
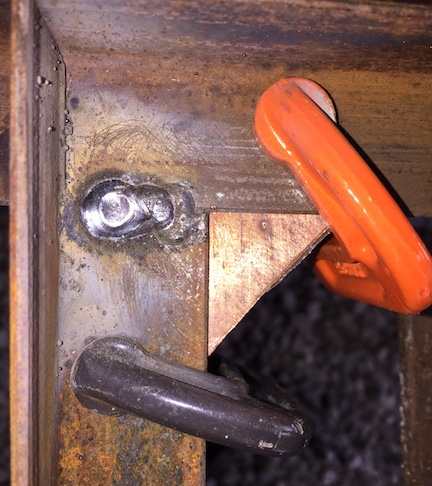
The copper can then be clamped between the parts to be welded with a steel backing plate to hold parts in alignment while welding.
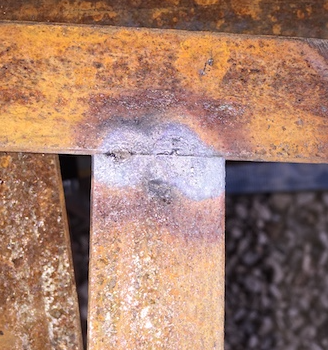
Backside
It helps me make better welds in thin material.


 Reply With Quote

Bookmarks