
 LinkBack URL
 About LinkBacks


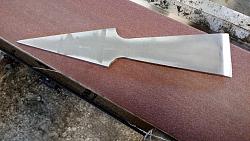
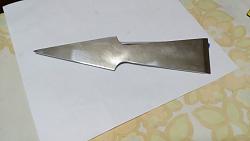
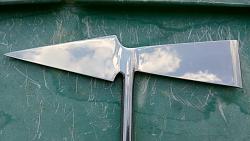
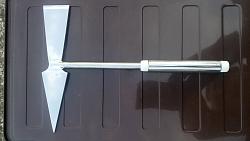
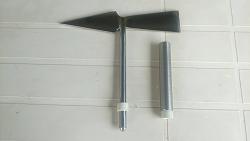
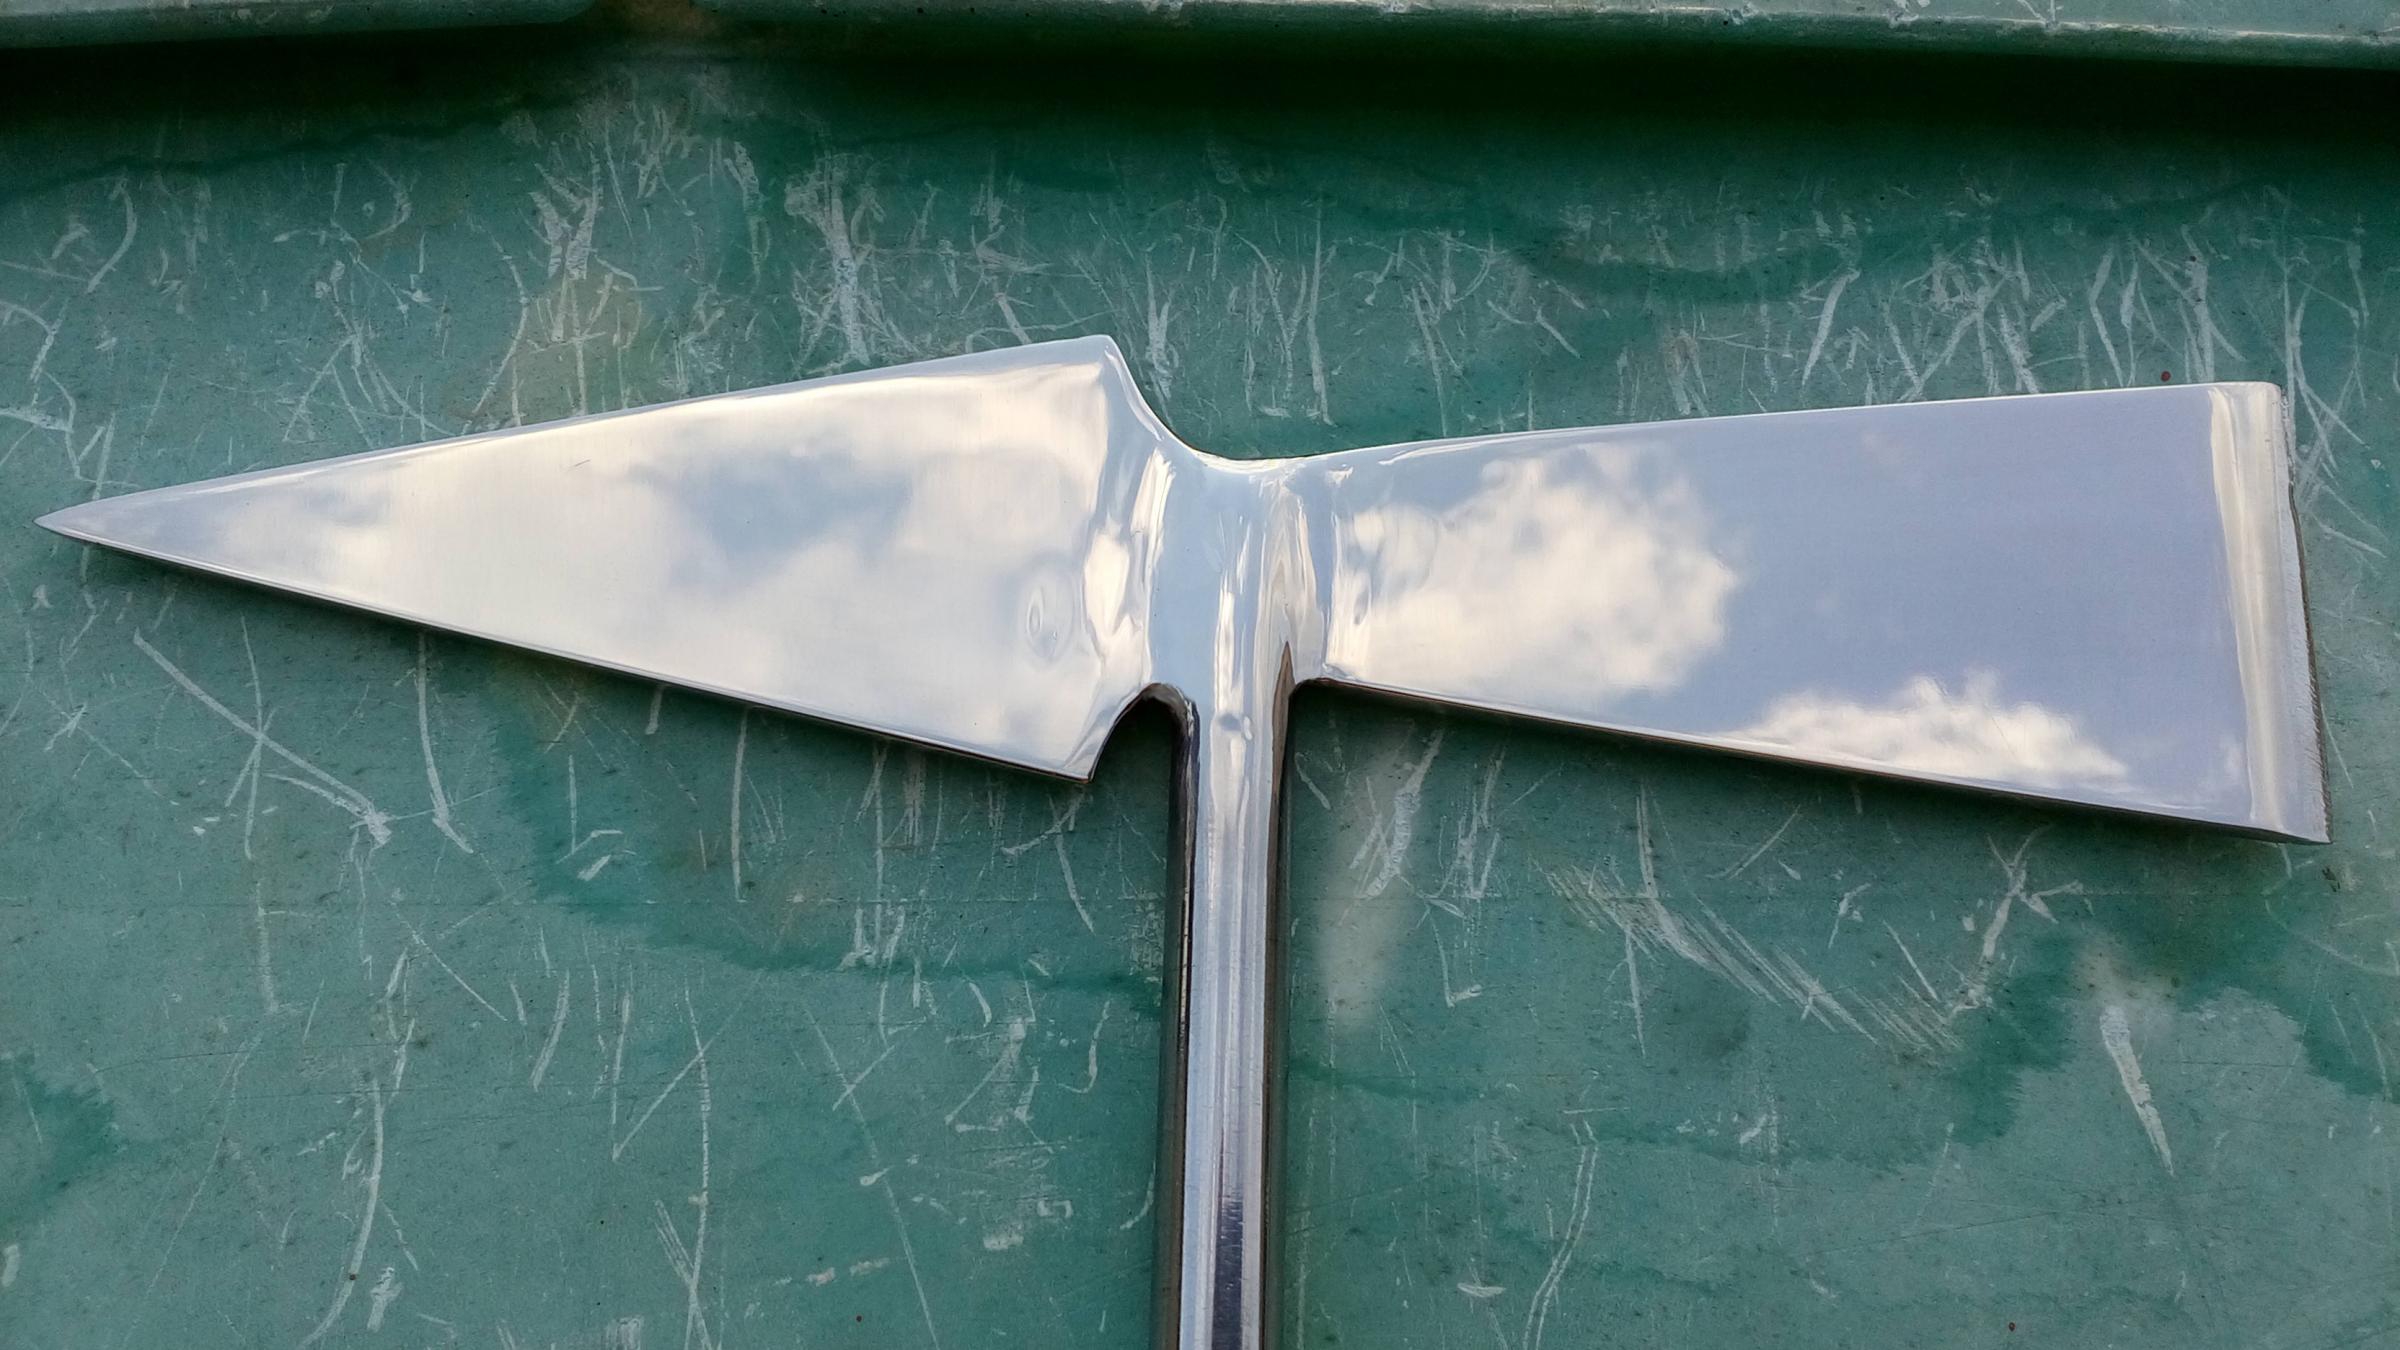
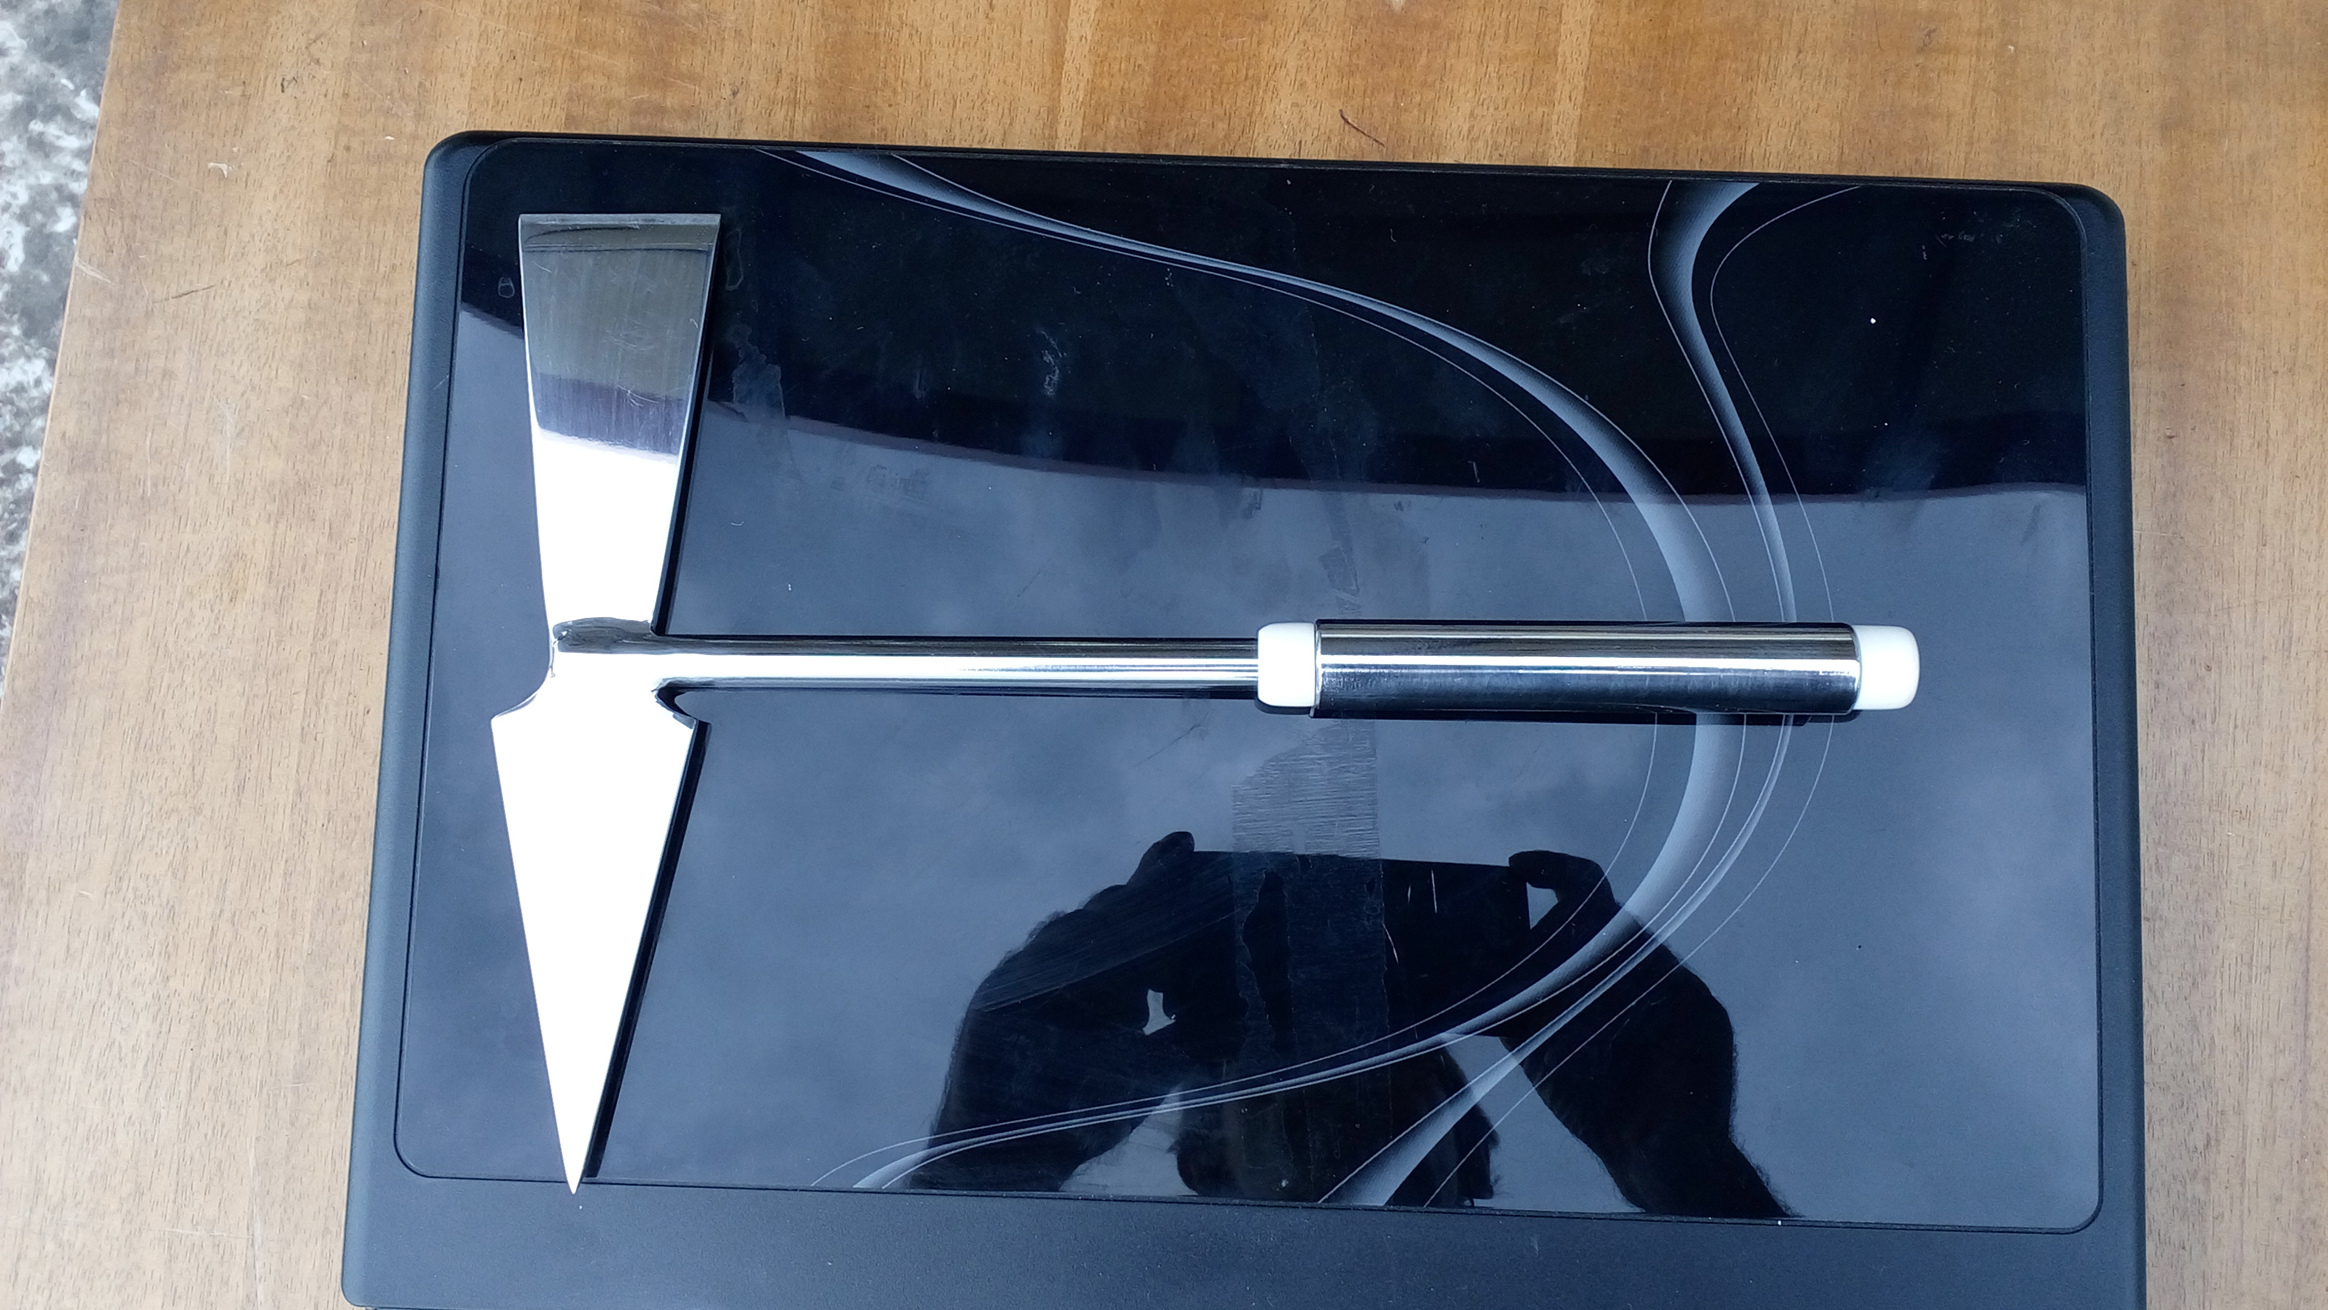
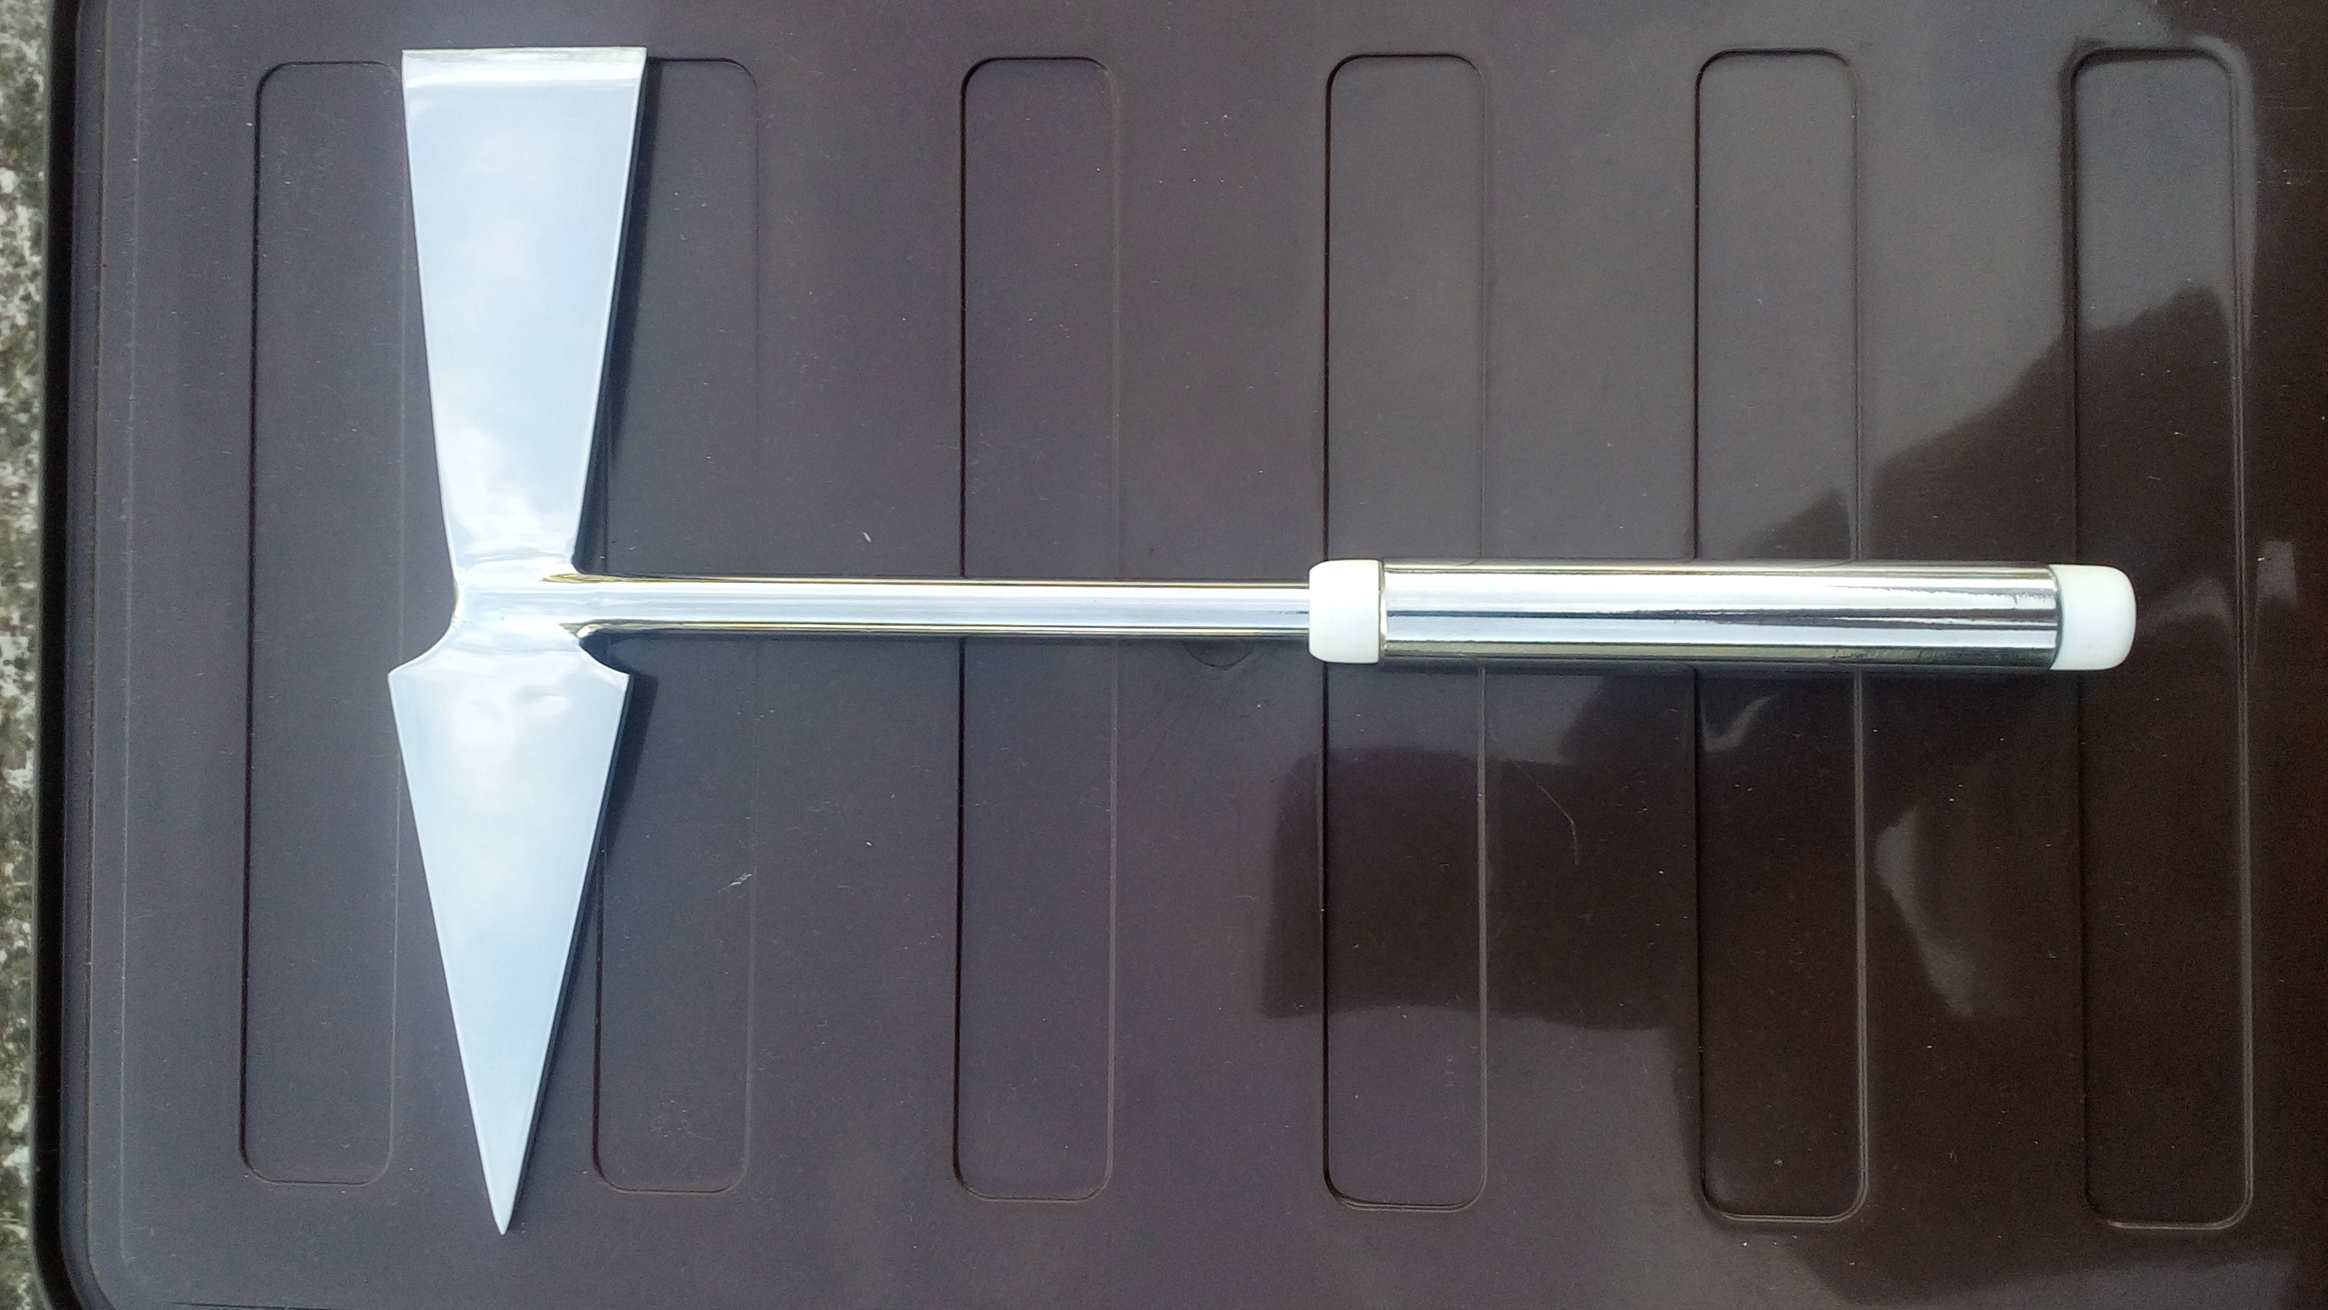
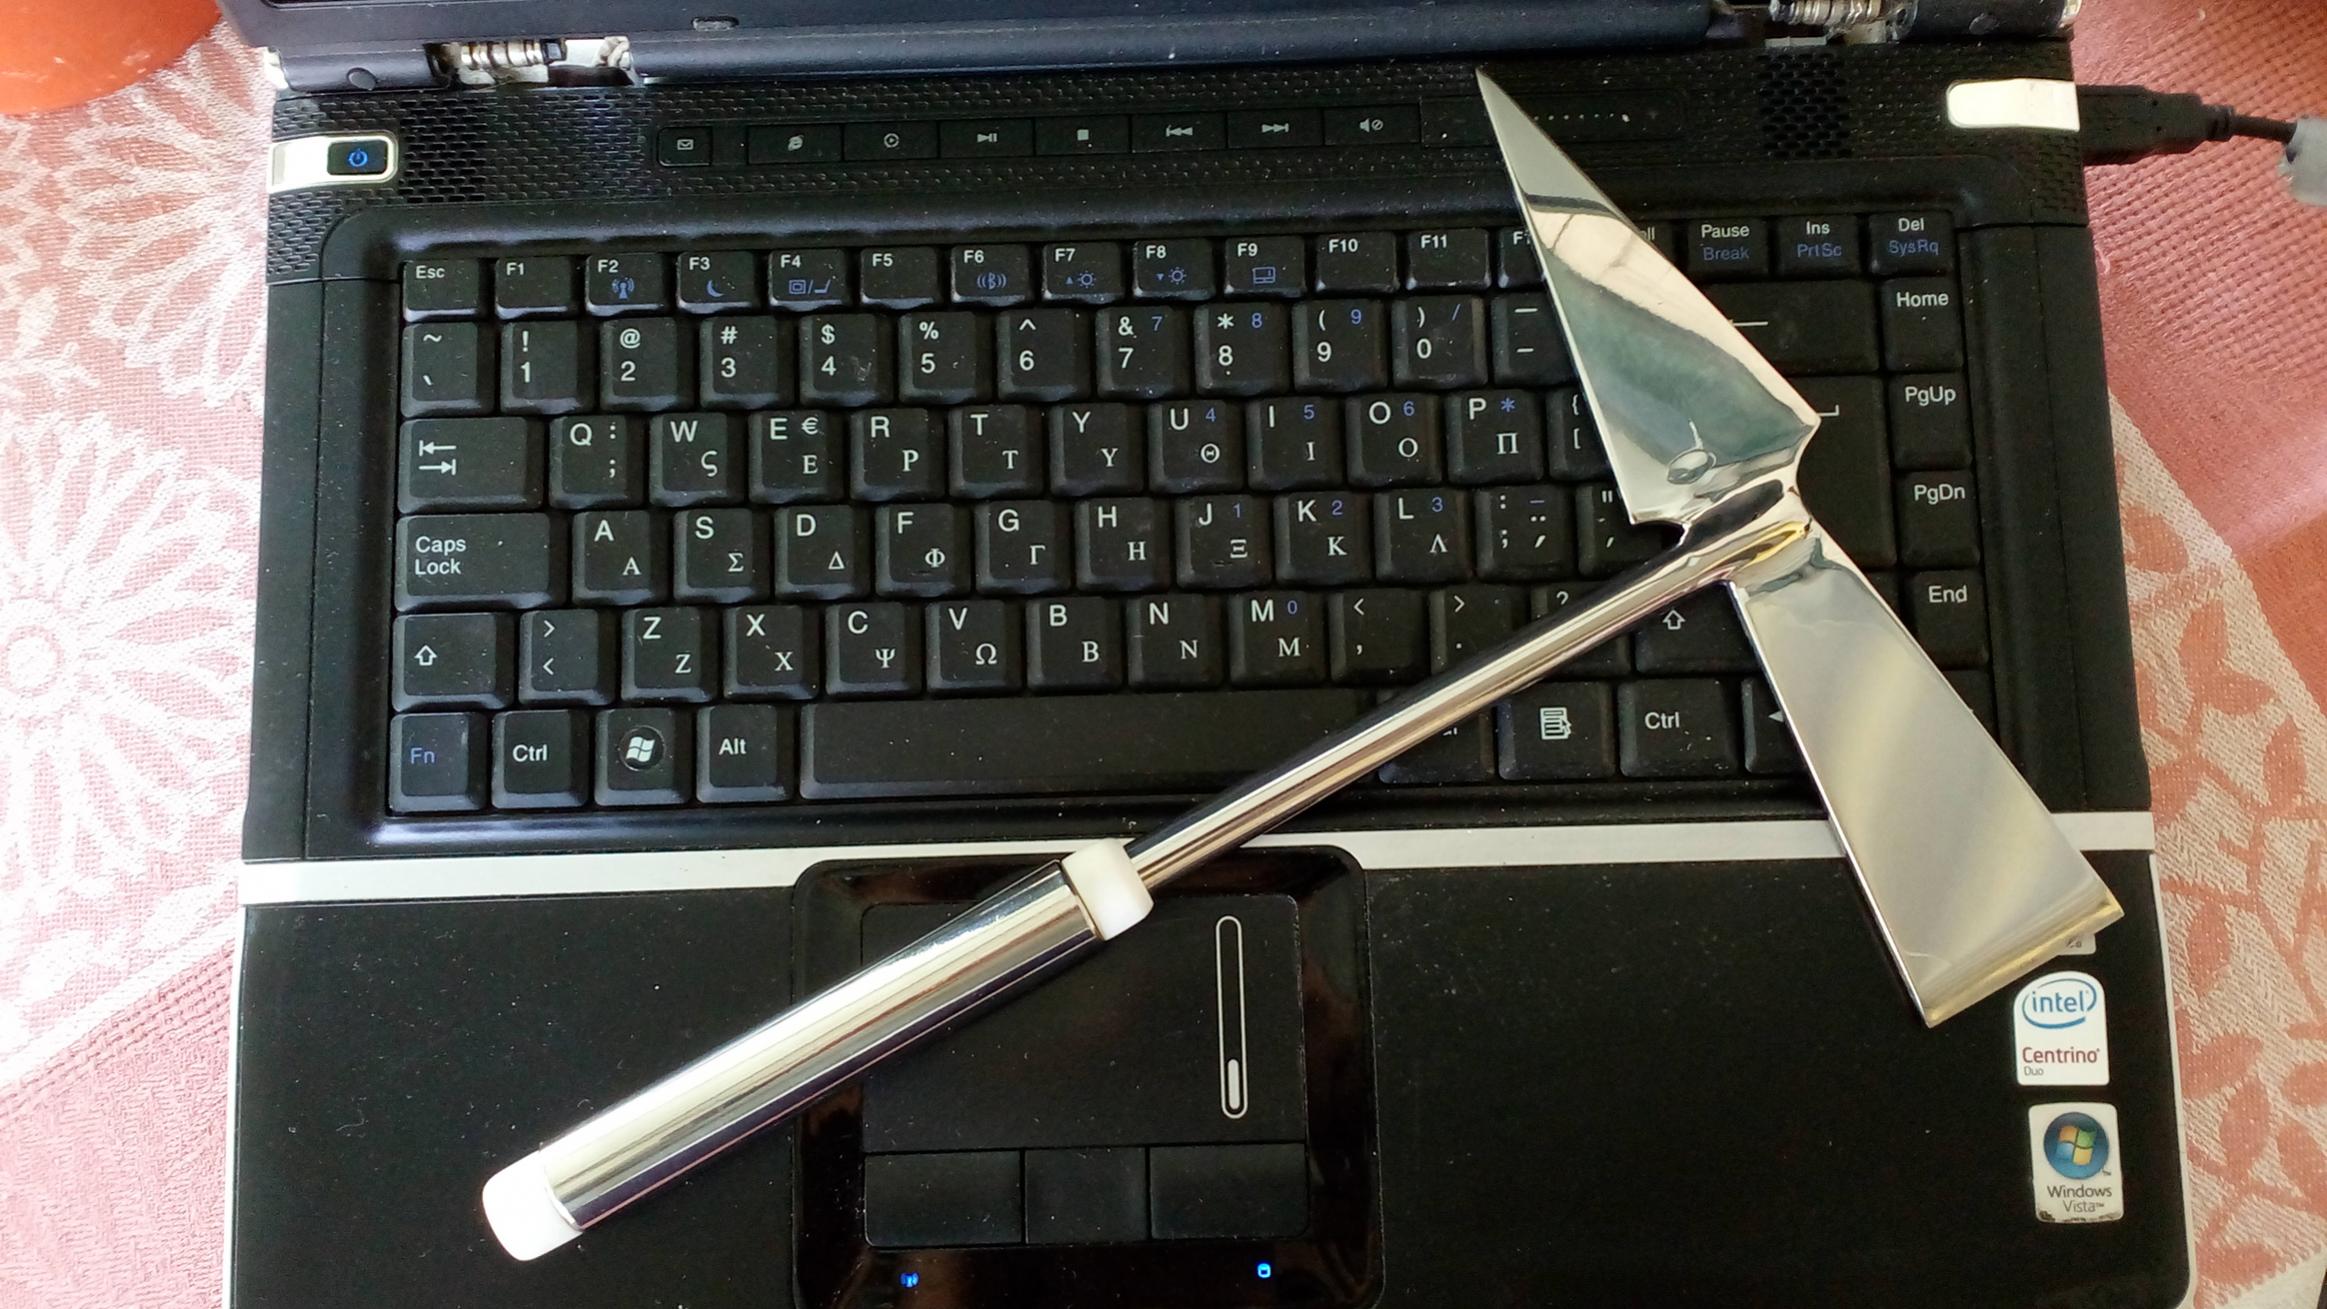
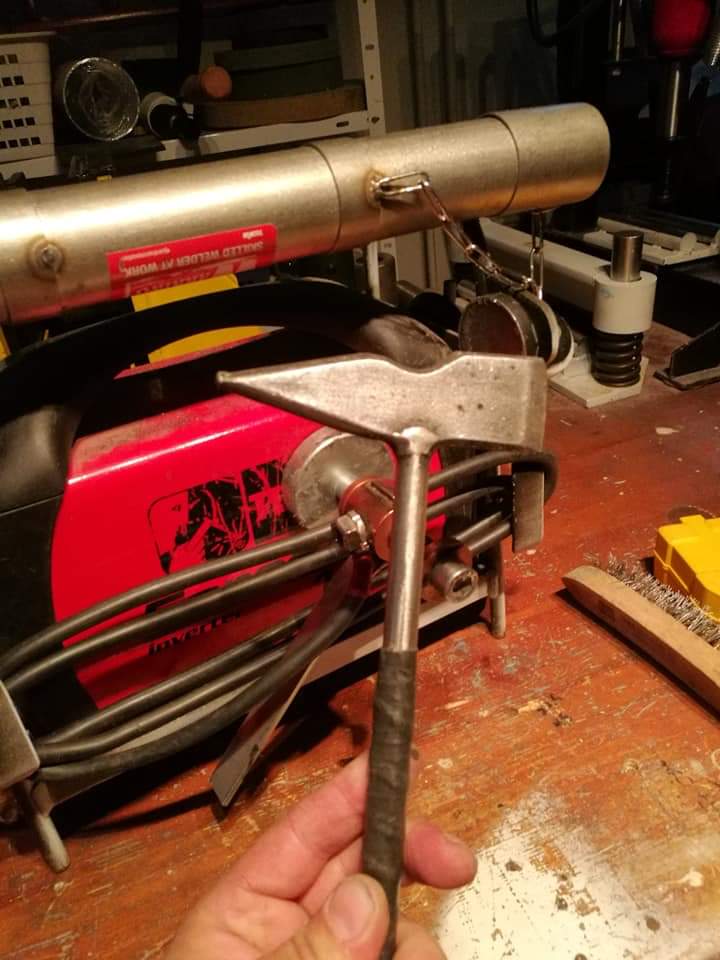
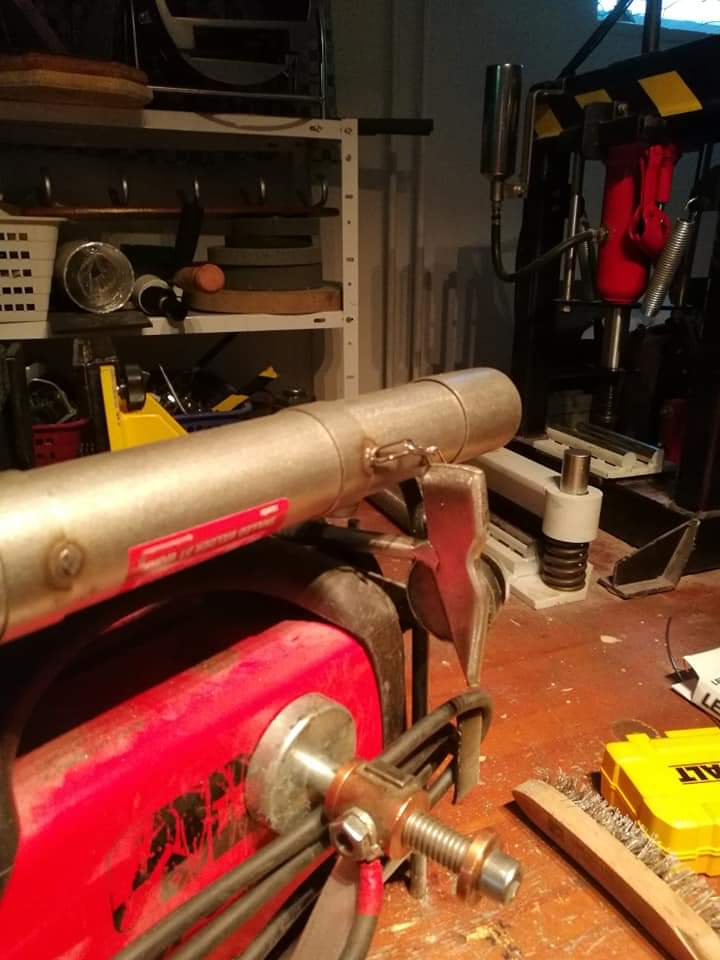
Welding Chipping Hammer Stainless Steel
Dimensions
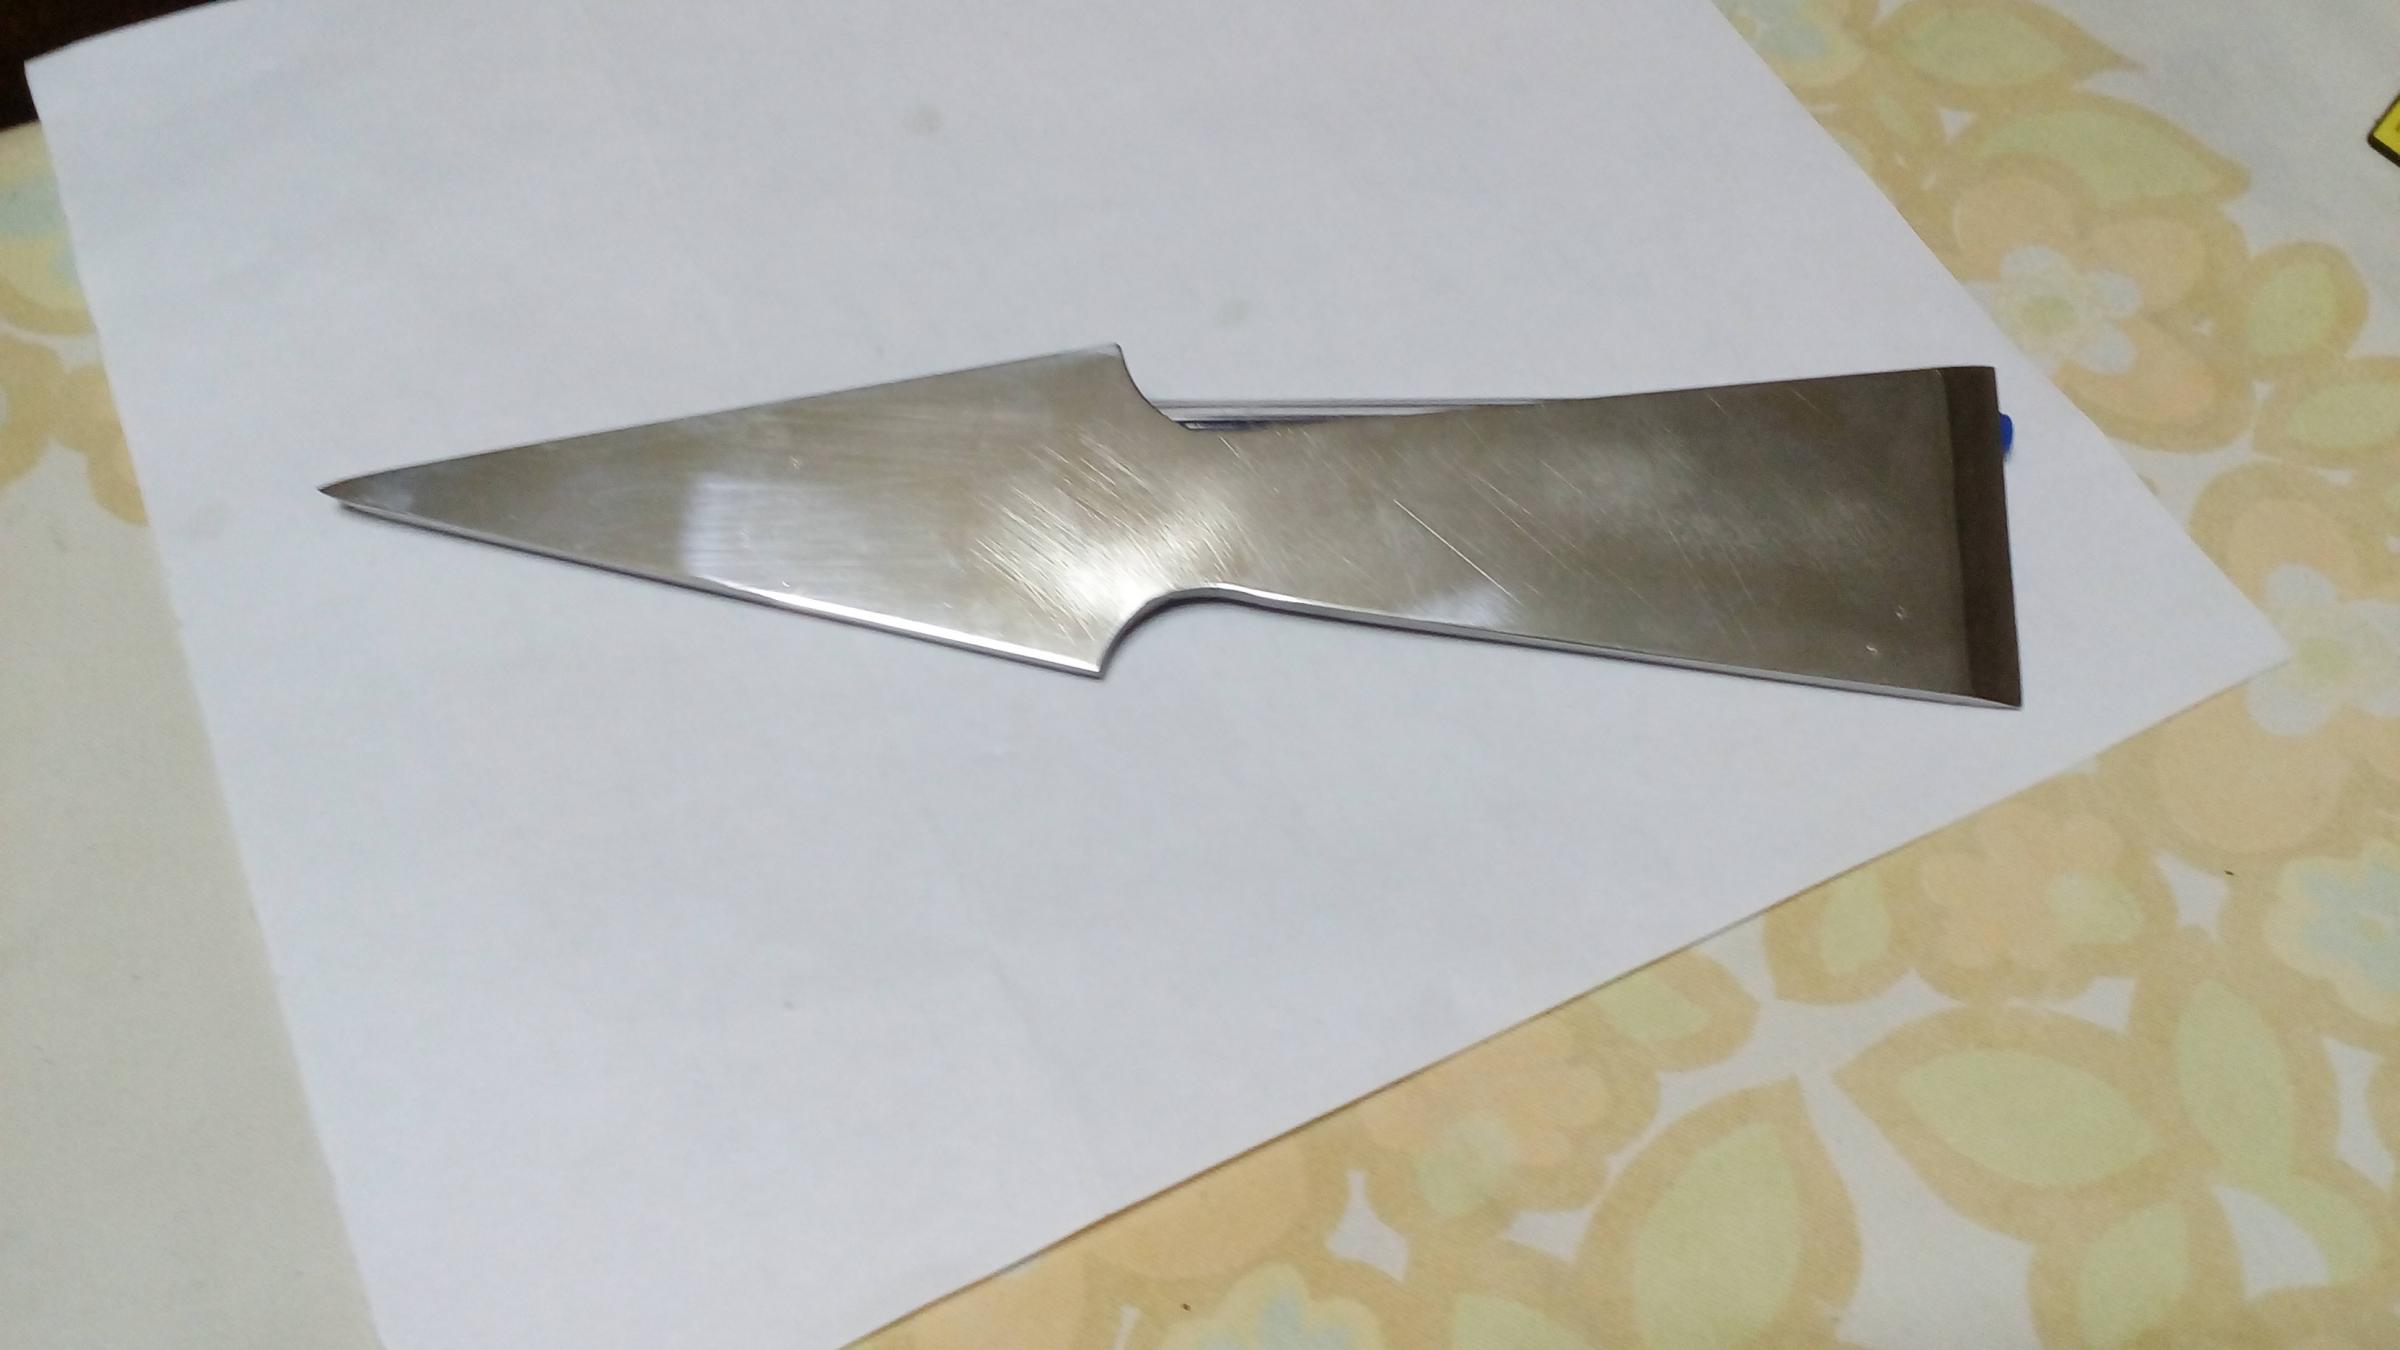
Blade 190x40mm
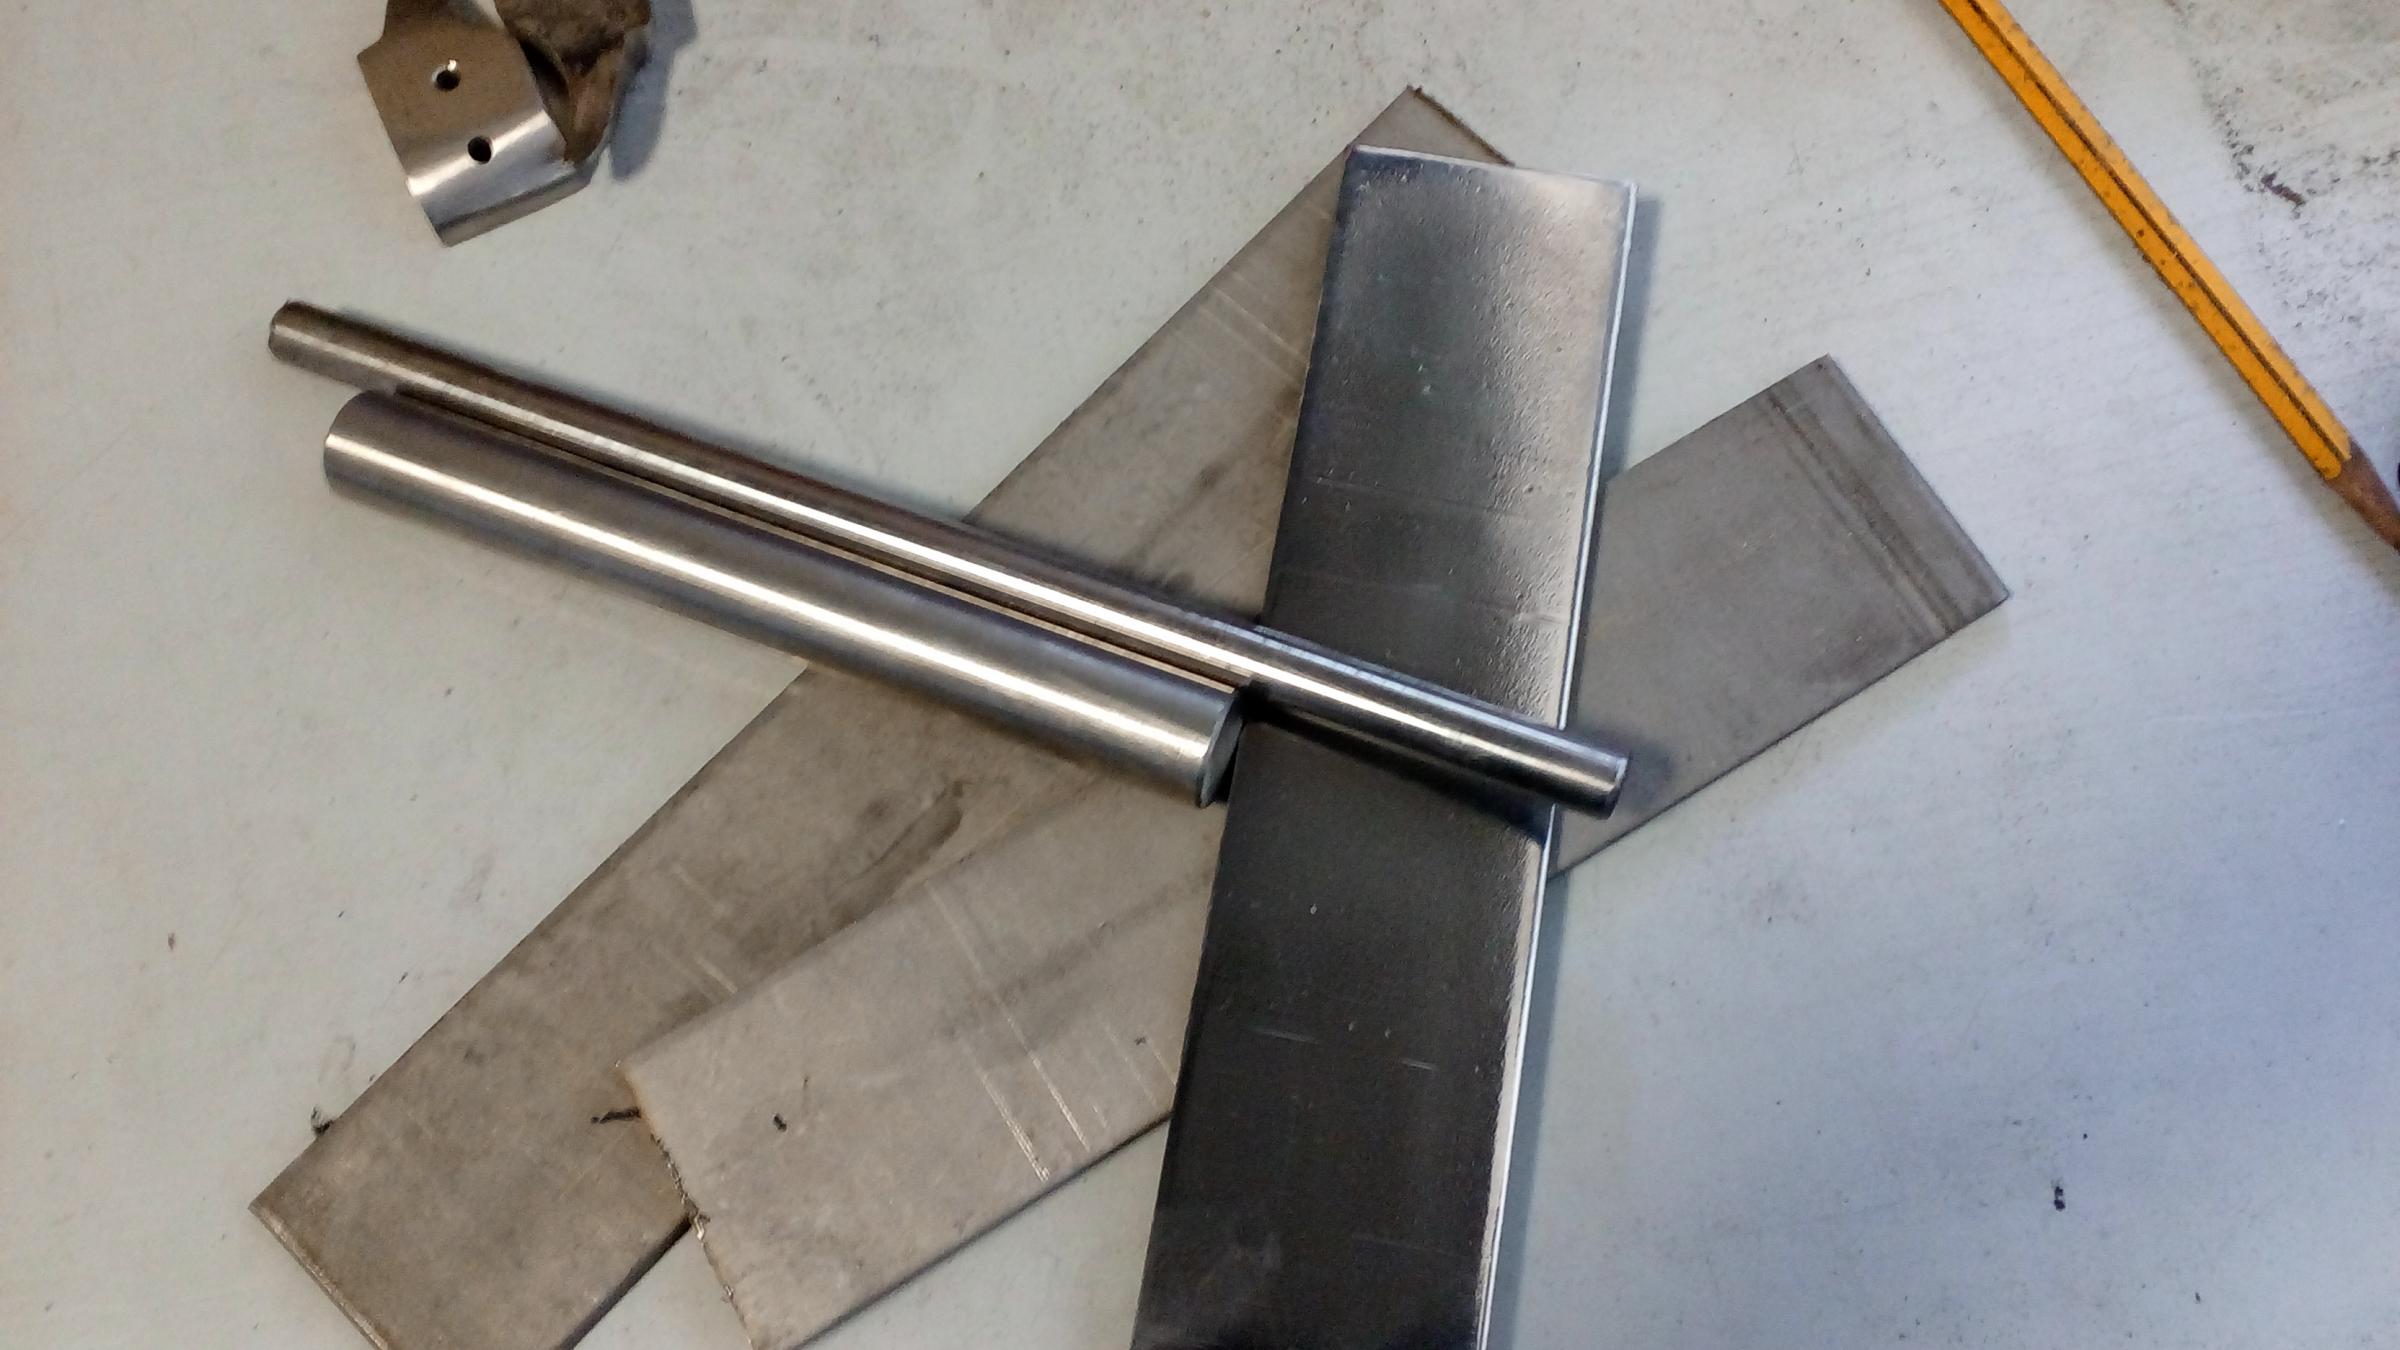
Shaft Ø10.5x155mm (at reality Ø10.47mm)
Handhold Ø18x115mm Including the corian ring (105+10mm)
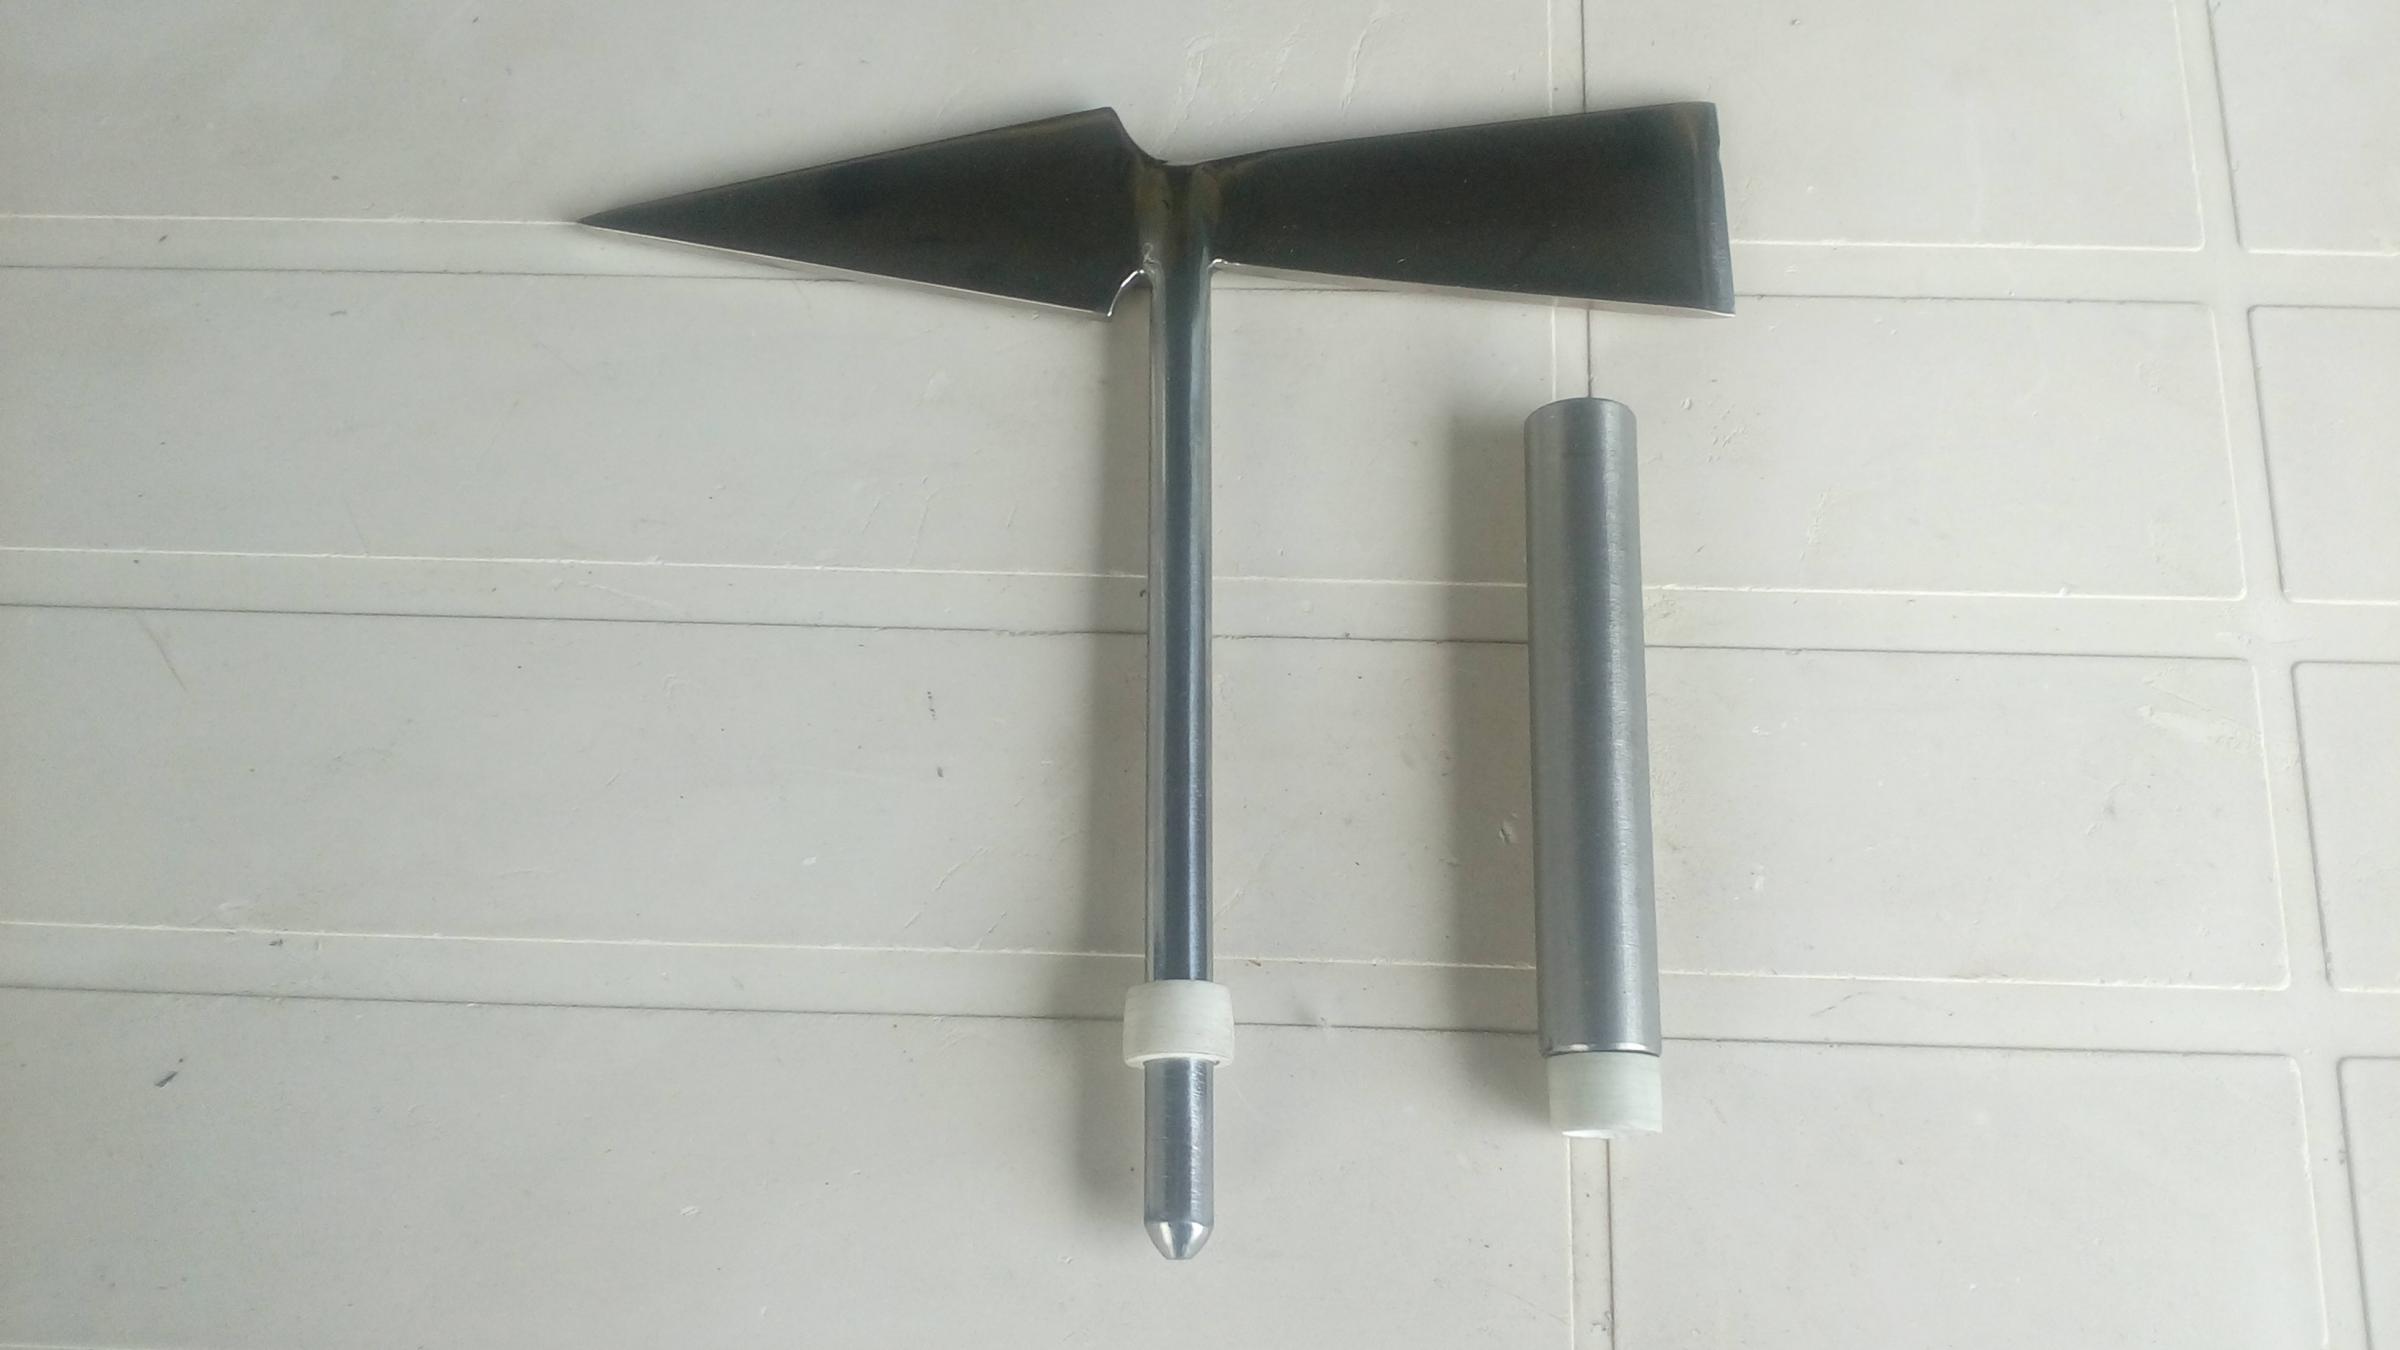
All materials are stainless steel
Round bar: Ø10.5x185mm - Ø18x105mm
Flat bar or sheet metal strip: 45x200x4.3mm (Final thickness after cleaning and polishing about 4mm)
Bolts: 1pcs M4x10mm - 1pcs M5x20mm
Electrodes: E316L
Corian: 30x50x12mm
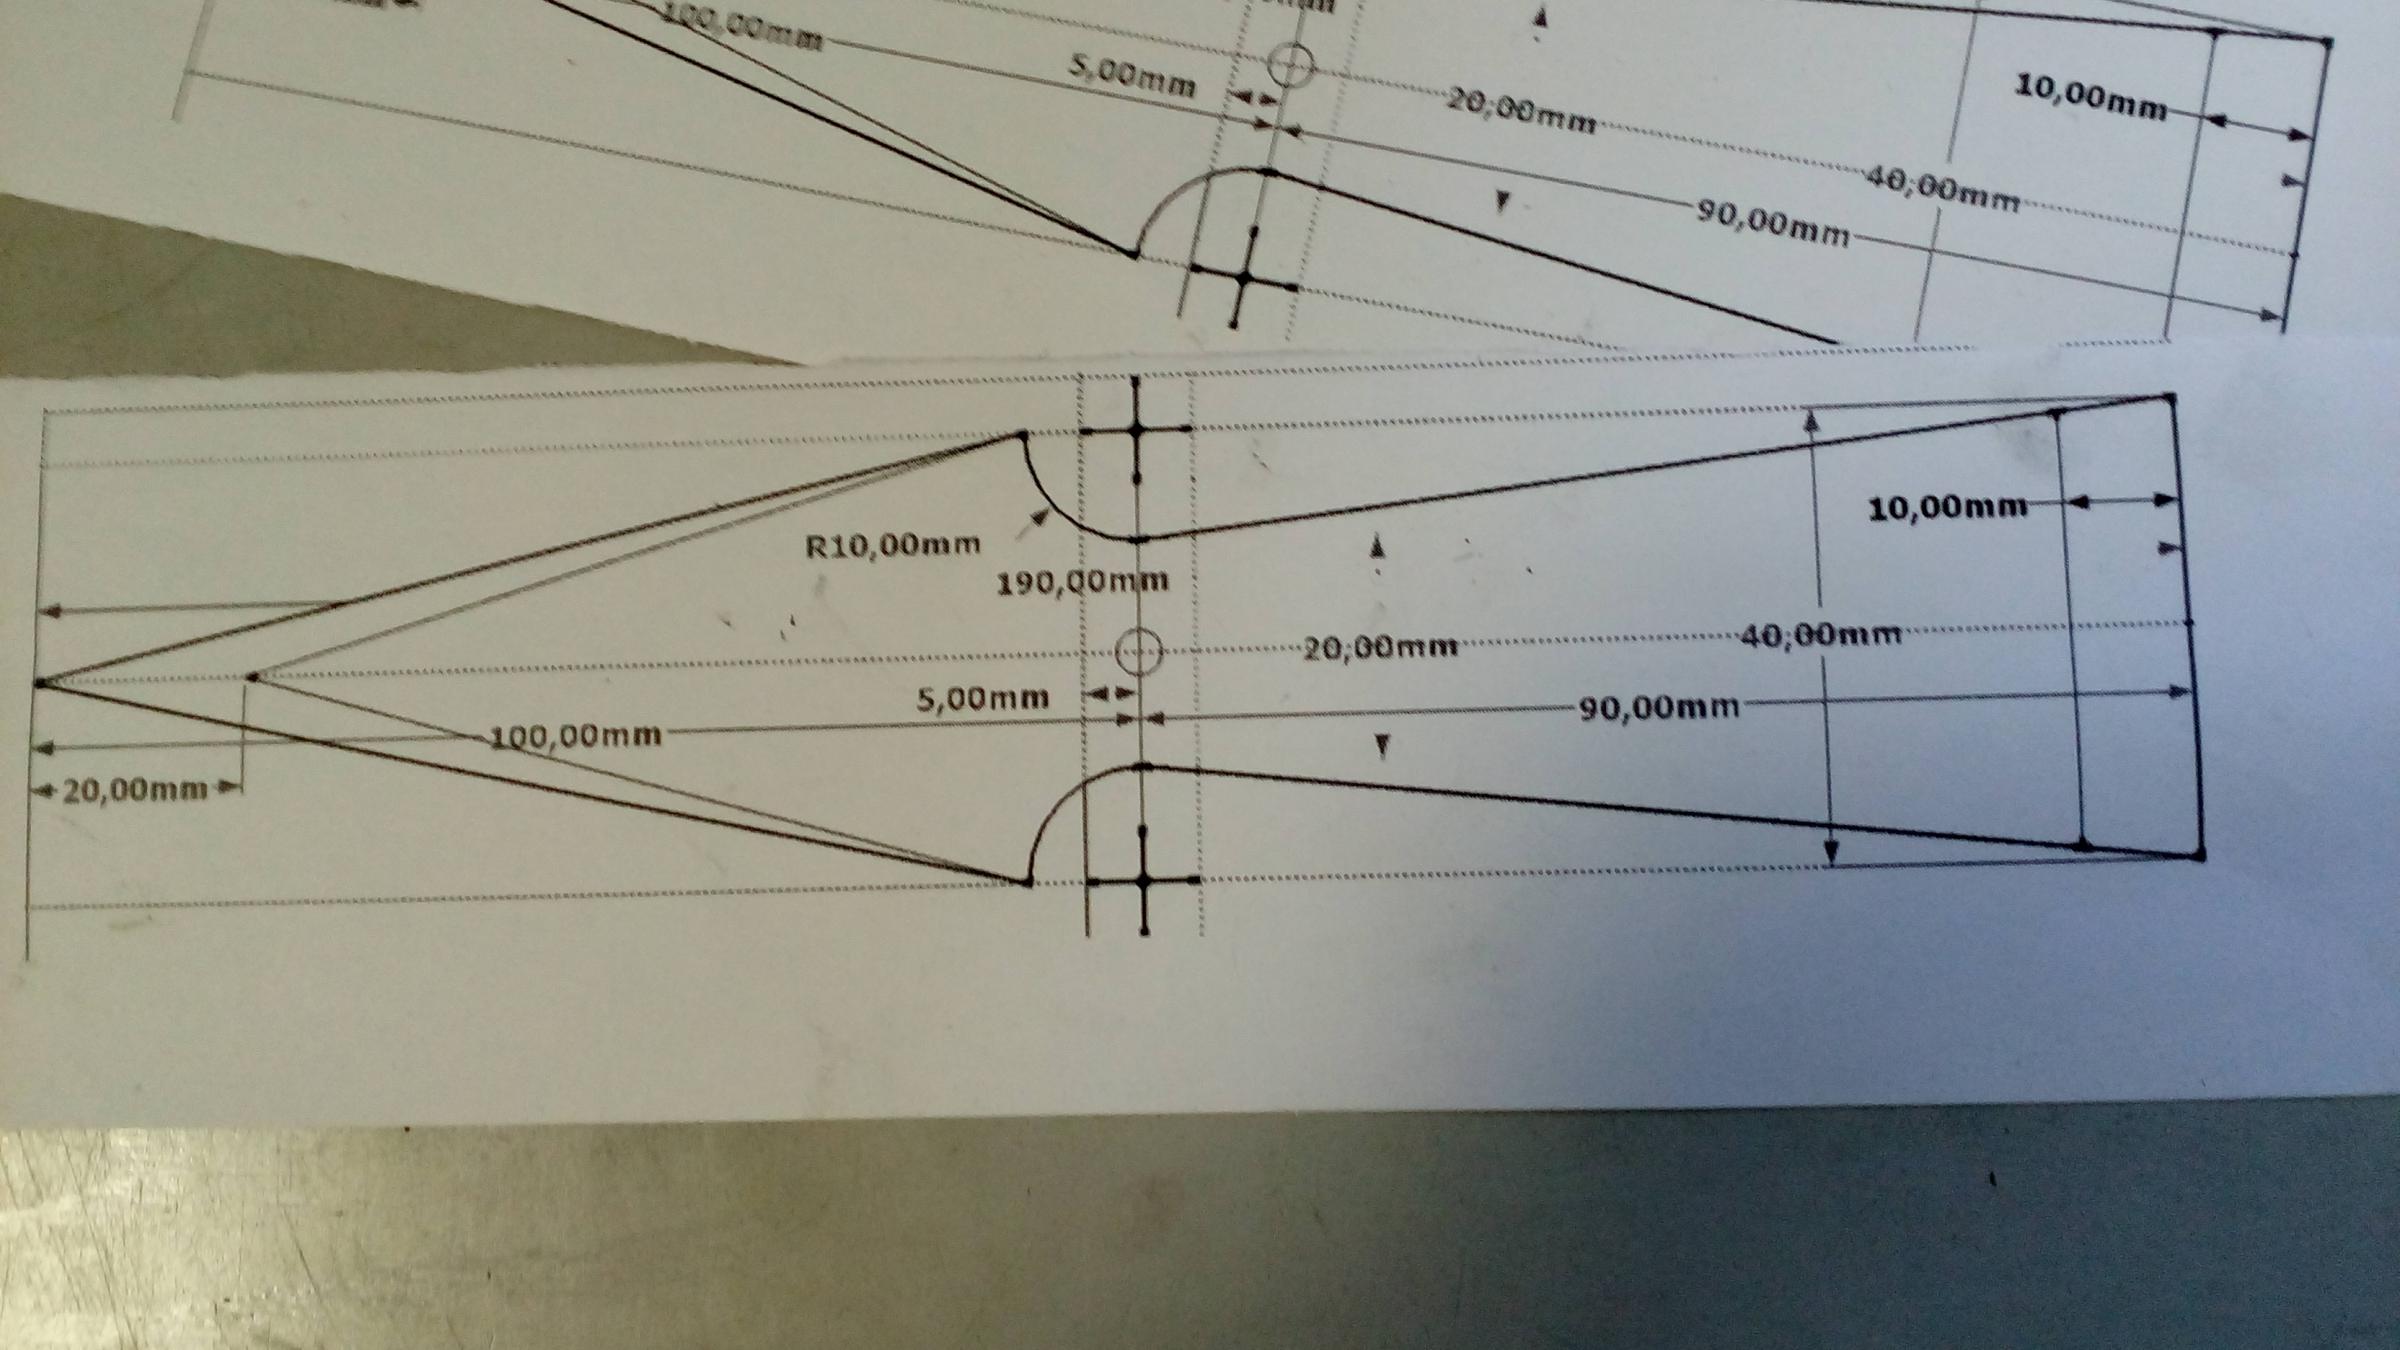
I designed the blade, printed it in natural size and stuck over the blade.
With a fine punch I marked the centers of the contour nodes and drew the lines using a pencil scribe.
For the marking of the two curves I used a 10 cent euro coin (dia 19.75mm).
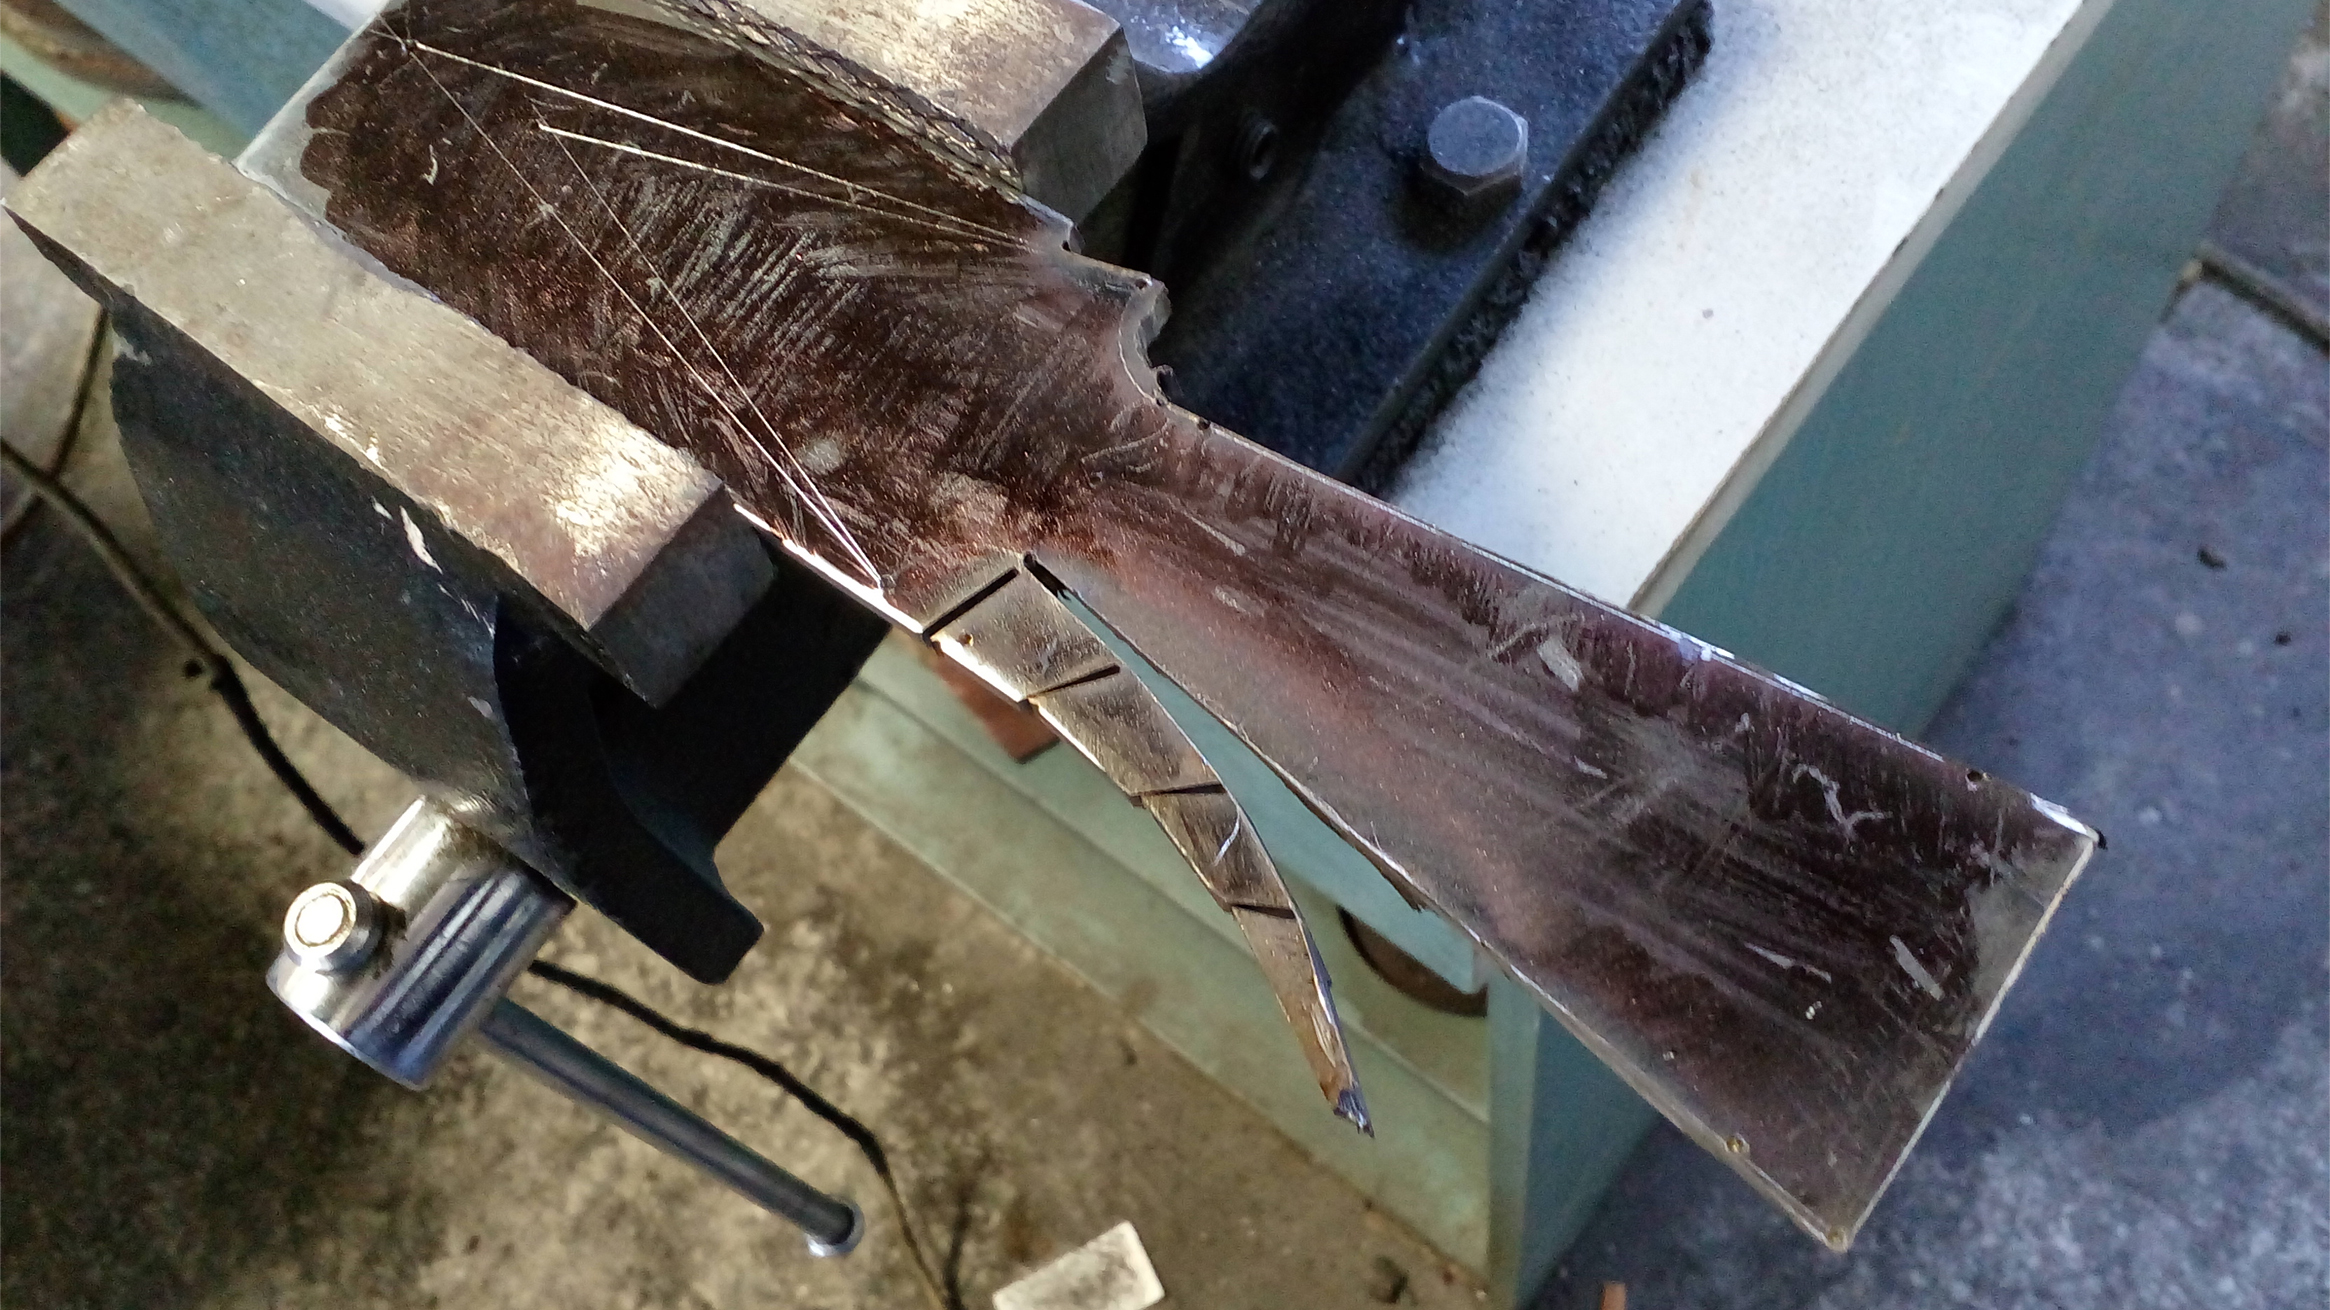
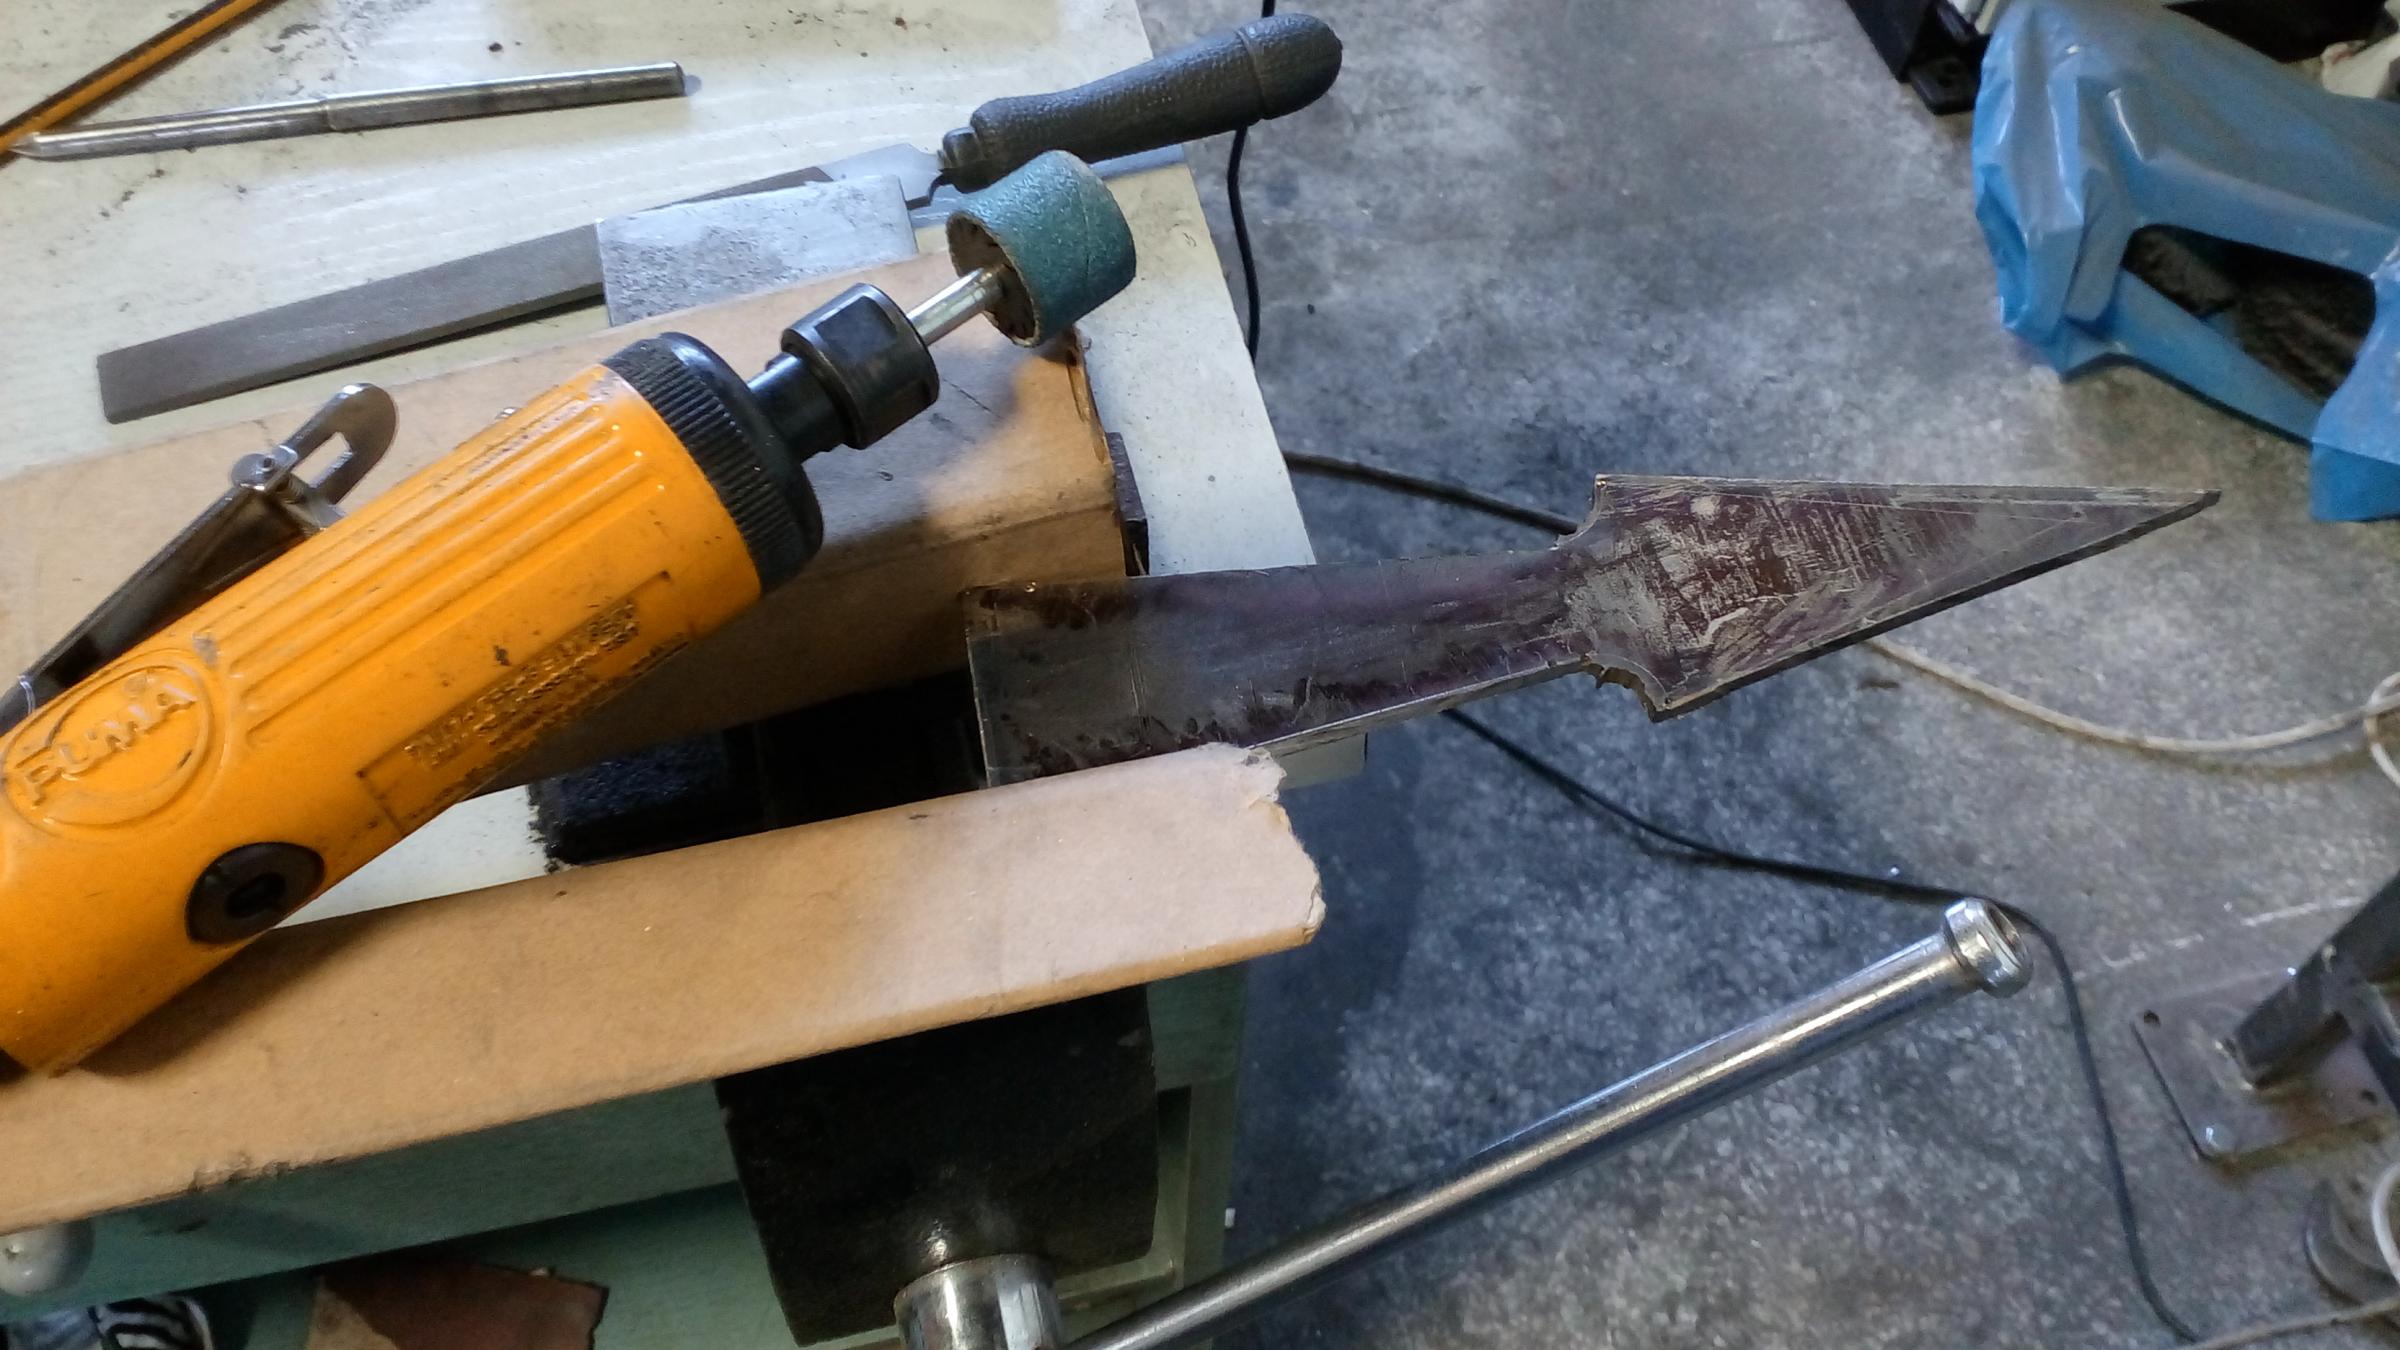
I did the cuts with an angle grinder and refine them using a file.
By a die grinder I refined the curves using Ø20mm consumables.
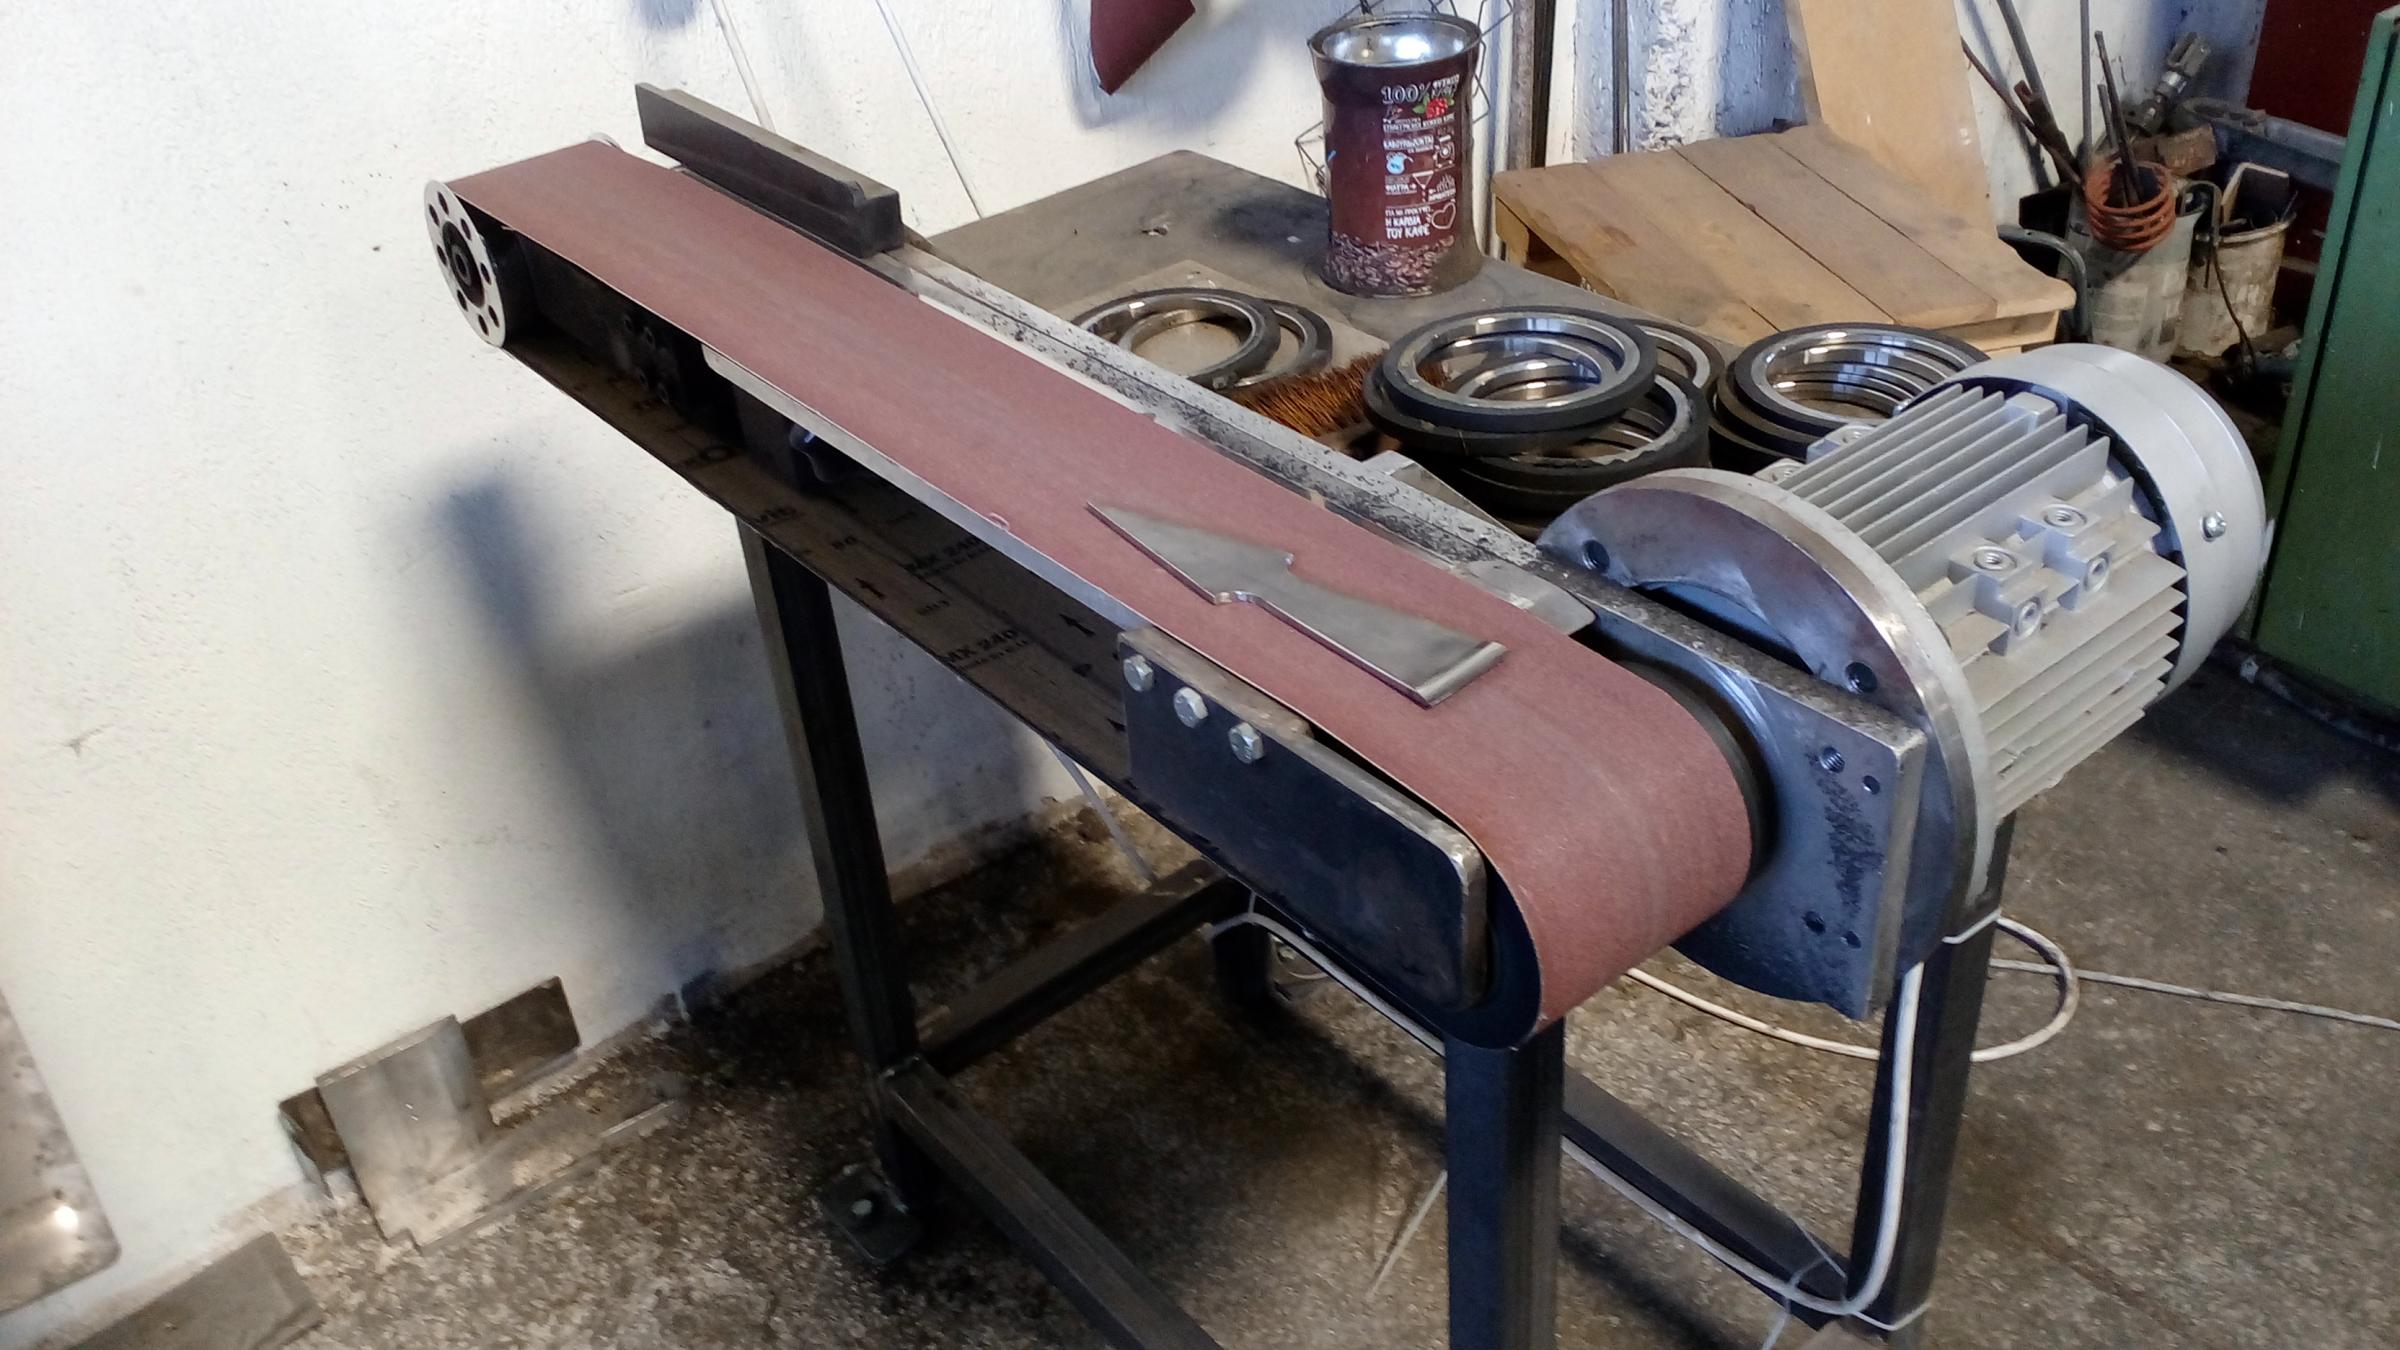
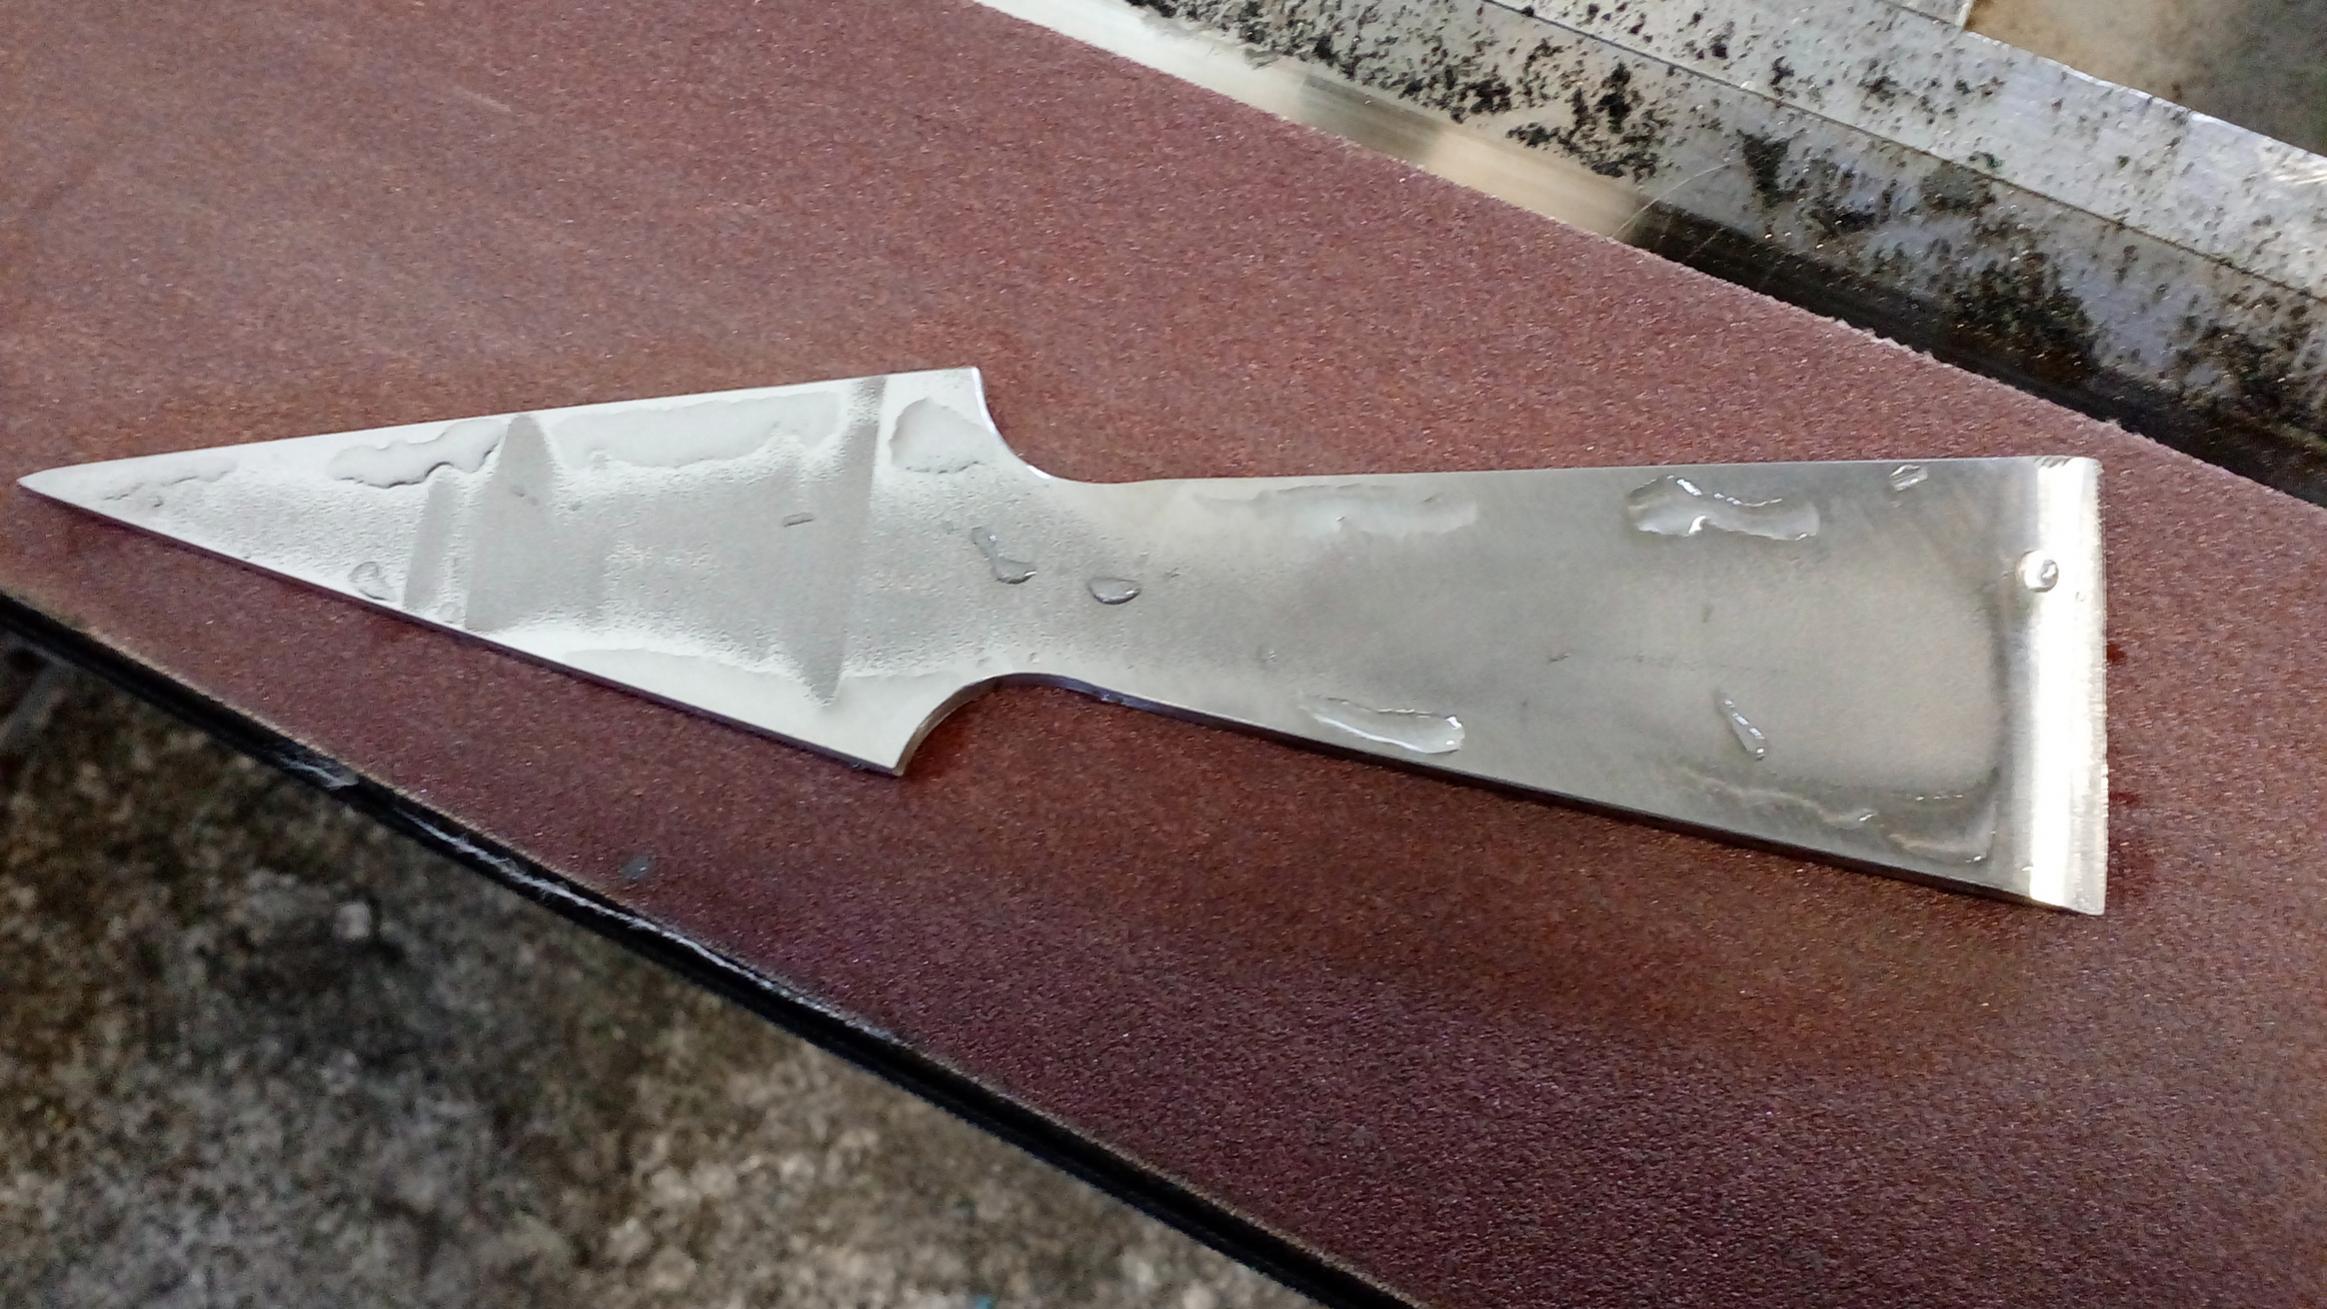
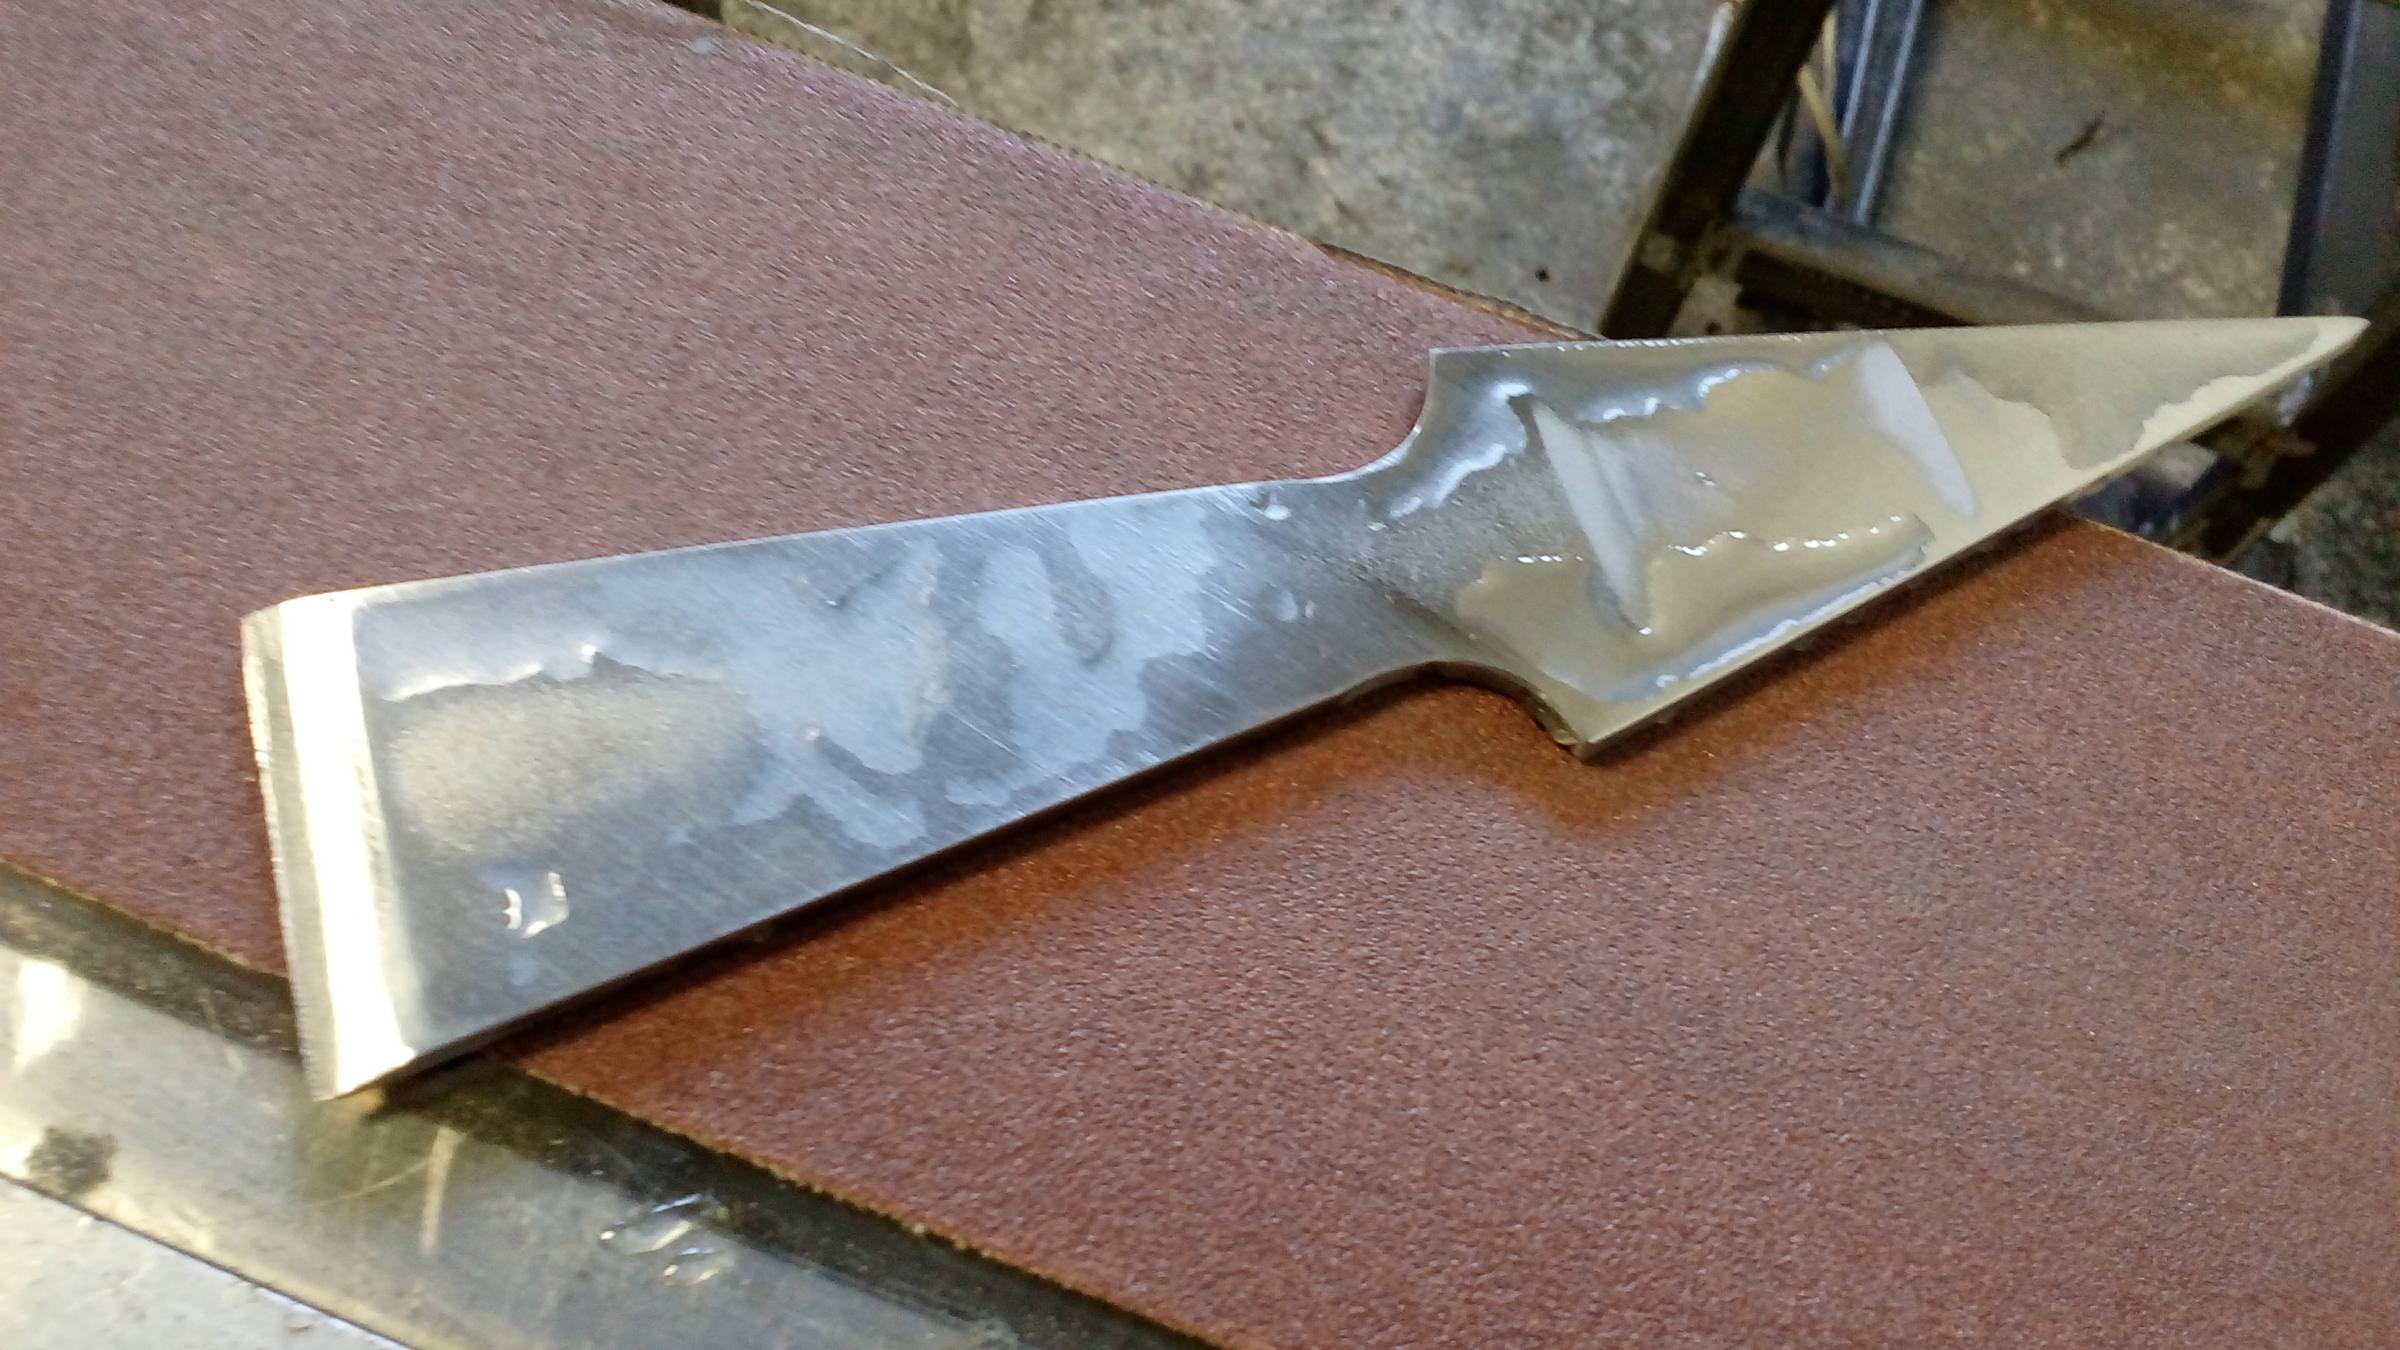
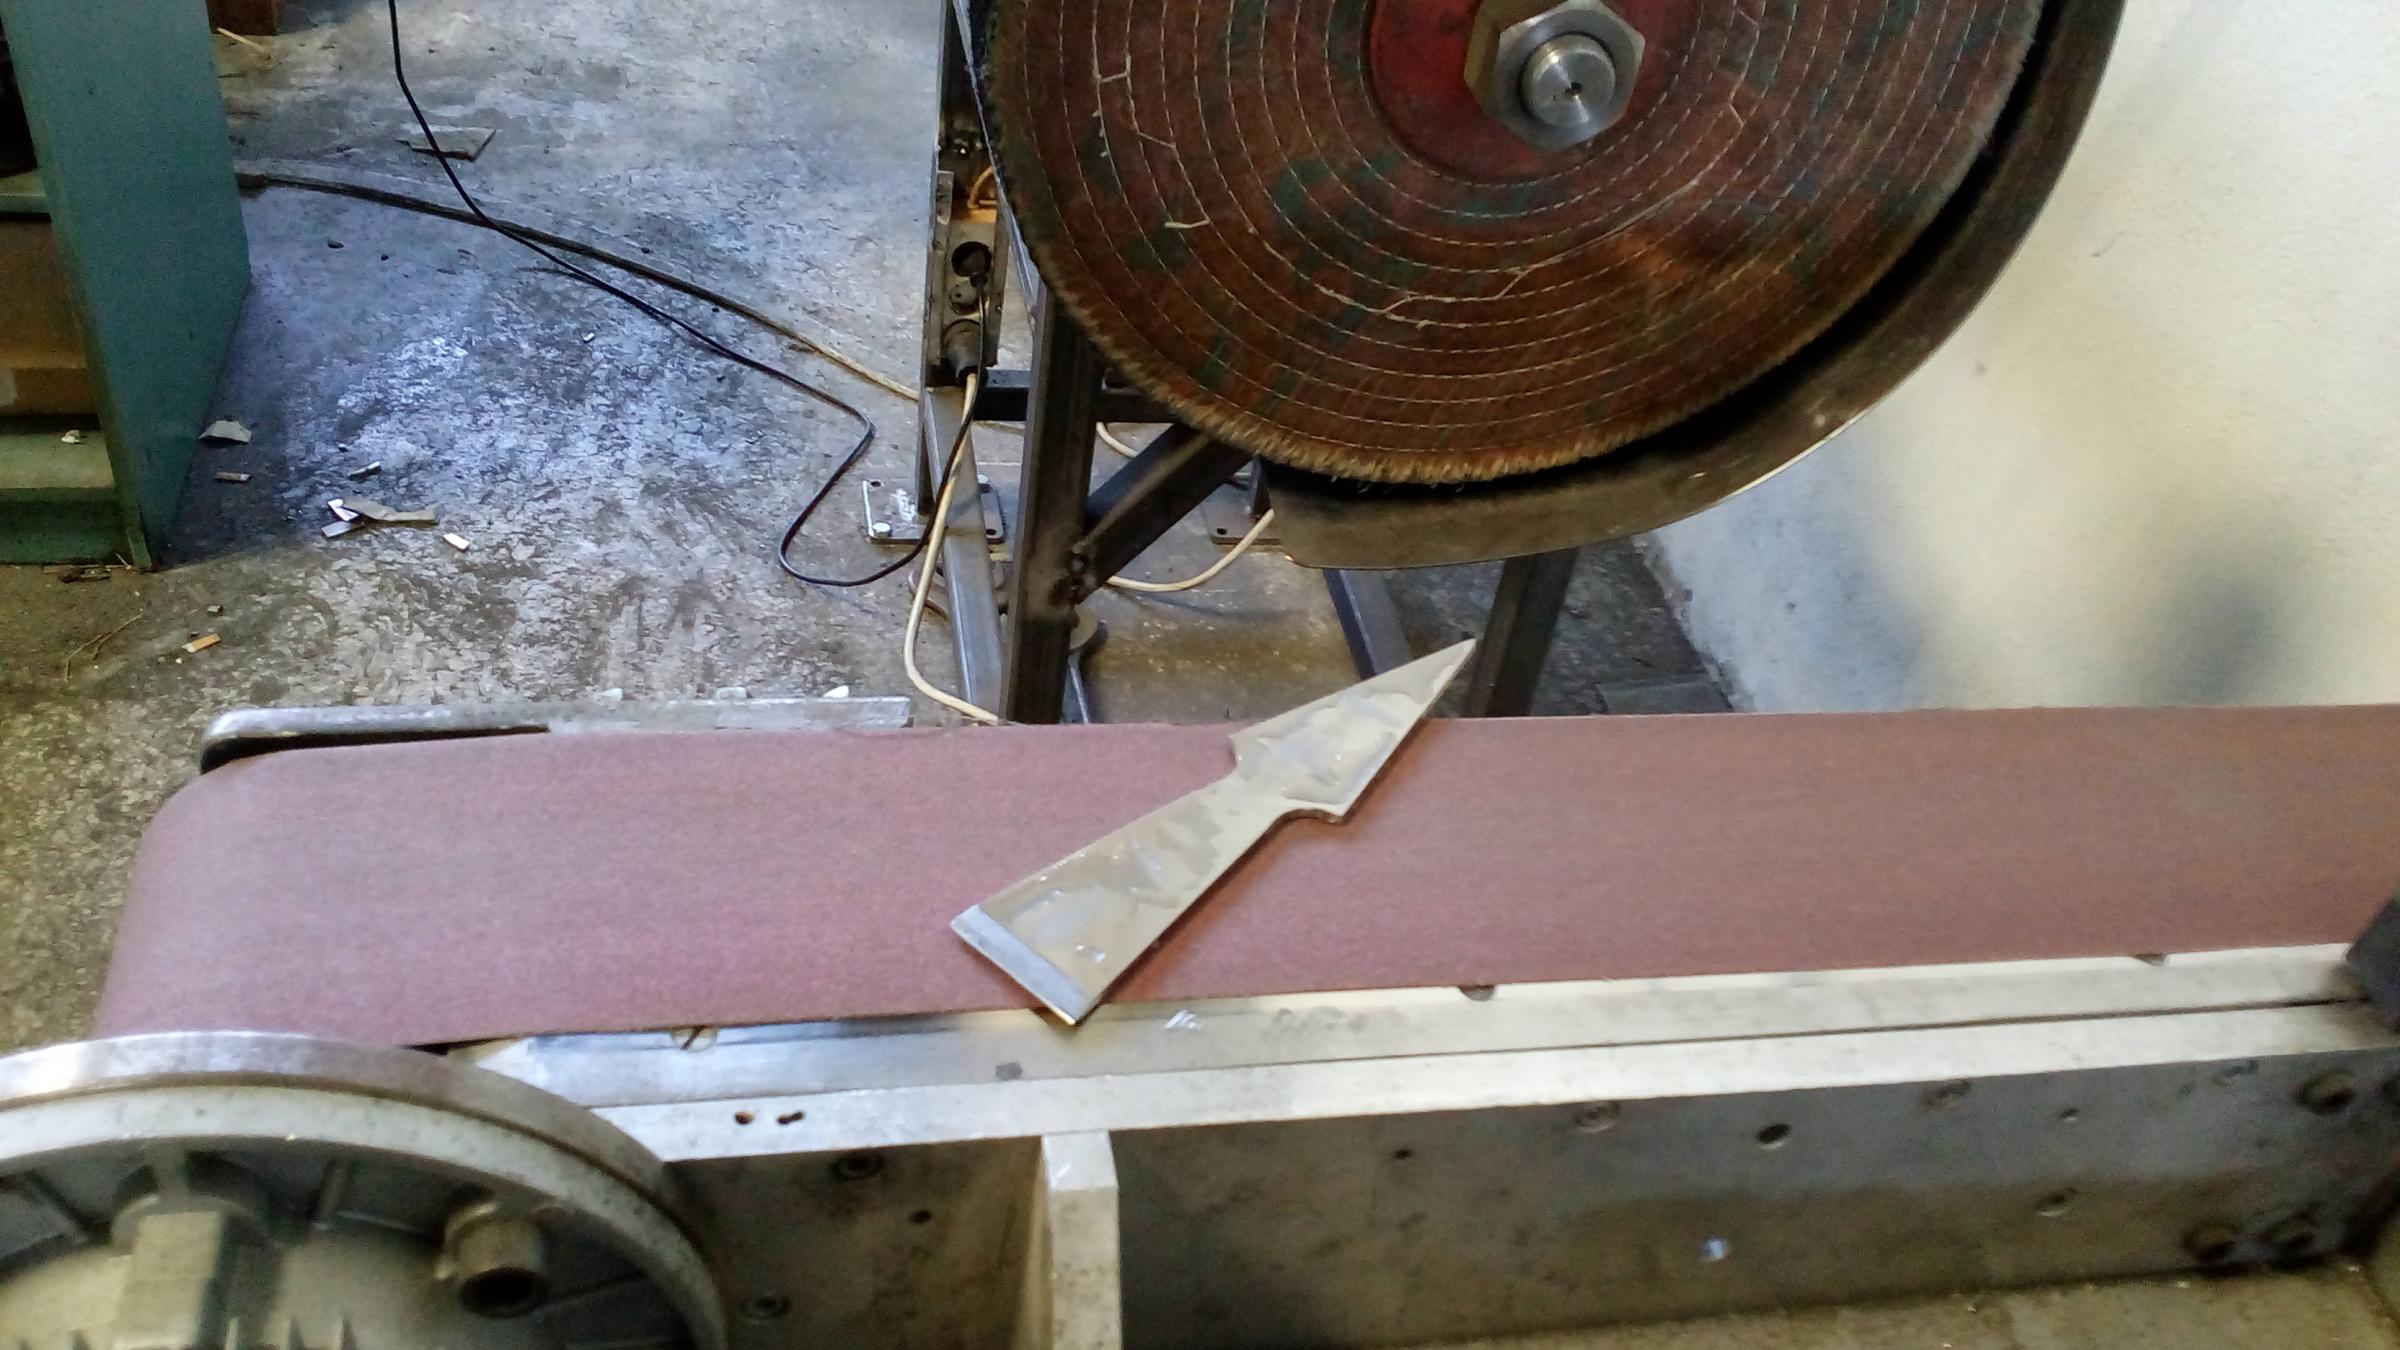
By a belt grinder I machined the faces of the blade removing all scratches and marks.
At the end it polished at an abrasive polishing machine.
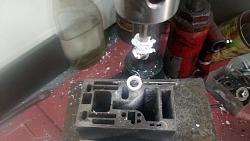
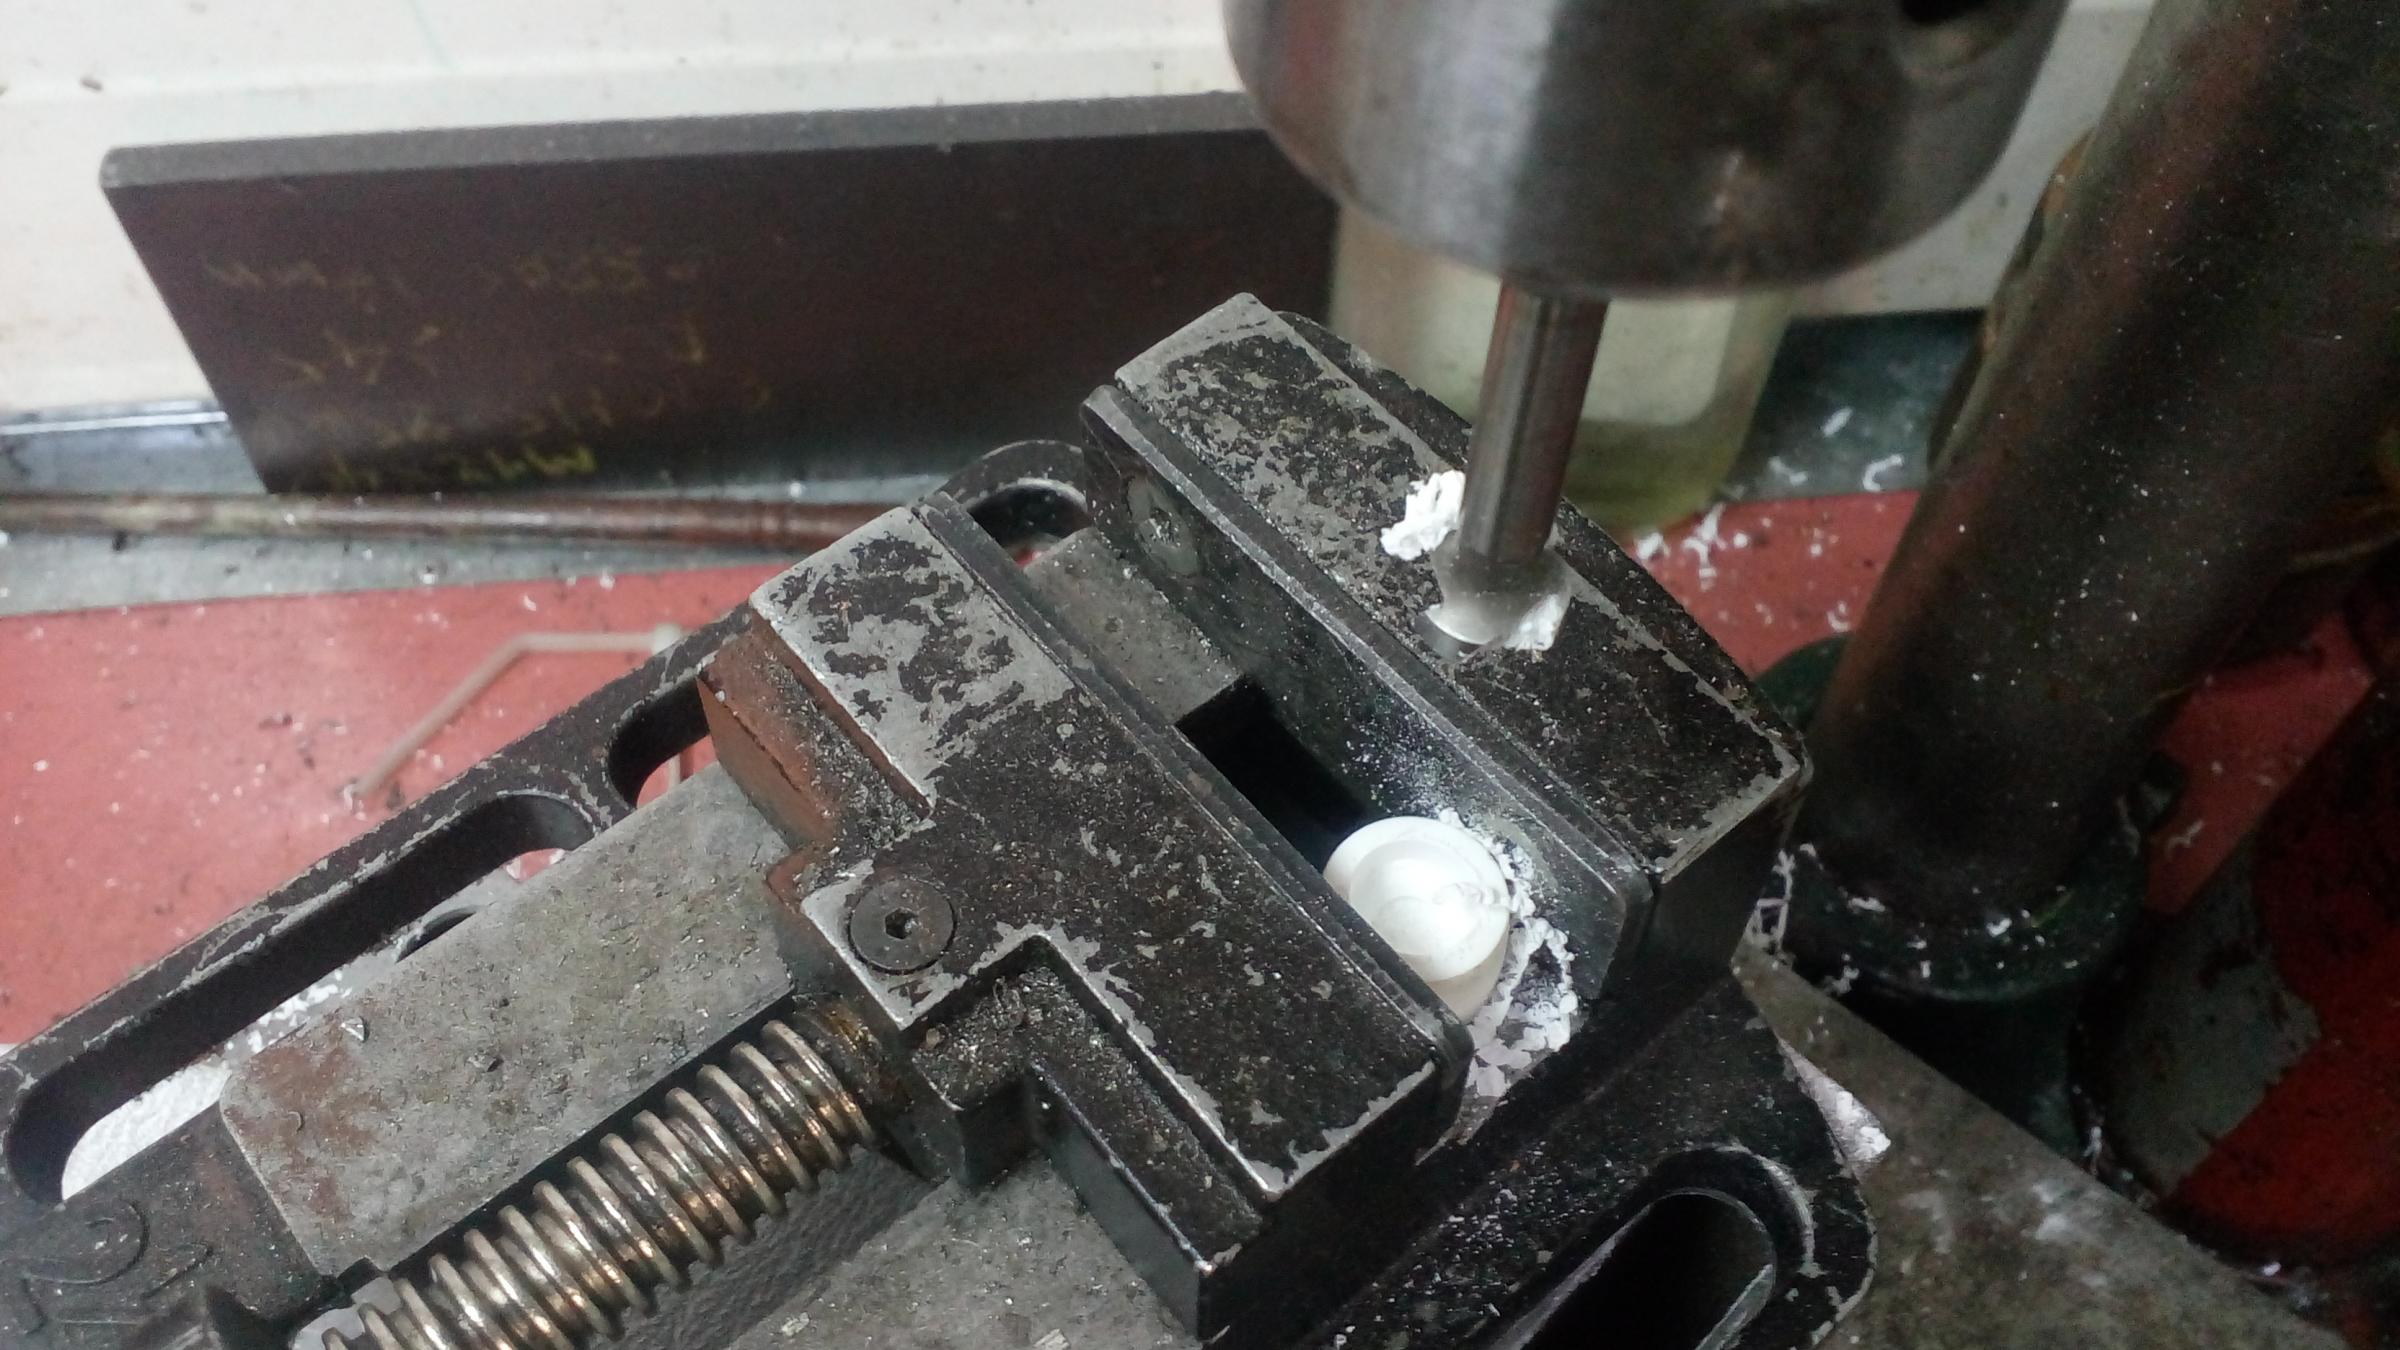
I havent a lathe, so the drilling at the drill press is one way root for me.
But isnt a so difficult job, neither a so critical If the center point of the hole isnt 100% at the real center of the Ø18 axle.
So I set up a device with any I had on hands at the drill press bed.
Using my Circle Center Finder Tool I found the center of the axle.
All the rest it was just a matter of perpendicularity and securing.
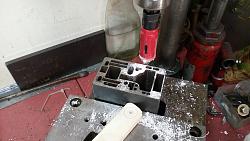
I decided to make the hole 10mm and not 10.5mm because in fact it would definitely be a little bigger maybe 10.65 ~ 10.8mm.
Also one of my Ø10mm drill bits it was a short one and I thinking and less vibration.
Ι started with Ø4mm drill bit next Ø7mm and last Ø10mm.
Finally the hole was done Ø10.12mm.
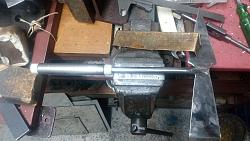
Using the drill press and a file, I machined the one end of Ø10.5mm axle, to Ø10.1mm.
I don't want to weld the two pieces together, so to be able to change the rings if damaged for some reason.
Also I have into my mind to replace them at a later time with brass or copper made rings.
I cut to length the two axels according to my needs.
Shaft Ø10.5x155mm - Handhold Ø18x105mm.
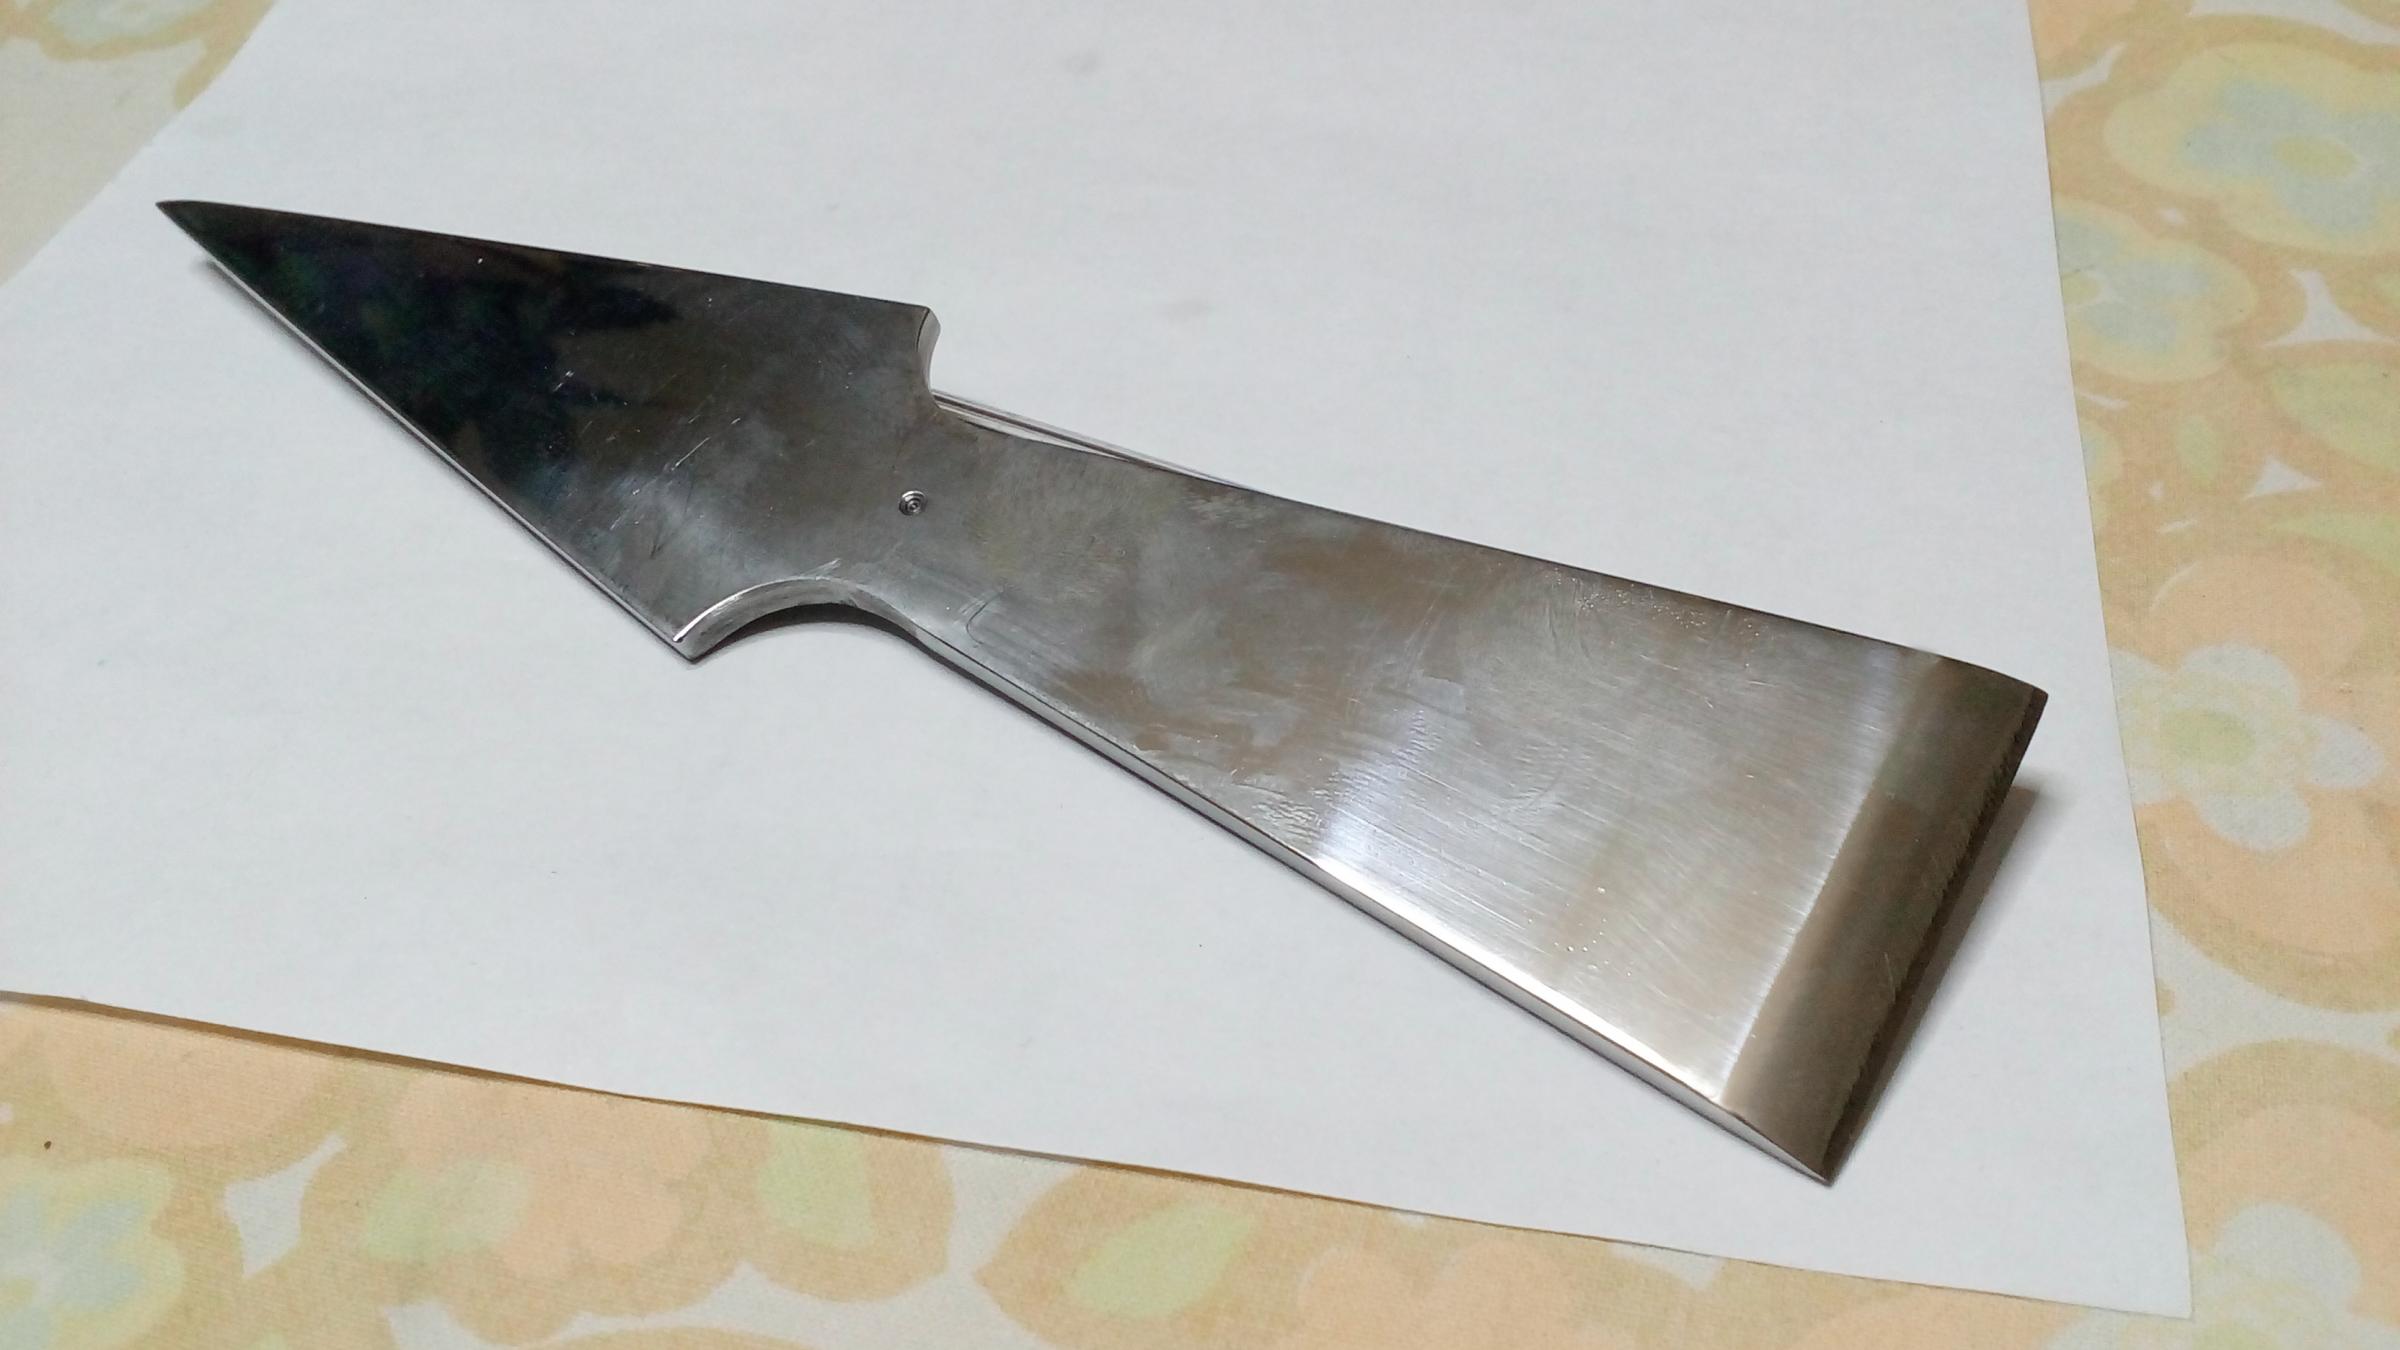
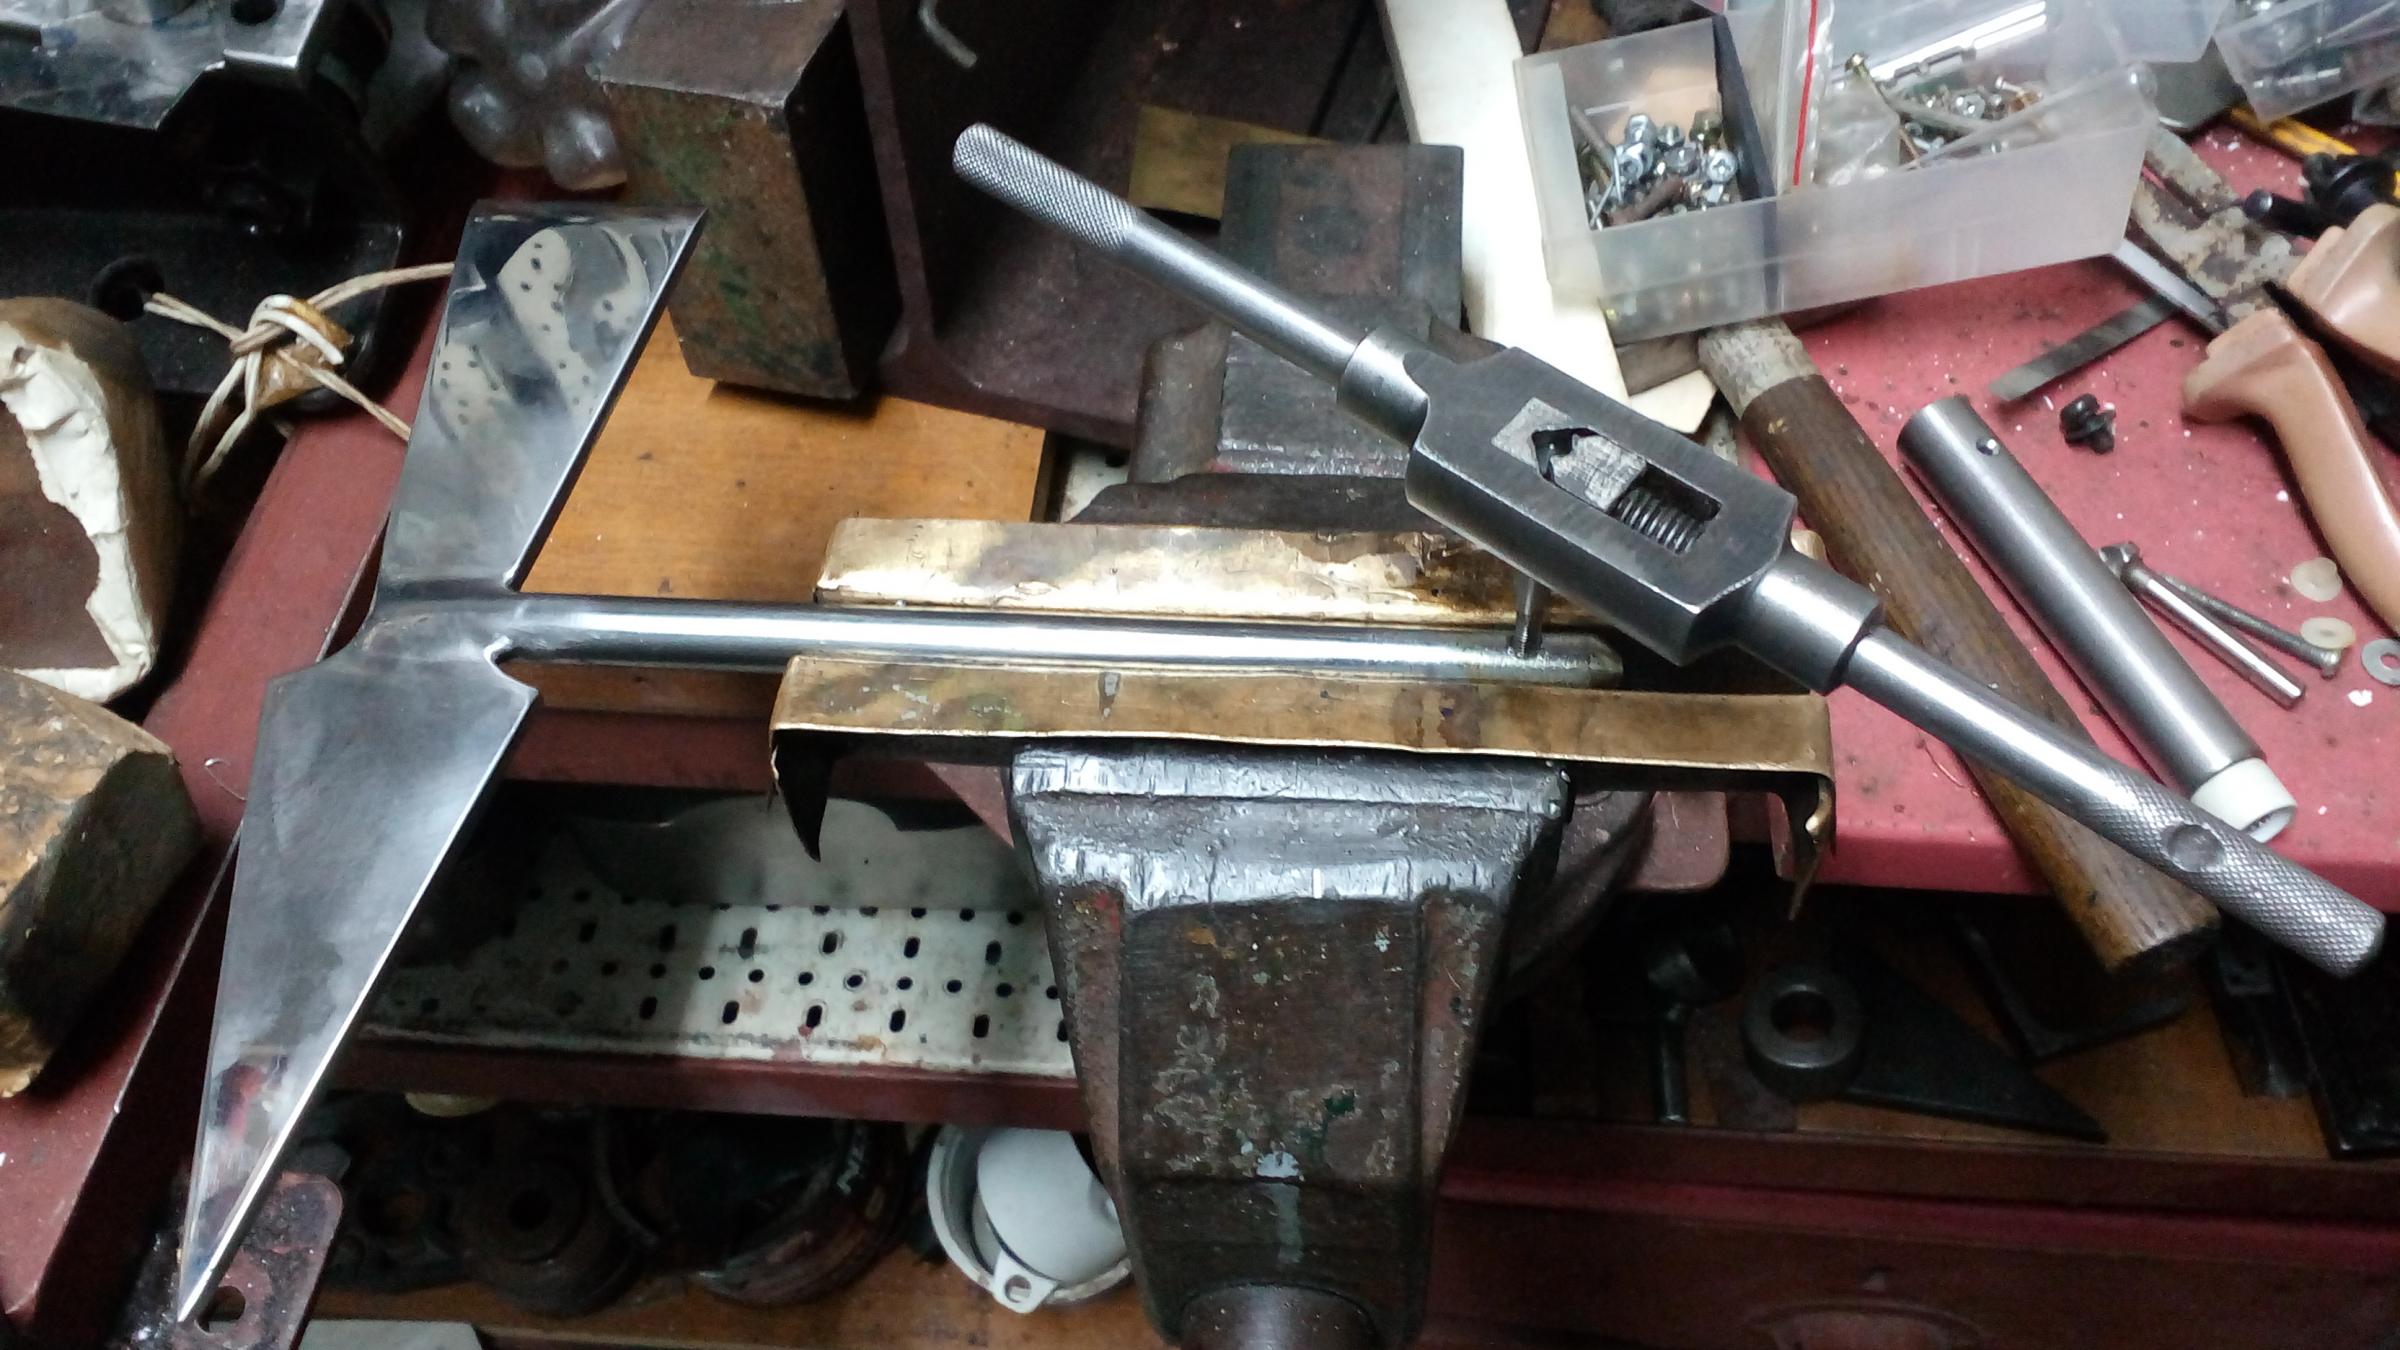
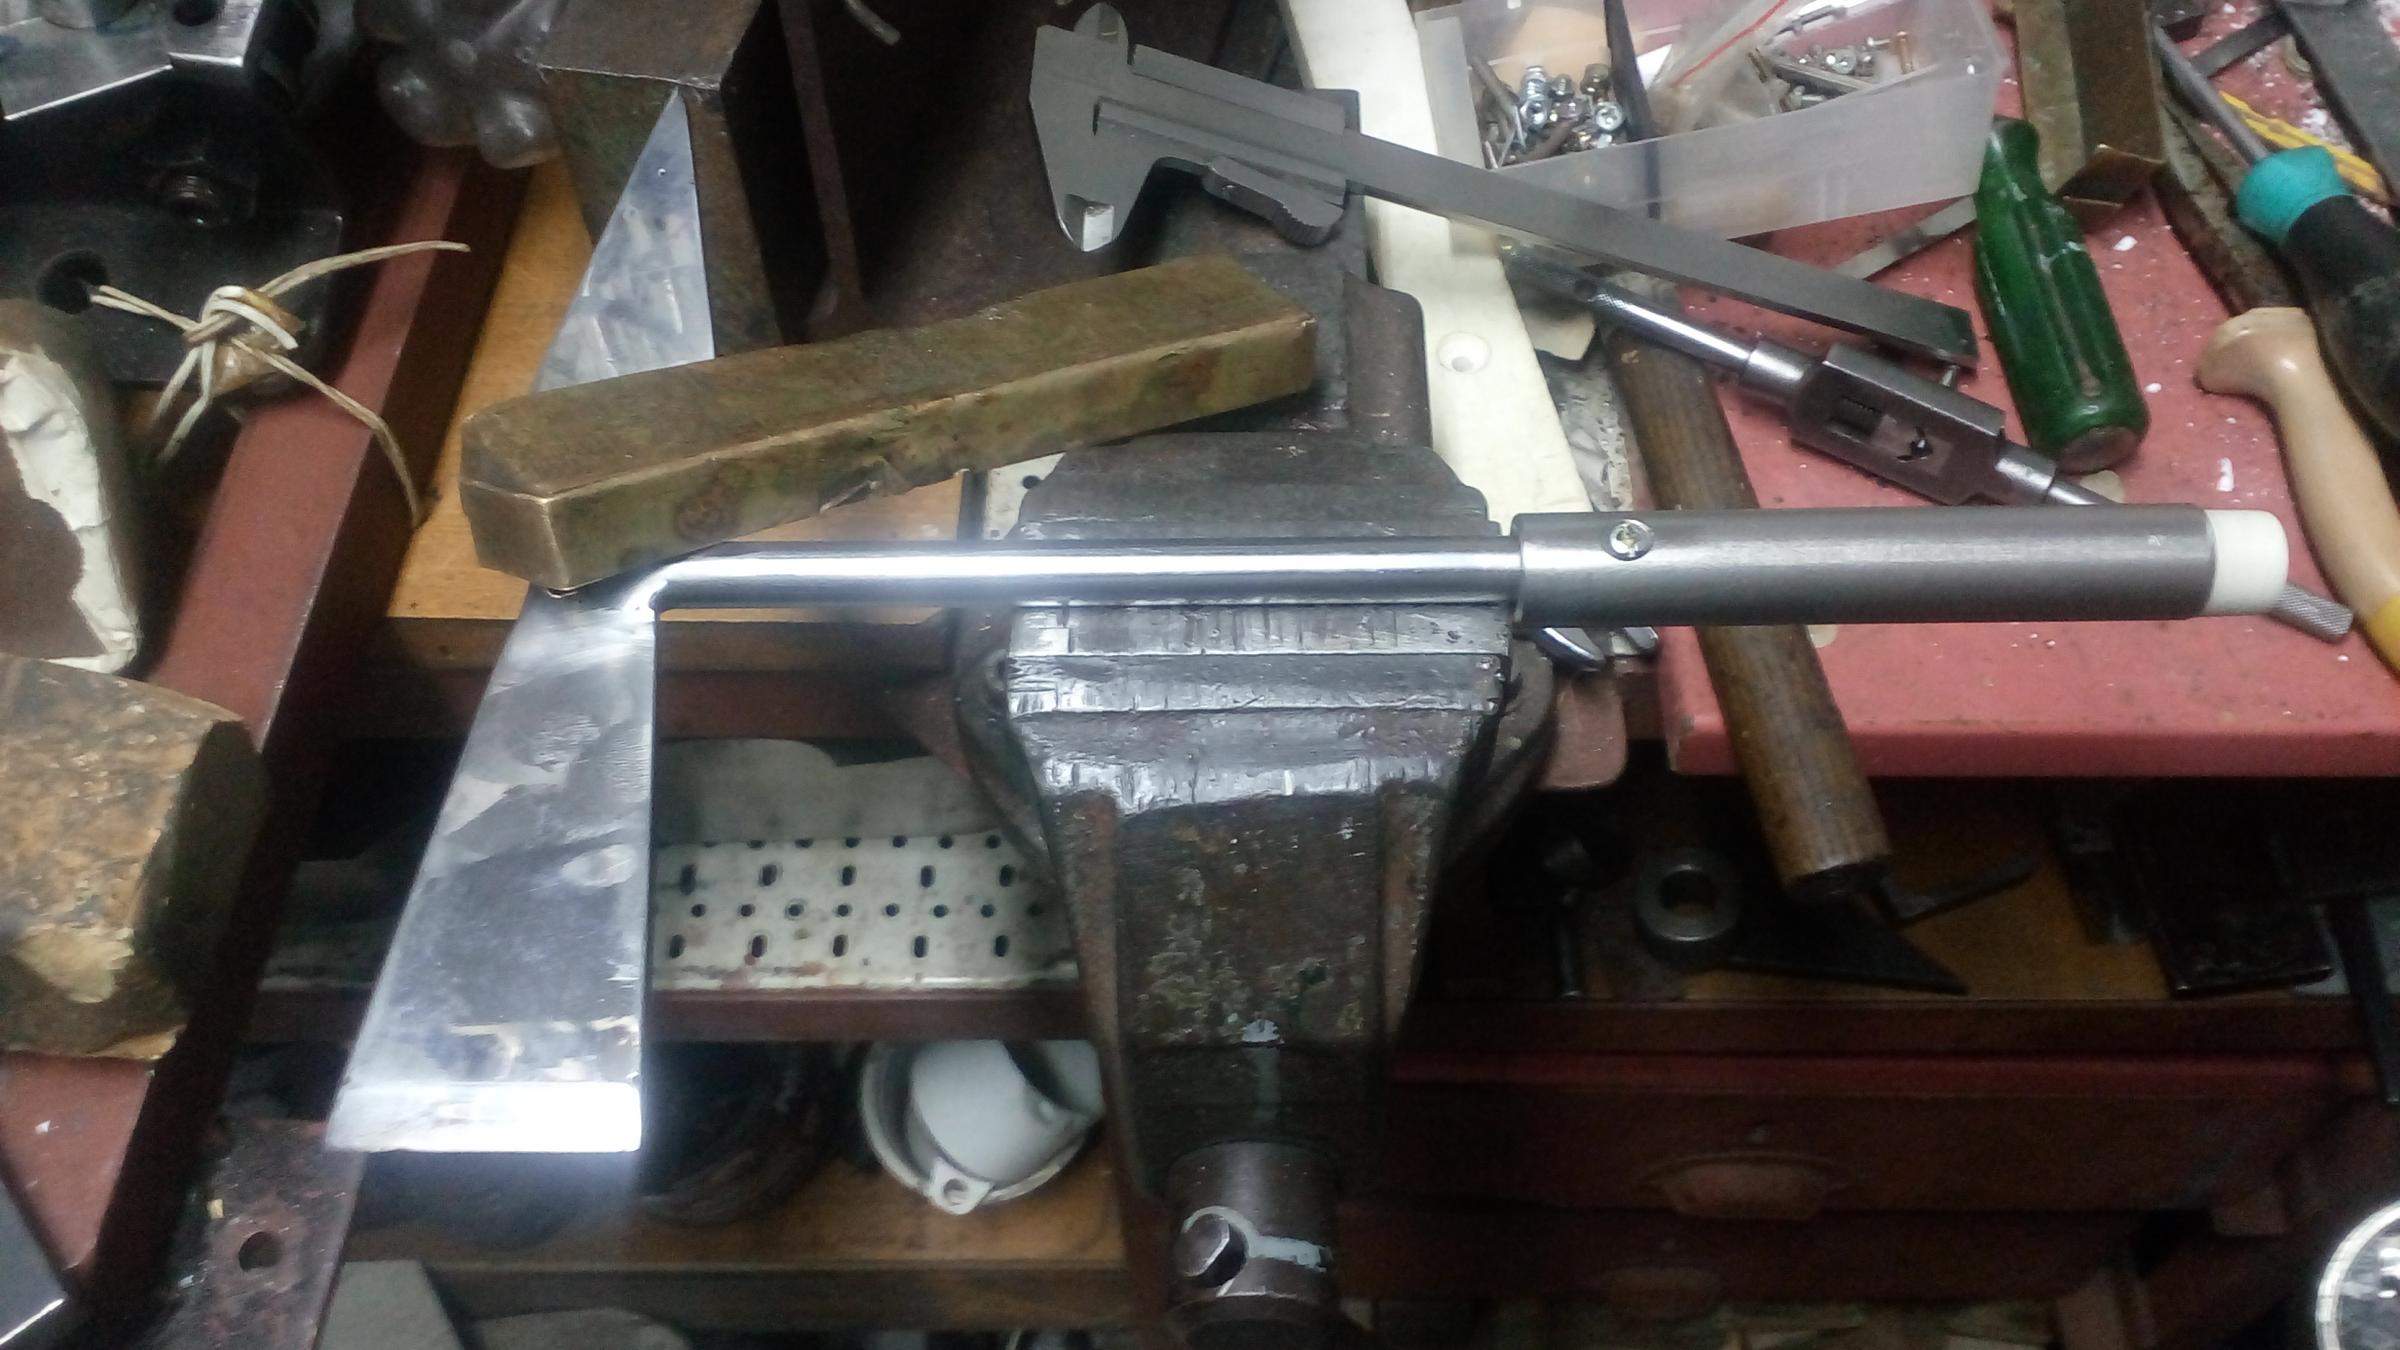
At the Ø10.5mm axle at the top of the shaft I made a 4mm notch where the blade will be placed. Using a screw I secured the blade to the shaft. Tack welds the blade with the shaft and took out the screw. Completed the welds and filled the hole that I had made for the screw.
I put the shaft in the Handhold and made an Ø3.3mm hole without digging out the opposite side. On the shaft I threaded M4 thread and on the handle I increased the hole from Ø3.3mm to Ø4mm. In the center of the lower part of the Handhold I made a hole 4.2mm and threaded M5 thread.
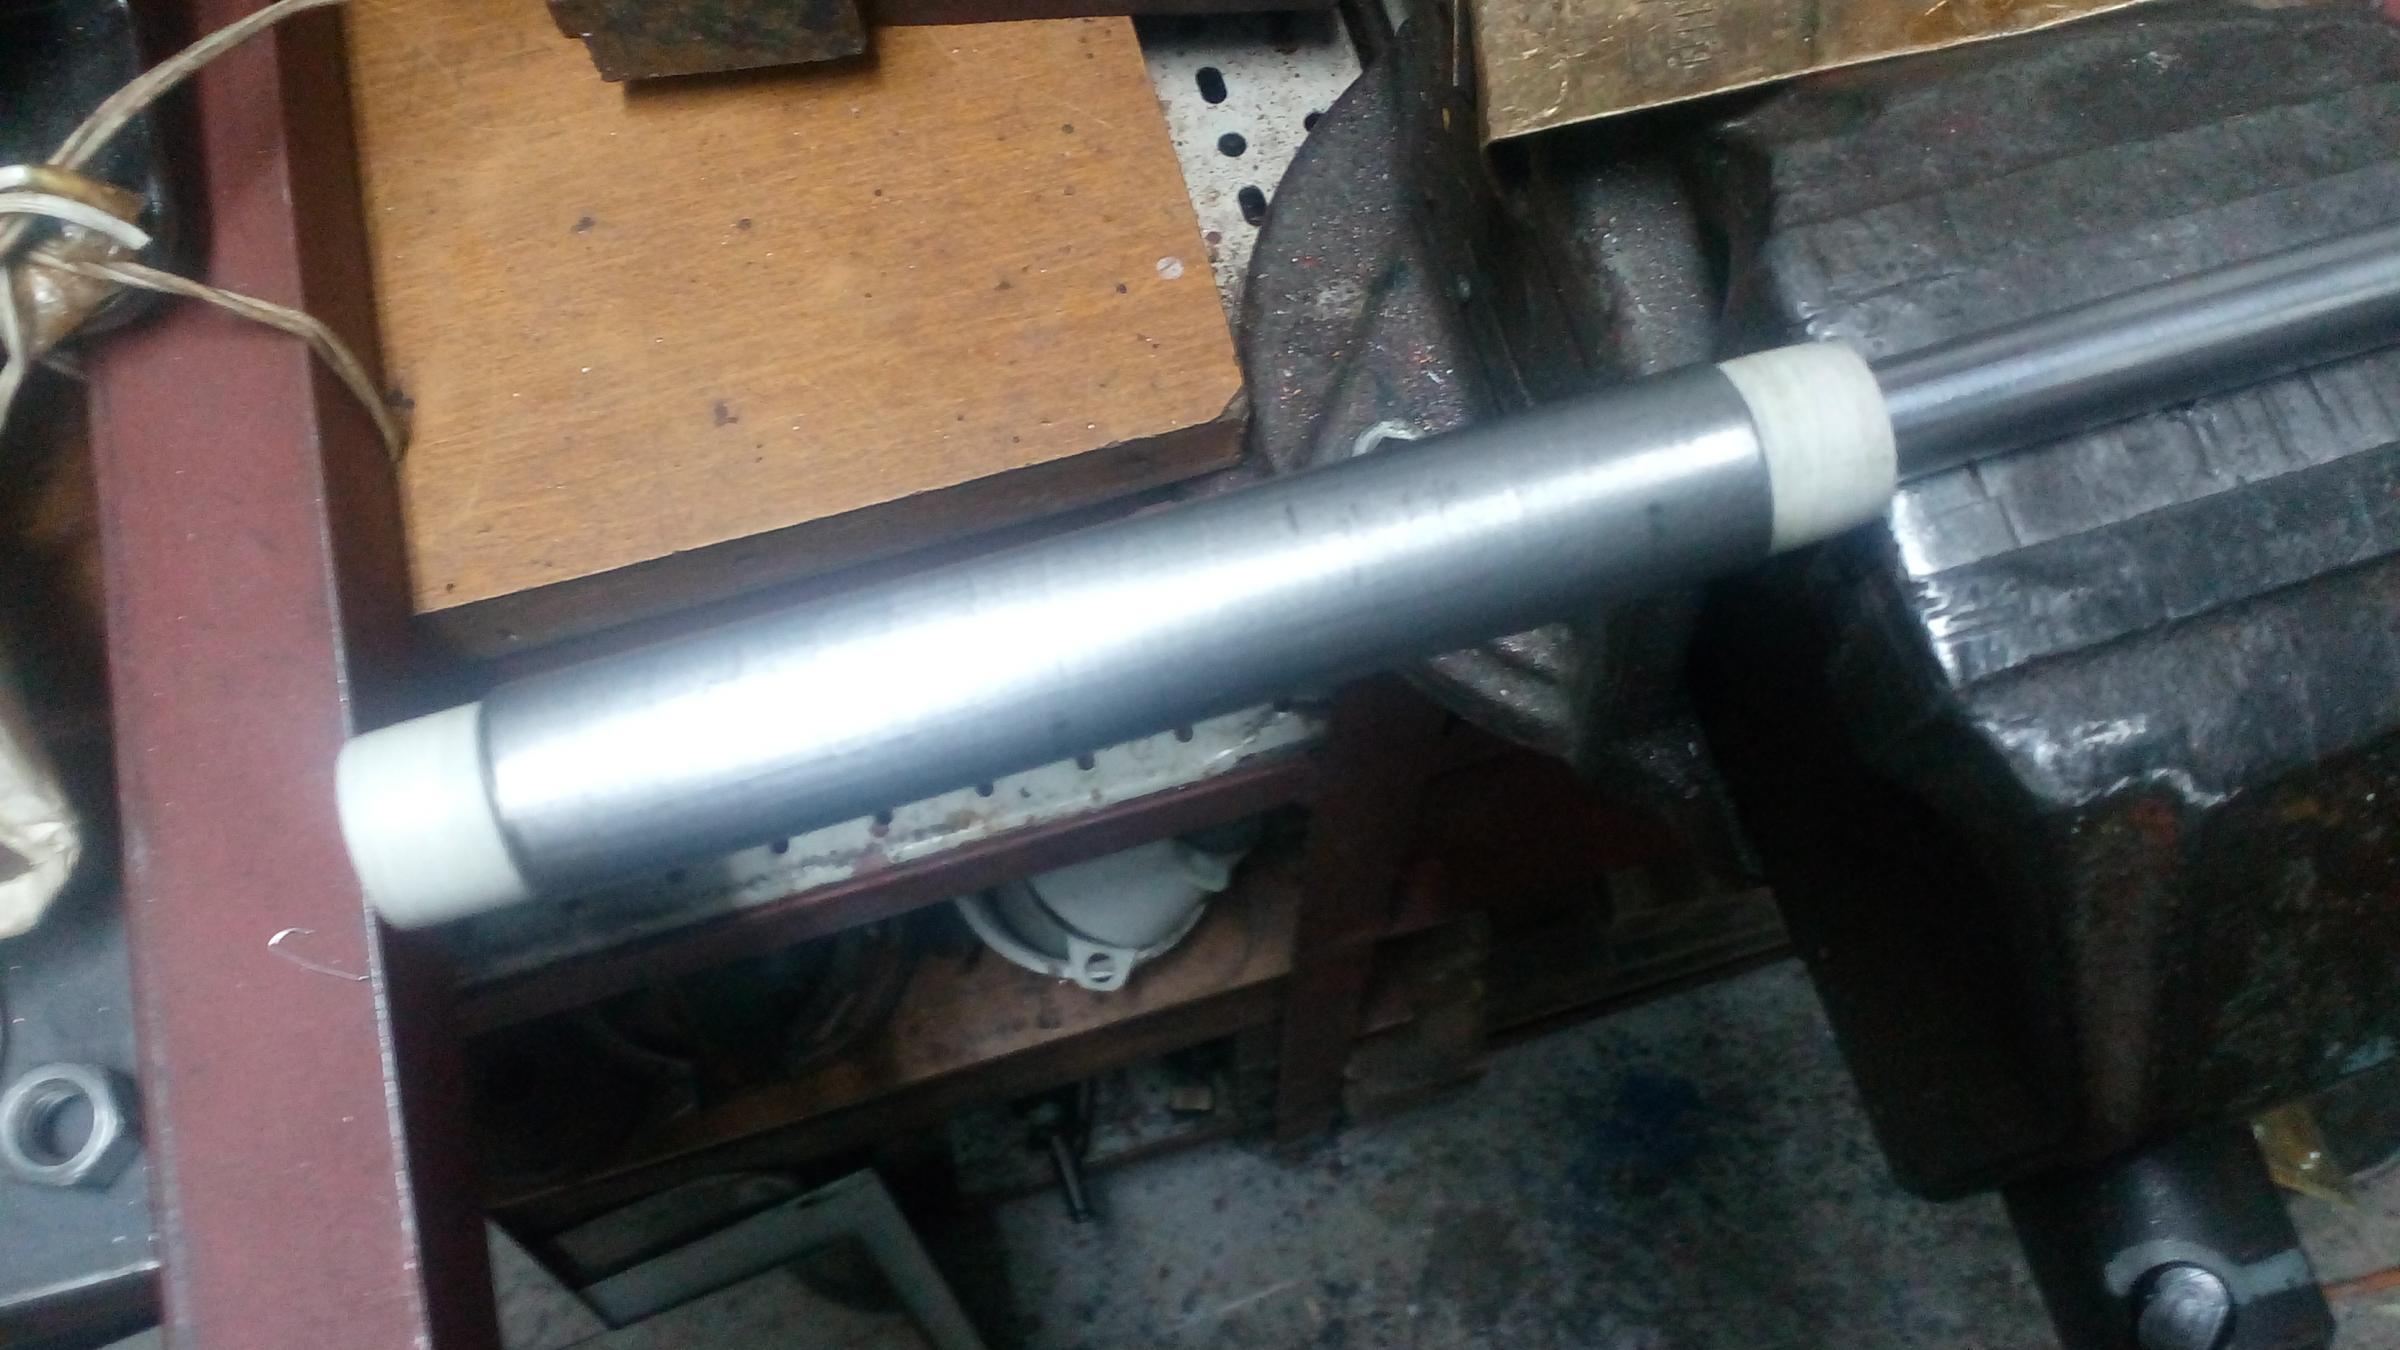
From a Corian piece using a hole saw 22mm I cut two pieces for the rings.
Using the drill press, I machined the two pieces and make them rings.


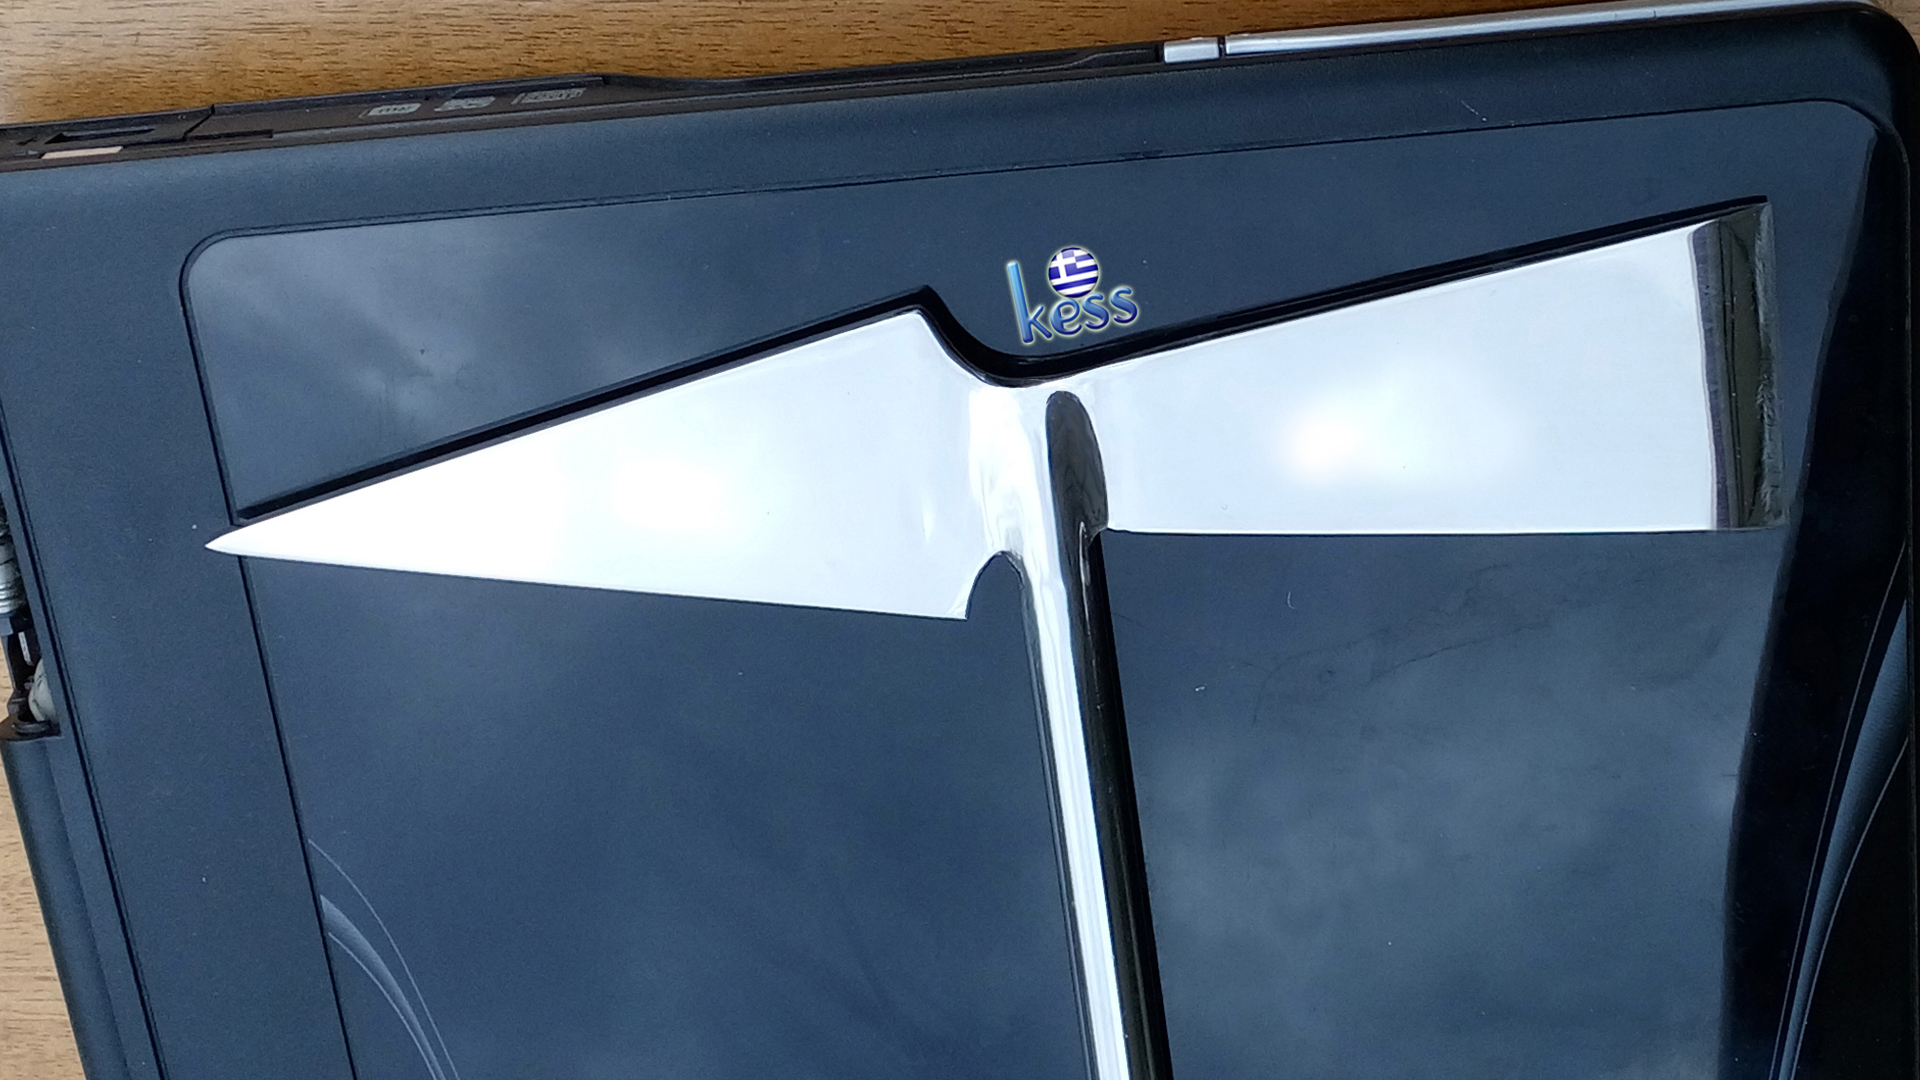


 kess
kess 
 Reply With Quote


Bookmarks