Free 186 More Best Homemade Tools eBook:  
New: 300+ fresh build posts/day from 275 forums → BuildThreads.com

User Tag List

Results 1 to 4 of 4

Thread: Woodwork marking gauge

  1. #1
    Supporting Member sossol's Avatar
    Join Date
    Oct 2012
    Location
    Lafayette, Indiana
    Posts
    671
    Thanks
    900
    Thanked 538 Times in 295 Posts

    sossol's Tools

    Woodwork marking gauge

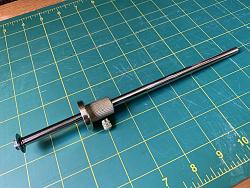
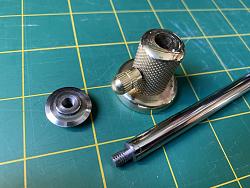
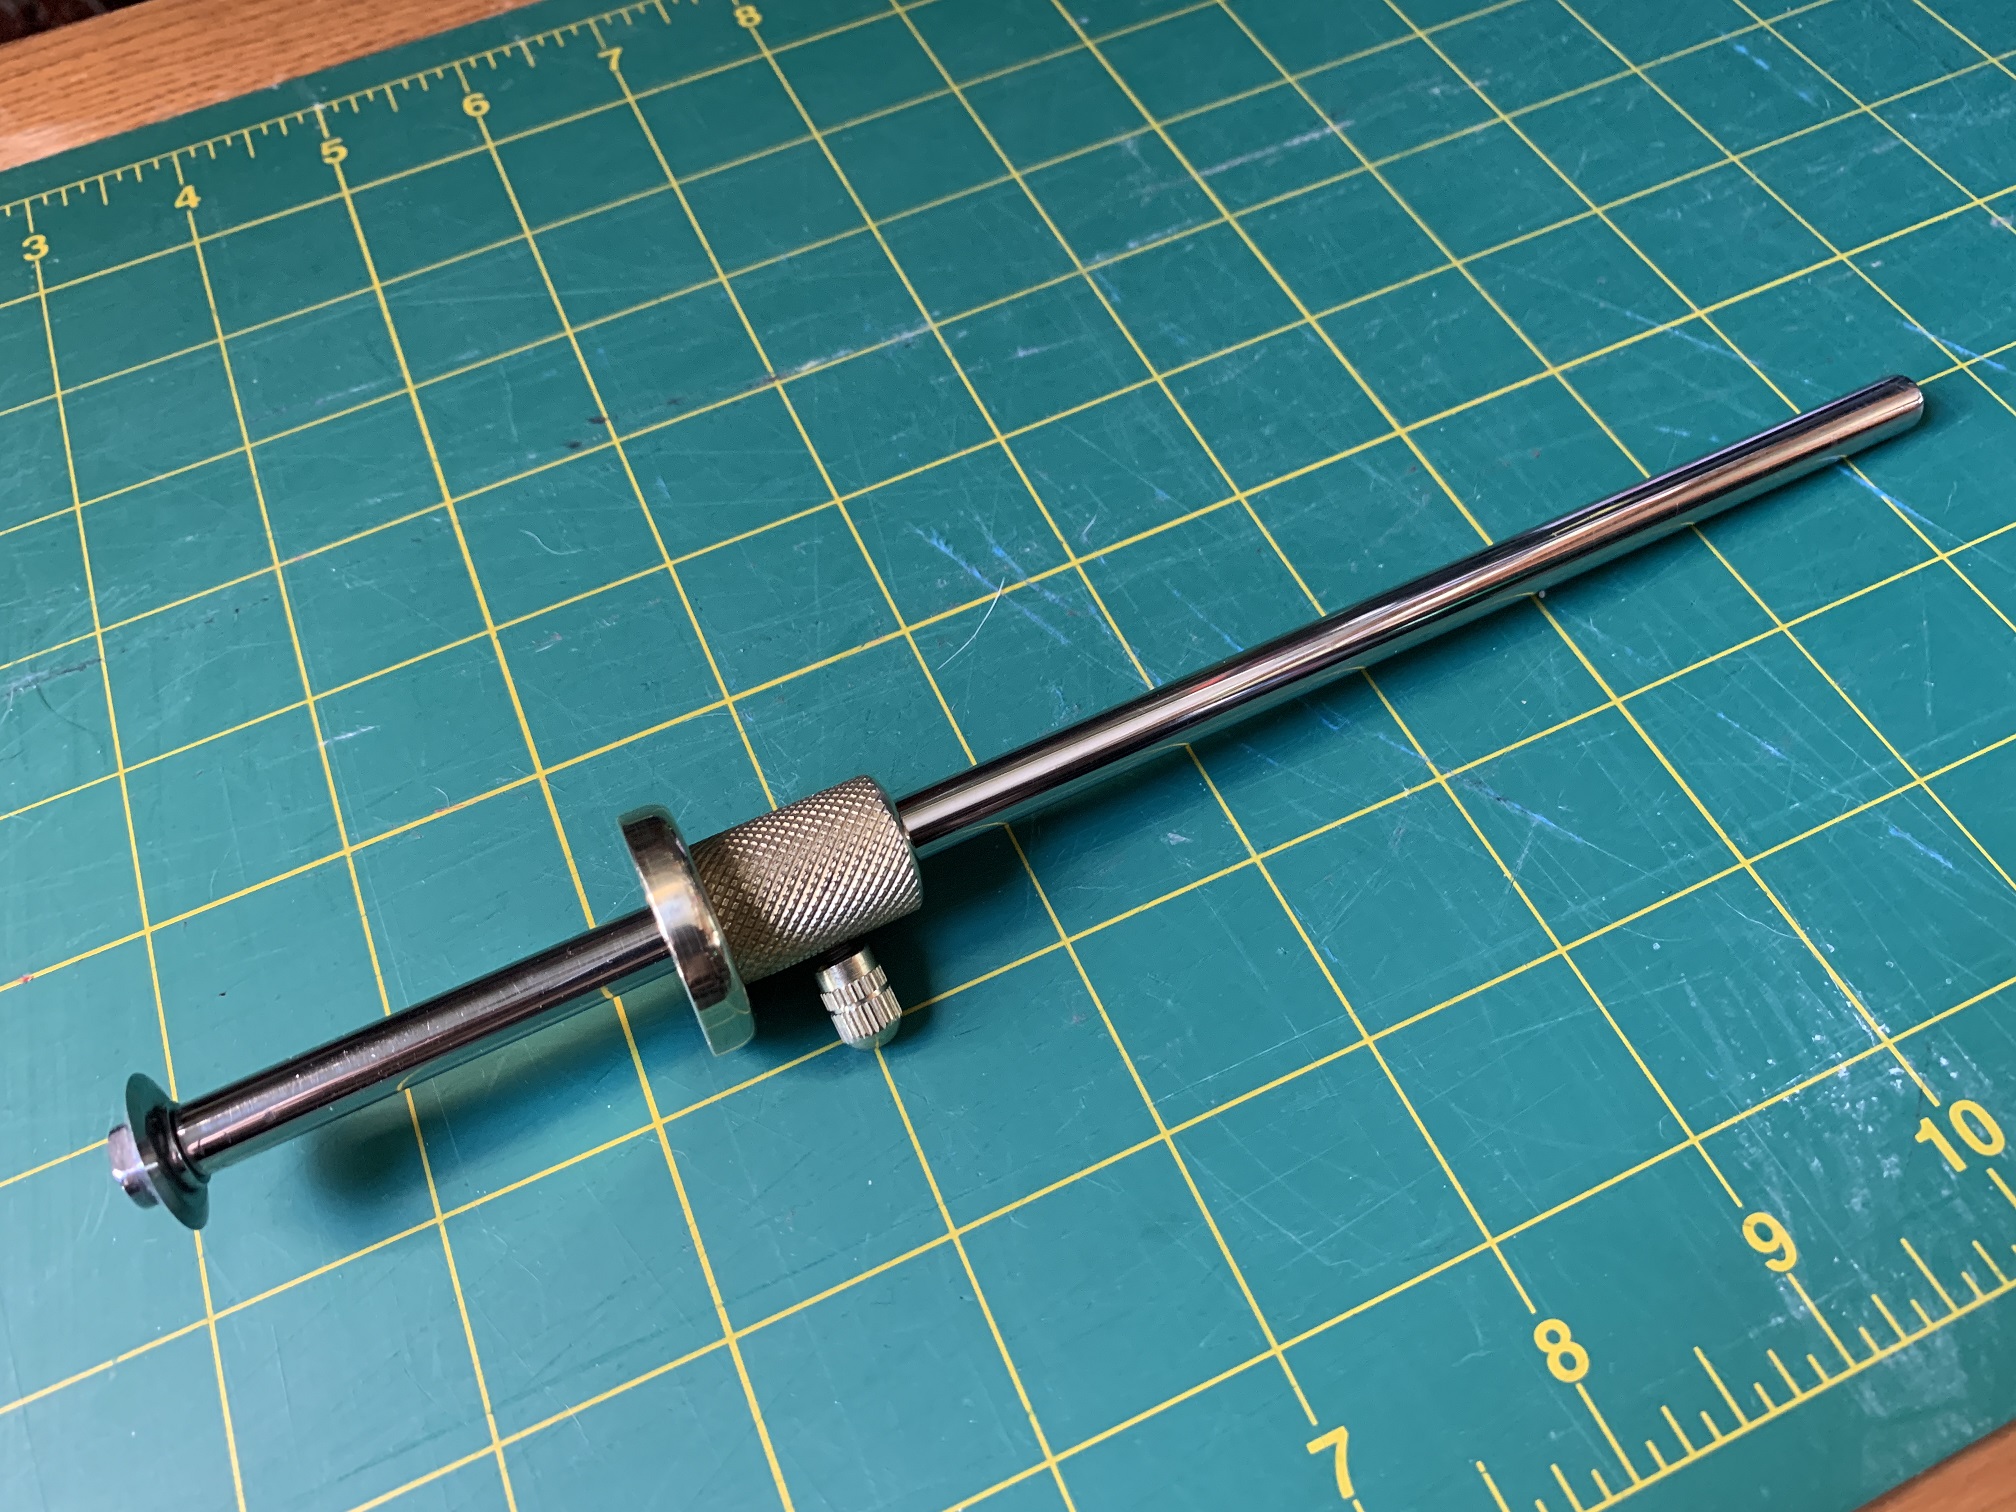
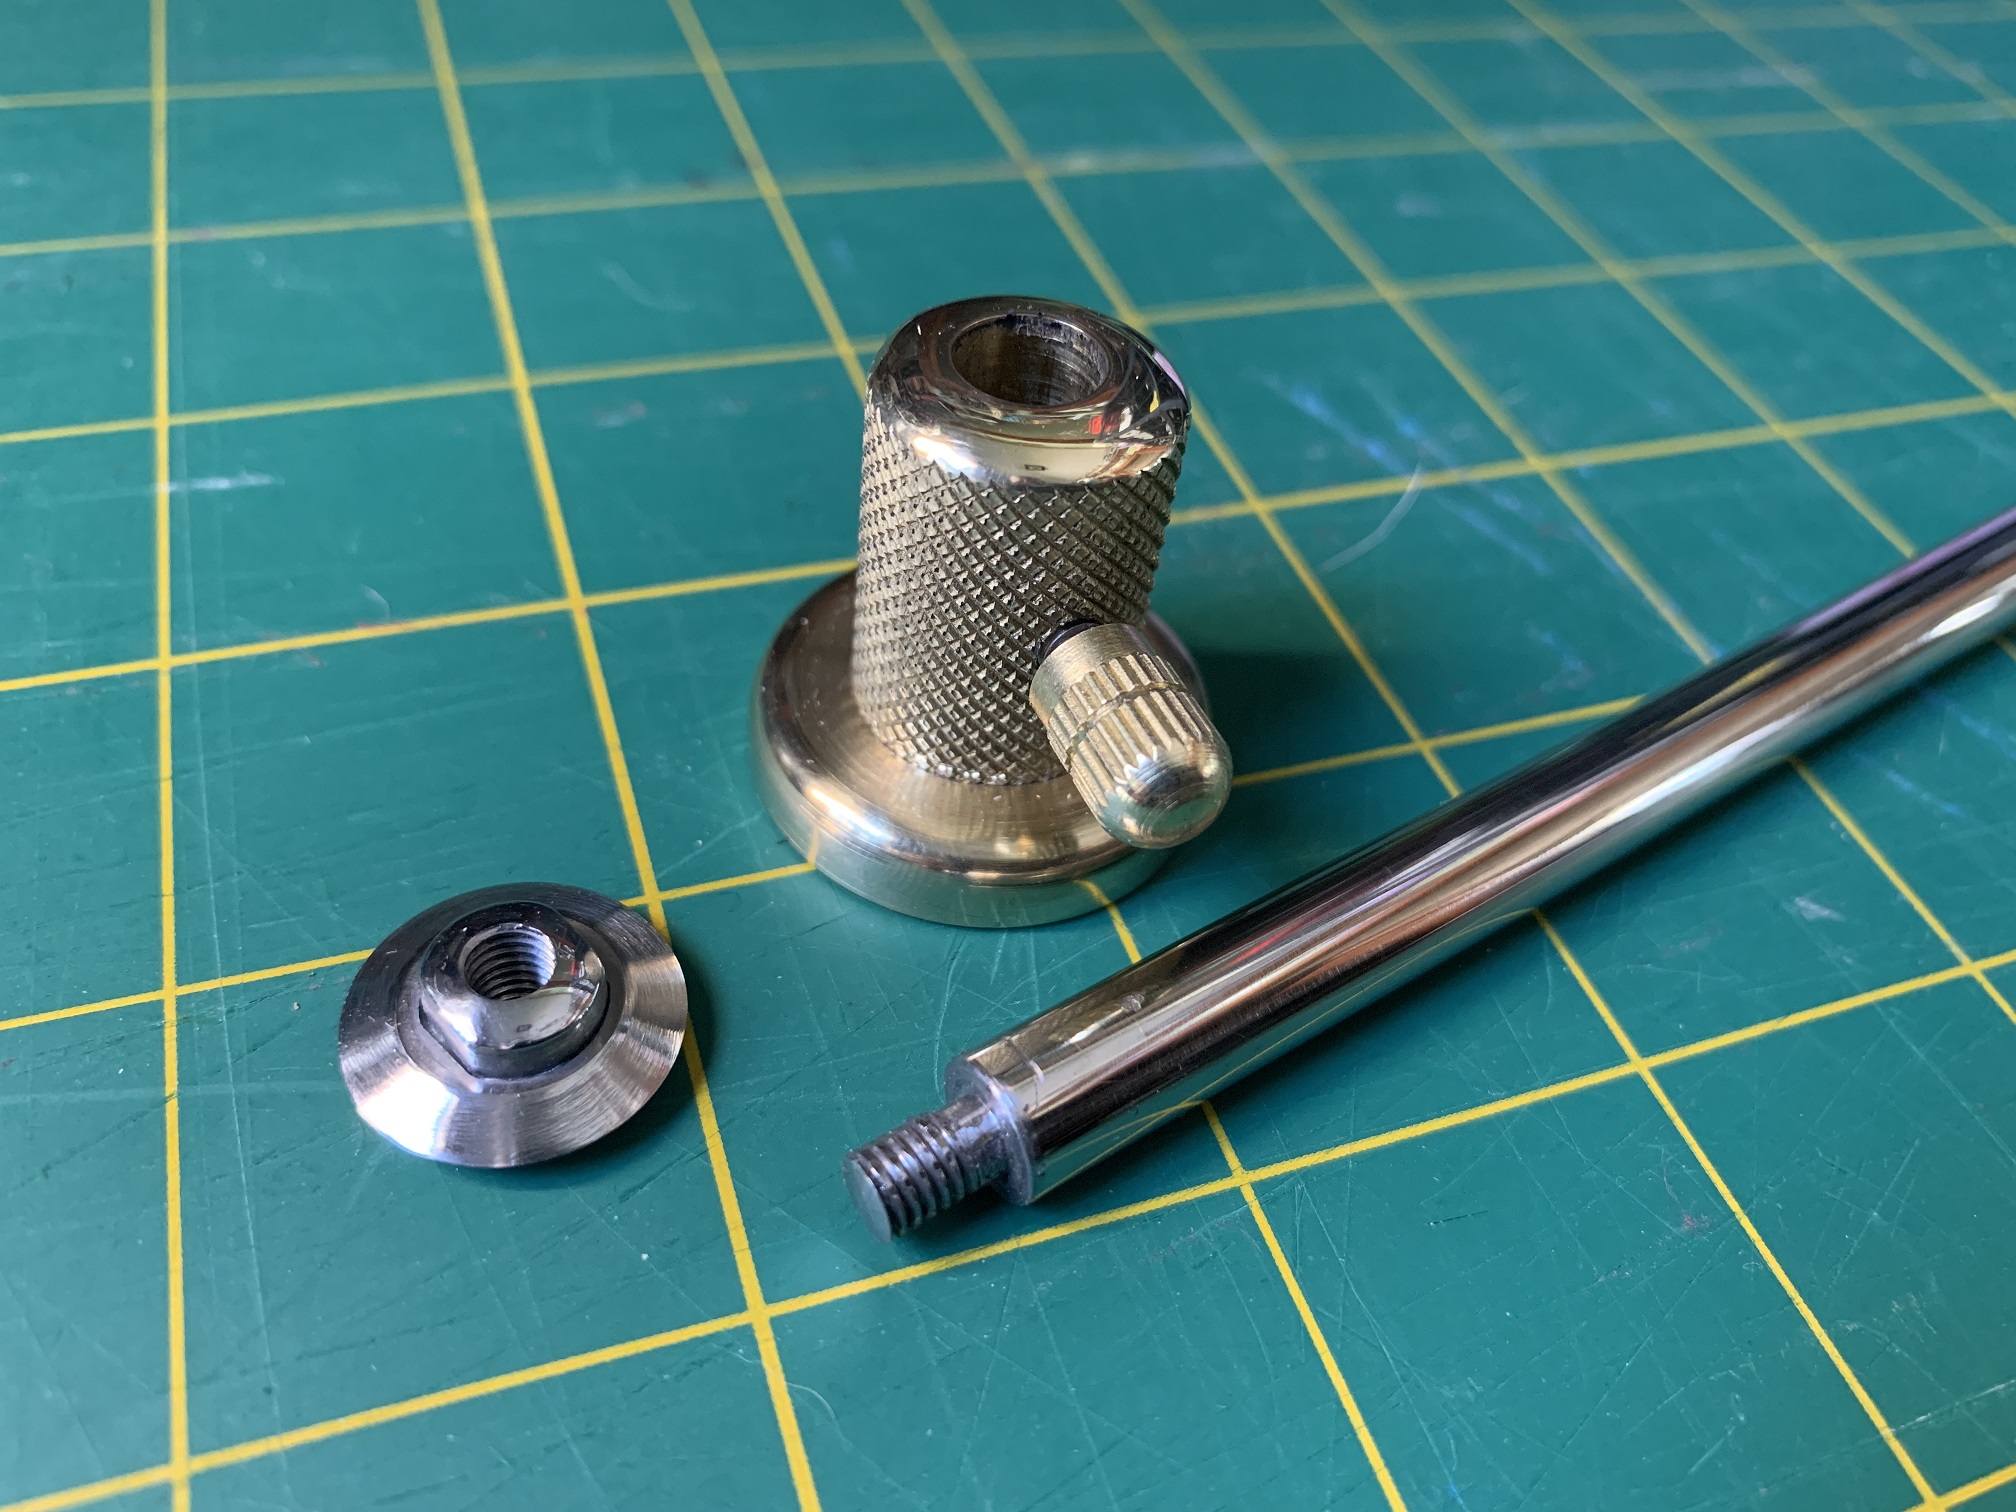
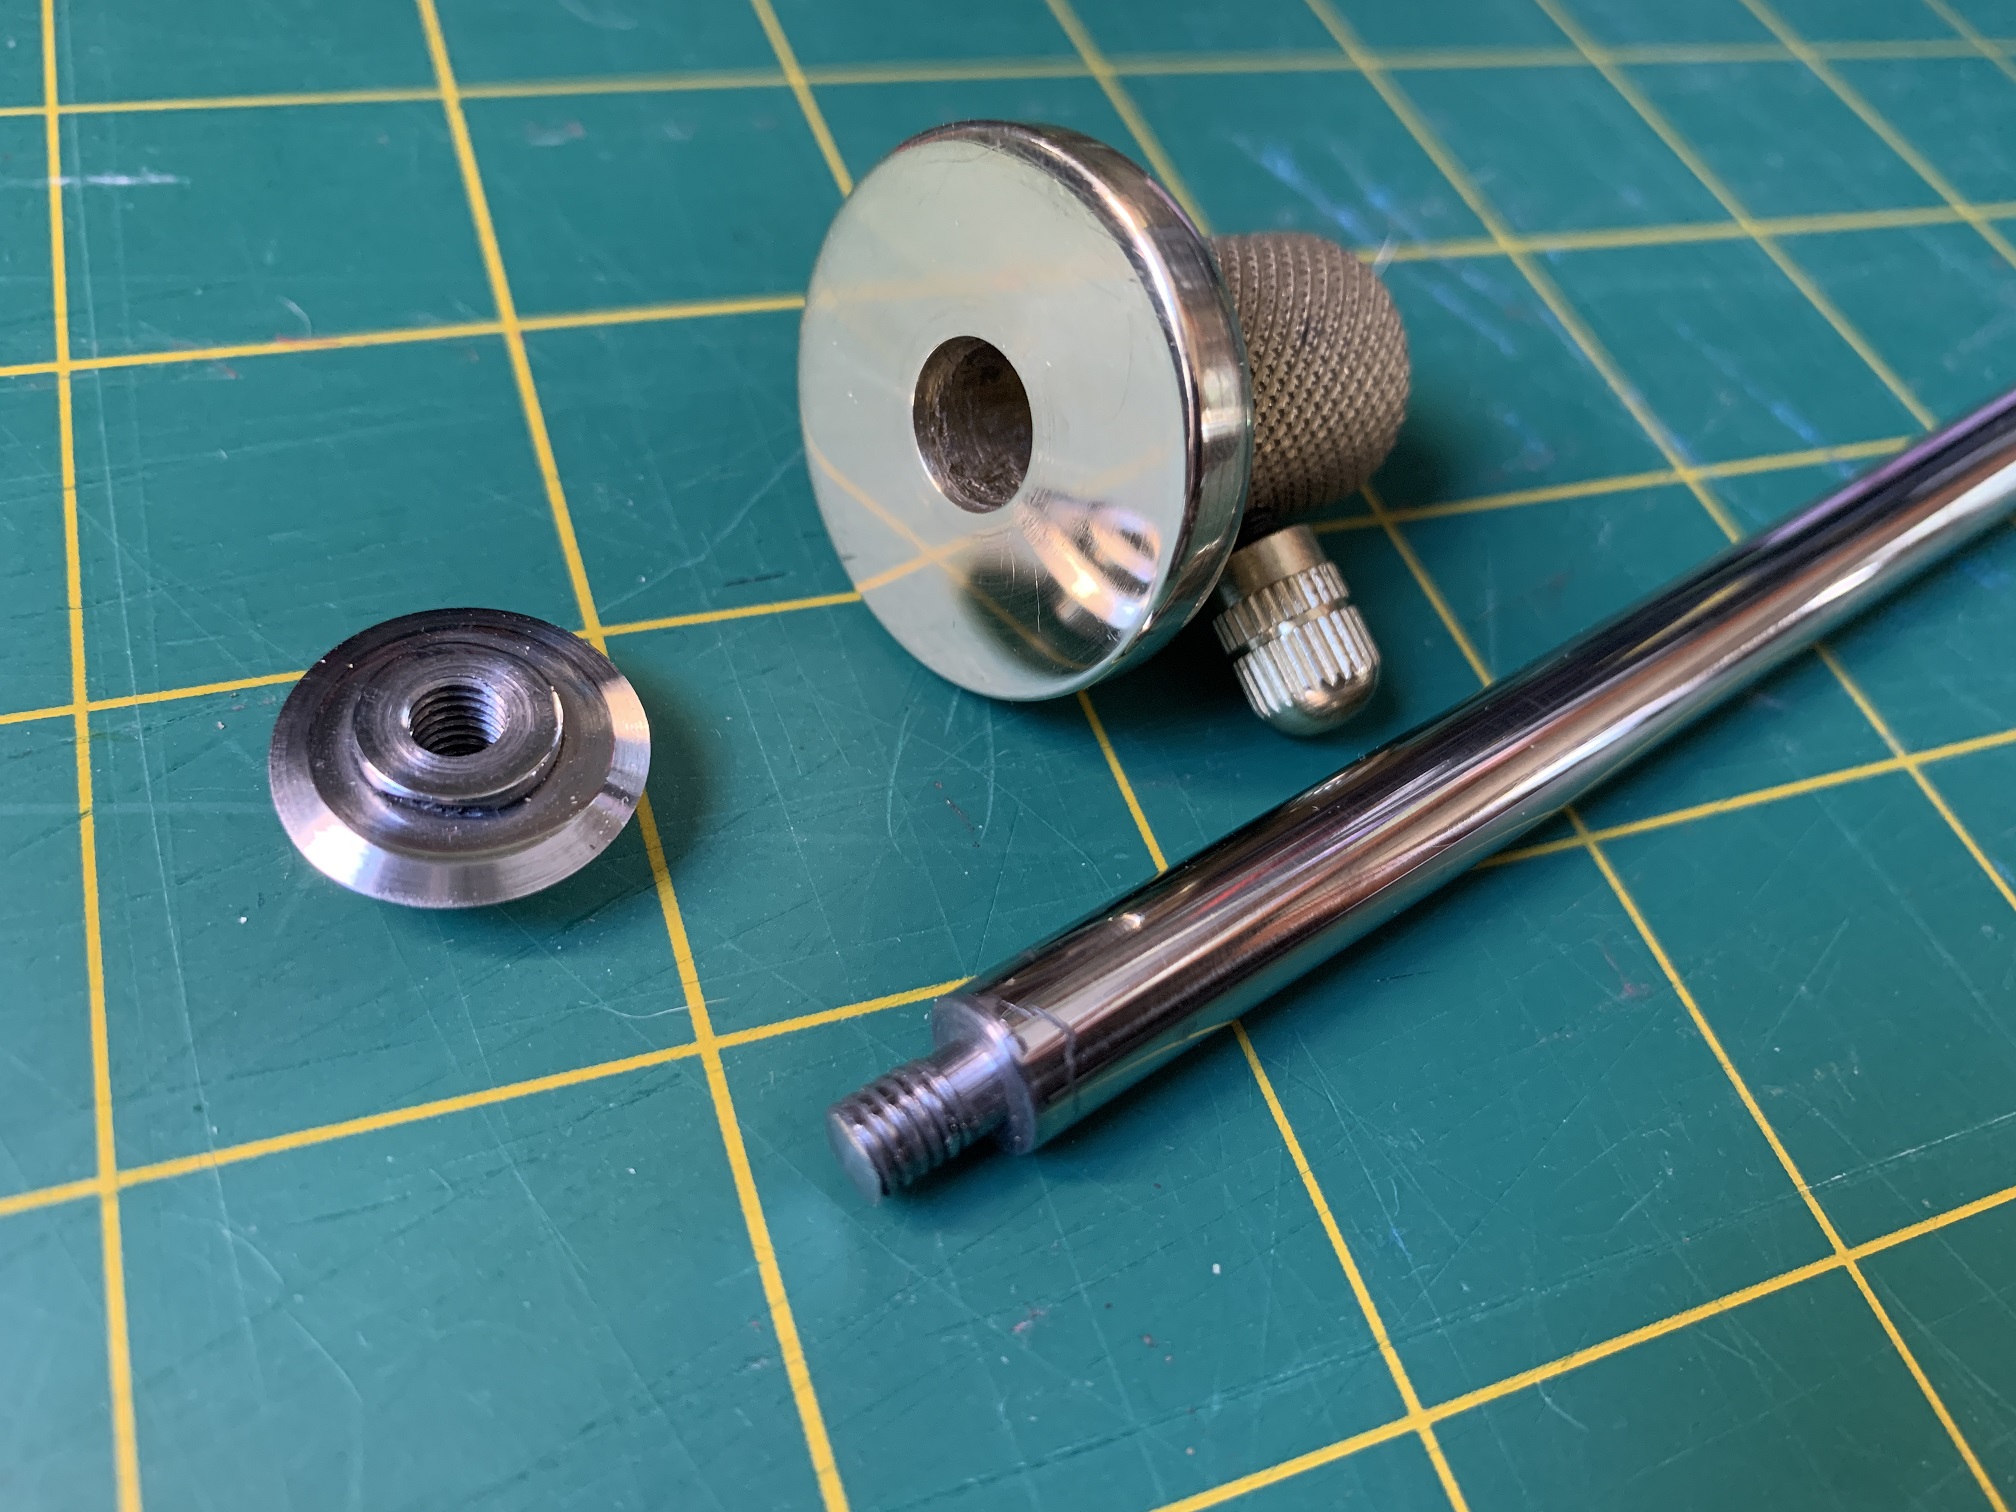
    I had a basic idea of what I wanted to build (to ape a proven design), but didn't have any detailed specs. My arbitrary rule for this was that I had to use the blade from a dead can opener, so I dug through my stashes of material that would work. The actual shapes were dictated by happenstance and correction of errors, of which there were many.
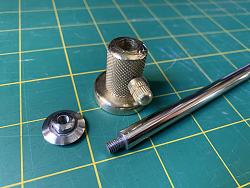
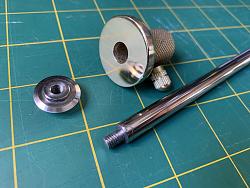
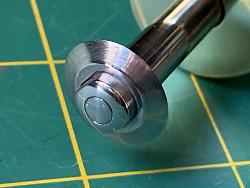
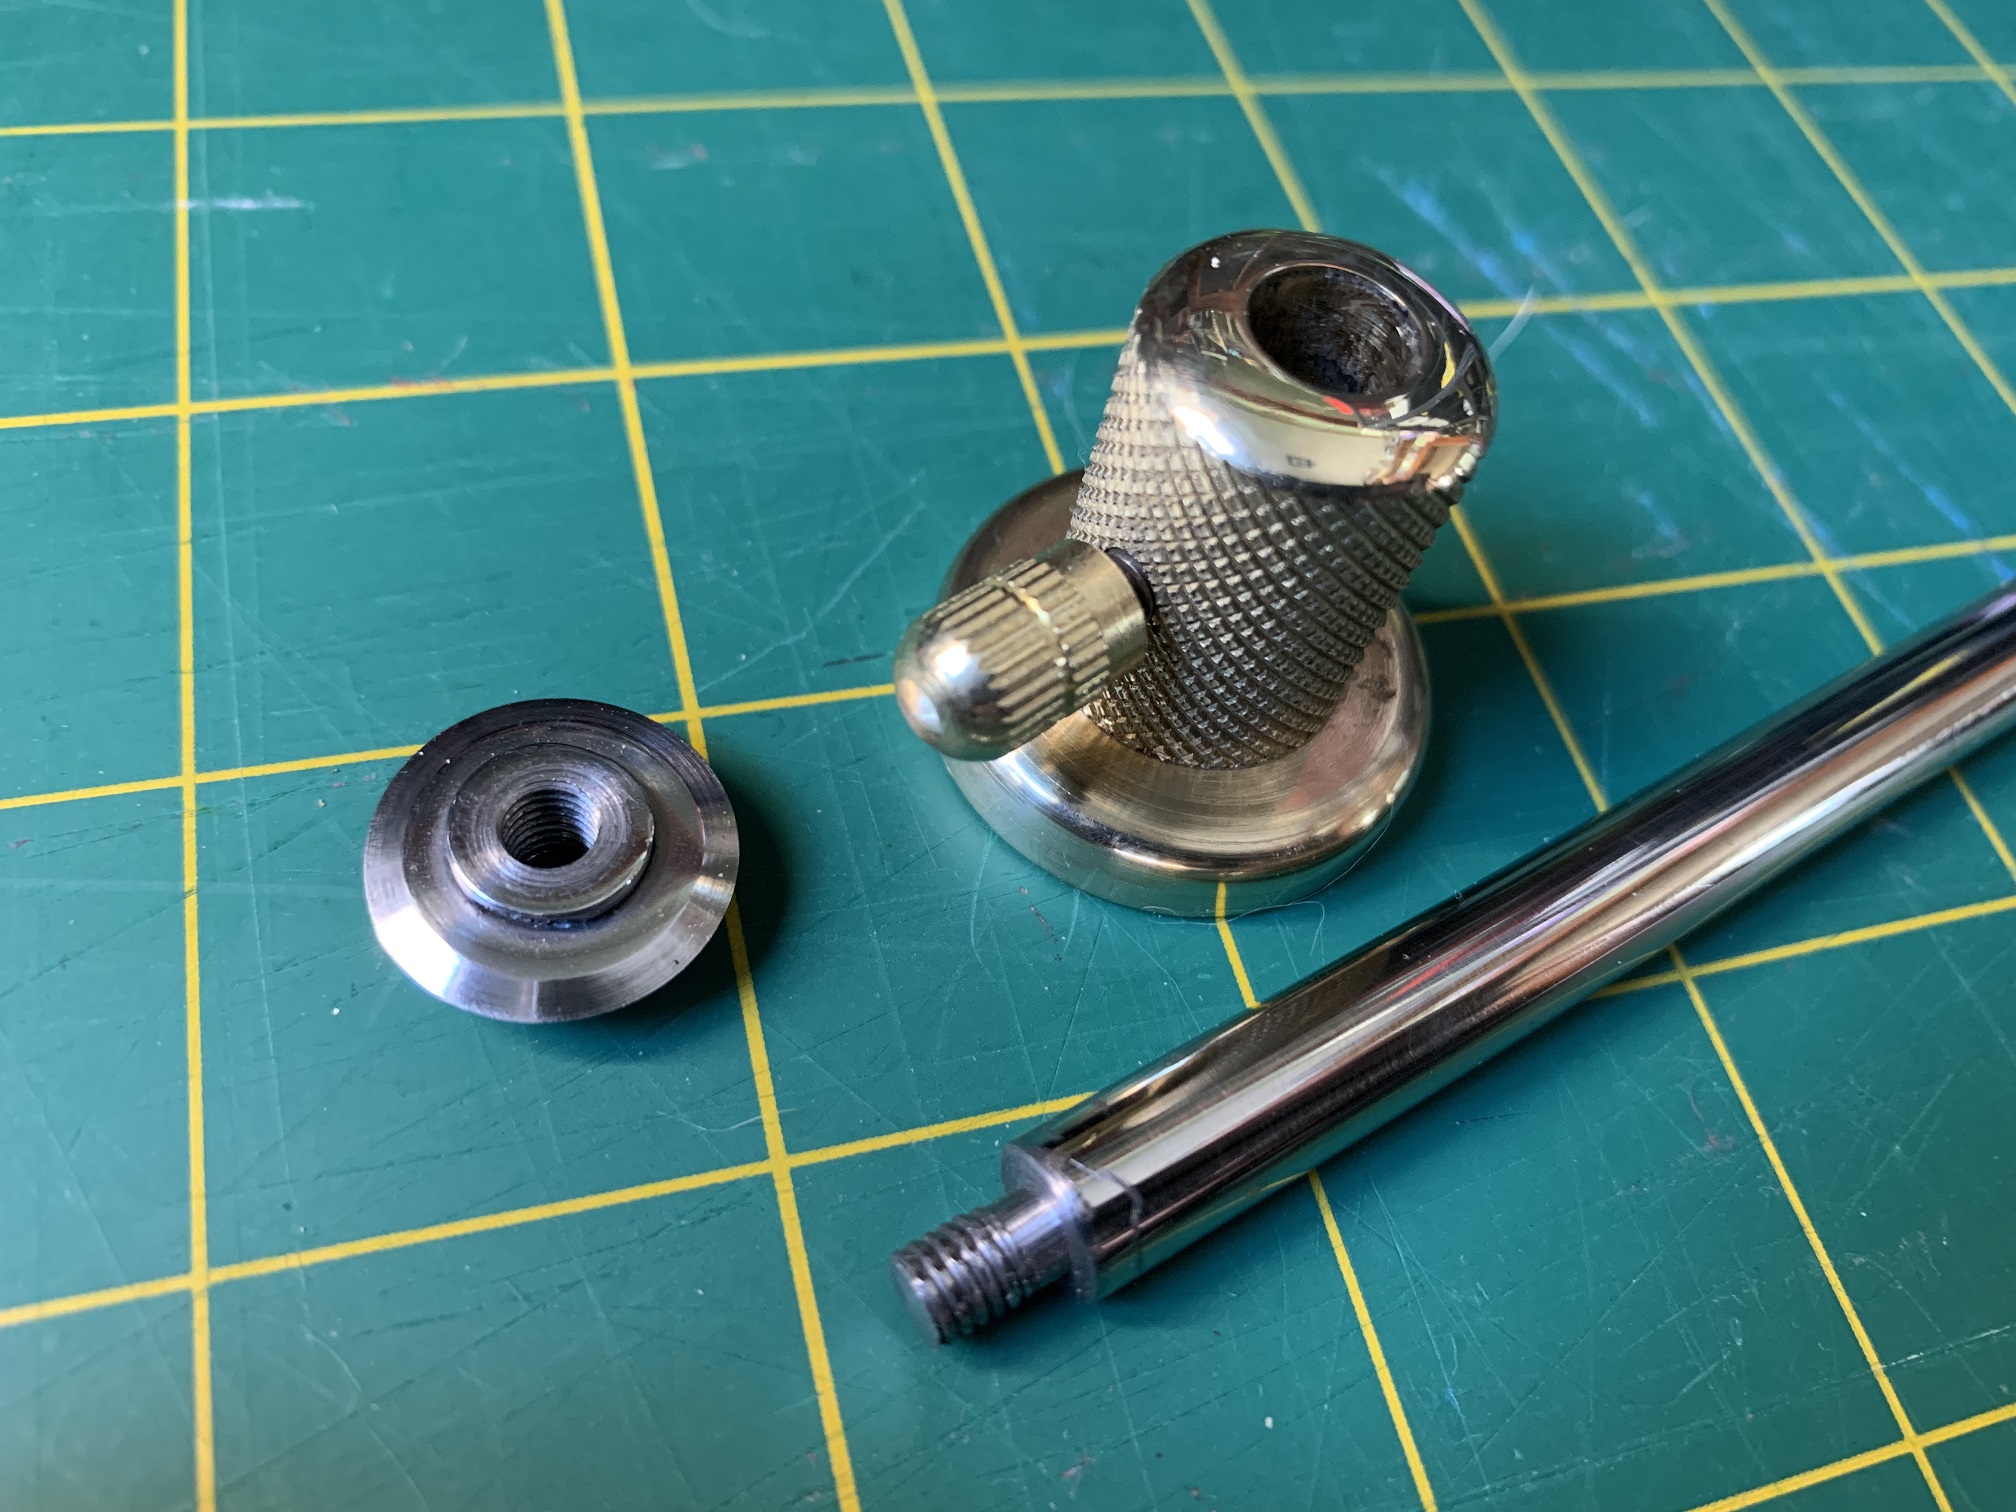
    The steel rod is from a printer, the maerial for the nut is from a piece of steel that was in an antique toolbox I inherited, the knob is from a miniature dimmer from another project), the brass plate and knurled bar are leftovers from a guitar project I haven't posted here yet (I made all of the hardware from brass. Posted it to https://www.facebook.com/permalink.p...00020053728764).
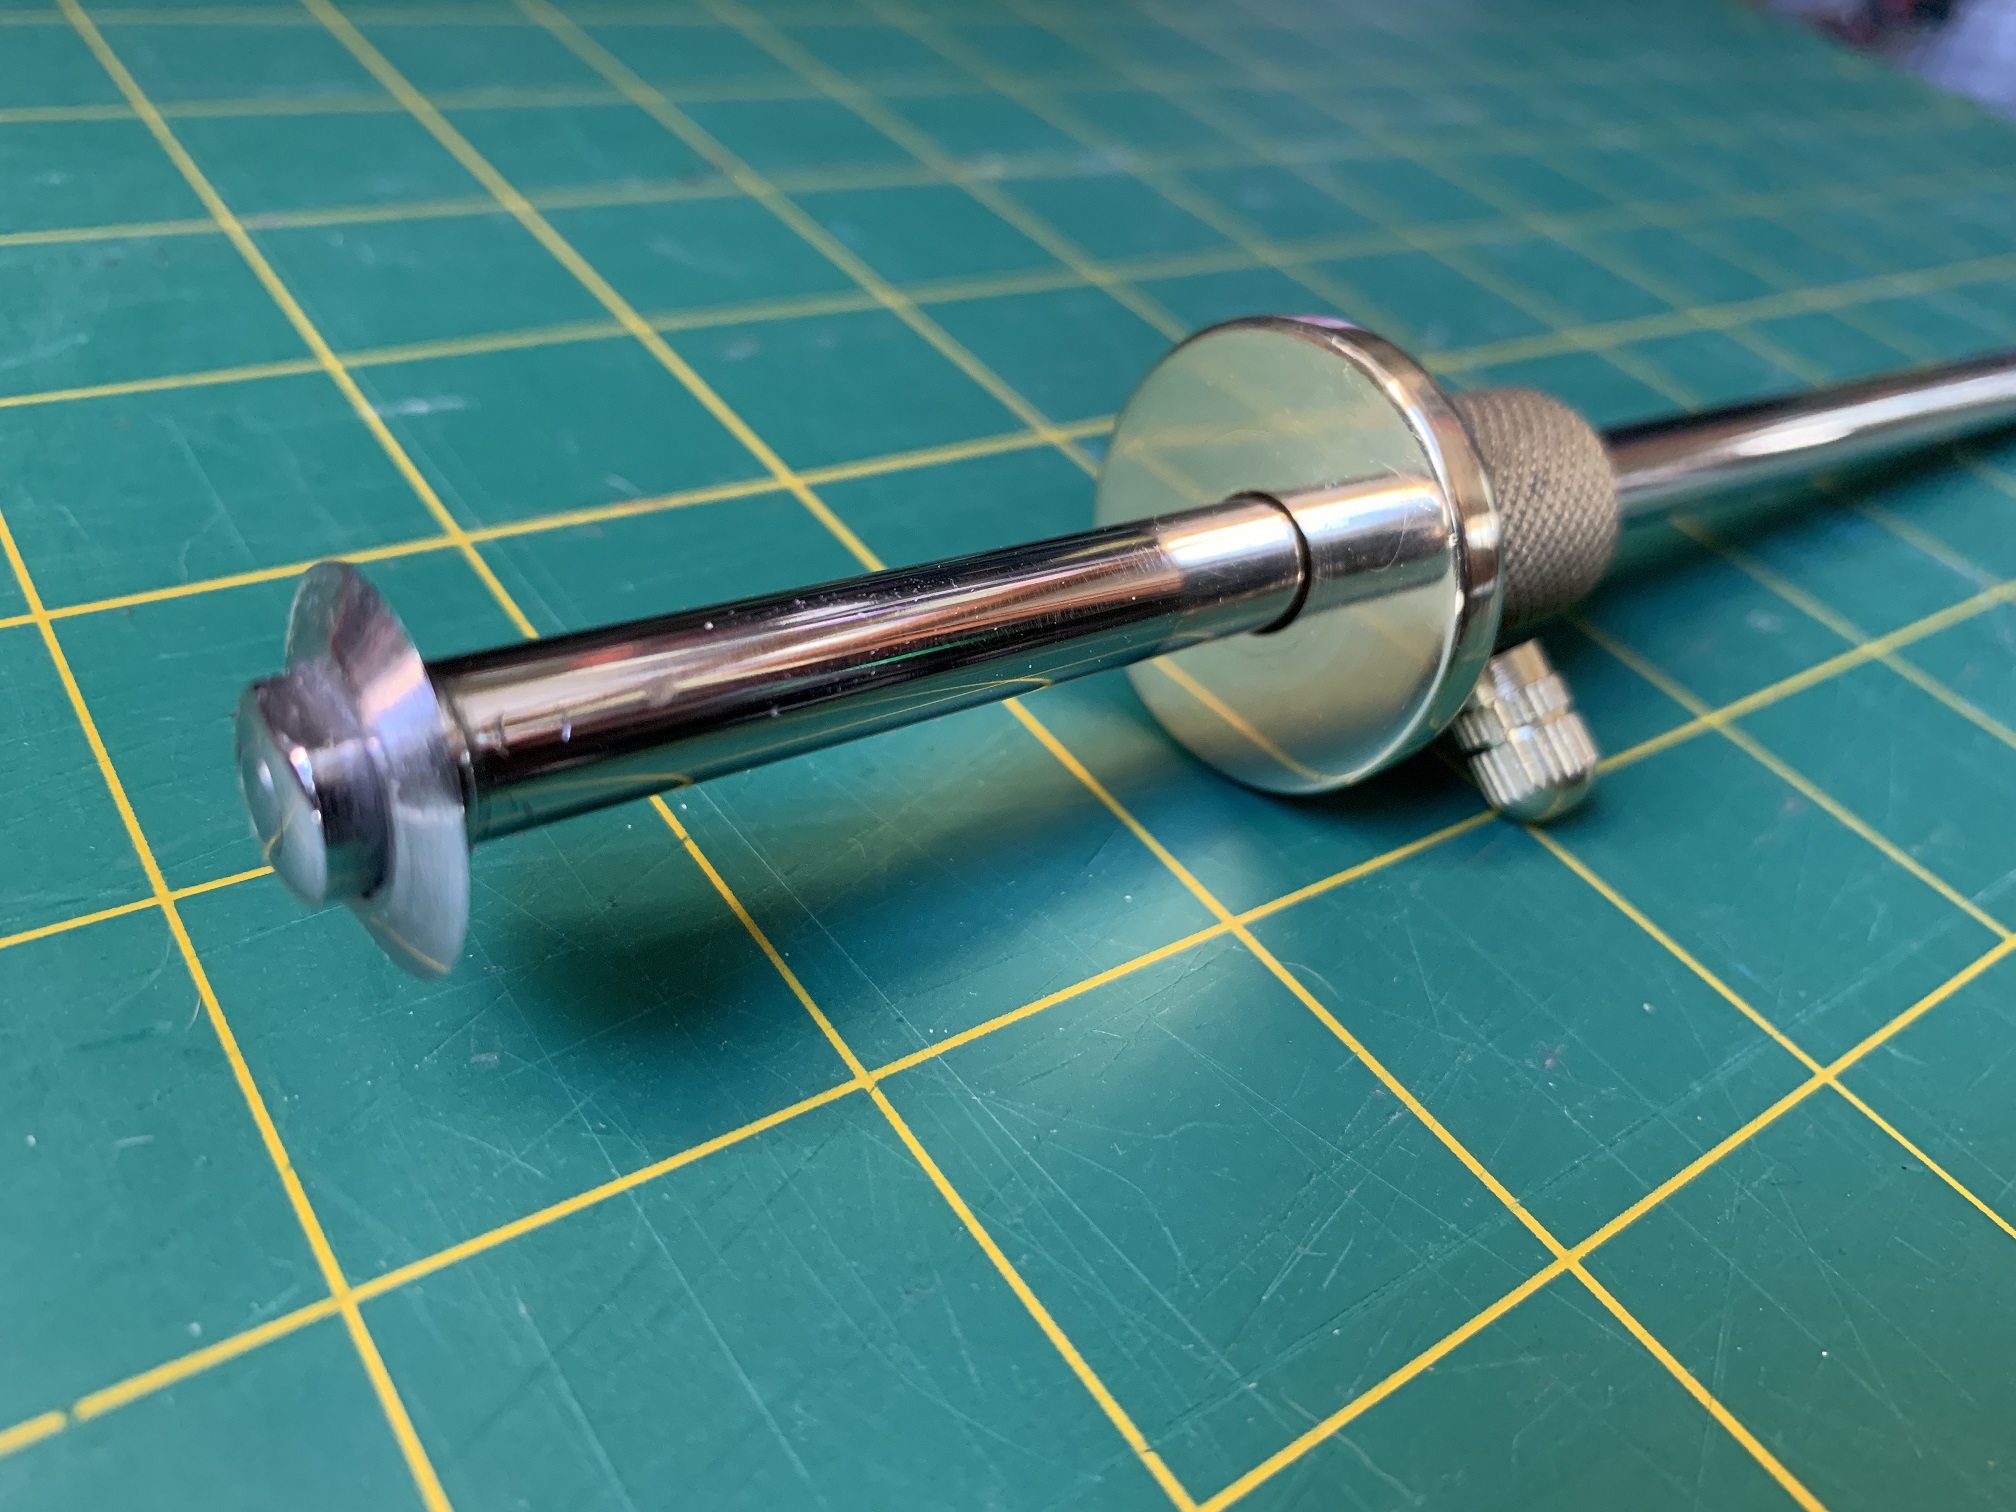
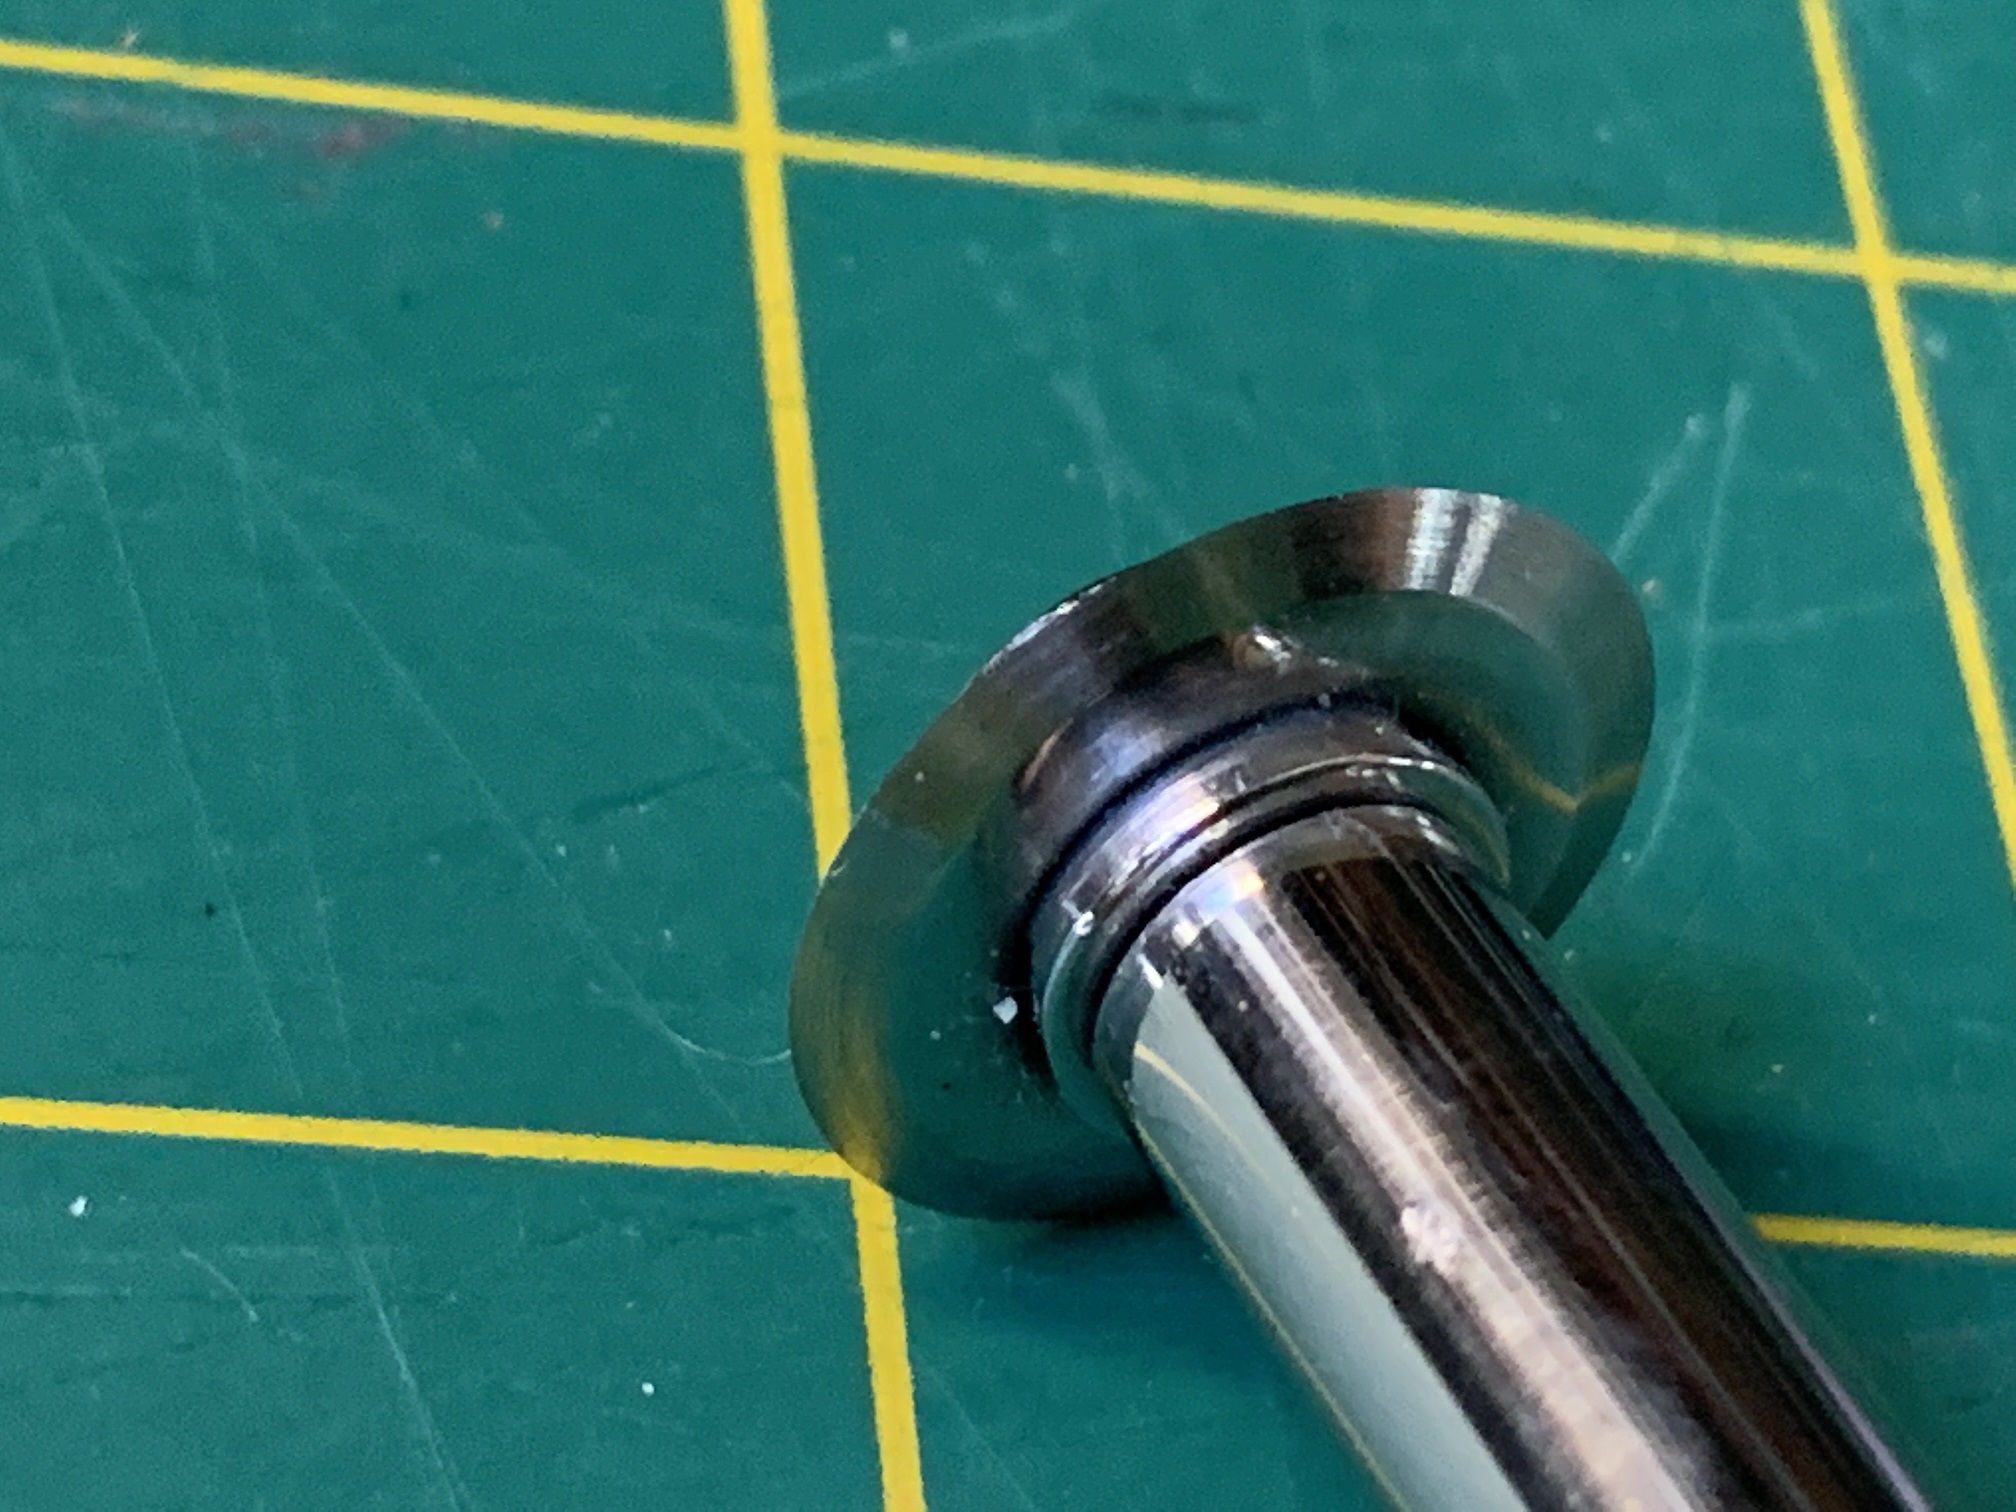
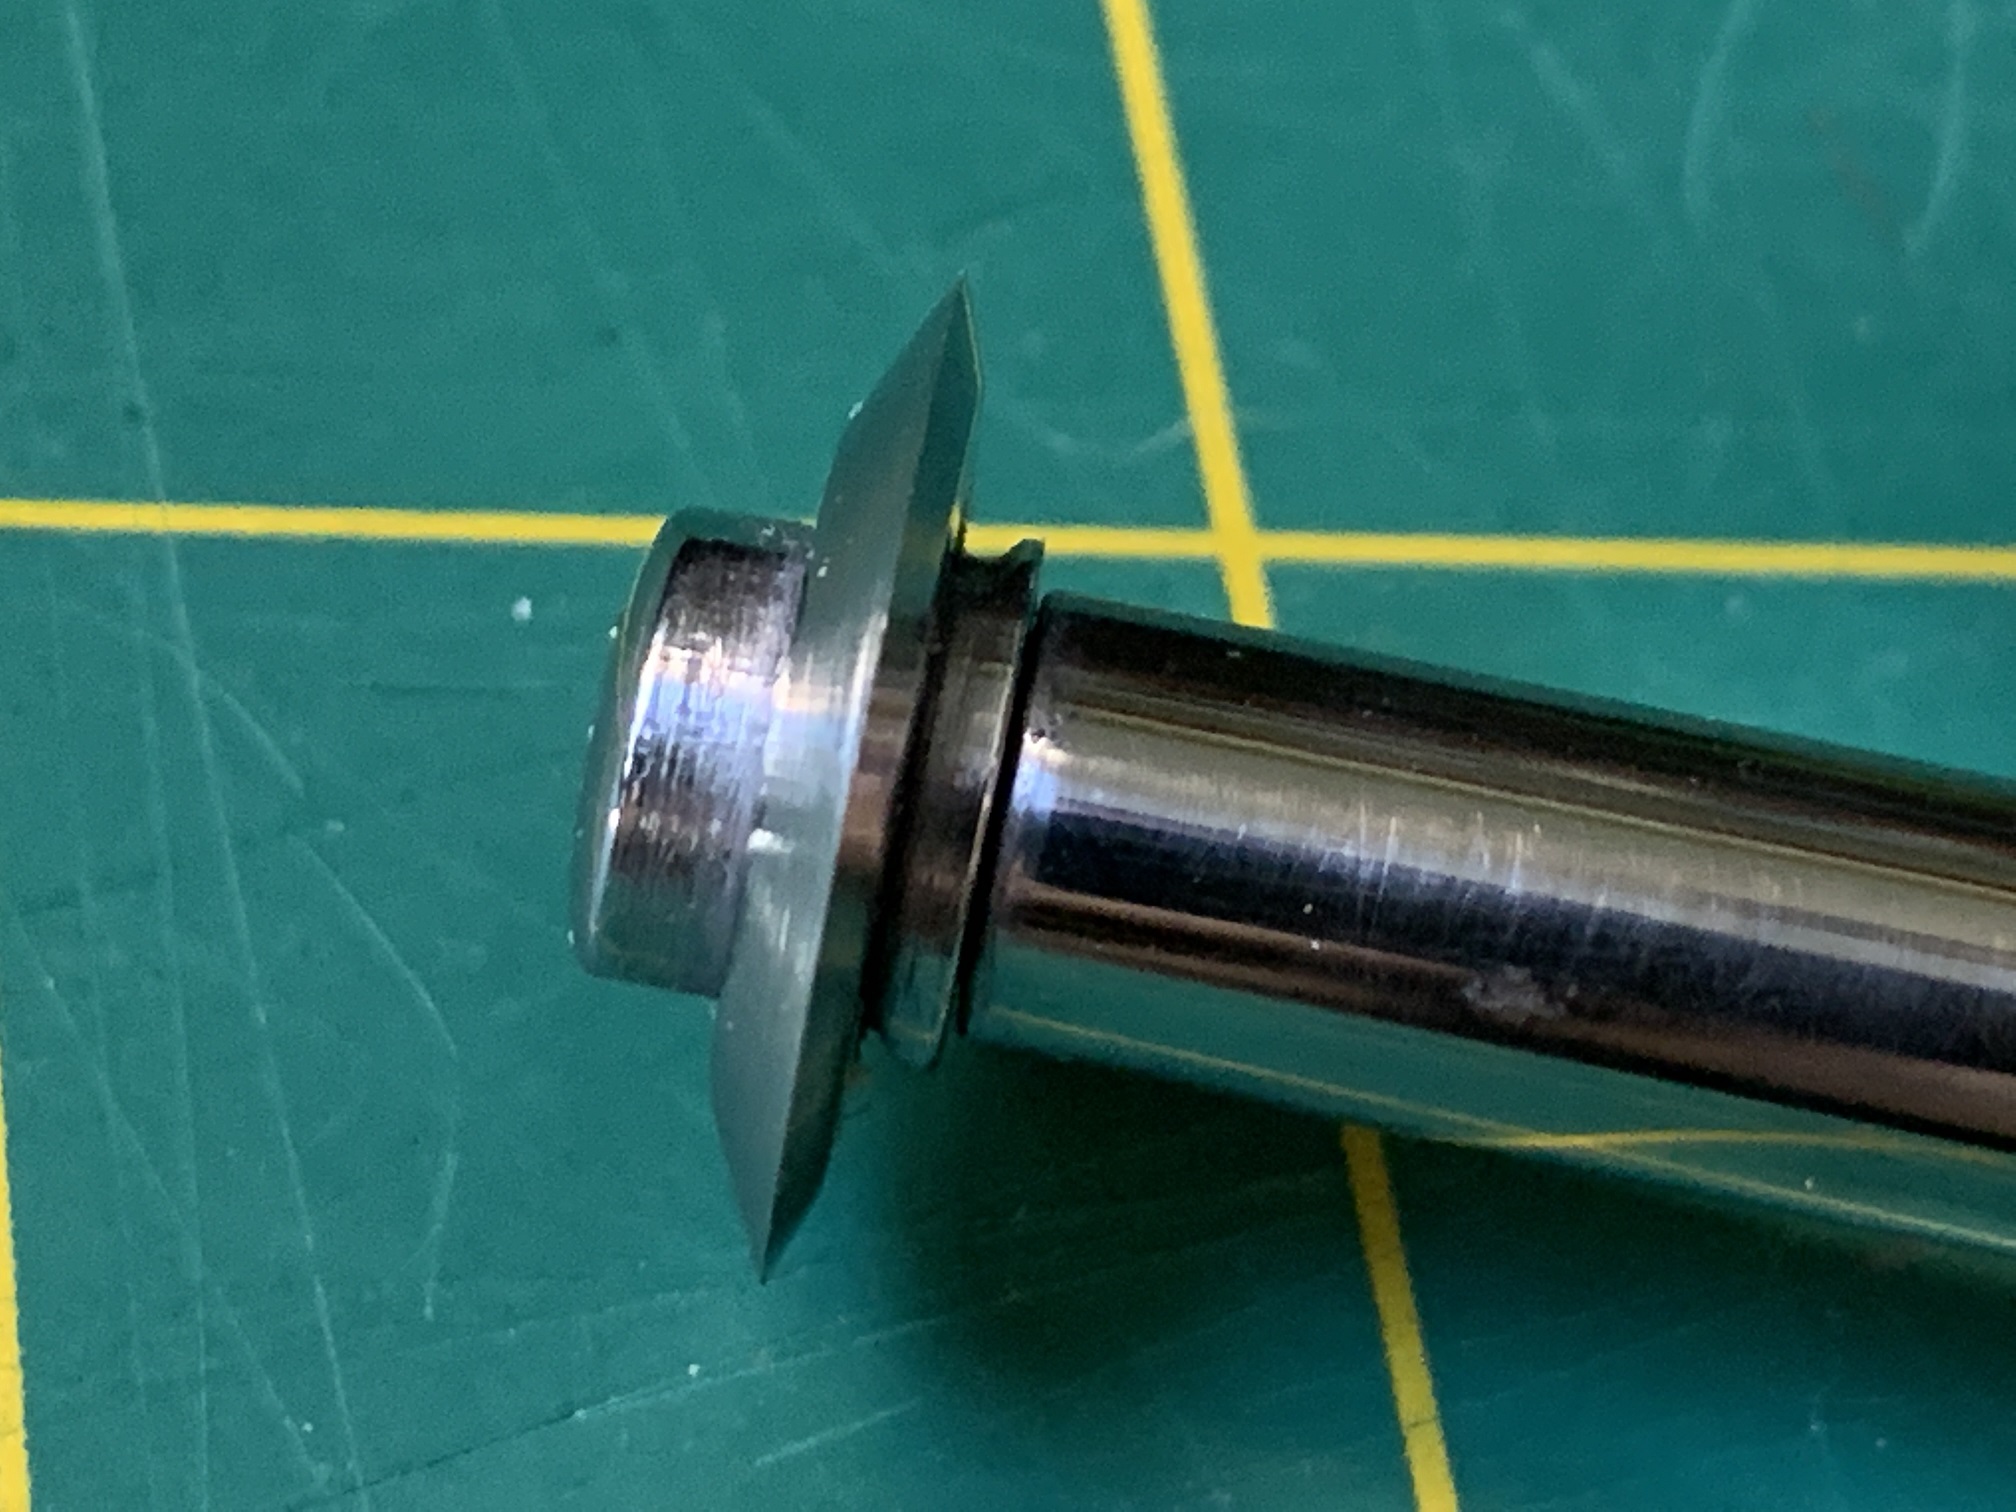
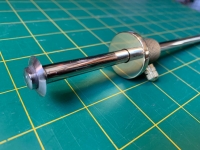
    I tried a new-to-me technique on this mostly because it seemed like fun. I machined the bore in the 1/4" plate and the shoulder on the barstock to an interference fit and heated it for a temporary slip fit. I wasn't quick enough, and it tightened up before it was fully seated, but a few light taps with a hammer did the trick. Note to self: be quick. It still let me get the knurl up against the fence part.
    Woodwork marking gauge-img_8879.jpg Woodwork marking gauge-img_8880.jpg Woodwork marking gauge-img_8881.jpg Woodwork marking gauge-img_8882.jpg Woodwork marking gauge-img_8883.jpg Woodwork marking gauge-img_8884.jpg Woodwork marking gauge-img_8885.jpg Woodwork marking gauge-img_8886.jpg Woodwork marking gauge-img_8887.jpg Woodwork marking gauge-img_8888.jpg Woodwork marking gauge-img_8889.jpg
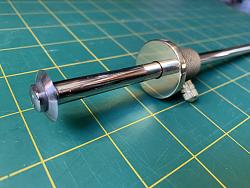
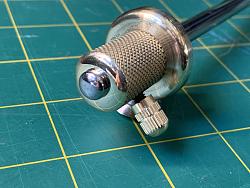
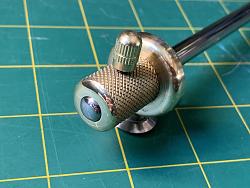
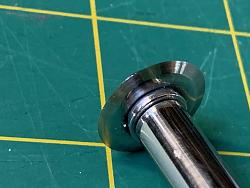
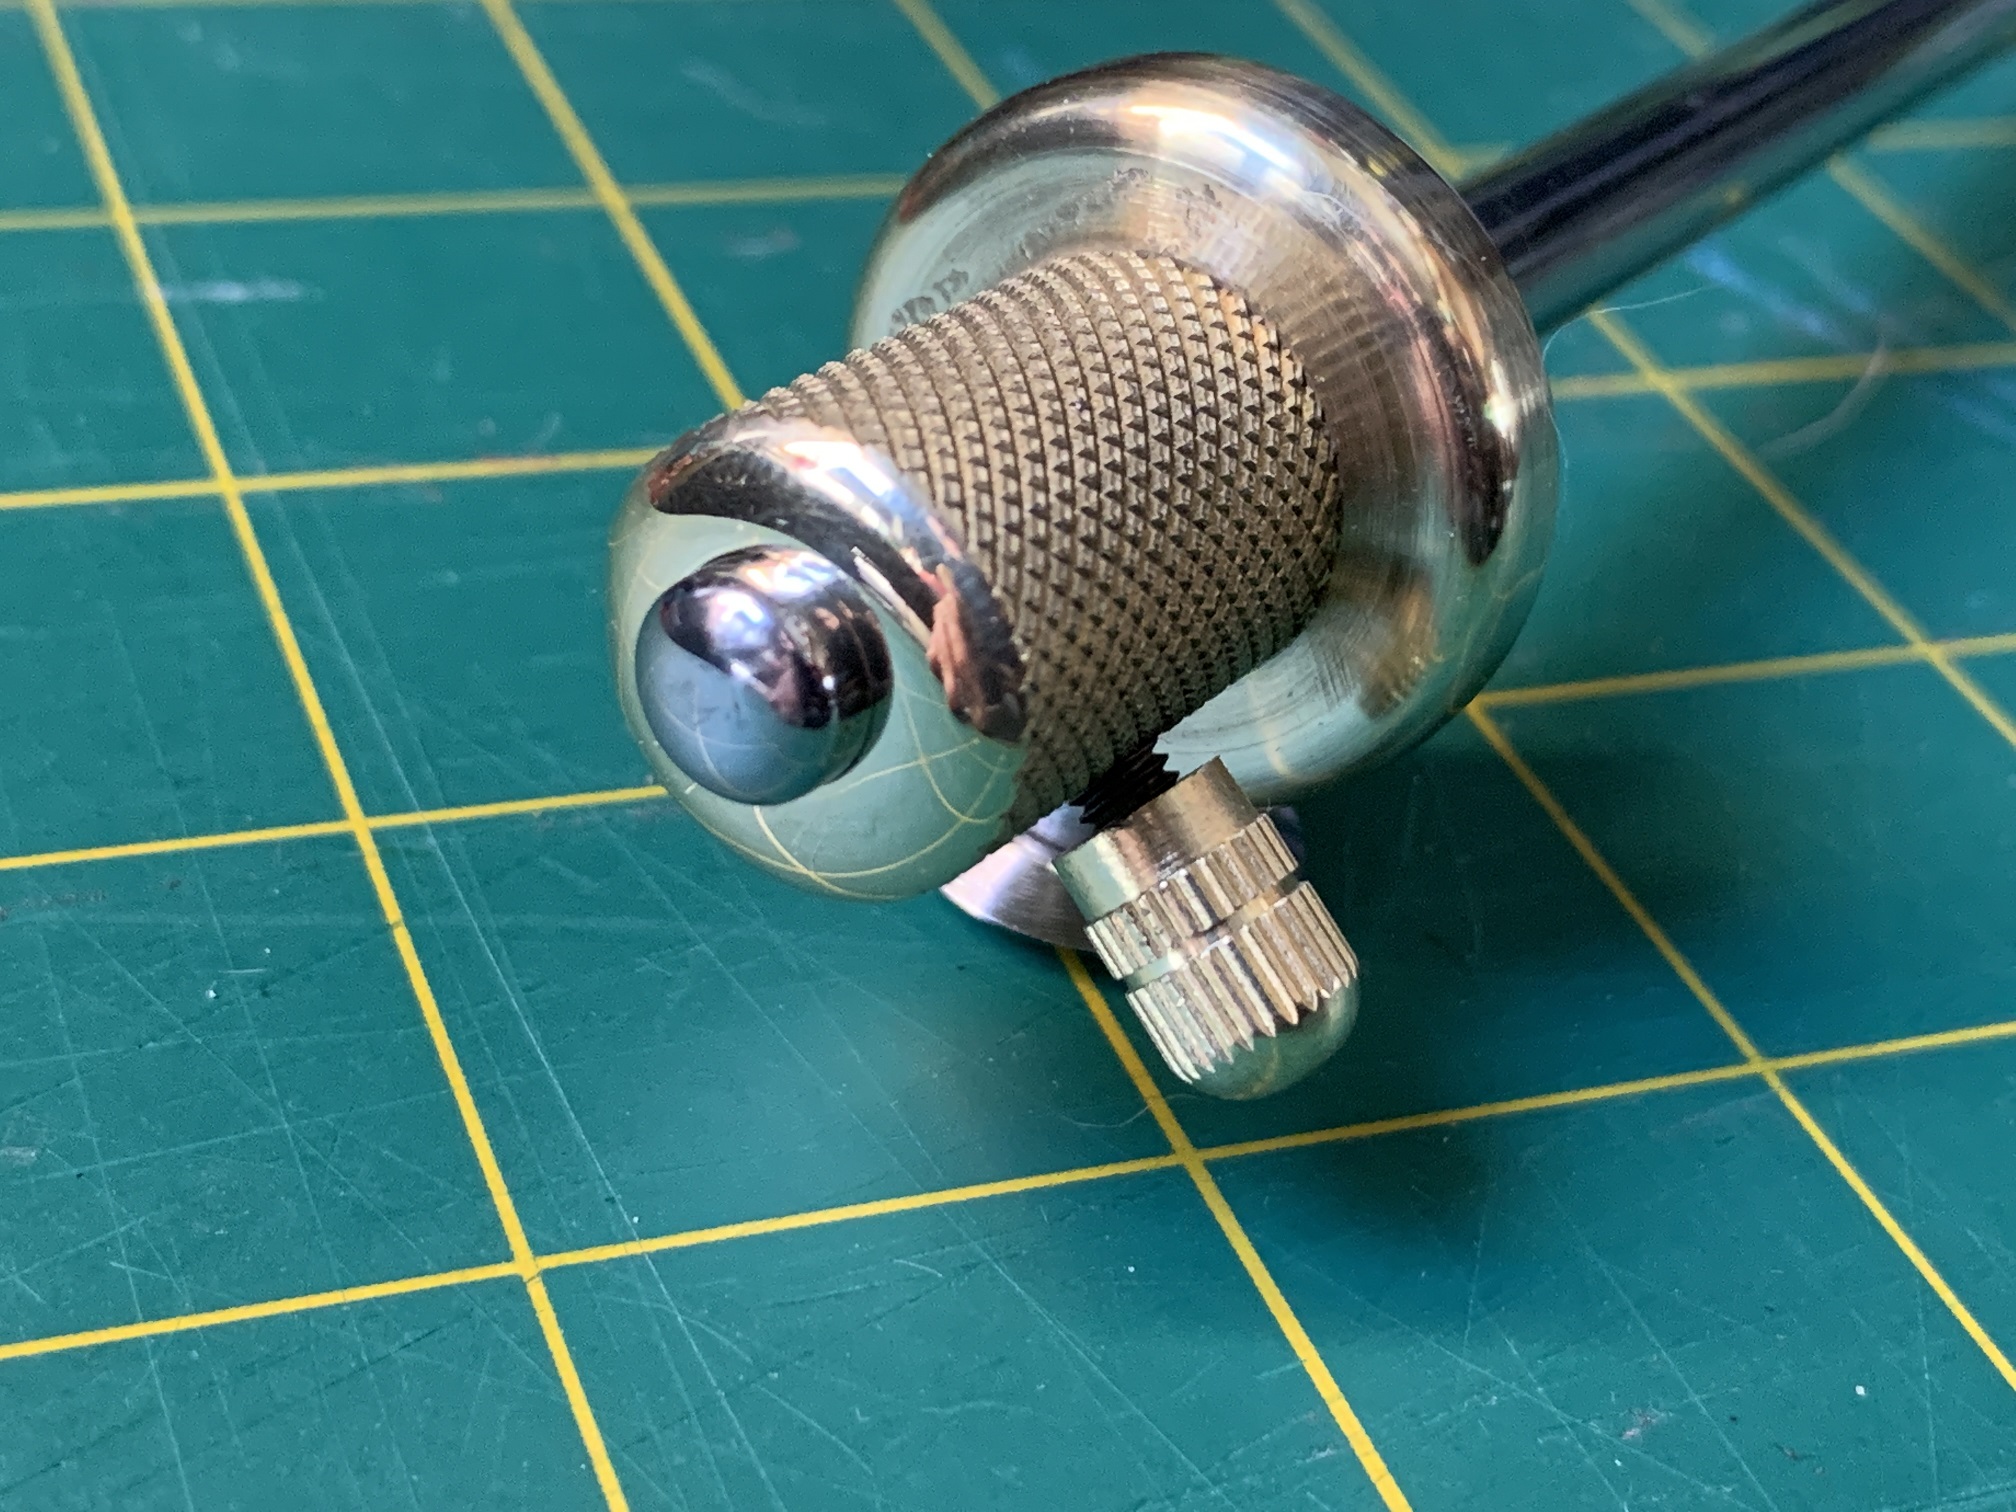
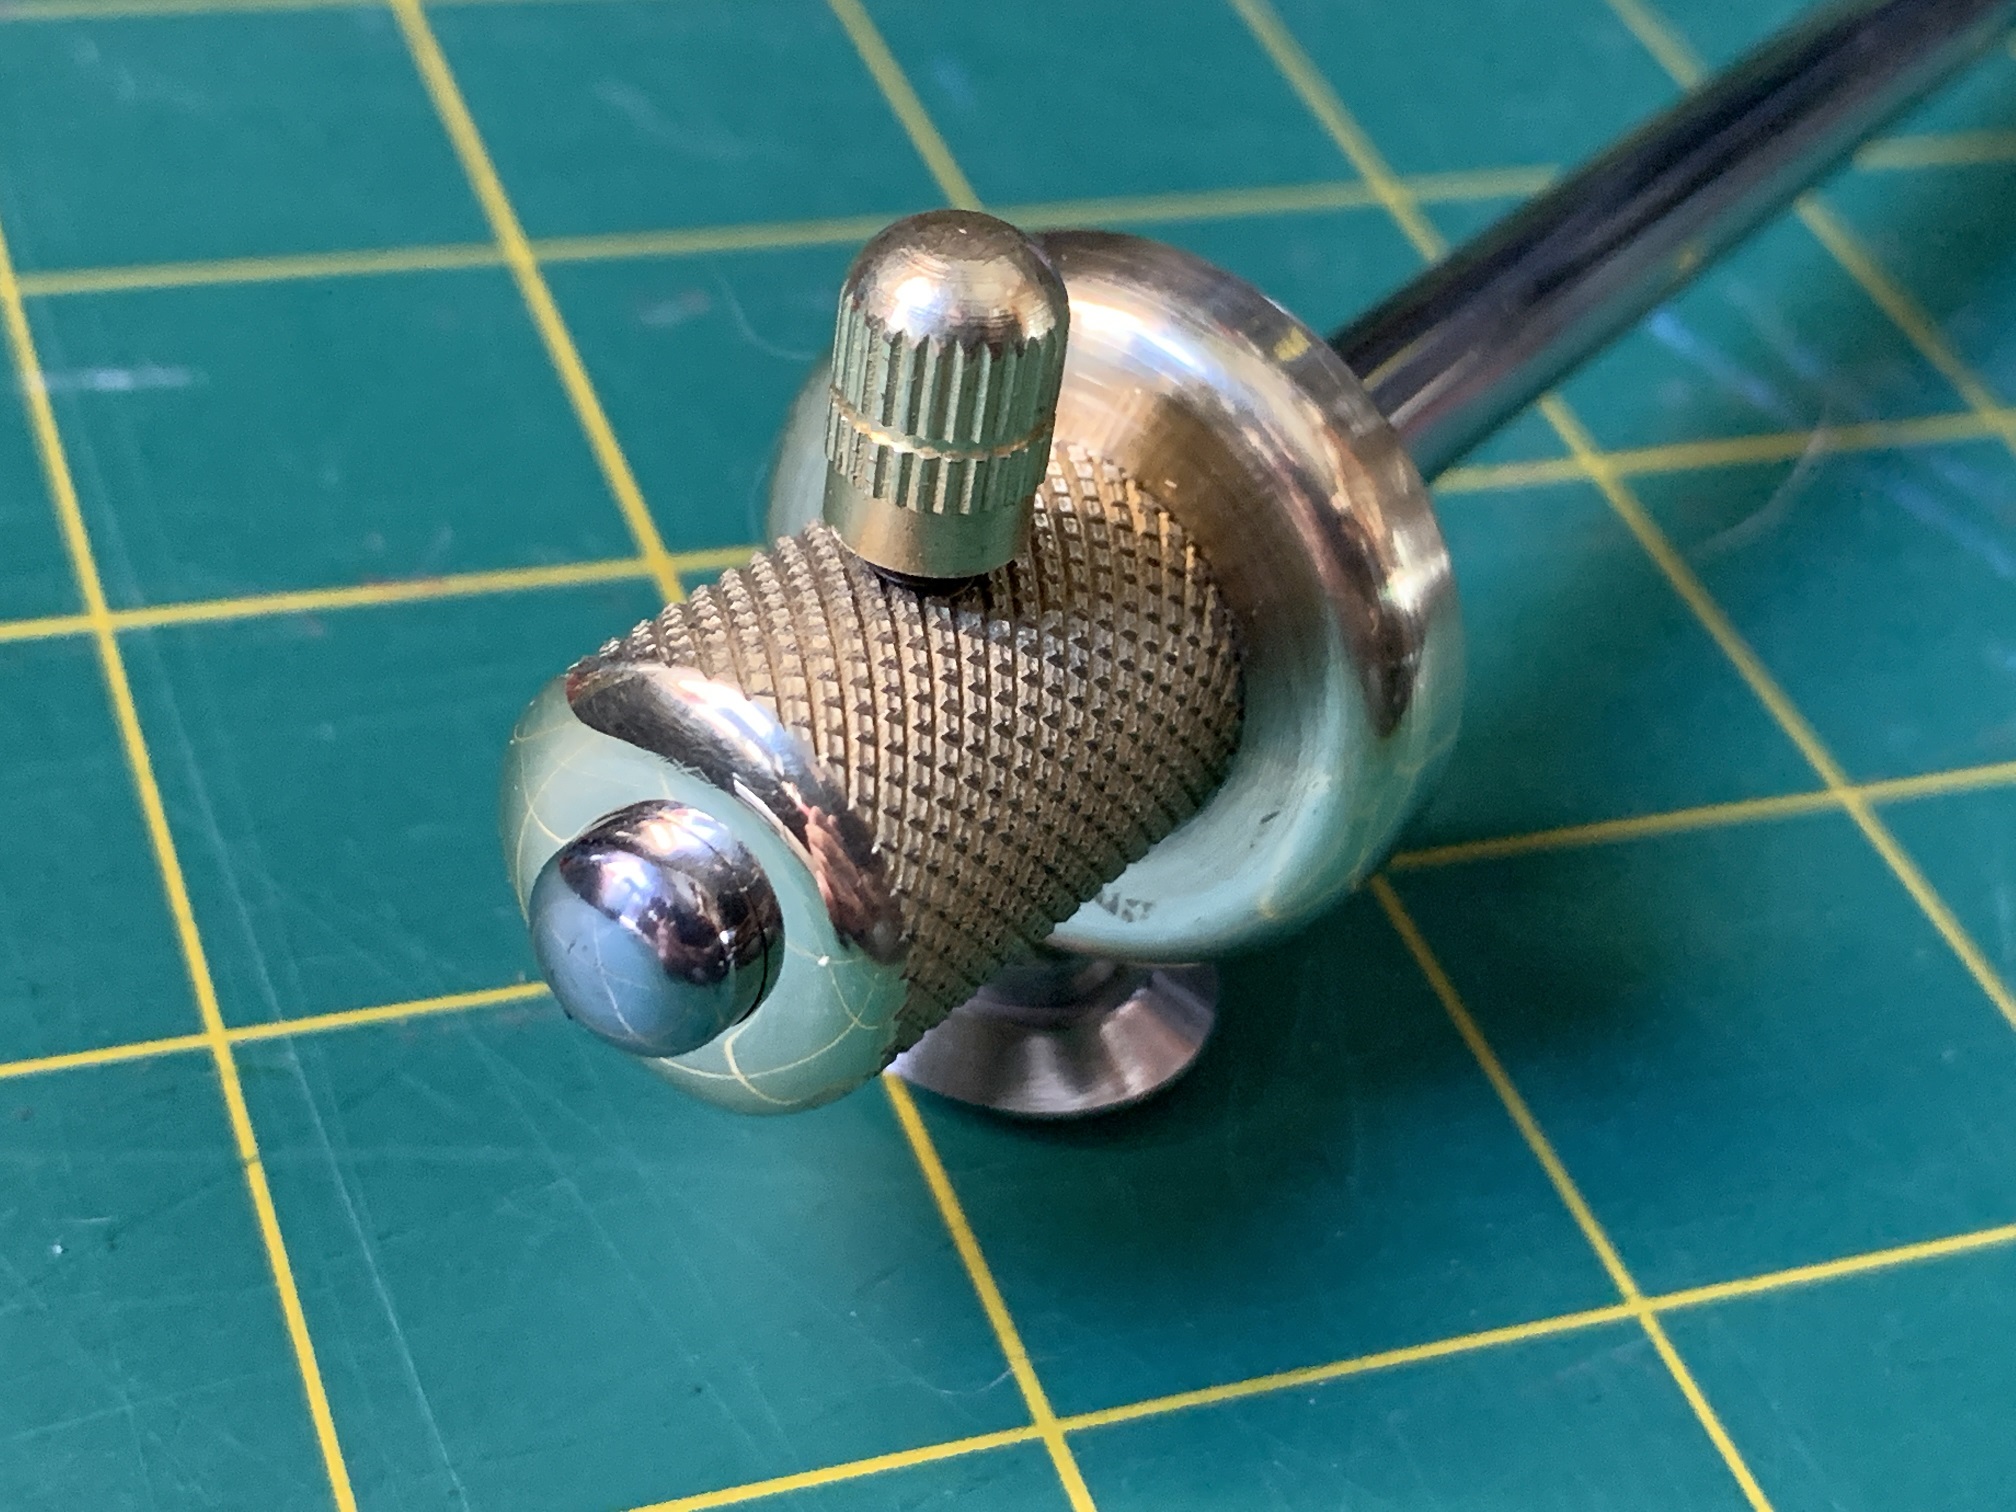
    I didn't bother to remove all of the scratched before polishing, so it's a Monet, but I'm OK with that.

    Neil

  2. The Following 4 Users Say Thank You to sossol For This Useful Post:

    Andyt (Apr 9, 2020), bobs409 (Apr 8, 2020), Jon (Apr 9, 2020), Paul Jones (Apr 7, 2020)

  3. #2
    Content Editor
    Supporting Member
    DIYer's Avatar
    Join Date
    Aug 2013
    Posts
    3,049
    Thanks
    848
    Thanked 2,978 Times in 2,532 Posts


    Thanks sossol! We've added your Marking Gauge to our Marking Gauges category,
    as well as to your builder page: sossol's Homemade Tools. Your receipt:


    New: BuildThreads.com - 300+ build posts/day (with photos)

  4. #3
    Supporting Member Paul Jones's Avatar
    Join Date
    May 2014
    Location
    Del Mar, California
    Posts
    1,232
    Thanks
    5,820
    Thanked 1,654 Times in 740 Posts

    Paul Jones's Tools
    Great work on the final finishes for your marking gauge. Also excellent close-up photos for showing the details. Thank you.

  5. #4
    Supporting Member sossol's Avatar
    Join Date
    Oct 2012
    Location
    Lafayette, Indiana
    Posts
    671
    Thanks
    900
    Thanked 538 Times in 295 Posts

    sossol's Tools
    Quote Originally Posted by Paul Jones View Post
    Great work on the final finishes for your marking gauge. Also excellent close-up photos for showing the details. Thank you.
    I'll be honest here... I only polished it so that I could take these glamor shots. I was going to leave it unpolished because all of the pieces are pretty battered and scarred.

    Neil


    2,500+ Tool Plans

  6. The Following User Says Thank You to sossol For This Useful Post:

    Paul Jones (Apr 12, 2020)

Thread Information

Users Browsing this Thread

There are currently 1 users browsing this thread. (0 members and 1 guests)

Bookmarks

Posting Permissions

  • You may not post new threads
  • You may not post replies
  • You may not post attachments
  • You may not edit your posts
  •