
 LinkBack URL
 About LinkBacks


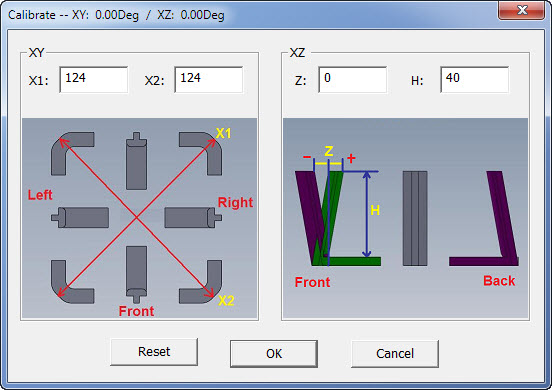
There is a software Calibration setup whereby you can adjust your Specific AFINIA 3D-Printer on the X/Y so if you wish ya can dial it in pretty darn good.
Even as good as this AFINIA 3D-Printer prints it is just a toy. All these inexpensive 3D-Printers are just novelties ... Very FUN... but toys ... and I'm having a lot of fun but understand it could never be used for more than fun items around the house & Workshop.
However already at Trade-Shows they are showing some mid-level $$ 3D-Printers that will be worthy of a small production shop and already there are very expensive 3D-Printers being used to make outstanding Titanium parts for aircraft and also wax 3D-printers for creating casting patters.
With that said... I like to experiment ... I'm not an expert on 3D-Printing ... but I like to test out items and this little AFINIA 3D-Printer of mine has FAR EXCEEDED my expectations on 'just-for-fun' items and it sure is a lot of fun just pressing a Start button and coming back later and having a finished item.
Also have to mention, be careful, it becomes addicting!!
I'm getting spoiled because I could have made a metal pipe mount for the Digital Angle Gauge but just easier to make the 3D-Printed version and it works GREAT!!
So easy to draw something up in SolidWorks in 10 minutes, save-as an .STL file and press Start on the 3D-Printer and go out and do other items for a few hours and come back in and it is done.
It is like starting the dish washer and coming back later and the dishes are washed... it really is that easy to use and start a print. 100% not joking... it is that easy.
I'll make a video of the 3D-Printing Start process if people want to see how easy it is?
On your Wixie Digital Angle Gauge ~ If you wish you can just P.M. me the greatest O.D. on all the Wixie sides, etc. No need to draw anything up if you don't wish; however, I enjoy drawing stuff so understand if you wish to draw it up. Better accuracy means a better finished part.
When I measured the AccuRemote I measured to the 0.001" because anything more accurate than 0.001" the 3D-Printer can not handle.
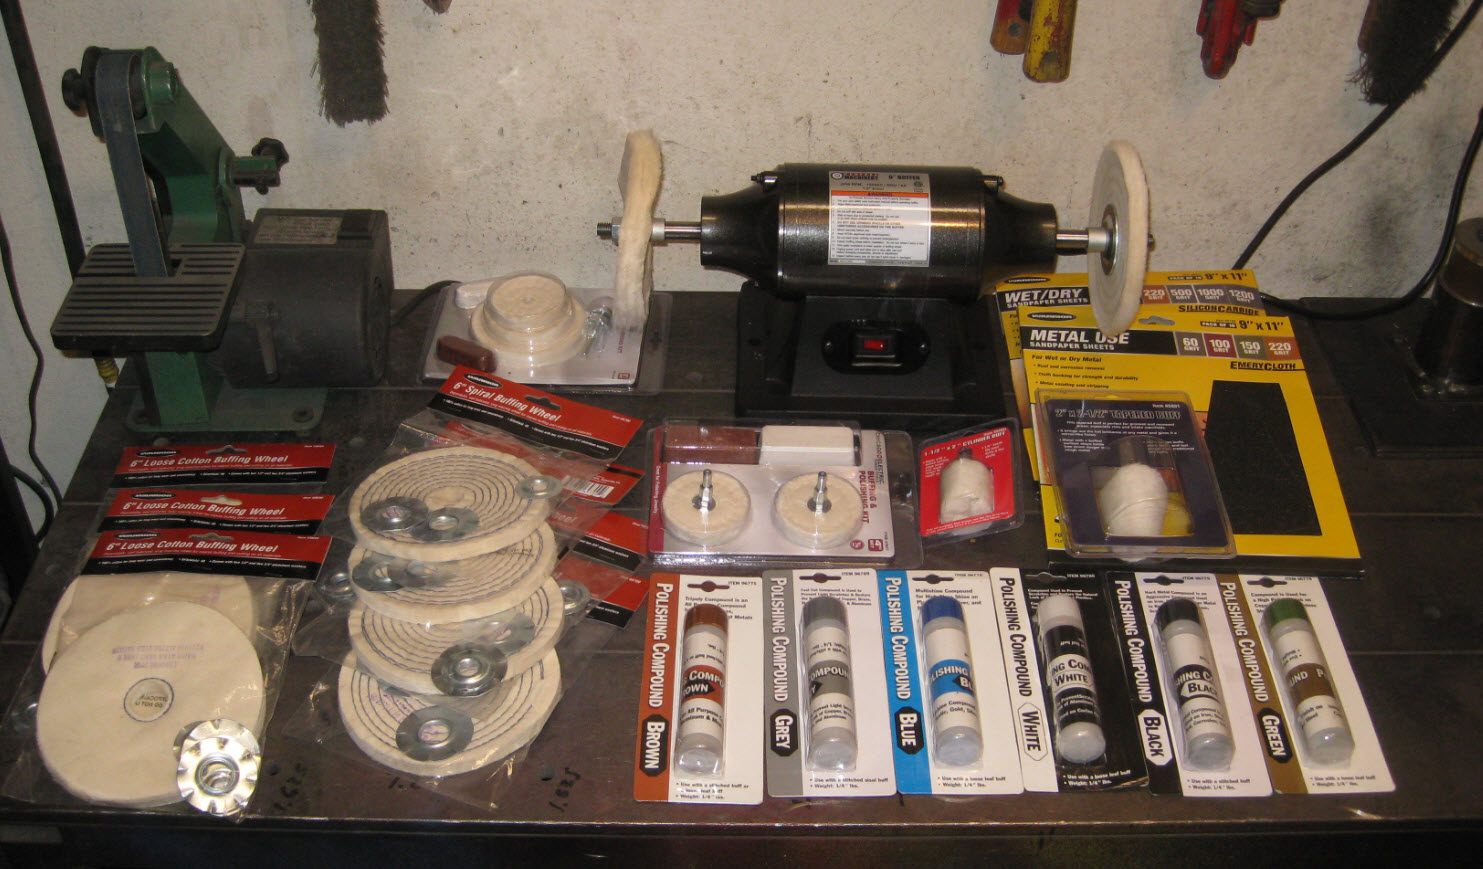
On a Side Note ~ I bought an amazing $39 tabletop 6" buffer from Harbor Freight to buff the plastic patterns for metal casting ... I read the reviews and people are saying they are very aligned and quiet and they were not joking ... this thing is wonderful!
If I have the TV on in the shop I can't hear it is on and it is so perfectly aligned don't have to bolt it down on my Welding table when using it... Yeah???
Anyway ~ Tested a bunch of compounds and found that using the plastic buffing compound quickly smooths off these 3D-Printed metal casting patterns ... Then I use Cross-Country Sky wax on the light and fluffy buffing wheel and it makes the patterns smooth like glass.
Only works in the easy to reach area on the patterns, so have to use a 3M Scratch Pad and/or Flexible backed sand paper for the other areas.
Just some helpful info for others that wish to 3D-Print metal casting patterns and smooth them off quickly to easily pull out of the green sand.
It is a feel thing but after a little practice ya know long to hold it on buffing wheel not to melt the PLA too much but just enough to get a good finish prior to then using the Ski Wax on the fluffy buffer to get a slippery finish to pull out of the casting sand very easy.
.. CHEERS!!


 Reply With Quote

Bookmarks