 LinkBack URL
 About LinkBacks
Thanks Tony, for sharing this very well presented, very informative and useful project. You do make it look a lot less scary for us electrical novices who most times just end up making expensive smoke.


Thanks Tony, for sharing this very well presented, very informative and useful project. You do make it look a lot less scary for us electrical novices who most times just end up making expensive smoke.
tonyfoale (Sep 11, 2024)

So after a few false starts and many distractions, I finally built myself a version of Tony's Leeb hardness tester. I deviated just slightly from his initial approach in that rather than using individual phototransistors and LED sources paired with the LM393 comparator, I purchased some premade slot photosensors (I think Tony mentions this as a possibility but did not have any on hand) that came mounted to a small PCB that includes a Schmidt trigger right on the board. So I only needed to supply them with 5Vdc and I get a nicely squared output. I think it cost about $8US for 5 of them from amazon. They were almost ideal sized for straddling the stainless tube I used. They ended up mounted like this:
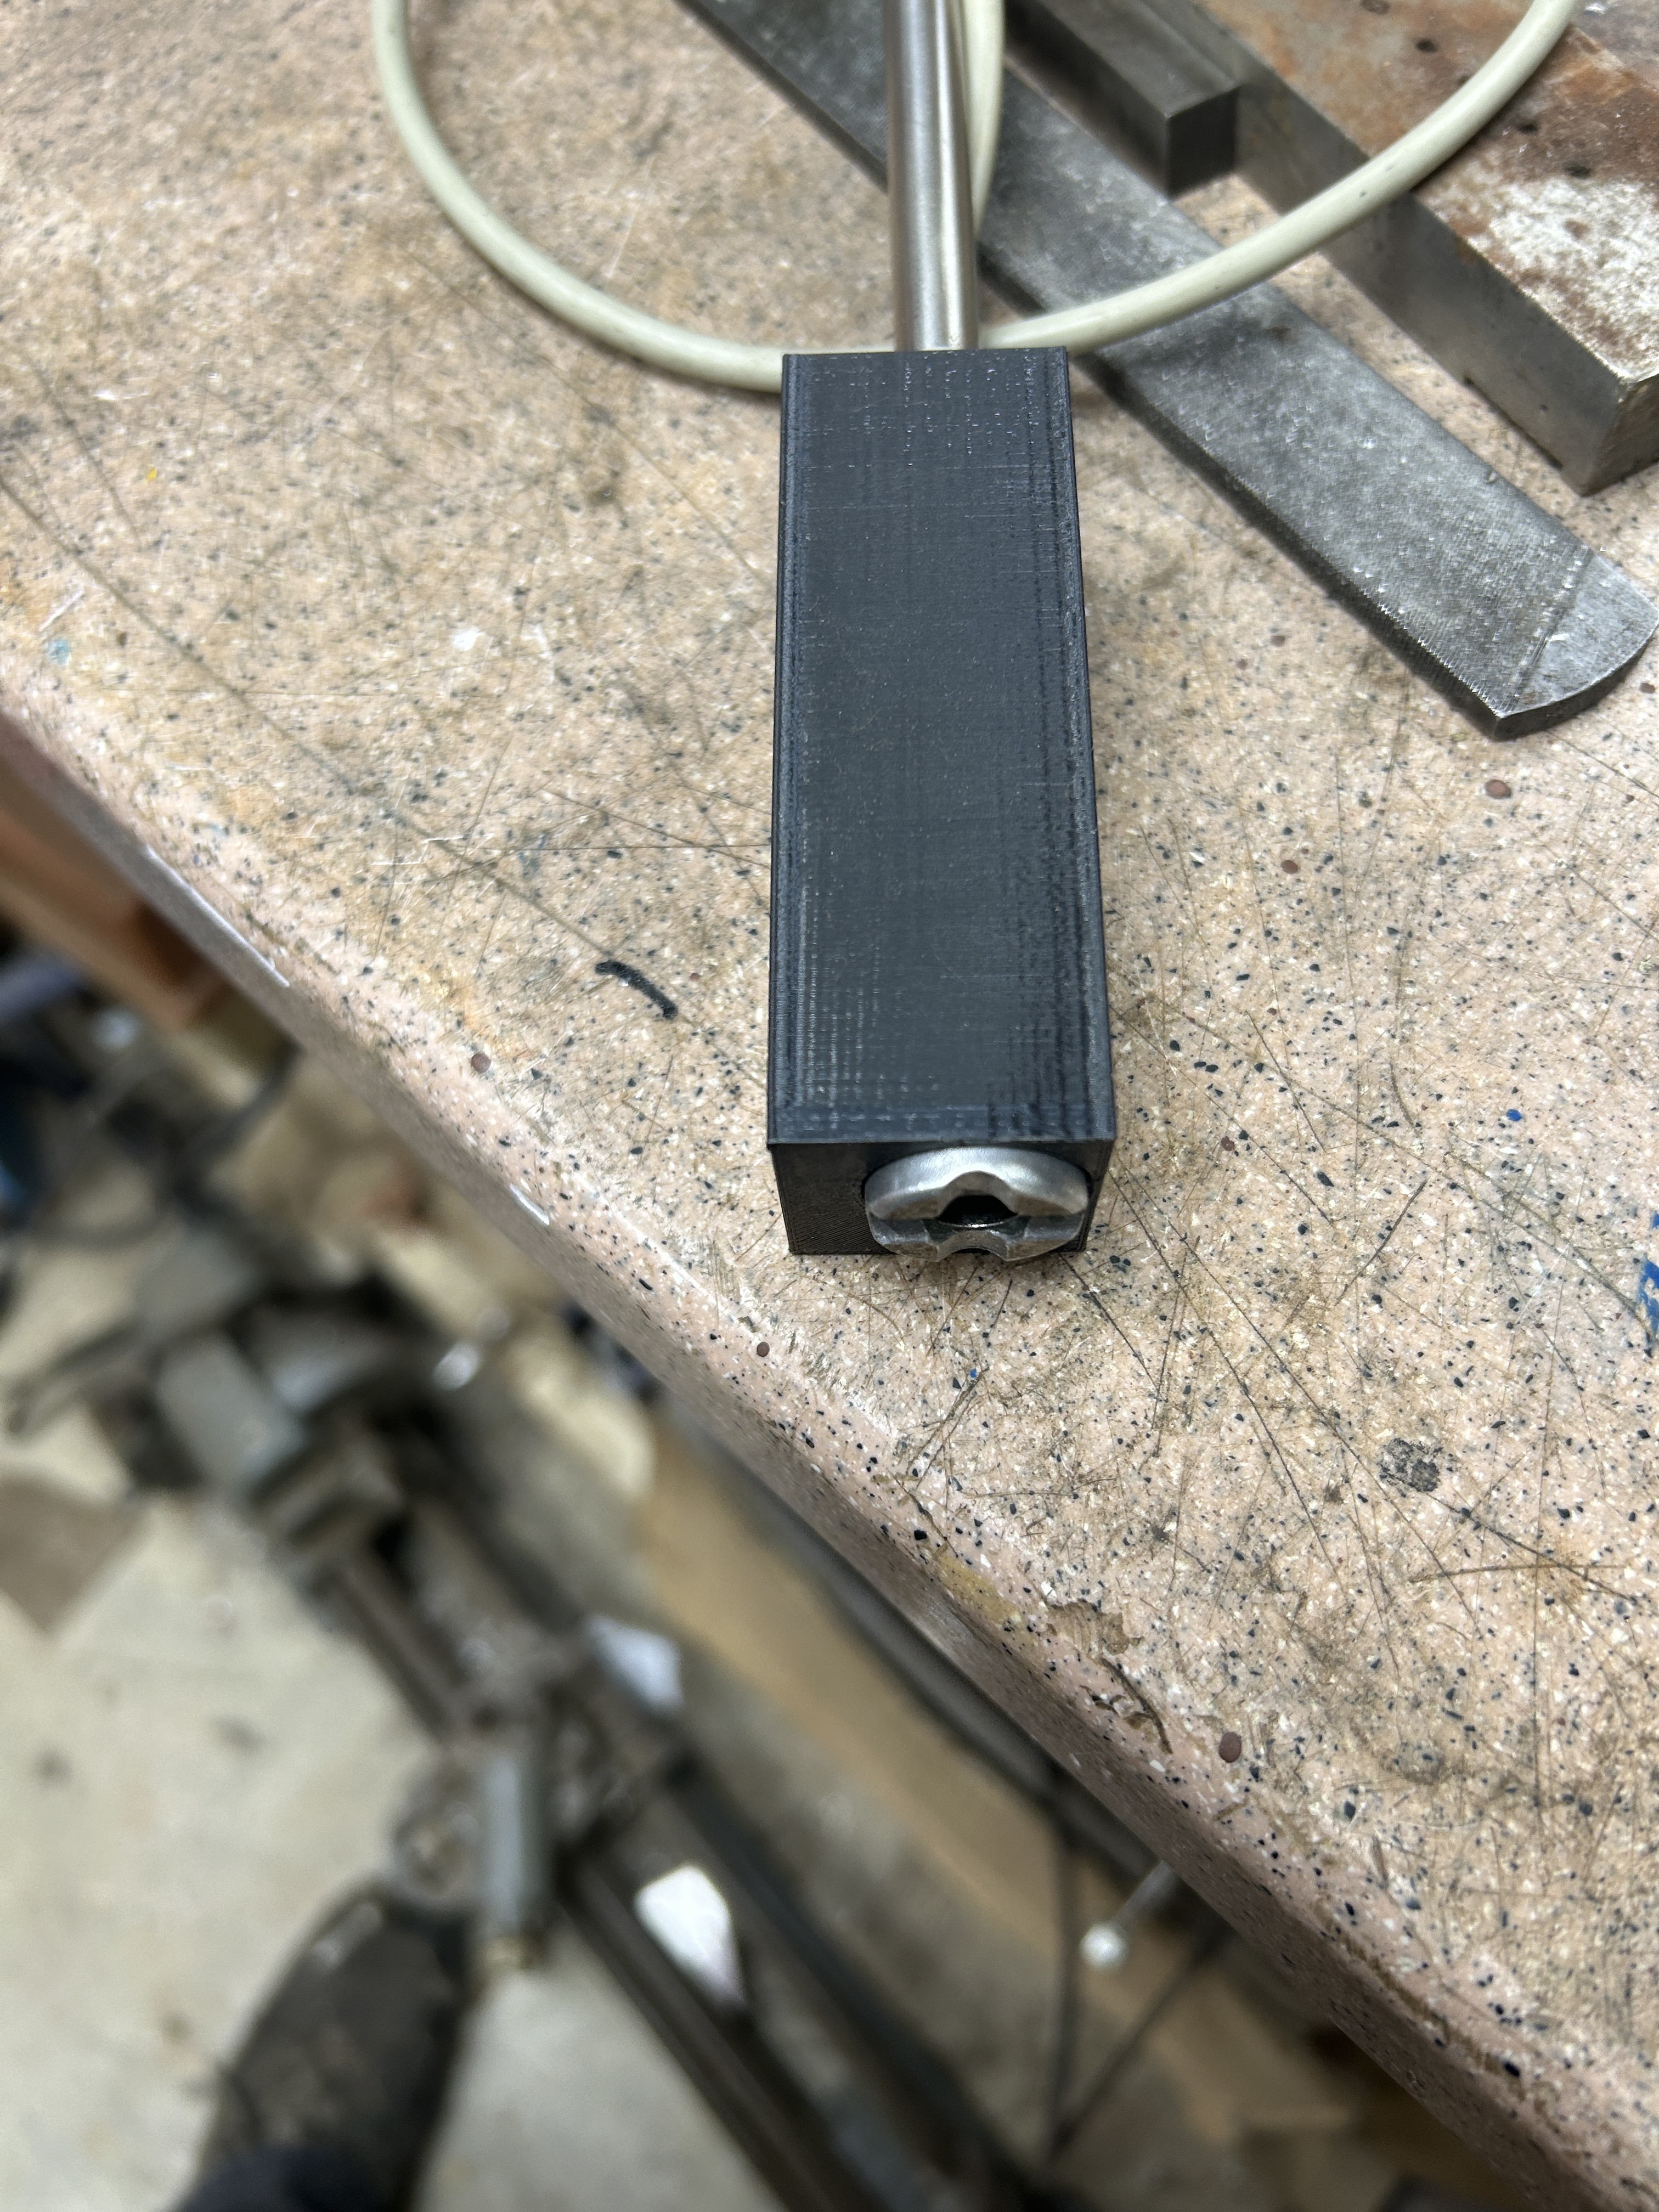
My son-in-law 3D printed this housing for me, it is a snug press fit onto the end of the part that the sensors are mounted on and protects the PC boards and wires nicely.
The electronics were put into the repurposed enclosure that used to hold some sort of barcode scanner interface that I intercepted before it hit the landfill. I used an Arduino Pro Nano as it takes up so little space and I had a few around. It power a USB cable so I can power it using either an AC USB charger/adapter or the small blue USB "power bank" you see in the picture for portable use. The double coupling in the drop tube allows me to take the tube down into two pieces for easier storage.
I use this all with a 1/4" steel ball. So far I seem to get pretty repeatable and reasonable results from it. I am working on getting a few sample steel pieces in various states of hardness that I hope to have tested on a calibrated Rockwell or other tester. That will give me some known values to compare against. In the meantime, I have every reason to believe that the results are plenty good for my, admittedly low spec, applications.
Thanks for all the work you did on this Tony and thanks especially for the through presntation on the theory and "how to do it" info you shared.
DIYer (Jan 15, 2026), Jon (Dec 31, 2025), nova_robotics (Jan 1, 2026), tonyfoale (Jan 1, 2026)


Great to see that you found my original post useful.Originally Posted by clavius

You may recall that in my PDF I stated that polling gave better results than using interrupts. For projects since I made the hardness tester I have used ESP32 boards in place of Arduinos. ESP32 is like an Arduino on steroids, they are many times faster. So if I was doing this project today I would try using interrupts on an ESP32 in place of polling on a Nano.
Last edited by tonyfoale; Jan 1, 2026 at 02:50 PM.

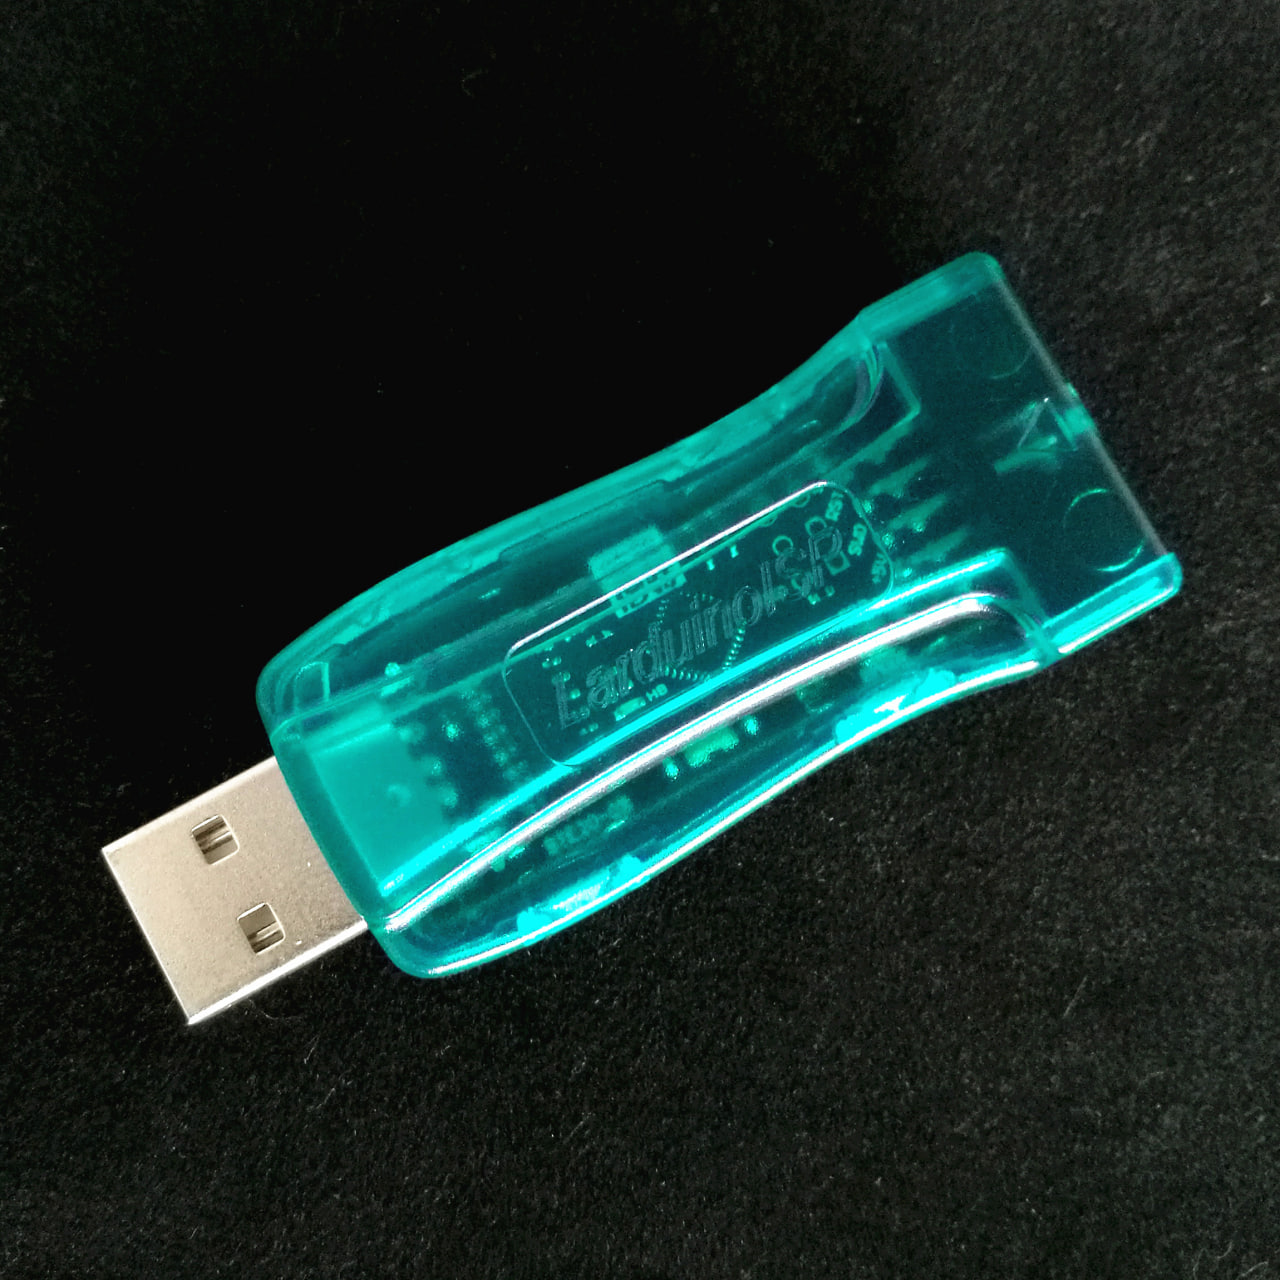
There's also the LGT8F328P boards. I rather like them, small, 4x faster than regular Nano, and CHEAP. I use the LArduinoISP programming pod for those with the Arduino IDE.
Ready made pod tiny, but you can also just program a Nano or something to work the same.
metric_taper (Jan 1, 2026)

I think combining this with PIC Projects - frequency dividers, timers might make it simpler
Brian
I have trouble seeing how this would make it simpler. Everybody has their own favourite chip, micro controller or micro computer, but one man's favourite is unlikely to be everyman's favourite. This is just a simple timing project. The timing accuracy of an Arduino Nano may be inferior to the PICs that you suggest but that is unimportant. The accuracy of the results in this case are compromised more by the core assumptions behind the rebound method of testing than the timing.

Thanks clavius! We've added your Hardness Tester to our Testers category,
as well as to your builder page: clavius's Homemade Tools. Your receipt:
New: BuildThreads.com - 300+ build posts/day (with photos)

I cannot comment on the physics of the test itself having not looked at that. However getting timing measurements in software is notoriously difficult, especially if the processor in question is busy doing other things. The PIC project pointed to is from a bunch of fellows in the timenuts interest group, ones that drive atomic clocks up mountains to confirm Einstein kinda crazy. I think I would run with it as an off board source and leave whatever else you want to do on the main processor of your choice, helps reduce any error from this part of the measurement. My opinion, take or leave it.

There are currently 1 users browsing this thread. (0 members and 1 guests)
 Posting Permissions


 Reply With Quote
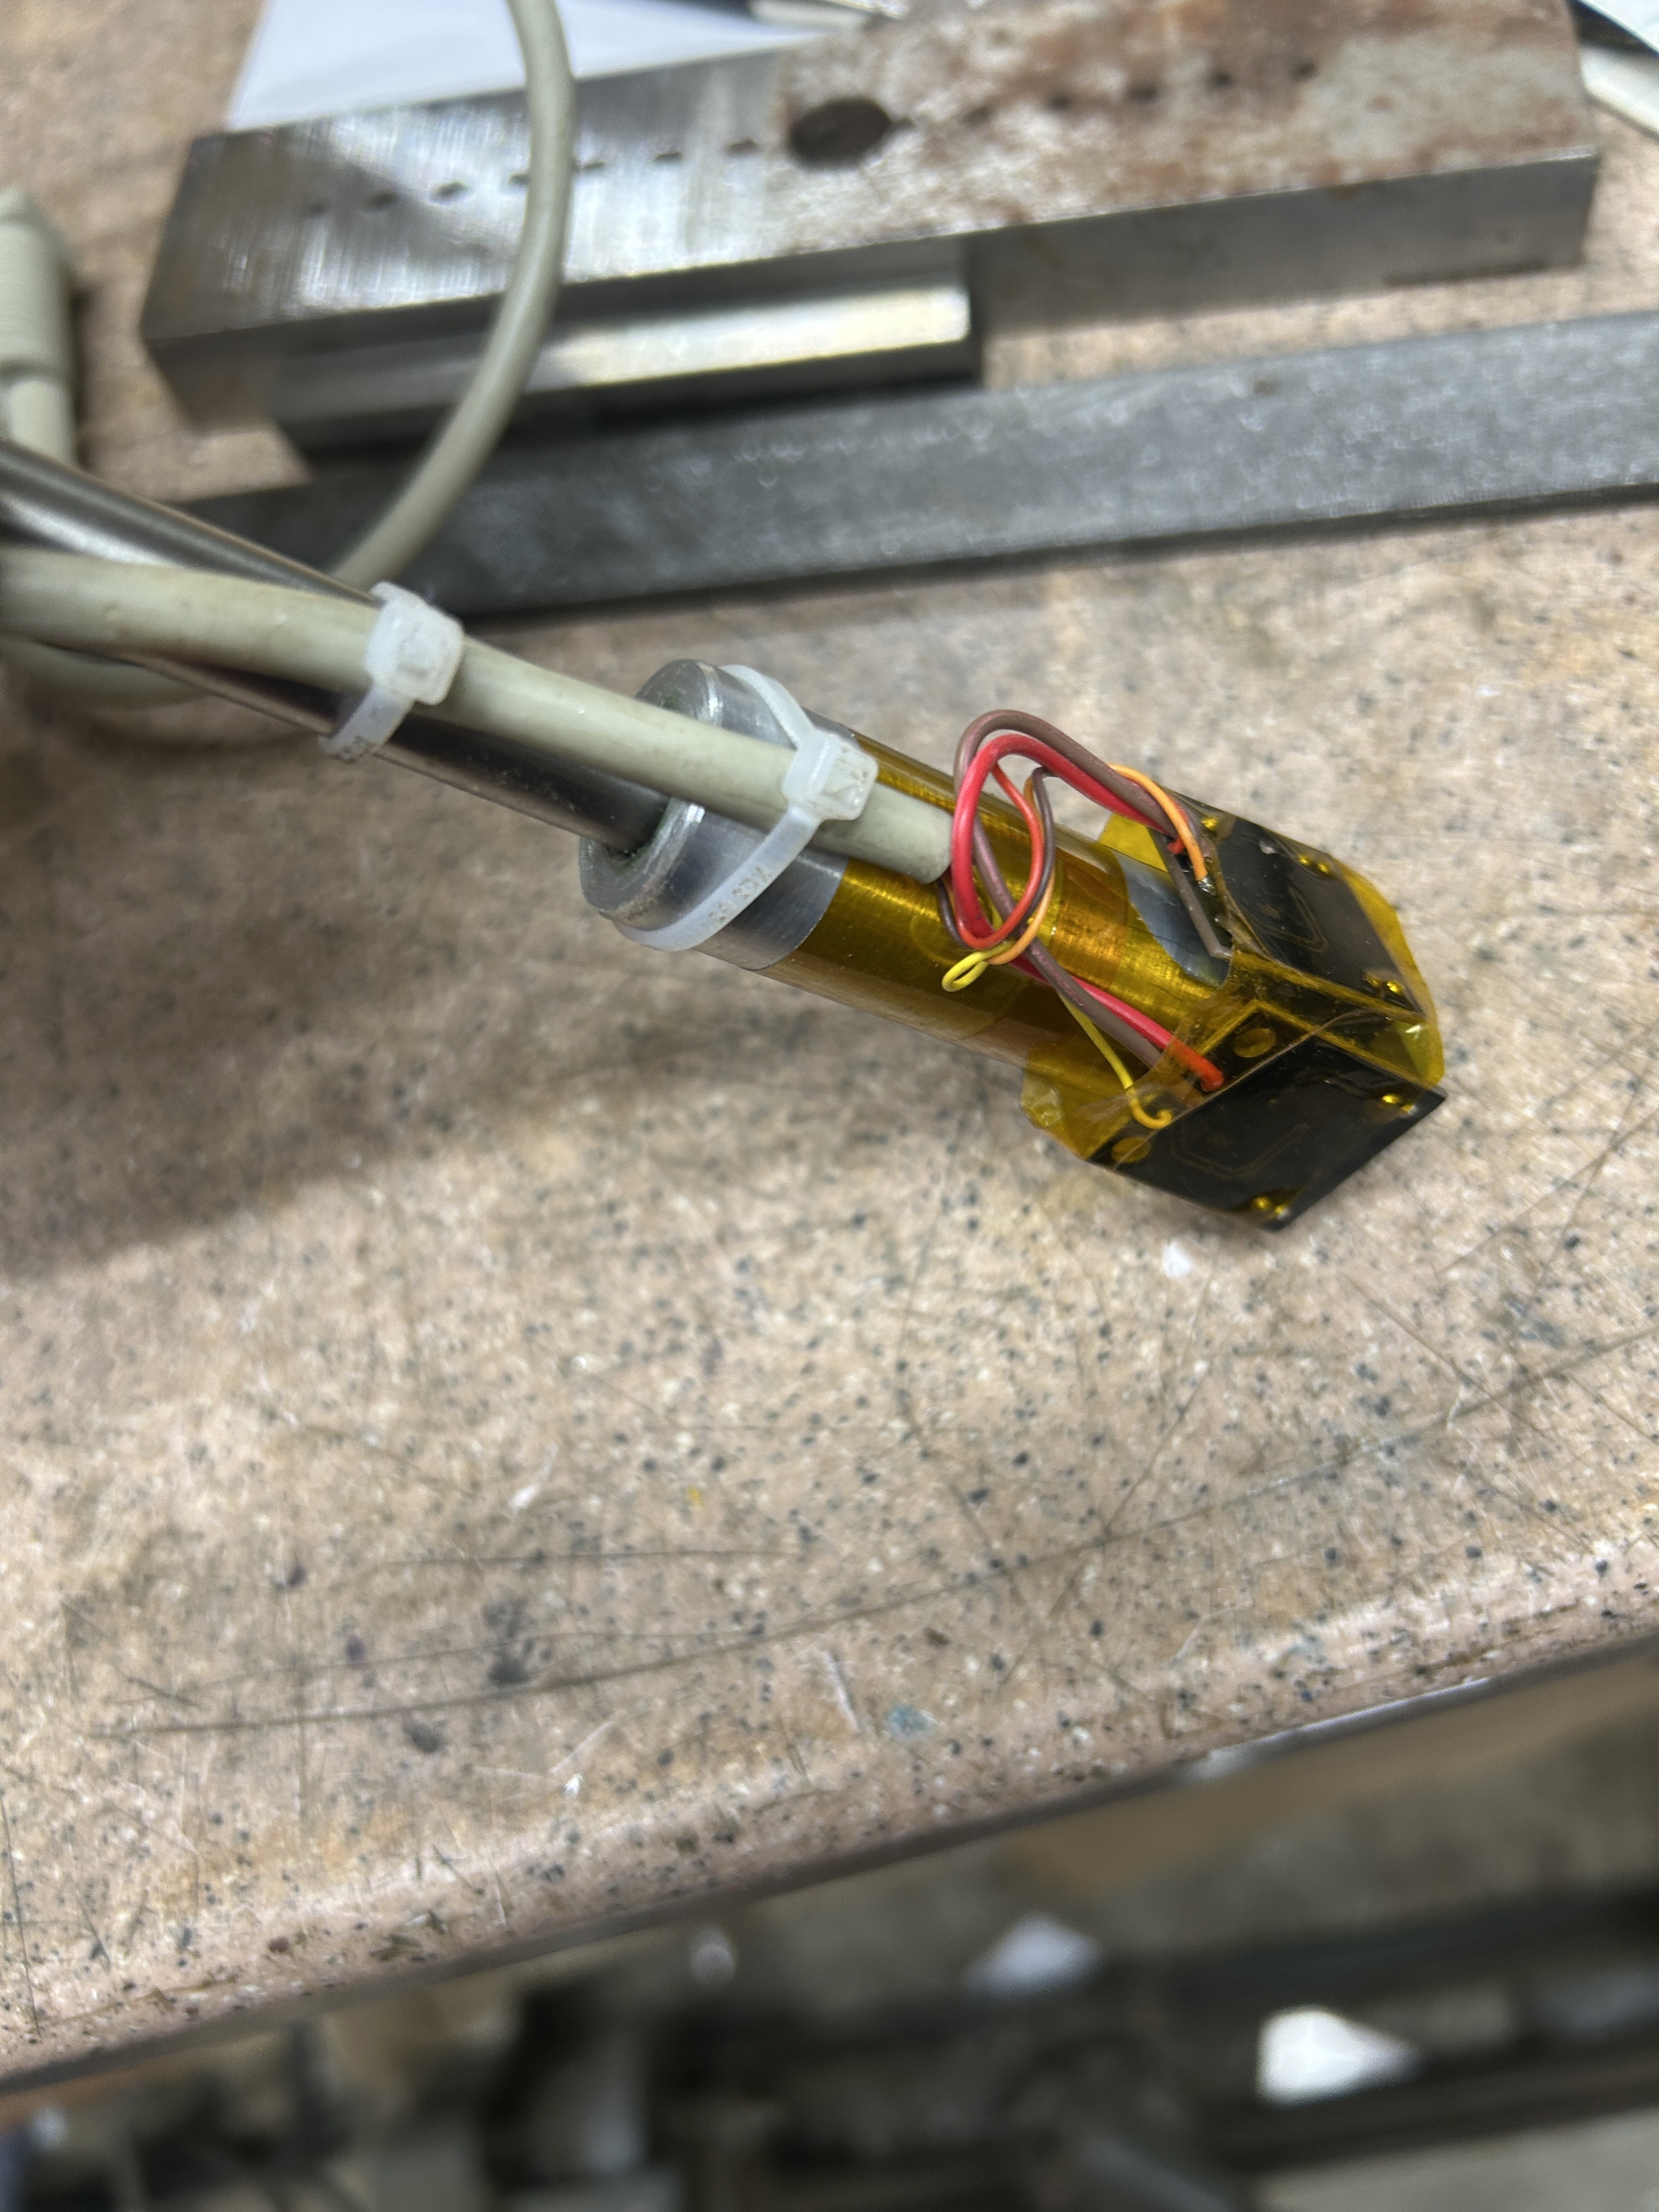


Bookmarks