
 LinkBack URL
 About LinkBacks


Some years ago I kept a few goats and found it necessary to weigh them from time to time to keep track of their development. Because a scale could be very expensive I decided to make my own plan.
At a Hospice facility I managed to get hold of a stack of broken electronic bathroom scales for a few bucks from which I selected one of which only the switch was broken.
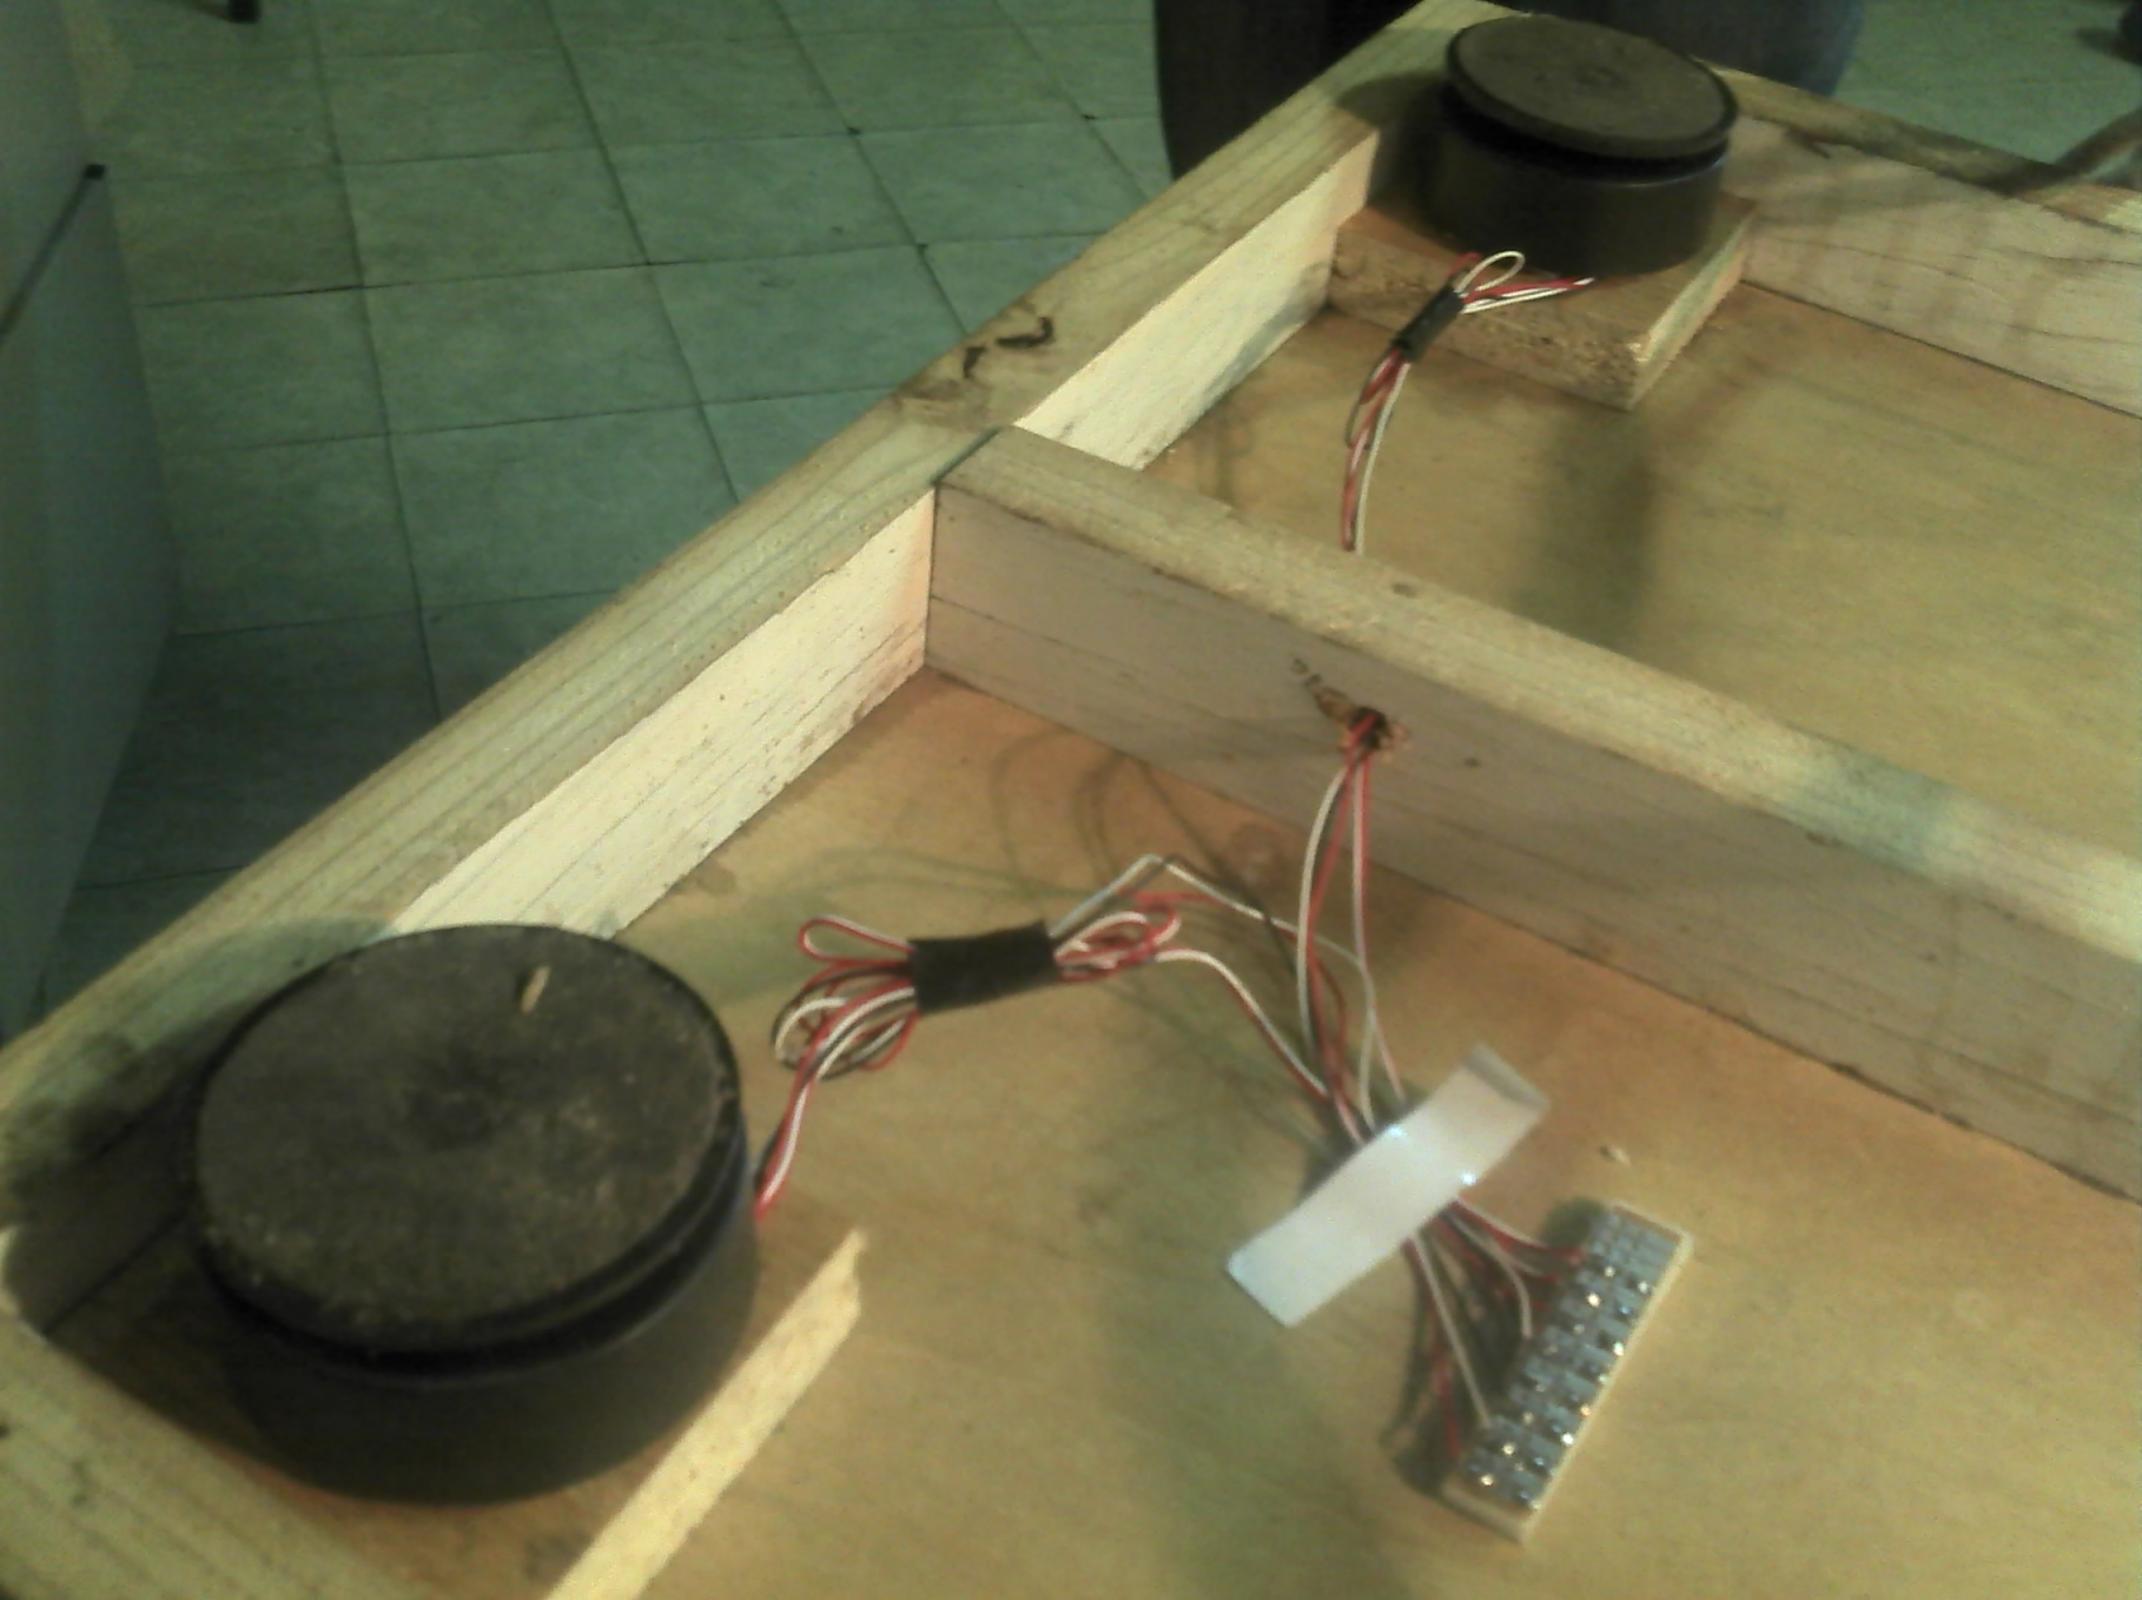
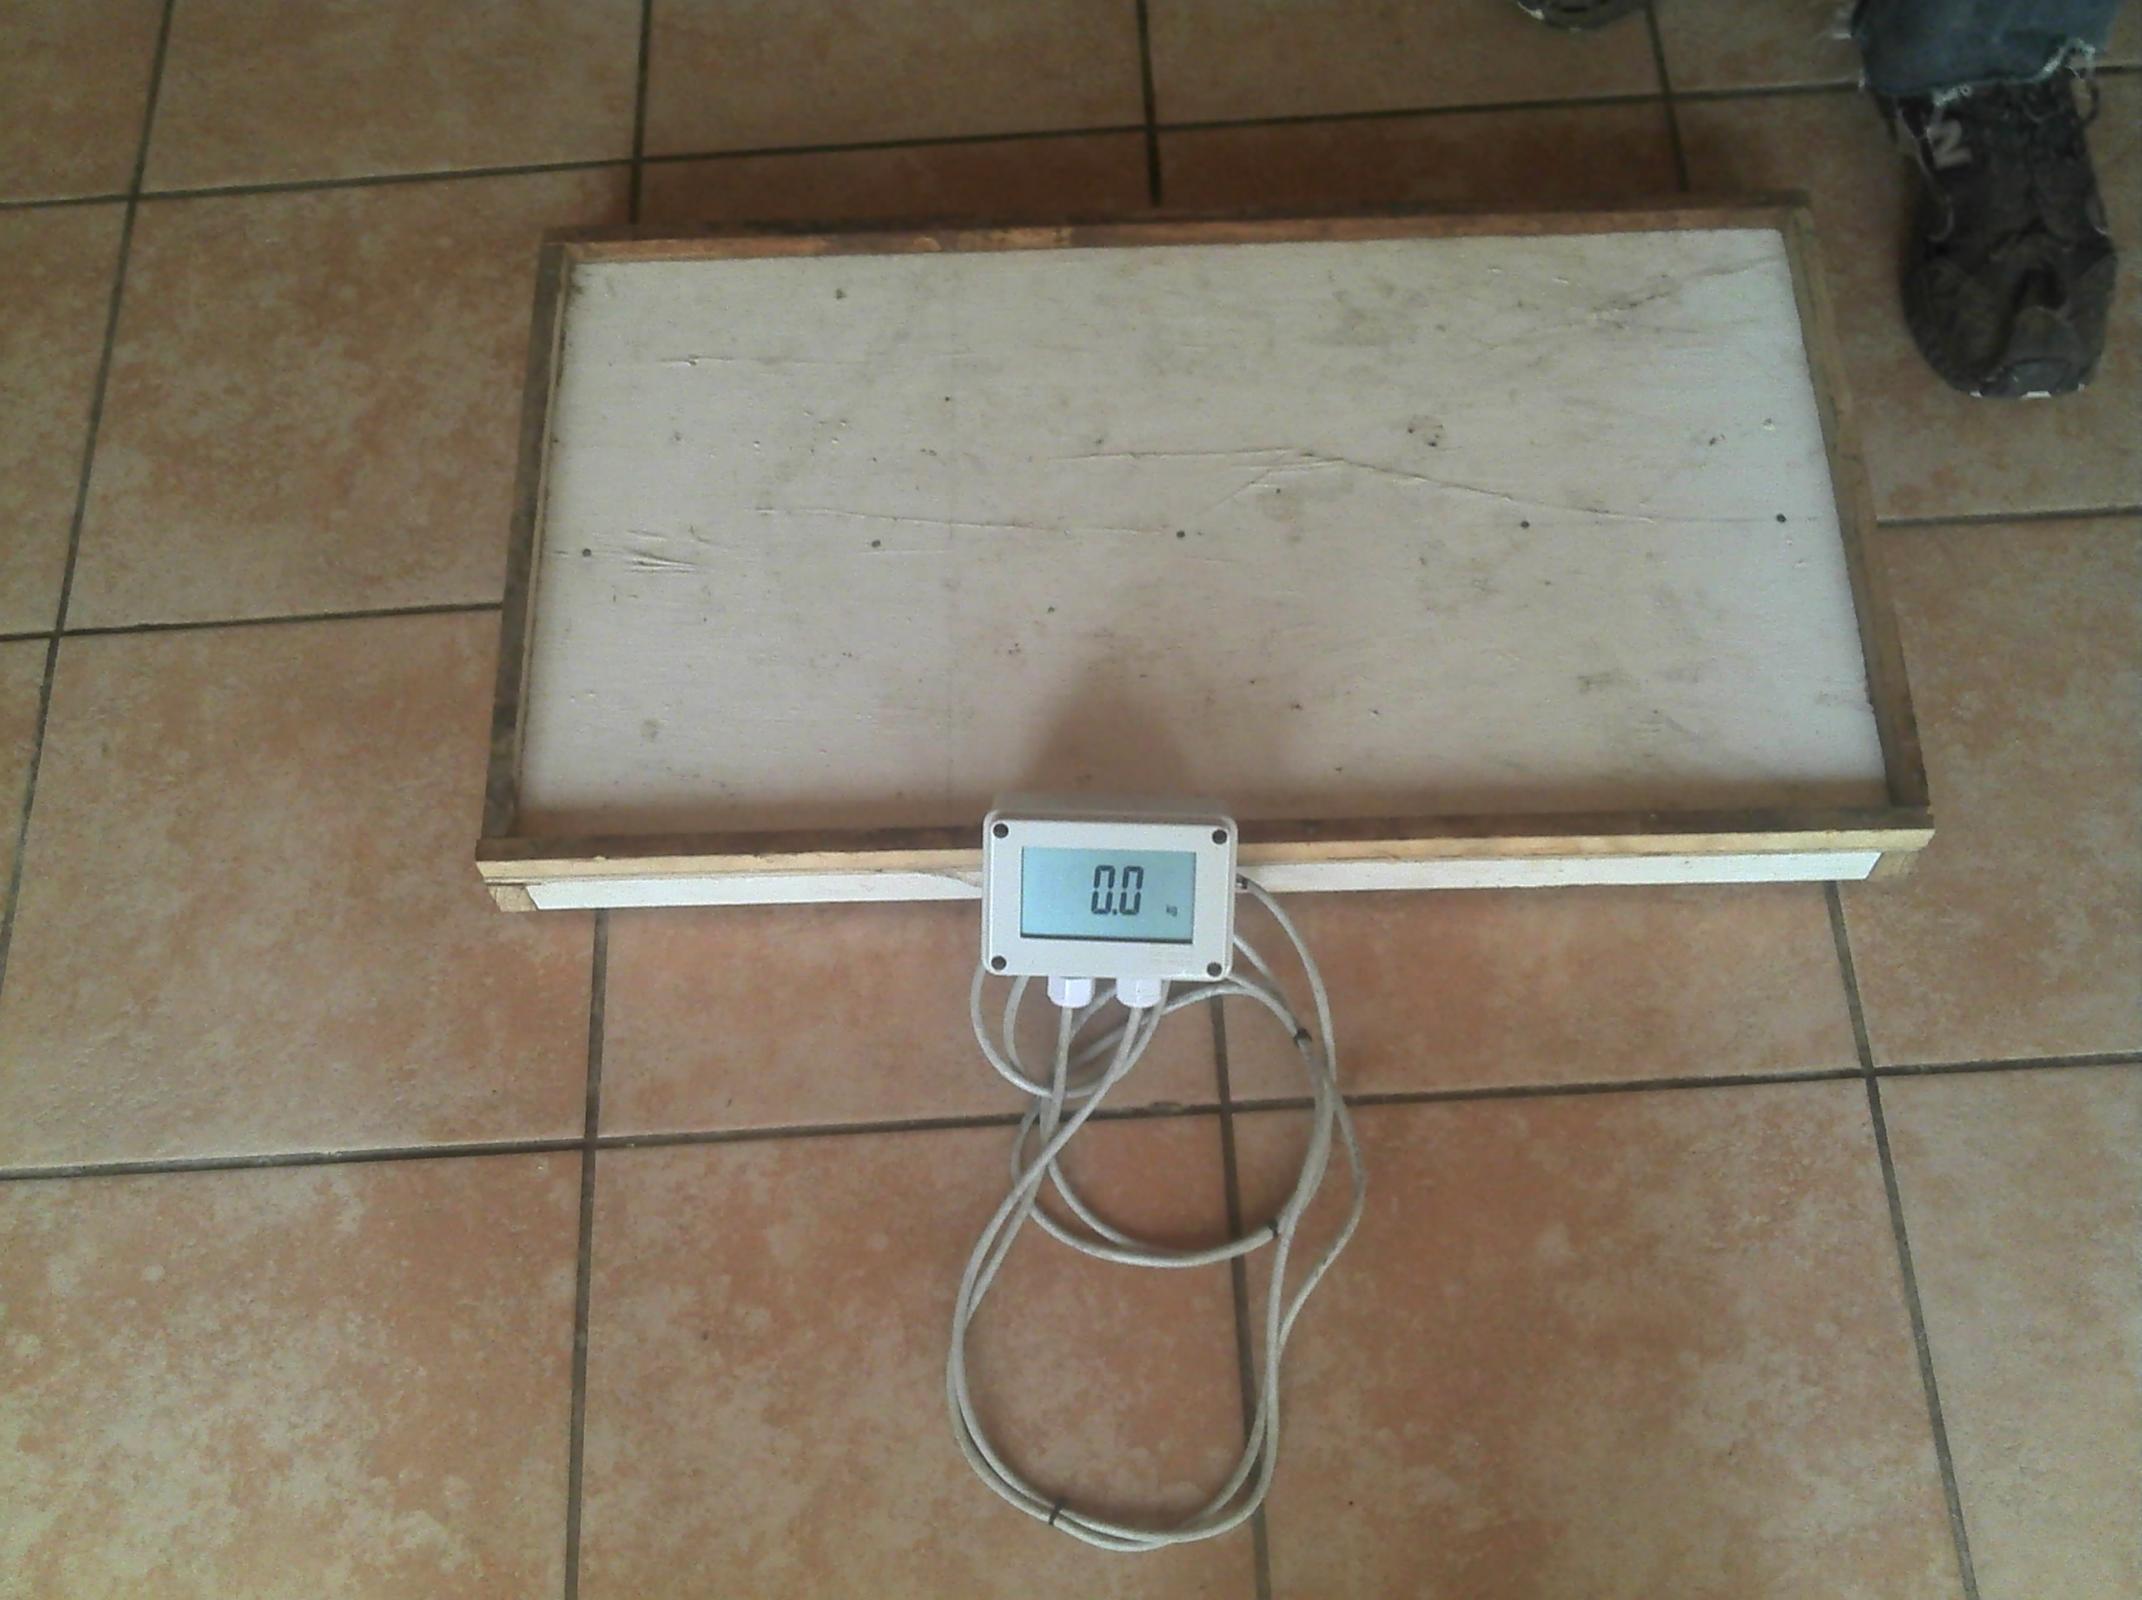
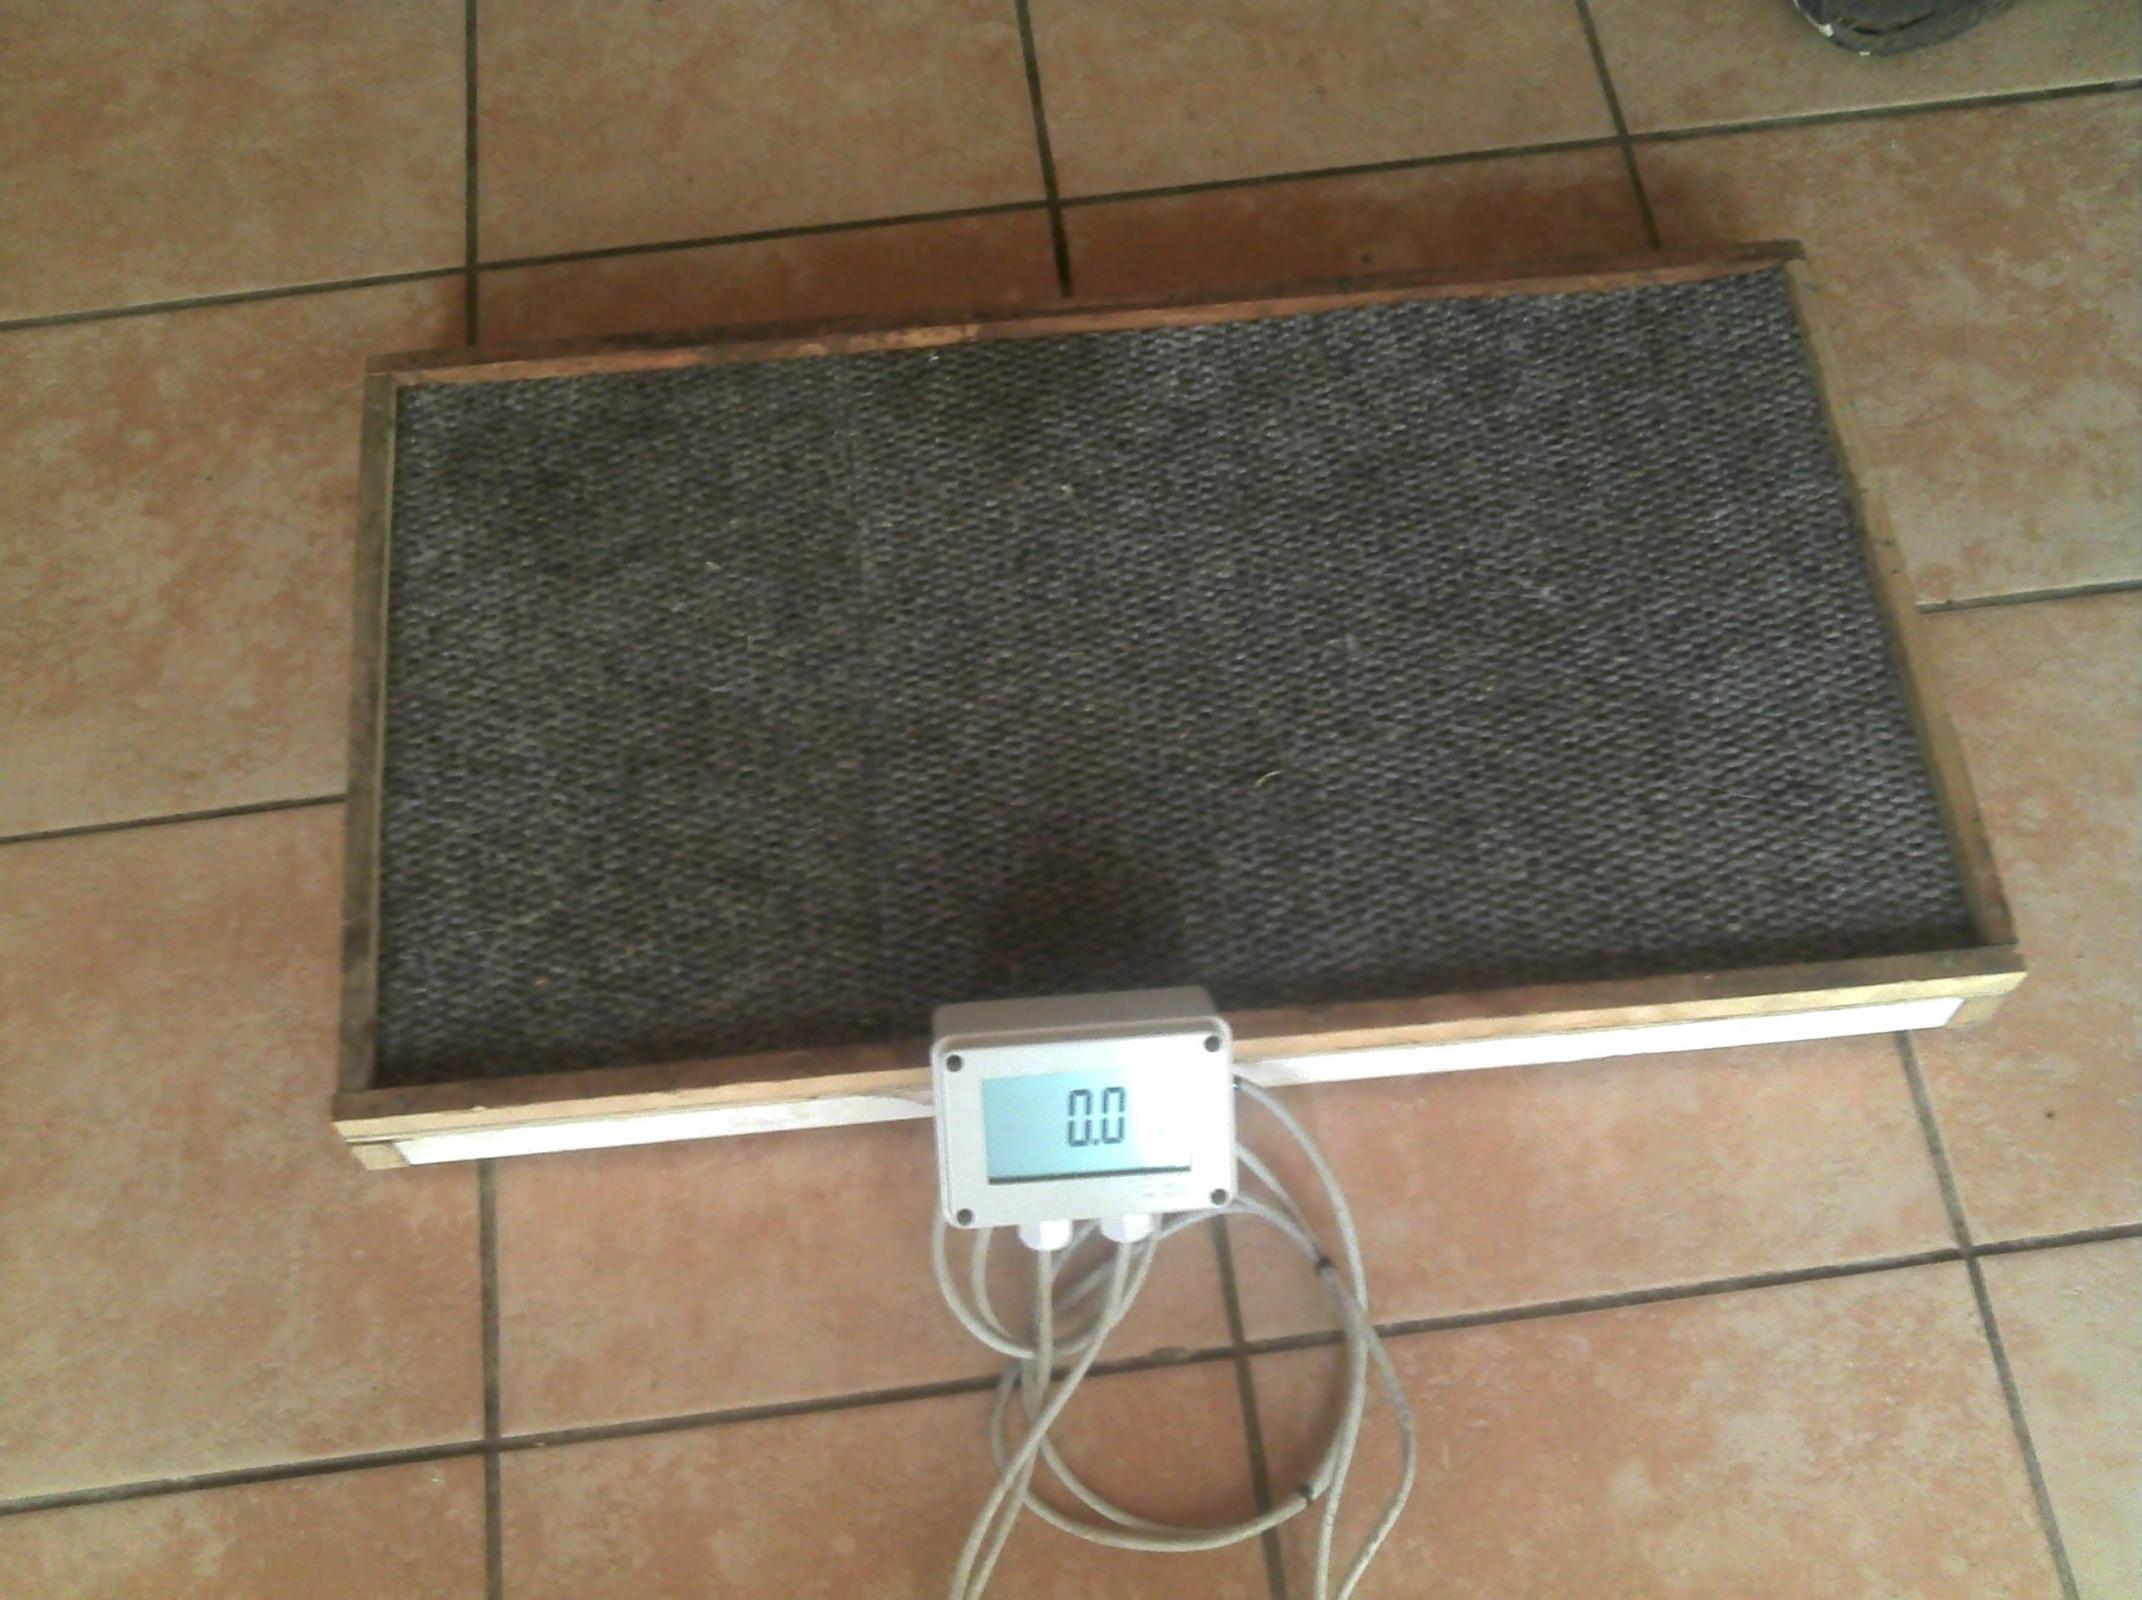
I took it to pieces and re installed the load cells on a wooden platform, big enough to provide for standing space for a goat.
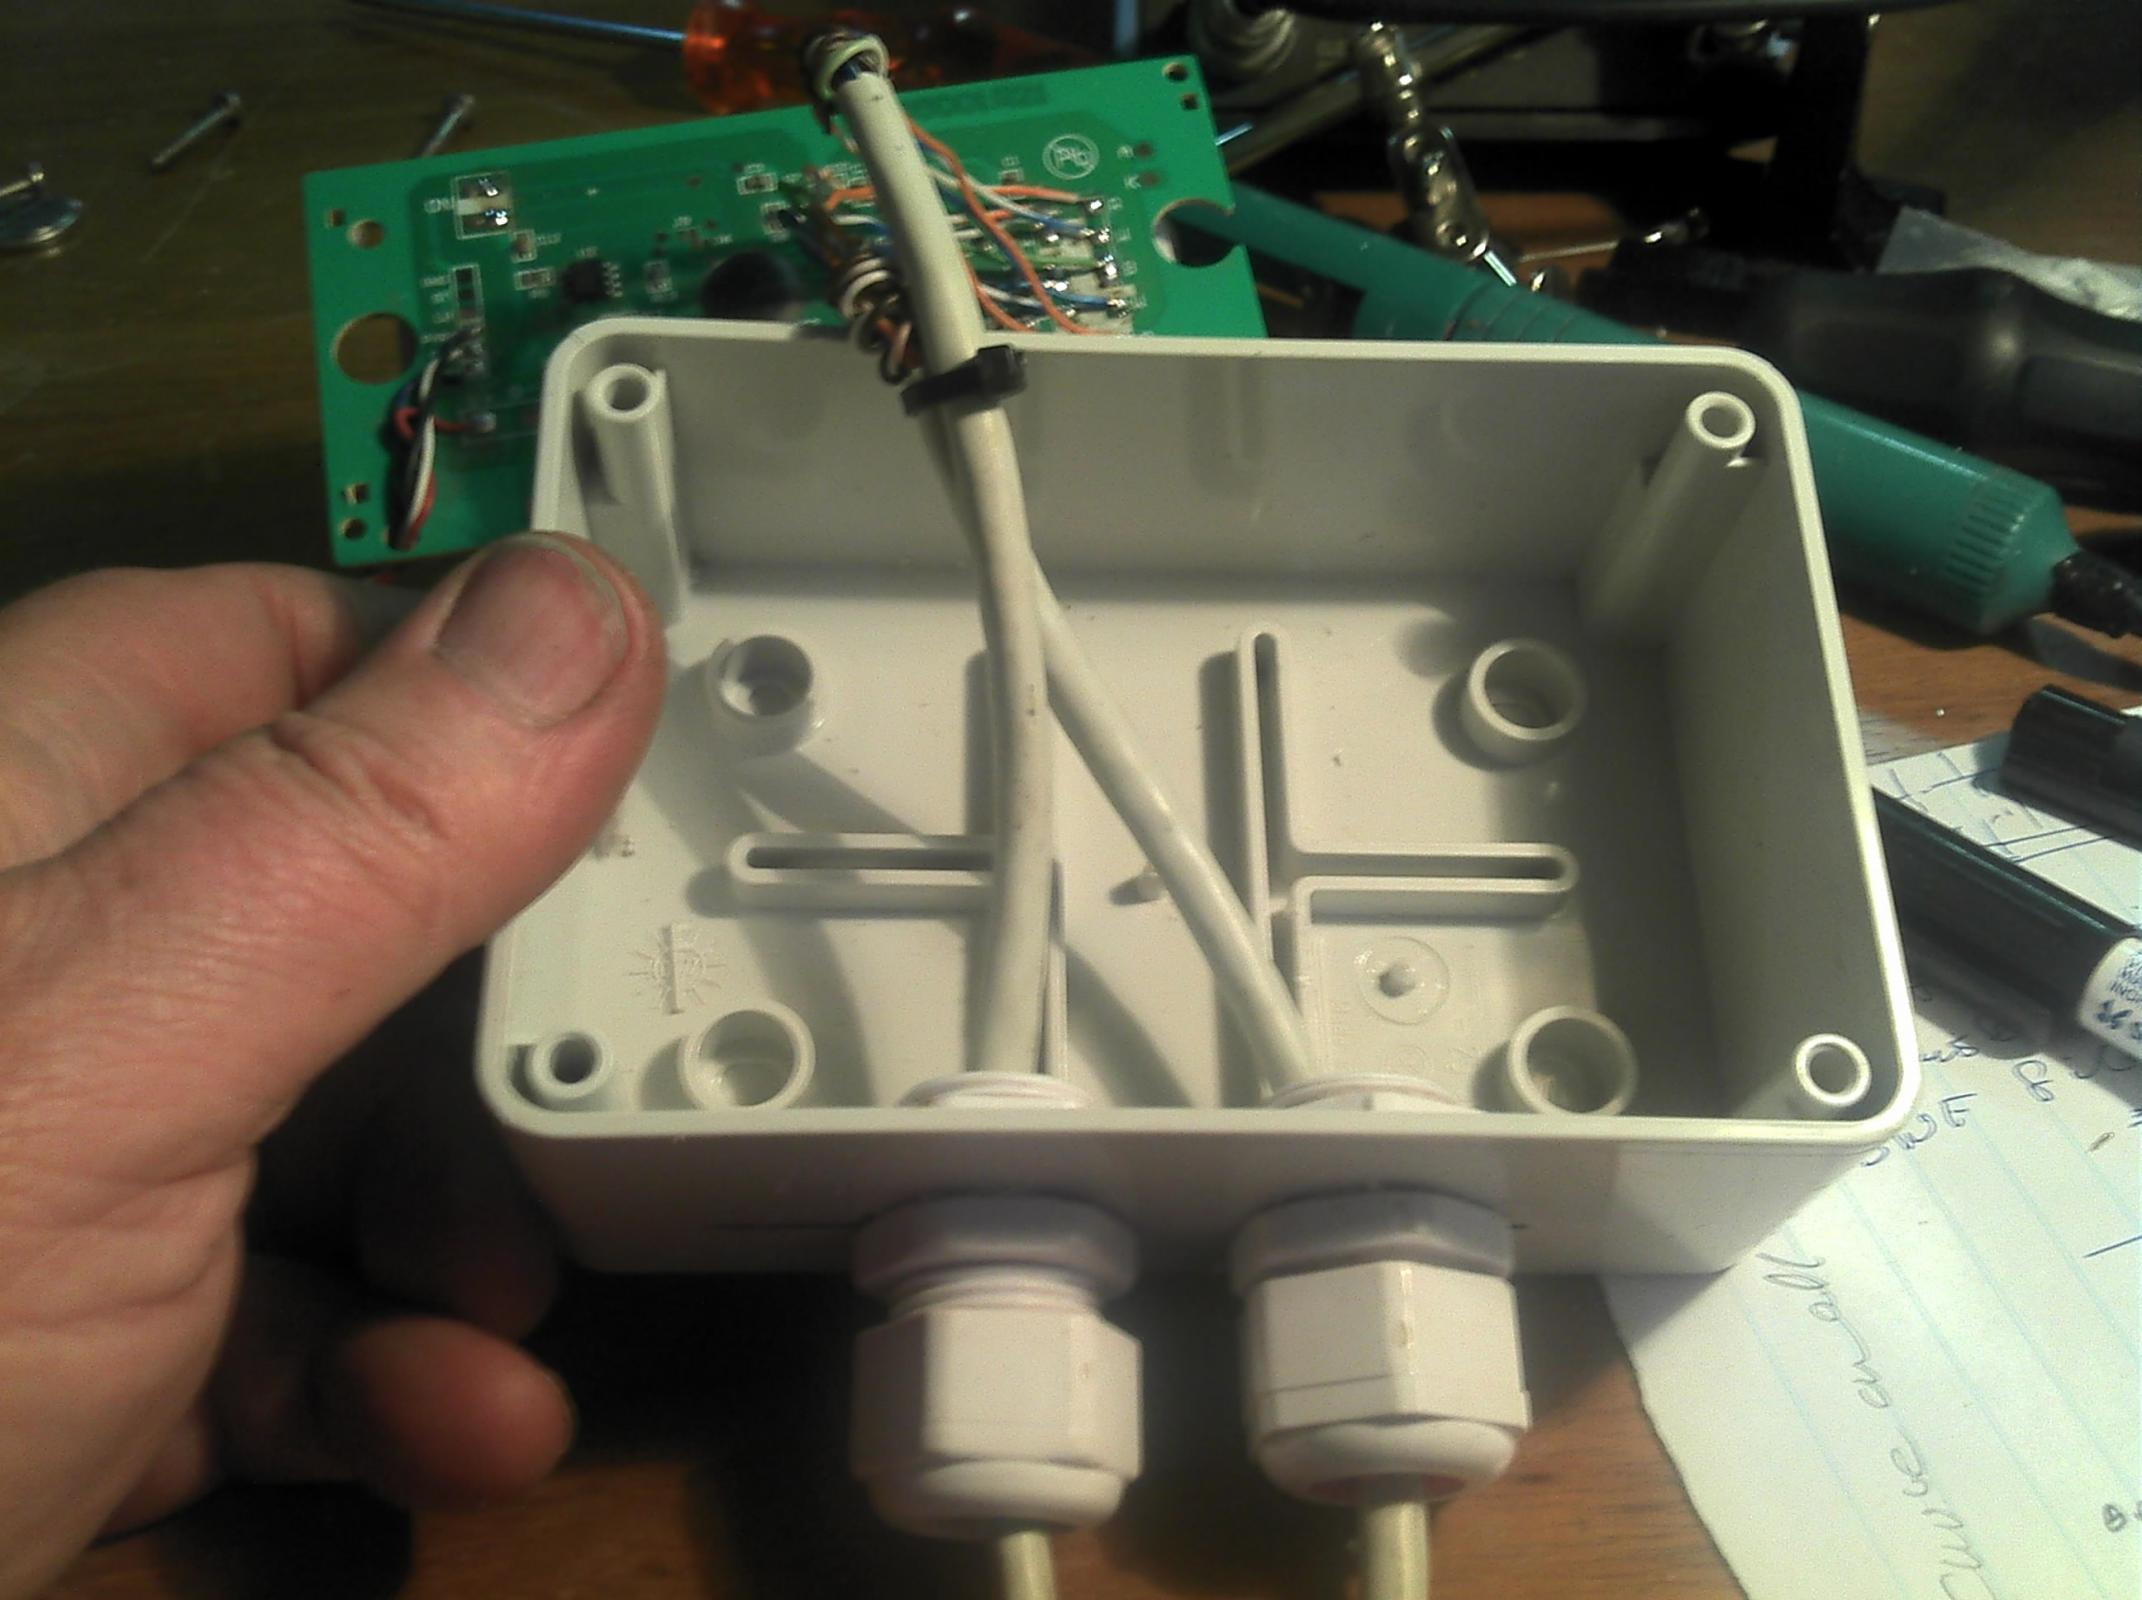
The display was mounted in an enclosure with a cut out lid and connected to the load cells in the platform, with long enough cables for it to be operated remotely. A switch and a battery pack was mounted in this enclosure and two off-cut pieces of CAT5 cables were used for the want of enough wires.
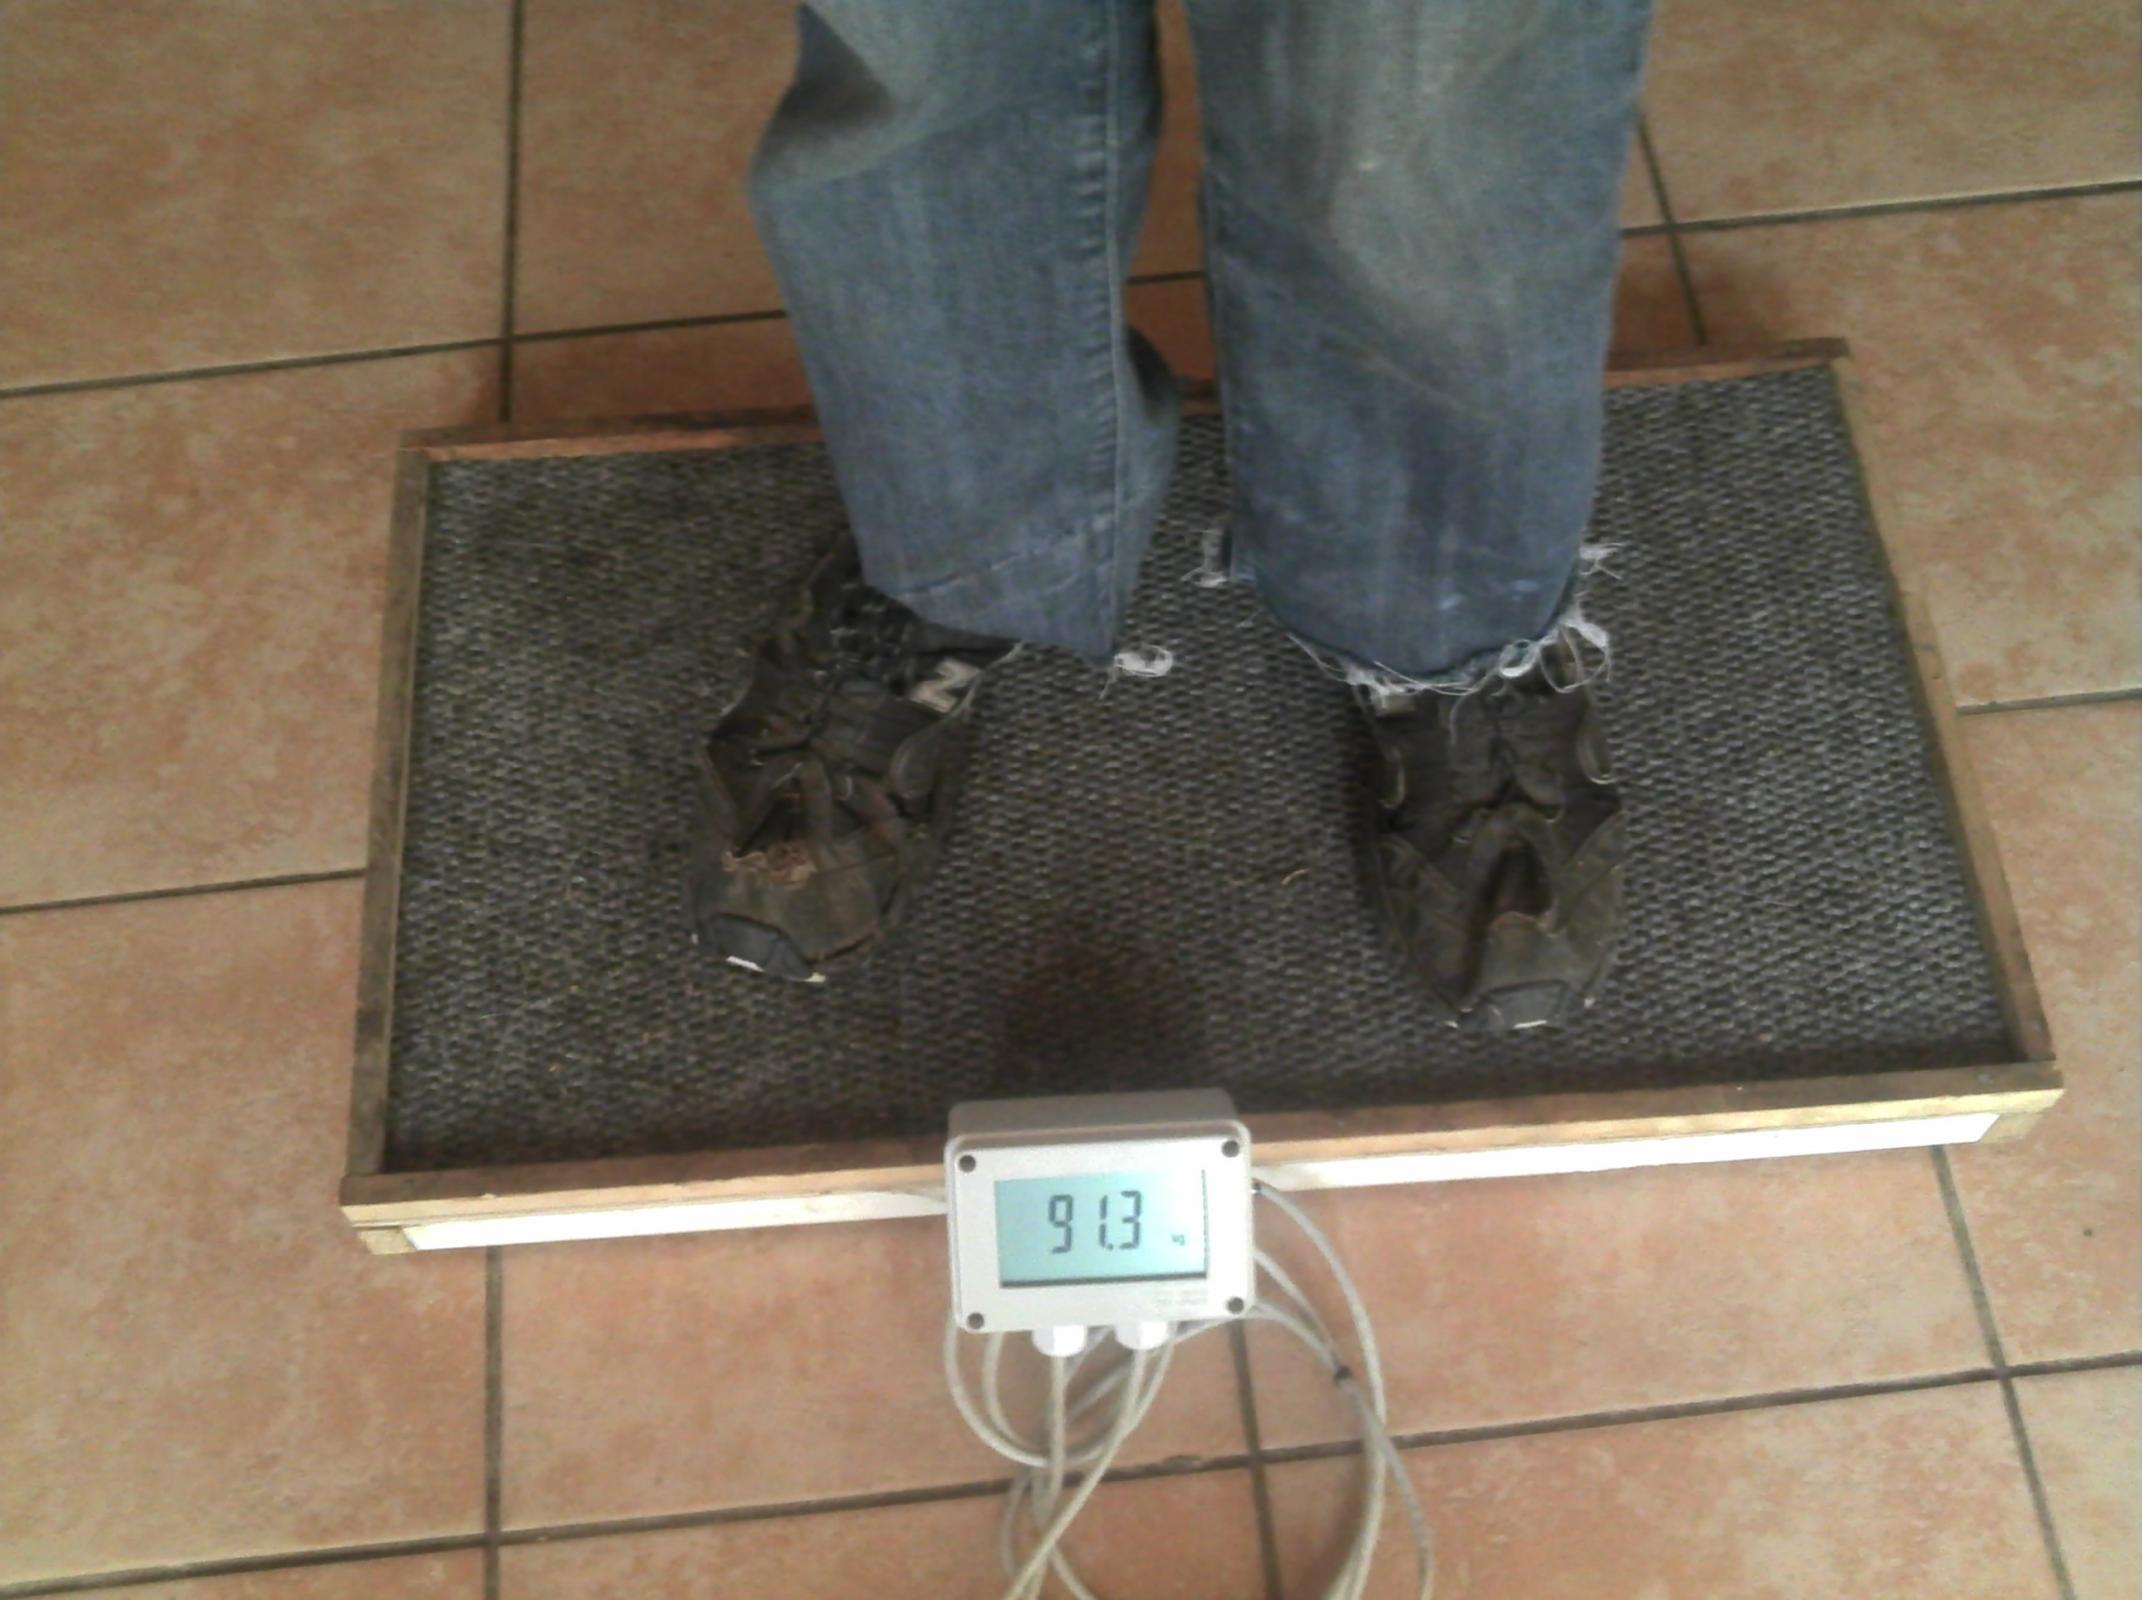
It worked out to be a huge success, accurate enough for what it was intended for and it was used for years thereafter. There was no need for milligrams accuracy as I was only interested in change of mass of the animals for record of their development.
The only addition that soon became necessary was some form of a crate around the scale to keep the goat standing peacefully for long enough for a reading to be taken. The one I made was lost and unfortunately there was no picture of it taken. It was made from 12mm square bar with vertical sliding gates at the ends and big enough to be free standing around the scale, not interfering with the weighing process.
This is not some badass design but more of a re appropriation of the components of an existing device at a very low cost.
The pictures are self explanatory.
Have fun building this!
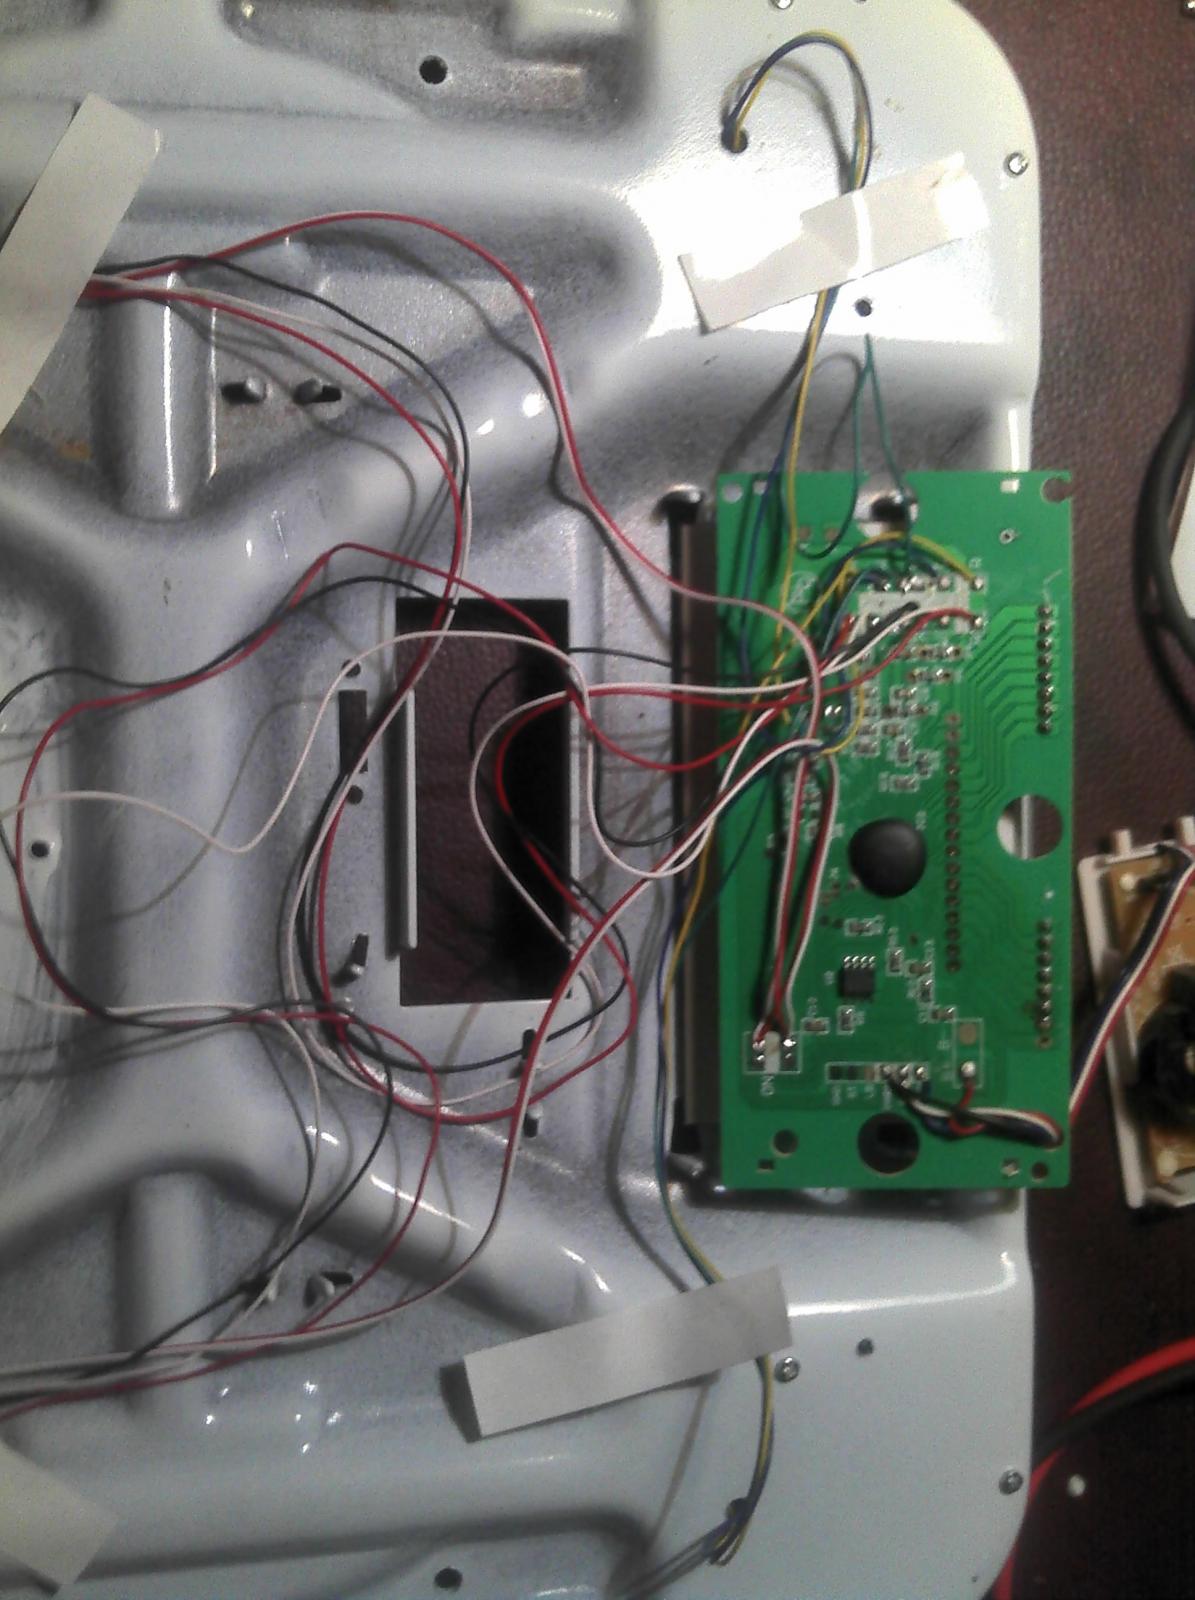
The scale opened
The connections well documents before removal. Load cell connections to the left, switch to the lower right and power connection to the top right.
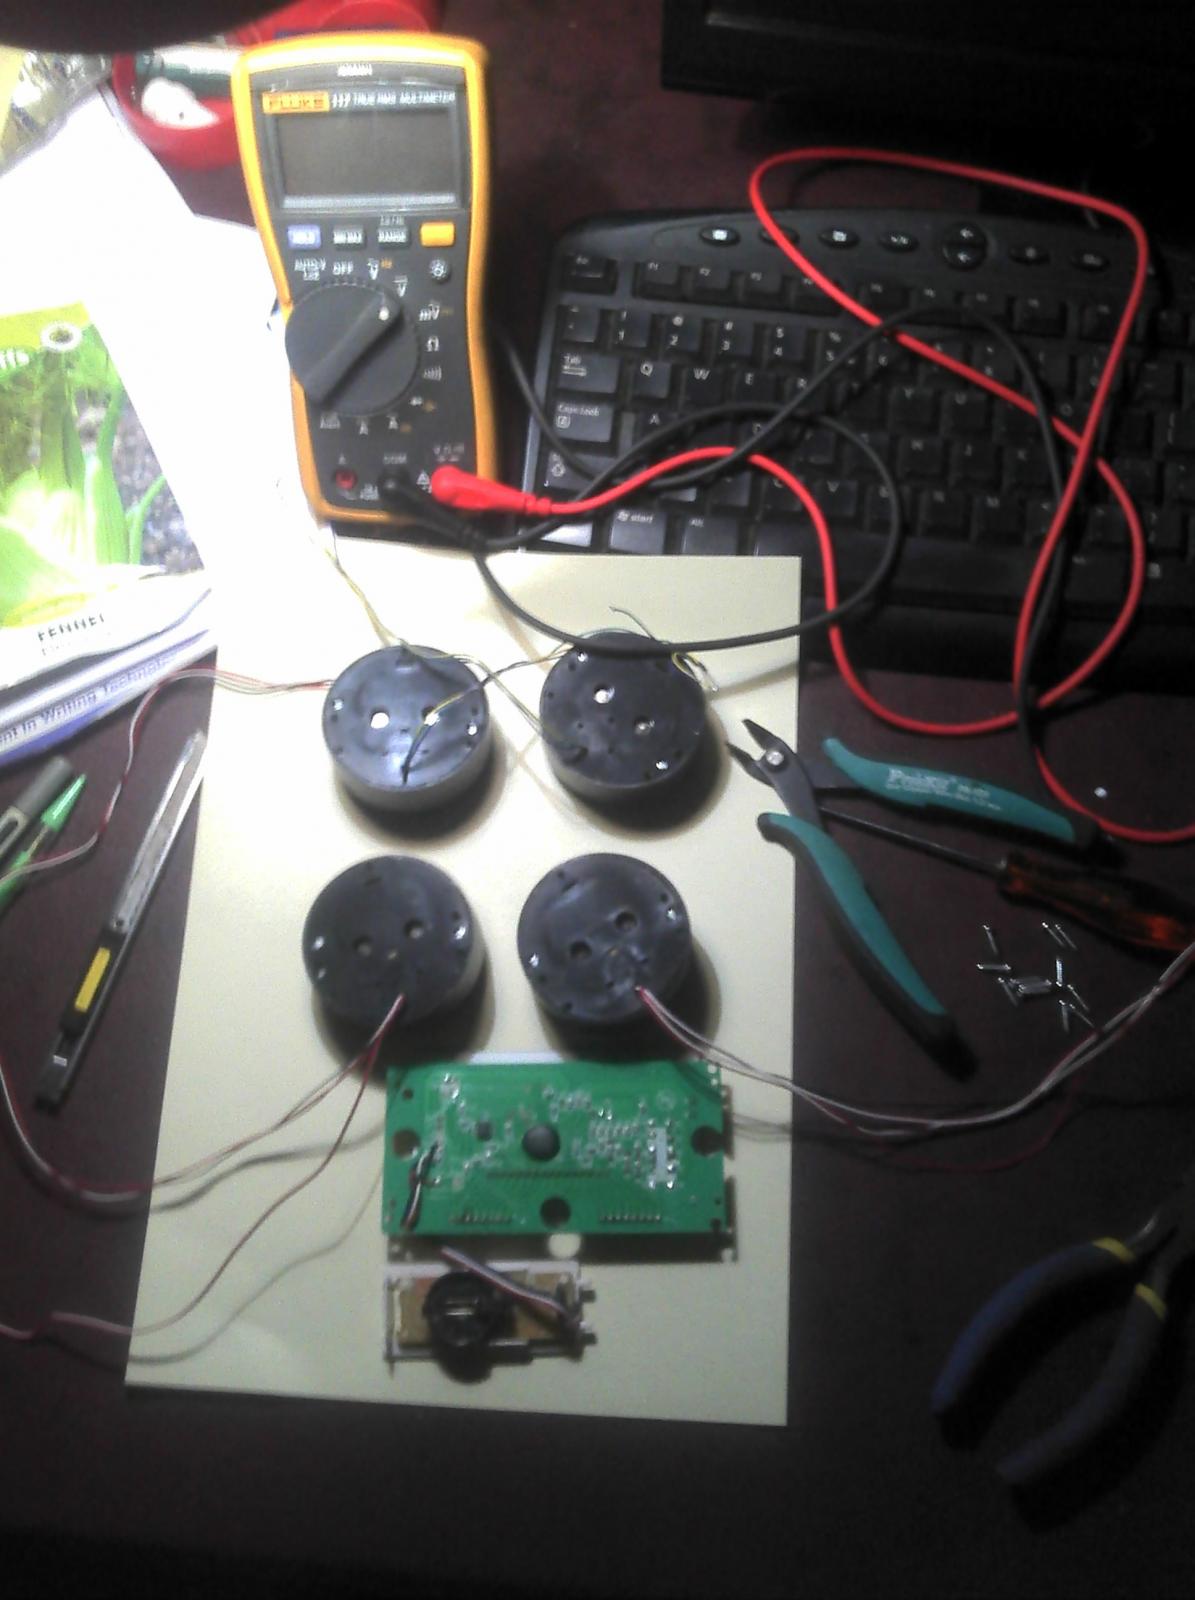
All components removed
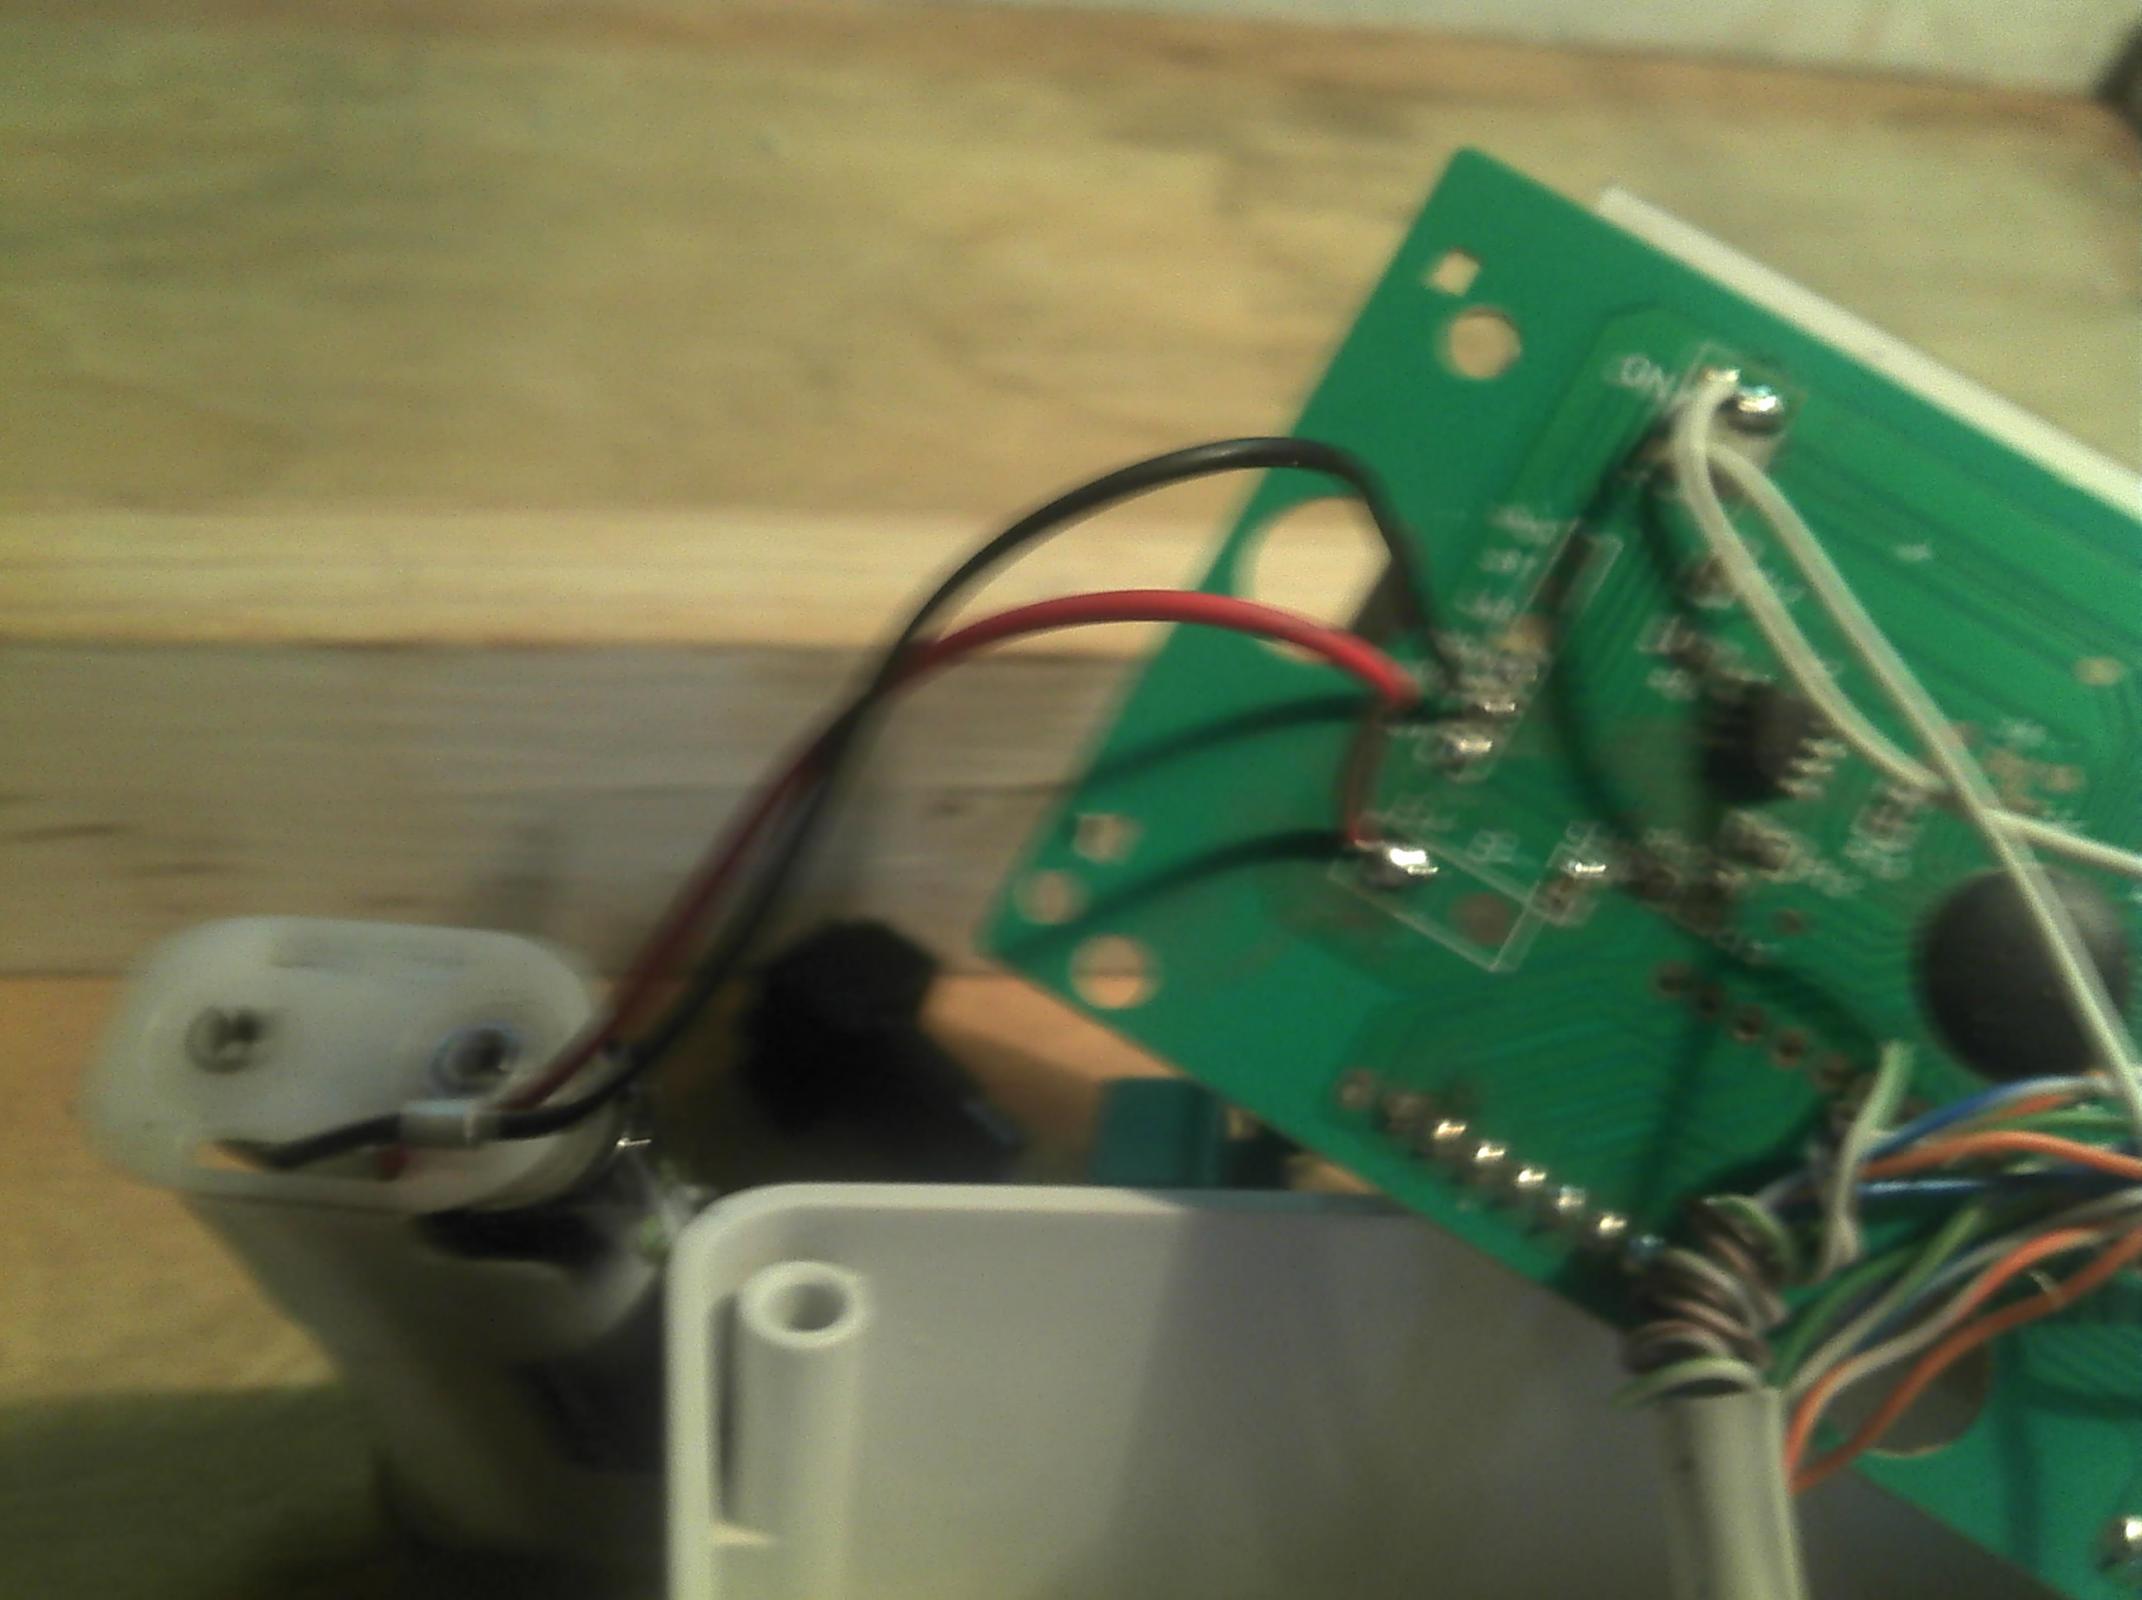
The new longer cables soldered in place. Note the switch, now mounted in the side of the new enclosure is not actually a switching switch but a normally open push button that closes when pushed but opens when released.
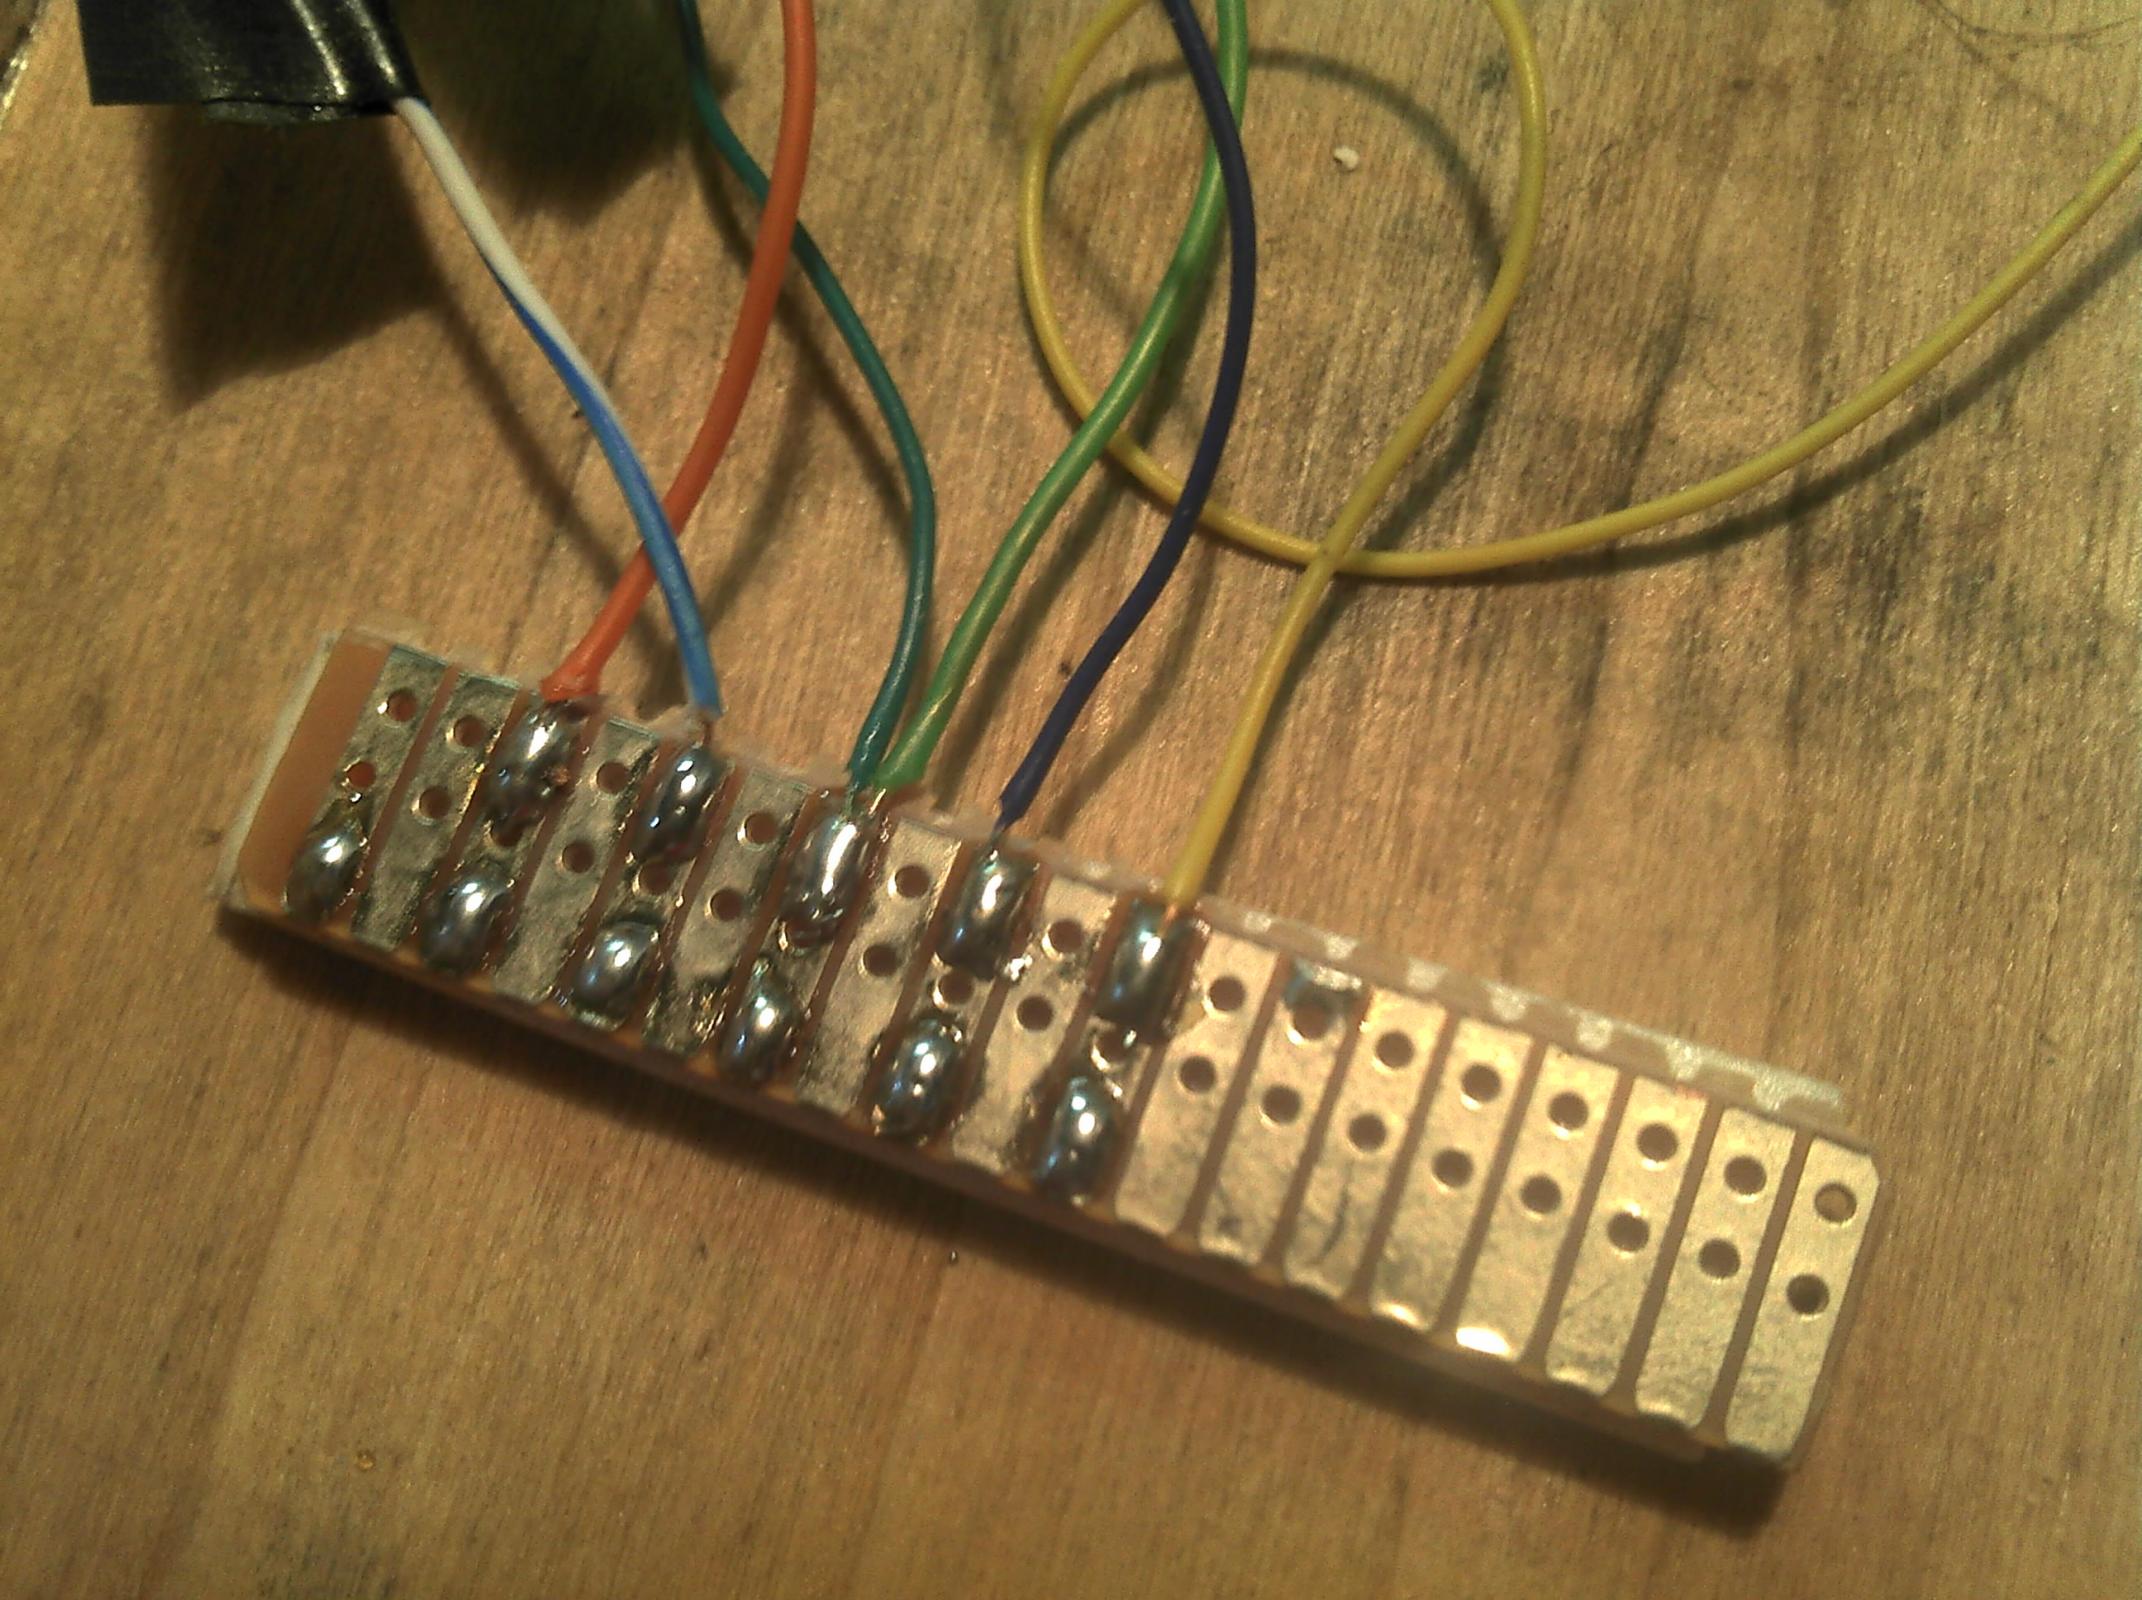
A makeshift soldering tab made from a piece of off-cut veroboard and stuck to the inside of the base with a piece mirror tape.
The load cells on spacers and in place.
The battery pack is the last item to be installed. (sorry for the bad focus as these pictures were never meant to be for an instructable)
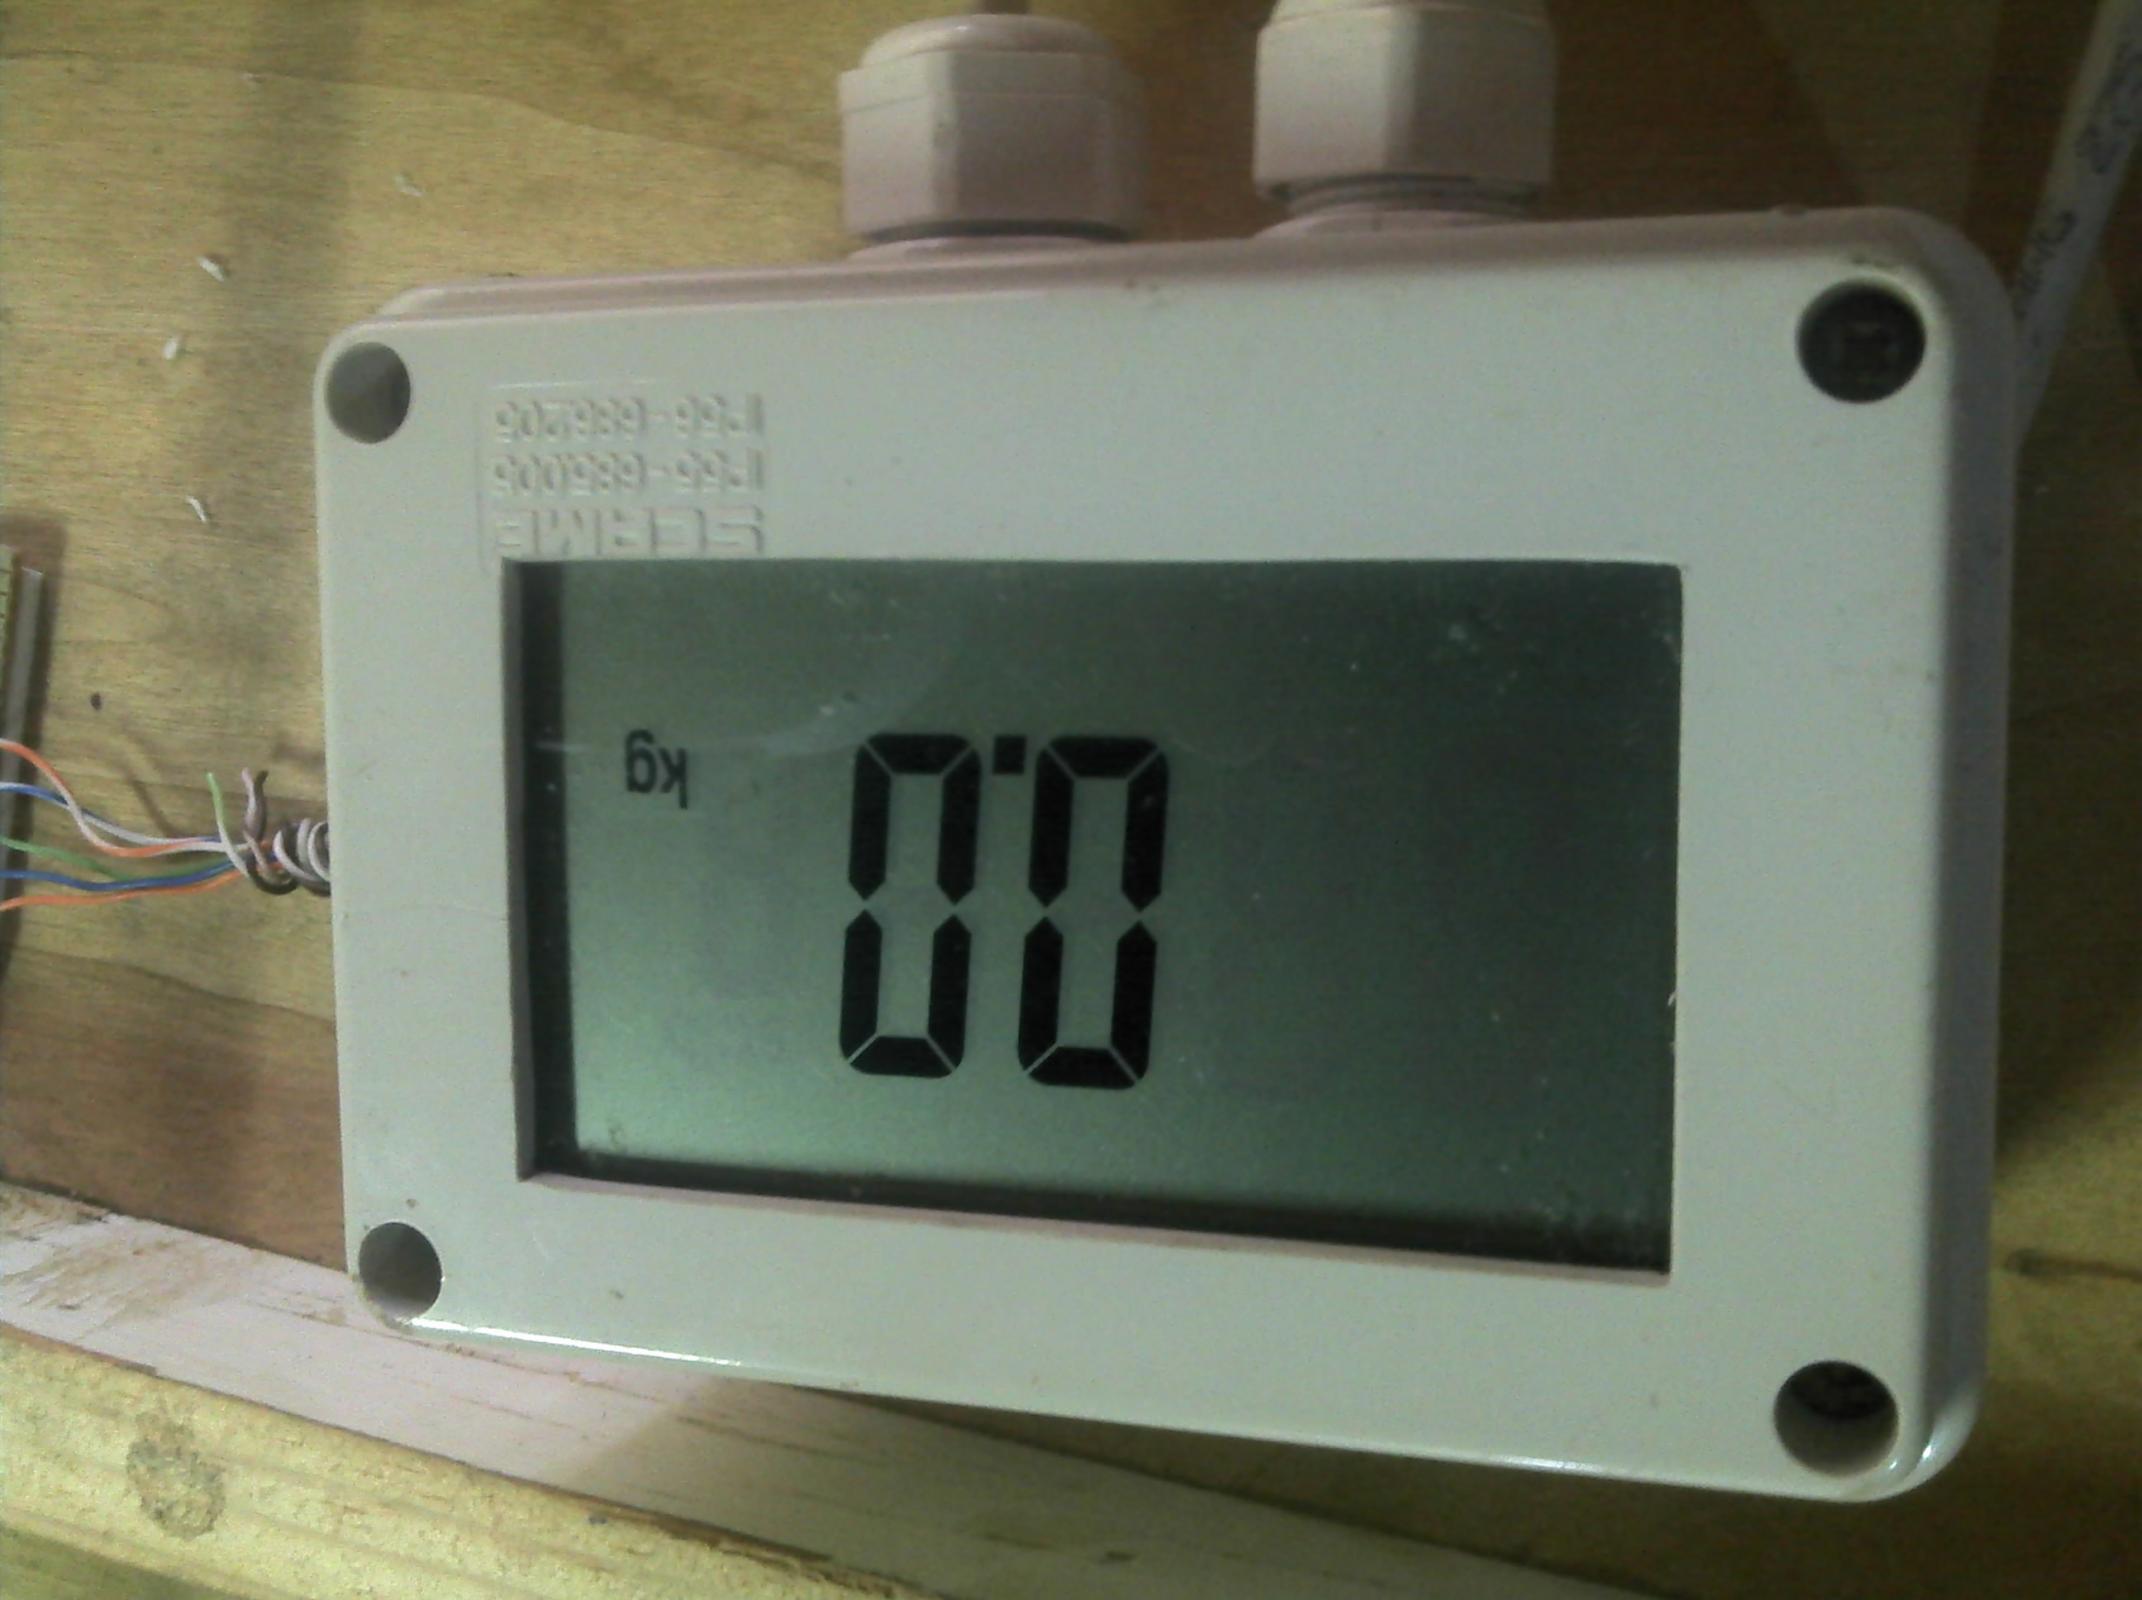
Power on!
Something added to prevent slipping.
Exactly right!


 Reply With Quote

Bookmarks