-
4 Attachment(s)
Geodesic Greenhouse
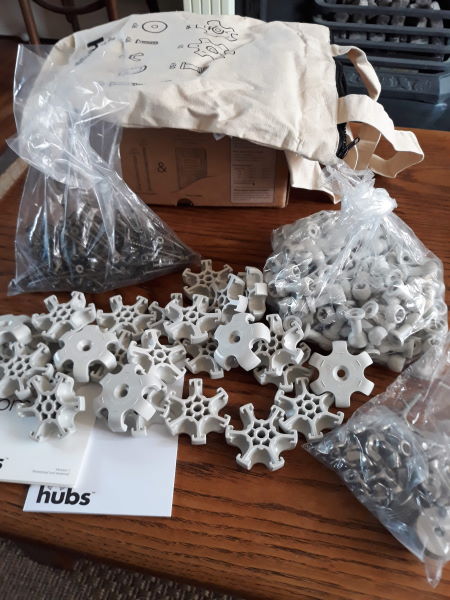
Completely off topic for me, but spent the Easter week making a greenhouse using a Geodesic Hub kit as the starting point.
Attachment 34627
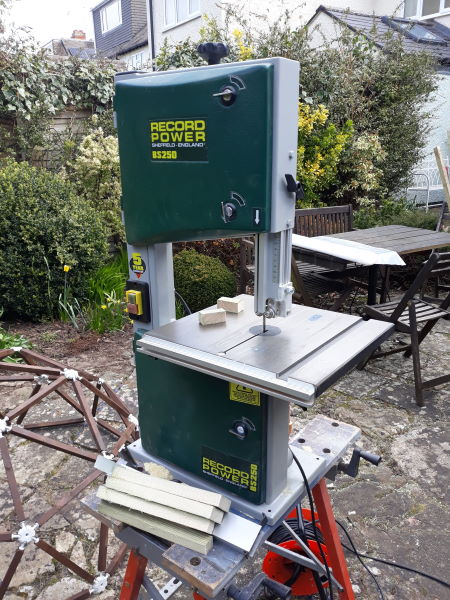
Did get to use the bandsaw to cut up all of the parts out of gravel boards
Attachment 34628
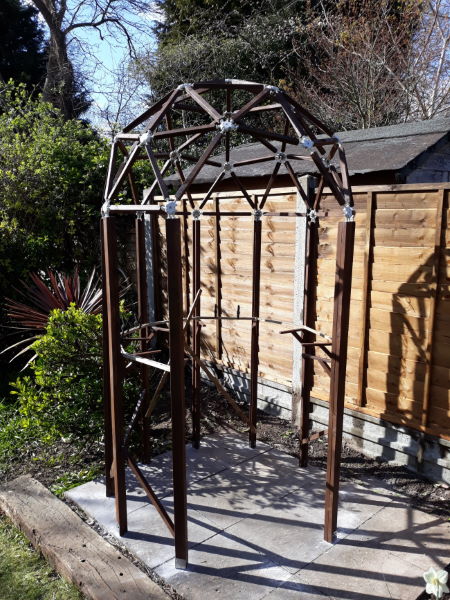
The assembled dome and frame
Attachment 34629
The frame assembly
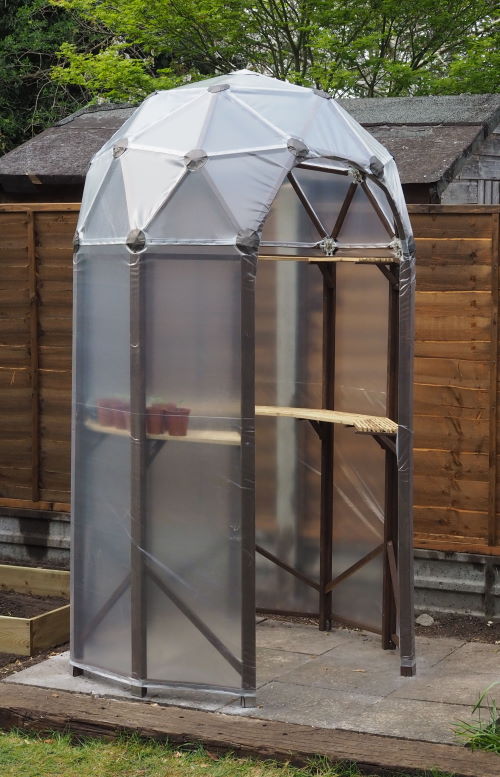
Then I covered it, the dome itself was not so easy
Attachment 34630
Must admit though that it is one of the best projects I made and has put a smile on my face
-
4 Attachment(s)
Cool! I've always wanted to make one.
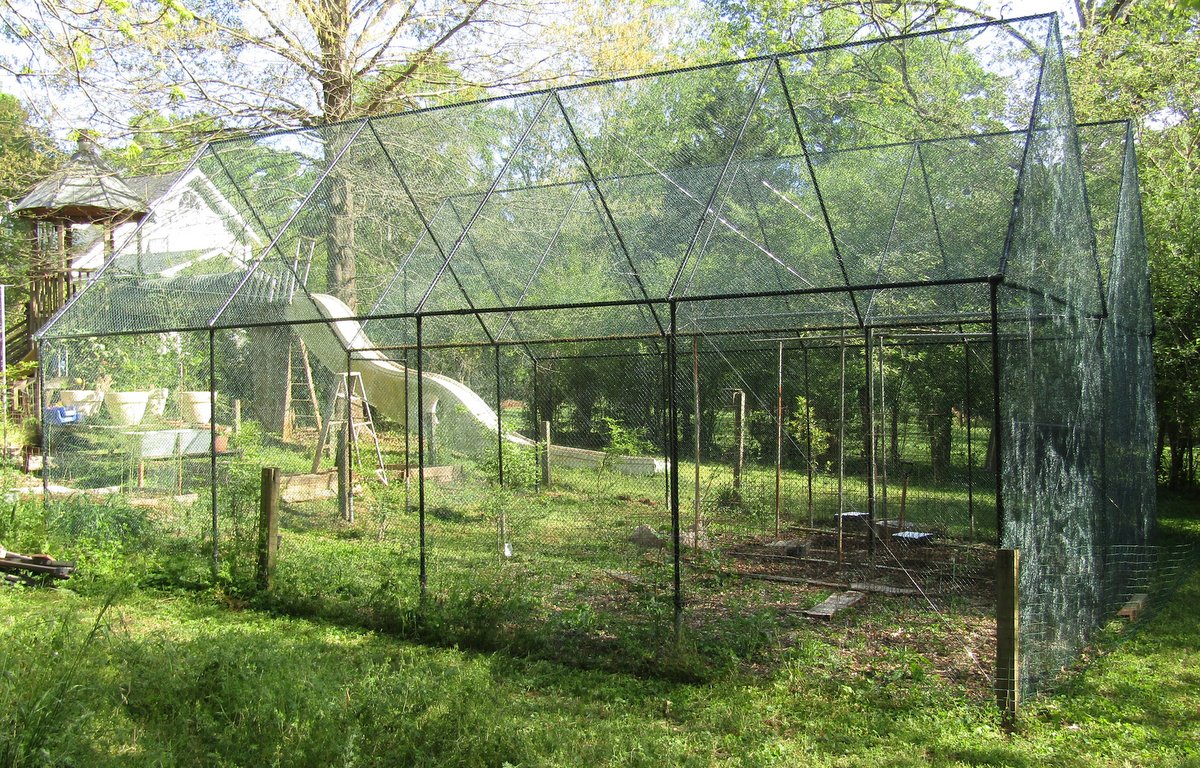
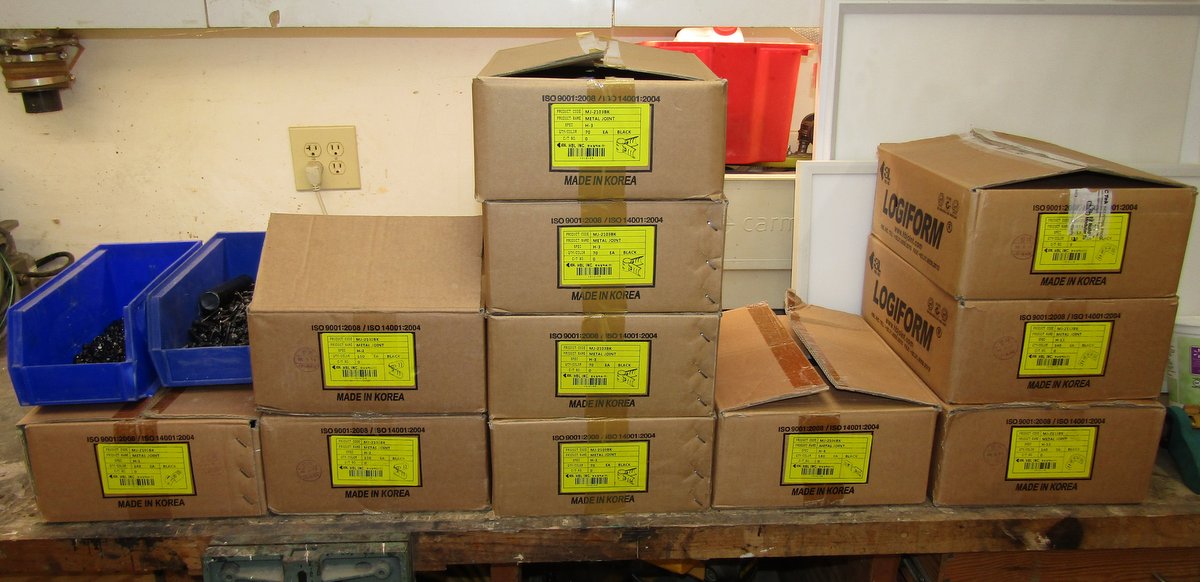
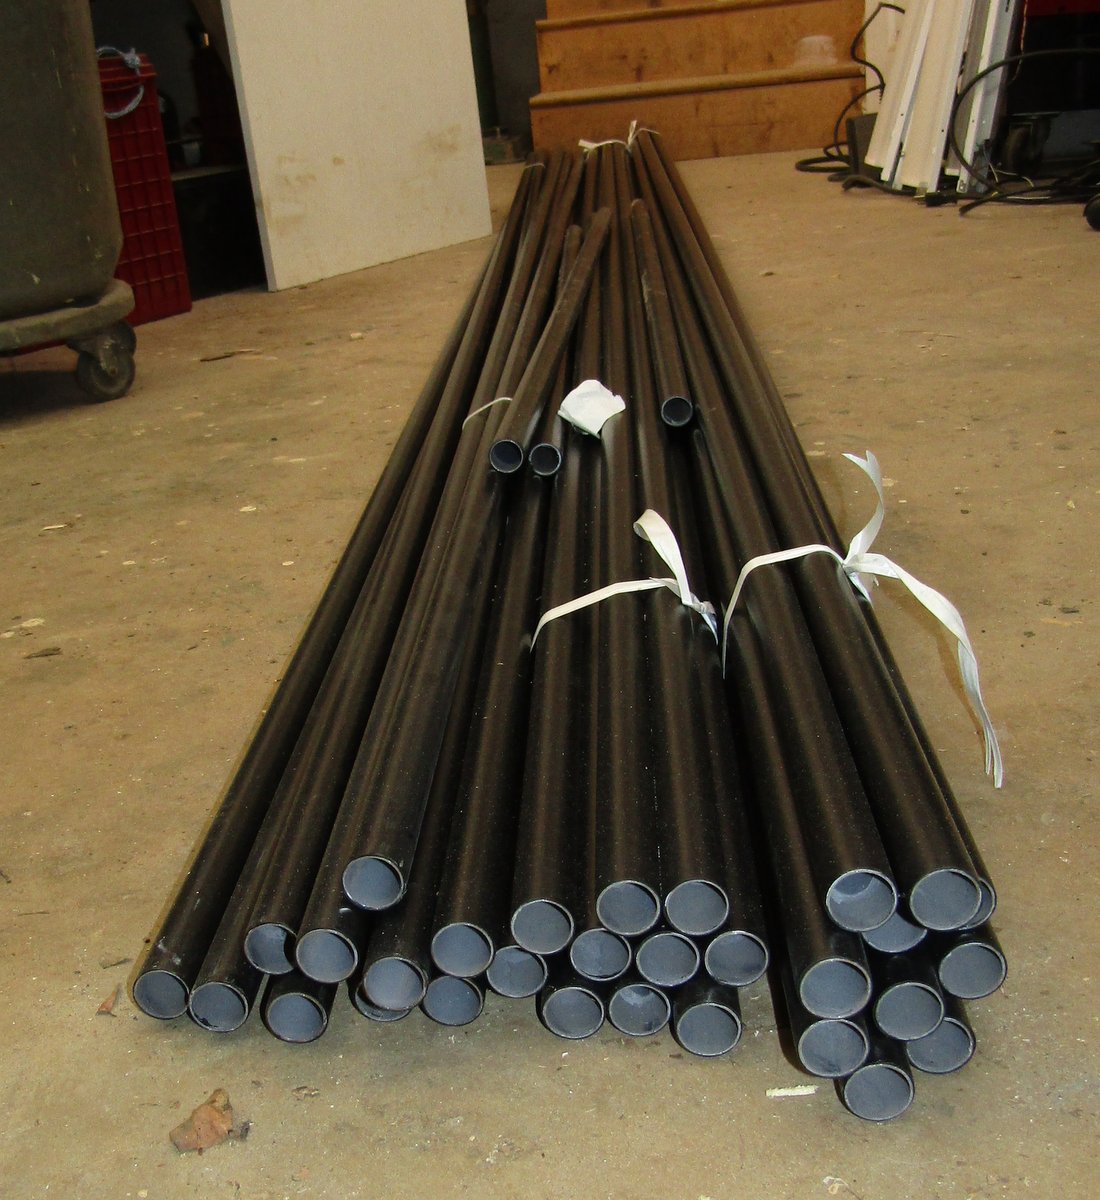
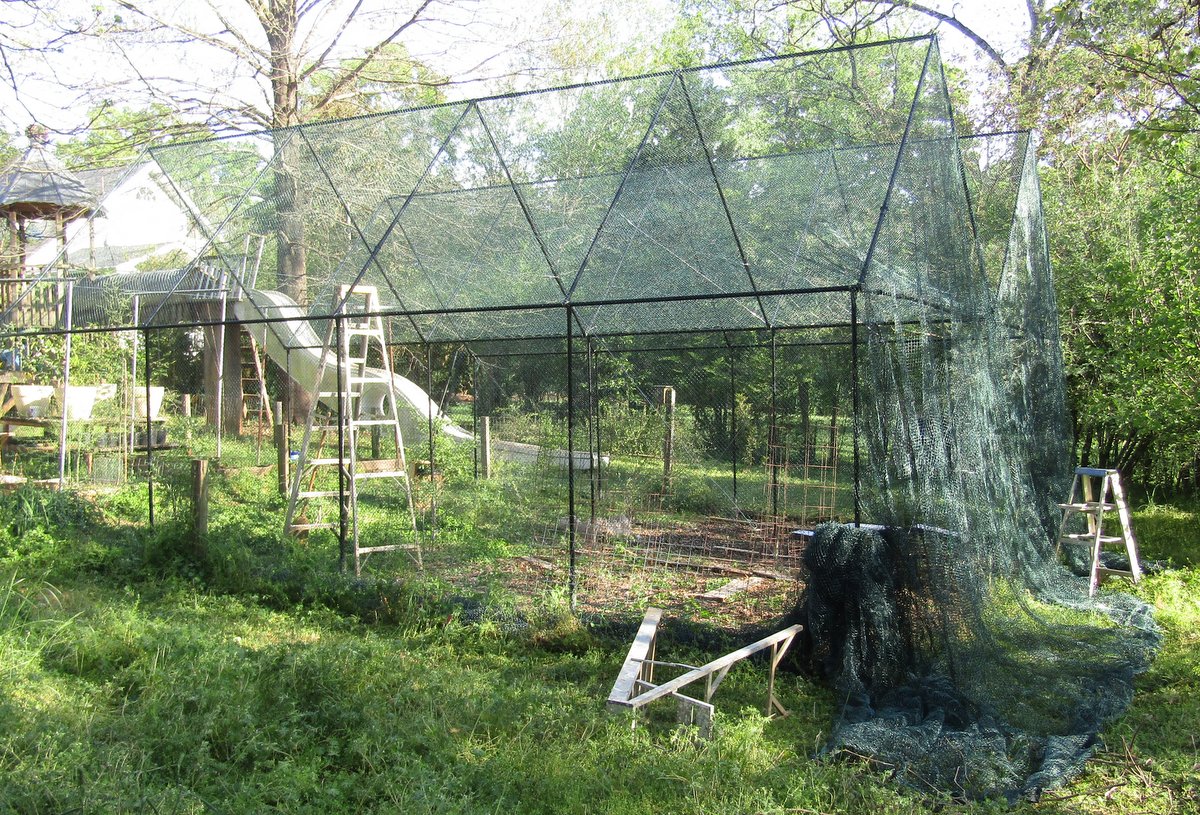
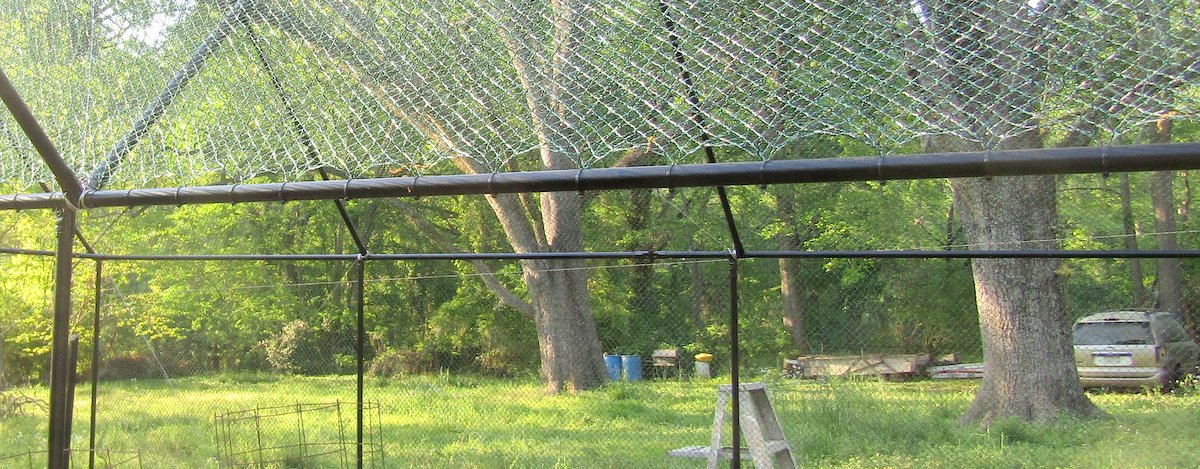
The past couple weekends, I made this anti-bird cage from some discarded industrial assembly cell shelving and racking tube and connectors. I wanted to experiment with a geodesic, but she wanted a more conventional shape.
The wife is very happy at me!
Attachment 34640
Attachment 34641
Attachment 34642
Attachment 34643
Forrest in Atlanta
-
Just a thought for anyone attempting plastic wrapping for green houses. Scaffolders use a white plastic wrapping material to wrap large scaffold structures, covering whole houses, ships etc, and they heat shrink it with a large gas torch after a fairly crude wrapping process. It shrinks very tightly in position, sticks to itself at the overlaps, looks good, and would even give additional strength to a lightweight structure. It is a solid white colour but light seems to freely penetrate it. I am not sure of the UV longevity rating or its trade name, but have been considering using it for a small greenhouse project.
-
and when planning to wrap something, remember that puts quite a bit of load on the structure. I've seen several PVC things without enough support get very distorted from the load.
-
<!-- BEGIN /var/www/html/homemadetools/protected/modules/zeus/views/tool/postUpdate.php -->
Thanks McDesign! We've added your Anti Bird Cage to our Farm and Garden category,
as well as to your builder page: McDesign's Homemade Tools. Your receipt:
<div id="blocks">
<div class="block b1 pngfix">
<div class="bimg">
<div>
<a href="https://www.homemadetools.net/homemade-anti-bird-cage">
<img src="/uploads/232523/homemade-anti-bird-cage.jpeg"/>
</a>
</div>
</div>
<div class="head pngfix"></div>
<div class="left pngfix"></div>
<div class="right pngfix"></div>
<div class="blockover b1 pngfix">
<div class="title">
<a href="https://www.homemadetools.net/homemade-anti-bird-cage">Anti Bird Cage</a>
<span> by <a href="https://www.homemadetools.net/builder/McDesign">McDesign</a></span>
</div>
<div class="tags">tags:
<a href='https://www.homemadetools.net/tag/farm-tools'>farm tools</a> </div>
</div>
</div>
</div>
<!-- END /var/www/html/homemadetools/protected/modules/zeus/views/tool/postUpdate.php -->
-
That looks nice Forrest and will no doubt keep birds away from your plants but I've got a couple of squirrels that would go through that in a matter of minutes. Those bastards are just plain evil and determined. I babied a row of tomato plants one year with cages and netting and just as the large delicious looking fruits were almost ready to be picked those little vandals broke through a hog wire cage, ripped down every tomato and took a bite out of every one.
-
I find squirrels to be very nice...cooked.
-
6 Attachment(s)
Thanks all, my first "mention"!
I was pleased with my "Covid19" foundation method - I wanted to use what I had around.
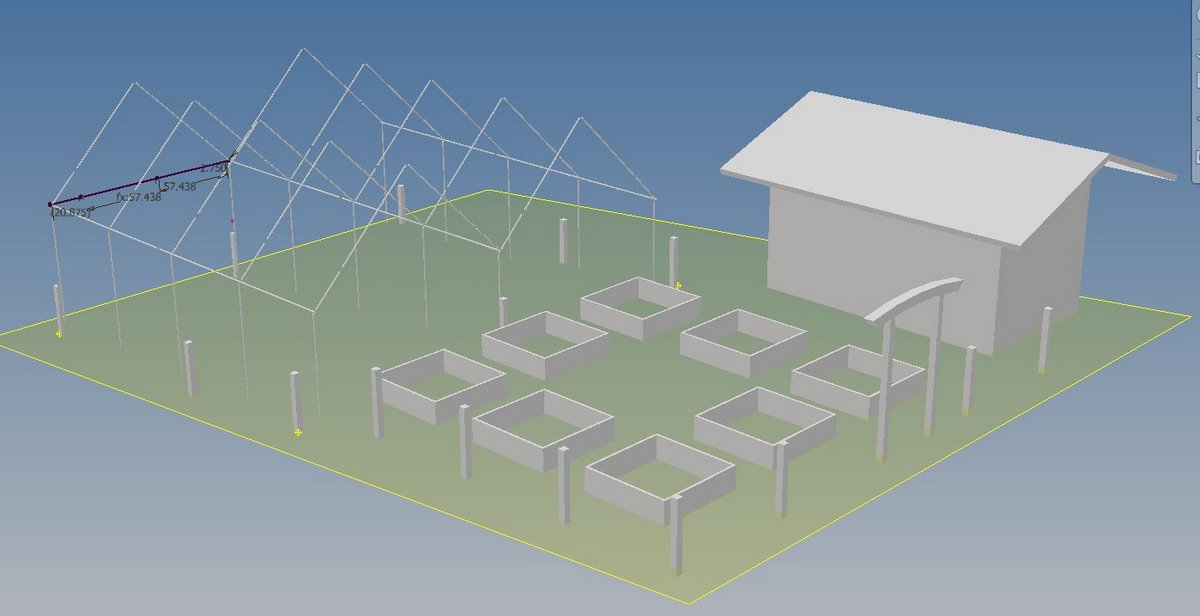
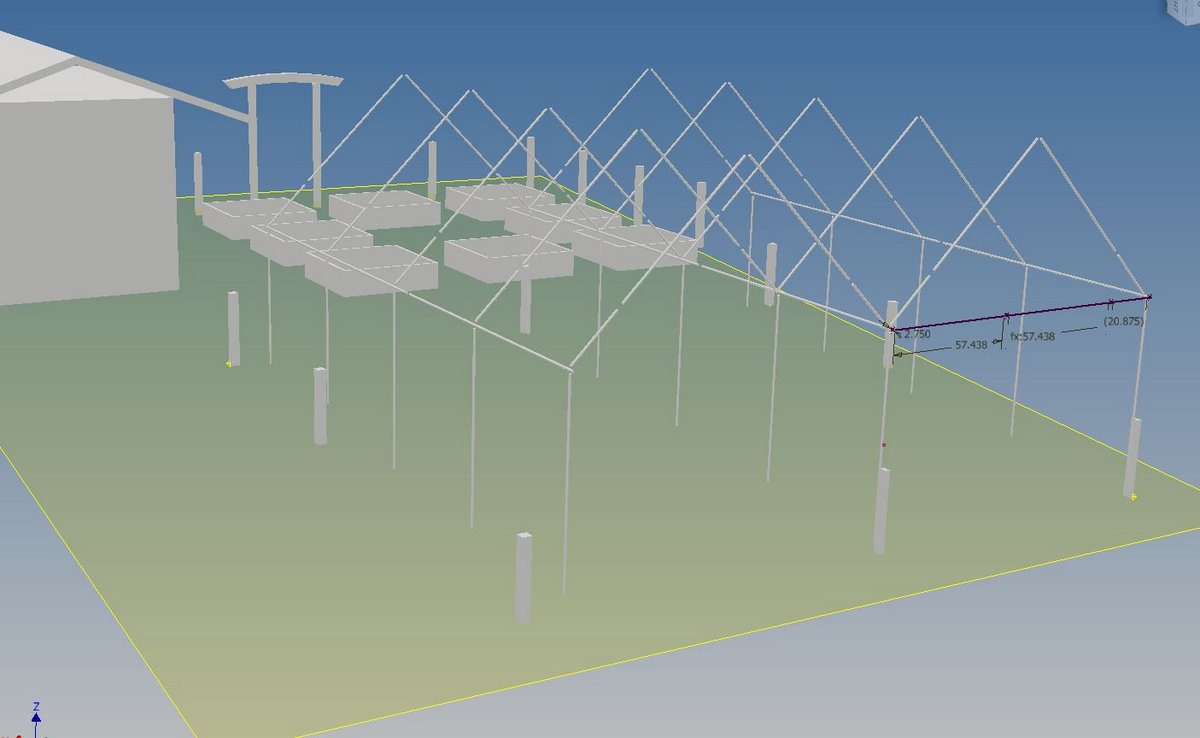
So - I designed it first in CAD to efficiently use the connectors and tubes I had salvaged.
Attachment 34653
Attachment 34654
Attachment 34655
Attachment 34656
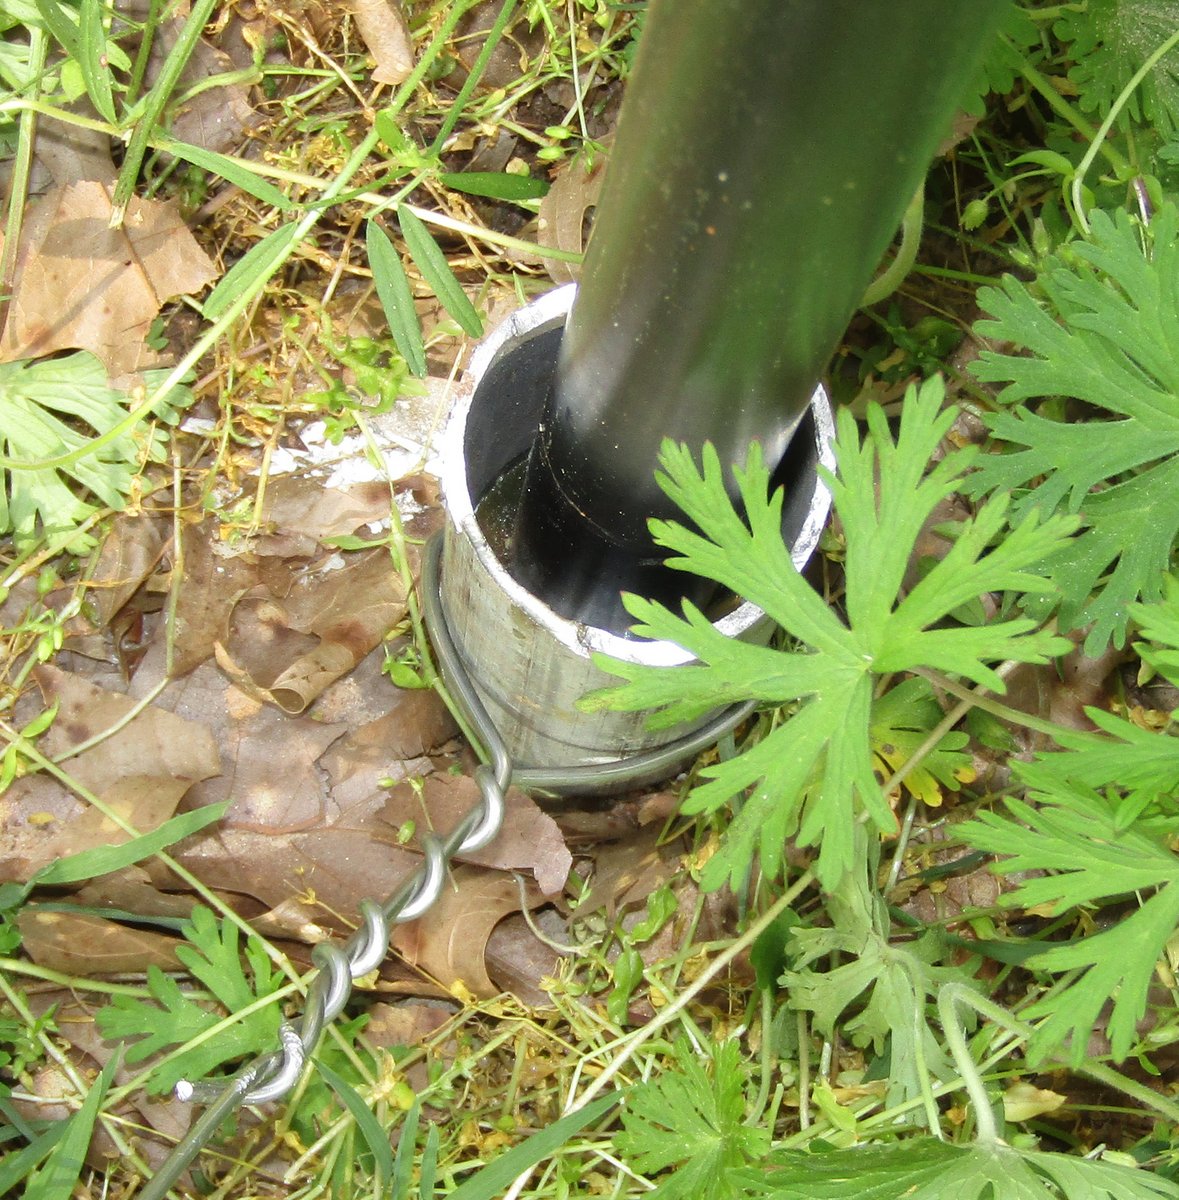
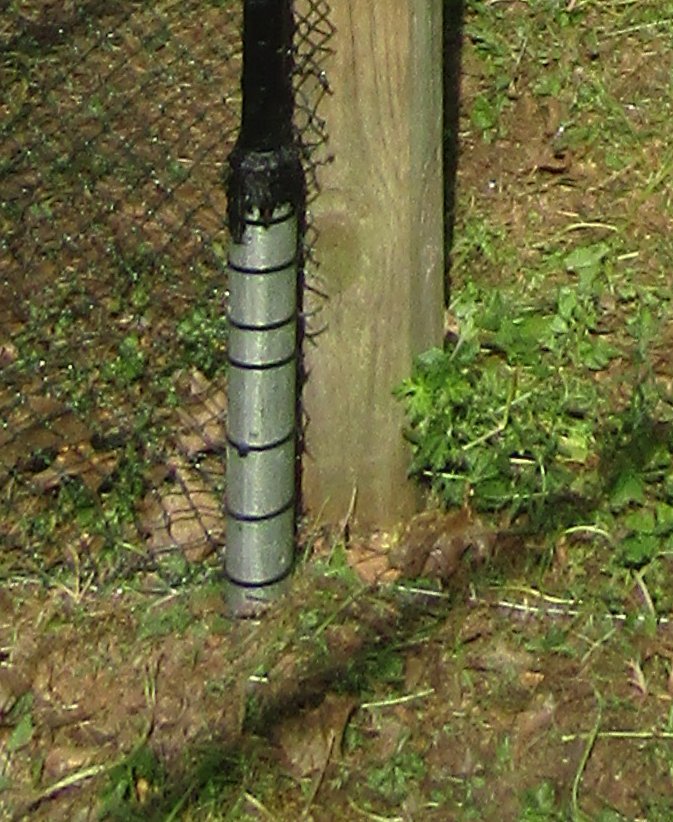
Then, I laid out three 24'-long rows, 12' apart, and then put a pin every six feet along the rows - so fifteen pins, pretty correct in X and Y, but varying up and down with the ~2' slope of the yard. Next, I drove 3' sections of galvanized inch-and-a-half pipe at those pin positions, just to where they were getting hard to move - kept them vertical with a bubble level made for fence-posts.
Then, I packed in some random amount of dry sand, hard with a heavy iron rod that just fit. Finally, I mixed up and poured about a half inch of polyester resin (like for Fiberglas work) onto the sand in each one - when it dried I drilled a weep hole right at the cured surface.
Now - I had fifteen "hard point sleeves" with seats of varying heights. I surveyed them with a dumpy, or contractor's level on a tripod. This allowed me to cut all the legs to the individual heights to make their tops all within less than a sixteenth of a perfect level plane.
Once the legs were set in and the structure was built and triangulated and plumb, I packed in more sand and then mushed in a cone of black roofing repair cement -
Attachment 34657
Attachment 34658
Forrest
-
6 Attachment(s)
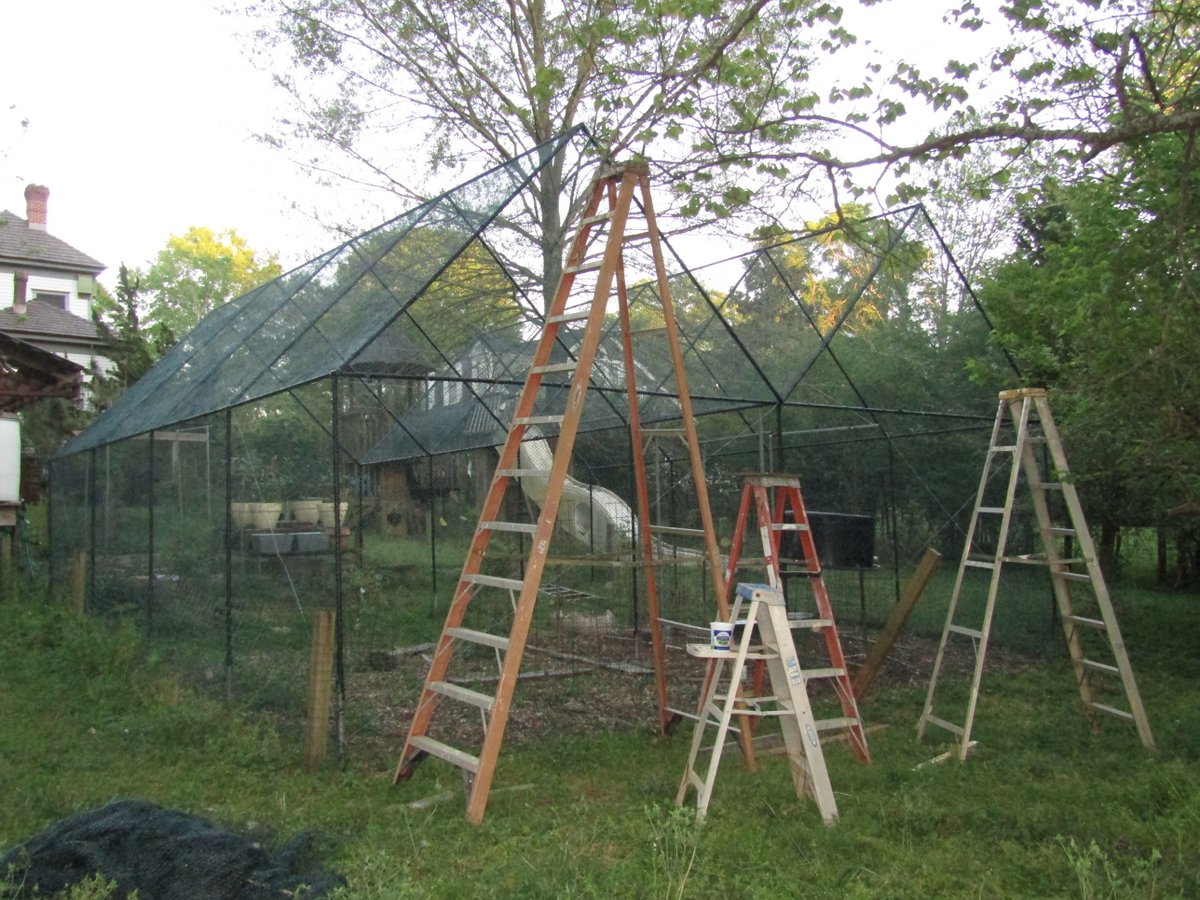
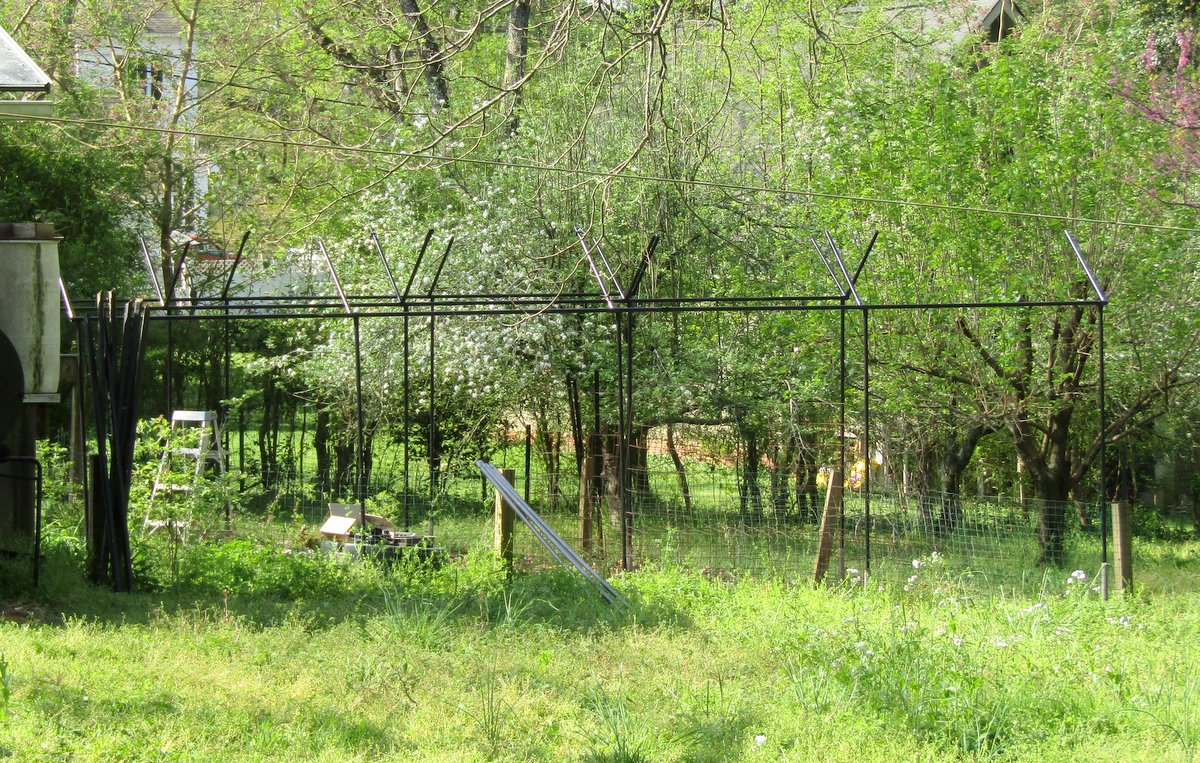
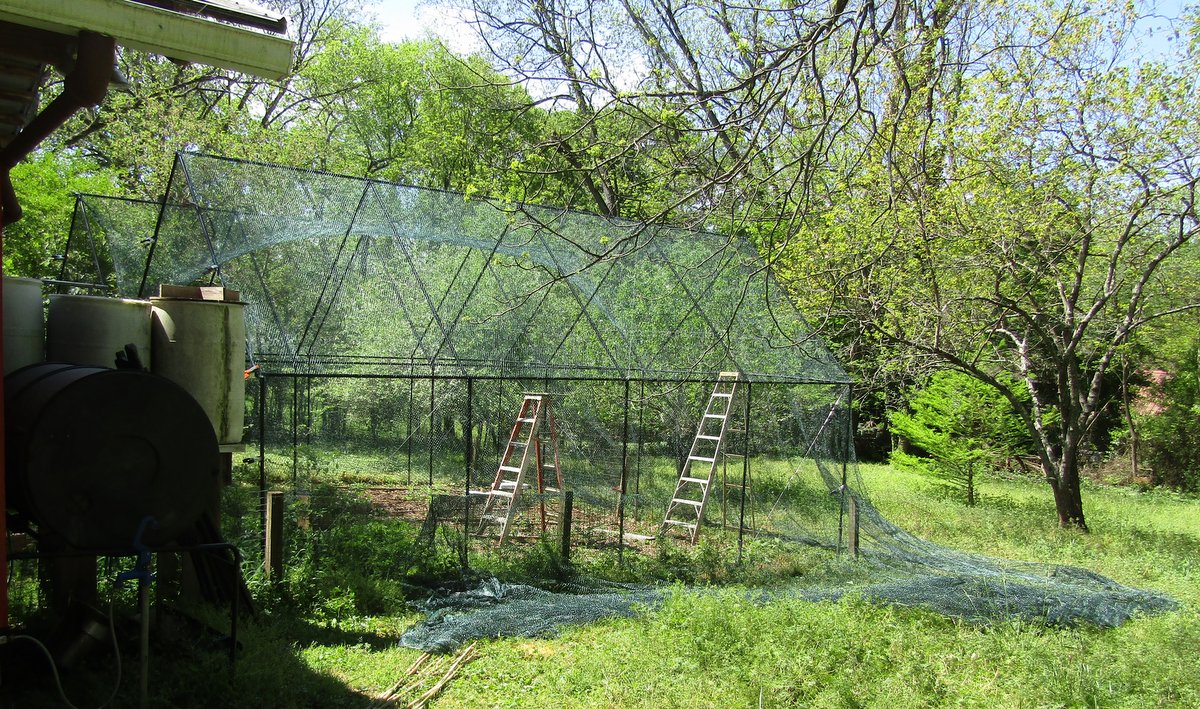
Assembling it was a pretty simple matter. I had to piece-together the rafters, so I took advantage of that to install the stubs, and then built the entire ridge and rafter assemblies on the ground. Since I'm home with the wife and kids 16, 19, and 21, it was a simple matter for us to walk up five ladders and set them in place on the rafter stubs.
Attachment 34659
You can see how dead in plane all the horizontal beams are -
Attachment 34660
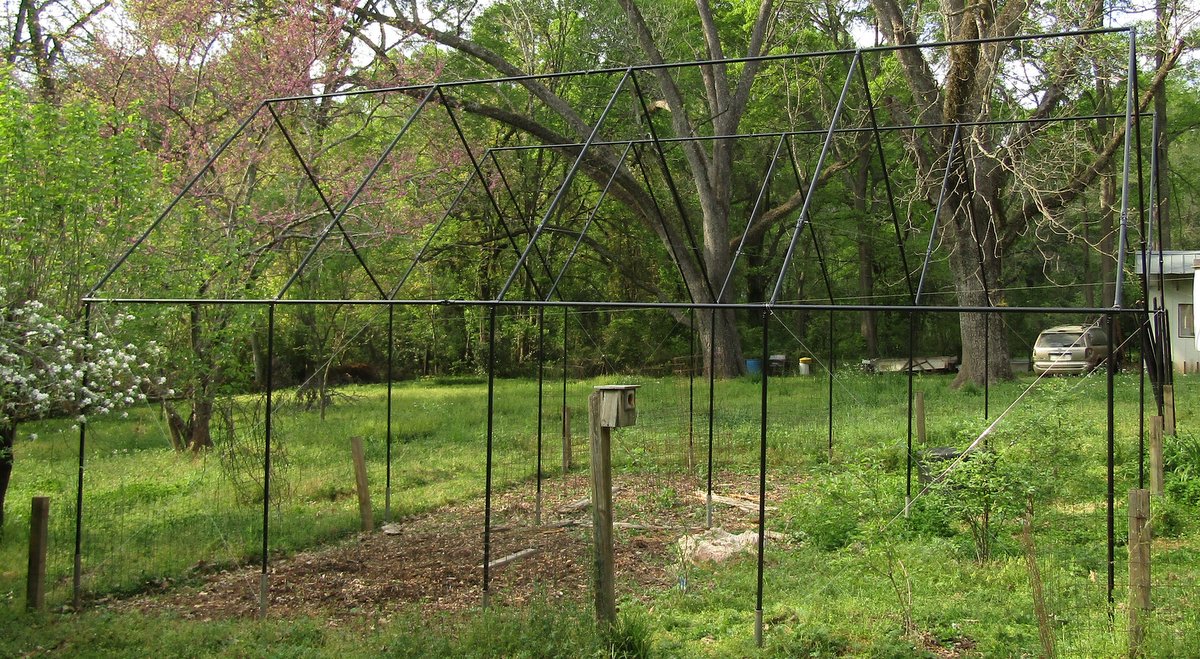
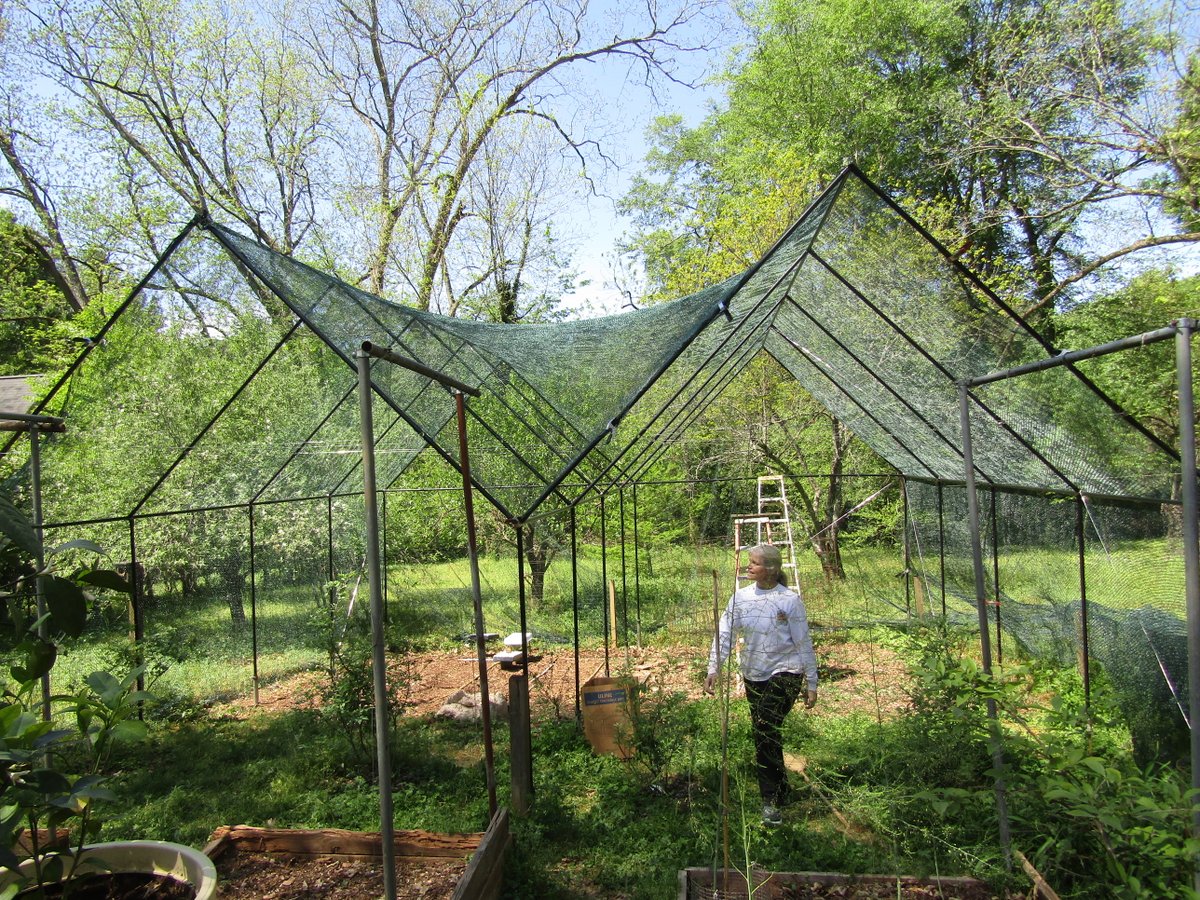
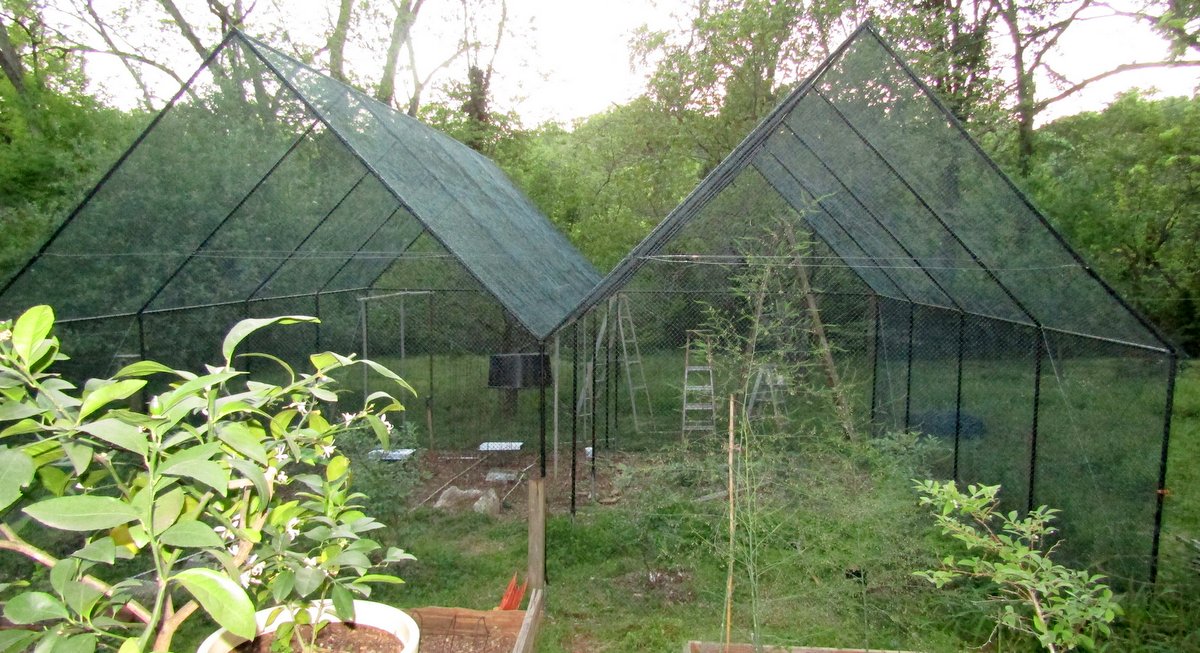
Then since everything so far was "free", we splurged on some really great anti-bird net - a 50 X 66' piece. Horsing it up and over was pretty straightforward -
Attachment 34661
Attachment 34662
We started at the left front corner, then went up the side wall, over the first gable, over the next one, then down the other side wall - my wife was a bear for precise spacing!
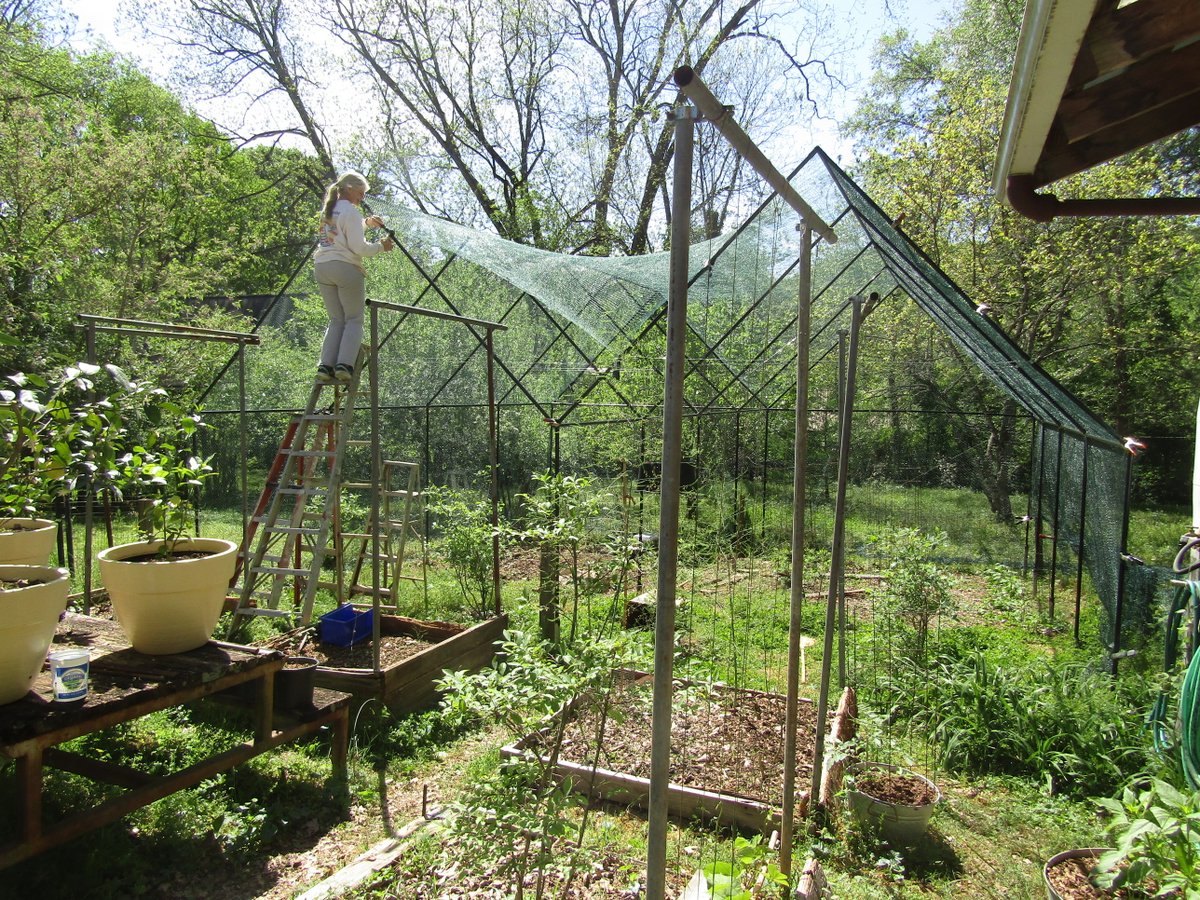
Attachment 34663
Here's the far corner from our start, with all the spare material - we trimmed it off flush with the gable side all around -
Attachment 34664
Forrest
-
4 Attachment(s)
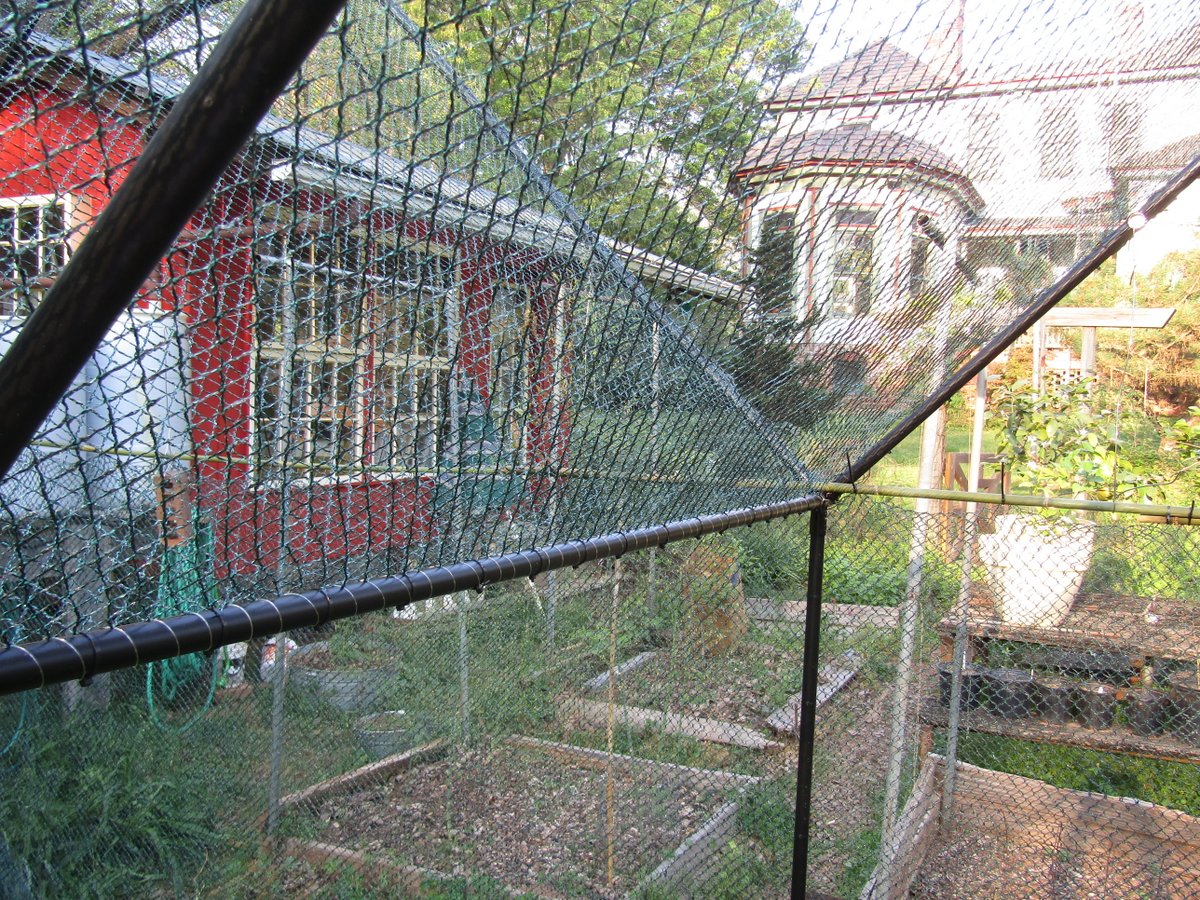
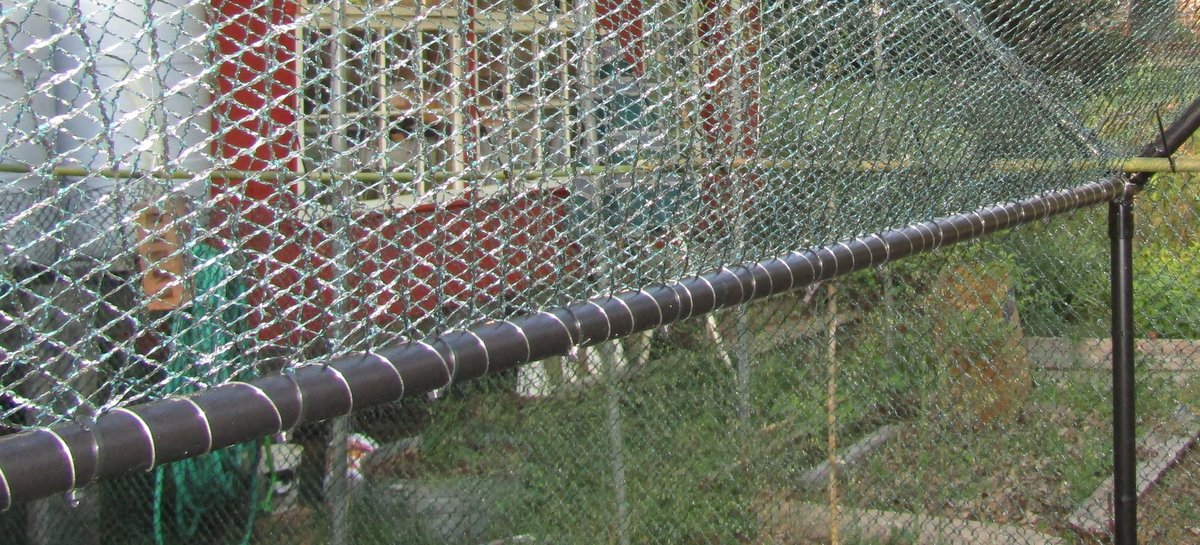
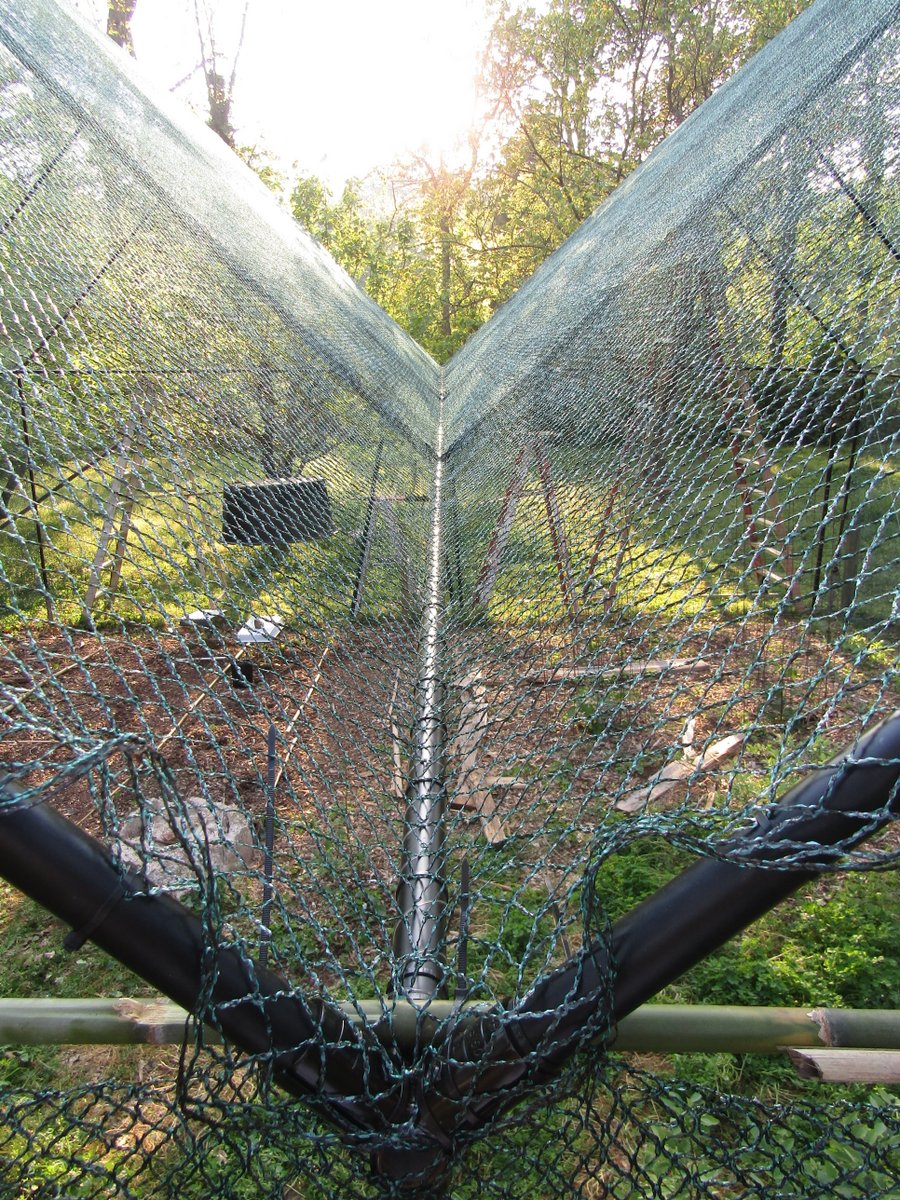
I didn't like the way the valley was "pulling" with a tie every third or fourth crossing, so I wrapped it all in monofilament -
Attachment 34665
Attachment 34666
Attachment 34667
I also put in "rafter ties" of heavy aluminum wire at the rafter joint level, and lots of X-bracing in various panels -
Attachment 34668
Forrest