
 LinkBack URL
 About LinkBacks


Hydraulic Shop Press Rehab
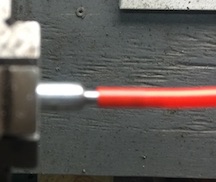
I needed to assemble some parts which required a tight press/shrink fit.
After consulting a number of sources, Including HMT, the common consensus is a combination of heat and force. Heating the part is not a problem. An electric hot plate, old pot with a lid, some corn oil, and a digital thermometer took care of that.
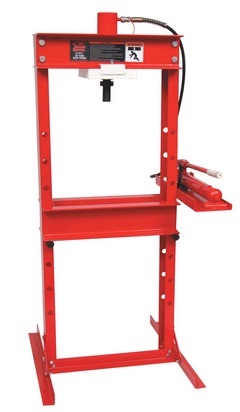
I did not have a press but was able to borrow a 25 ton press frame from a friend that was missing the hydraulic jack. Checking with the press manufacturer a replacement ram and hand pump would be over $1200 US, while a whole new press was $1100. Ha go figure. Both of which are totally out of the question for my pockets.
The press is like this one but missing the hydraulic parts.
01
I have a 20 ton hydraulic bottle jack which I modified to work upside down with inspiration from tonyfoales posts,
(Inverting an hydraulic jack for a workshop press.)
Tony also has another thread for additional jack improvements (More on improvements to bottle jack shop press.)
My jack gets a lot of use in the normal position. It needs it to be able to switch back to upright position easily.
This is how I made it work.
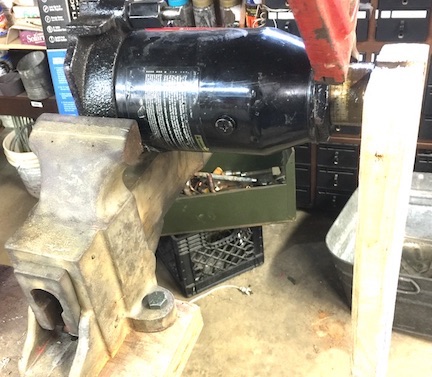
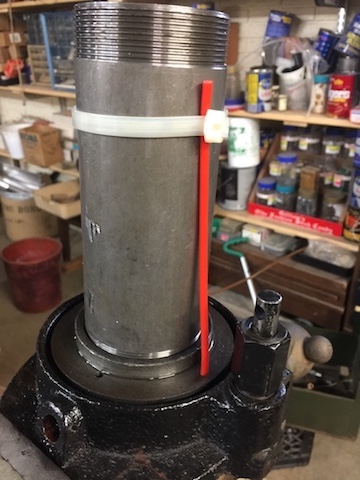
Remove the bottle from the jack by holding the base in a vise and supporting the ram with a 2x4 . Then use a pipe wrench with a pipe handle extension to remove the nut. (First drain the oil !!!)
02
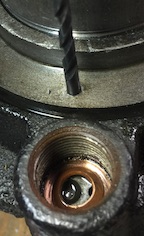
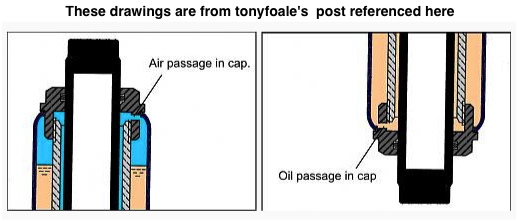
The plan was to drill and tap the inlet port for a fitting, but I was concerned about getting chips stuck in the small the oil passages.
Alternatively, I press fit a plastic tube into the inlet port.
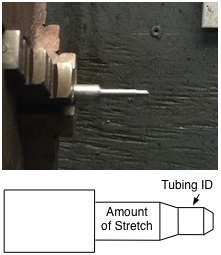
The tube I had on hand was a bit too small for a tight fit in the existing hole. After measuring the hole with drill bits, I turned a tapered mandrel to expand heated plastic tube. It took a few tries to get the heat and size correct. Using a file on the spinning mandrel to reduce size the until the fit was good. After 3-4 attempts it worked well.
03, 04, 05
After finding the correct size, press the tube into the intake port. Secure the tube with a zip-tie.
06
Then reassemble the bottle to the base.
To fill the jack, clamp it upside down in a vice. Add oil to the fill hole, then work the pump to extend the ram a bit. Then add more oil, extend the ram more, add more oil. Continue until the ram is fully extended. At this point , on mine anyway, oil escapes though a hole in the cylinder back into the reservoir. This prevents someone from blowing the top off of the jack.
After the ram is fully extended, empty the reservoir, then put an ounce or two back in. THEN, with fill cap on and the jack still upside down retract the ram. Then extend the ram again to make sure it extends fully, if it does not, add a bit of oil. Too much oil will prevent the ram from fully retracting. Too little will allow air to enter the pump. After making this modification pumping the jack while it is right side up, will allow air into the pump
It is important to note here. In normal operation, there is oil under the ram and air on top. With the jack inverted there is oil on both sides.
Tony explains this much more clearly in his post.
More on improvements to bottle jack shop press.
07
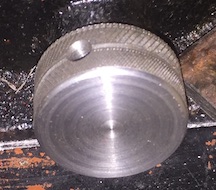
The control valve stem had been flattened which made it flair out on the sides. I removed the taper with a file and made a knurled knob held in place with set screws pressing on the flats of the stem. (I should make an extension to move the knob further away from the jack for ease of access, but it did works this way)
08, 09
.
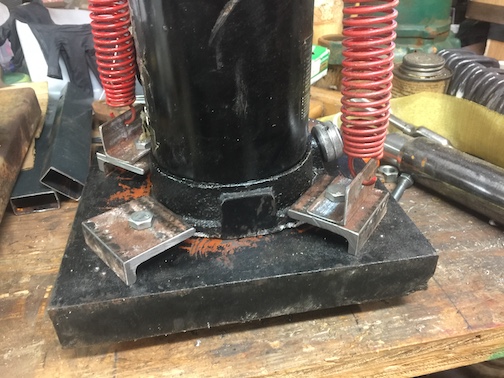
The press had a thick steel block with a large threaded hole for the original pump. I centered the pump on that plate. Then drilled and tapped it for bolts. The jack is held in place with clamps made from modified angle iron . I also added angle brackets to attach return springs.
10
Springs are needed to retract the ram. I was unable to remove the adjustable ram extension to allow easy attachment of a return spring bracket. The result is a combination of parts made from available small remnant materials.
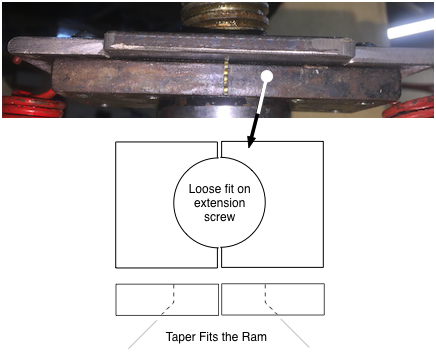
11
The bottom plate was made in one piece then cut to fit over the screw and bear on the ram. A taper in the hole centers the place over the taper on the ram.
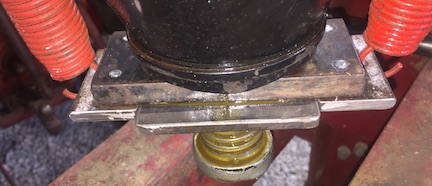
12
Springs recovered from an OLD trampoline retract the ram.
13
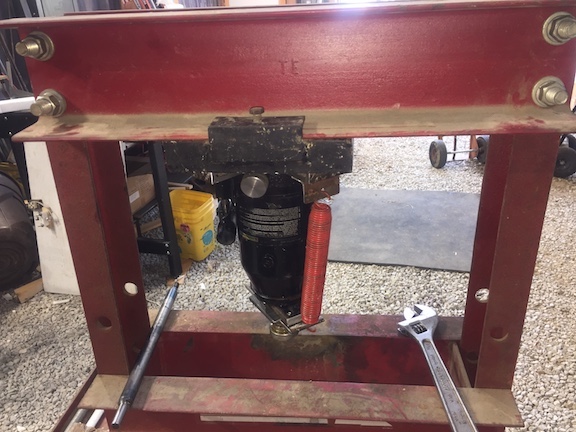
I did not modify the action of the pump handle. The ram extends on the up stroke. If you want the down stroke to extend the ram, stand on the opposite side of the press. This works fine but the release valve is then on the wrong side.
14
With the jack mounted under the top cross beam, the vertical capacity is reduced. I had to drill an additional set of holes to allow the work platform to be lower.


 Reply With Quote

Bookmarks