
 LinkBack URL
 About LinkBacks


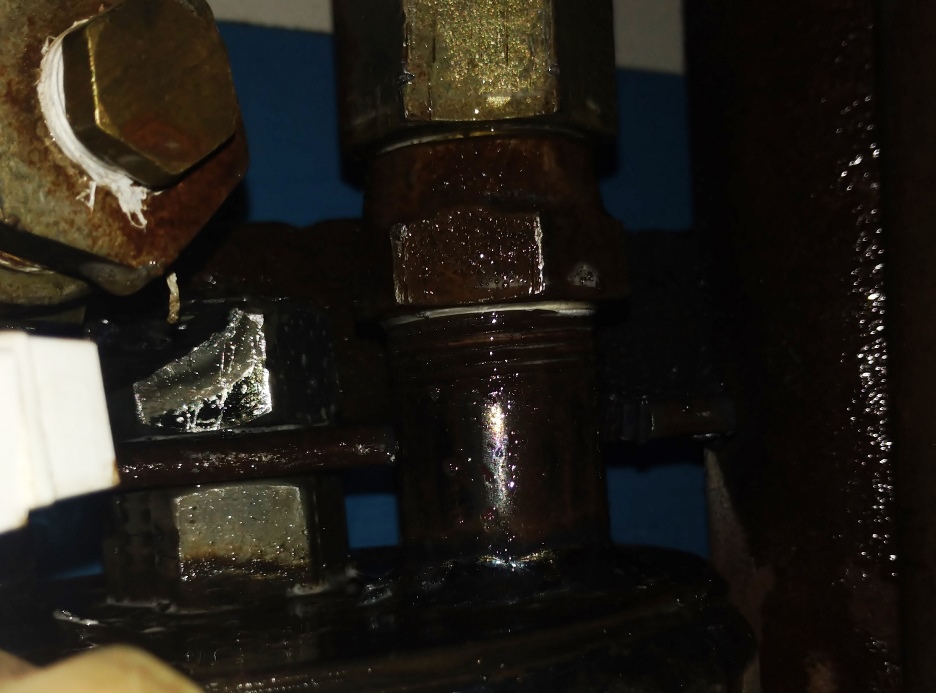
Ideally theses fittings would be used in conjunction with a hydraulic quality steel male adapter, or the black pipe would have an internal bevel turned into it, so as to have a clean machined mating surface. I hadn't thought about using this type of fitting when I made the water trap volume chamber, Thinking I would just use a standard pipe union and Teflon pipe dope or tape to make the seal
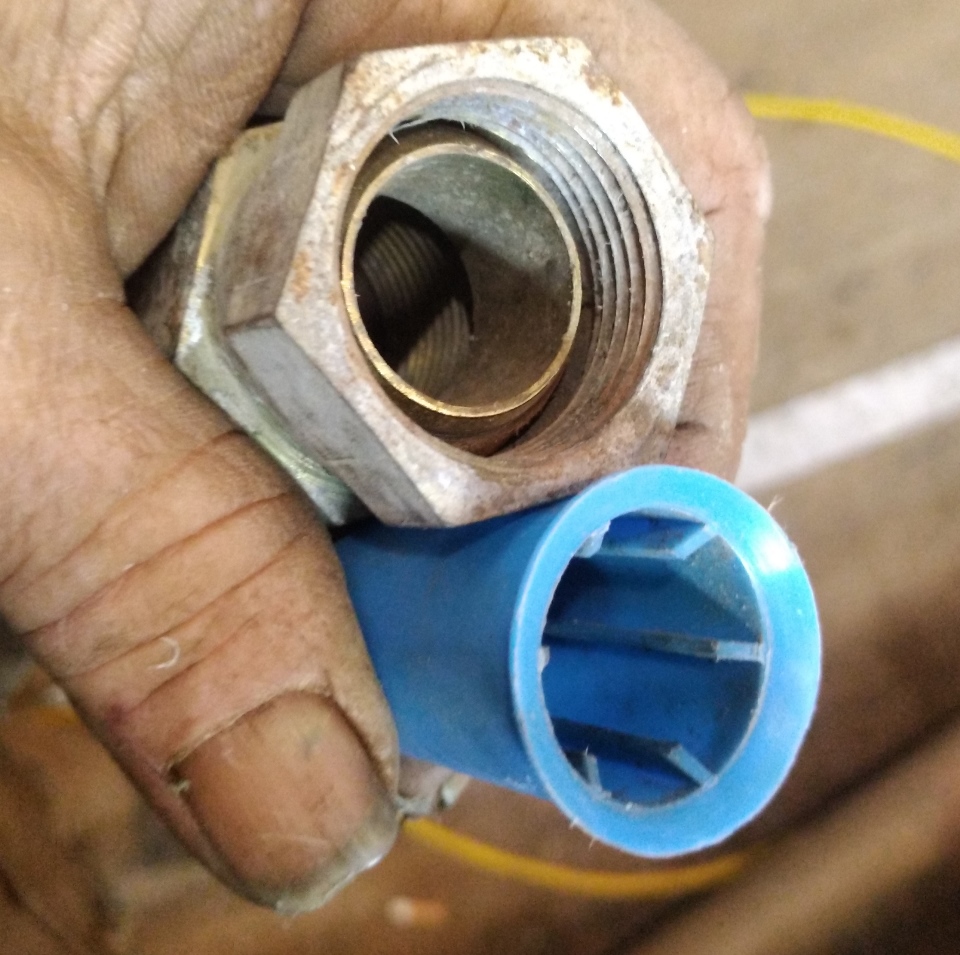
In digging through my bins of old fittings I discovered that I have about a dozen of these 1" pipe swivel adapters and zero 1" pipe unions.
Not having a way to remove or change out things in my air system without it requiring an extensive disassembly is not an option in my book.
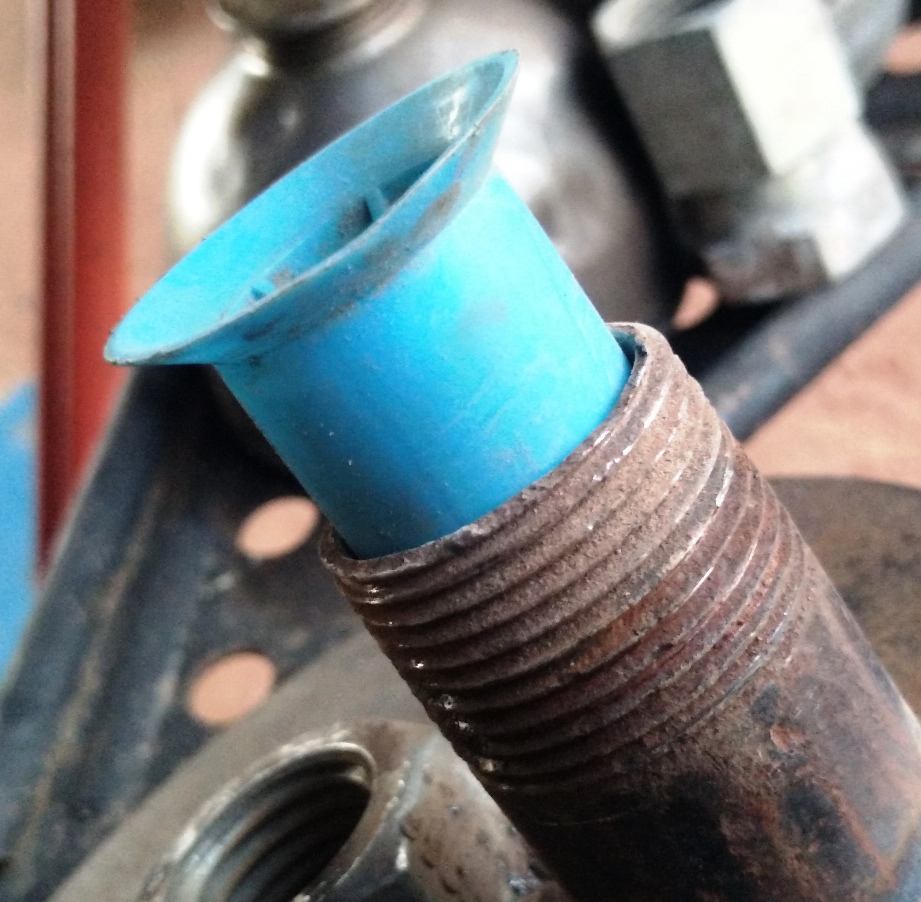
However, after assembling the system and checking for air leaks, no manor of tightening or over torquing the connection was ever going to stop the leakage I figured.
Meaning I needed a simplified solution. I quickly thought of making a nylon or plastic tapered gasket like seal to stop the leak.
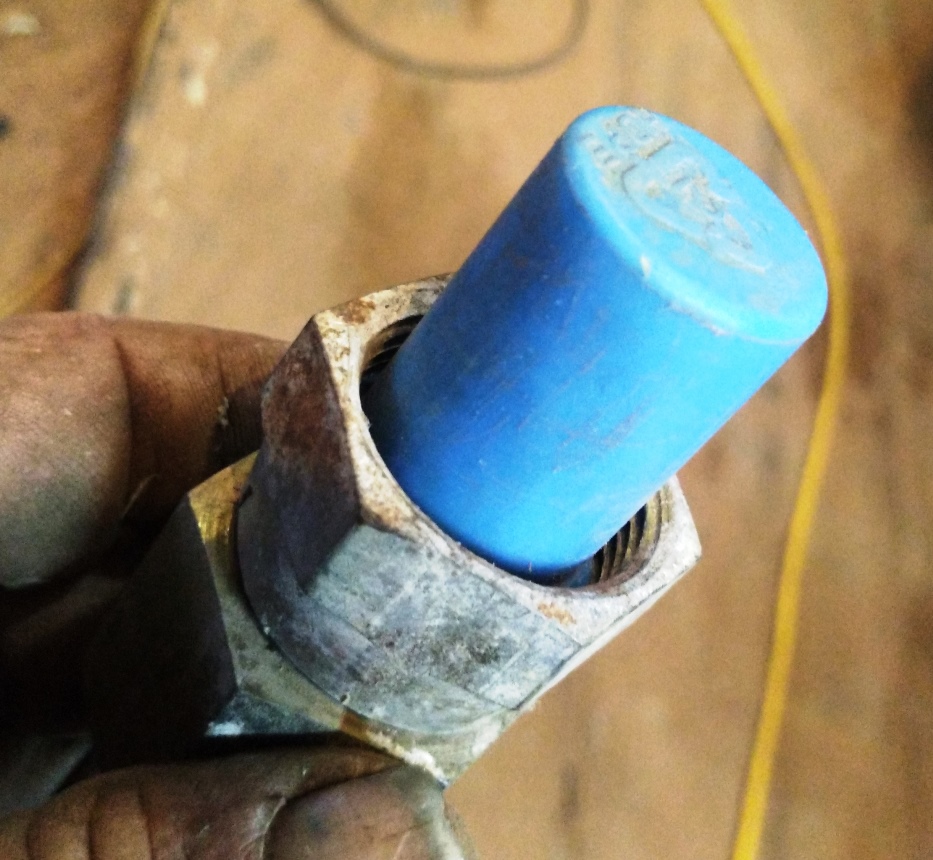
I don't know about anyone else but I save every plastic fitting cap or plug I find.
These are just the ones in 1 of my bins
After searching through I found the perfect candidate for my seal.
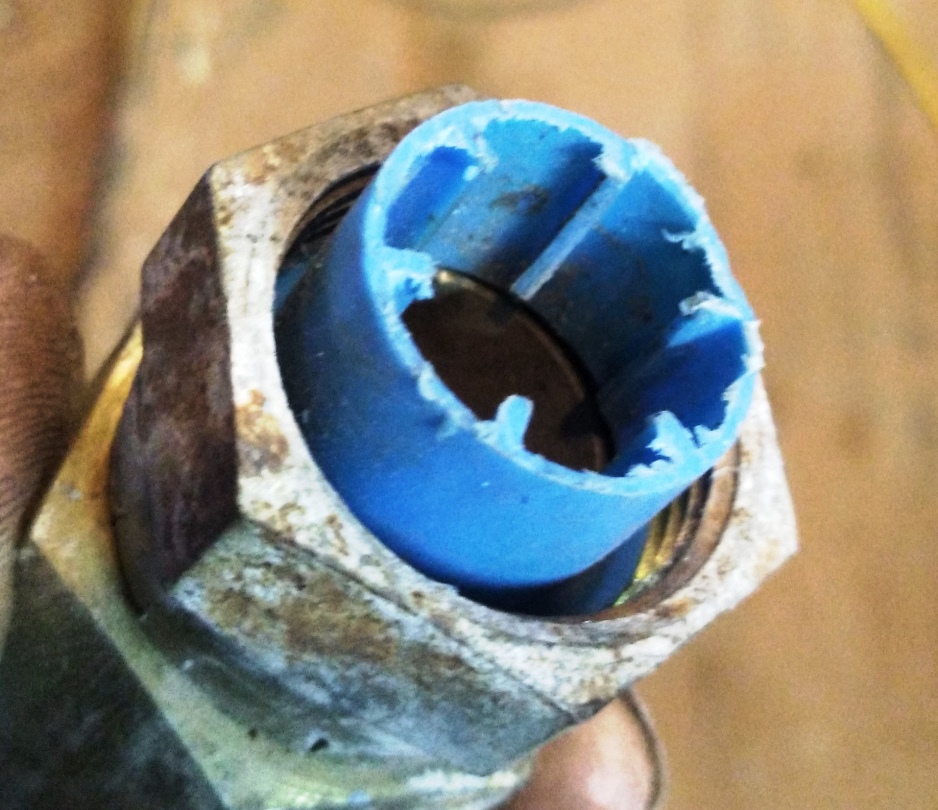
After sanding the flange down to fit in the swivel fitting and cutting off the excess length
this is how it fit in the pipe
Reassembly aired up to 120PSi and doused in diluted dish soap
A little hard to see gut there are zero leaks.
So far I have only about 30 feet of pipe and fittings installed, and it takes 12 hours for the system to lose enough air for the compressor to kick on and refill
I will be satisfied if after I have the whole 300 feet of piping with as many as 12 of these or similar volume tank water traps and all of the quick connects installed giving me probably 180 gallons worth of compressed air with at least a minimum of 6 hours between cycles if the air has not been used. I also have another 6.5 HP compressor mounted on an 80-gallon tank which may wind up installed in the system as well and a pair of high recovery compressors with 24 HP gasoline engines that I need to someday get running, and there is of course my 300 CFM Schramm Peumatractor to get running for when set up a building for sandblasting


 Reply With Quote

Bookmarks