
 LinkBack URL
 About LinkBacks


File until there is just the faintest trace of the blue guide left:
Even for fairly large size bits, there is such a small amount of metal to be removed, that the filing really does go quickly.
I won't get into specifics of hardening and tempering here, as much of it depends on exactly the steel you are using, but I will offer some general helpful hints. When in doubt of the appropriate quenching medium, all but the most exotic tool steels I'm aware of will still harden up just fine in warm water (the hard layer created won't necessarily penetrate as deep, and there is more risk of warping and cracking, but depth of hardness probably won't matter much in the home shop, warping can be managed, and I've yet to have an issue with cracking). Speaking of warping, plunging the work perfectly perpendicular when quenching will help a great deal. Rapidly move the part vertically in the quench, to avoid gas pockets forming around the part (those gas pockets can lead to soft spots and greater stresses). For very tiny drills, making two or three parts to flank the delicate portion (or even the entire part) during heating and quenching can make all the difference in the world if you're having difficulties with warping. Bind the flank pieces to the part tightly with steel wire, and heat/quench the entire thing.
The file test will confirm whether you've had a good harden. After that, polish up the surfaces and gently temper it. I recommend a pale straw temper, unless you know you'll only ever use the bit on soft metals, in which case a wine or dark purple temper would be acceptable. After tempering, just use a small bench stone or stone slip to sharpen up the cutting edges.
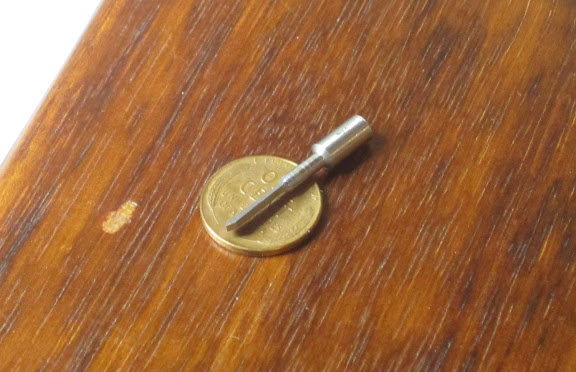
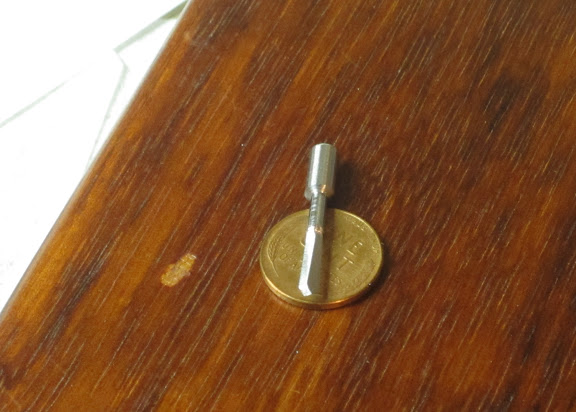
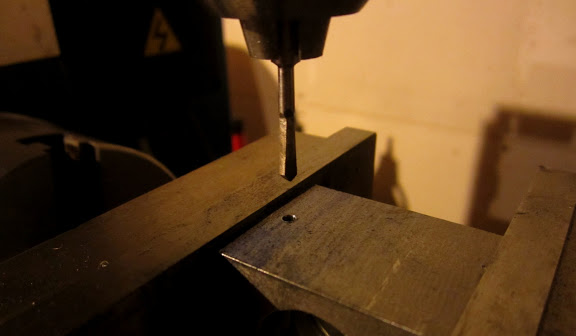
Here is my completed bit, about to start opening up a pilot hole:
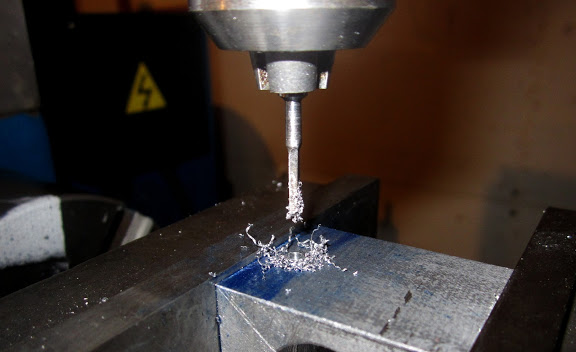
And here is the result:
As you can see, it makes a nice tidy hole.


 Reply With Quote

Bookmarks