Free 186 More Best Homemade Tools eBook:  
Get 2,000+ tool plans, full site access, and more.

User Tag List

Results 1 to 3 of 3

Thread: Shop made drill bit

  1. #1
    Supporting Member mars-red's Avatar
    Join Date
    Aug 2015
    Posts
    21
    Thanks
    0
    Thanked 57 Times in 17 Posts

    mars-red's Tools

    Shop made drill bit

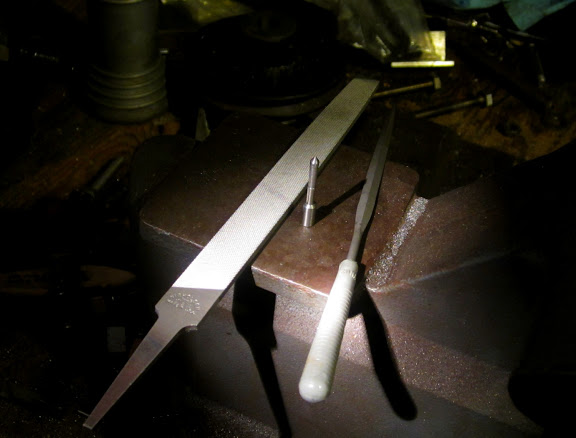
    I mentioned my use of a shop made drill bit in another post, in fact I have a dozen or so drills and cutters that I've made as needs arose. Before I bought a set of screw machine length number drills, I found myself making the occasional drill to get me through a project. This type of drill I'm showing here is what's known as a spade drill, and is commonly used in watchmaking. Many of the watch repair and watchmaking books give instruction for making these. I have made them as large as 0.333" and as small as 0.75mm. You can shape the tip to center cut, but for most of mine I didn't bother with that, and I just drill a pilot hole first. They leave very nicely finished holes this way.

    The one I show being made here is the 3.3mm bit I used as a tap drill for M4 threads. There is a bit of simple lathe work, then the rest is filing, heat treating, and stoning.

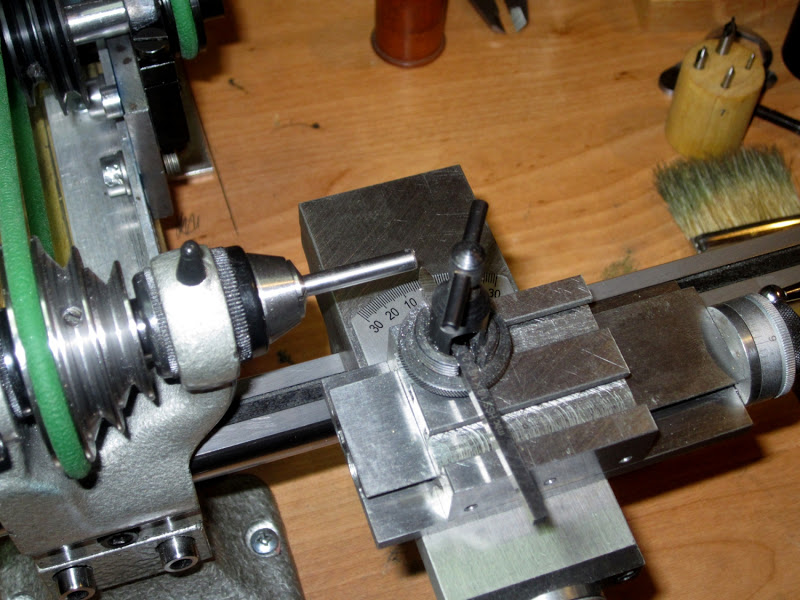
    I like working with O1 and W1 tool steel, but any good tool steel or high carbon steel that you can heat treat yourself will work just fine. Here, I'm starting with some O1 drill rod chucked into the tiny lathe:
    Shop made drill bit-stock.jpg

    I start by turning the major diameter and the point taper. The angle of the point taper is completely up to you, the wider the angle, the less cutting force should be required but on the other hand they would have more of a tendency to wander. I tend to make my points a pretty narrow angle, as you can see here, and haven't had issues with chatter or breakage:
    Shop made drill bit-major%25u0025252520diameter%25u0025252520and%25u0025252520point%25u0025252520taper.jpg

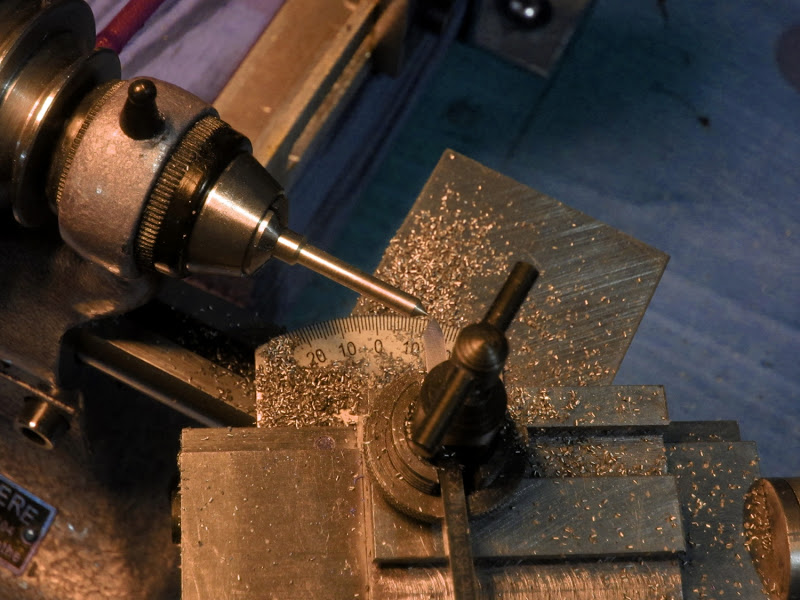
    Now, a relief taper is turned behind the point, just a degree or two is plenty:
    Shop made drill bit-taper%25u0025252520turned.jpg

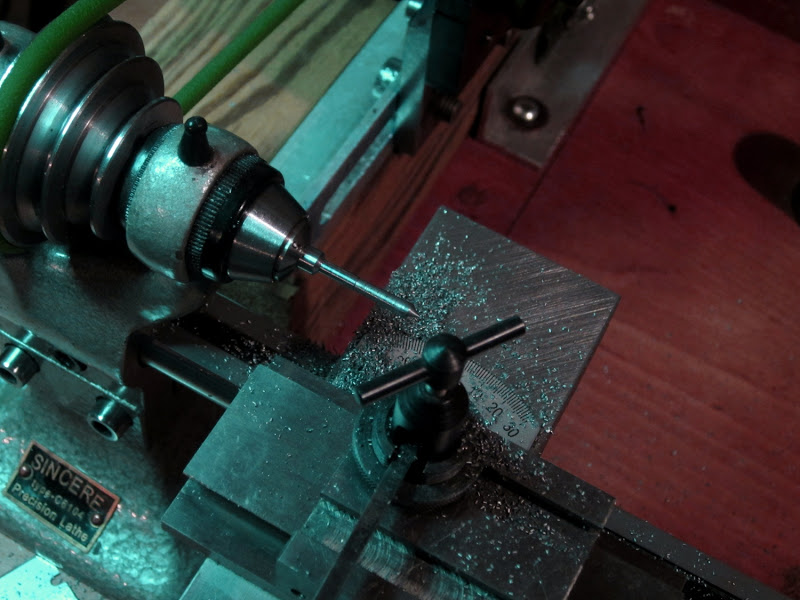
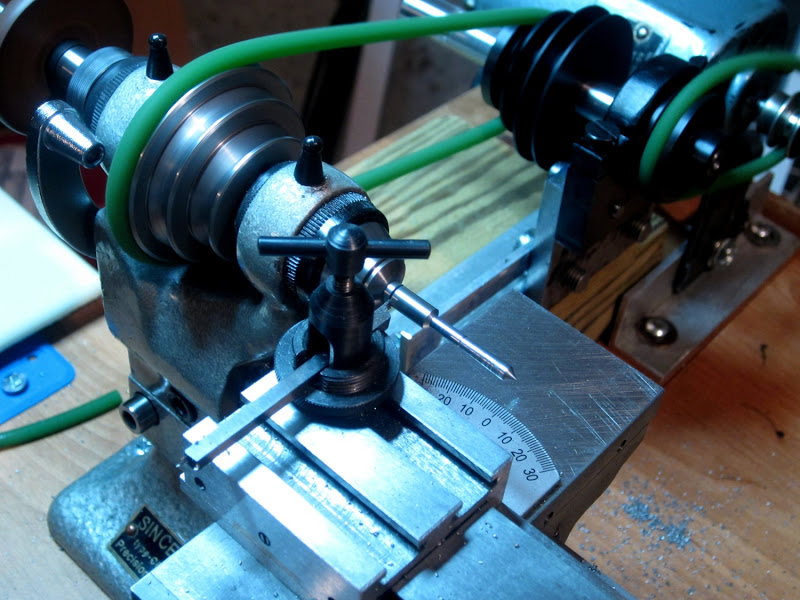
    For this particular bit, I knew I'd need it to have more reach than usual, so instead of parting it off at that small diameter shank behind the taper, I parted it off at the full stock diameter, well behind that shank. I sized it so that the narrow shank behind the relief angle would get me just enough reach through the part I needed to drill. Here it is, being parted off:
    Shop made drill bit-parting.jpg

    Now, the filing begins.
    Shop made drill bit-let%25u0025252520the%25u0025252520filing%25u0025252520begin.jpg

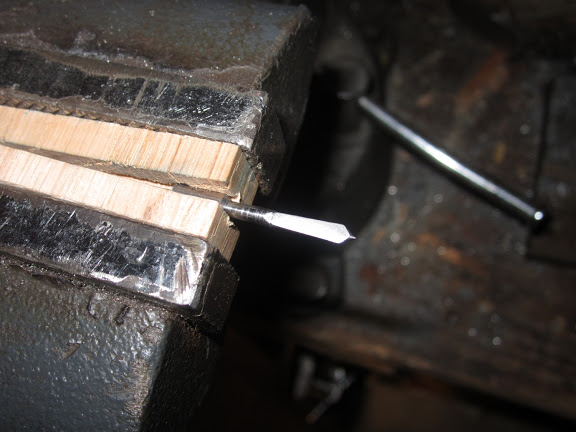
    I start by filing a pair of opposite flats:
    Shop made drill bit-first%25u0025252520side%25u0025252520filed%25u0025252520flat.jpg

    Shop made drill bit-both%25u0025252520sides%25u0025252520filed%25u0025252520flat.jpg

    The remainder of the outer edge is coated in layout blue (or, in my case, blue marker), to use as a guide:
    Shop made drill bit-outside%25u0025252520diameter%25u0025252520blued.jpg

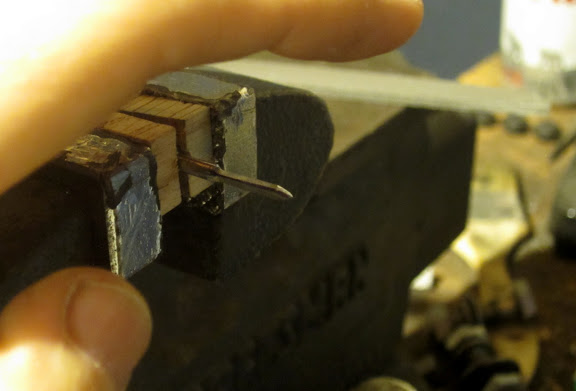
    The important edge to be formed is the one at the point taper on the end of the drill, this is really where the cutting will be happening. As long as you are careful to bring the cutting edge all the way to the full diameter, there is no need to continue the edge up the relief taper, as I do here. In this pic, you can see the angle being filed down through the blue. Make sure you pay attention to whether you want to have a left or right hand cutting bit here.
    Shop made drill bit-file%25u0025252520to%25u0025252520eliminate%25u0025252520blue.jpg

    Continued in the next post...

    186 More Best Homemade Tools eBook
    Last edited by mars-red; Sep 10, 2015 at 11:54 AM.

  2. The Following 2 Users Say Thank You to mars-red For This Useful Post:

    Jakeapart (Mar 20, 2017), kbalch (Sep 10, 2015)

  3. #2
    Supporting Member mars-red's Avatar
    Join Date
    Aug 2015
    Posts
    21
    Thanks
    0
    Thanked 57 Times in 17 Posts

    mars-red's Tools
    File until there is just the faintest trace of the blue guide left:
    Shop made drill bit-filing%25u0025252520completed%25u00252525201.jpg

    Shop made drill bit-filing%25u0025252520completed%25u00252525202.jpg

    Even for fairly large size bits, there is such a small amount of metal to be removed, that the filing really does go quickly.

    I won't get into specifics of hardening and tempering here, as much of it depends on exactly the steel you are using, but I will offer some general helpful hints. When in doubt of the appropriate quenching medium, all but the most exotic tool steels I'm aware of will still harden up just fine in warm water (the hard layer created won't necessarily penetrate as deep, and there is more risk of warping and cracking, but depth of hardness probably won't matter much in the home shop, warping can be managed, and I've yet to have an issue with cracking). Speaking of warping, plunging the work perfectly perpendicular when quenching will help a great deal. Rapidly move the part vertically in the quench, to avoid gas pockets forming around the part (those gas pockets can lead to soft spots and greater stresses). For very tiny drills, making two or three parts to flank the delicate portion (or even the entire part) during heating and quenching can make all the difference in the world if you're having difficulties with warping. Bind the flank pieces to the part tightly with steel wire, and heat/quench the entire thing.

    The file test will confirm whether you've had a good harden. After that, polish up the surfaces and gently temper it. I recommend a pale straw temper, unless you know you'll only ever use the bit on soft metals, in which case a wine or dark purple temper would be acceptable. After tempering, just use a small bench stone or stone slip to sharpen up the cutting edges.

    Here is my completed bit, about to start opening up a pilot hole:
    Shop made drill bit-about%25u0025252520to%25u0025252520drill.jpg

    And here is the result:
    Shop made drill bit-drilling%25u0025252520started.jpg

    Shop made drill bit-drilling%25u0025252520completed.jpg

    As you can see, it makes a nice tidy hole.

    2000 Tool Plans
    Last edited by mars-red; Sep 10, 2015 at 11:56 AM.

  4. The Following 2 Users Say Thank You to mars-red For This Useful Post:

    Paul Jones (Sep 11, 2015), Toolmaker51 (Dec 22, 2016)

  5. #3
    kbalch's Avatar
    Join Date
    Jun 2012
    Location
    Clermont, FL
    Posts
    5,034
    Thanks
    2,275
    Thanked 531 Times in 383 Posts
    Thanks mars-red! I've added your Drill Bit to our Machining category, as well as to your builder page: mars-red's Homemade Tools. Your receipt:


    186 More Best Homemade Tools eBook

Thread Information

Users Browsing this Thread

There are currently 1 users browsing this thread. (0 members and 1 guests)

Bookmarks

Posting Permissions

  • You may not post new threads
  • You may not post replies
  • You may not post attachments
  • You may not edit your posts
  •