
 LinkBack URL
 About LinkBacks


I found an ad on craigslist for a $100 South Bend lathe. It had no pictures, but I bought it sight unseen. I figured at $100 it was worth the risk. When I picked it up that afternoon, I found out it was the sellers Dads and had been sitting in a barn for at least 20 years. It had significant rust and the apron was broken into 3 pieces. The head still moved but everything else was stuck. I initially thought it was a 9" model C but I later found out it was a model 405 with a 4' bed. The serial number looks like it was manufactured around 1935. Once the excitement of the purchase wore off, I began to have serious doubts. I figured I might be able to salvage some of the pieces, but most of it would be a lost cause. Spoiler Alert: I got the entire thing working again.
This is what I started with:
I started by disassembling, degreasing, electrolysis for rust removed, and a lot of hand scrubbing.
Then priming and paint:
Next I started reassembly:
I needed a bench to mount the lathe so I took a break to do some wood working. The top is made from pine 2x4s and the legs are 4x4s.
The original motor and drive assembly was lost at some point years ago. When I bought the lathe it came with an replacement AC motor and a horribly put together tensioning system. I decided to remake something out of tube steel that looked a little more like the original South Bend configuration. I decided to go with a DC treadmill motor and a variable speed DC drive. With the DC motor, I don't need step pulleys and I didn't have to configure a complex belt tensioning device. I cast the motor mount and motor pulley from aluminum scrap.
After running the lathe a bit, I noticed the motor was getting hot. This is a 12v motor and shroud I made that slips onto the back side of the motor.
This is a junction box that houses the on/off switch, speed controller, fan power supply and tachometer.
This is the tachometer sensor and mount. The rear pulley is only slightly larger than the pulley on the spindle. That means the spindle RPM is only slightly faster than my tachometer reading. I was really just trying to get a ballpark reading.
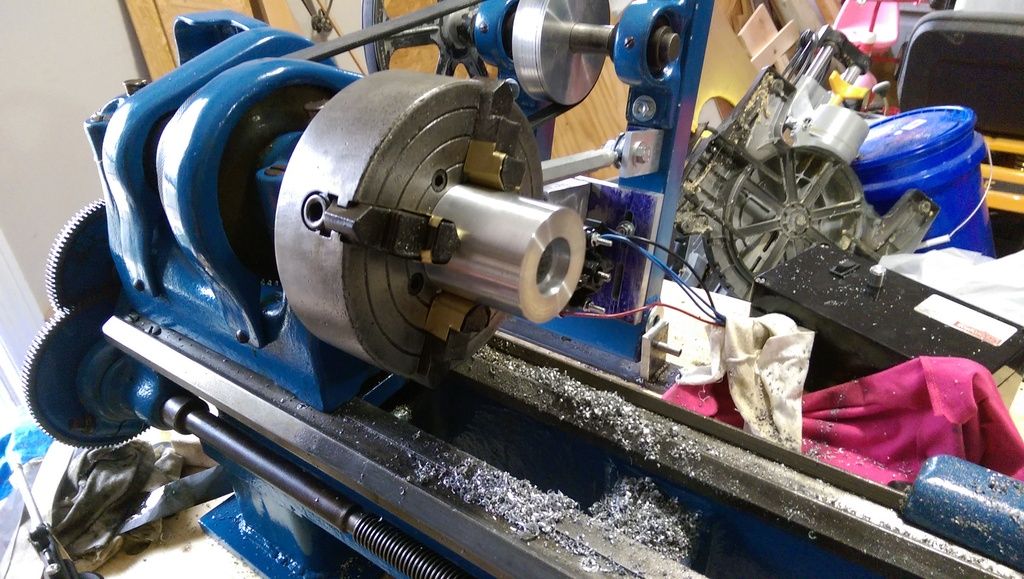
The lathe came with an independent 4 jaw chuck. I got fairly proficient with it, but I wanted a self-centering 3 jaw. The problem with a model 405 is that the spindle thread is 1-3/8" -10. No one make an adaptor or back plate. To my knowledge South Bend was the only company to use that thread on a spindle and they only did it for a couple years. I used decided to use the small back plate from the 4 jaw to make an adaptor. I cast a 6.5" disk from aluminum and turned it to accept the old back plate on one side and the new 3 jaw on the other.
This is the lathe all finished up. I have done several hours of turning on it at this point. I have mostly done aluminum. So far it has exceeded my expectations. Everything is solid and the surface finish is great. South Bend produced a quality and capable machine 80 years ago!
Here is a piece of cast aluminum I turned before I had the 3-jaw chuck.


 Reply With Quote

Bookmarks