
 LinkBack URL
 About LinkBacks


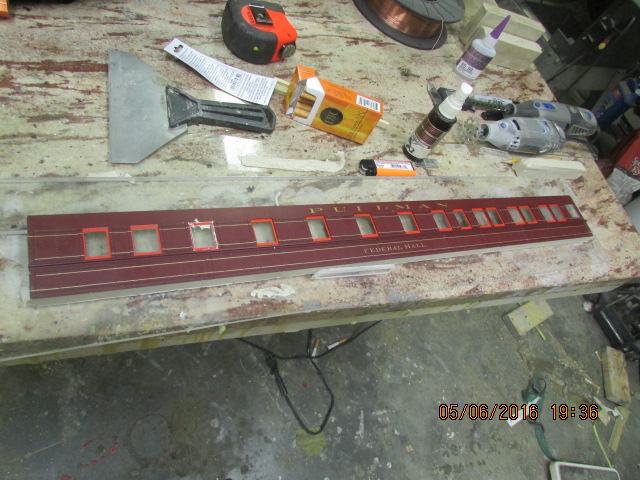
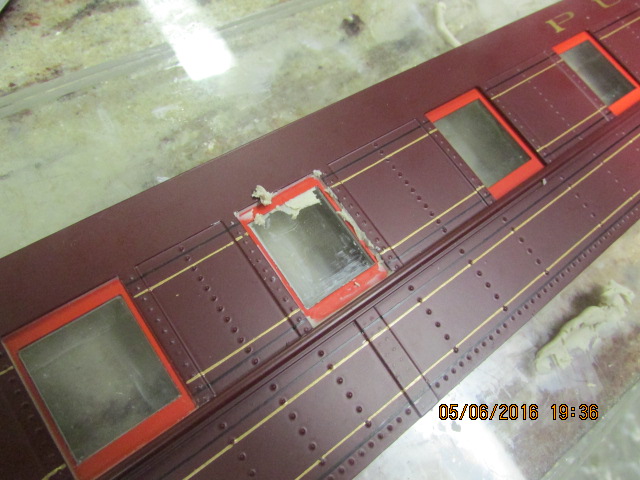
I said procedure, as if this is the way to do it, well there are many ways to do it, but this is the way that I make a model train mold. This time, instead of machining or patterning a completely new car side, I liked the detail of an observation car that I bought and decided that it would be easier to just make a mold from it, saves quite a bit of time. I will, from time to time add pictures of my progress. This beginning picture is the gluing of the car side to a piece of 1/4 inch piece of plexiglass and claying up around the edges and windows. This is very important because, if you don't, the urethane, when pouring, will leak through the small openings and spoil the mold, cause bubbles, and a number of other problems. This will be a two piece mold, this is the first half. After making this half, I will prepare the inside of the car side and pour the other half, so that both sides come out smooth and easy to manage. Here is the first step, more to come. Bob.


 Reply With Quote

Bookmarks