2 Attachment(s)
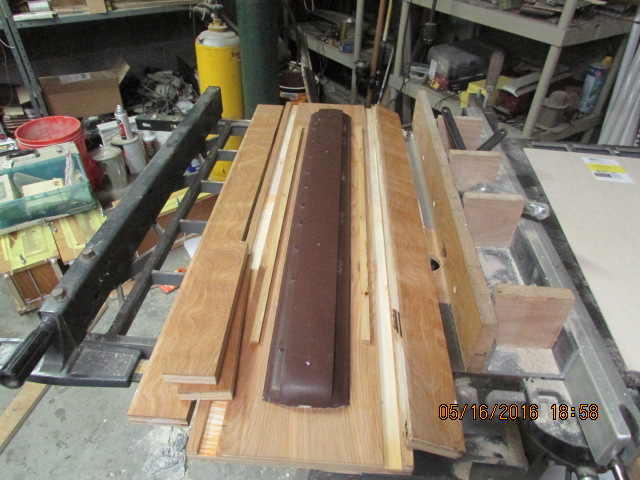
1/32 model train car mold procedure
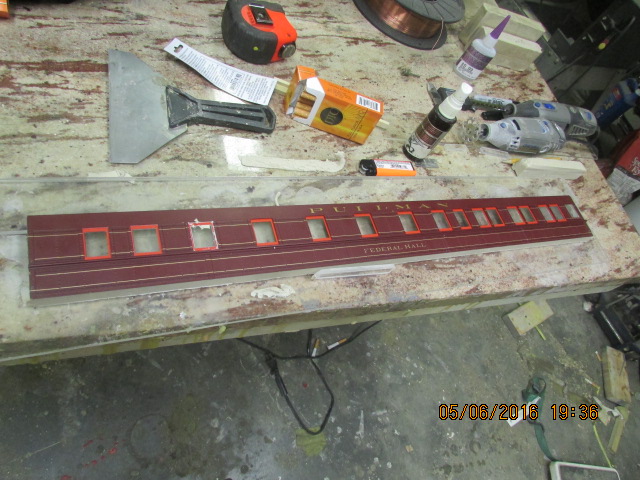
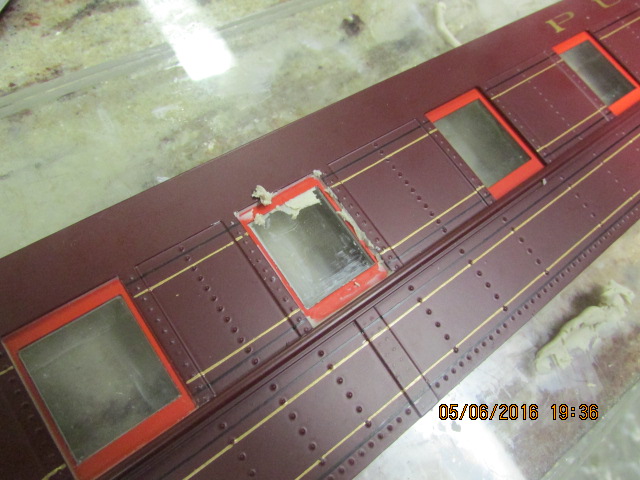
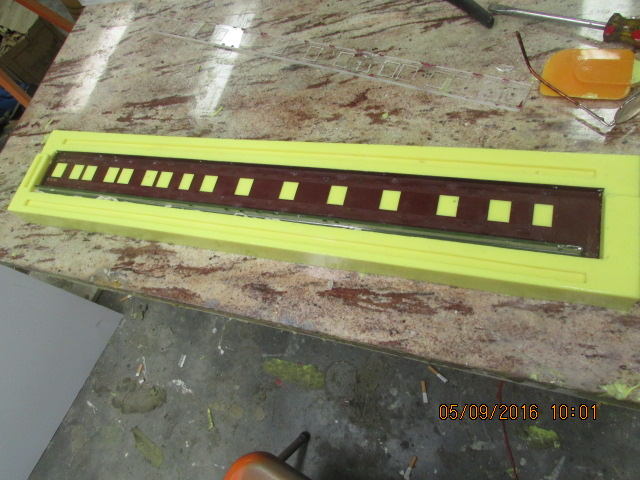
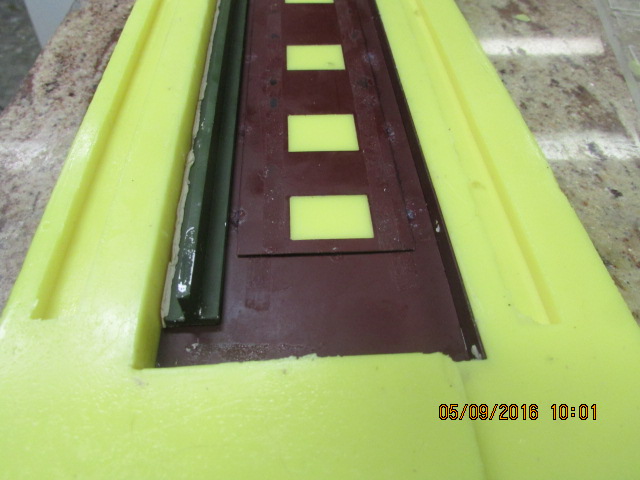
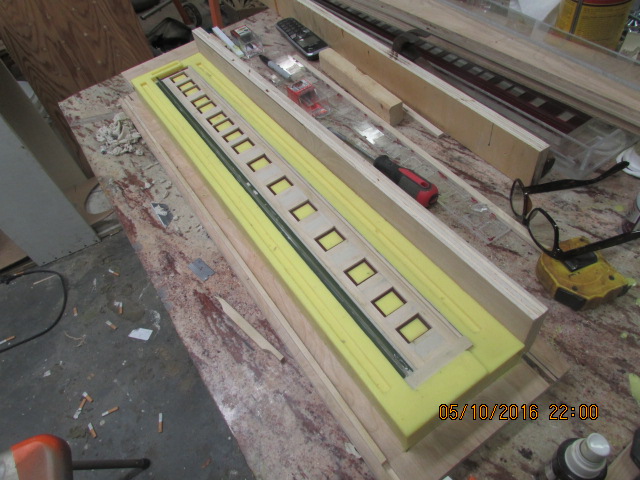
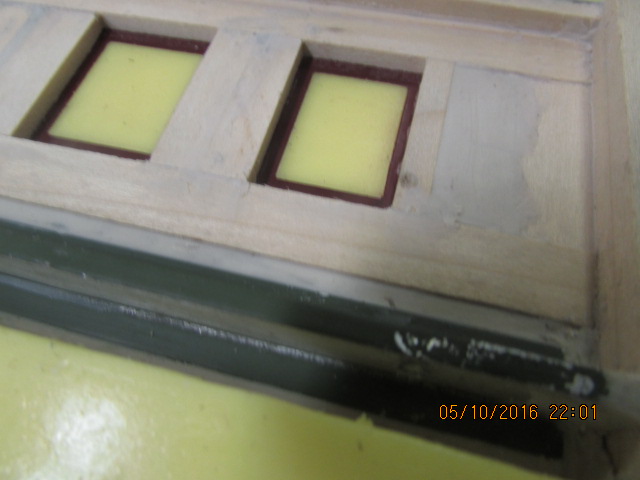
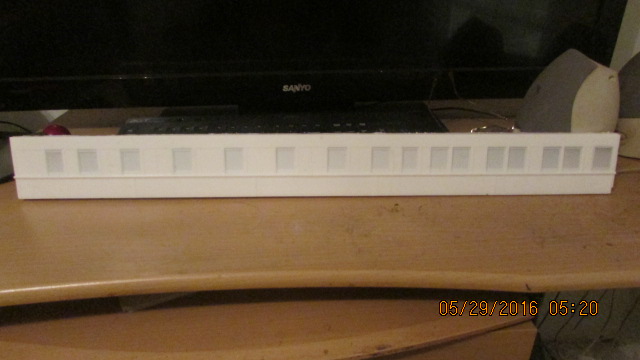
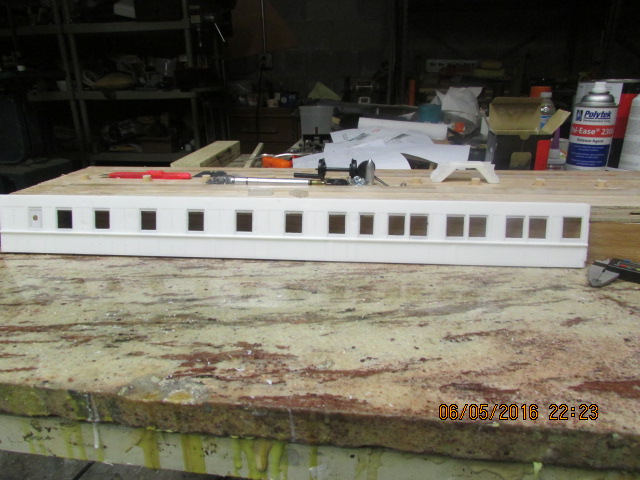
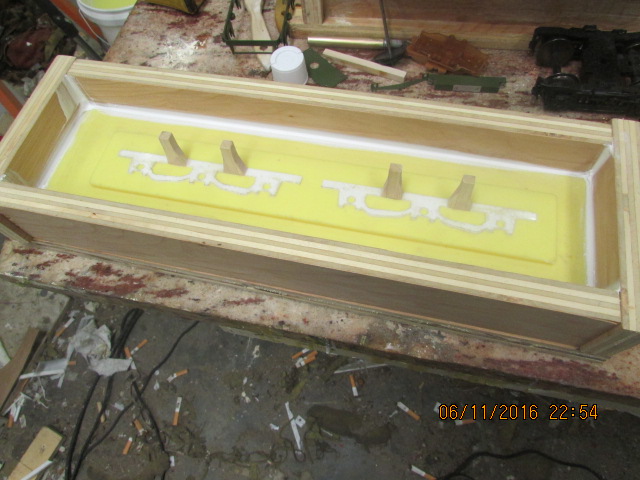
I said procedure, as if this is the way to do it, well there are many ways to do it, but this is the way that I make a model train mold. This time, instead of machining or patterning a completely new car side, I liked the detail of an observation car that I bought and decided that it would be easier to just make a mold from it, saves quite a bit of time. I will, from time to time add pictures of my progress. This beginning picture is the gluing of the car side to a piece of 1/4 inch piece of plexiglass and claying up around the edges and windows. This is very important because, if you don't, the urethane, when pouring, will leak through the small openings and spoil the mold, cause bubbles, and a number of other problems. This will be a two piece mold, this is the first half. After making this half, I will prepare the inside of the car side and pour the other half, so that both sides come out smooth and easy to manage. Here is the first step, more to come. Bob.Attachment 10436Attachment 10437
2 Attachment(s)
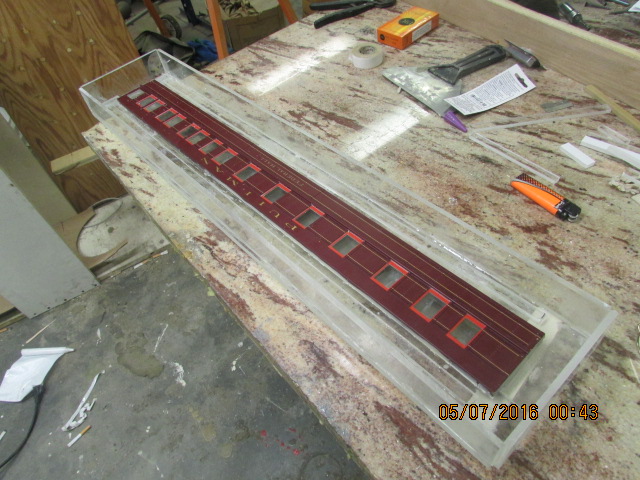
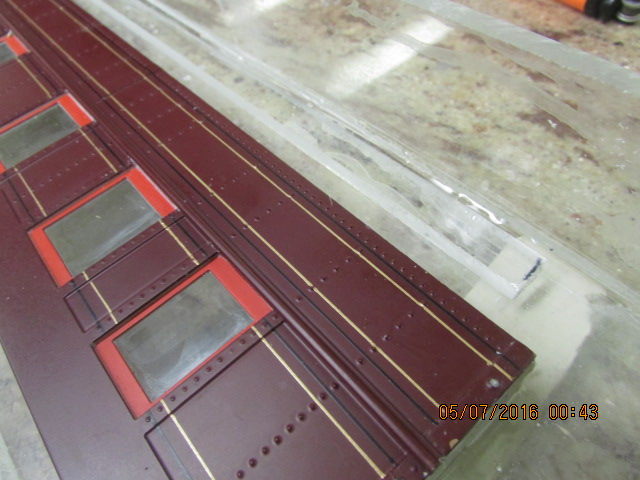
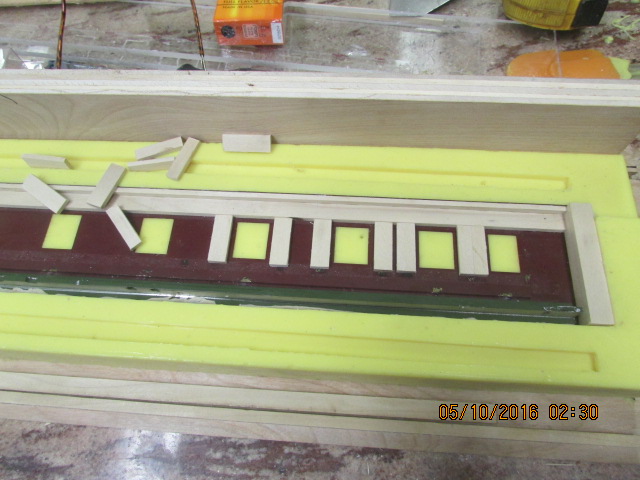
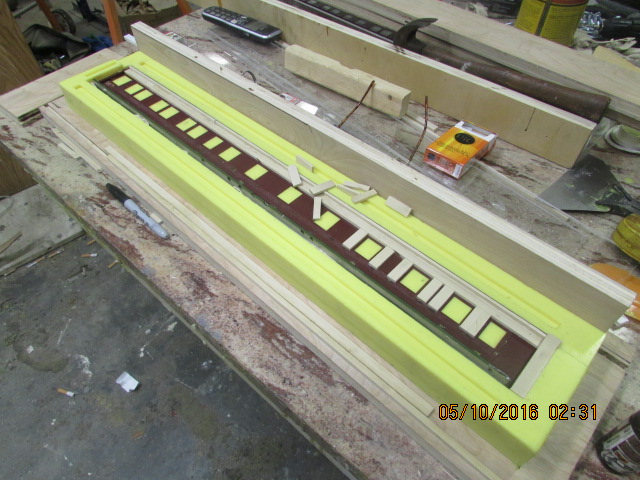
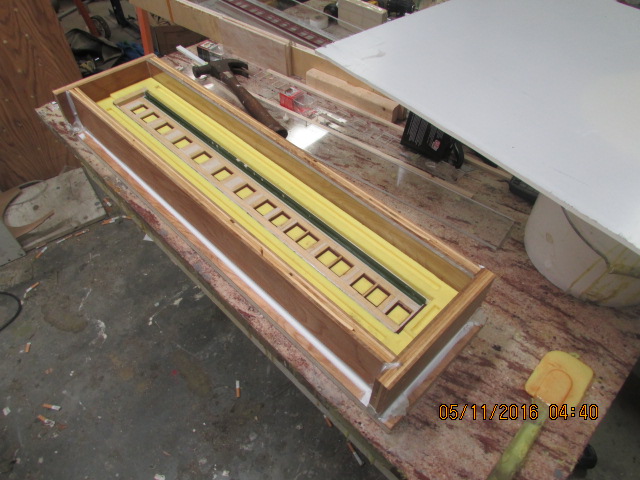
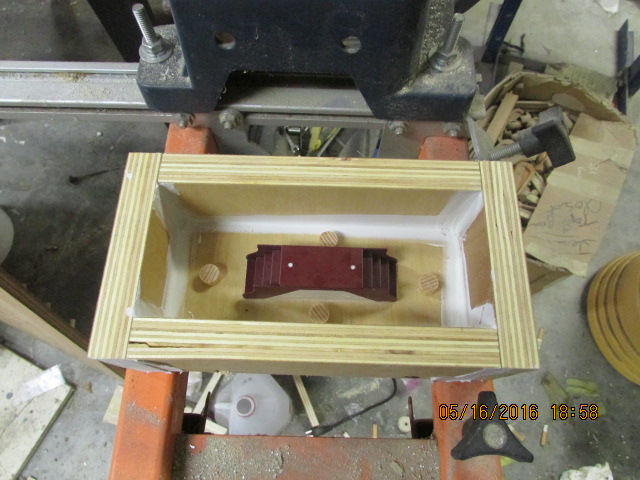
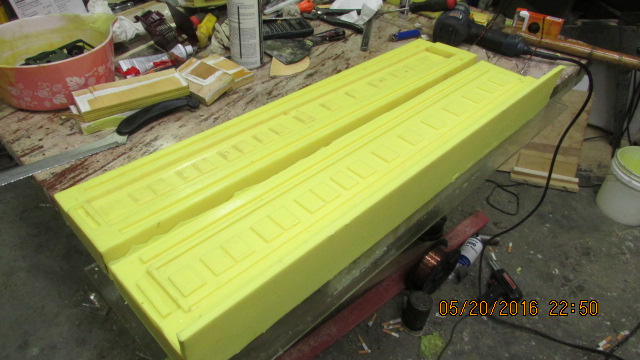
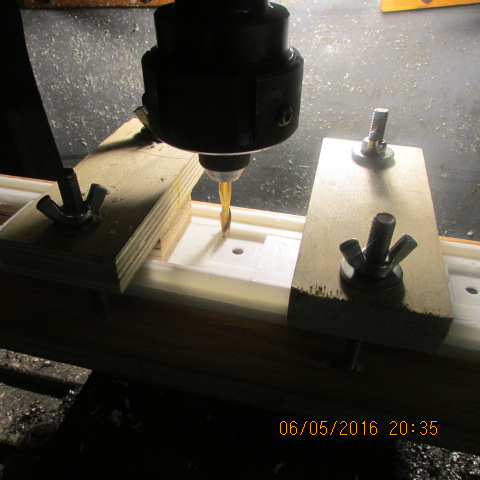
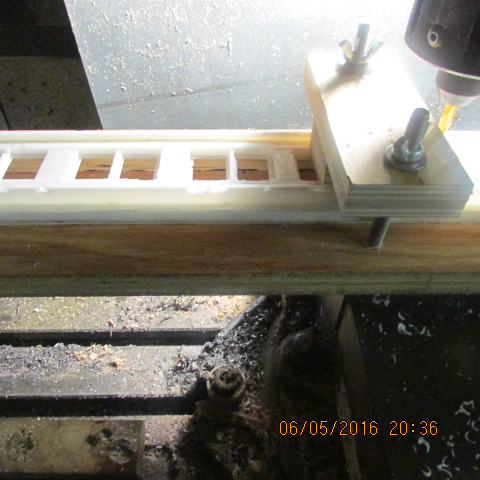
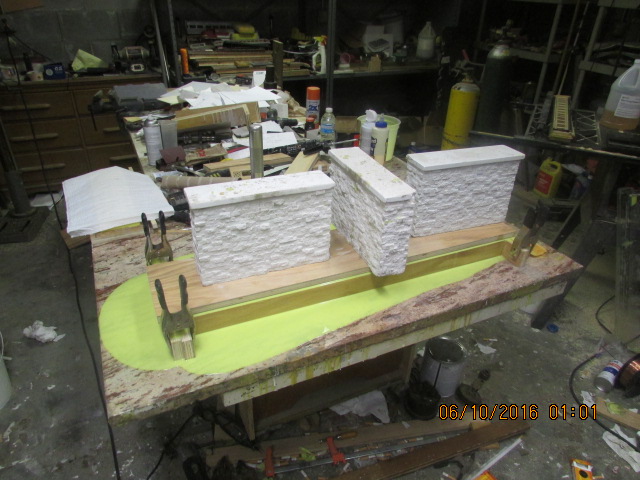
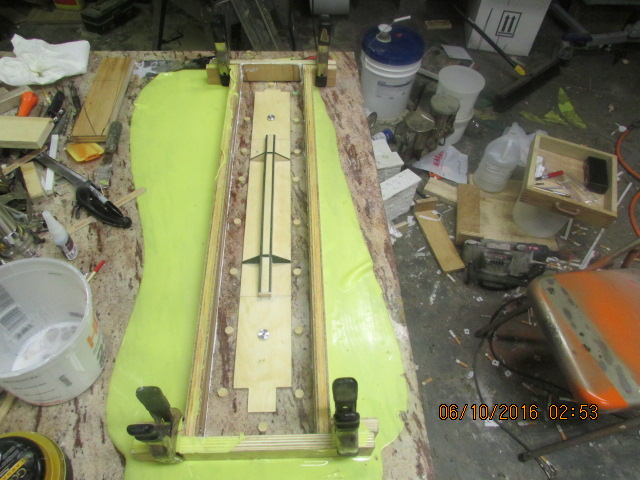
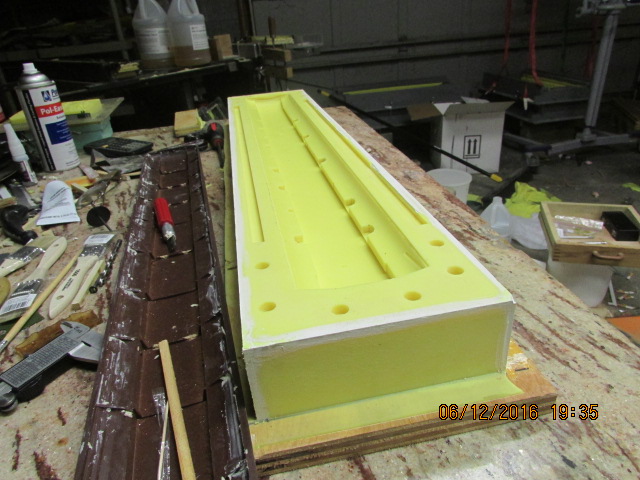
Mold ready for pouring urethane.
I have blocked the pattern and placed 1/4 by 3/8 strips of plastic for alligning the second part of the mold. Now, all that is required is spraying parting compound and pouring with urethane. Bob.Attachment 10438Attachment 10439
2 Attachment(s)
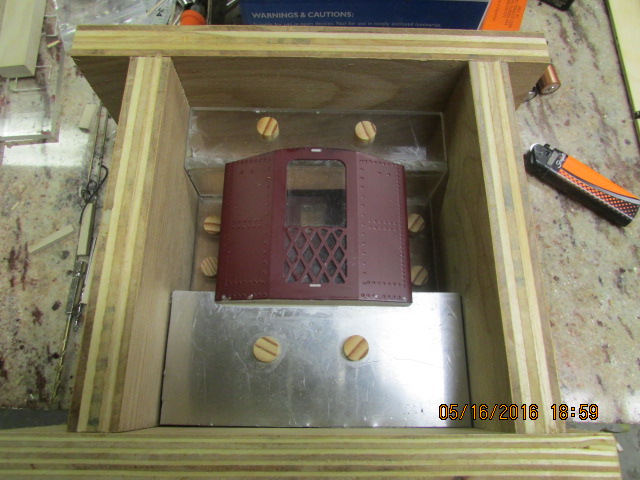
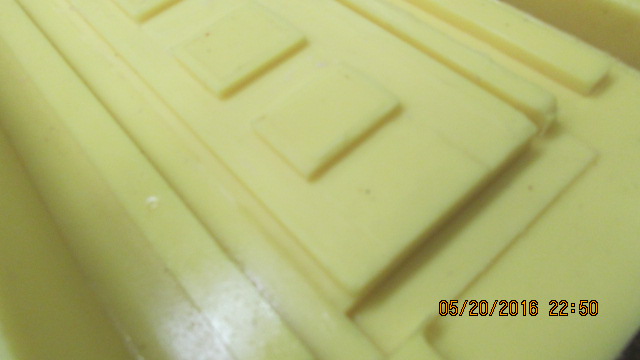
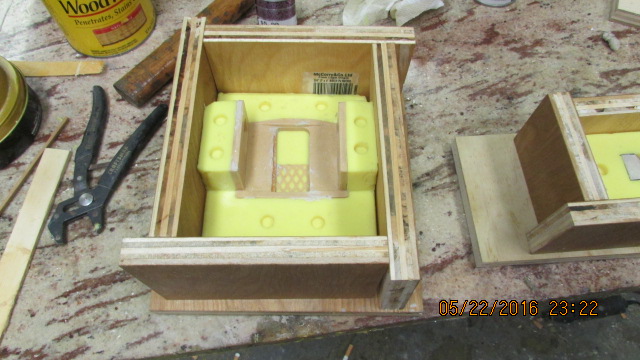
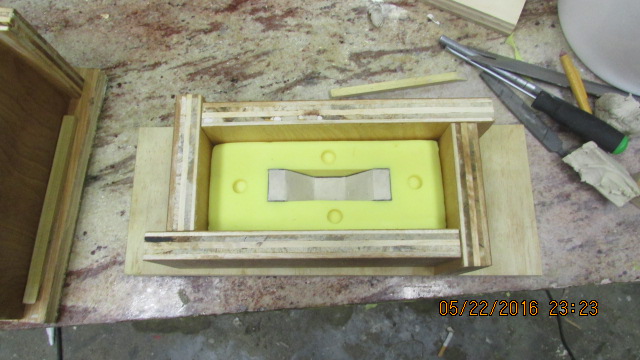
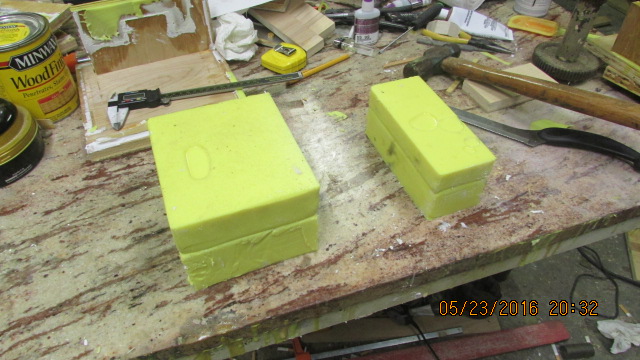
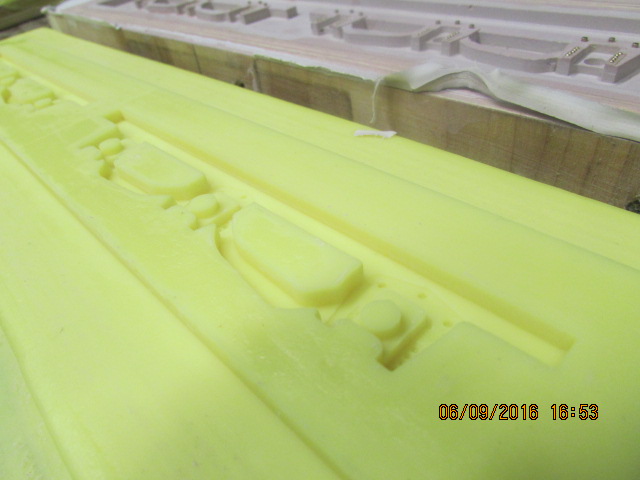
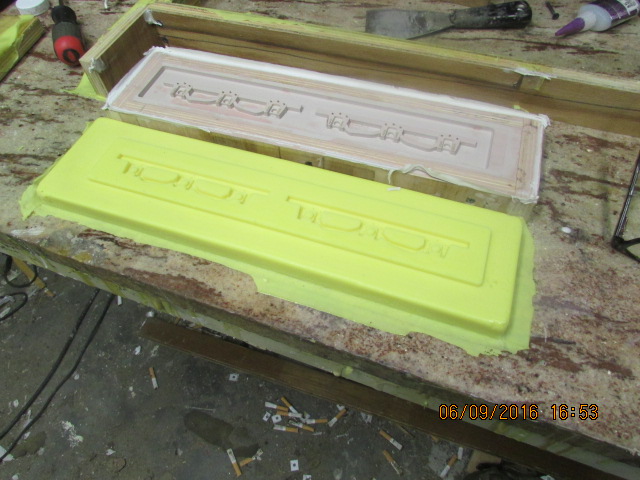
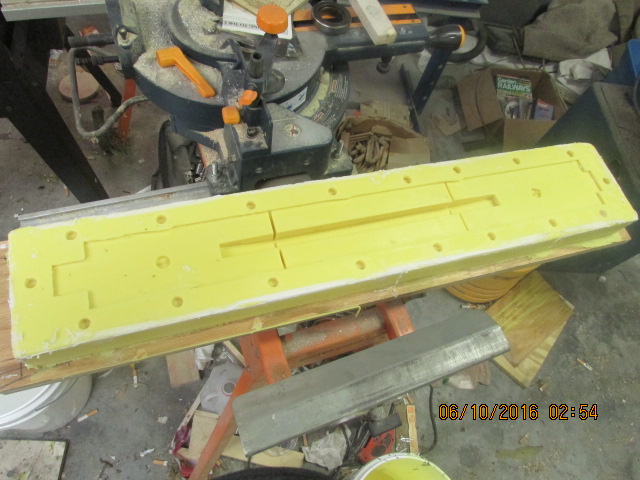
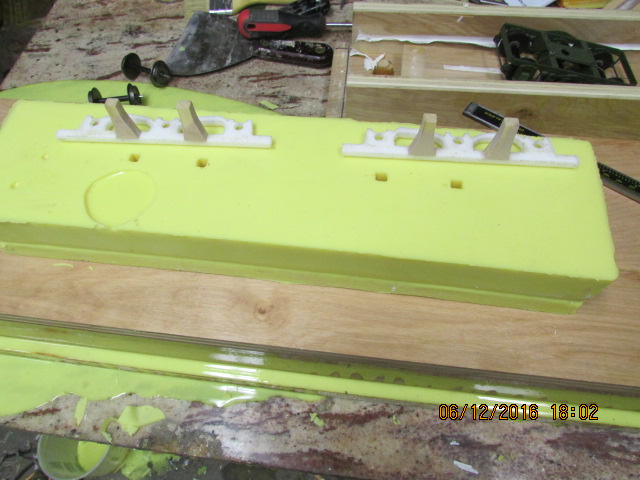
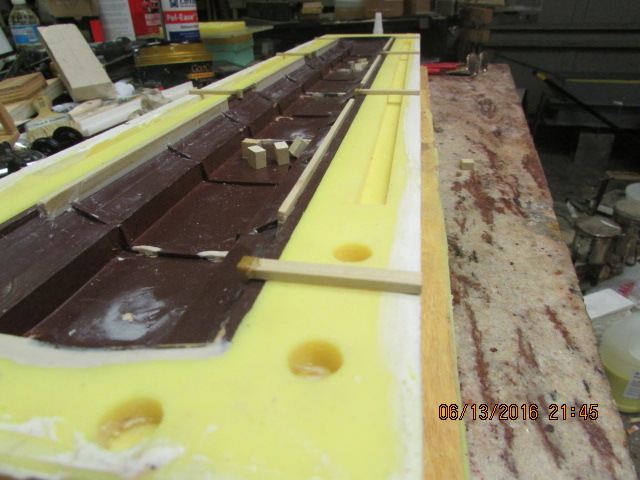
First part of mold poured.
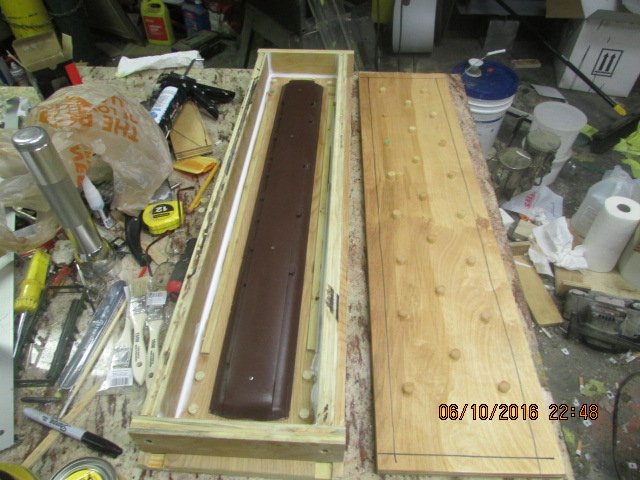
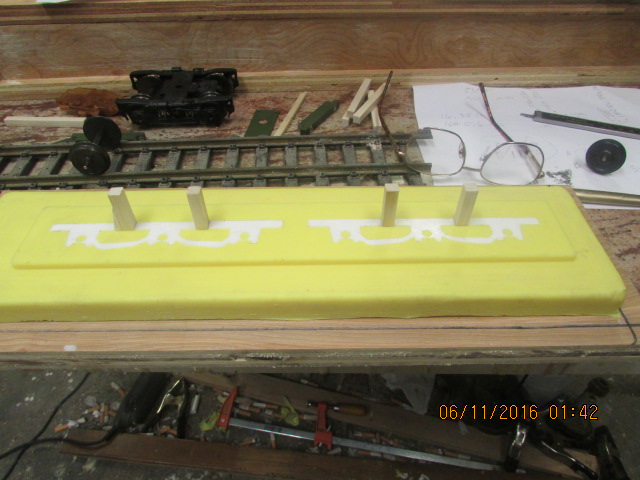
Here is a picture of the first part of the mold poured with urethane. Next I will add some body to the thin side and then pour the second part of the mold. Bob.Attachment 10504Attachment 10505
5 Attachment(s)
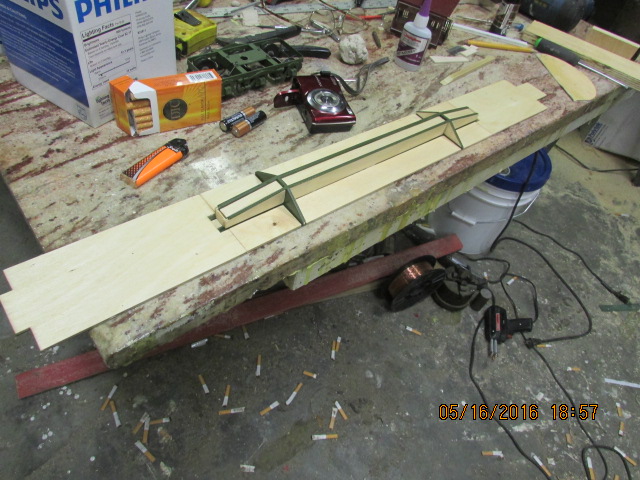
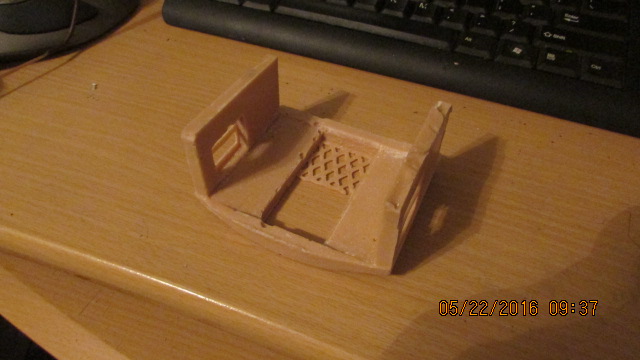
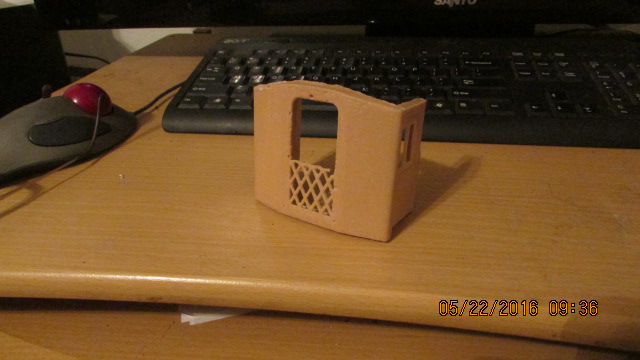
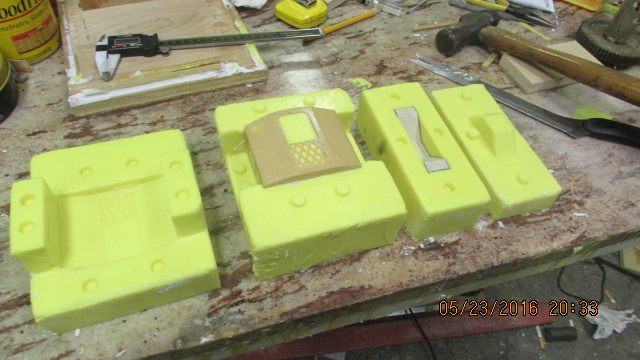
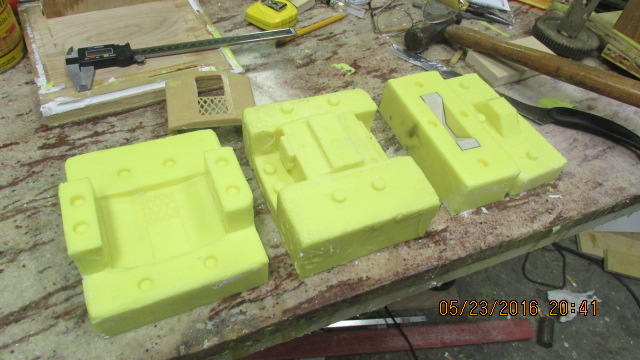
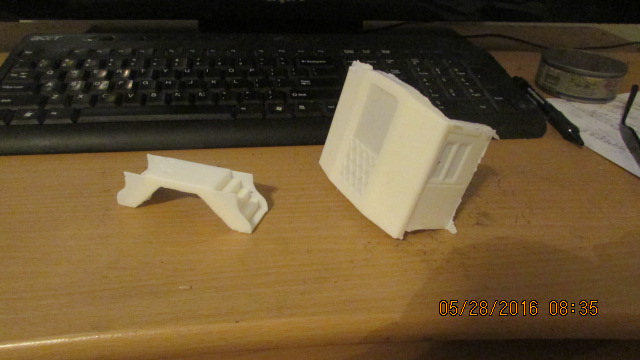
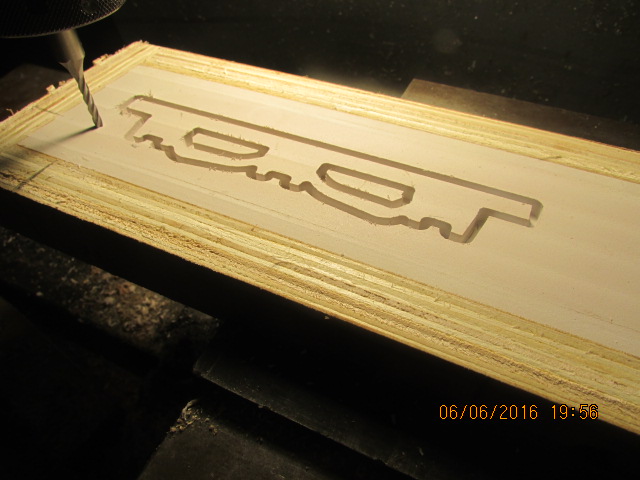
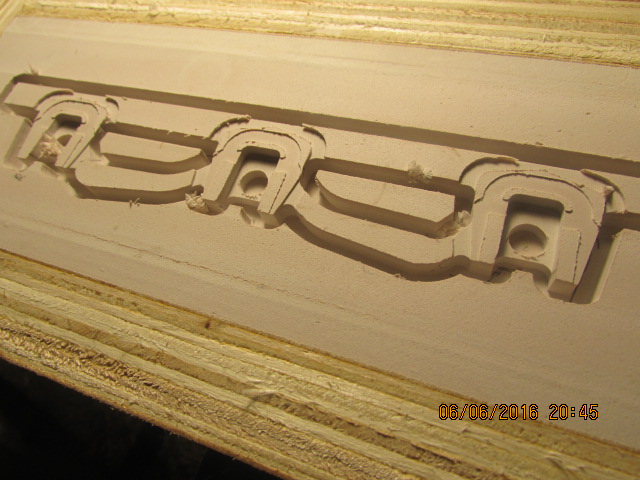
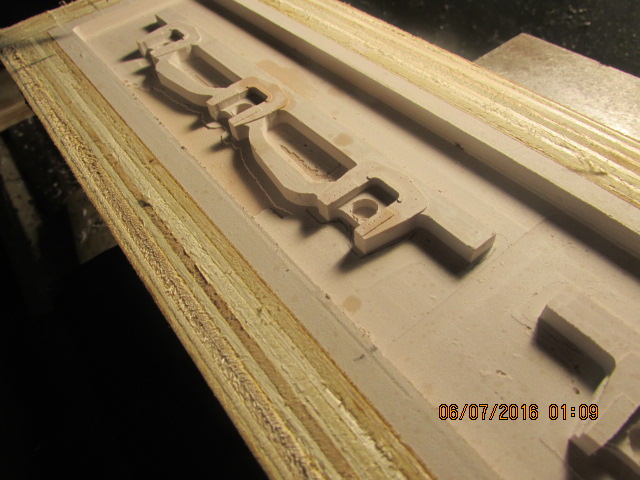
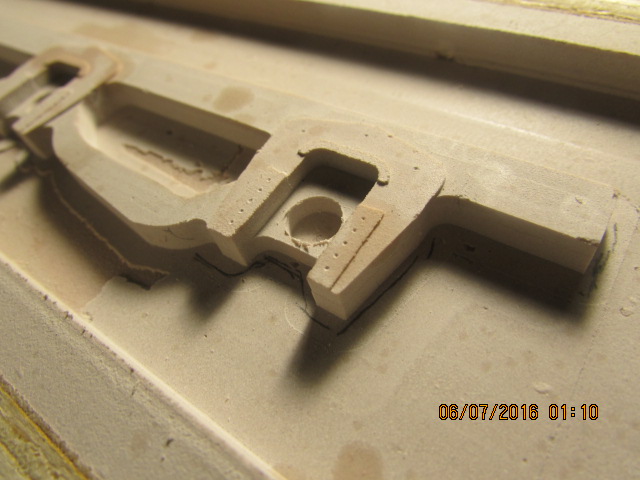
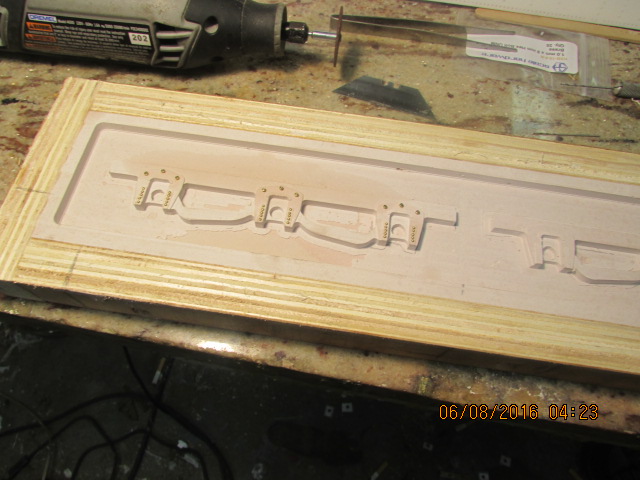
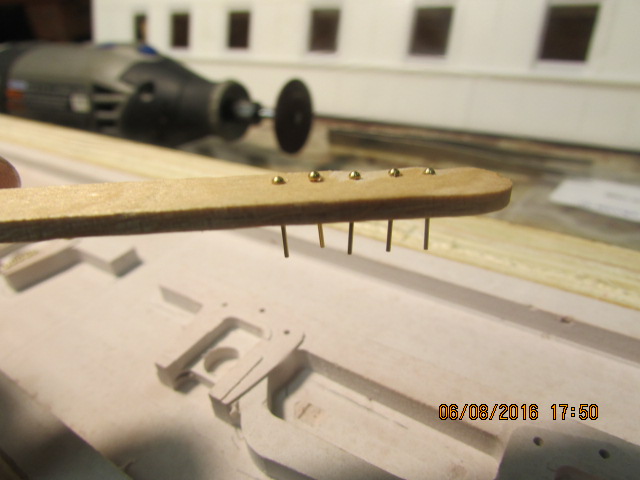
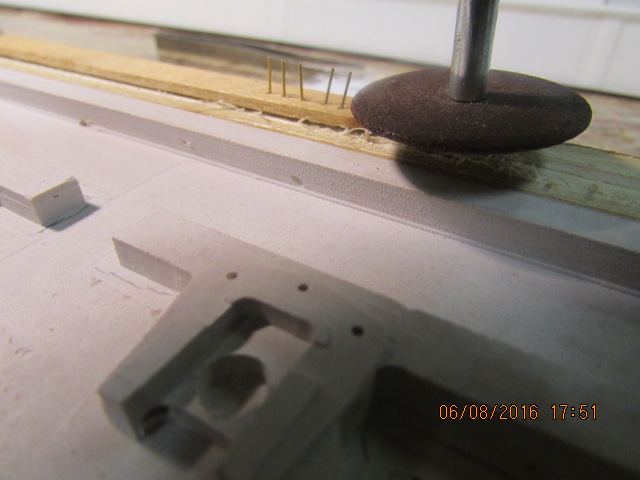
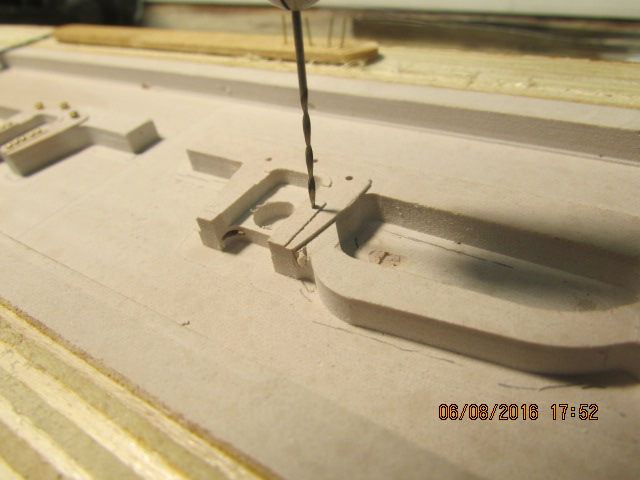
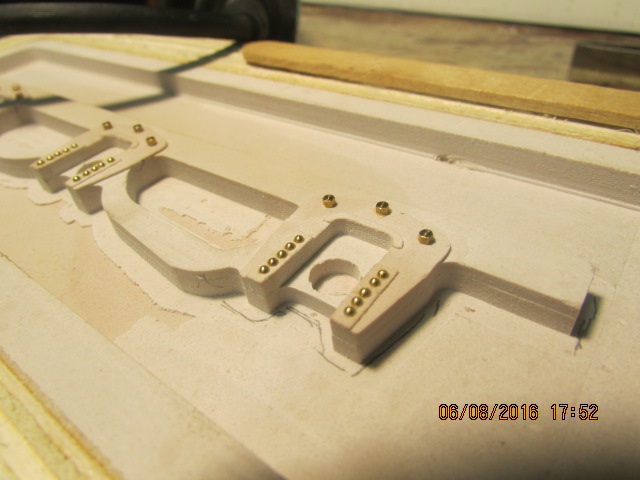
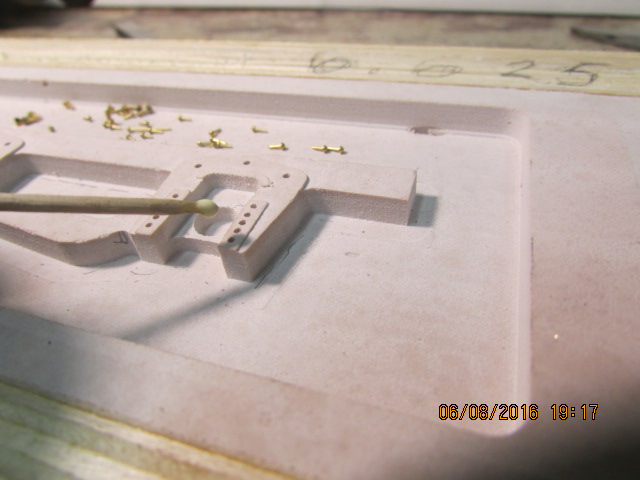
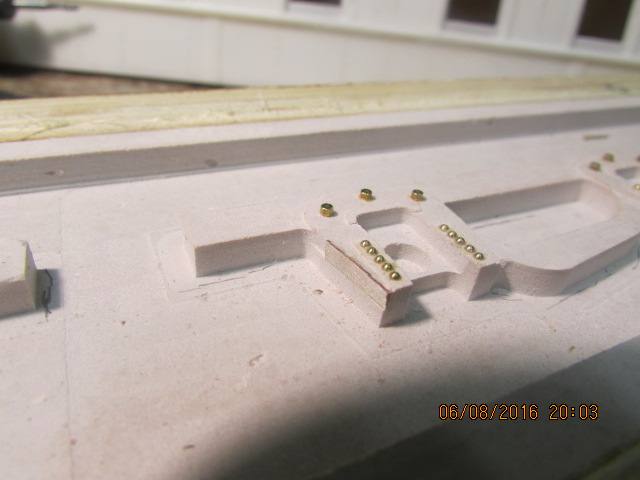
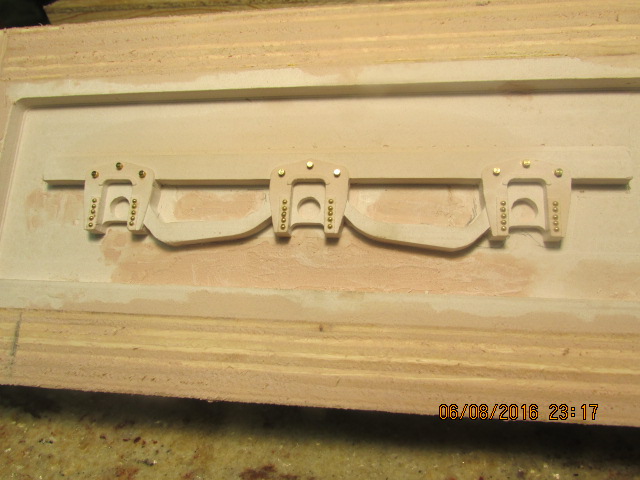
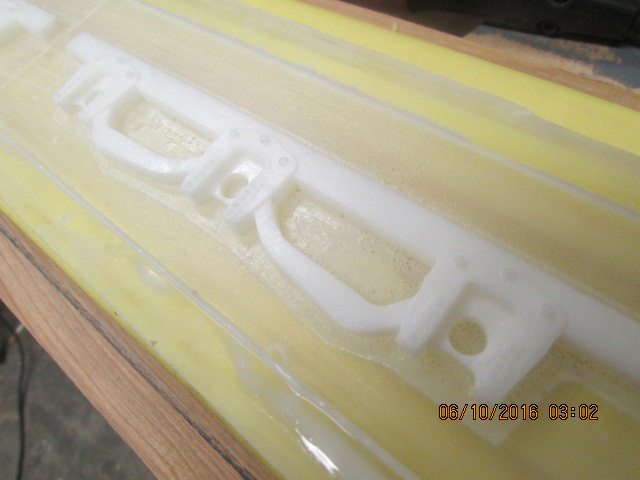
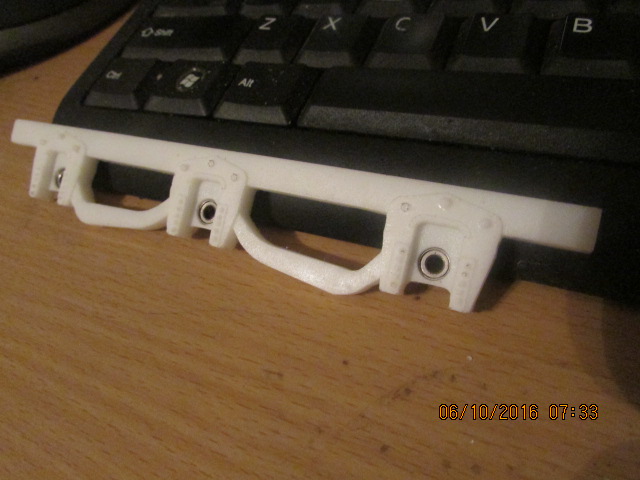
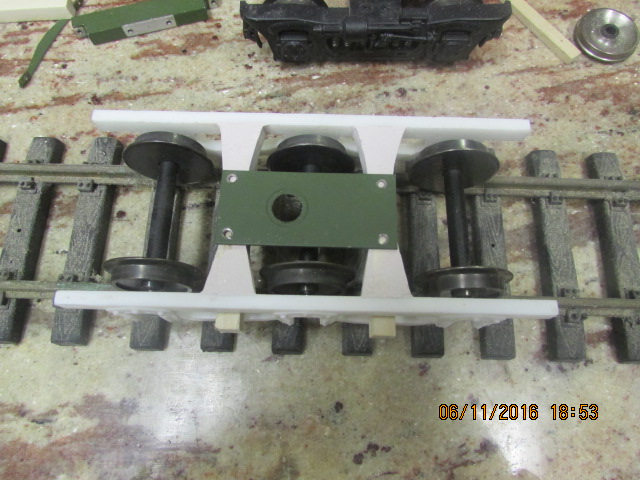
Pattern for six-wheel heavyweight truck
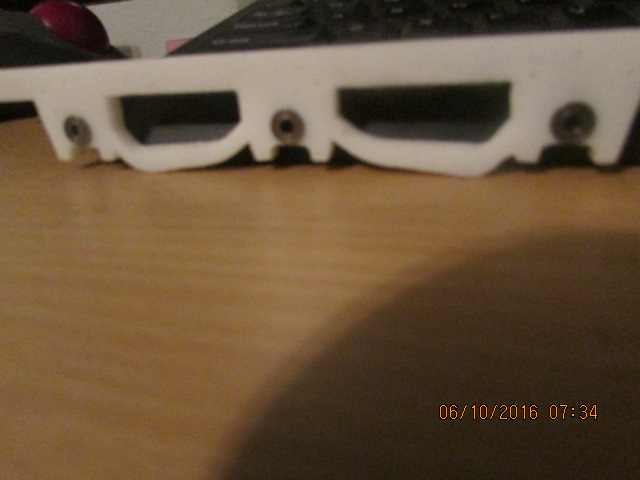
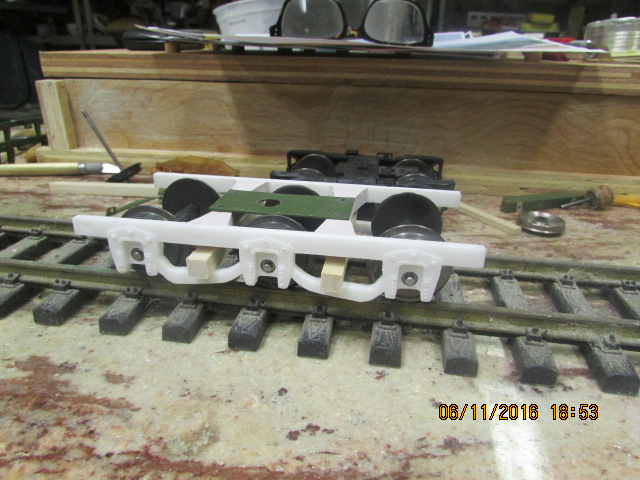
I am waiting for supplies, so I started a pattern for a six-wheel truck for the car. The original is made of metal and looks good, but I am making this out of resin, hope to make it so it is sprung. I made this pattern on my cnc and machined it out of Bondo, cuts easily. I will make a urethane mold, when this pattern is finished. Bob.Attachment 10725Attachment 10726Attachment 10727Attachment 10728Attachment 10729