 LinkBack URL
 About LinkBacks
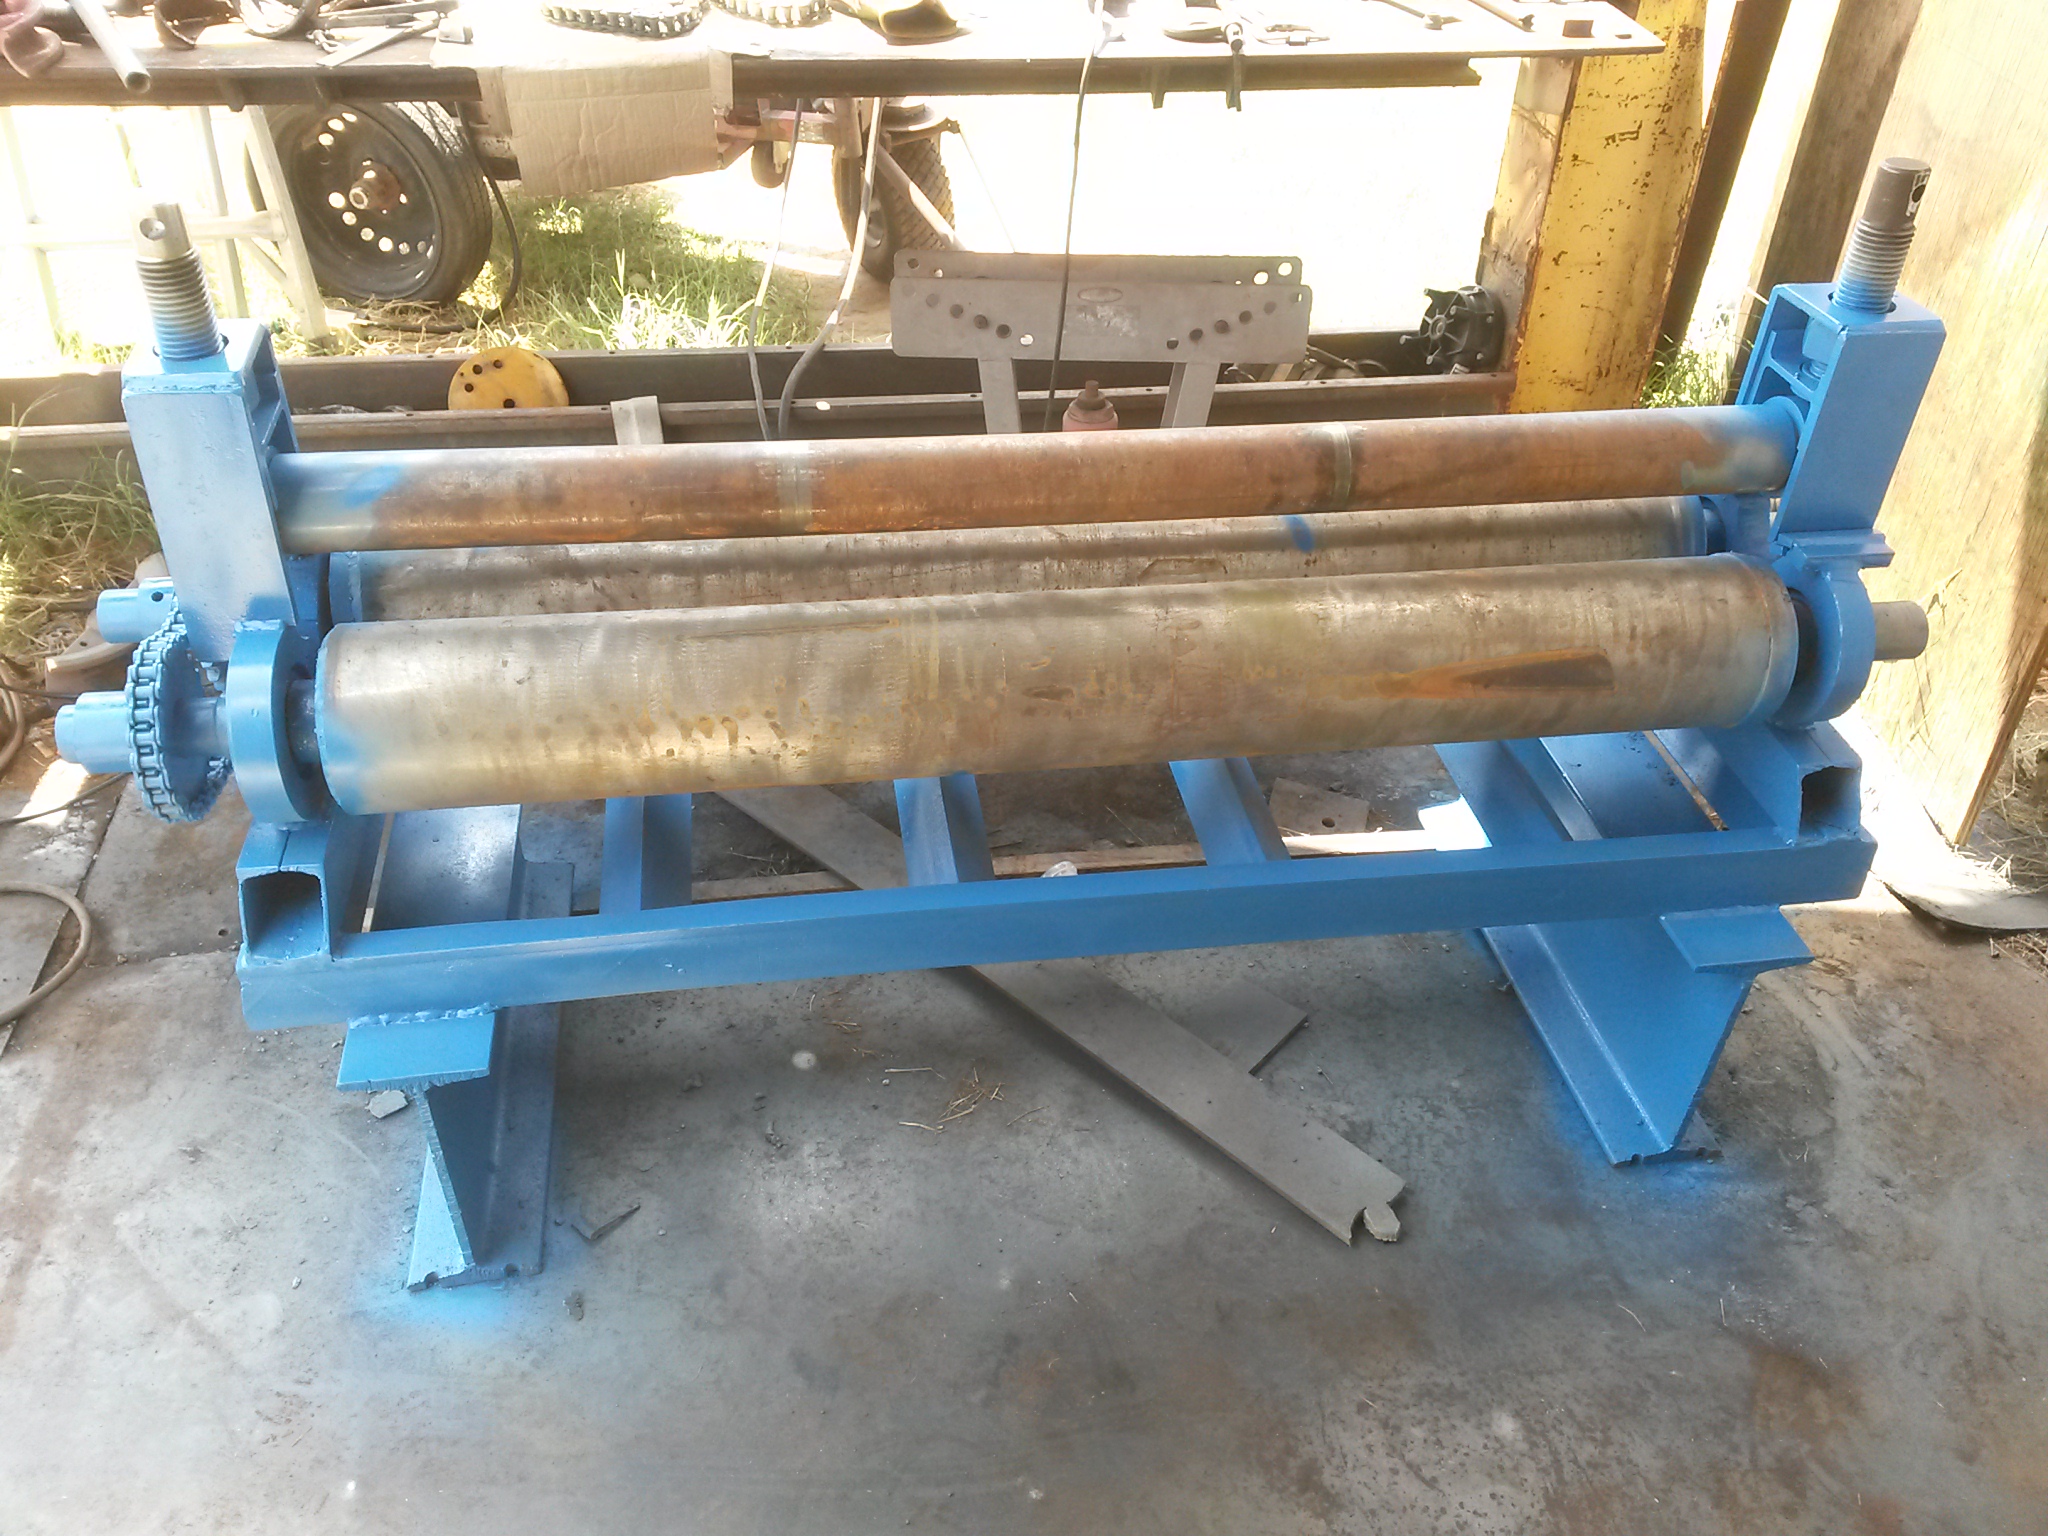
For quite a while now I have been working on my 54" 10ga plate roll
it has 6" pipe main rollers and 3 1/2" solid bar top roll
Computer keeps crashing so more pics and explanation in next post.


For quite a while now I have been working on my 54" 10ga plate roll
it has 6" pipe main rollers and 3 1/2" solid bar top roll
Computer keeps crashing so more pics and explanation in next post.
Never try to tell me it can't be done
When I have to paint I use KBS products
Jon (Aug 10, 2019), Quinton 357 (Aug 12, 2019), Seedtick (Aug 12, 2019)
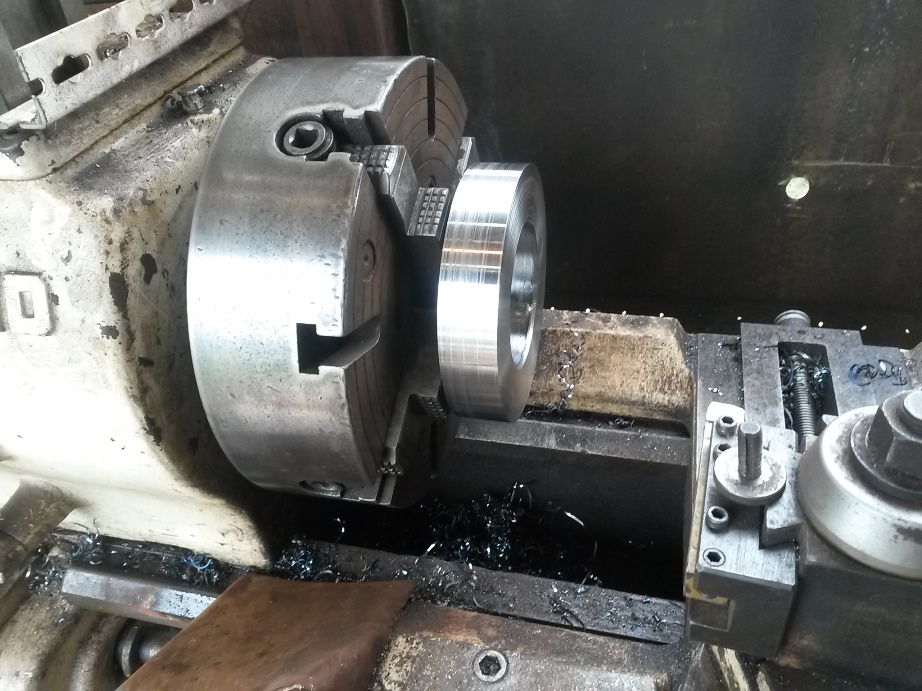
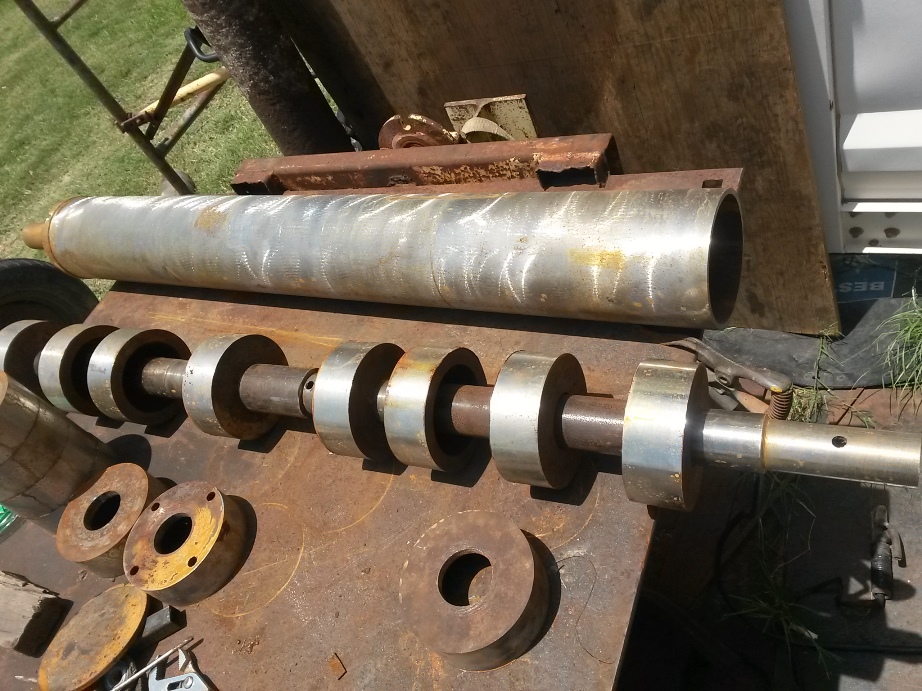
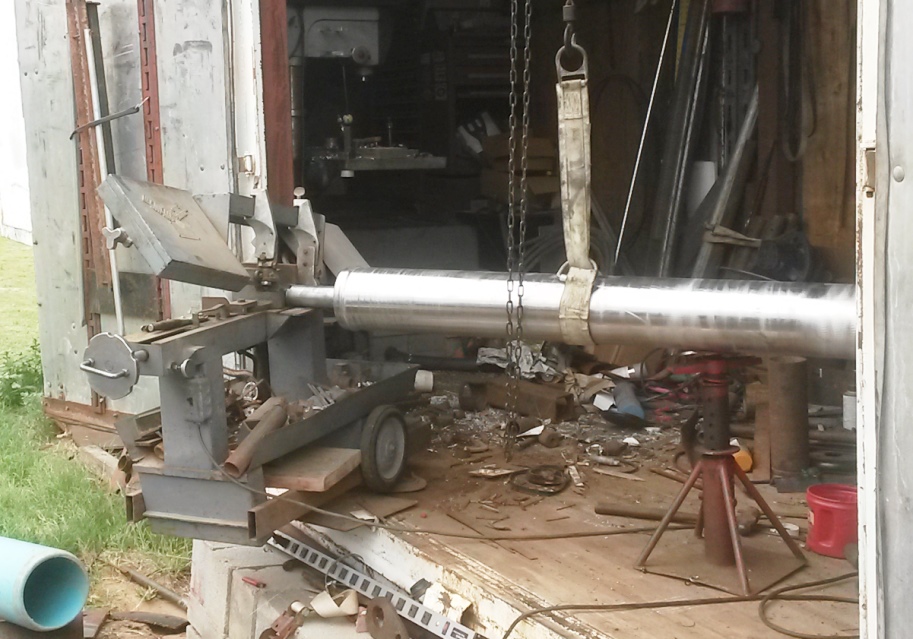
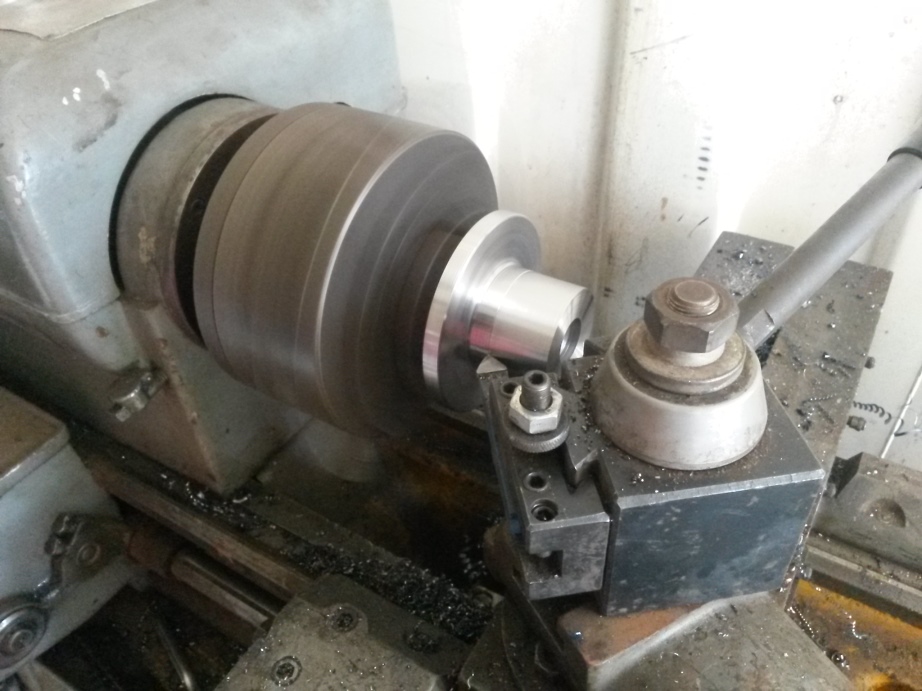
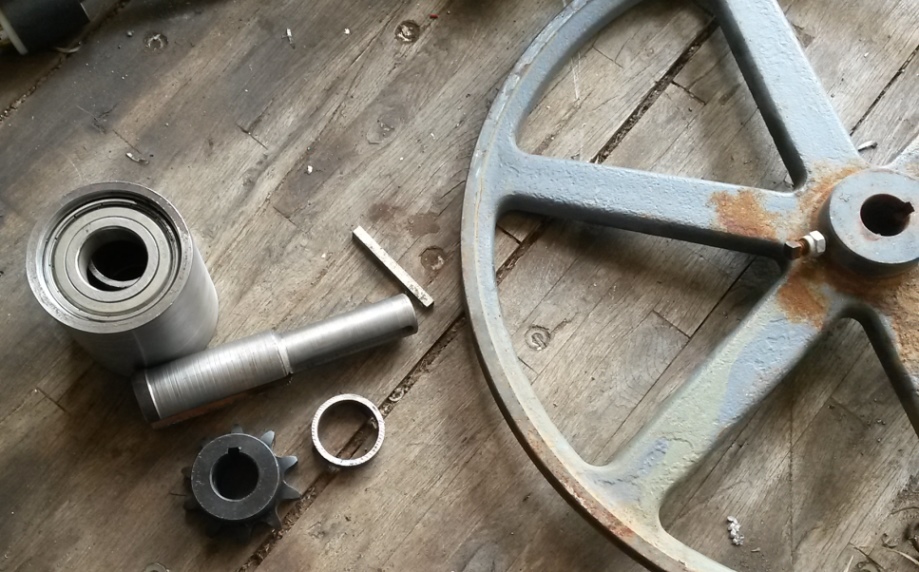
Started off with 6" seamless Sch 40 pipe that had 1 end already on it just had to trim off 50 lbs of steel then turn the pipes
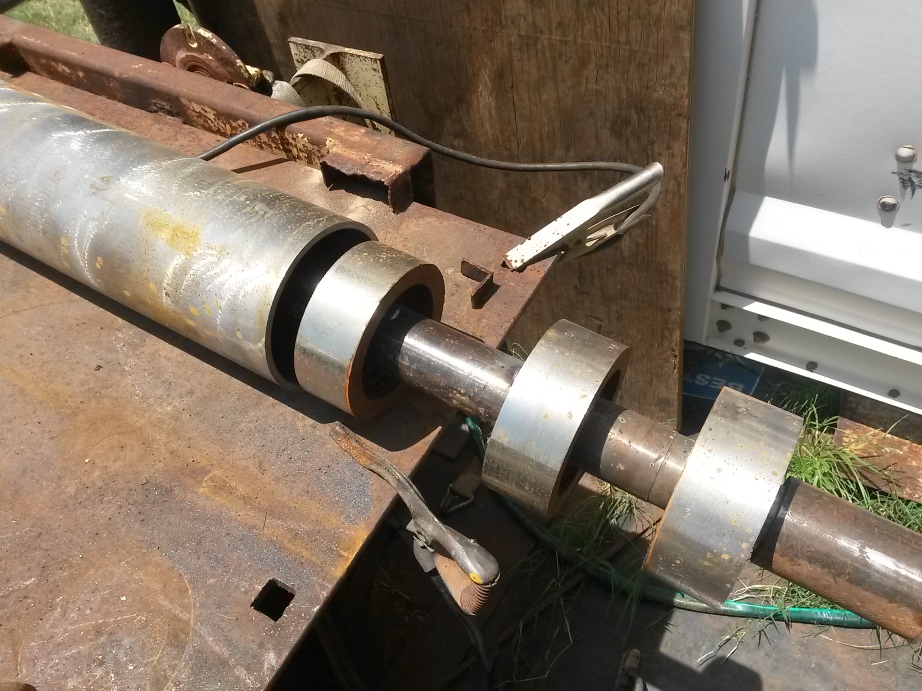
Then machined 16 2 1/4" thick disks to go inside and a center shaft to stiffen the main rollers
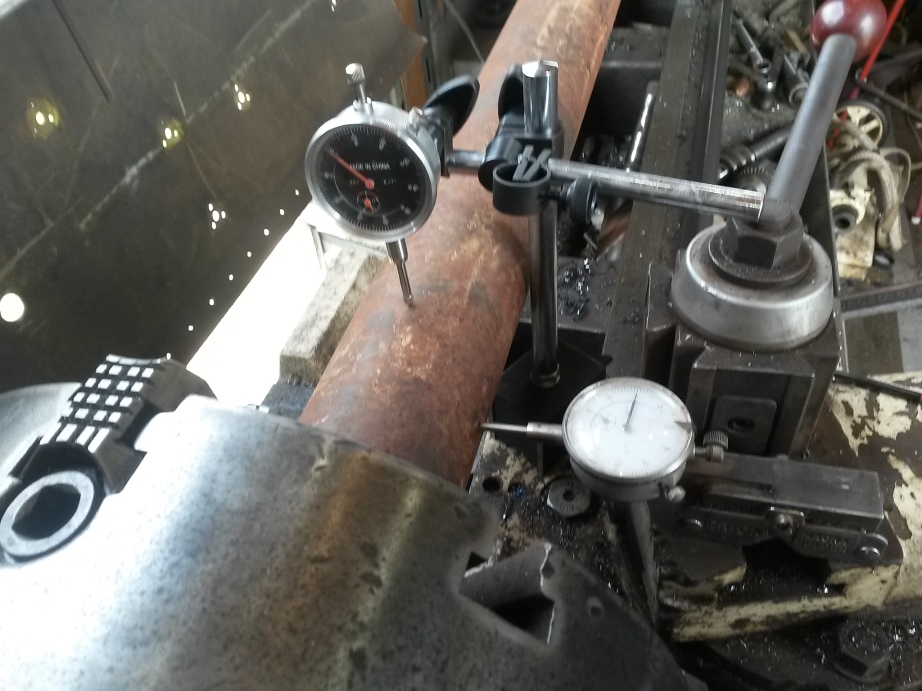
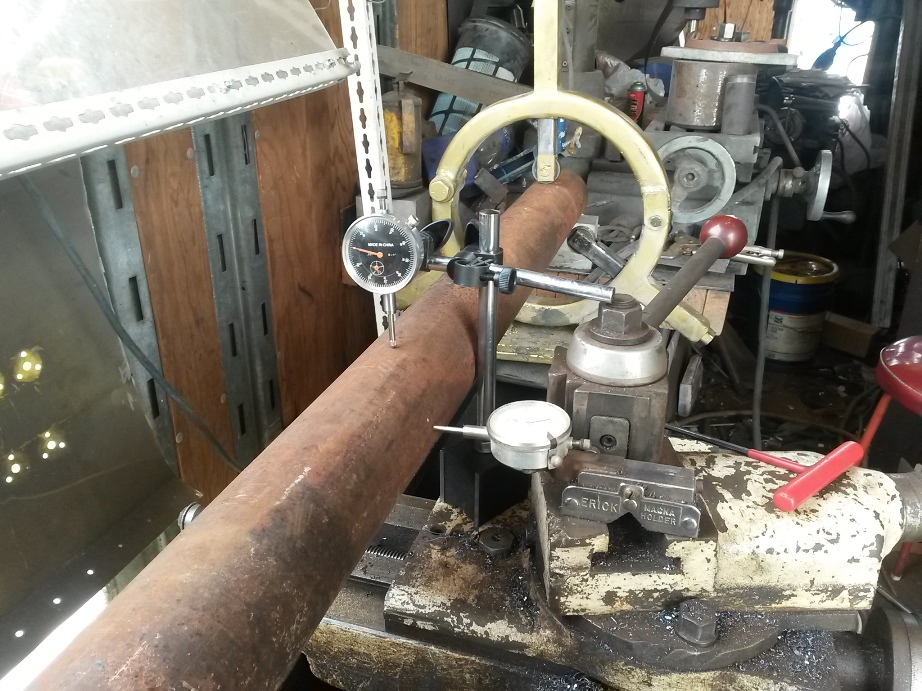
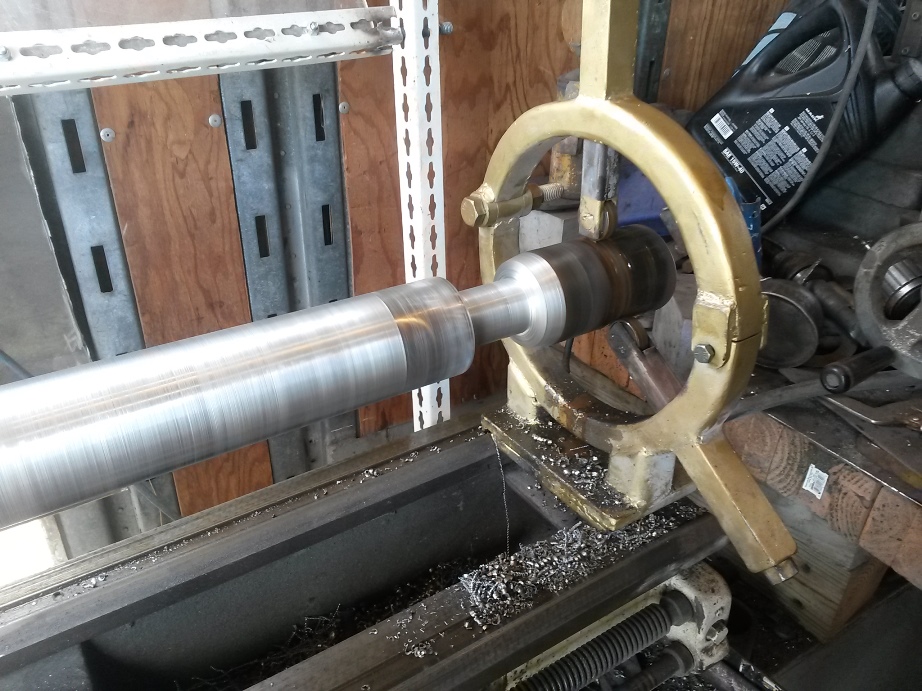
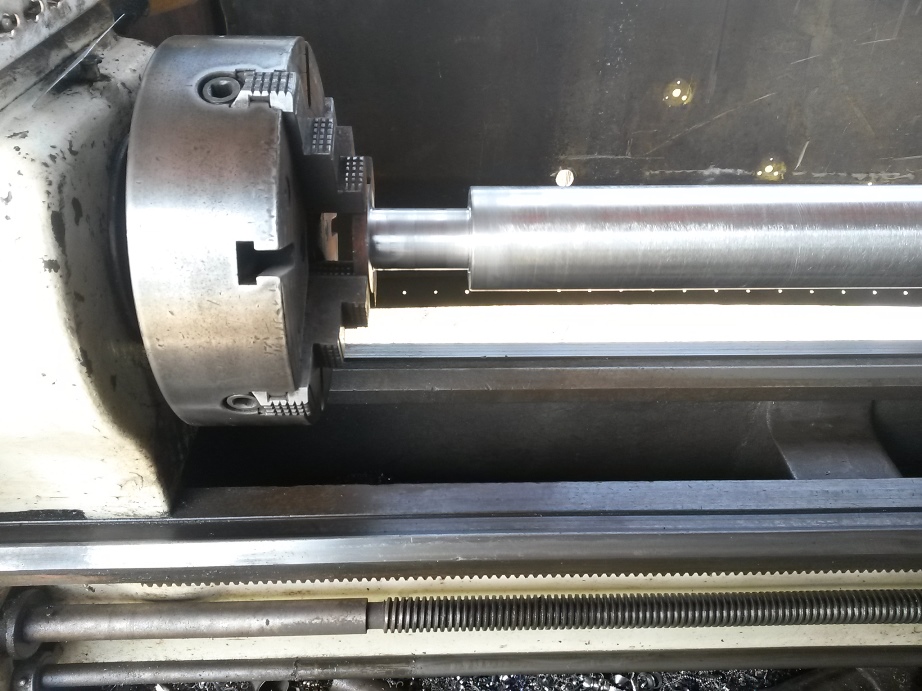
Then I had to machine both bearing ends on the top roll blind since my lathe is barely long enough to hold the shaft.
That and once I had it dialed to "0" "0" O didn't want toe move it
I just cut the ends off in the band saw for the pipes and the top roll
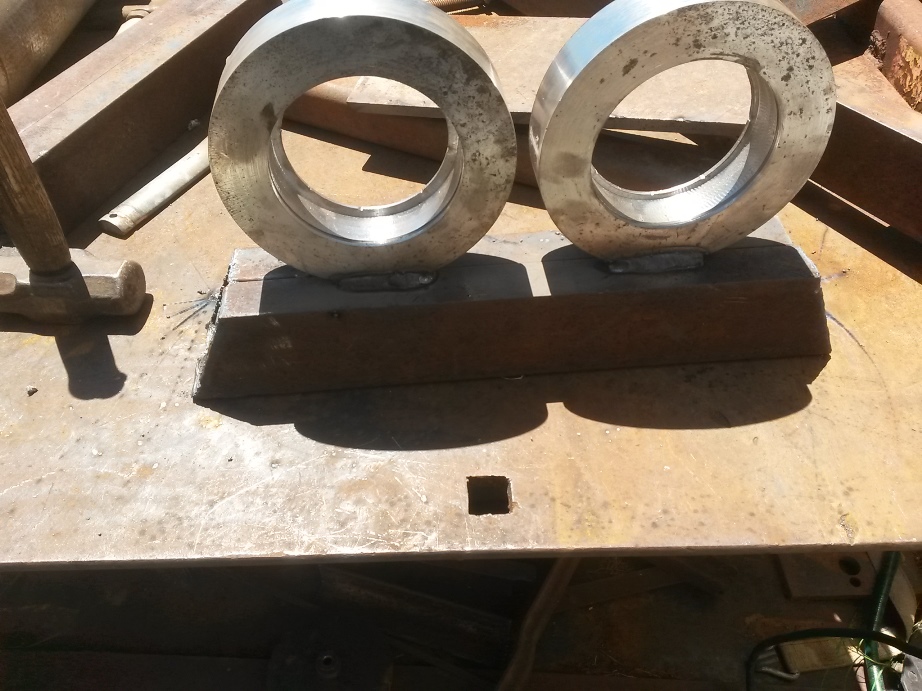
Next I made my bearing housings
Last edited by Frank S; Aug 10, 2019 at 07:43 PM.
Never try to tell me it can't be done
When I have to paint I use KBS products
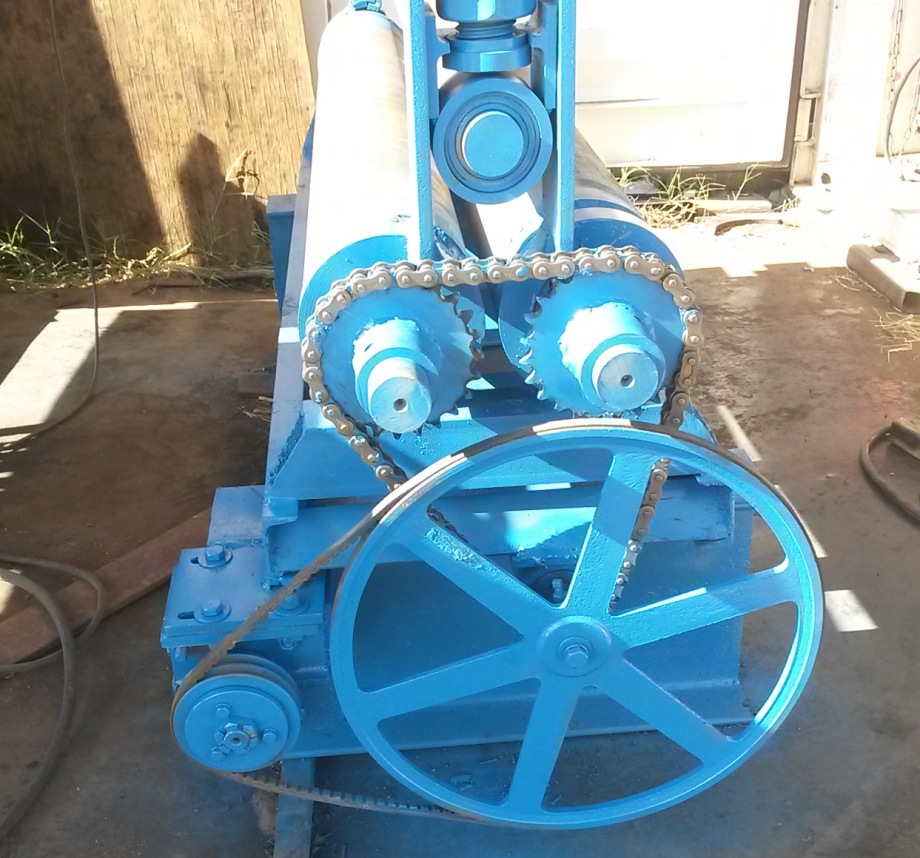
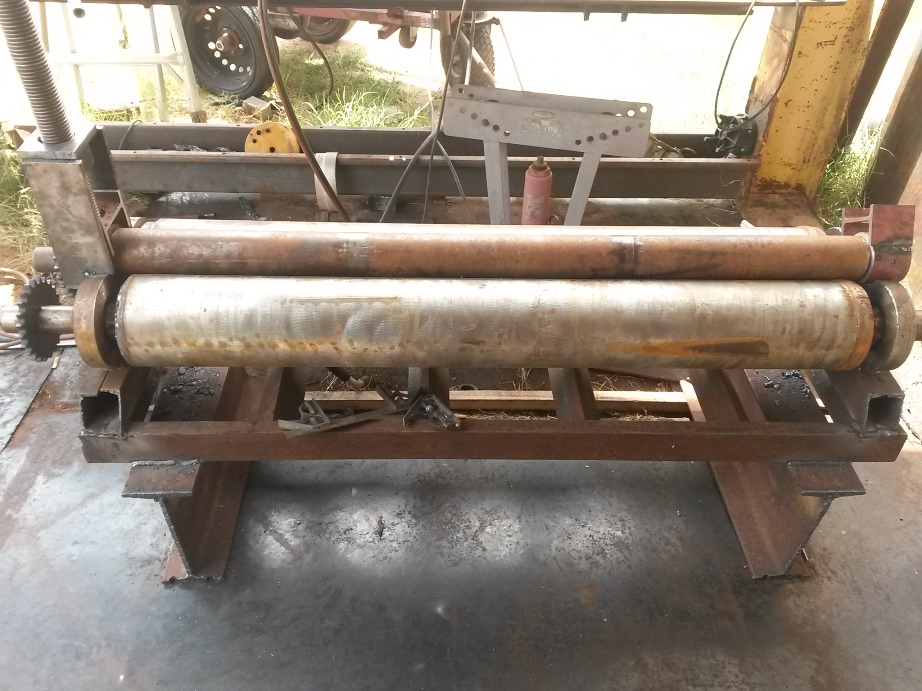
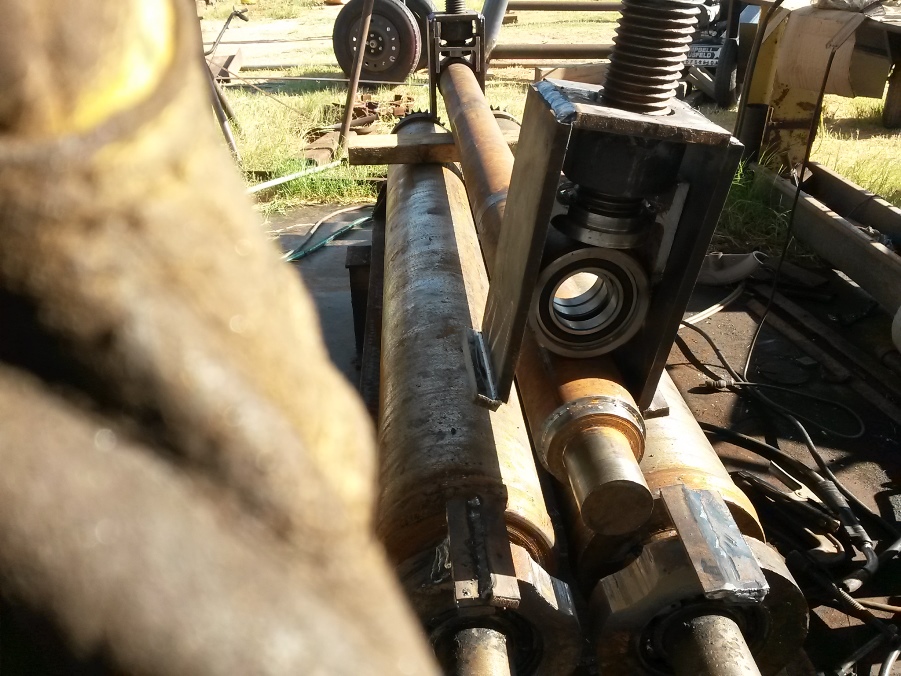
next I started assembling
the frame is an old trailer ramp with 12" I beam for the legs
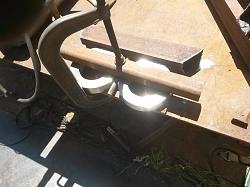
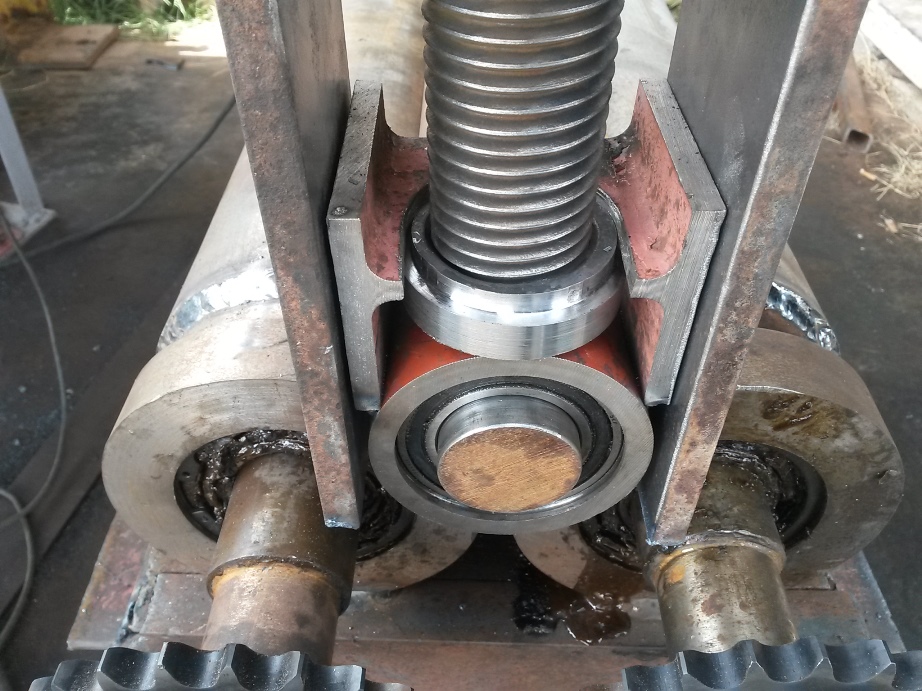
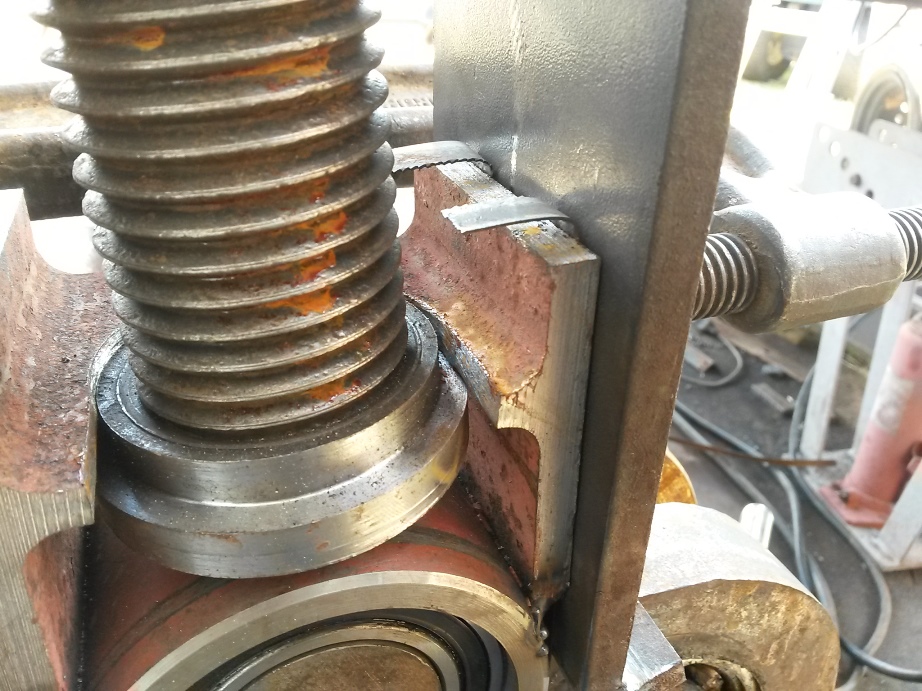
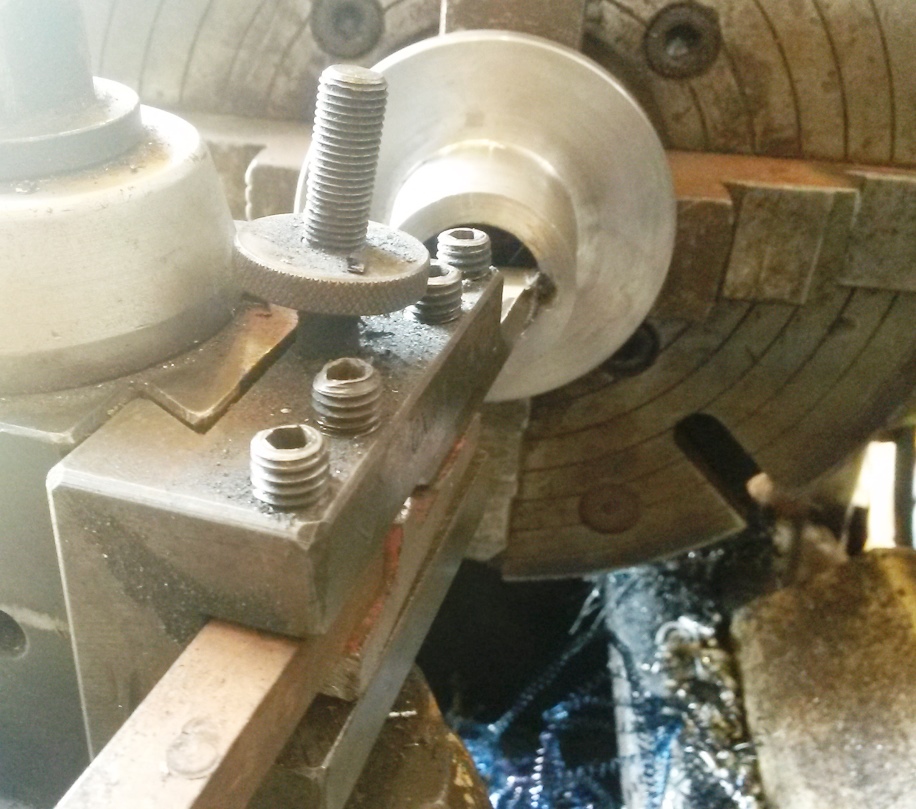
Next is the top roll mounts
I used a couple pieces of a brolen bandsaw blade to set a clearance for the bearing housings to slid up and down
The down force screws are 2" B7 stud grade all thread. I turned 1 nut then split it to serve as the stop collar to raise and apply down force to the top roll The bearing housings are just some scrap cylinder stock I had
One end is made so I can slip it off when rolling complete cylinders
the slides are angled so as to cause the force to keep them held tight and not spread
Never try to tell me it can't be done
When I have to paint I use KBS products
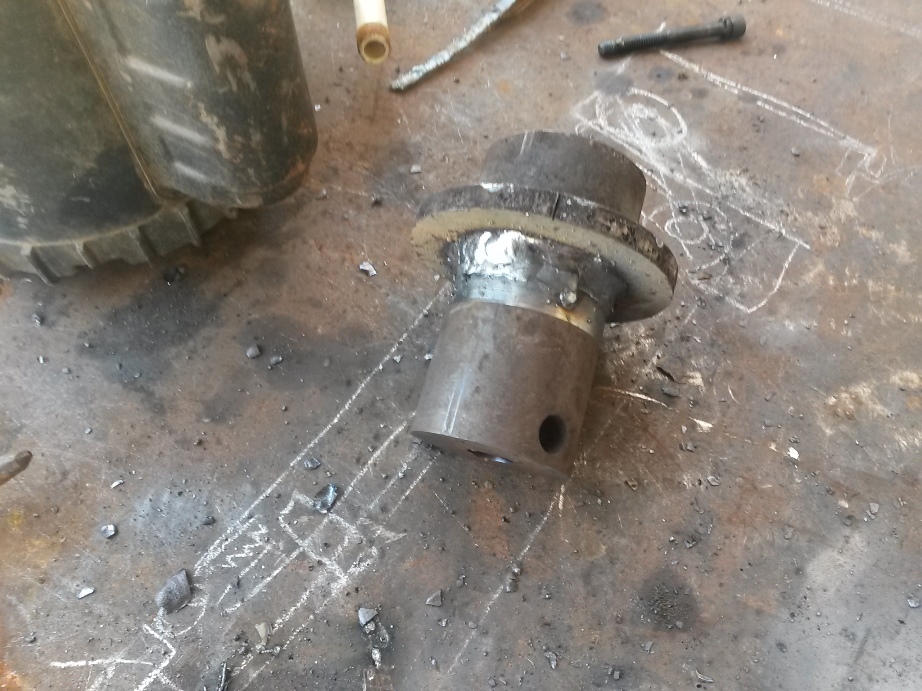
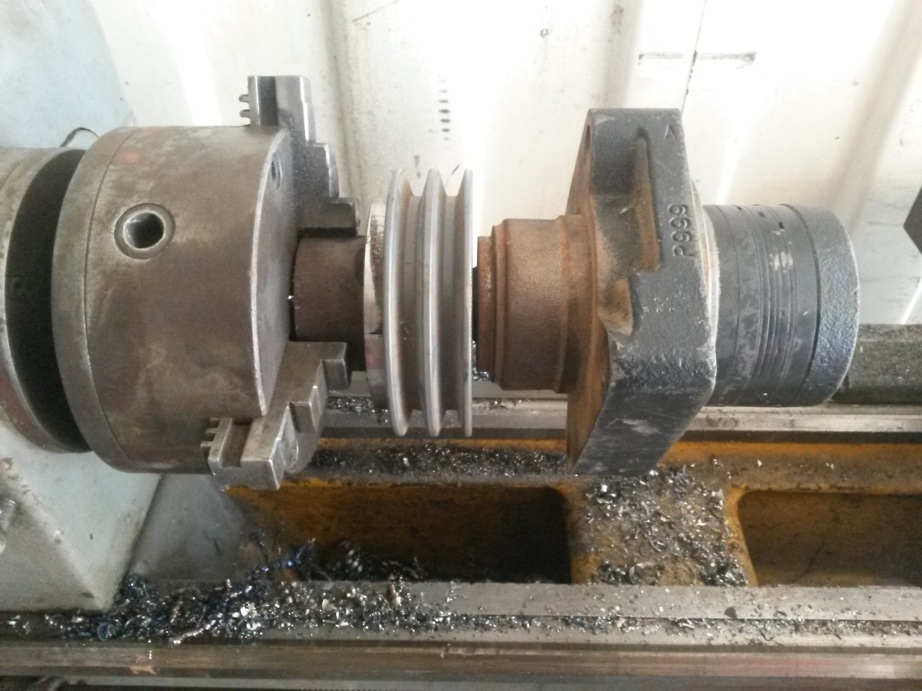
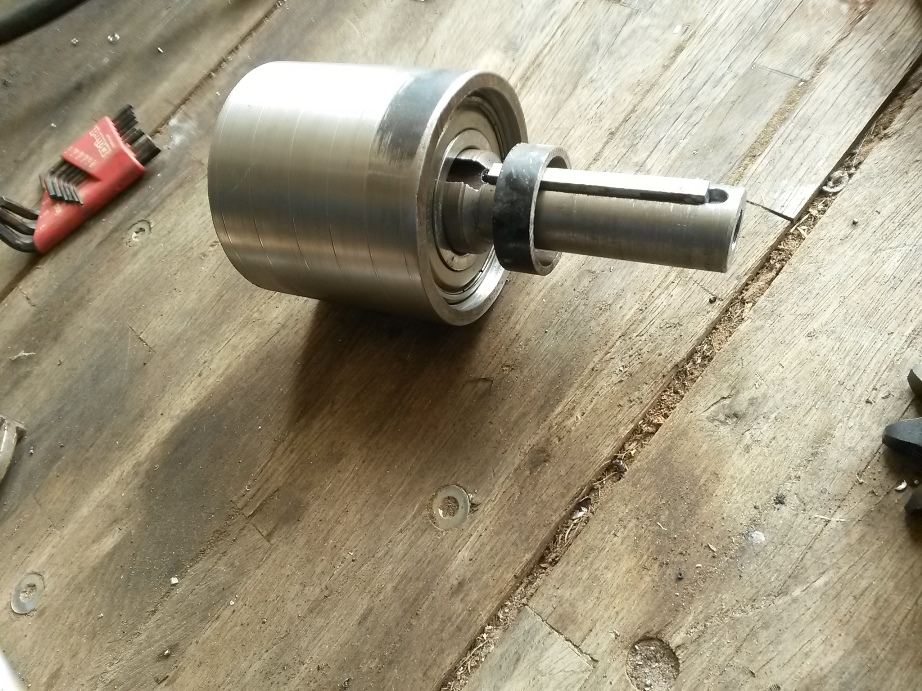
Then I had to make a drive adapter for the hydraulic motor to mount the pulley on
I started out by welding a round plate to a cylinder and tacked a sacrificial piece on the opposite side this way all machining could be done without removing the work piece
The machining was done on my little Sheldon 12x36 lathe
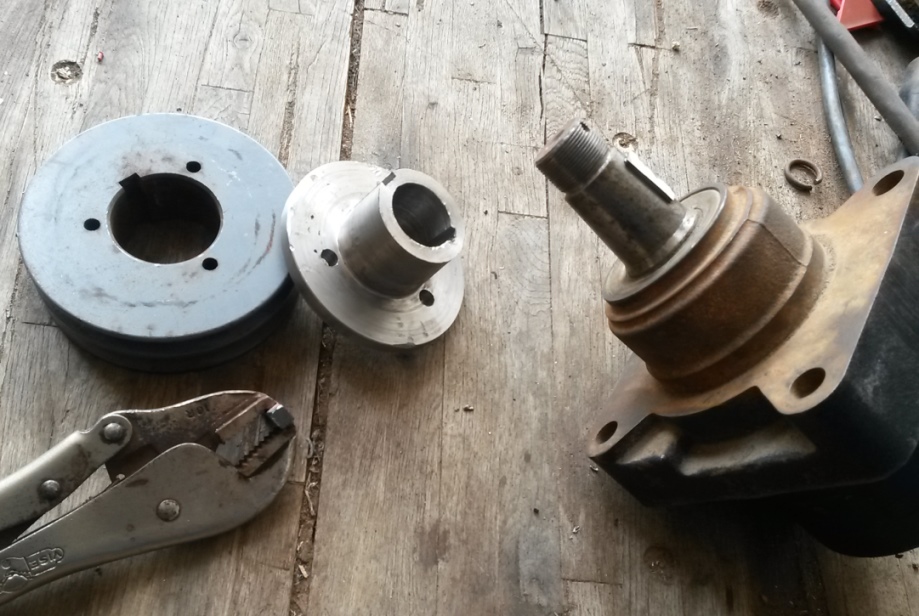
there is a taper to the inside and a taper on the outside 1 fits the pulley the other the motor shaft
To make the keyways I milled the outer one then chucked the piece in my Leblond 17x54 I used the tool post and carriage as a shaper to broach the keyway

Never try to tell me it can't be done
When I have to paint I use KBS products

Now I know why you want bigger machines.
So what is the first job this plate roller is going to produce?
Nice build, and even painted.
All I made today was a die stock tube, so I could thread the rust off the protruding bolts under the 57 Chevy truck. These hold the gas tank in. I twisted one bolt off, as well one of the seat bolts. But I did get the other gas tank strap bolt to come out without damaging the threads. The original manufacture spot welded in nuts to the sheet metal floor. My typical technique for rusty bolts is to back them out till resistance, then back in to let the crud drop out, then out again. That was working until it just snapped off.
I also let this truck sit in dry storage for 22 years without starting it, that was a mistake as the engine froze. Used an extrusion of aluminum with a floor jack, using the starter ring gear as a pushing point. But it did not want to let loose. PB Blaster failed, so I used ATF with acetone. That did the trick. I wish I had a borescope so I could look down the spark plug holes for any damage. I did replace all the coolant and had to install a new water pump, as when checking the engine for rotation, I pulled on a fan blade, and the water pump seal failed. I know this engine only has about 4000 miles since a full overhaul in 1980. I could not get the original water pump as they morphed the design to be used on various years of the inline six. I did run it up to full heat, and I hope any ring cylinder wall corrosion is rubbed clean. So now I'm taking the rest of the truck apart for restoration. I'm making tools to hammer on rusted parts. I do not want to pull the engine. LMC truck parts is getting lots of my money. I am making a few bolts that are not sold. The salt used on roads has done much damage. But that was before I purchased the truck from the friend I helped do the engine rebuild with. That and some one messed with the electric harness under the dash. They removed from the instrument cluster the temp gauge and ampmeter. Cut and spliced wires, hacked at the dash for some junk Ford radio install. I've let this project sit long enough unfinished. I just wish summer was not fading so fast.
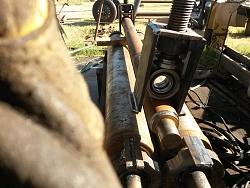
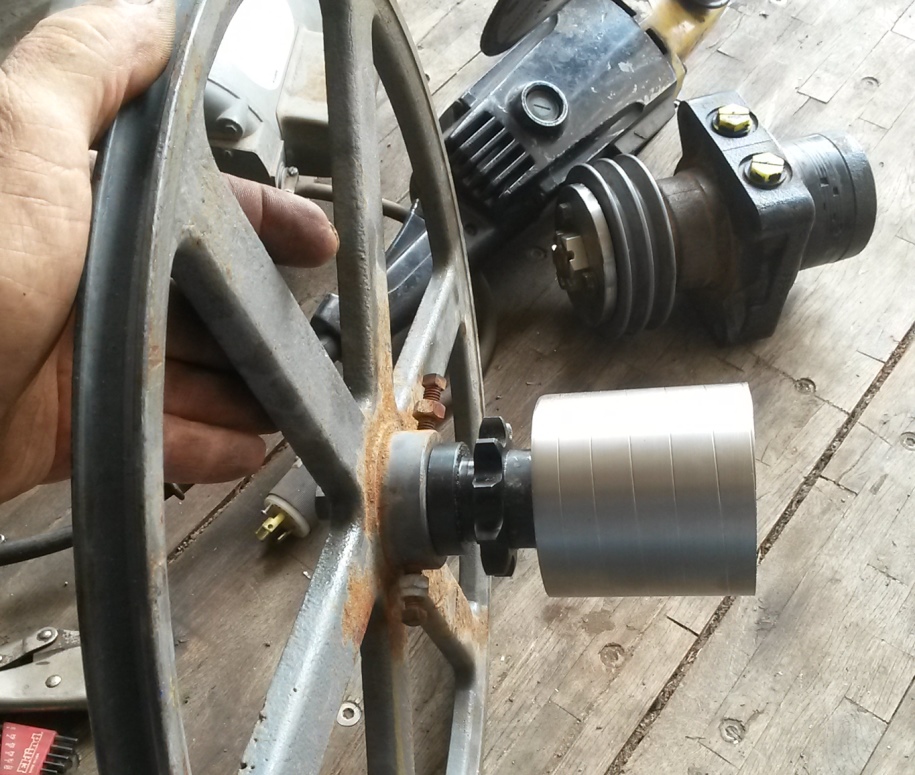
Next I made a jackshaft and bearing housing for the pulley to sprocket transition
It has a zero space stack up so no movement side to side is possible
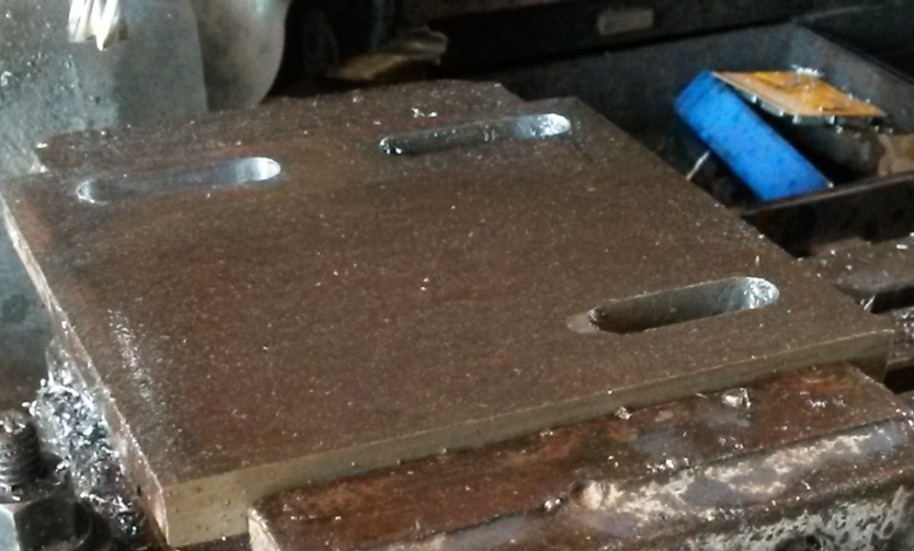
Next I had to make an adjuster plate to mount the hydraulic motor on
The roll is ready now b ut the power unit I had planned on using is AWOL either that or it is buried all the way to the front of one of two trailers so now I have to make a power unit or wait until Bob shows up and plug into his truck before I can use it
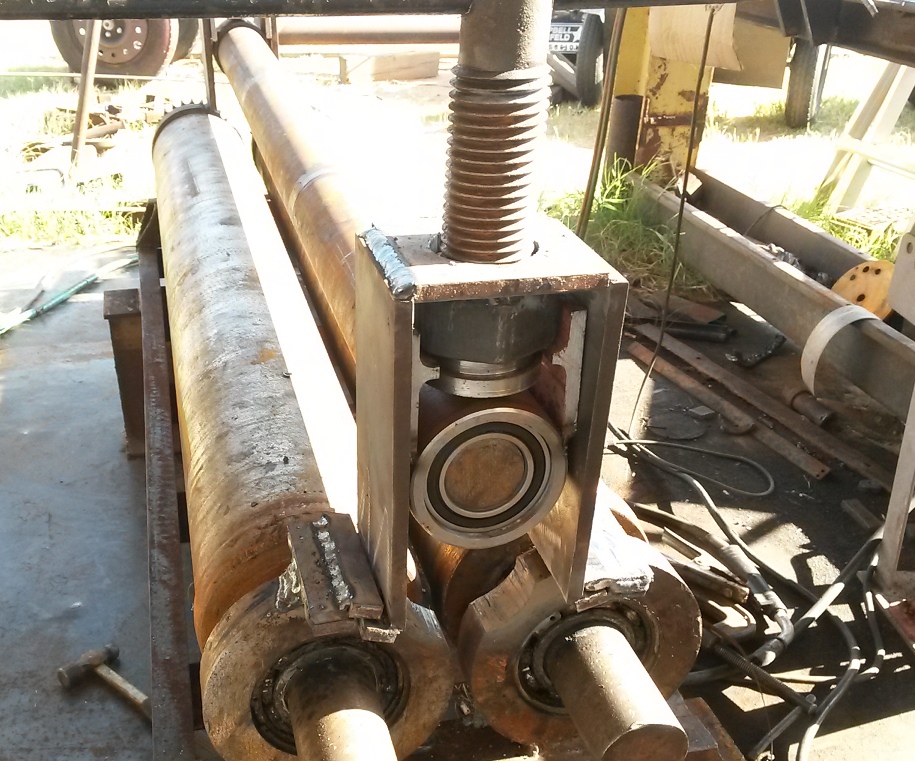
Anyway a little about the specs of the roll
54" max sheet width the main rolls are on 8" centers so this is going to limit the gage thickness of rolling a 4 ft sheet to around 10 ga possibly 3'16" if I want to roll back and forth many times.
the 2" down force screws can develop 30 tons of force each but that would mean having to use a long cheater bar on them.
the top roll is mill shaft out of an old cotton mill so I have no idea tis grade other than it was hard and free machining similar to stress proof or 4130.
Never try to tell me it can't be done
When I have to paint I use KBS products
Yep can never have machines too large, because I never know what I might need to do with them.Originally Posted by metric_taper

the first job for the roll is to roll some 10 or 12 ga into cylinders then make air tanks for a 1927 chain drive Sterling truck
For your restoration project I have a few tips that might be of some help for you.
First off it was a good thing that once you had the engine running you ran it long enough to get it up to full operating temp. Hopefully it ran long enough to dislodge any built up corrosion and varnish on the push rods I started up a 49 chevy 3100 with the 216 years ago that had too few miles since rebuild and had been sitting outside on an Island in the Puget sound for 20 some years after I bought it I let it set another few years then one day said I'm going to drive it put a battery in it cleaned the points checked the oil filled the radiator with water set a gallon can of gas on the fender then primed it and was driving it around the shop in half an hour but I didn't leave it running the next day when I went to start it every push rod bent. Lesson learned sitting engines need to be ran up to temp to clean the old varnish and oil off of and out of everything.
Anyway your 57 with the rust issues take a look at my signature and copy the web address my friend sell some stuff there called rust blast it is a phosphoric acid product with some other stuff in it the product contains the highest concentration of phosphoric acid allowed by law it doesn't convert rust into a hardened scale like Ospho does it EATS the rust to bare metal. then leaves a thin zinc coating which can be painted right over or you can brush off the chalky white layer and prime then paint. If you have rusty bolts and nuts you want to clean up just toss them in a container pour the rust blast over them and the next day they will be like new unless they have been eaten away by the rust then they are going to look like a new bolt that has been eaten.
Follow the direction implicitly apply to an area until wetted then spray the area again and again every few minutes for about an hour leave until the next day and have bare metal. one tip that I do is to spray and area then cover with plastic wrap when ever I can this helps to keep the area wet longer by keeping the air of it the product loves high humidity and works better it is almost trying to sprinkle or is fogy. he has too many products to talk about.
the plate roll is painted with the KBS blue top coat from an aerosol. hard as nails and 100% UV stable.
Never try to tell me it can't be done
When I have to paint I use KBS products
Frank; Thanks for the suggestions. My floor pan has rotted through, mostly from salt being tracked in during the winters up here. I've not found a product that will disable the "tunneled in" Sodium ions. It is too much work to remove the cab. And the bolts holding that to the frame look horrible, with no hex head left to grab. And it's too tight to get a sawz-all in to cut between the frame and the cab floor. I'll figure something out. I'm going to wire wheel the floor of the cab to remove the massive scale pieces. I'll probably end up with more holes to the outside. I can get floor patching panels. That seems like a huge effort to fit the parts together, but I may have to go that route. I was more hoping for smaller rectangle pieces. I have the truck in a different garage then my Tig welder, it's a Miller Sychrowave 250. Not one of those light weight inverter machines available recently. And like everything, it's buried so moving it to the truck is another task. One that will have to be done to do the repair correctly.
I need one of those sand blasters with a vacuum system, but they look to only work on flat plate areas. As well get negative reviews on Amazon. The truck is no longer on wheels, so I can't move it from the garage, and from pressure pot blasting many years ago, it makes a horrible mess of sand everywhere. I had removed all the brake shoes back 22 years ago, then got lost in many other projects, so getting it back on rolling stock is first order now that the engine runs. I'll end up doing it right, which I hate from the time aspect. I don't like doing things twice.
Spray the rust blast into all of the cavities to kill off the rust then spray a product called cavity coater by KBS into all known hidden cavities you don't have to fill the cavities just use a wand poked through a 1/4" hole the KBS cavity coater is the same wax based product that the US navy has been using for decades protecting places that can not be reached to be painted or even cleaned Trapped moisture in these cavities is largely where the rust and corrosion begins. I use it as a way of protecting machined surfaces on machines that have to remain outside their only other protection being that of tarps I leave the patina of age on them alone and just spray it on them.
As you can see on my plate roll the rollers already show a layer of surface rust from it taking so long to build it and my not having treated them before hand this happened partially because I did not immediately rinse them and coat then once I had finished machining them being summer time I never gave it a thought not that it hurts anything yet. But I do need to get some more product soon before they get any worst.
Never try to tell me it can't be done
When I have to paint I use KBS products
Gromet (Aug 13, 2019)
I ordered the Rust Blast from the web address. Eddy Lucast must be your friend (I hope as your a great sales helper). We shall see how that treats the floor of the truck. I looked up the MSDS on this, looks like 2 active ingredients, Zinc phosphate and Phosphoric acid. I can not find a seller of the Zinc phosphate (in small quantities). It shows up in gopher and mole poison, so must be toxic and not sold over the counter.
Thanks for the suggestions. I did watch their videos, they are selling a system, including the final coat of paint, which looks pretty good for exposed frames and suspension parts.
I want to stop and fix the rust on the cab and fenders. But I don't want to go to far down that "rabbit hole" of removing every thing and exposing the frame. Mostly the frame is not in that bad of condition. I do want to fix all the leaks from old seals and bearings.
There are currently 1 users browsing this thread. (0 members and 1 guests)
 Posting Permissions


 Reply With Quote
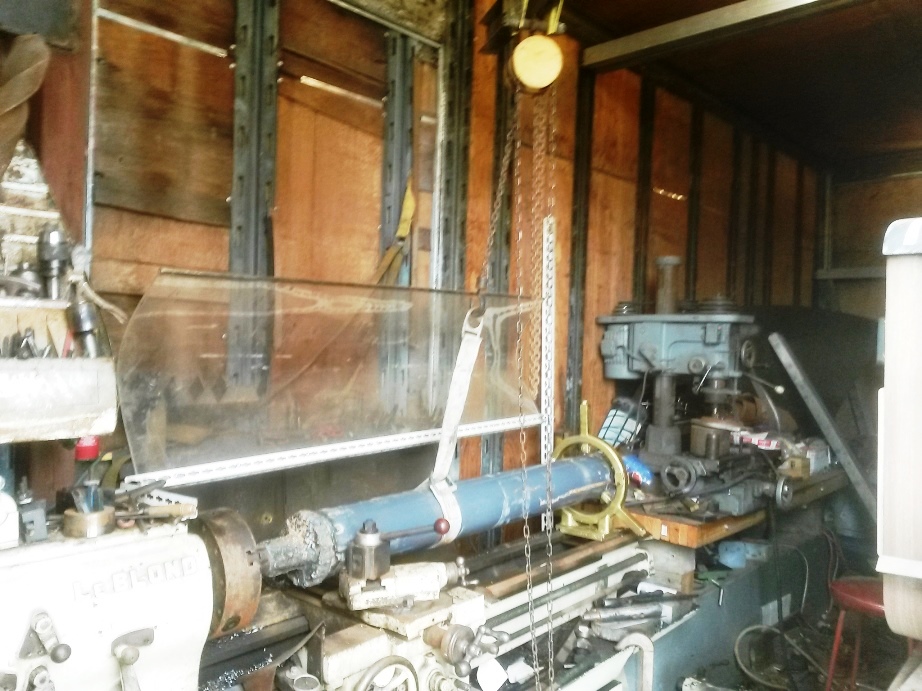


Bookmarks