
 LinkBack URL
 About LinkBacks


Hi All
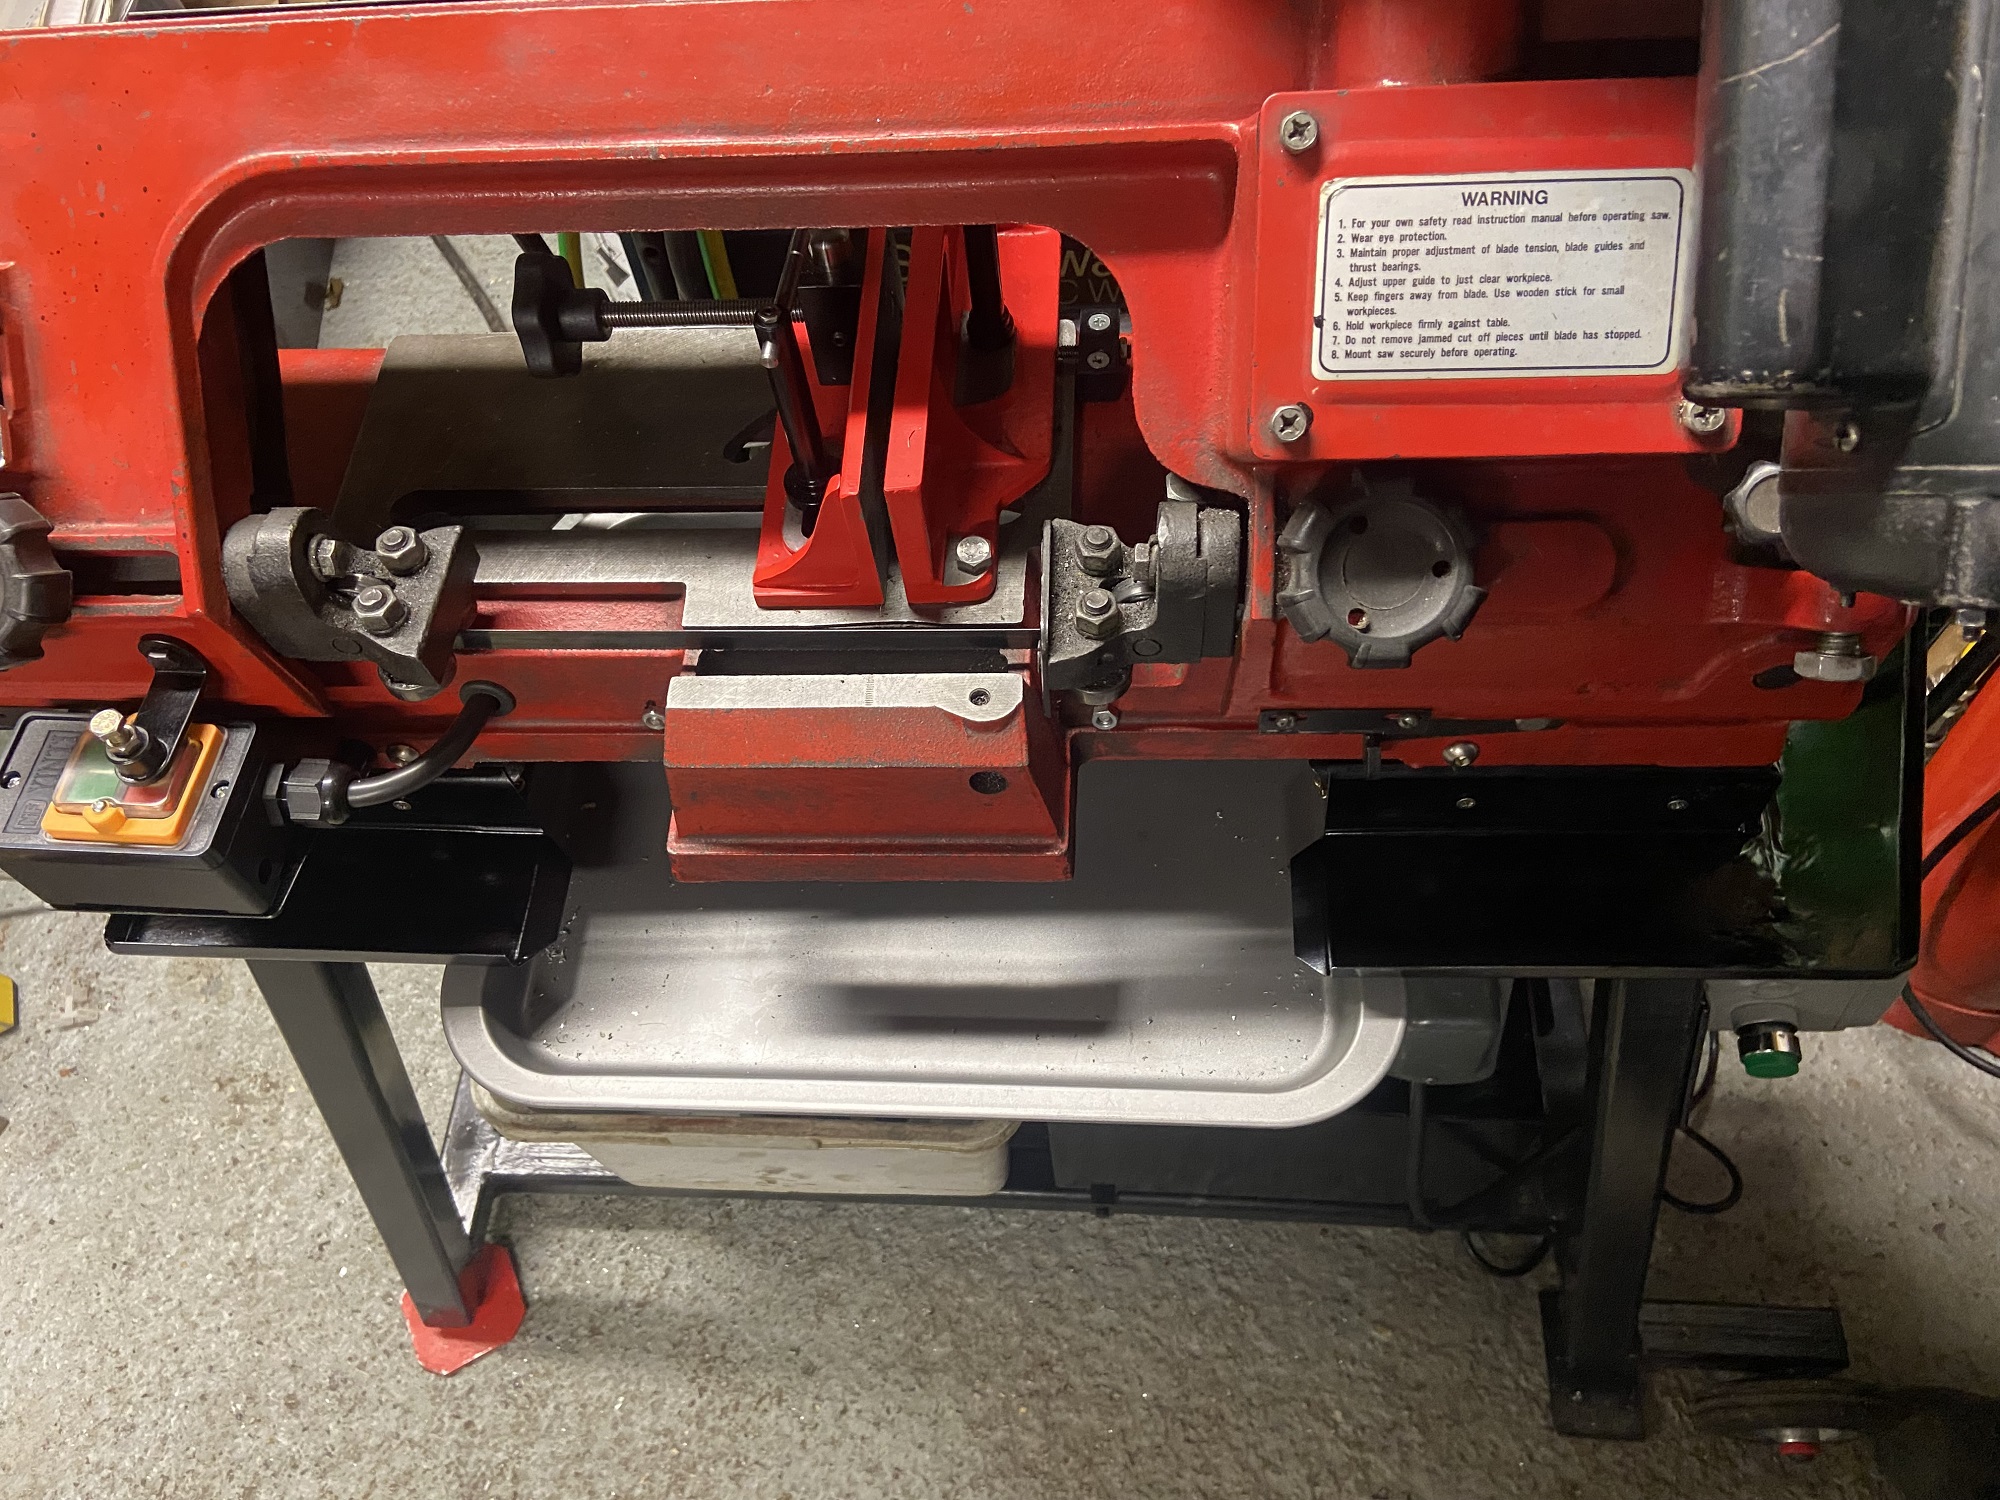
The drip trays are now fitted in place to catch any coolant that might be dragged around by the blade and leak over the floor.

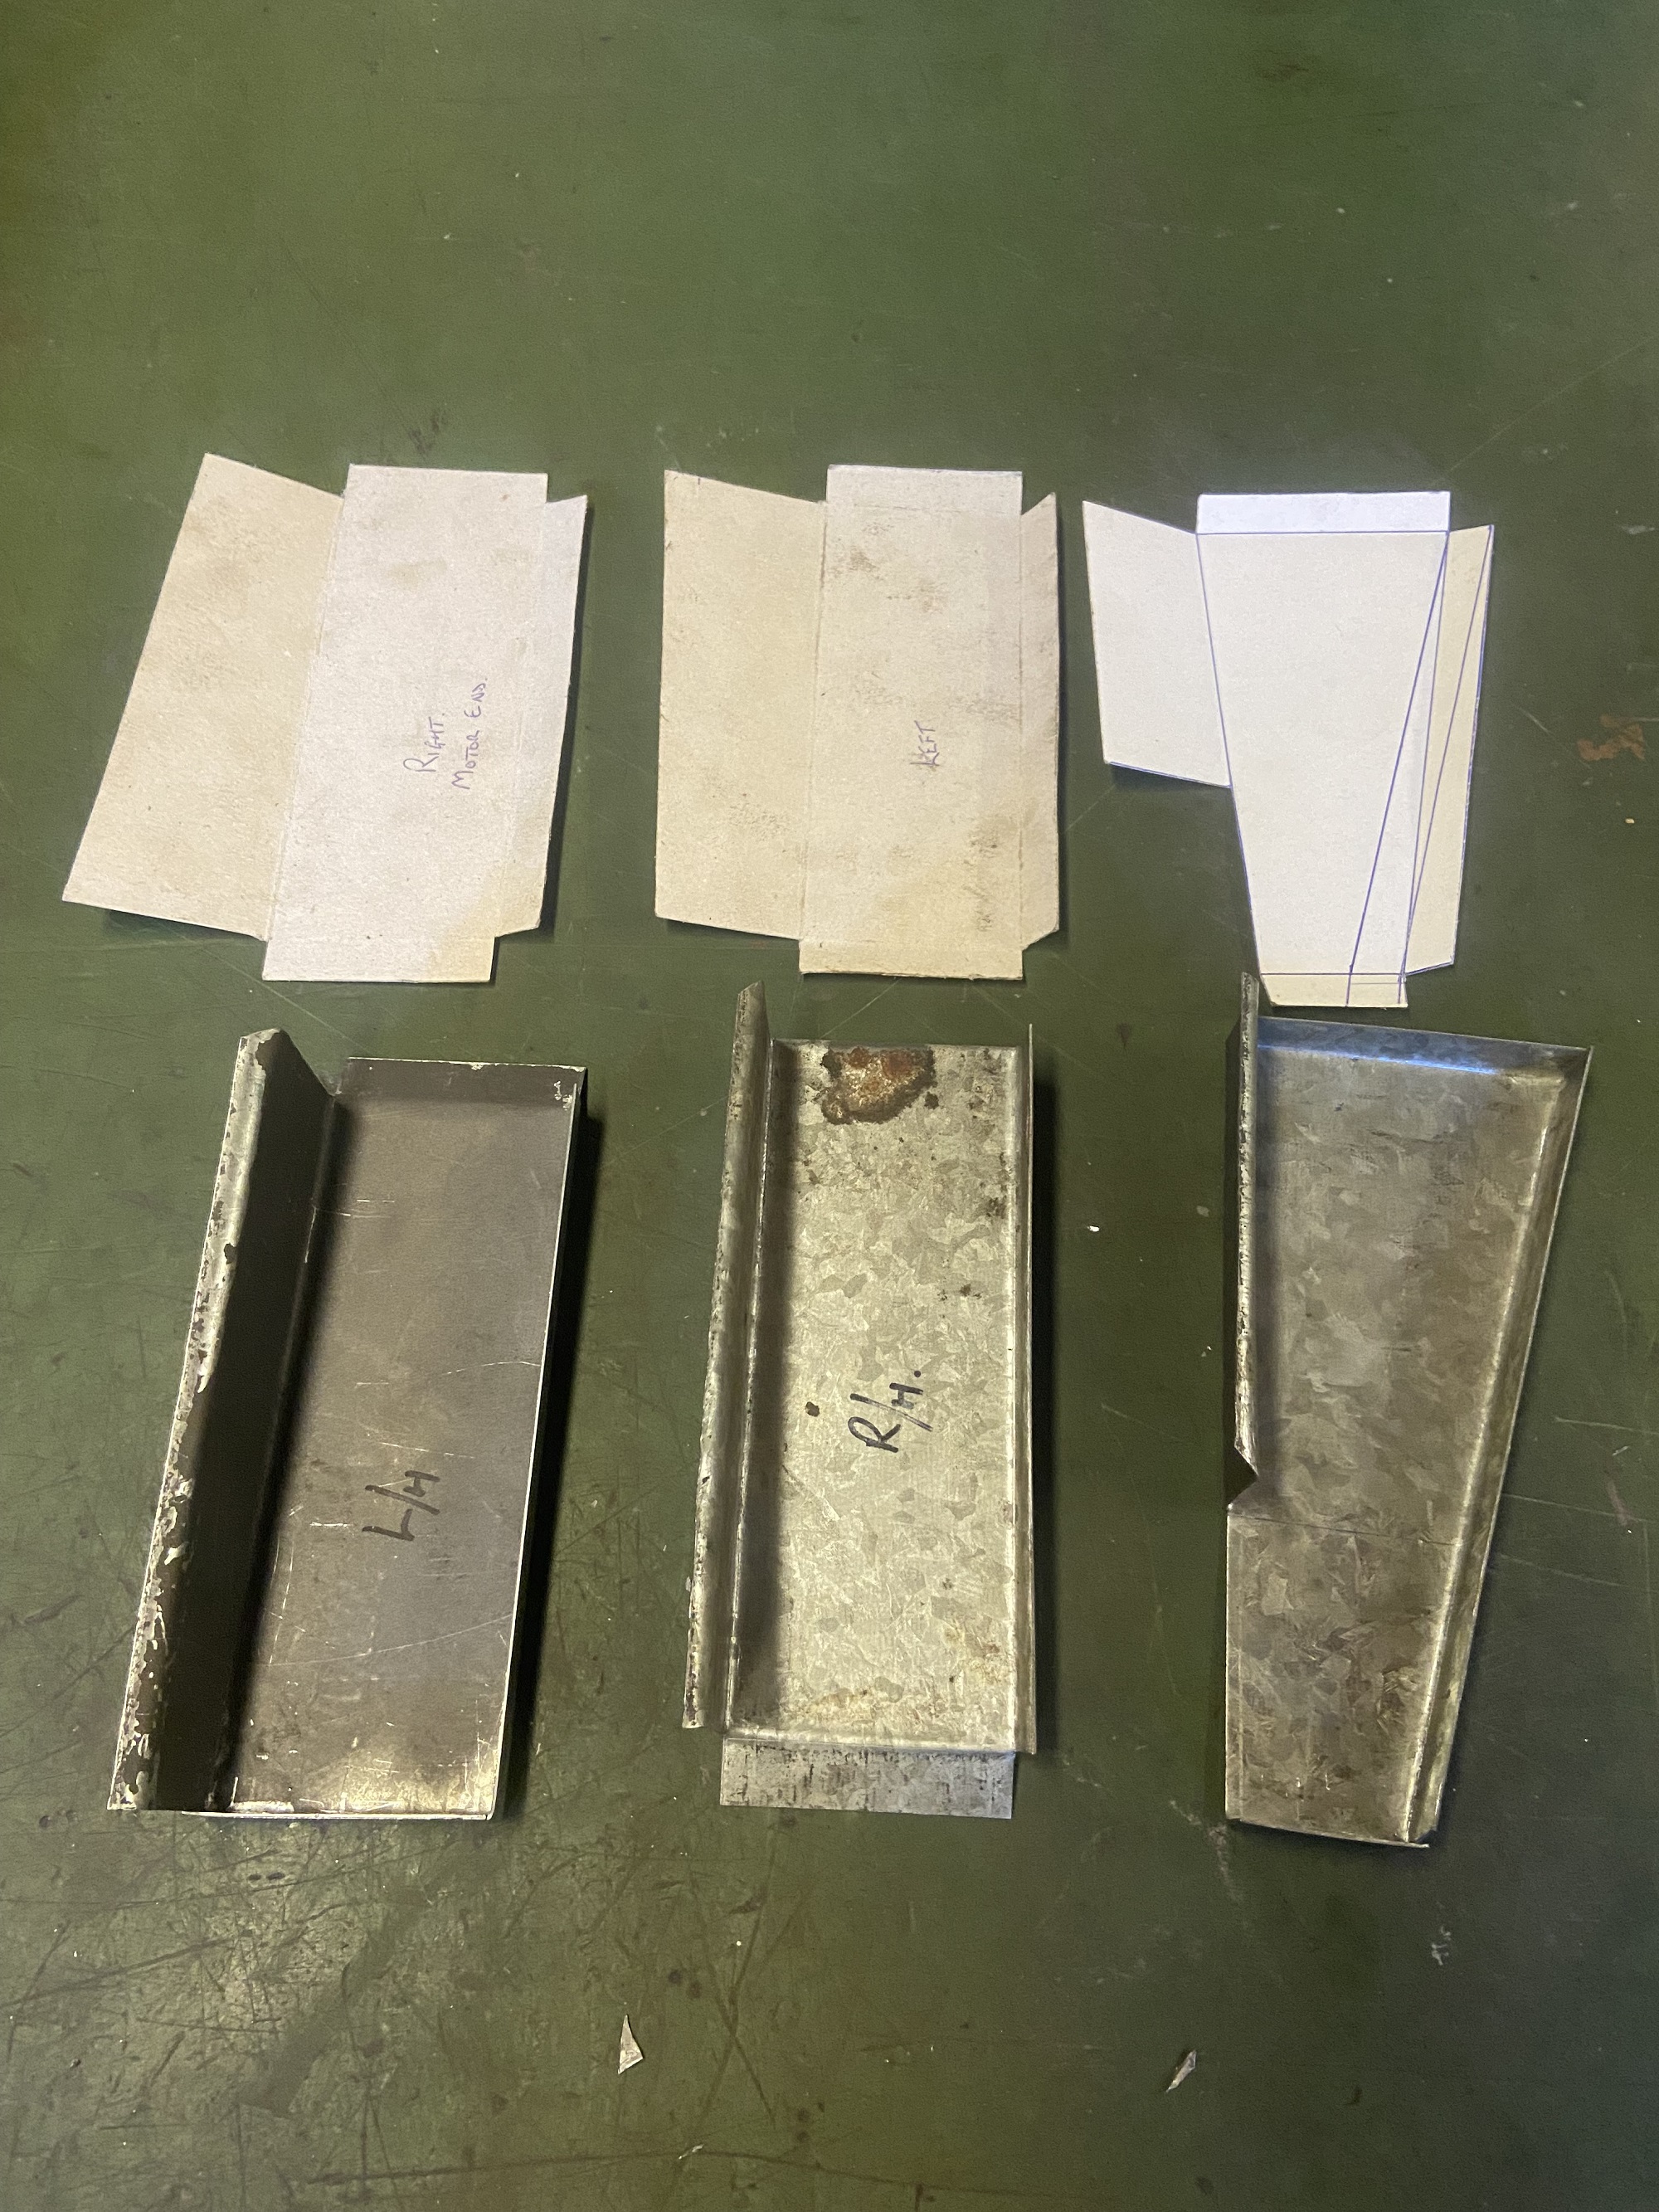
Two are manufactured form sheet steel and the one, being a purchase of a standard oven tray. (if there is such a thing)
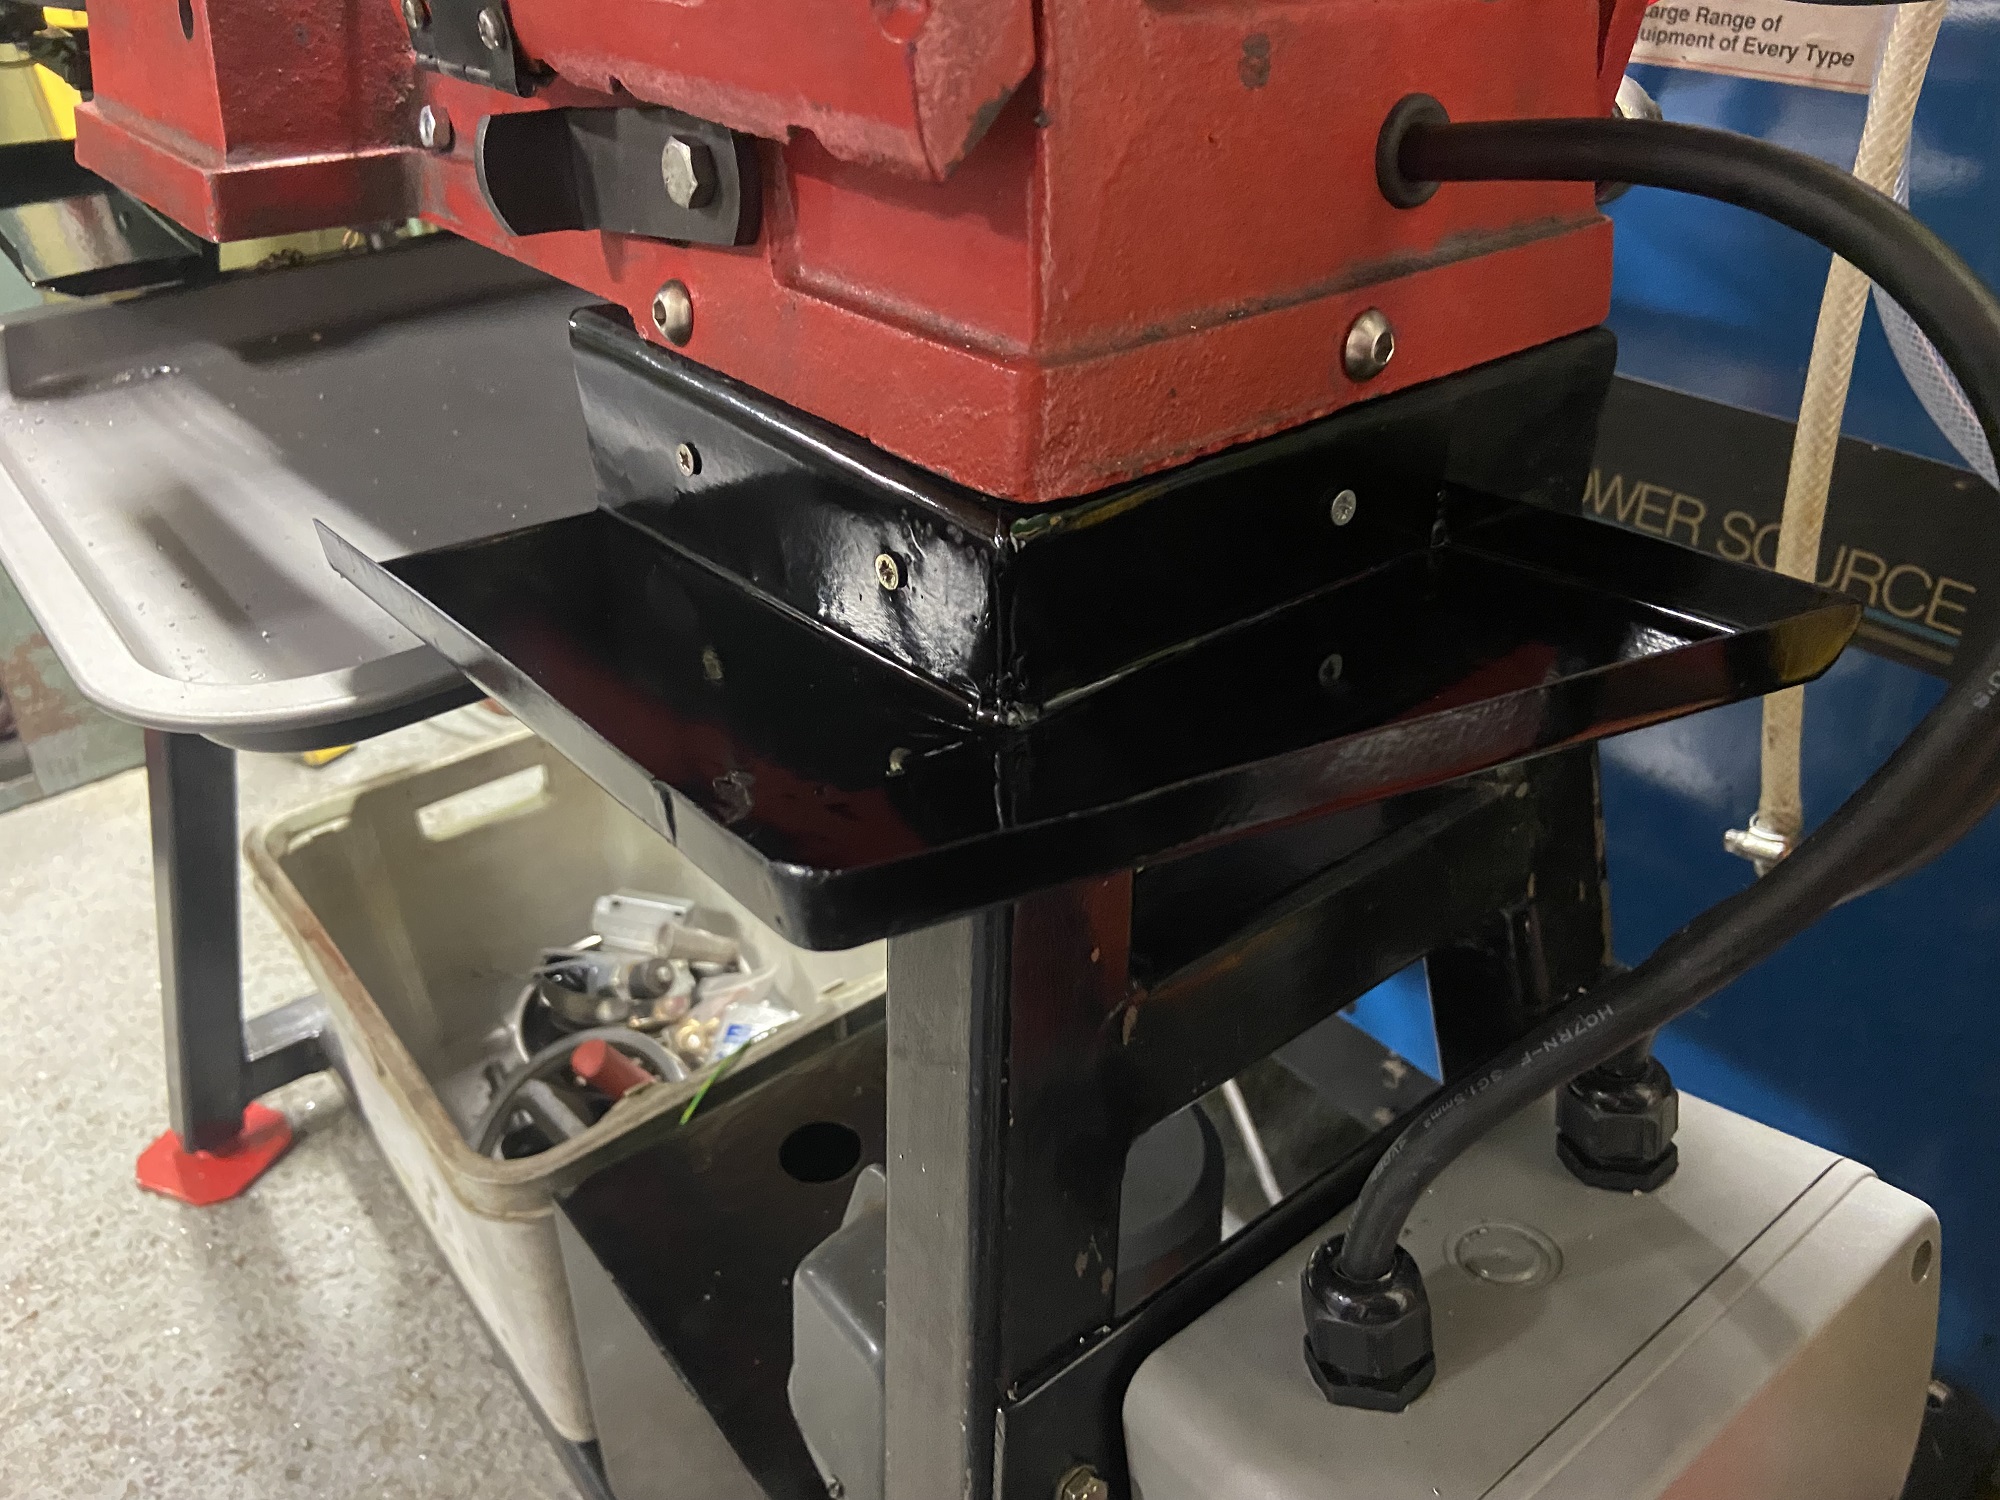
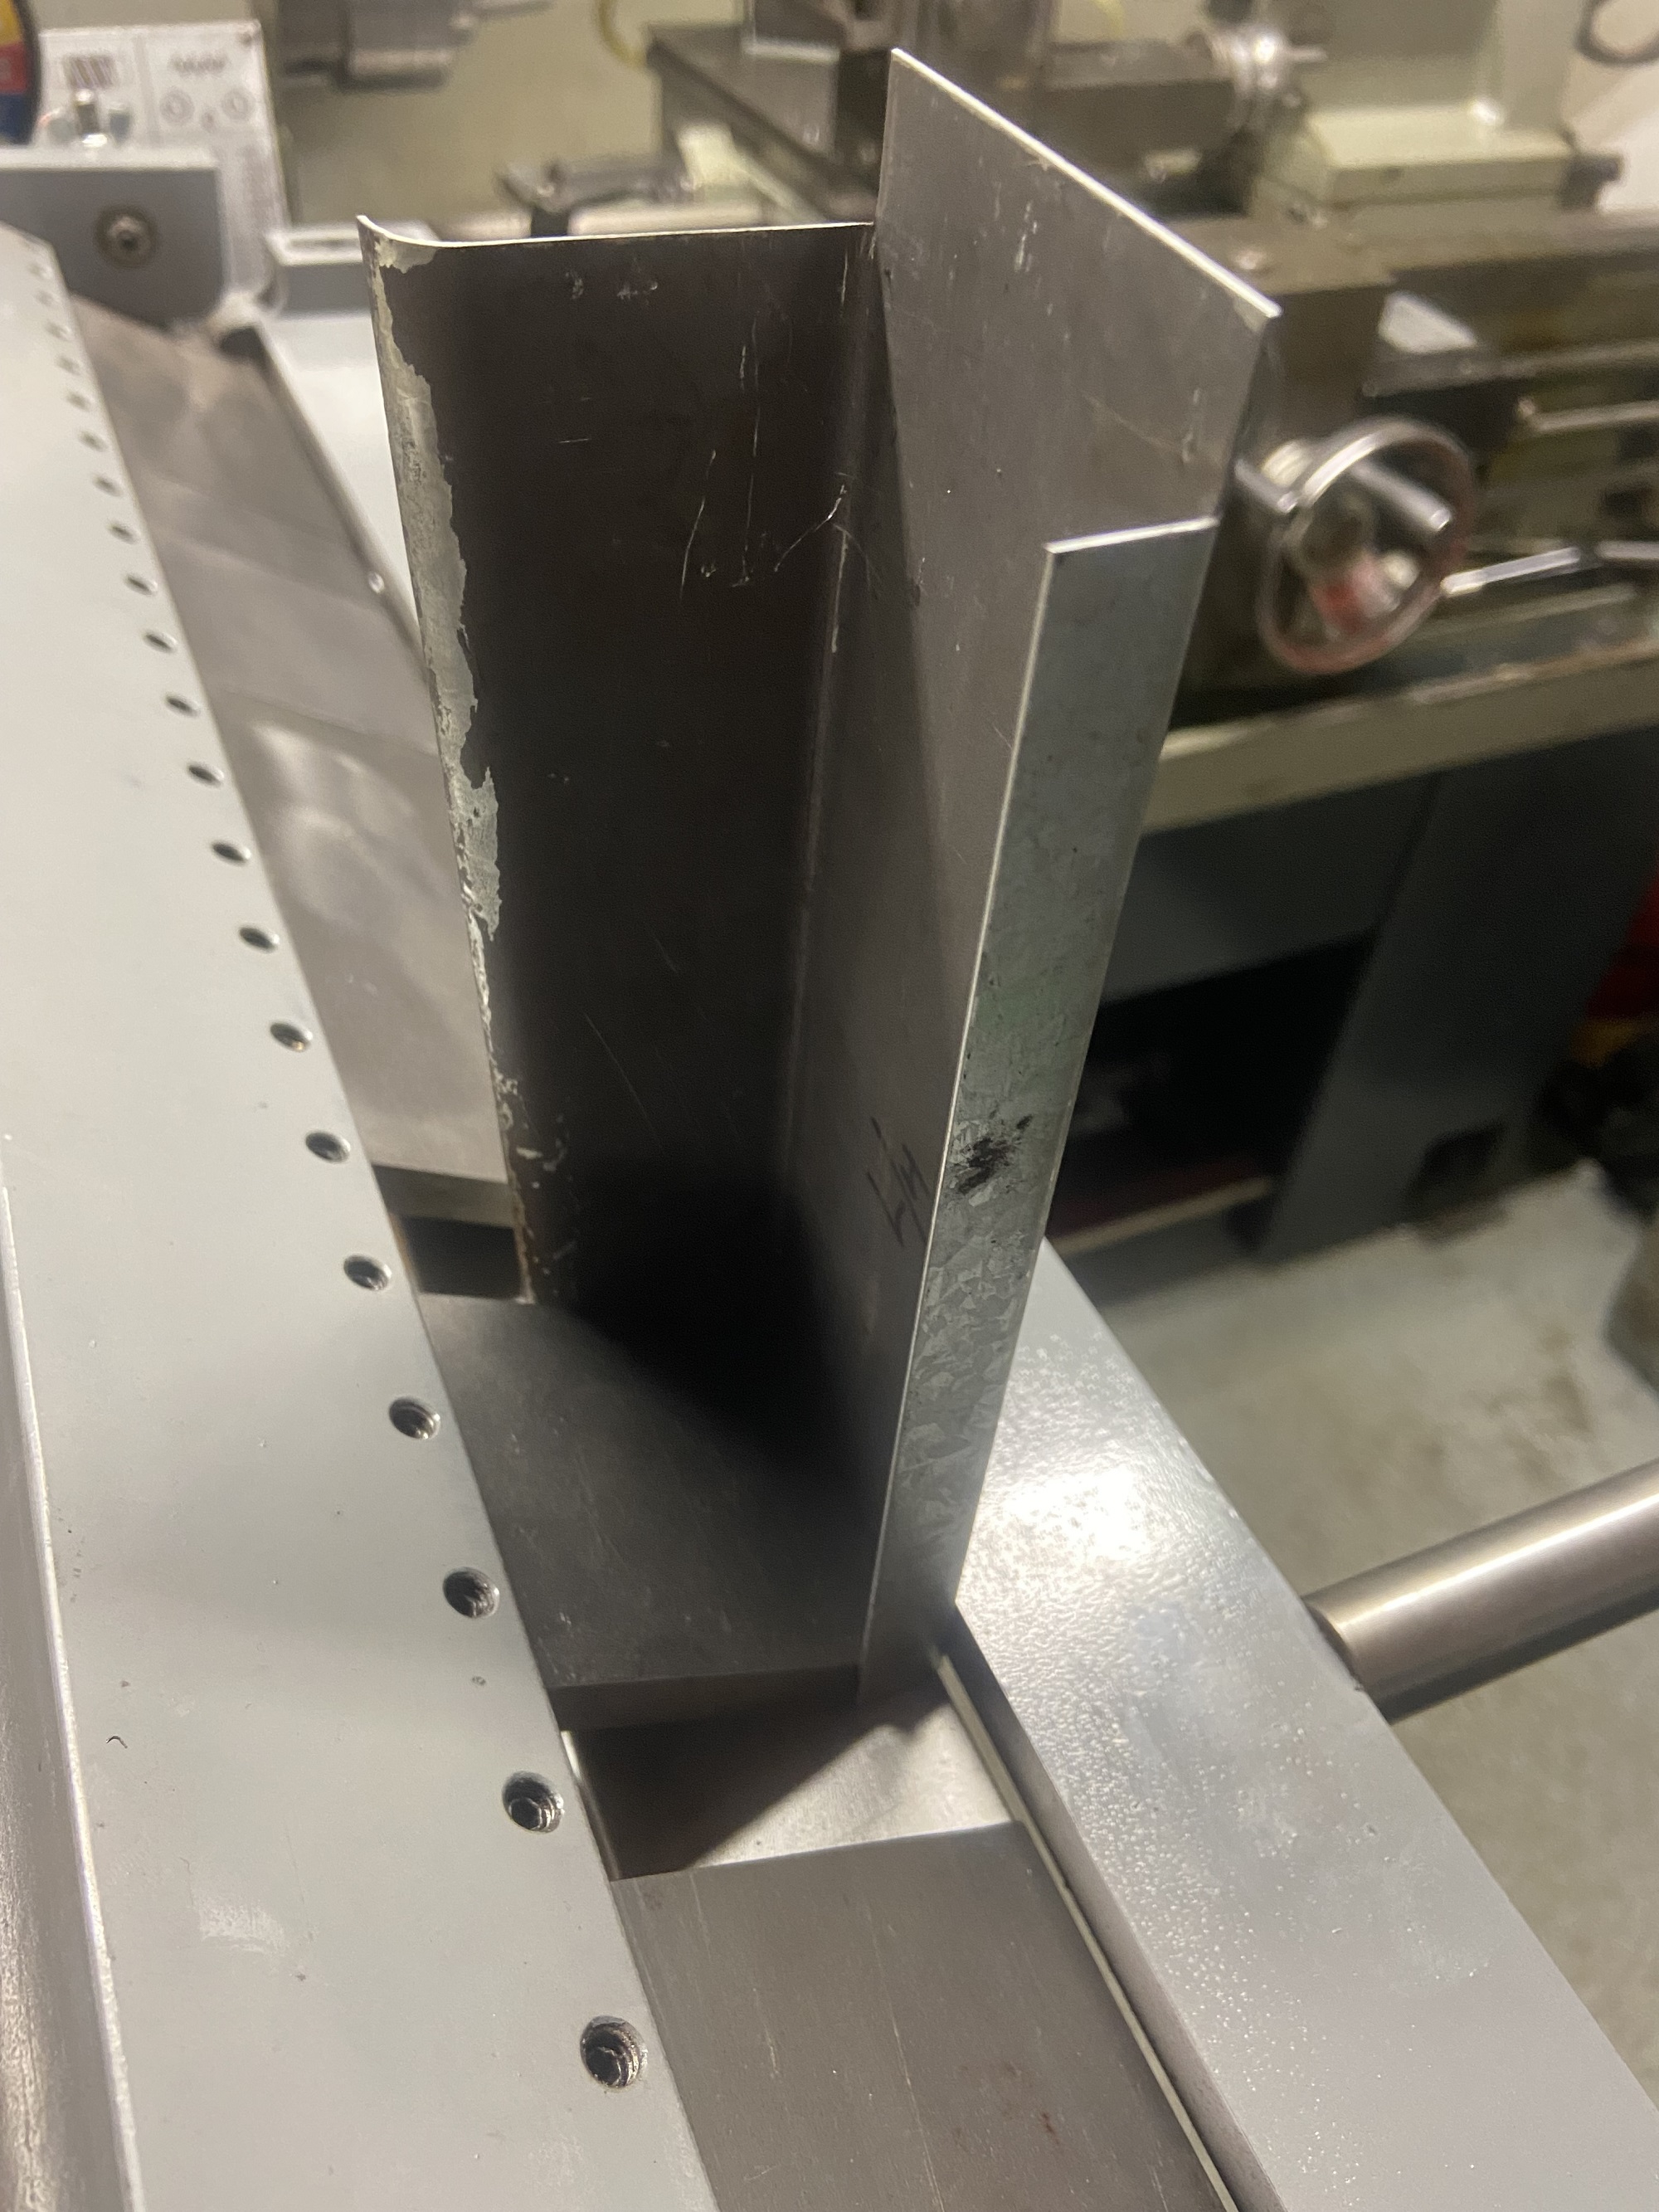
Templates were made from card and formed to check fit. Once Happy, this was then transferred to the flat sheet and cut out on the guillotine and corner-notcher ready for folding. Before folding I rolled the top edge to ensure the coolant doesn't leak behind the trays. The top edges are simply hammer formed to fit tightly to the base box section and in turn this then fitted under the casting of the saw. I didn't want to use a sealant but if this method doesn't work I may have to result to using silicon to create a seal.
The trays were folded up on my home made box pan folder.
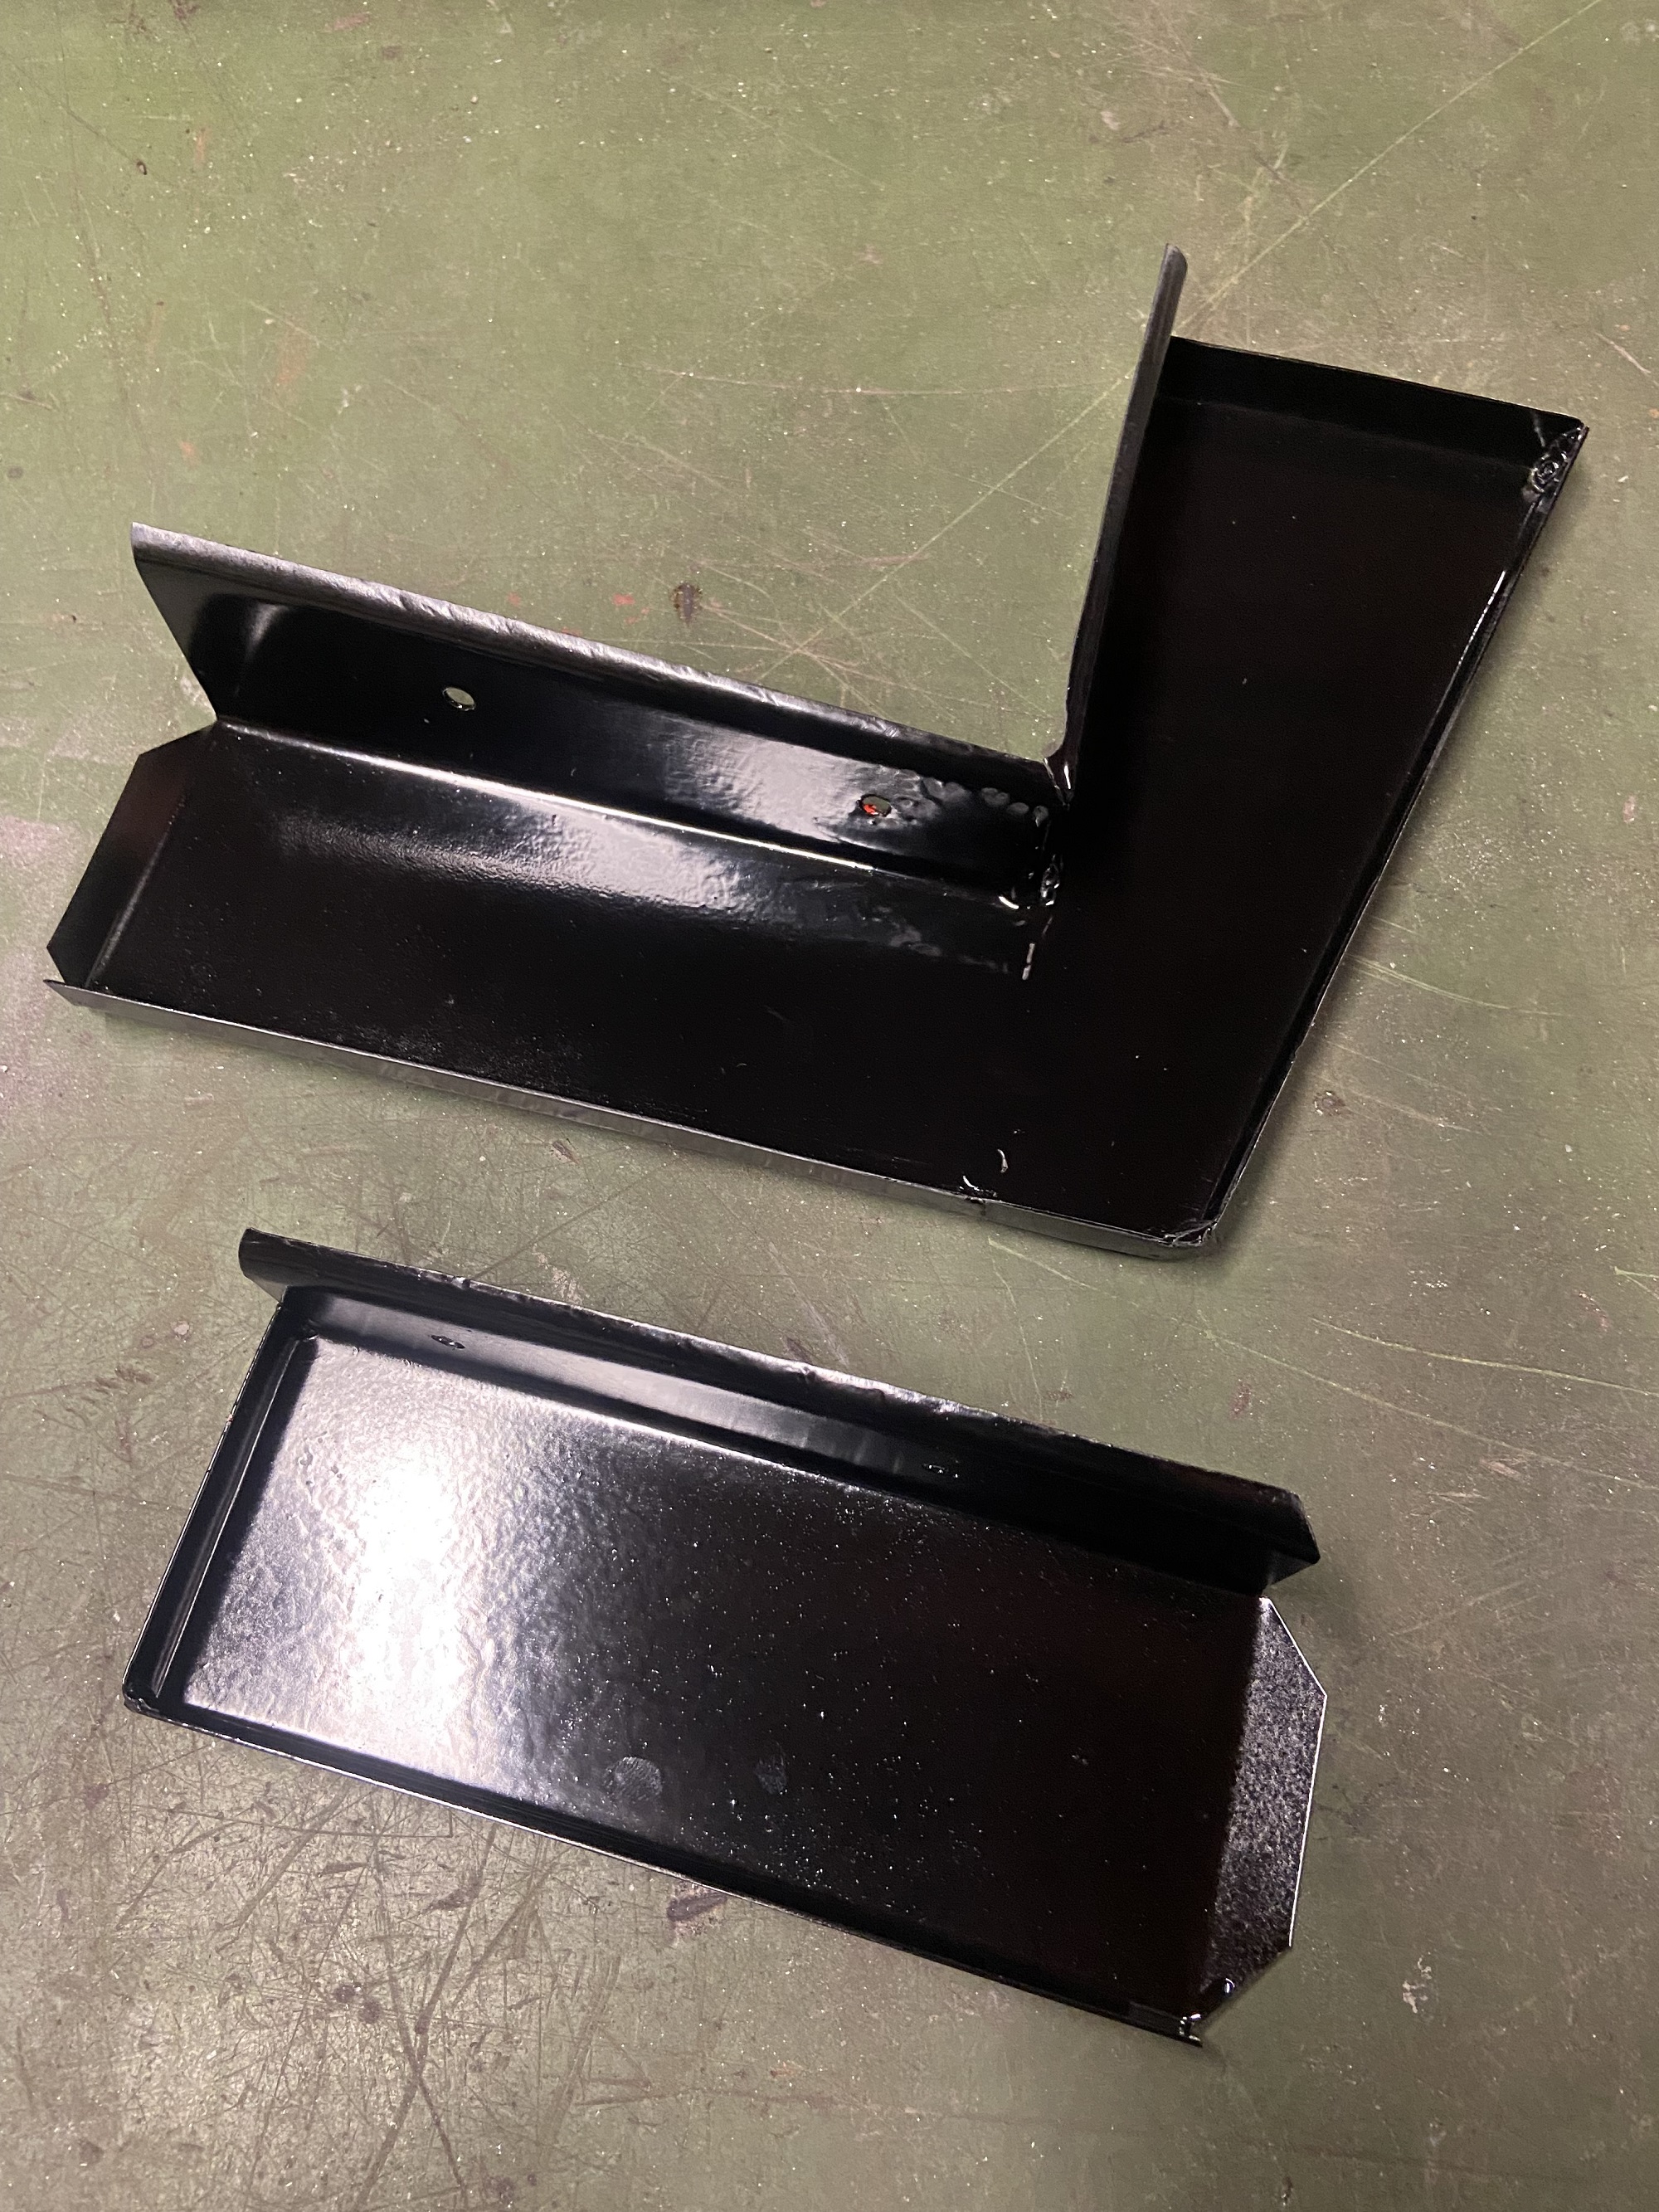
These then had the galvanised removed ready for welding. This didn't go to plan as my auto darkening welding helmet was to dark to see the weld at low amps. So was a little frustrating in trying to get a nice bead on thin steel. A new welding helmet as been purchased that hopefully will allow me to see.
The poor welding was corrected with the angle grinder and a flap wheel.
Ready to be dressed for welding
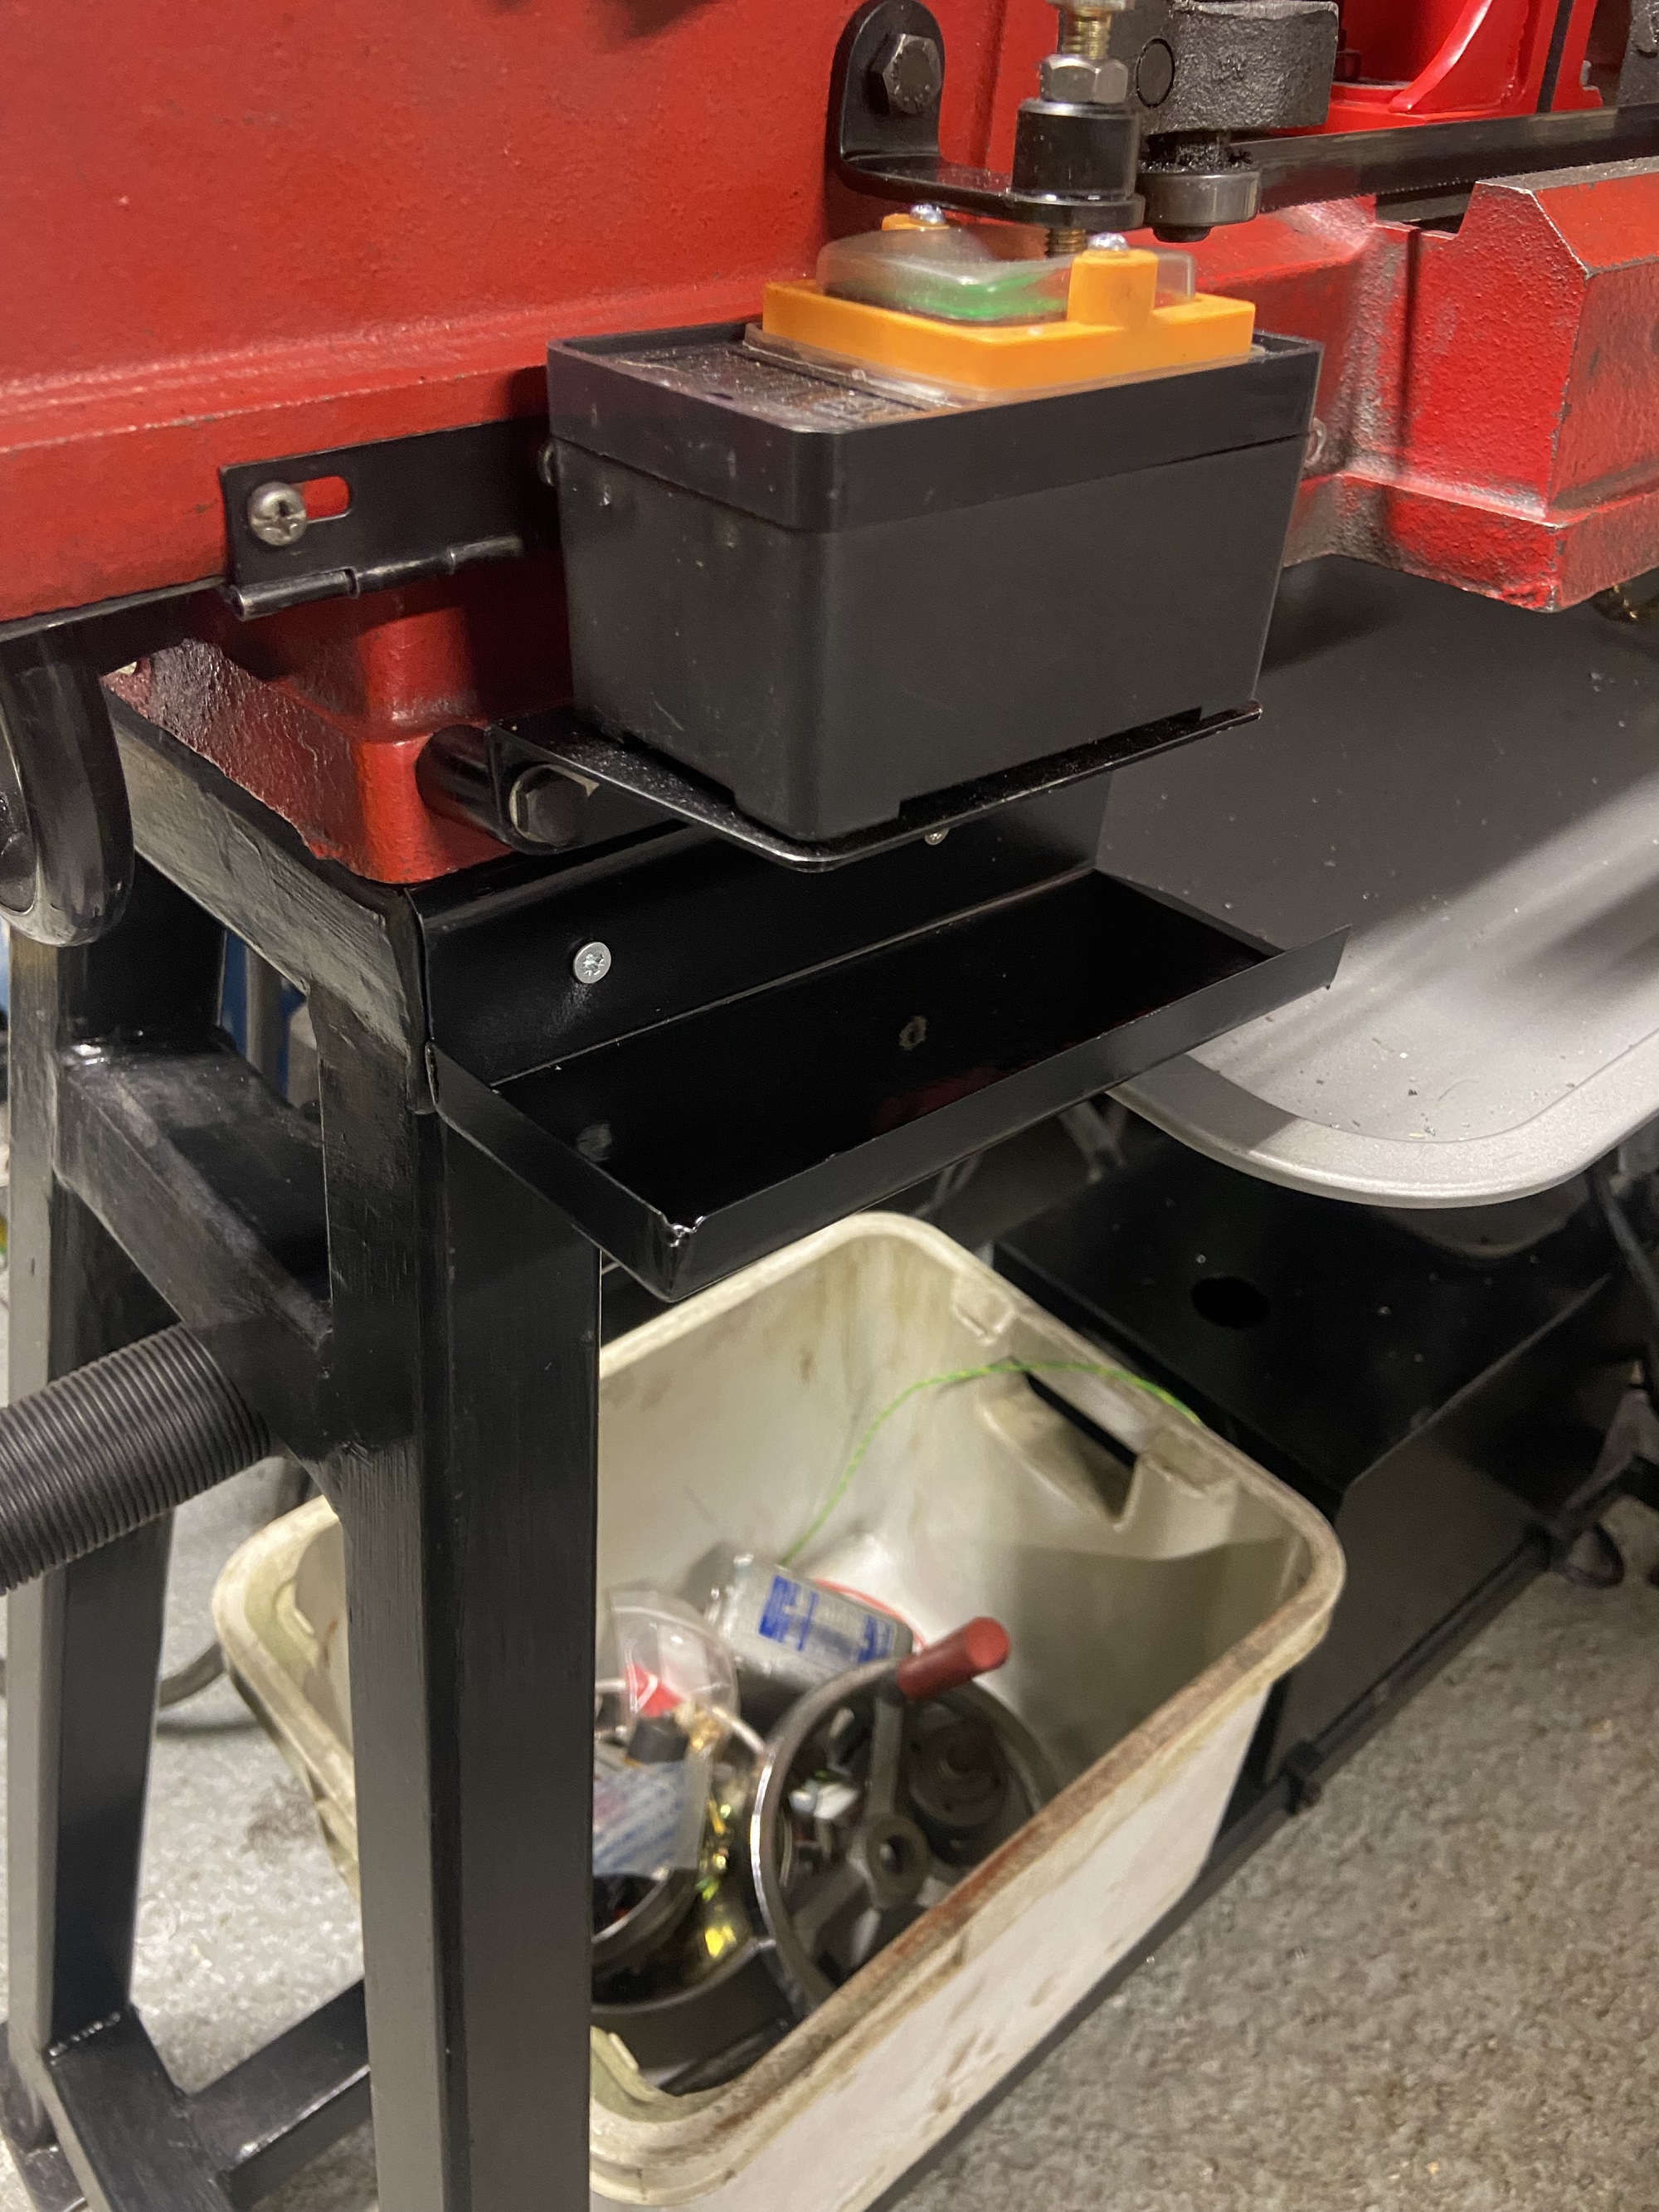
Finished and painted.
The custom base was drilled and M4 rivet nuts used to fix drip trays to the base.
The standard oven tray will need a drain hole and some sort of filter to protect the coolant pump from the swarf. This is also needs to be removable to clean the tray and filter. I also might need to shape the tray to aid draining so it doesn't pool and not return to the reservoir tank.
Thank you for viewing
The Home Engineer


 Reply With Quote

Bookmarks