
 LinkBack URL
 About LinkBacks


Hi all
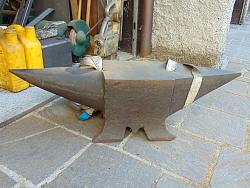
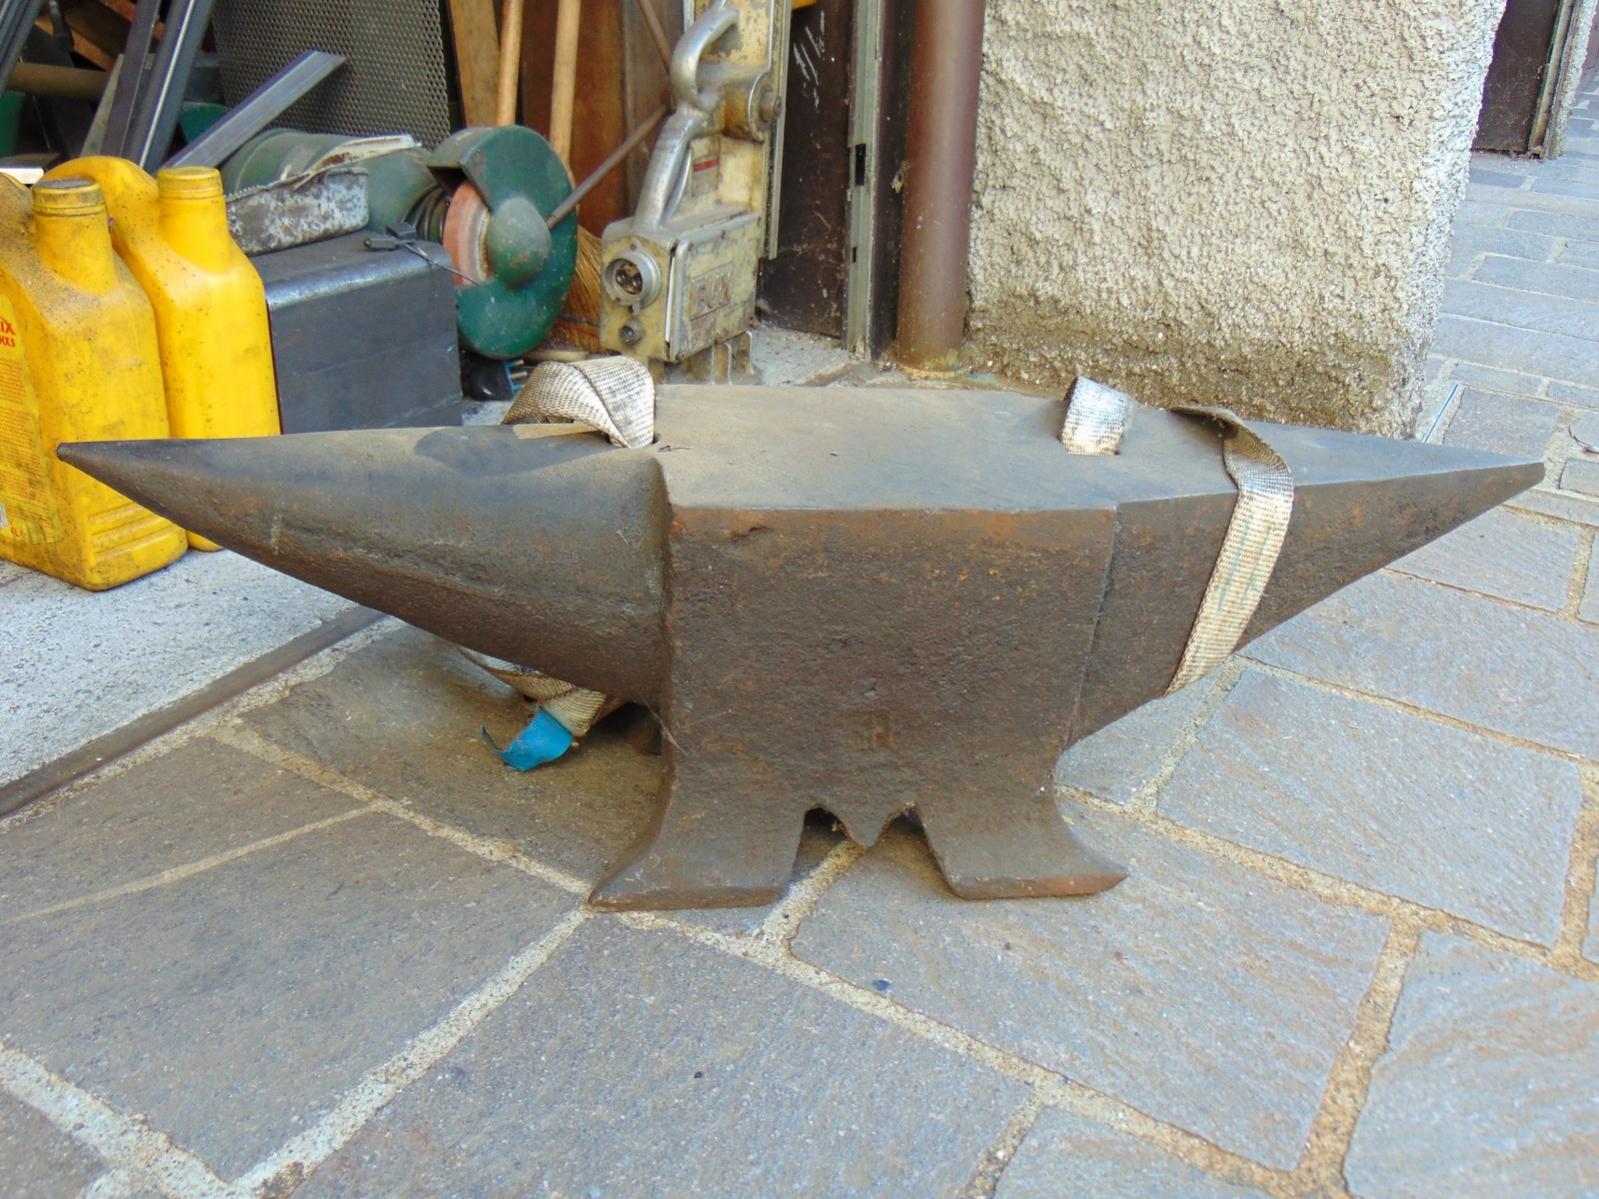
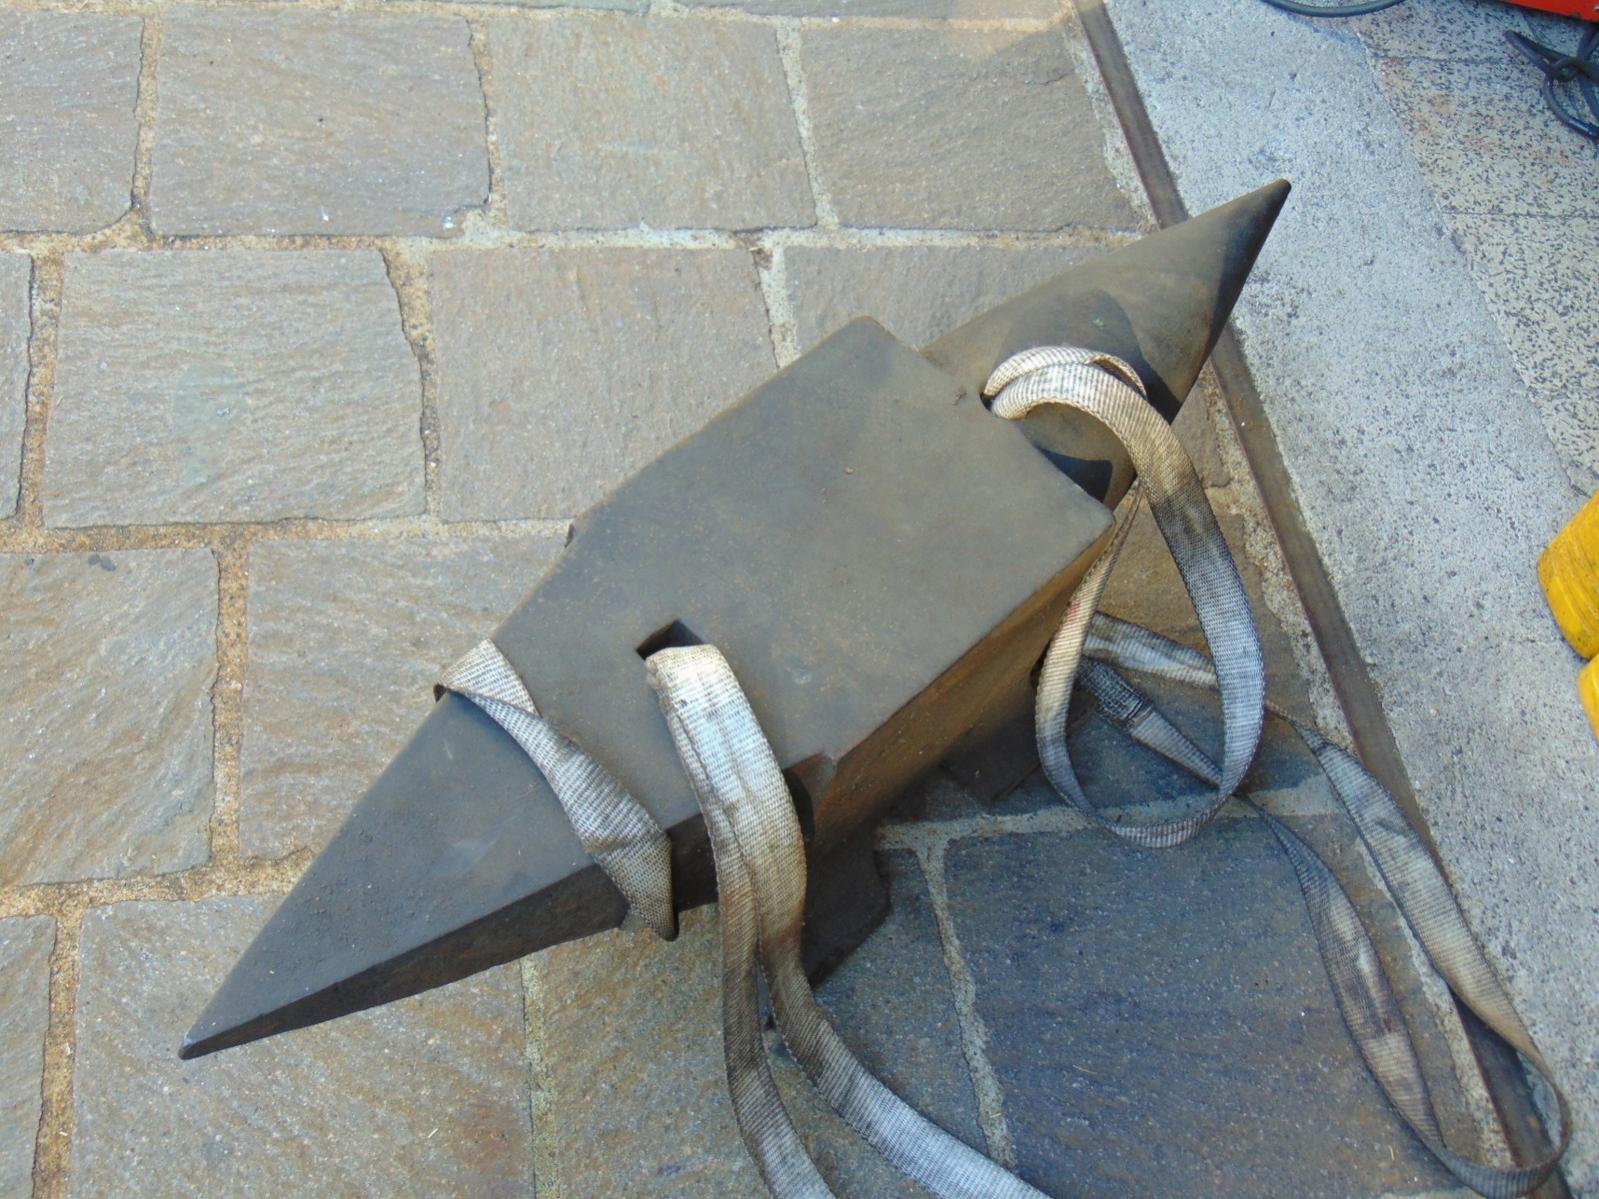
I found today this anvil, about 150kg. I have to clean from dirt and maybe wash with gasoline?
I'm thinking about where to put it, I got no space now, and a wood belted stock could be not practical to move.
My idea is to build a sort of minitable , maybe useful to collect grinders and other tools. 50x50mm tubular, with central column and retractables wheels, what do you think about?


 Reply With Quote

Bookmarks