
 LinkBack URL
 About LinkBacks


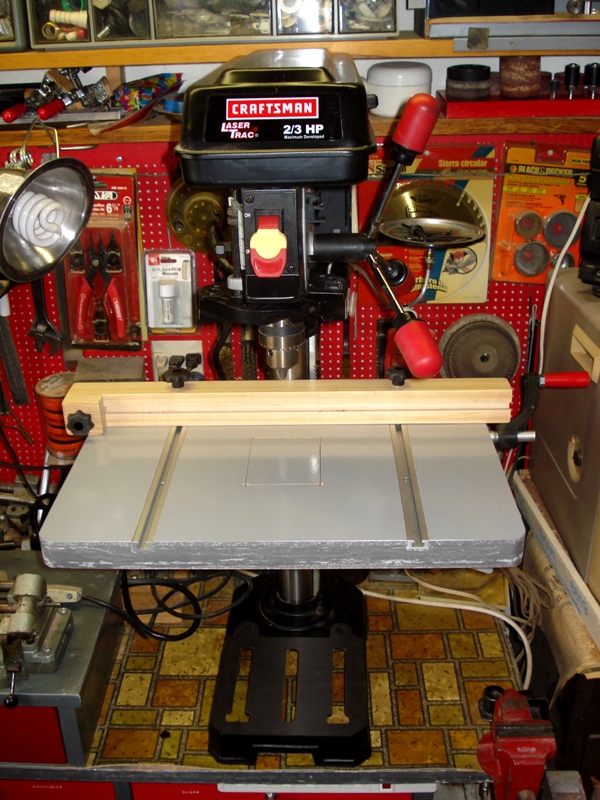
At last, it was the turn for this project, which is useful not only to improve the efficiency of the drill press, but to achieve safe operations.
Since I changed the old drill press, almost a year ago, I knew I should also renew the drill press table, but there were always other projects to make. However, this waiting period (and planning) served to gather several ideas. I did what many of us do: in a virtual folder, I placed lots of pictures of drill press tables, both commercial and homemade models, found in digital magazines, forums, web sites, etc., dedicated to carpentry. Likewise, I created a board on Pinterest, (https://es.pinterest.com/morsa00/ww-drill-press-table/), which was a great help to concentrate and keep at hand links to related topics.
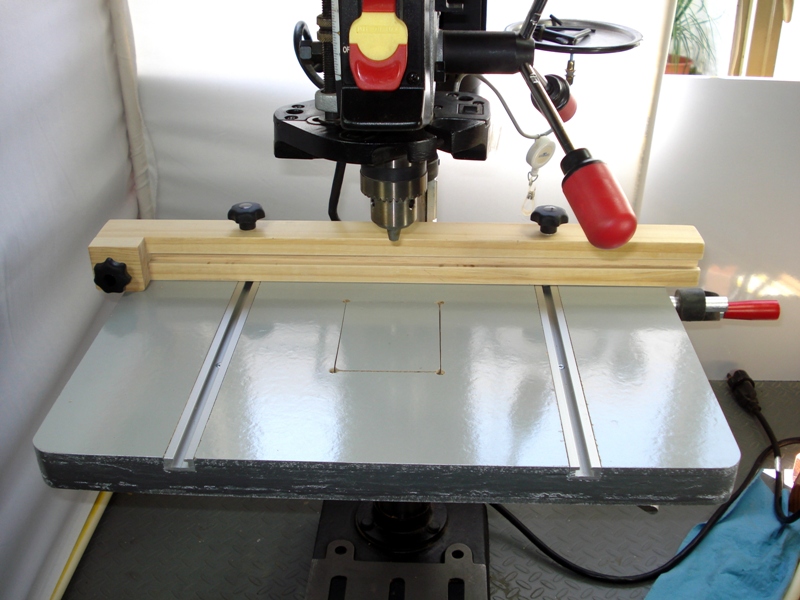
The table (45 x 30 cm.) was made with three layers, a top 1/4" melamine (leftover), a core formed by 1" slats pine (reuse), and a bottom layer 1/4" macocel (reuse). The two T-tracks serve to set the rear fence both as the material to work.
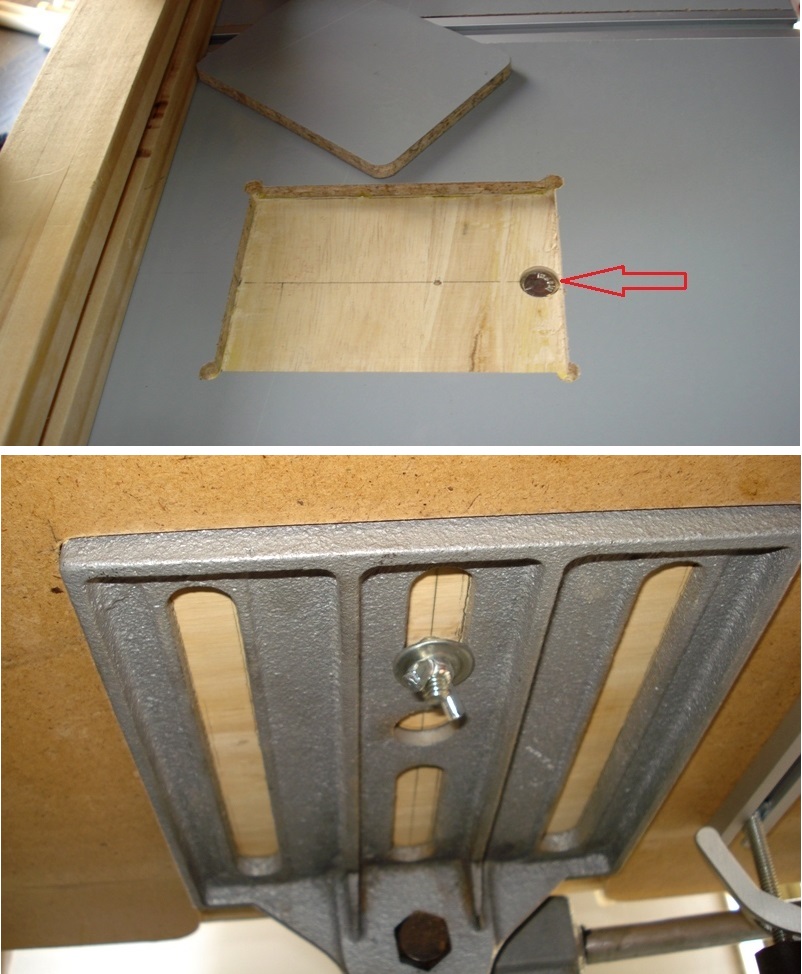
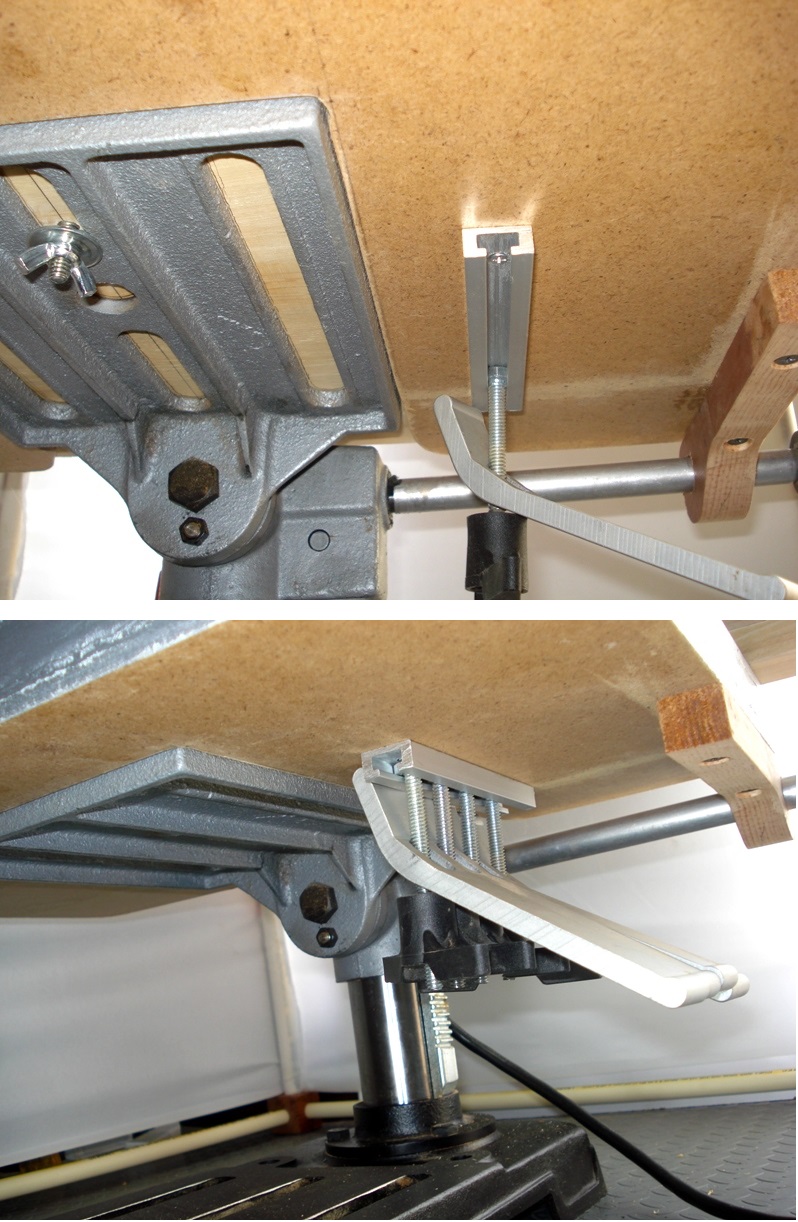
The bottom layer of macocel has a cut that fits snugly the drill metal table; a screw through the table (arrow) and a wing nut secures position of the auxiliary table.
The table-elevation crank needs an extension in order to surpass the table. It was made with an aluminum pipe (reuse) with a 17/32” I.D. in one end, and a 17/32” O.D. in the other end (arrow shows transition point). A support bracket, attached to the bottom of the table, stabilizes the extended handle.
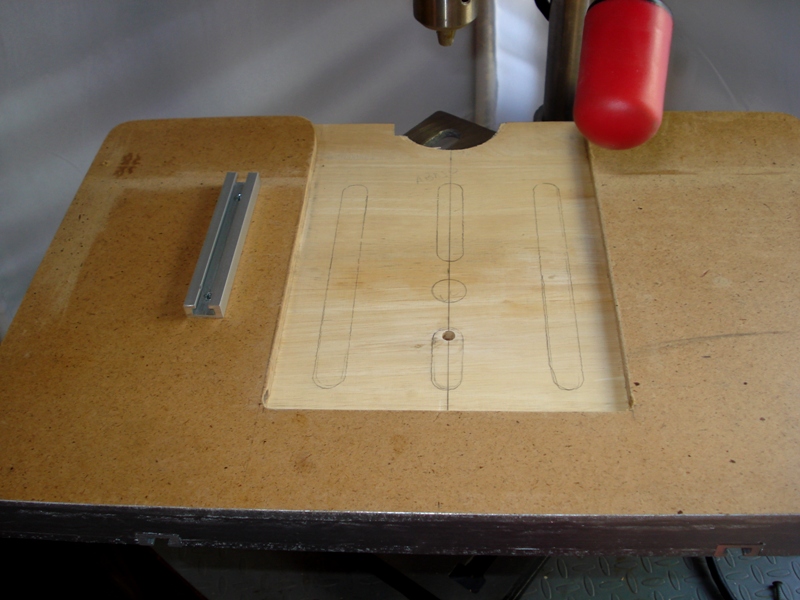
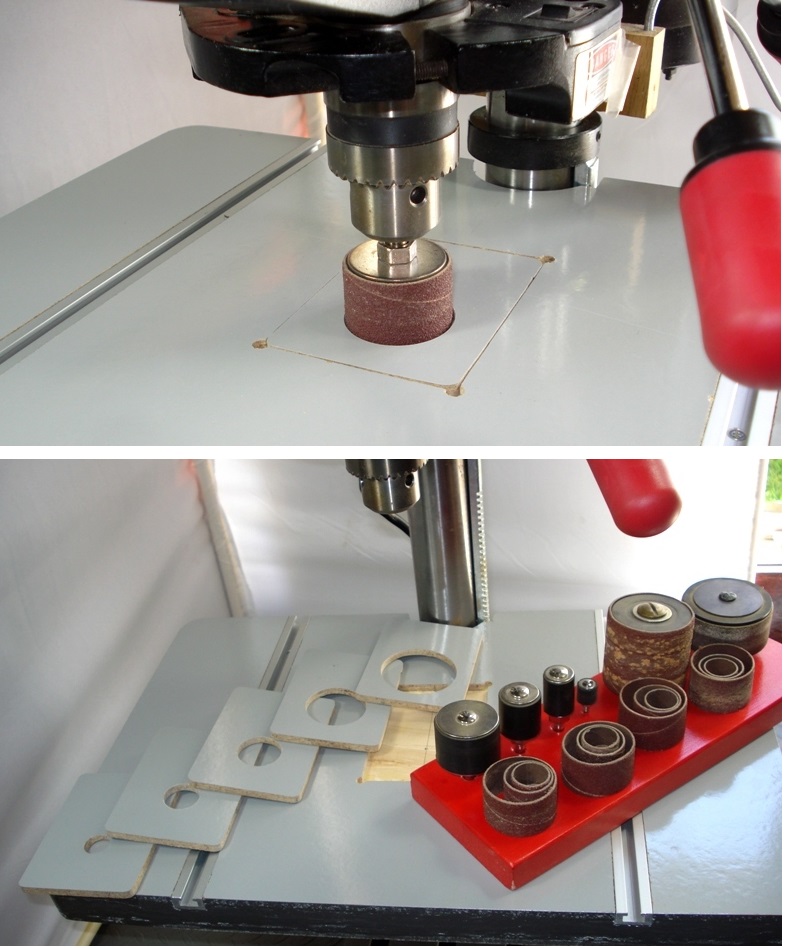
The top melamine layer has a hollow, 3 x 4 ", to place sacrifice inserts and sanding inserts.
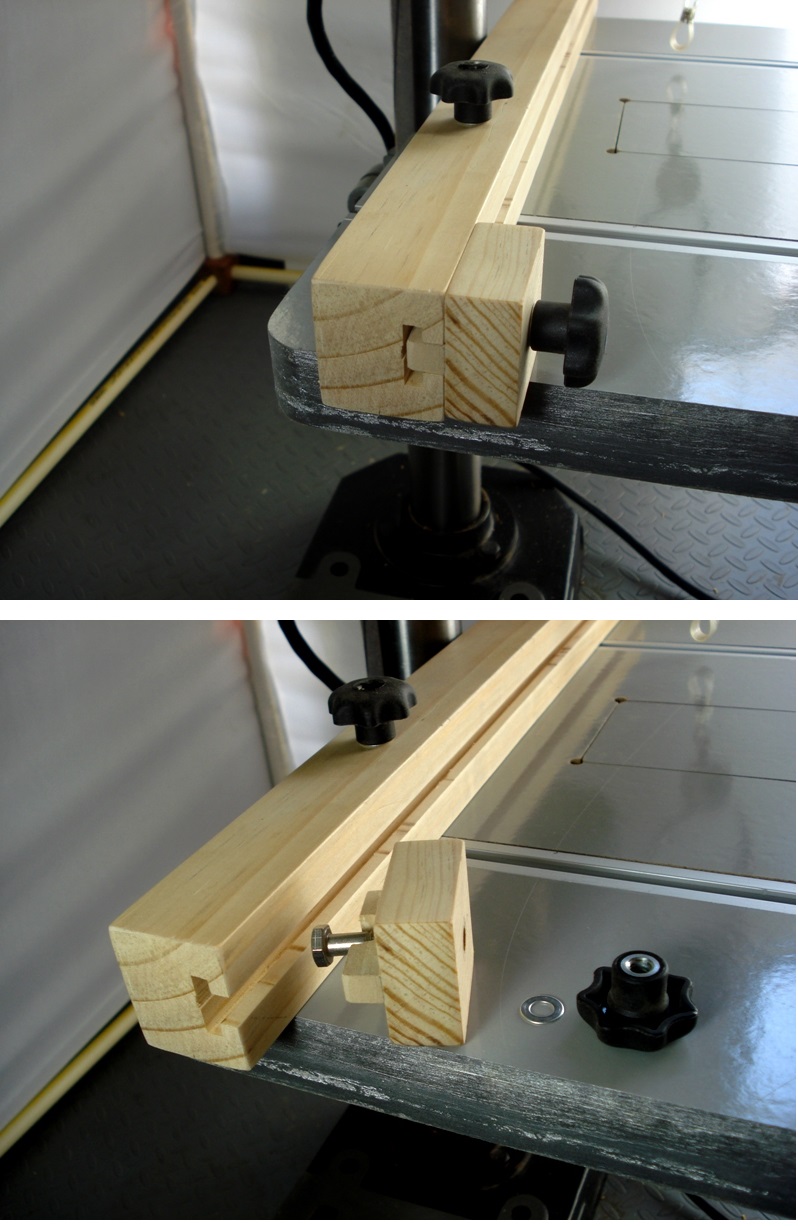
The rear fence features a homemade T-track and a stop block.
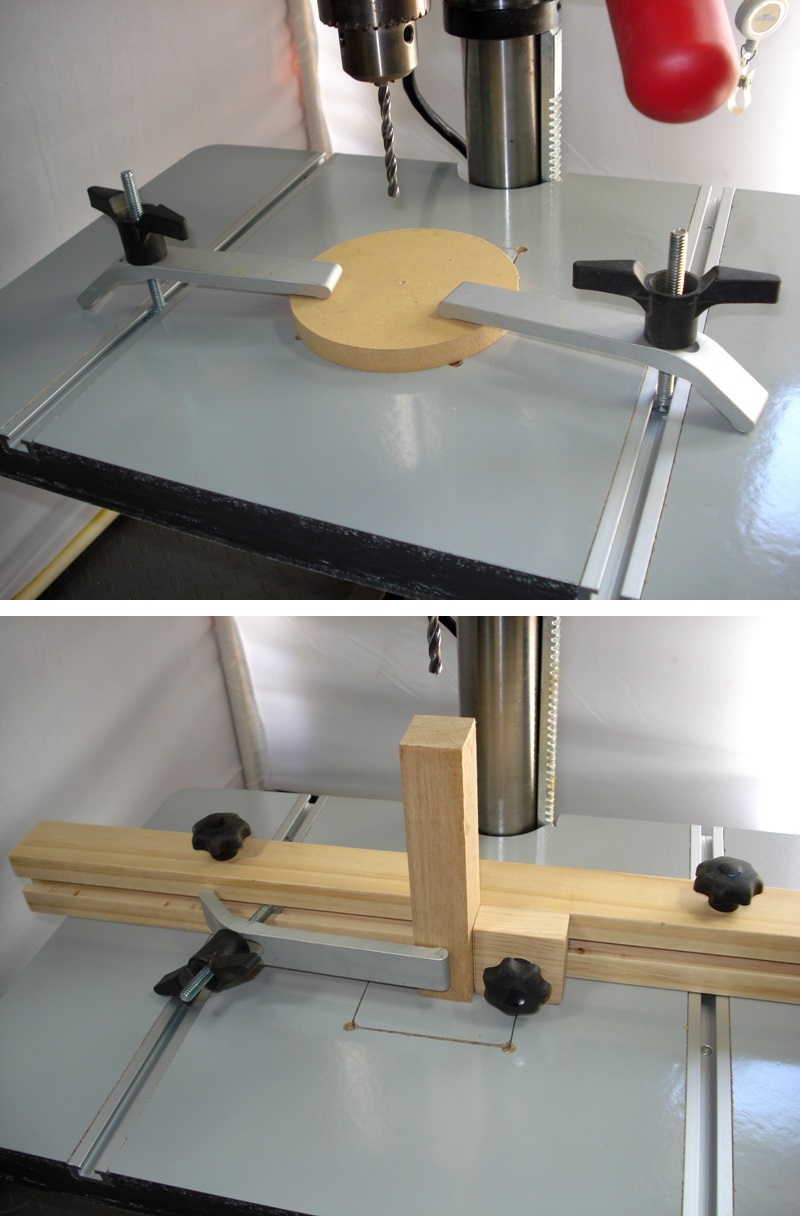
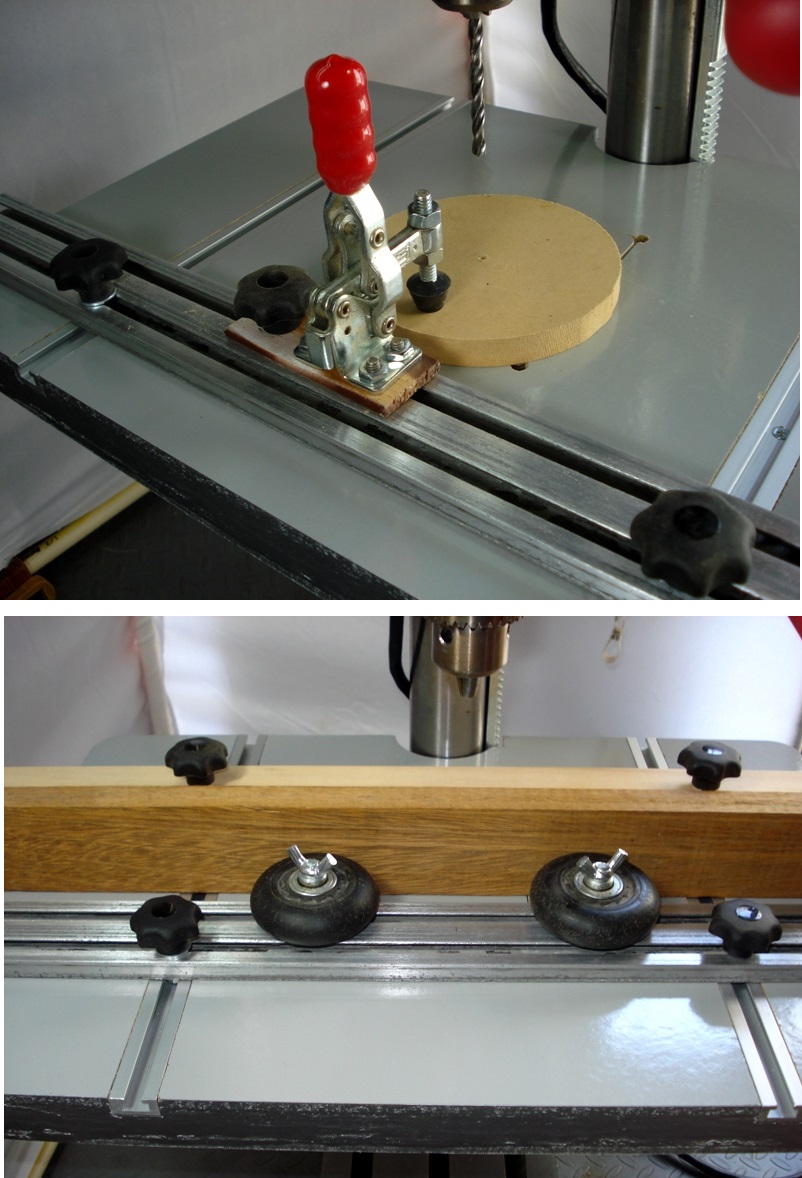
At T-tracks in the table and the rear fence can be placed various implements for fixing material: hold down clamps, toggle clamps, etc. In Oversize material it is possible to use fast acting clamps in the edge of the table.
A leftover t-track placed at the bottom of the table serves to keep these clamps at hand.
Regards.
morsa
PD. My thanks and appreciation to all the people who shared their work and ideas.


 Reply With Quote

Bookmarks