
 LinkBack URL
 About LinkBacks

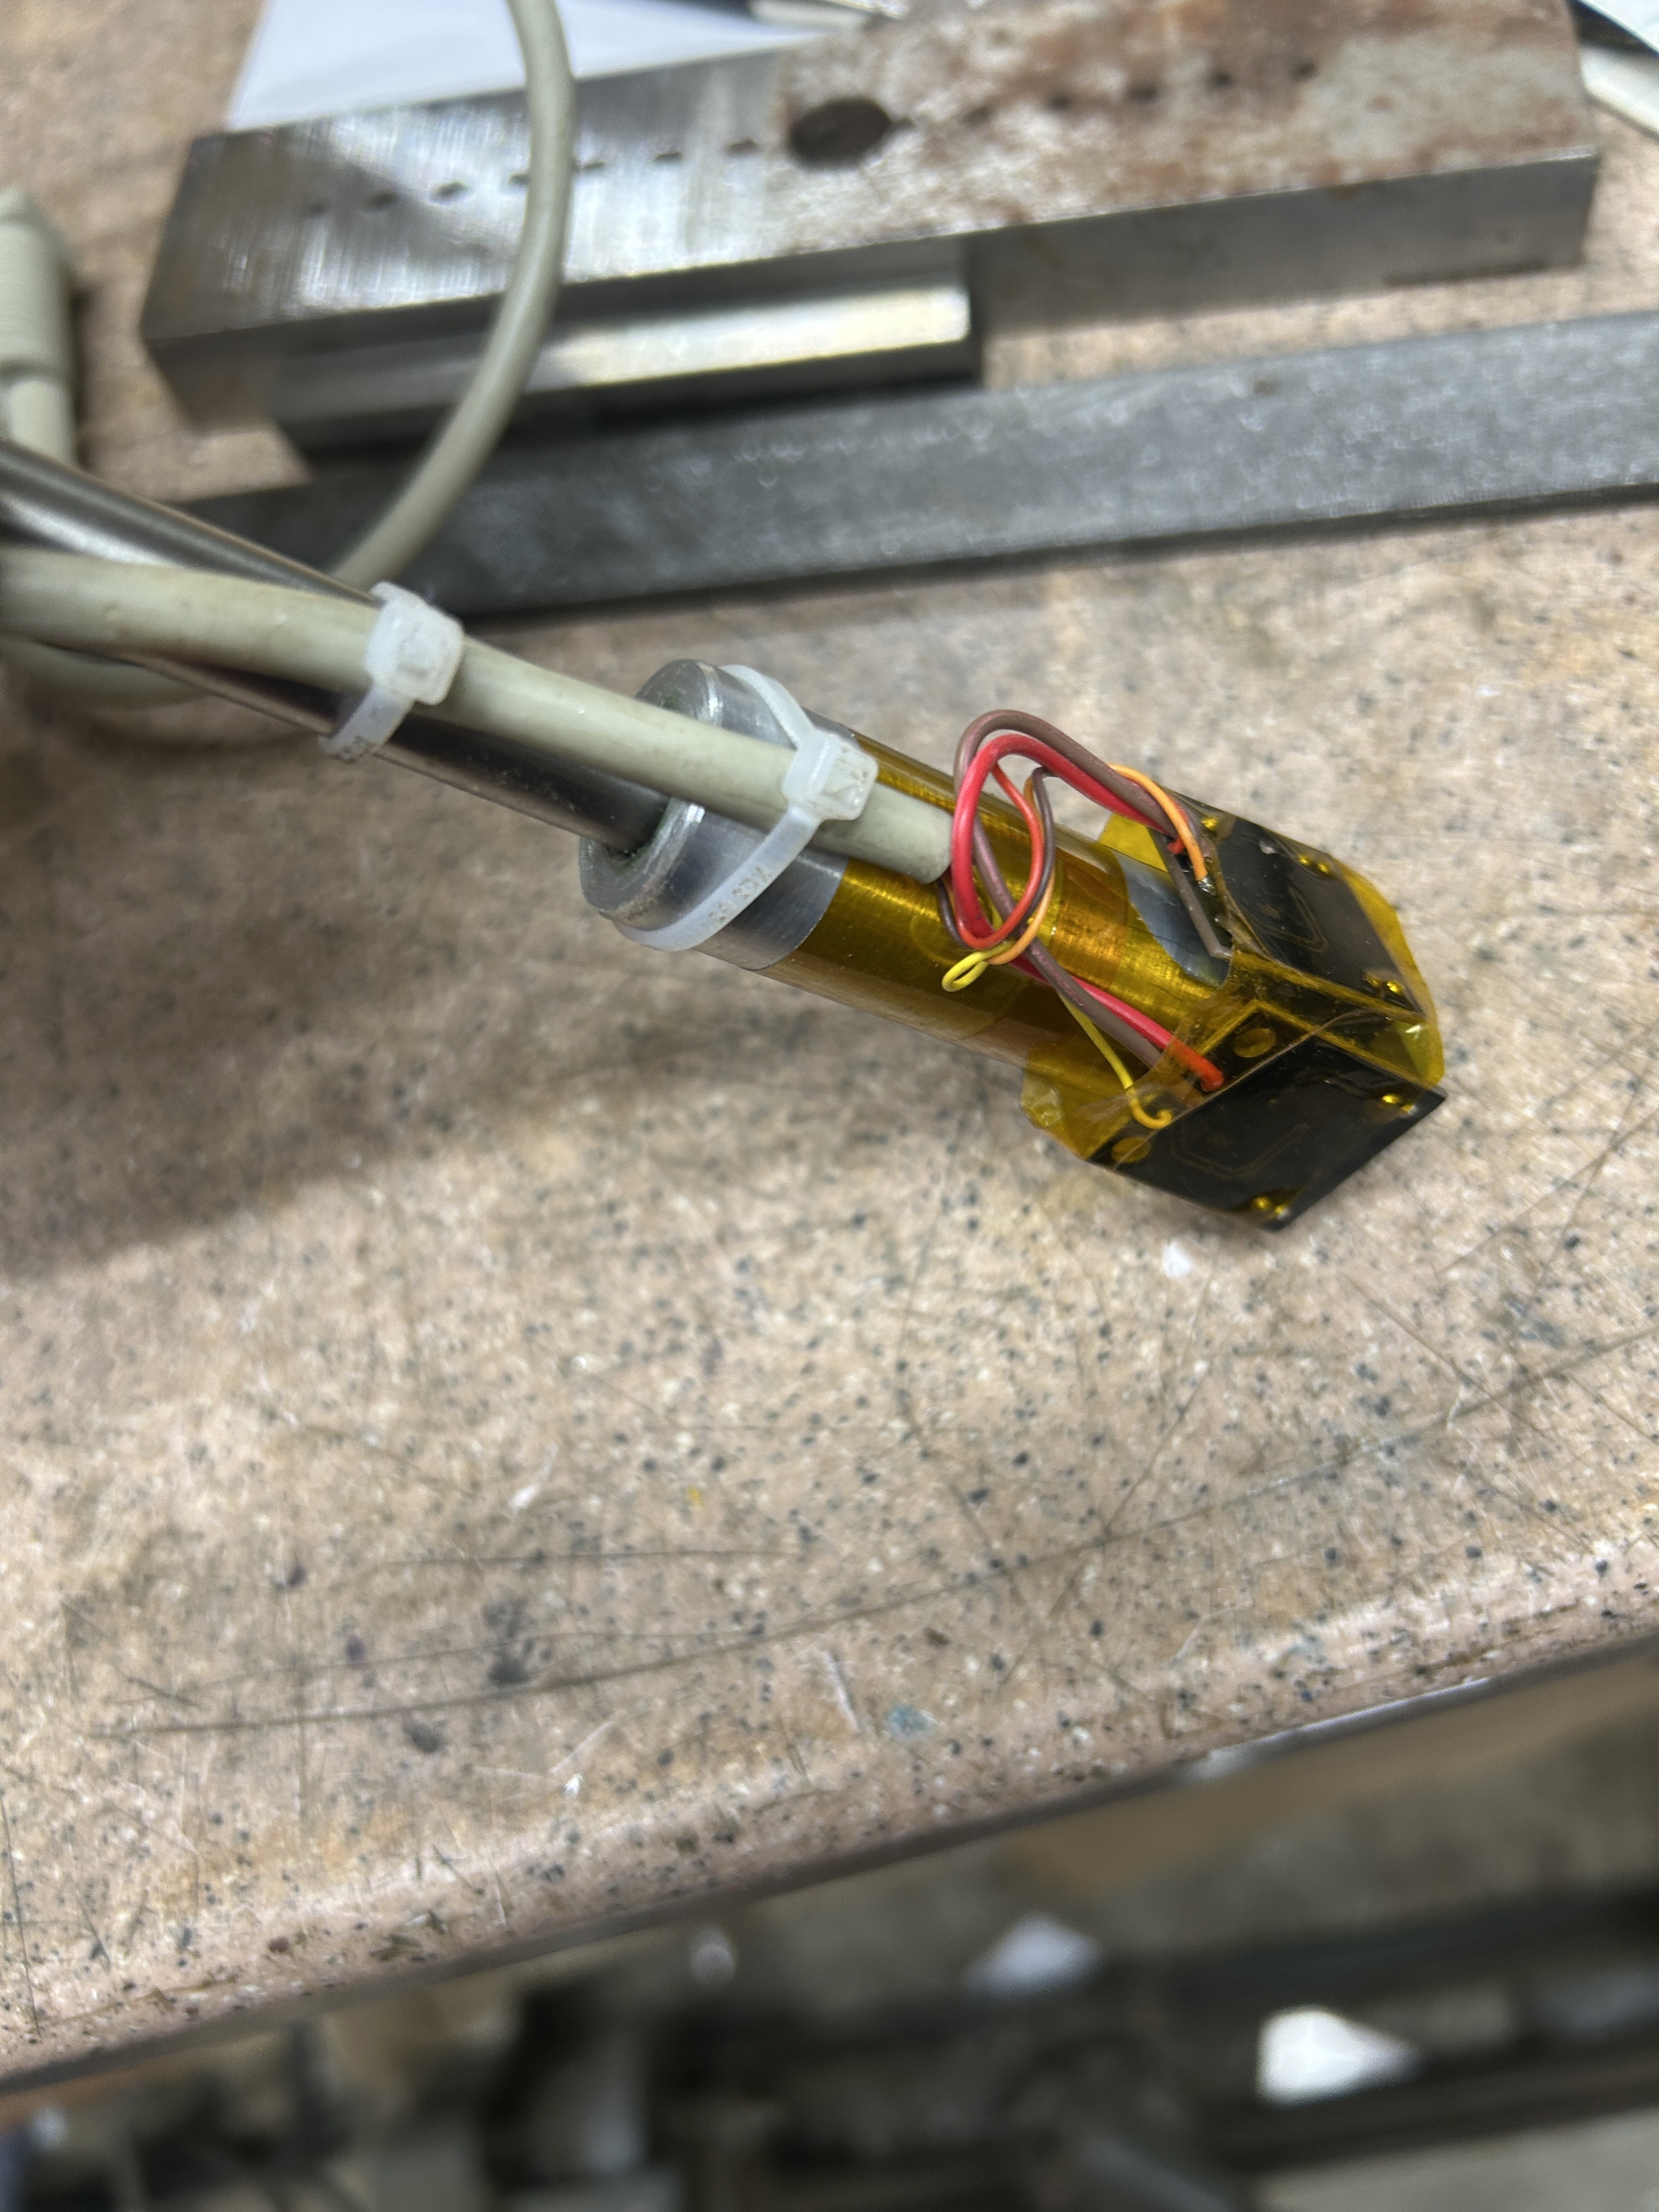
So after a few false starts and many distractions, I finally built myself a version of Tony's Leeb hardness tester. I deviated just slightly from his initial approach in that rather than using individual phototransistors and LED sources paired with the LM393 comparator, I purchased some premade slot photosensors (I think Tony mentions this as a possibility but did not have any on hand) that came mounted to a small PCB that includes a Schmidt trigger right on the board. So I only needed to supply them with 5Vdc and I get a nicely squared output. I think it cost about $8US for 5 of them from amazon. They were almost ideal sized for straddling the stainless tube I used. They ended up mounted like this:
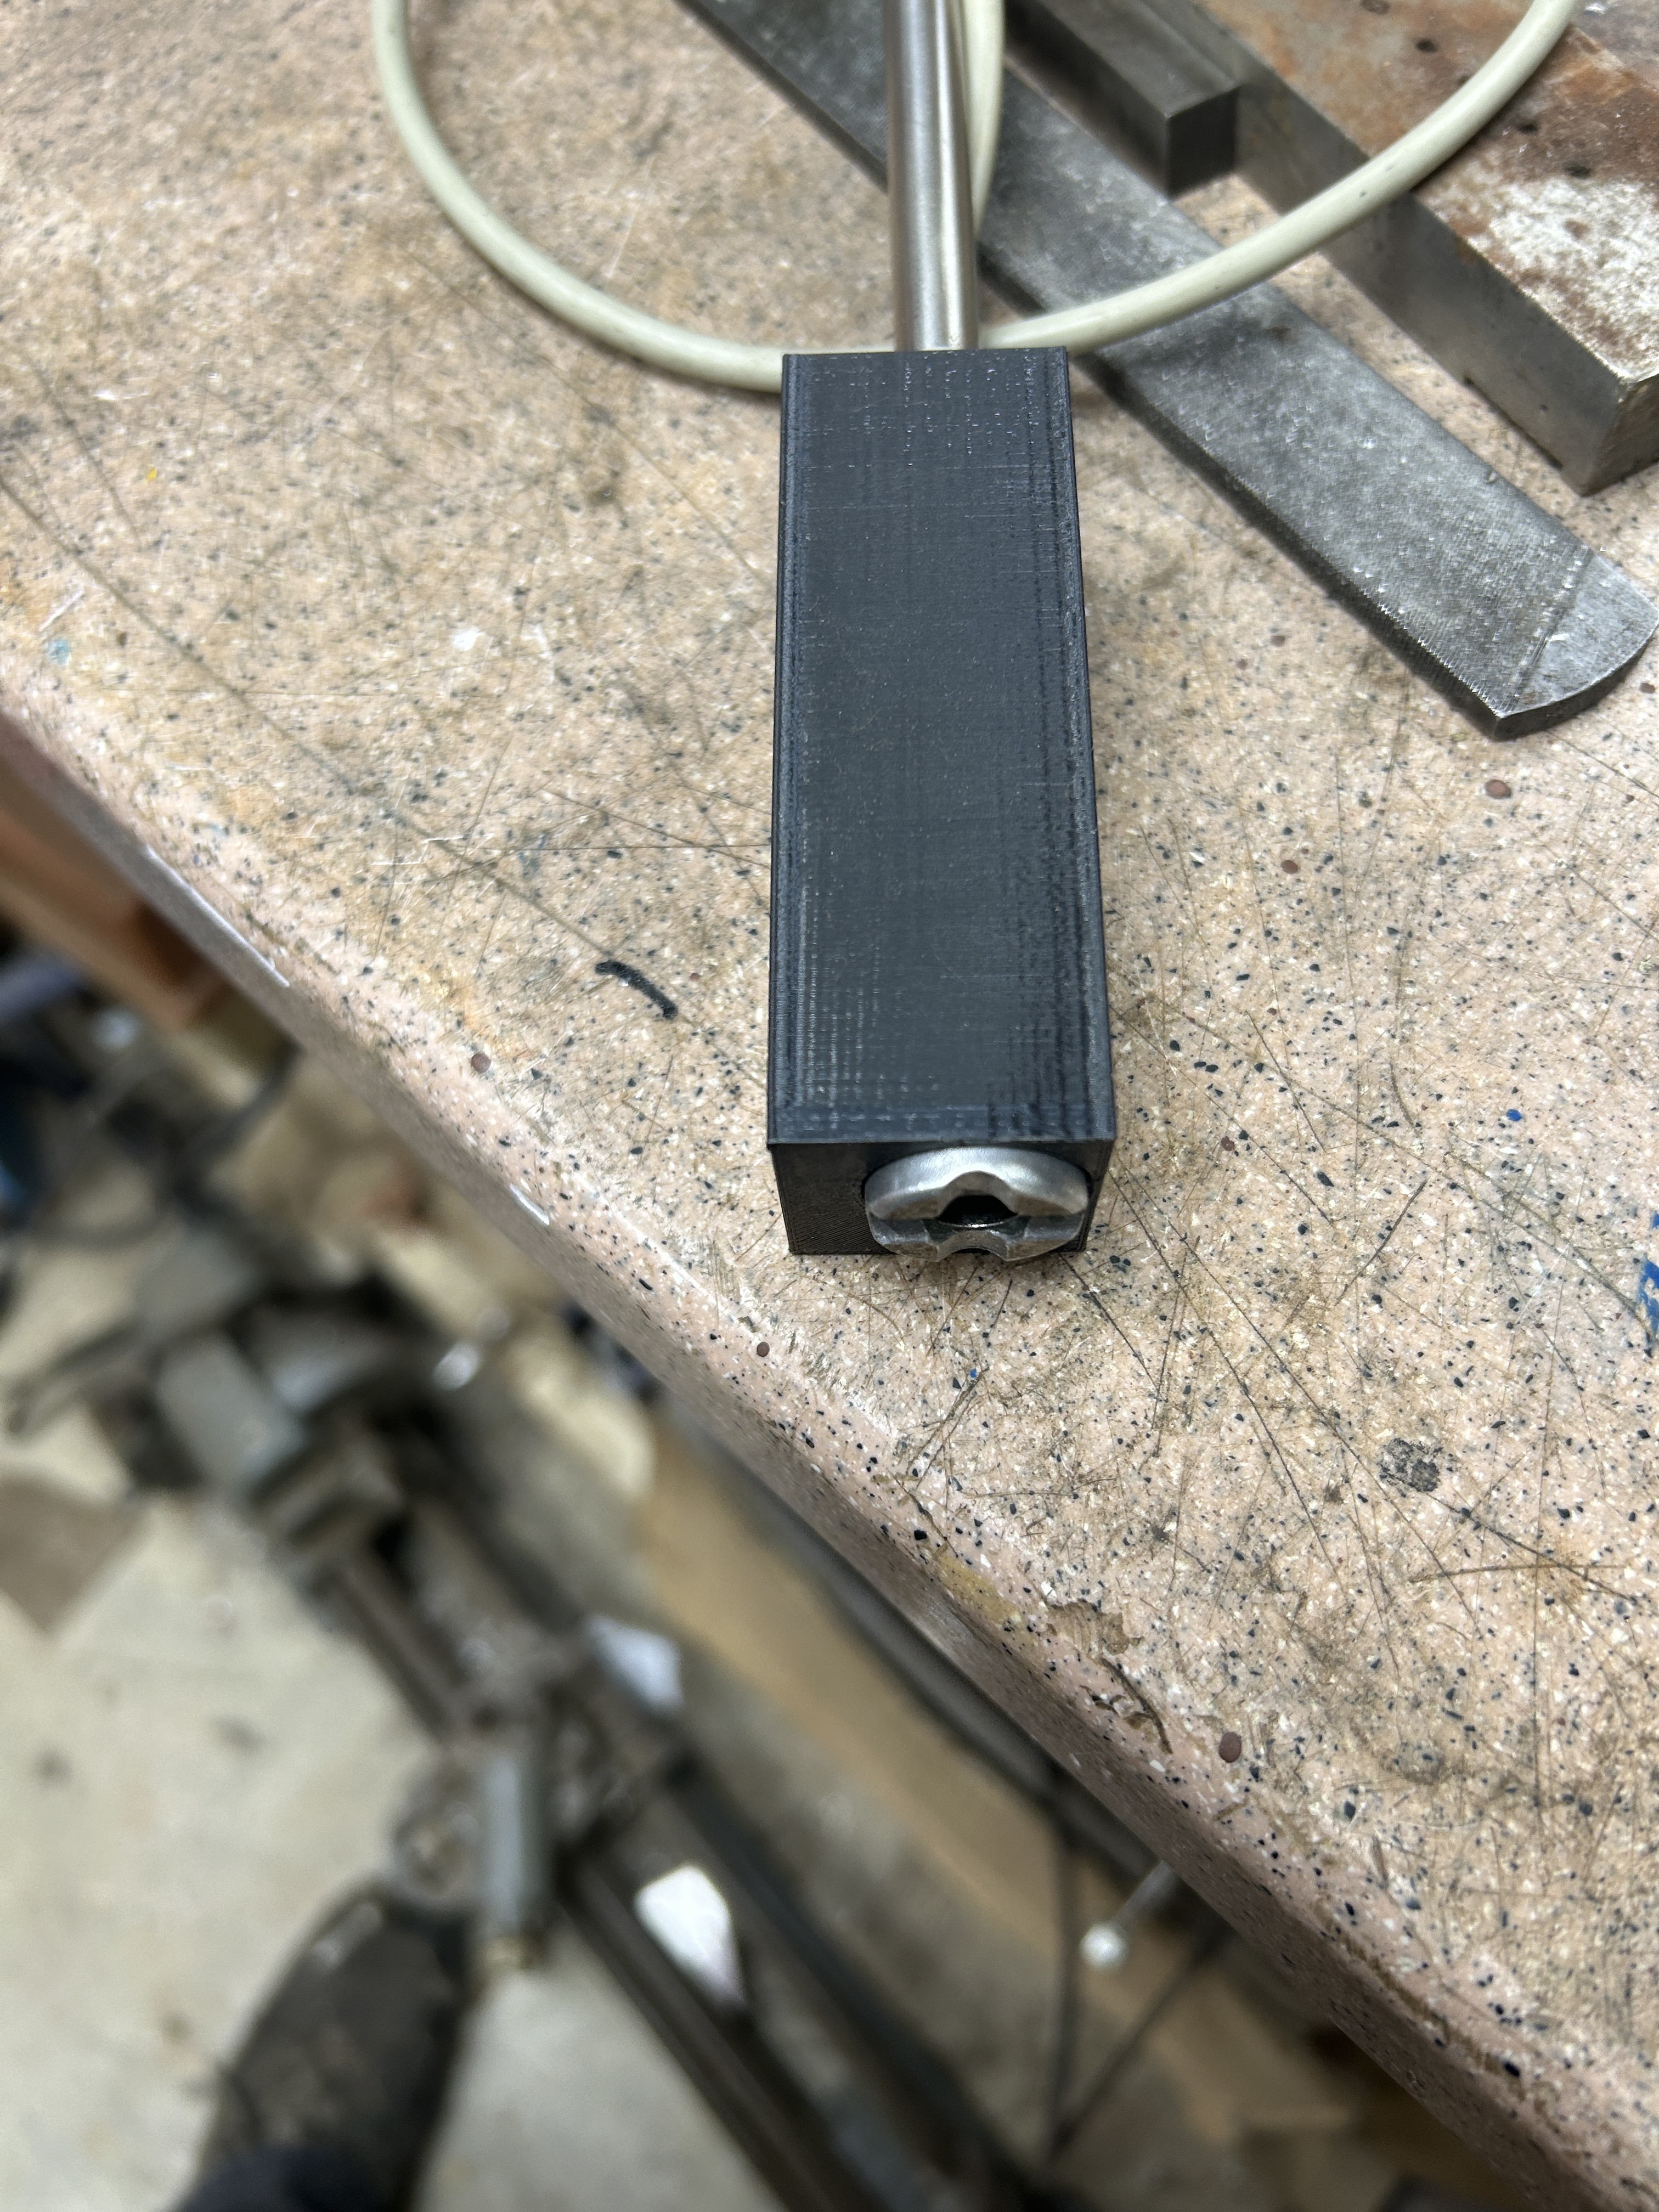
My son-in-law 3D printed this housing for me, it is a snug press fit onto the end of the part that the sensors are mounted on and protects the PC boards and wires nicely.
The electronics were put into the repurposed enclosure that used to hold some sort of barcode scanner interface that I intercepted before it hit the landfill. I used an Arduino Pro Nano as it takes up so little space and I had a few around. It power a USB cable so I can power it using either an AC USB charger/adapter or the small blue USB "power bank" you see in the picture for portable use. The double coupling in the drop tube allows me to take the tube down into two pieces for easier storage.
I use this all with a 1/4" steel ball. So far I seem to get pretty repeatable and reasonable results from it. I am working on getting a few sample steel pieces in various states of hardness that I hope to have tested on a calibrated Rockwell or other tester. That will give me some known values to compare against. In the meantime, I have every reason to believe that the results are plenty good for my, admittedly low spec, applications.
Thanks for all the work you did on this Tony and thanks especially for the through presntation on the theory and "how to do it" info you shared.


 Reply With Quote

Bookmarks