Free 186 More Best Homemade Tools eBook:  
New: 300+ fresh build posts/day from 275 forums → BuildThreads.com

User Tag List

Results 1 to 2 of 2

Thread: Fitting coolant tank to 4x6 bandsaw

Threaded View

  1. #1
    Supporting Member thehomeengineer's Avatar
    Join Date
    Nov 2017
    Location
    Berkshire UK
    Posts
    762
    Thanks
    764
    Thanked 2,388 Times in 483 Posts

    thehomeengineer's Tools

    Fitting coolant tank to 4x6 bandsaw

    Hi All
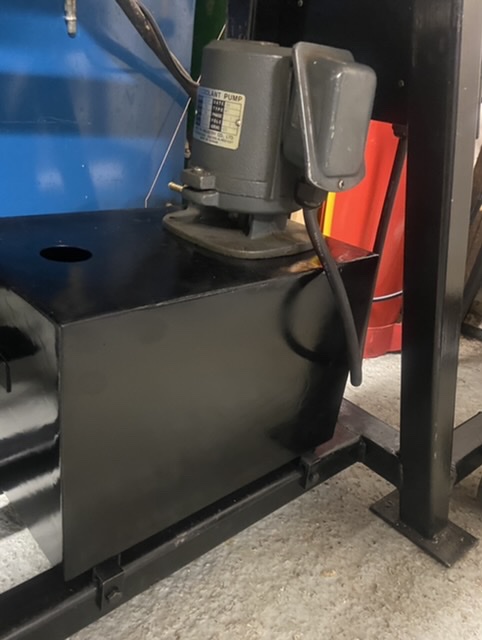
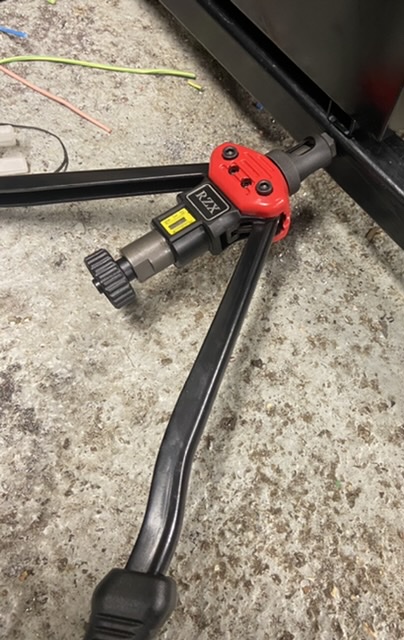
    After finishing the rewire the next job was to mount the coolant tank to the custom base. The coolant tank is a commercially purchased system I purchased 30 years ago and was originally on my pillar drill.

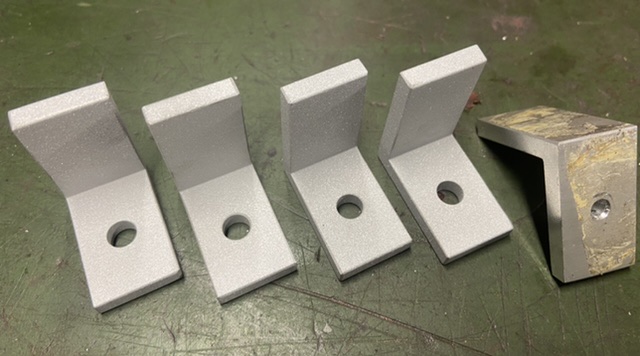
    To stop the tank from moving, it was clamped to the base with 4 pieces of aluminium angle 32x32x5mm.

    The angle was cut and the edges machined square. A hole was then drilled into each bracket 6mm for 6mm bolt. The brackets were then slightly bent to create a clamping action when fully bolted back to base.

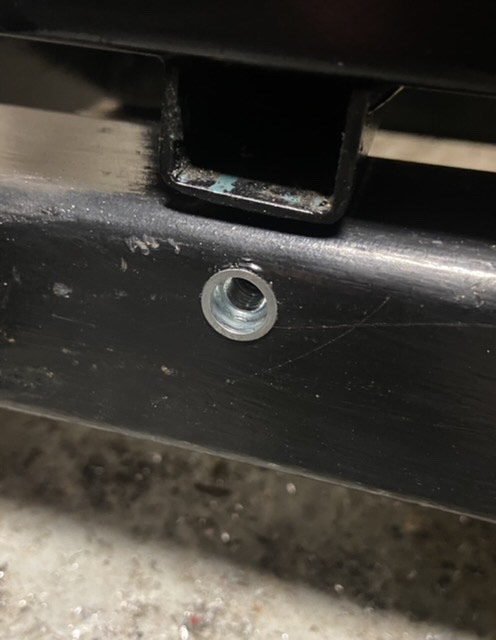
    To ensure that all the retaining bolts were drilled in the correct position to create the clamping force a piece of the angle was drilled 2mm higher to allow for the thickness of the tank material at a diameter of 3mm. Once drilled 3mm the diameter was then opened up to suit M6 rivet nuts.

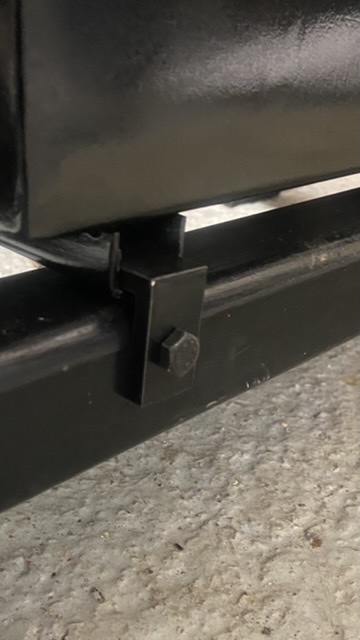
    A trial fit and the tank was securely fitted to the base. Brackets were then removed and painted.

    Click image for larger version. 

Name:	854D7123-E868-4A6B-96A7-8EADEBA57BA9.jpeg 
Views:	190 
Size:	71.4 KB 
ID:	41456 Tank secured in place.

    Click image for larger version. 

Name:	DED143E4-4ED8-4A9A-A9E4-50065520B7C1.jpeg 
Views:	182 
Size:	76.5 KB 
ID:	41457 Drill template and brackets shot blasted ready for paint.

    Click image for larger version. 

Name:	A18E0C14-7202-48C3-9B3E-F82C9ED50053.jpeg 
Views:	176 
Size:	75.2 KB 
ID:	41458 
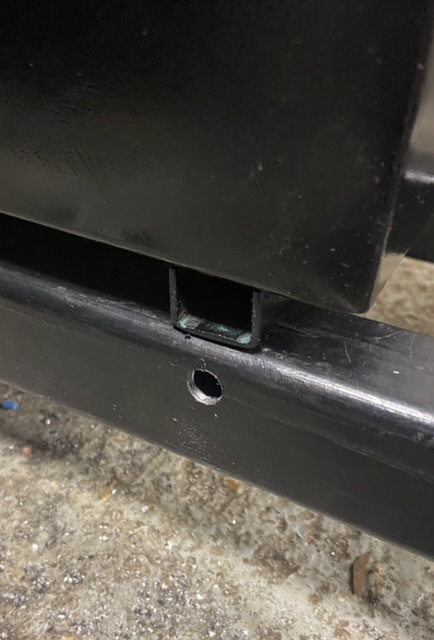
Drill template in position.

    Click image for larger version. 

Name:	2AE5A946-F9E7-4B9E-B280-AF0133824C2A.jpeg 
Views:	173 
Size:	83.9 KB 
ID:	41459 Click image for larger version. 

Name:	93ED4369-0E9D-4D69-A644-3558FBF04C95.jpeg 
Views:	174 
Size:	66.1 KB 
ID:	41460 Click image for larger version. 

Name:	9781DA11-FB3F-4094-A8DB-FED24B31931E.jpeg 
Views:	191 
Size:	118.1 KB 
ID:	41461 Click image for larger version. 

Name:	E0A2BF22-B96E-475A-A38C-460CD9FC6330.jpeg 
Views:	186 
Size:	59.7 KB 
ID:	41462 Rivet nut in place.

    Click image for larger version. 

Name:	43B5894C-3EE0-4D77-B693-0F7FA0608E74.jpeg 
Views:	180 
Size:	117.8 KB 
ID:	41463 Square showing angle to create clamping force.

    Click image for larger version. 

Name:	A0A957CD-AFFD-4123-B238-508A7CB7B691.jpeg 
Views:	188 
Size:	54.0 KB 
ID:	41464 
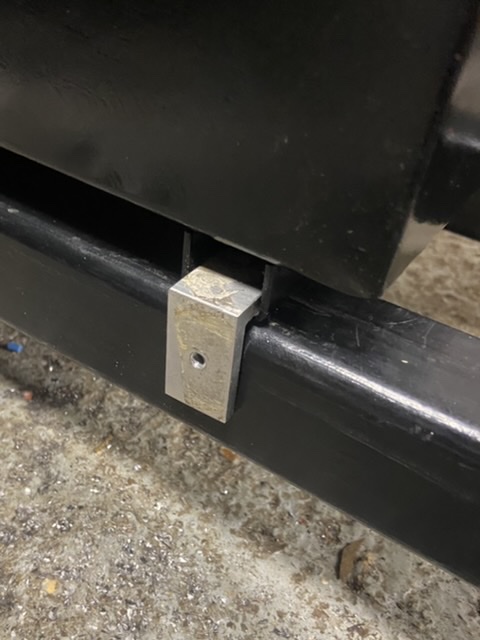
One completed bracket in place.

    Thank you for viewing
    The Home Engineer

  2. The Following User Says Thank You to thehomeengineer For This Useful Post:

    Philip Davies (Jan 4, 2022)

Thread Information

Users Browsing this Thread

There are currently 1 users browsing this thread. (0 members and 1 guests)

Bookmarks

Posting Permissions

  • You may not post new threads
  • You may not post replies
  • You may not post attachments
  • You may not edit your posts
  •