
 LinkBack URL
 About LinkBacks

". "Pin It")
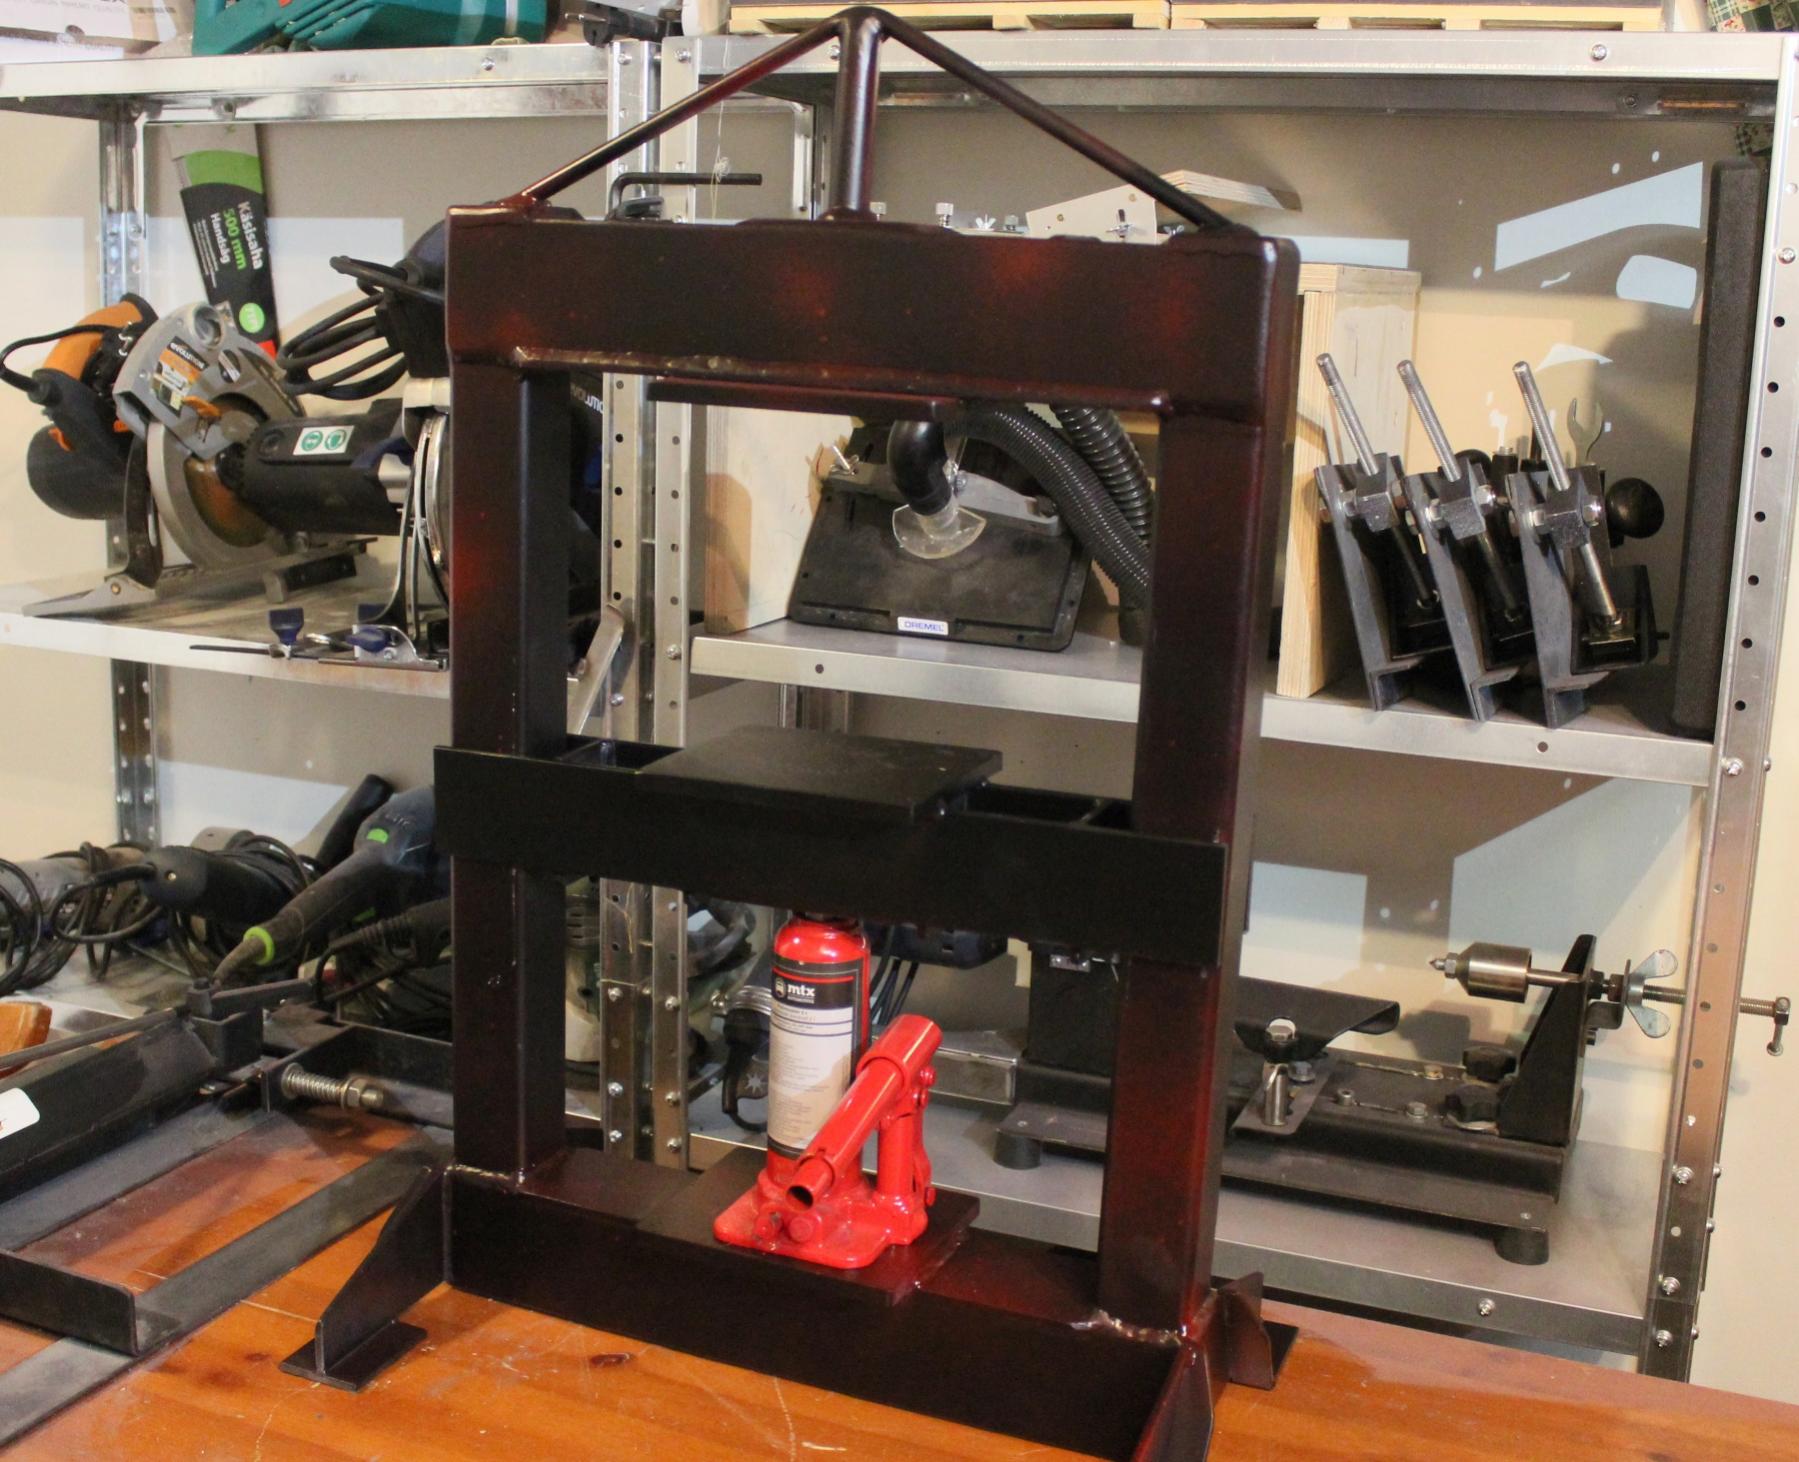
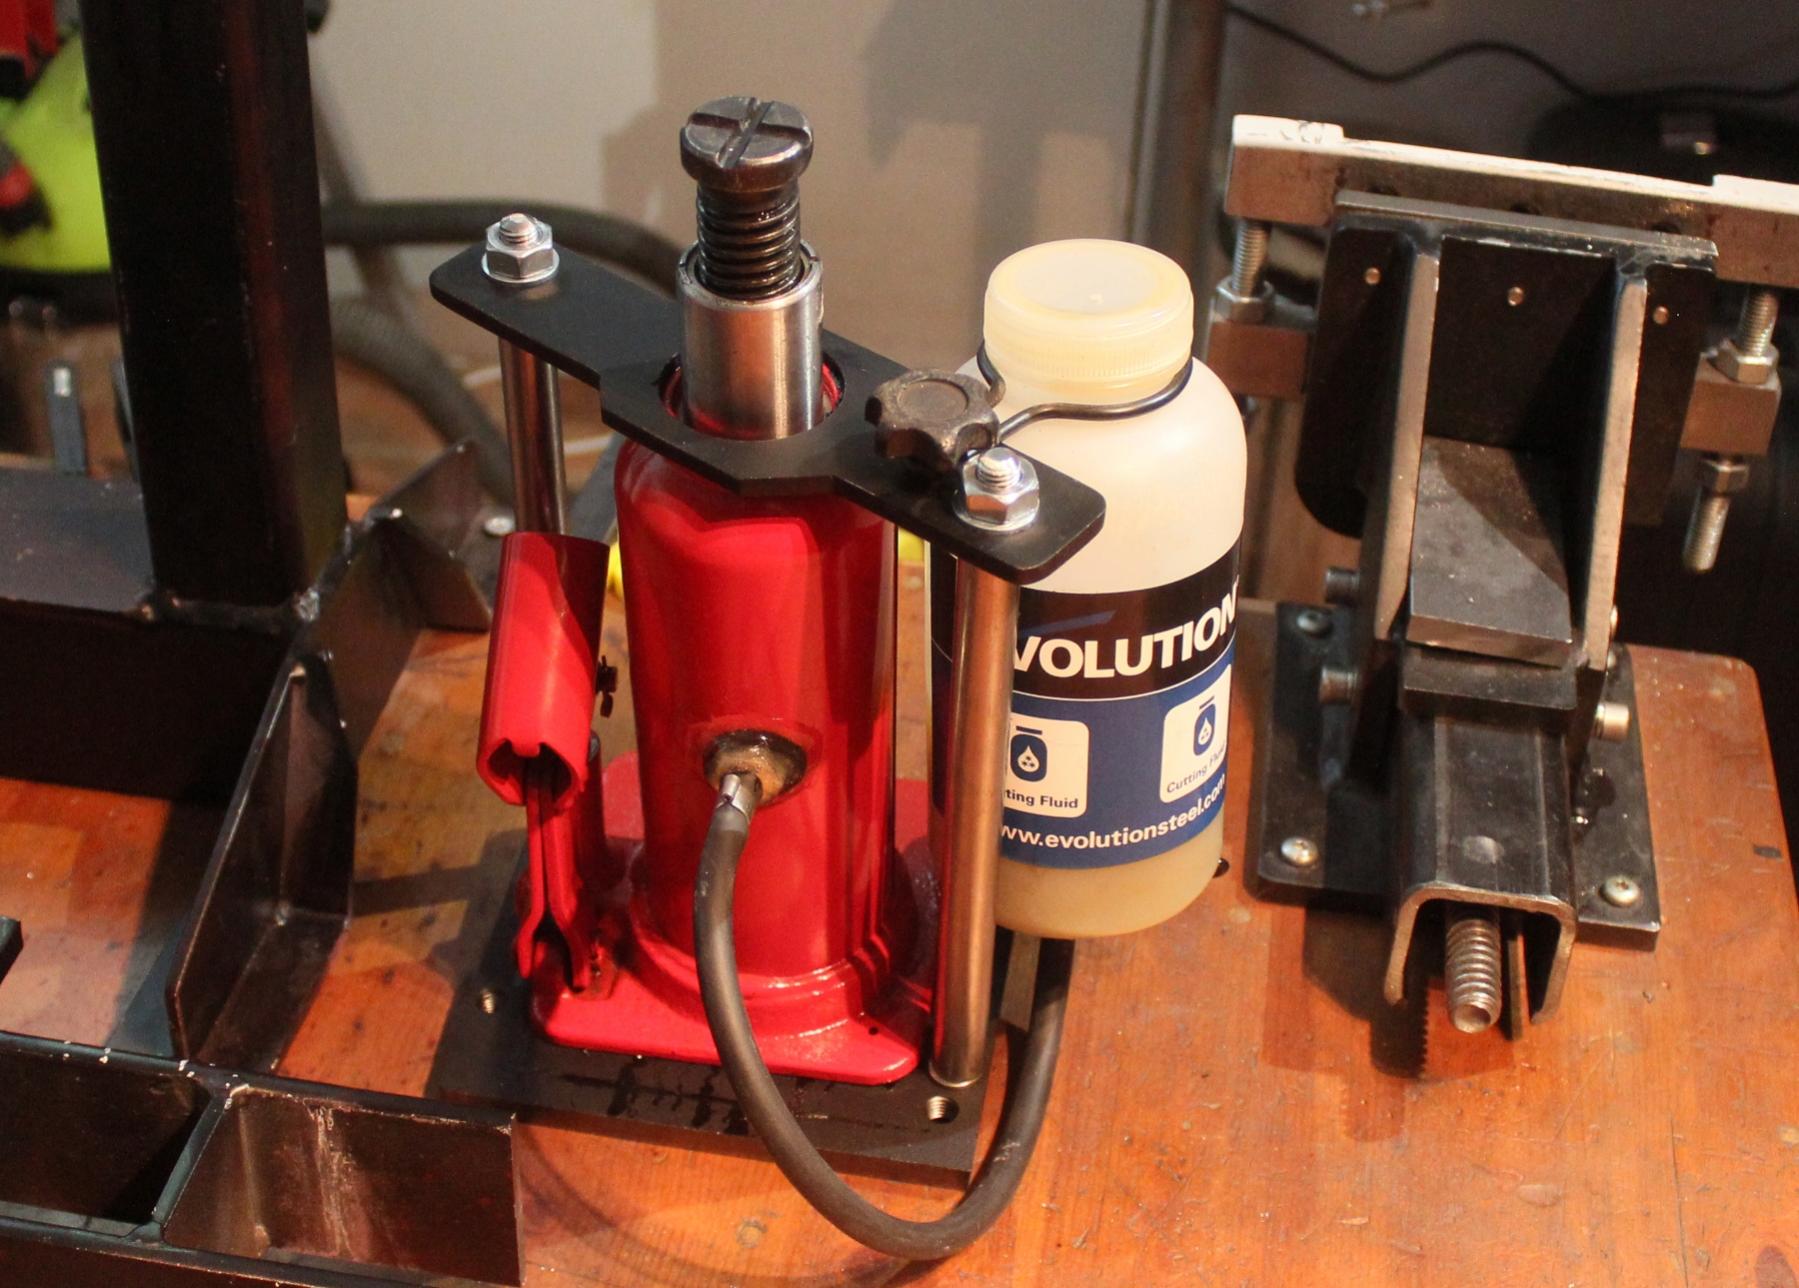
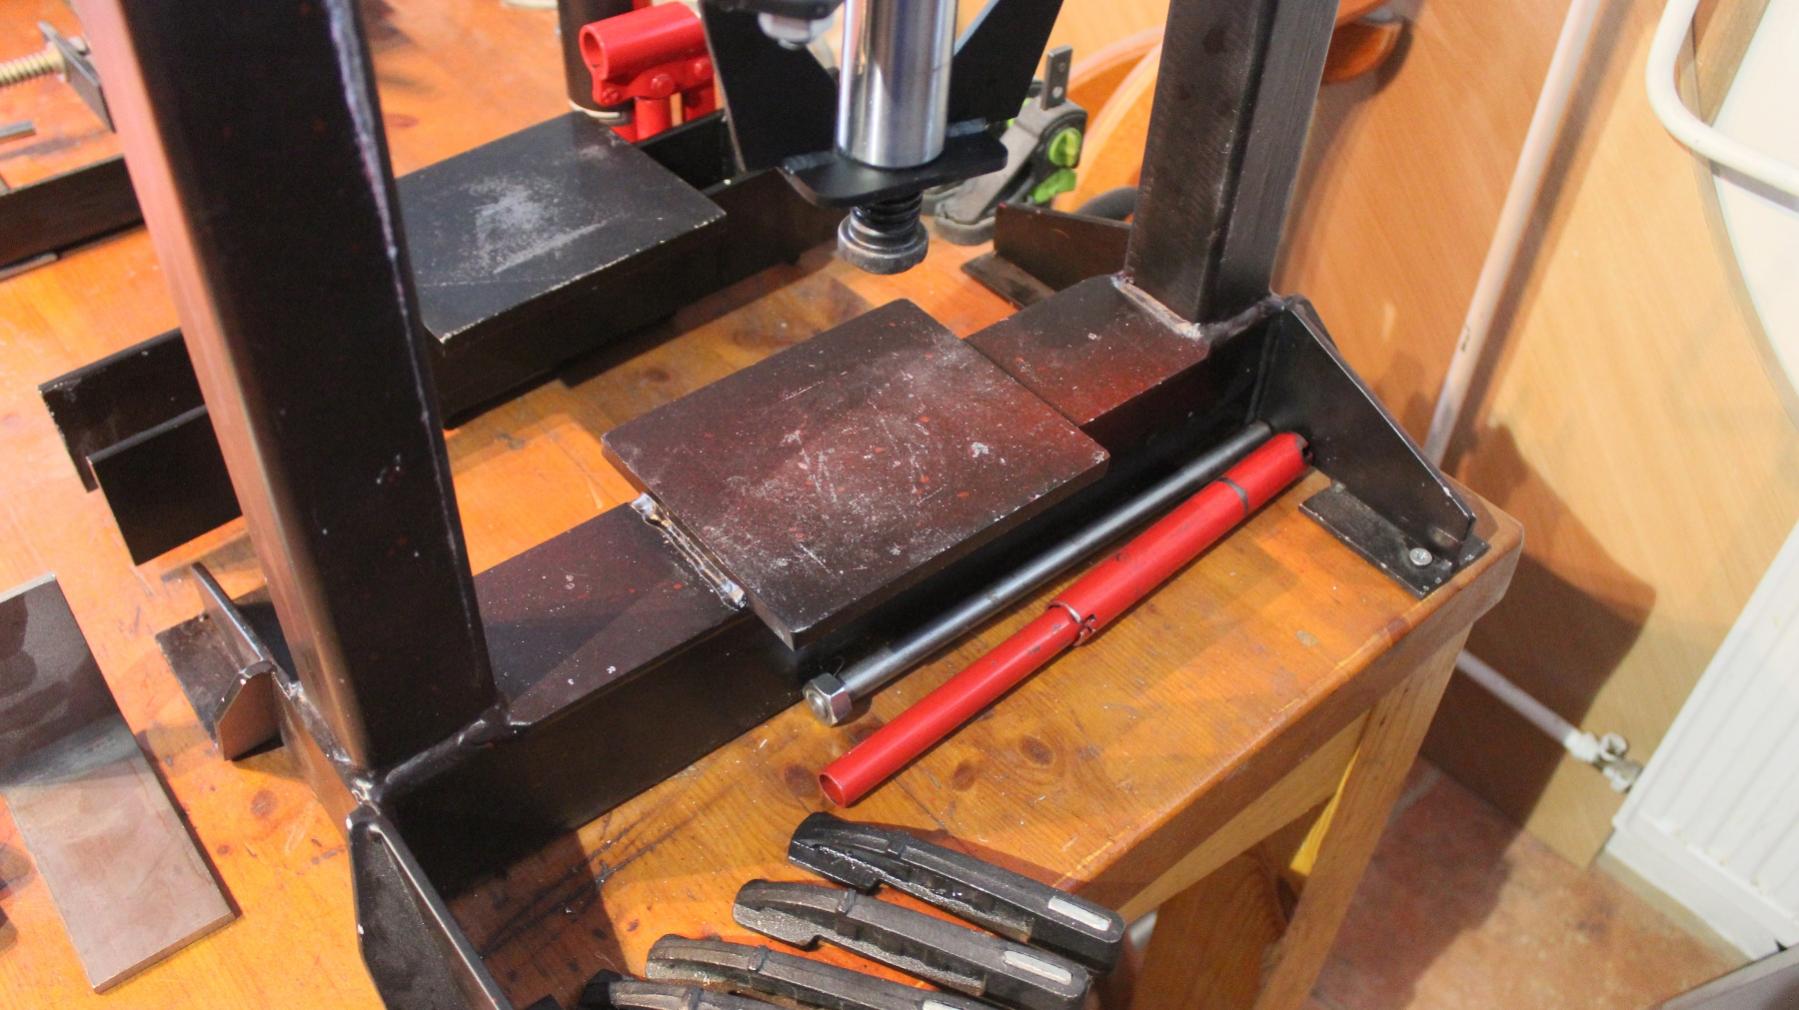
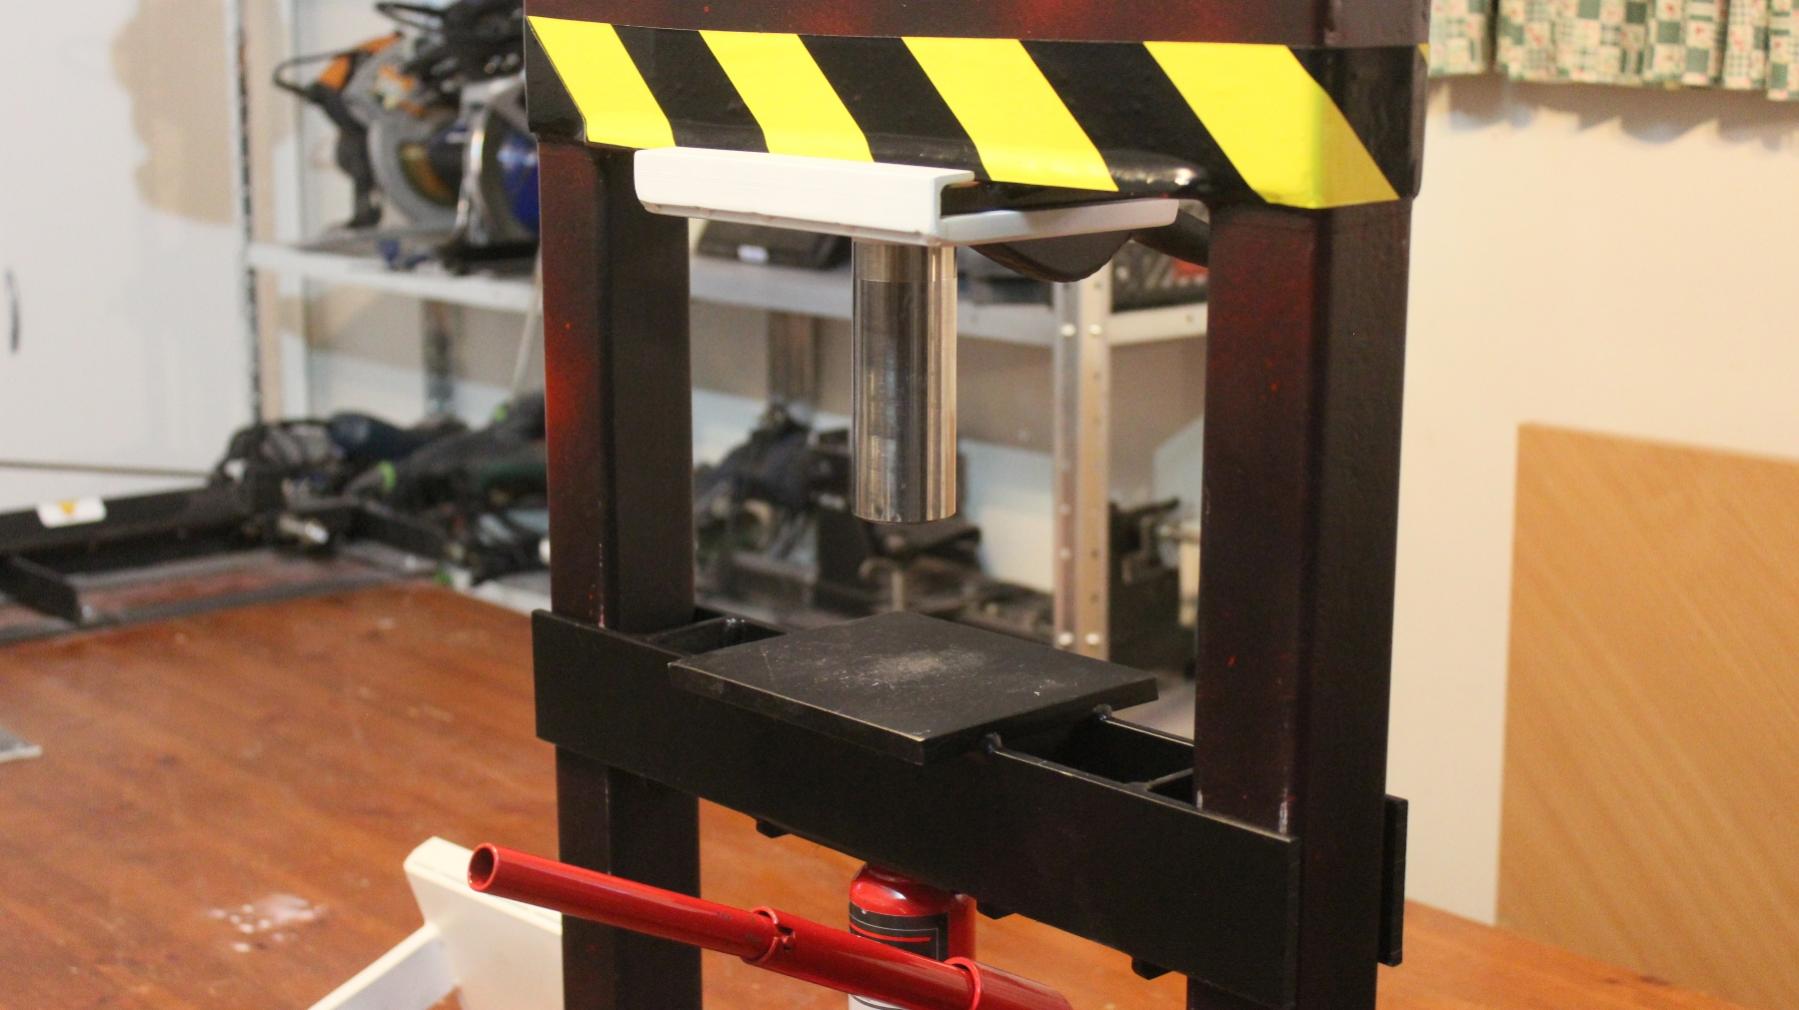
Made a press.
Later im going to add brake and rolling possibilities to it, that's why i placed jack down.
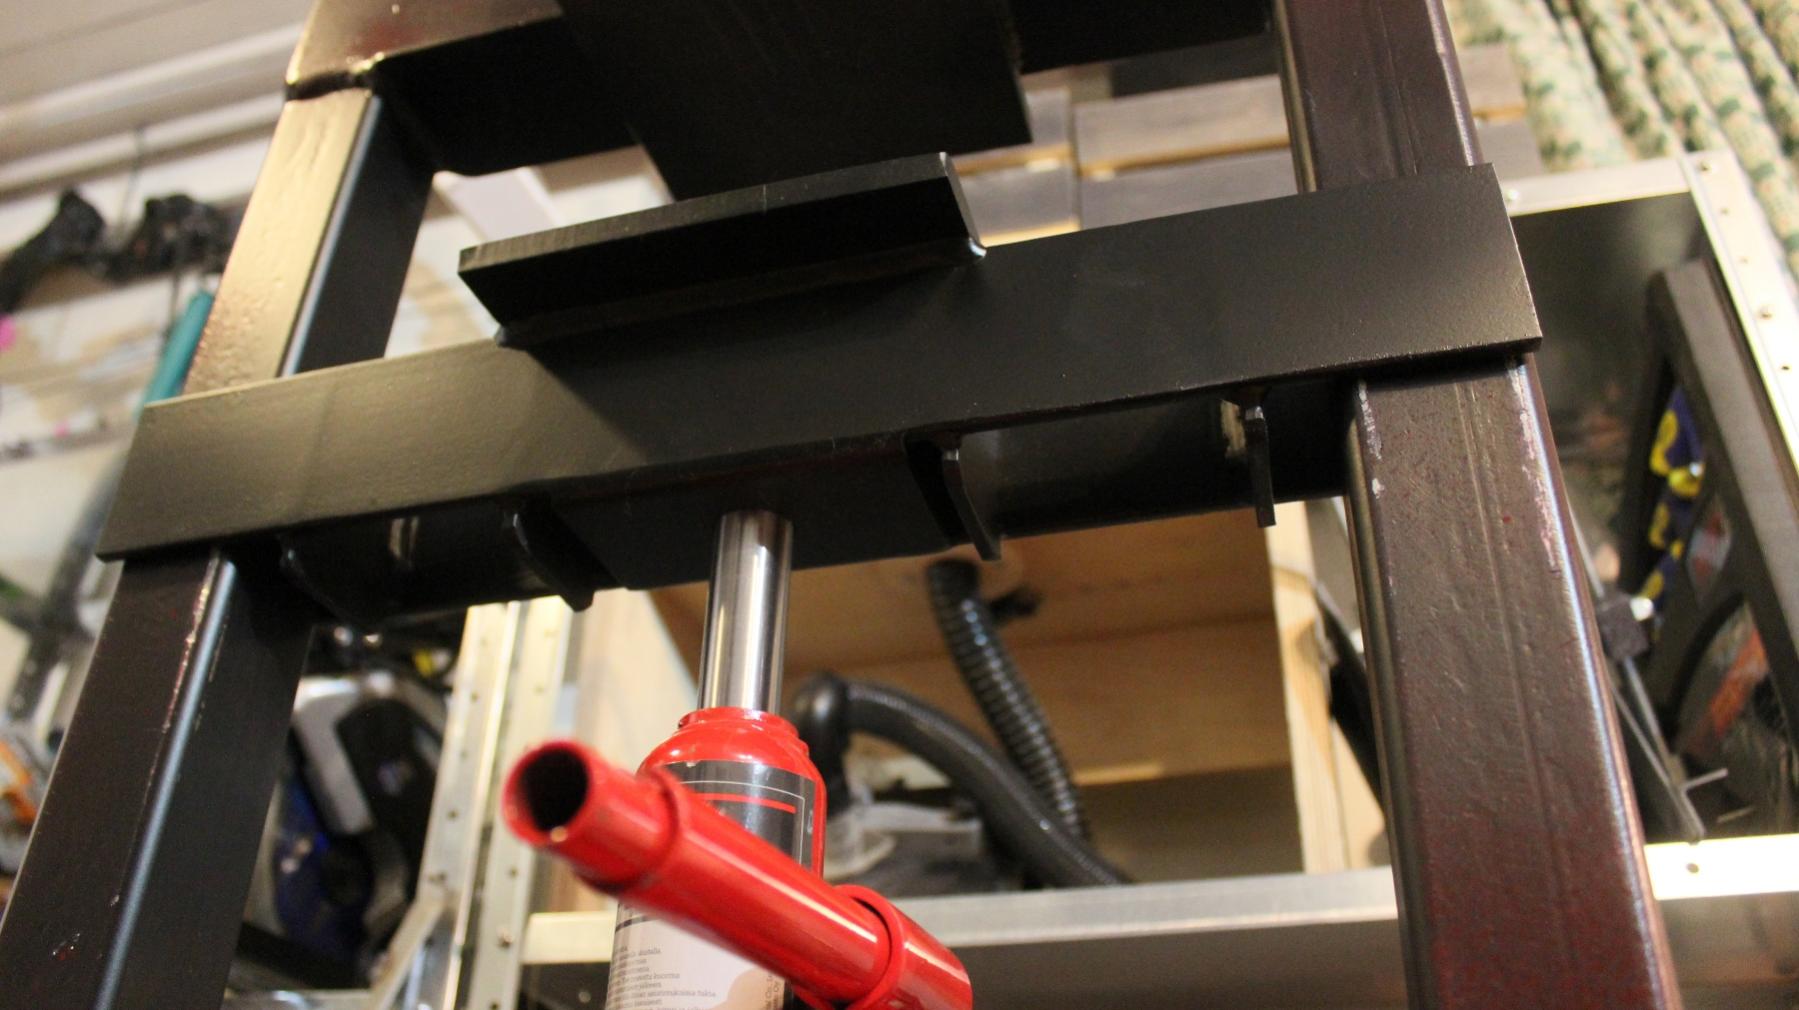
"sled" takes support from the cylinder of the jack, that makes it to travel straight.
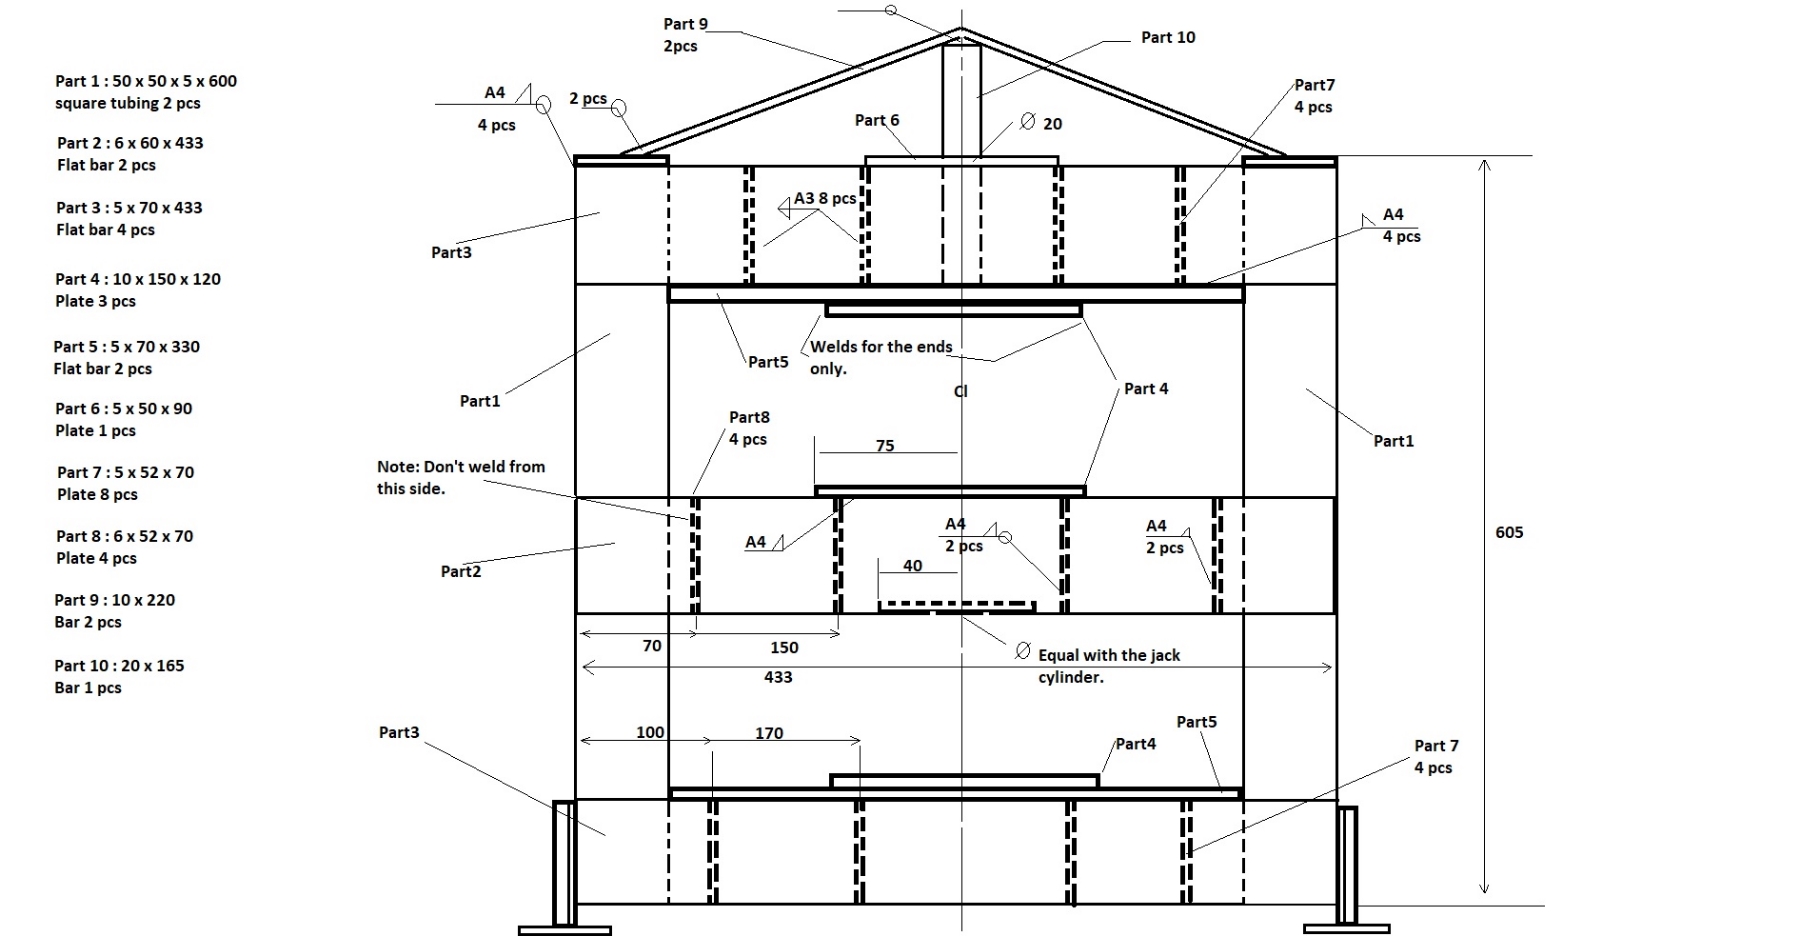
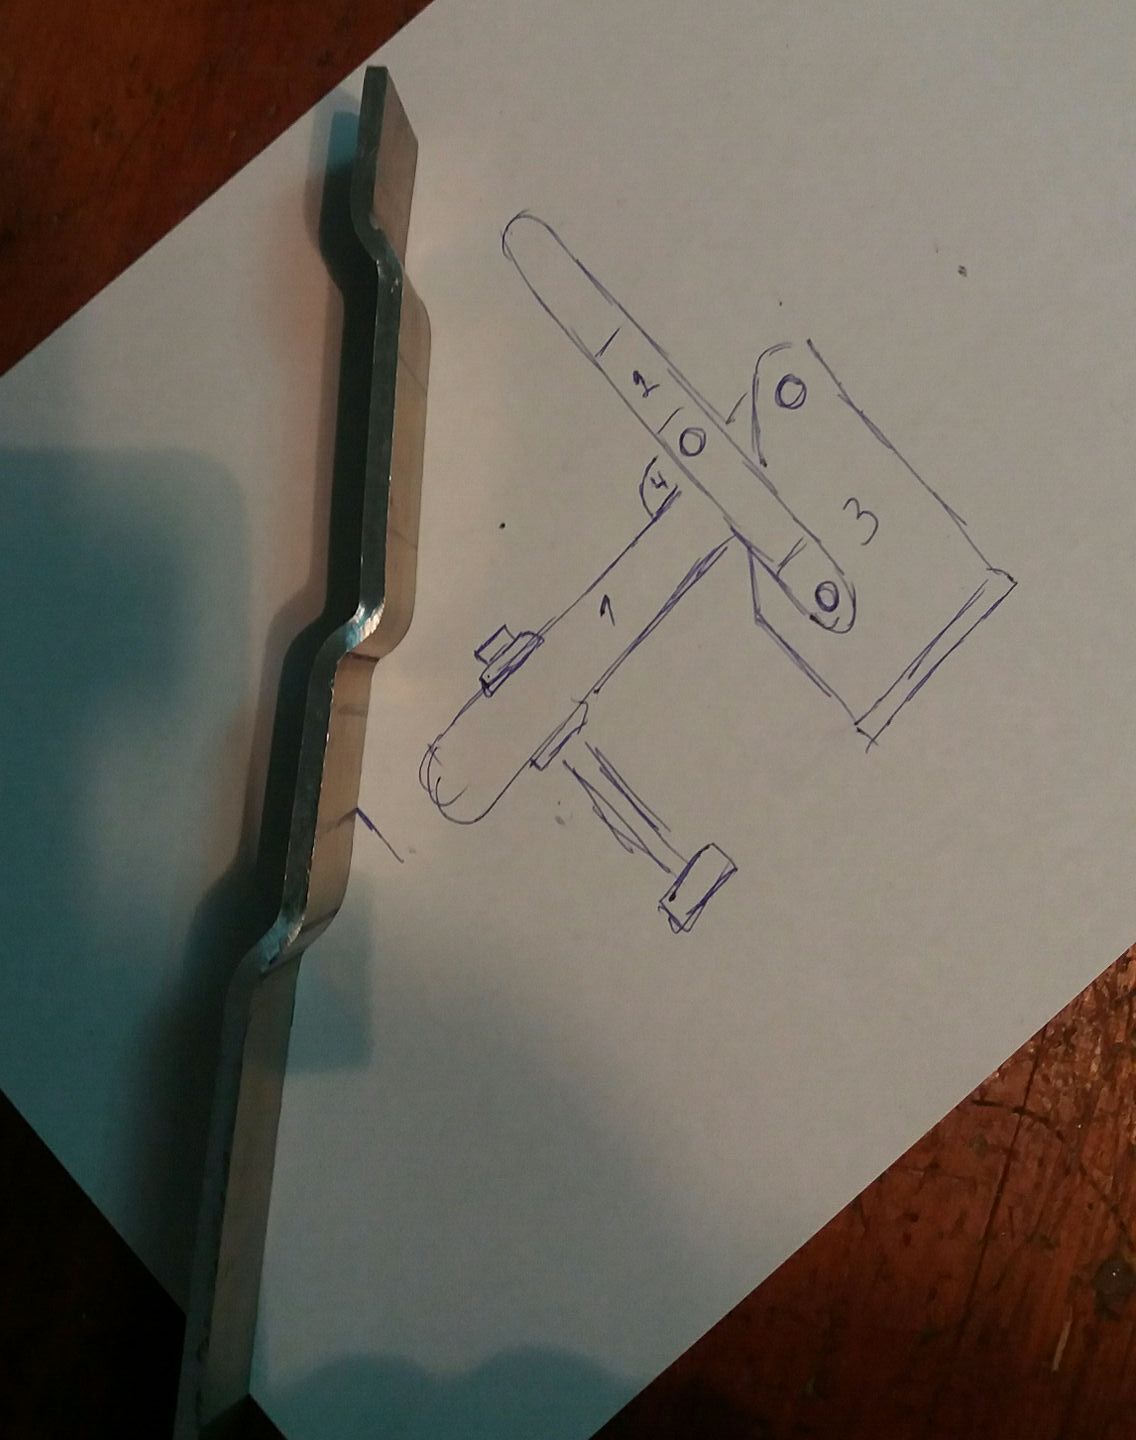
Plan:
Welds made with Esab ok 73.15 welding rod.
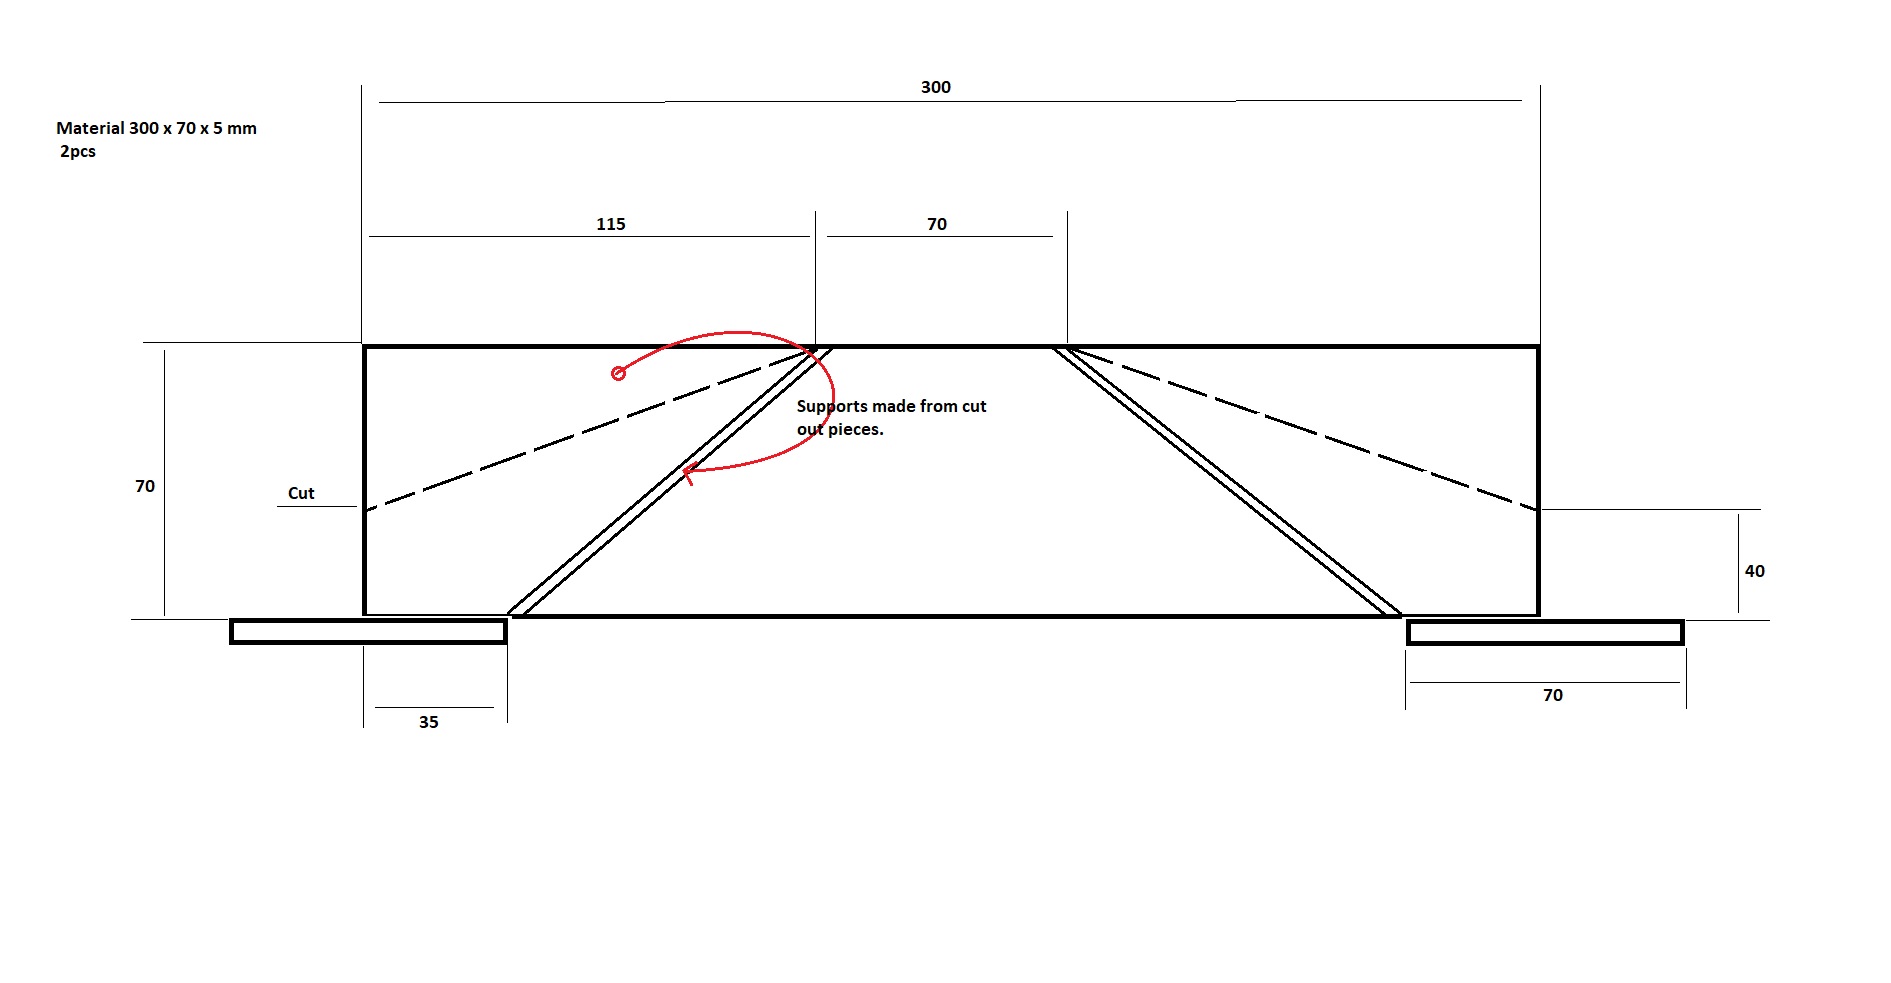
Extra support rods on the top are just " if i someday need to use it with stronger jack, i can use it on traditional way ( jack placed up )".
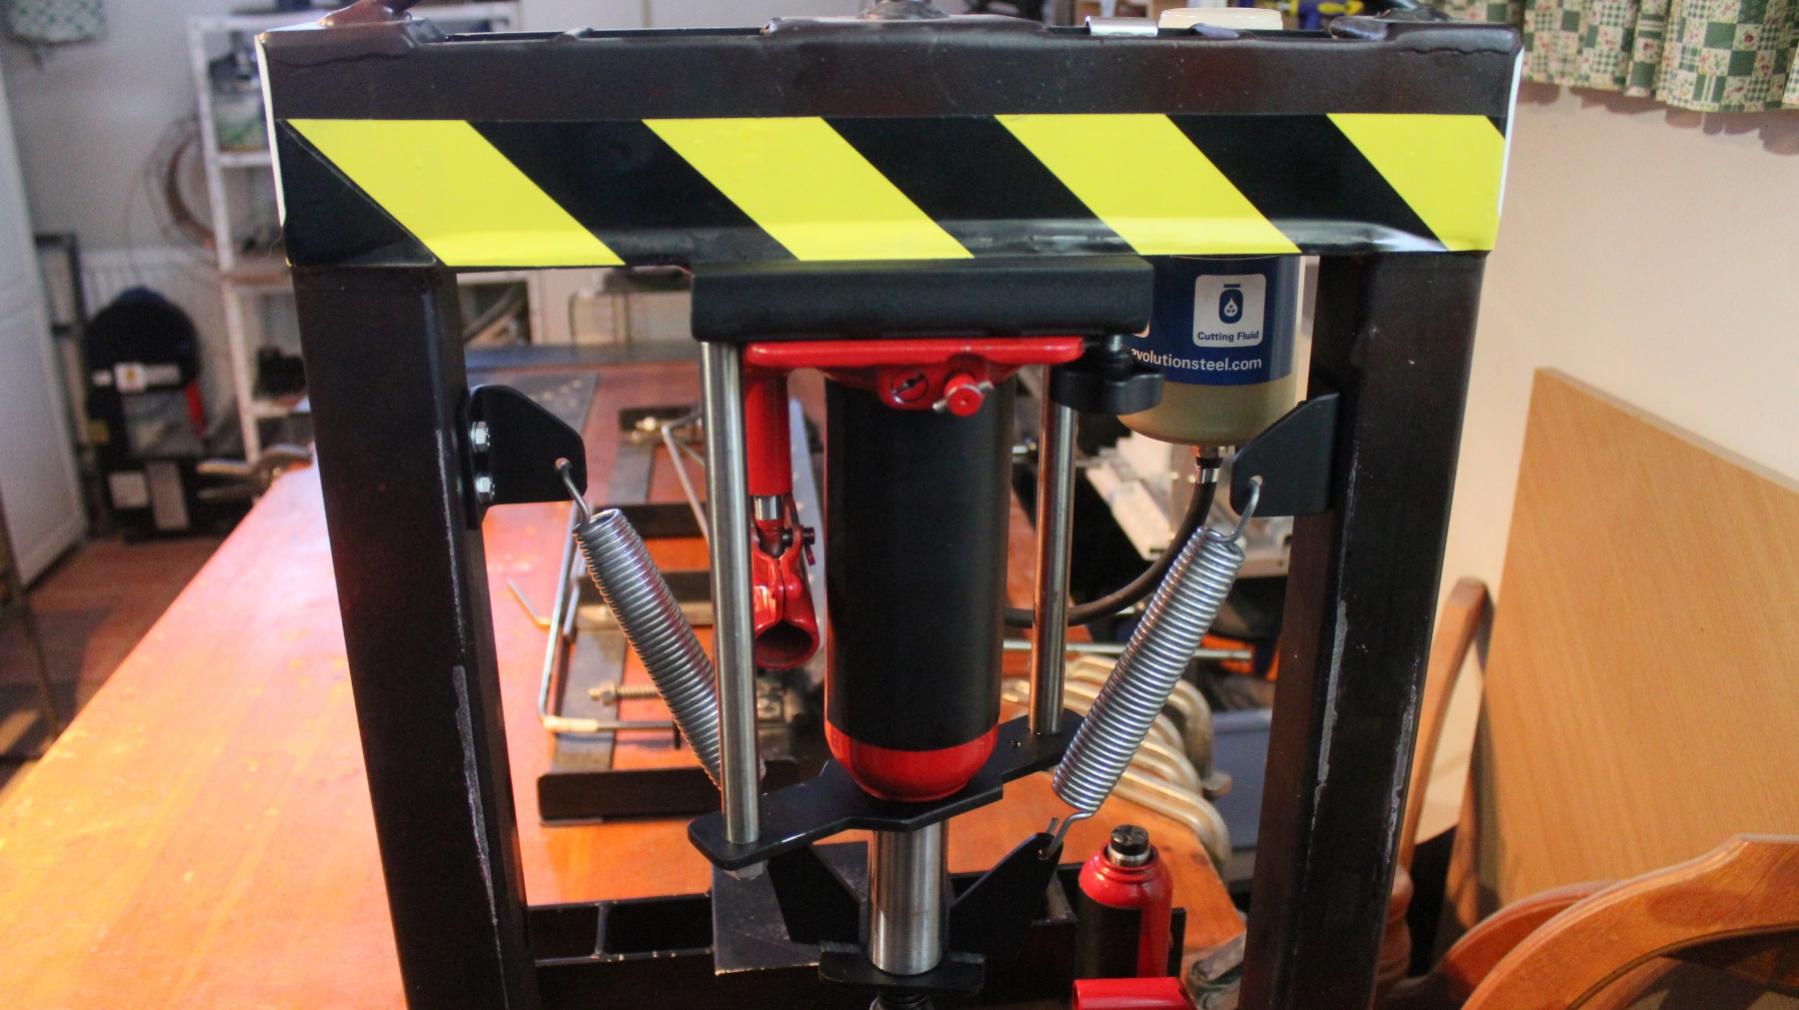
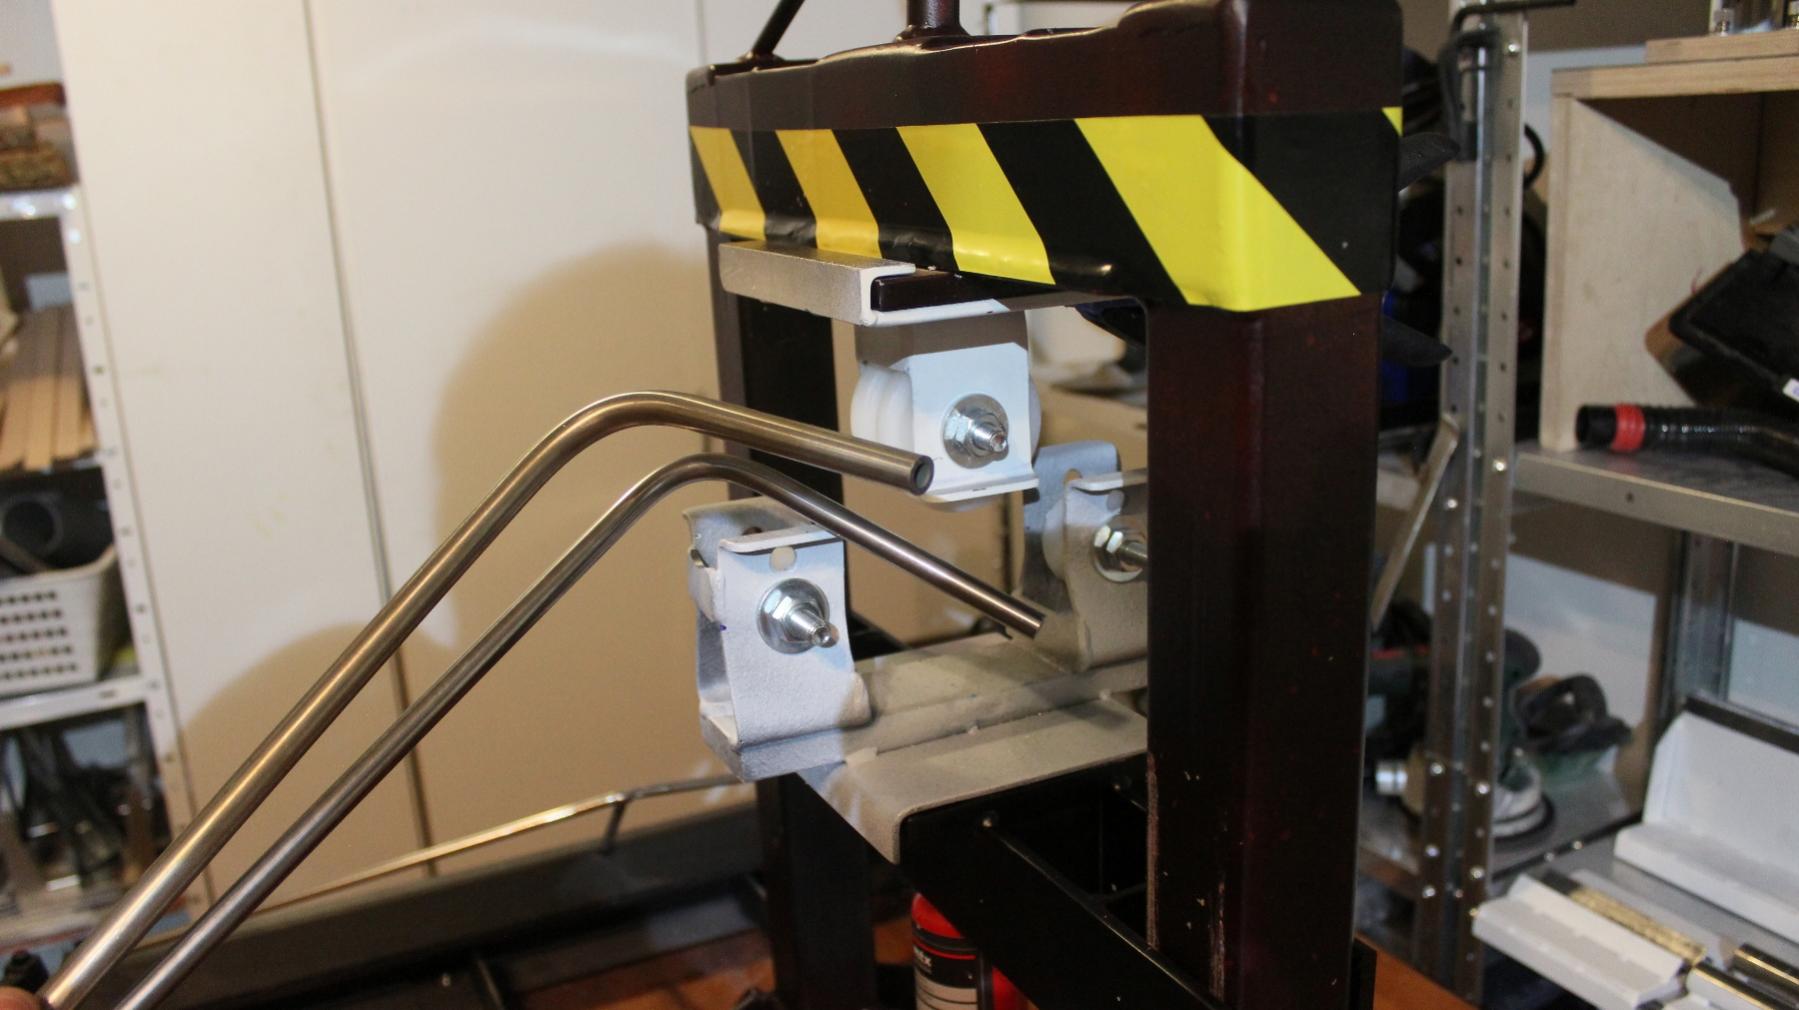
EDIT: here is the jack placed up version. Frame is now tested to handle use with 8 ton jack.
Takes about 10 seconds to assemble / disassemble.
Springs are surplus from trampoline. Bigger holes drilled with a variable wood cutter, with diy hss blade.
Used cheap 8 ton jack that was sealed with welds.
Actually this should work with "any" jack, without need to open it.
Here is the video:
More info:
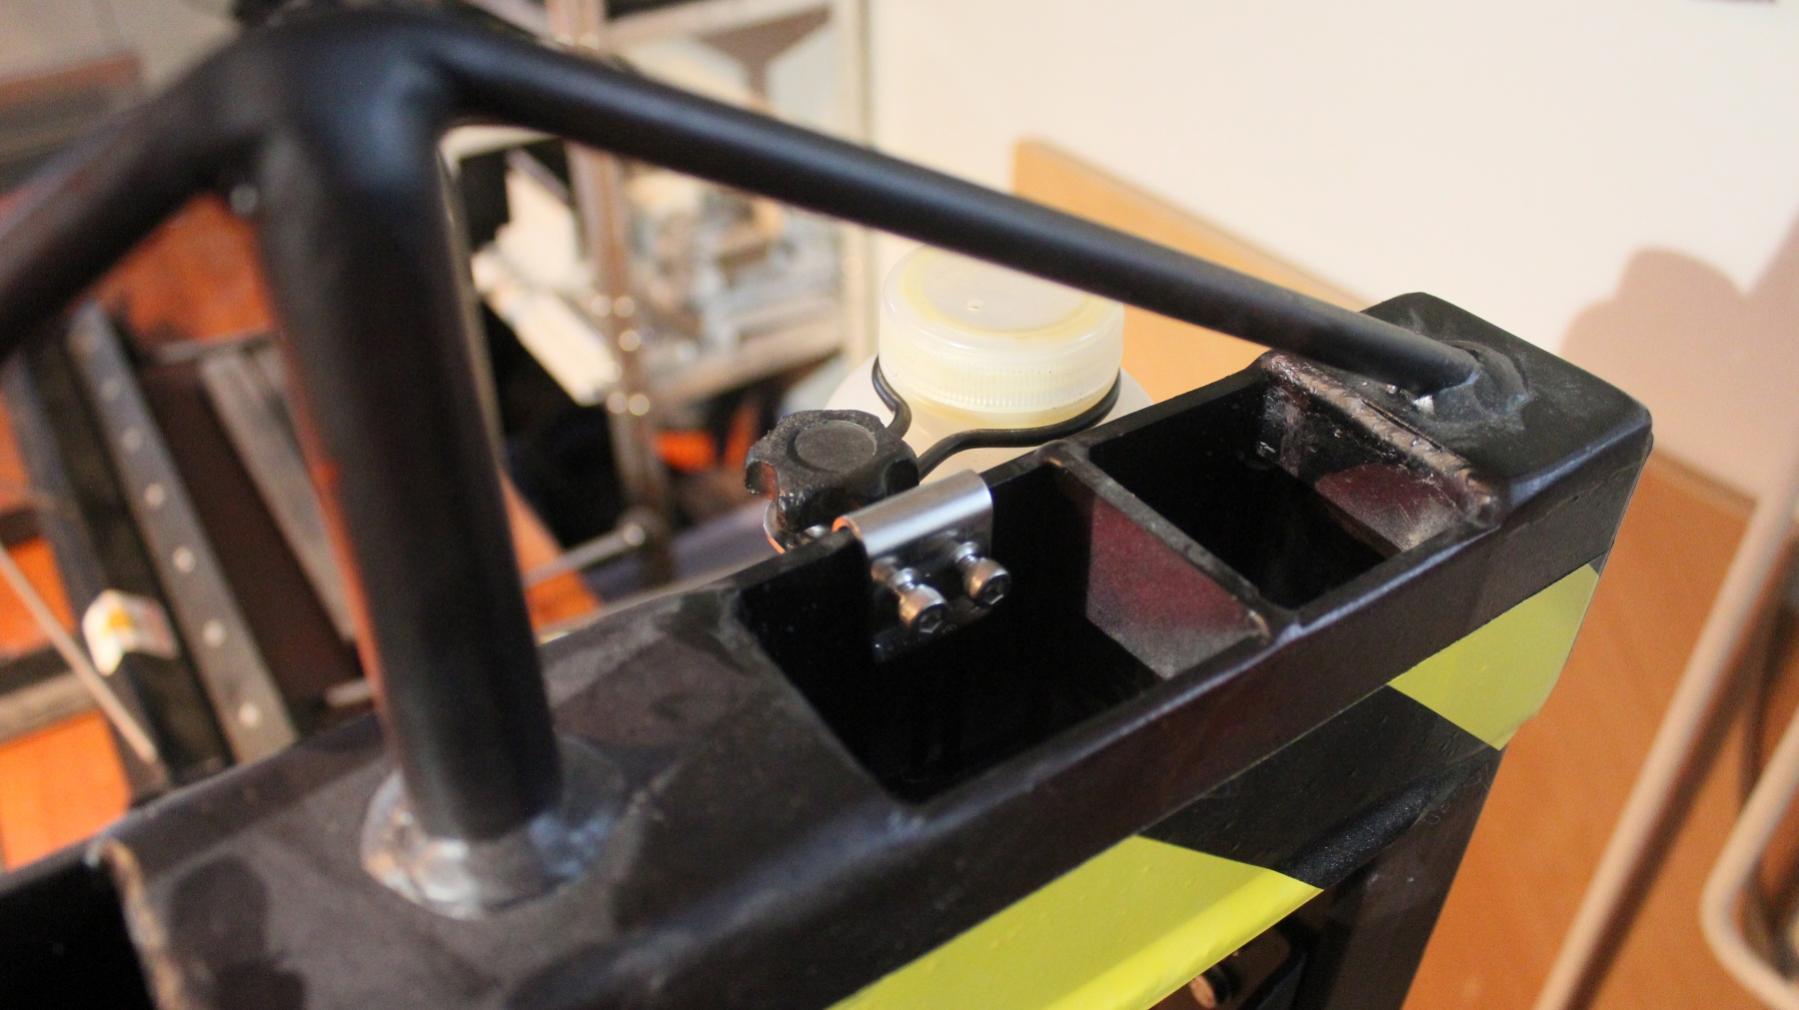
Picture shows how springs goes between the rods that hold the jack
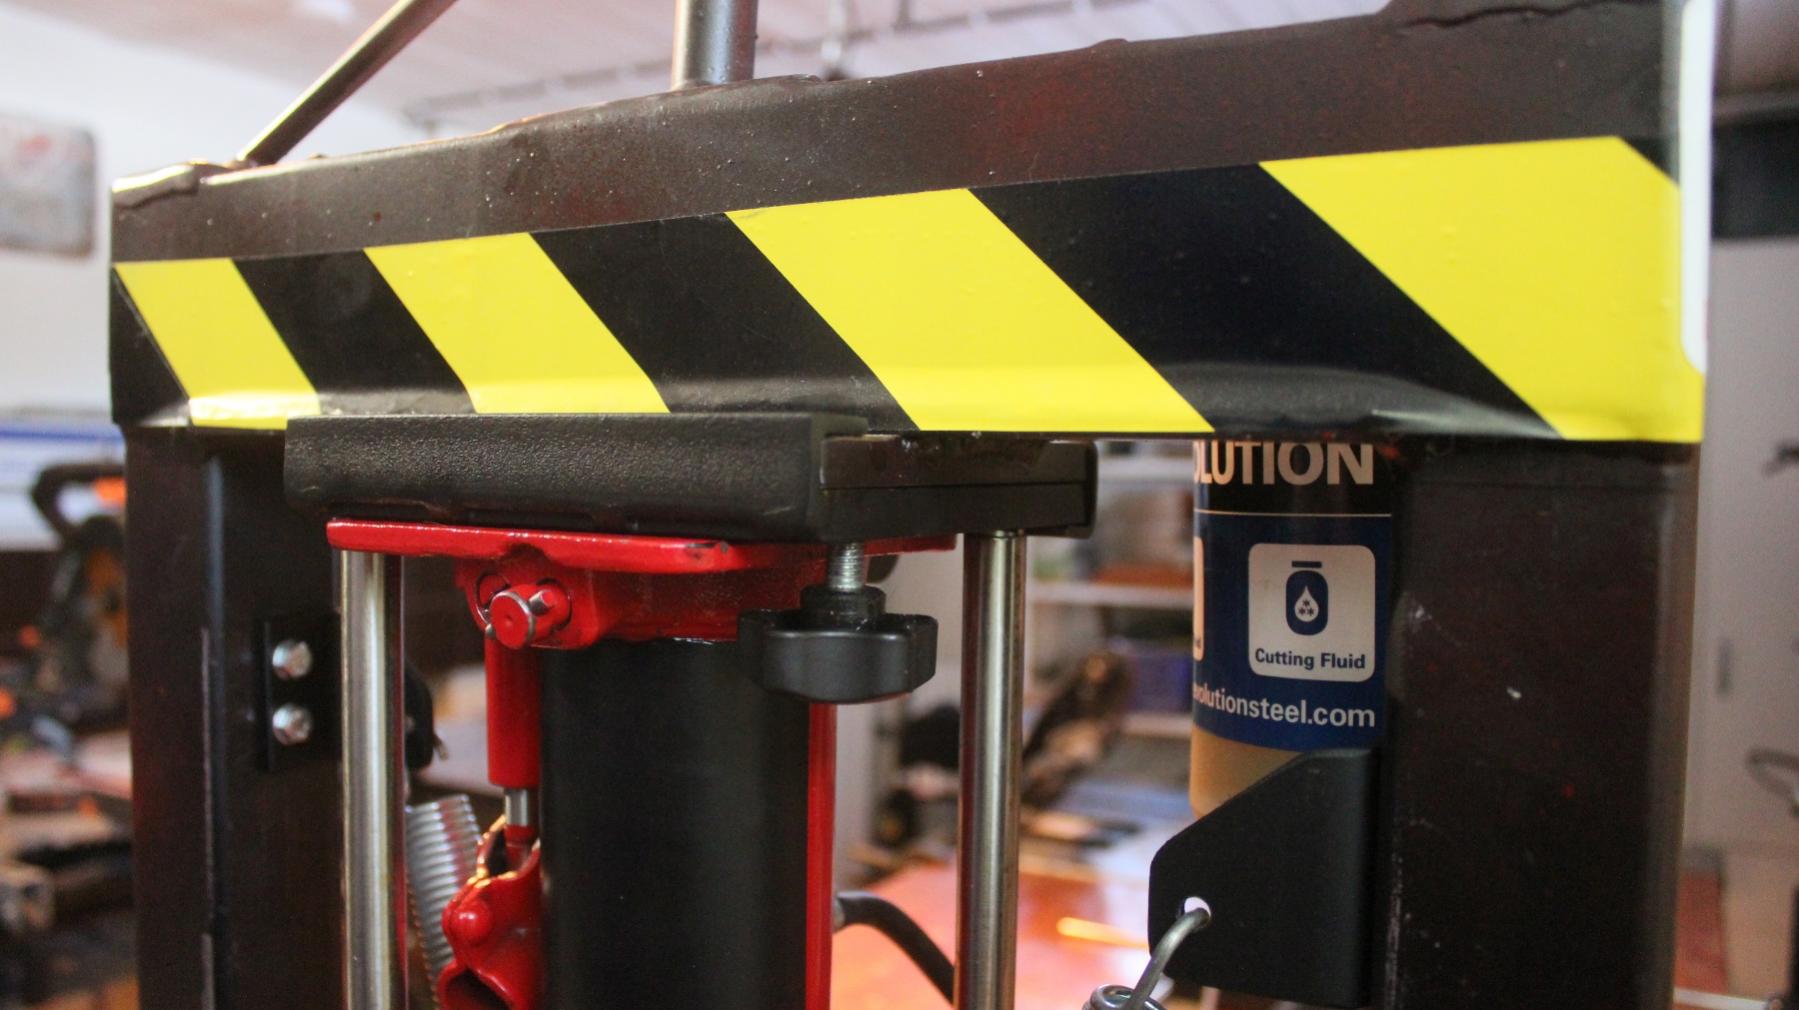
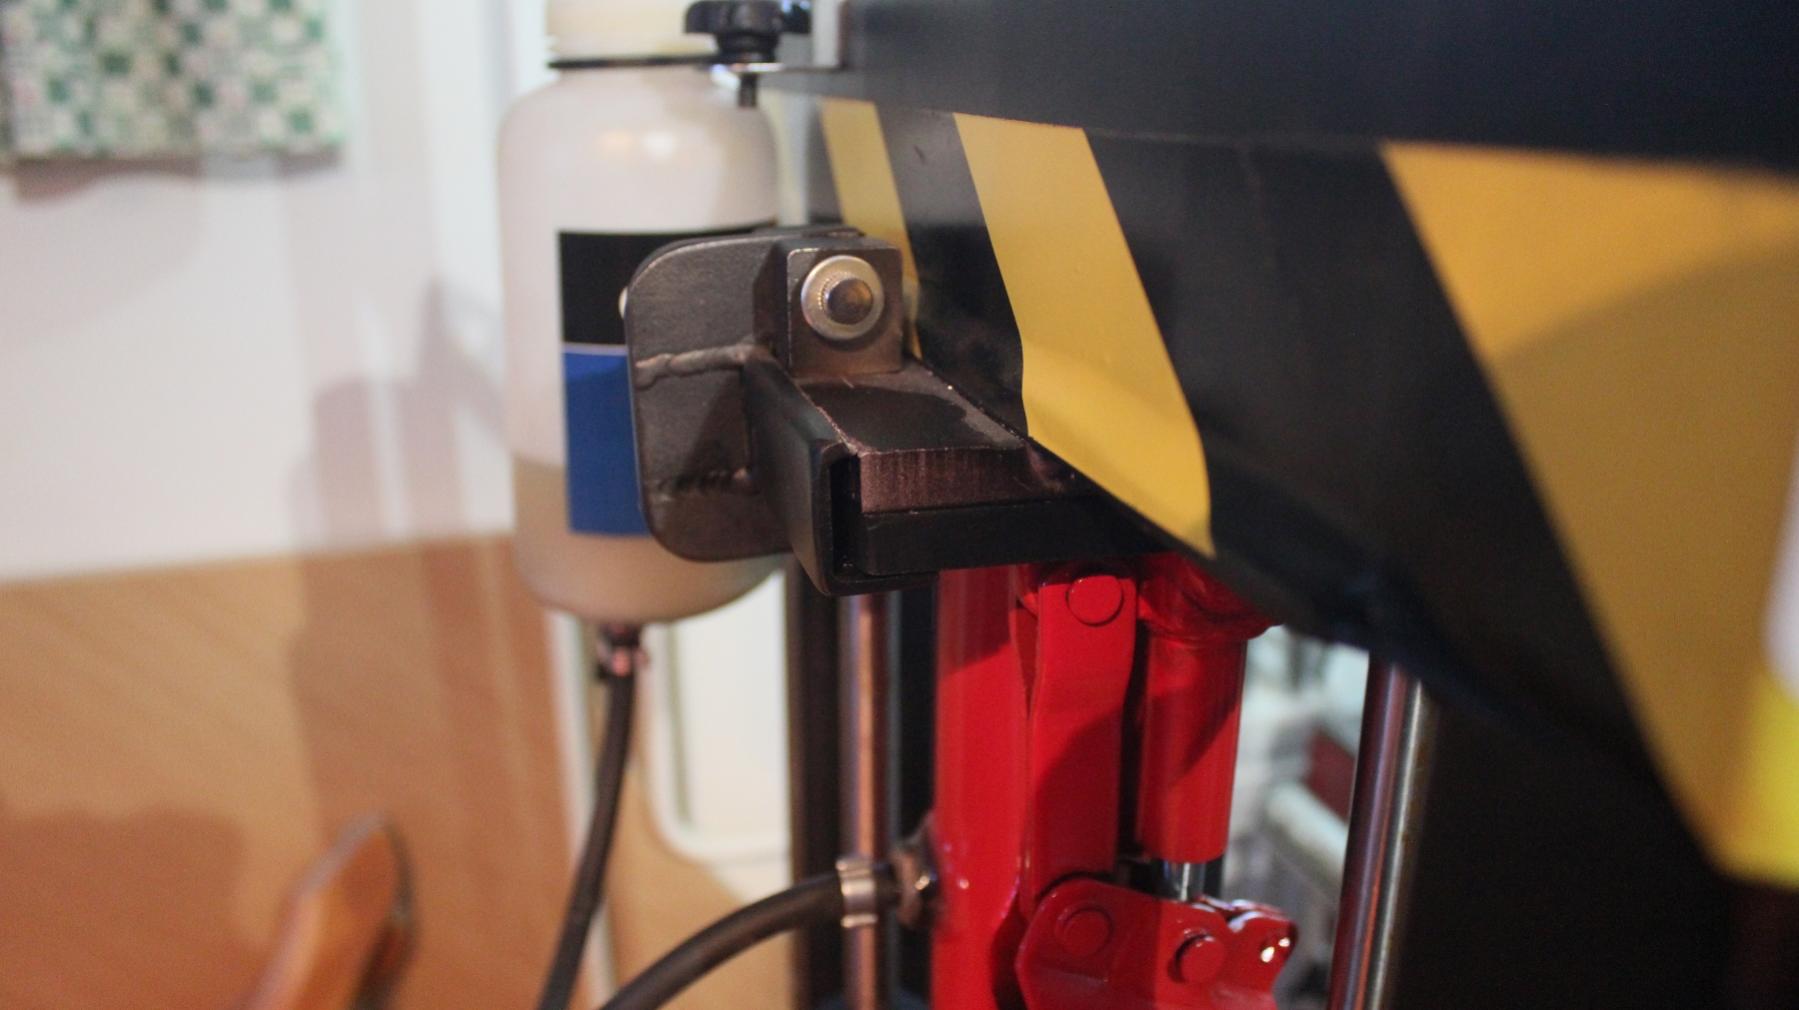
Jack mount is locked on its place with two M8 screws. Lid in front is weld to the mount...
Latch on the back is bolted to the press frame..
This is the reason why i welded similar plates to the bottom and upper bars of the frame..
I can use same dies with both jacks.. when i need to bend thicker materials i use bigger jack..
With thinner ( <5mm ) i use smaller one, wich is more accurate and faster to use.
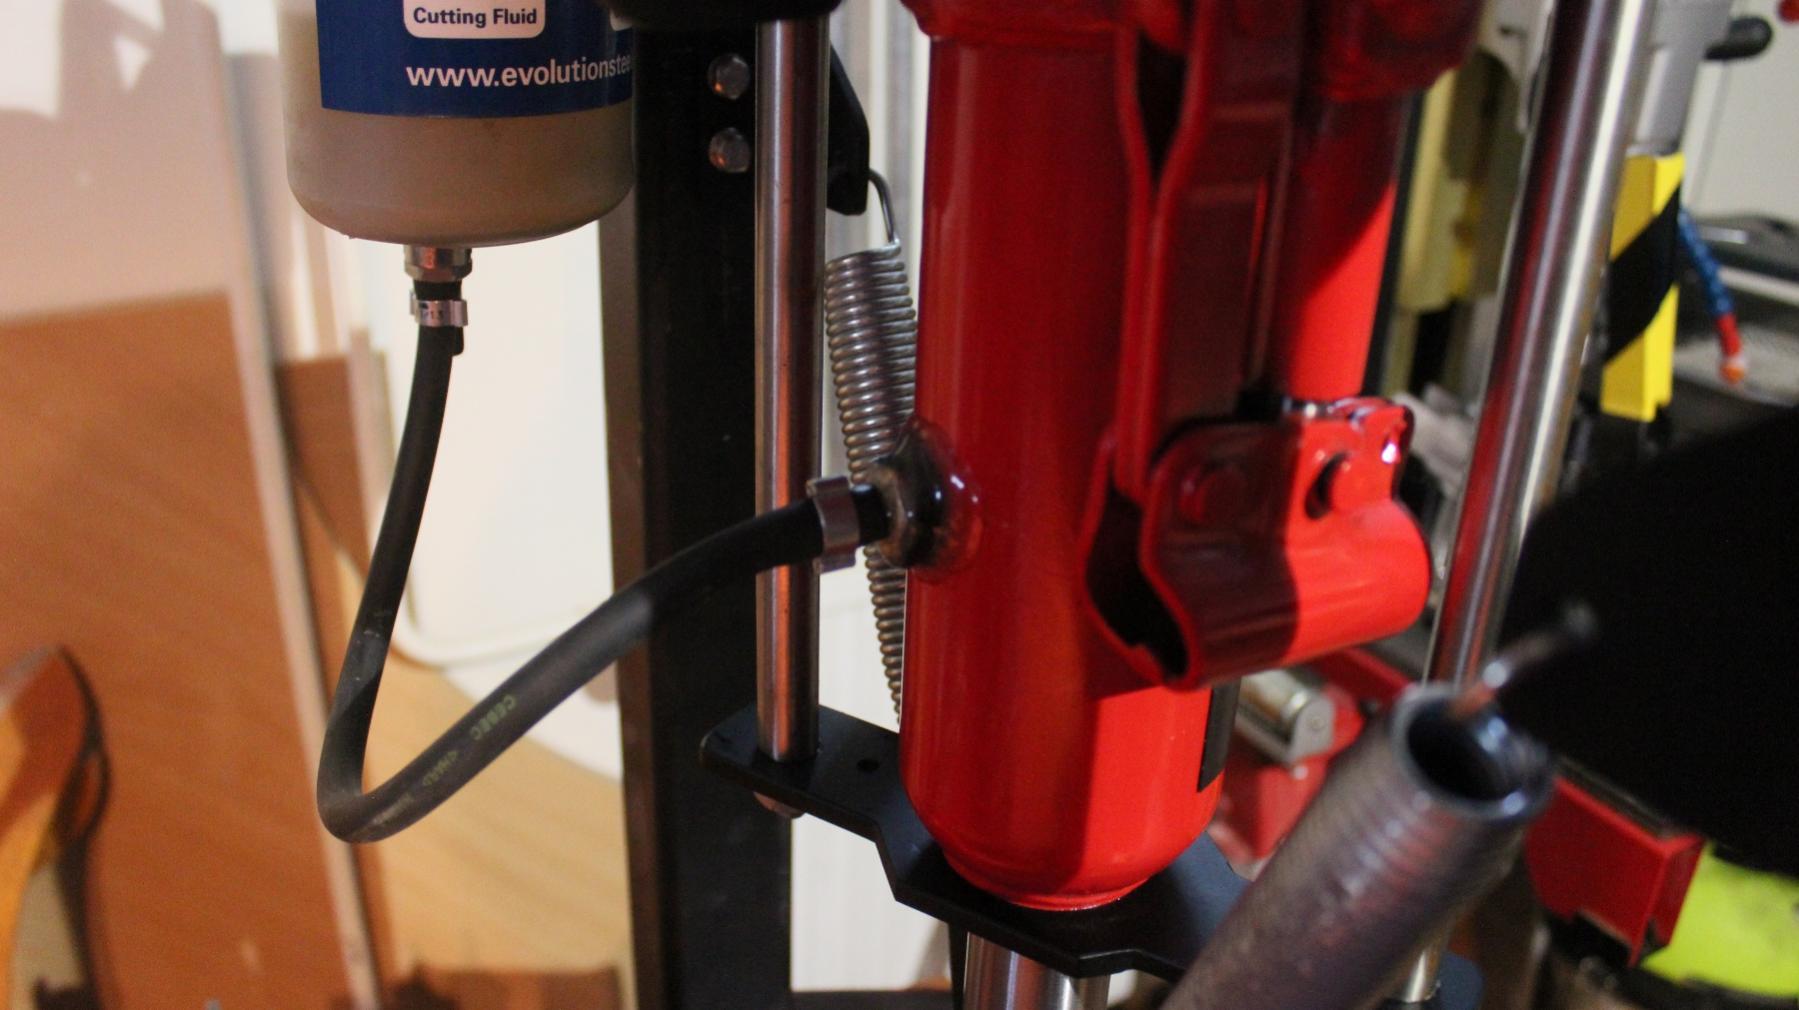
I used surplus cutting fluid container as a oil container,
for mounting it to the press, i used clamp that's originally intented to connect flashlight to the welding mask.
Hose clamps..
And why i originally wanted to add this jack to my press.. i had this idea in firts place when i made the original frame, but no i needed it. So, i made it.
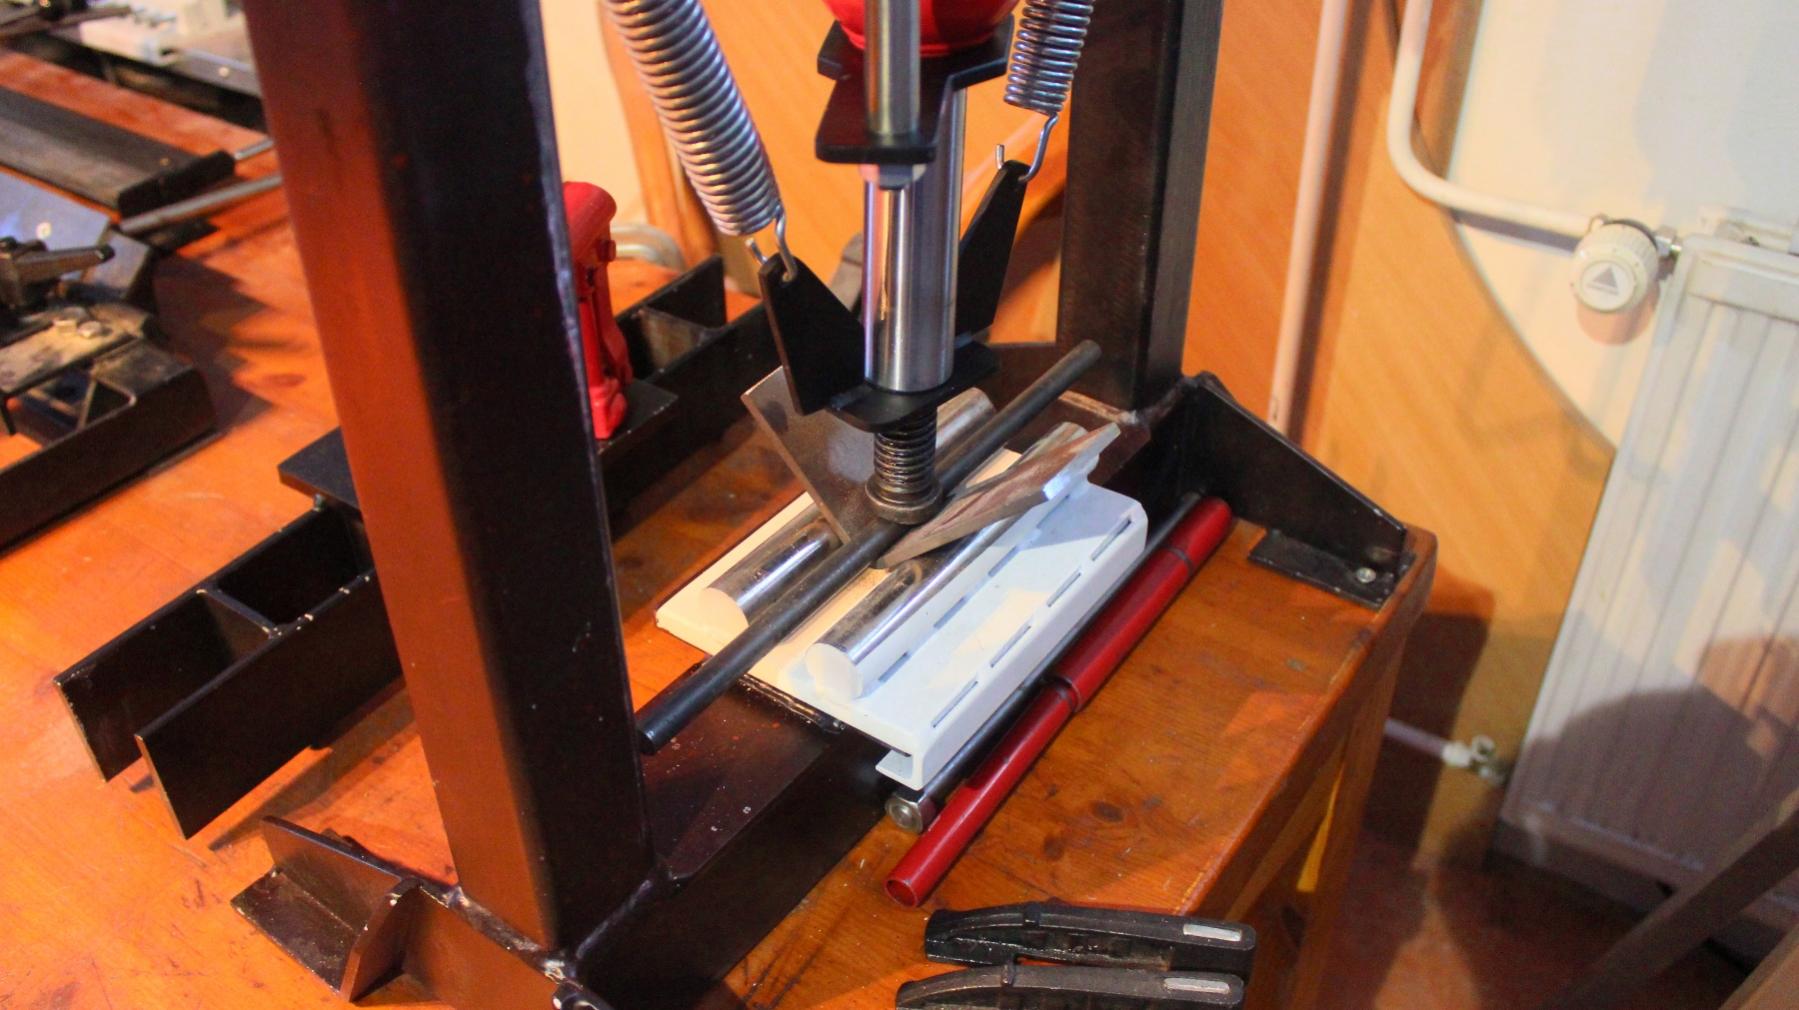
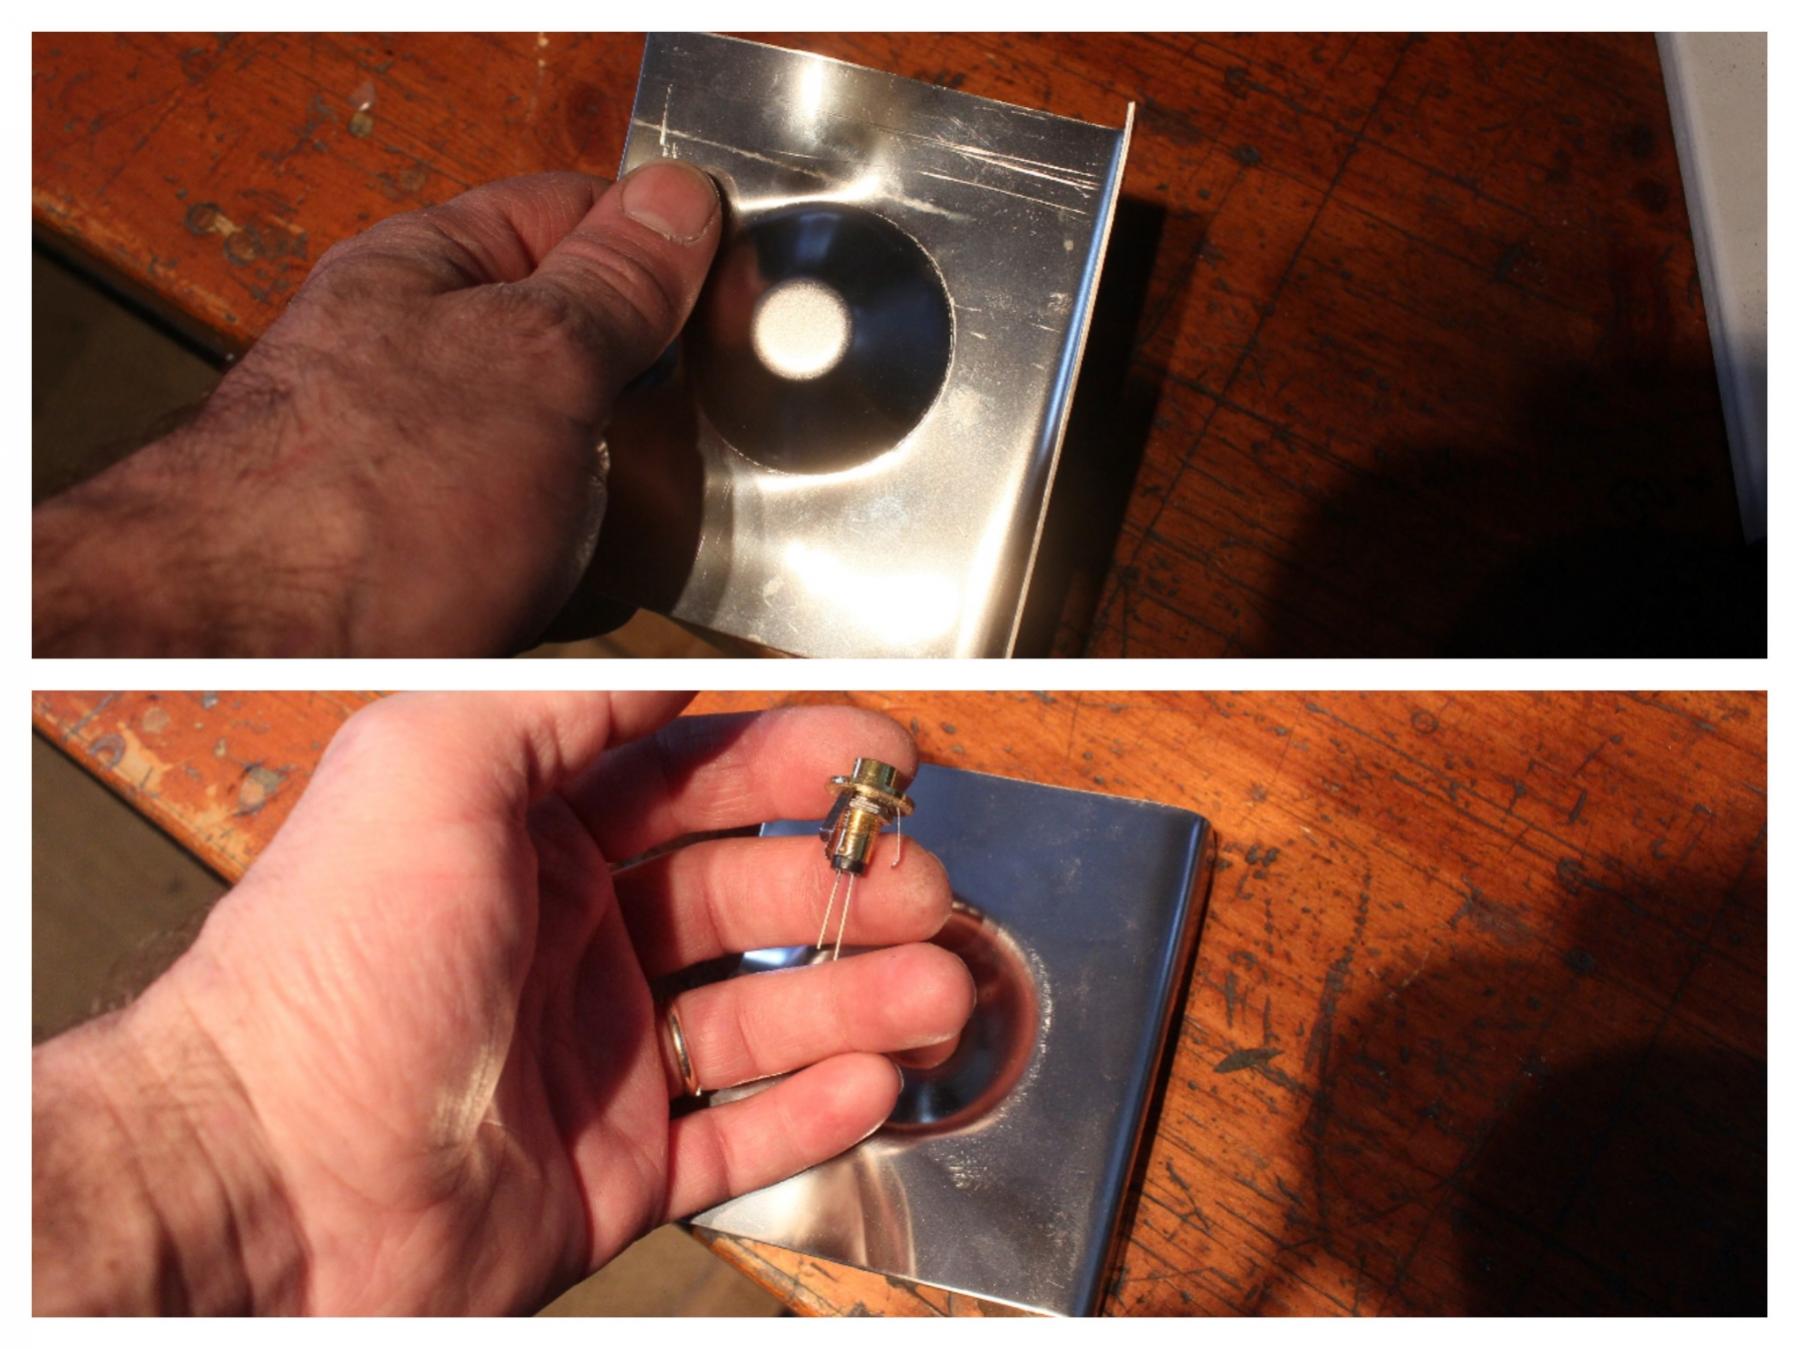
For stamping sheet metals. These are going to be reflectors for small leds. I got idea from Tony Foale, i decided to place dozen small led spotlights to my shop where i need more light.
Here's first adds to it.
"Finger"
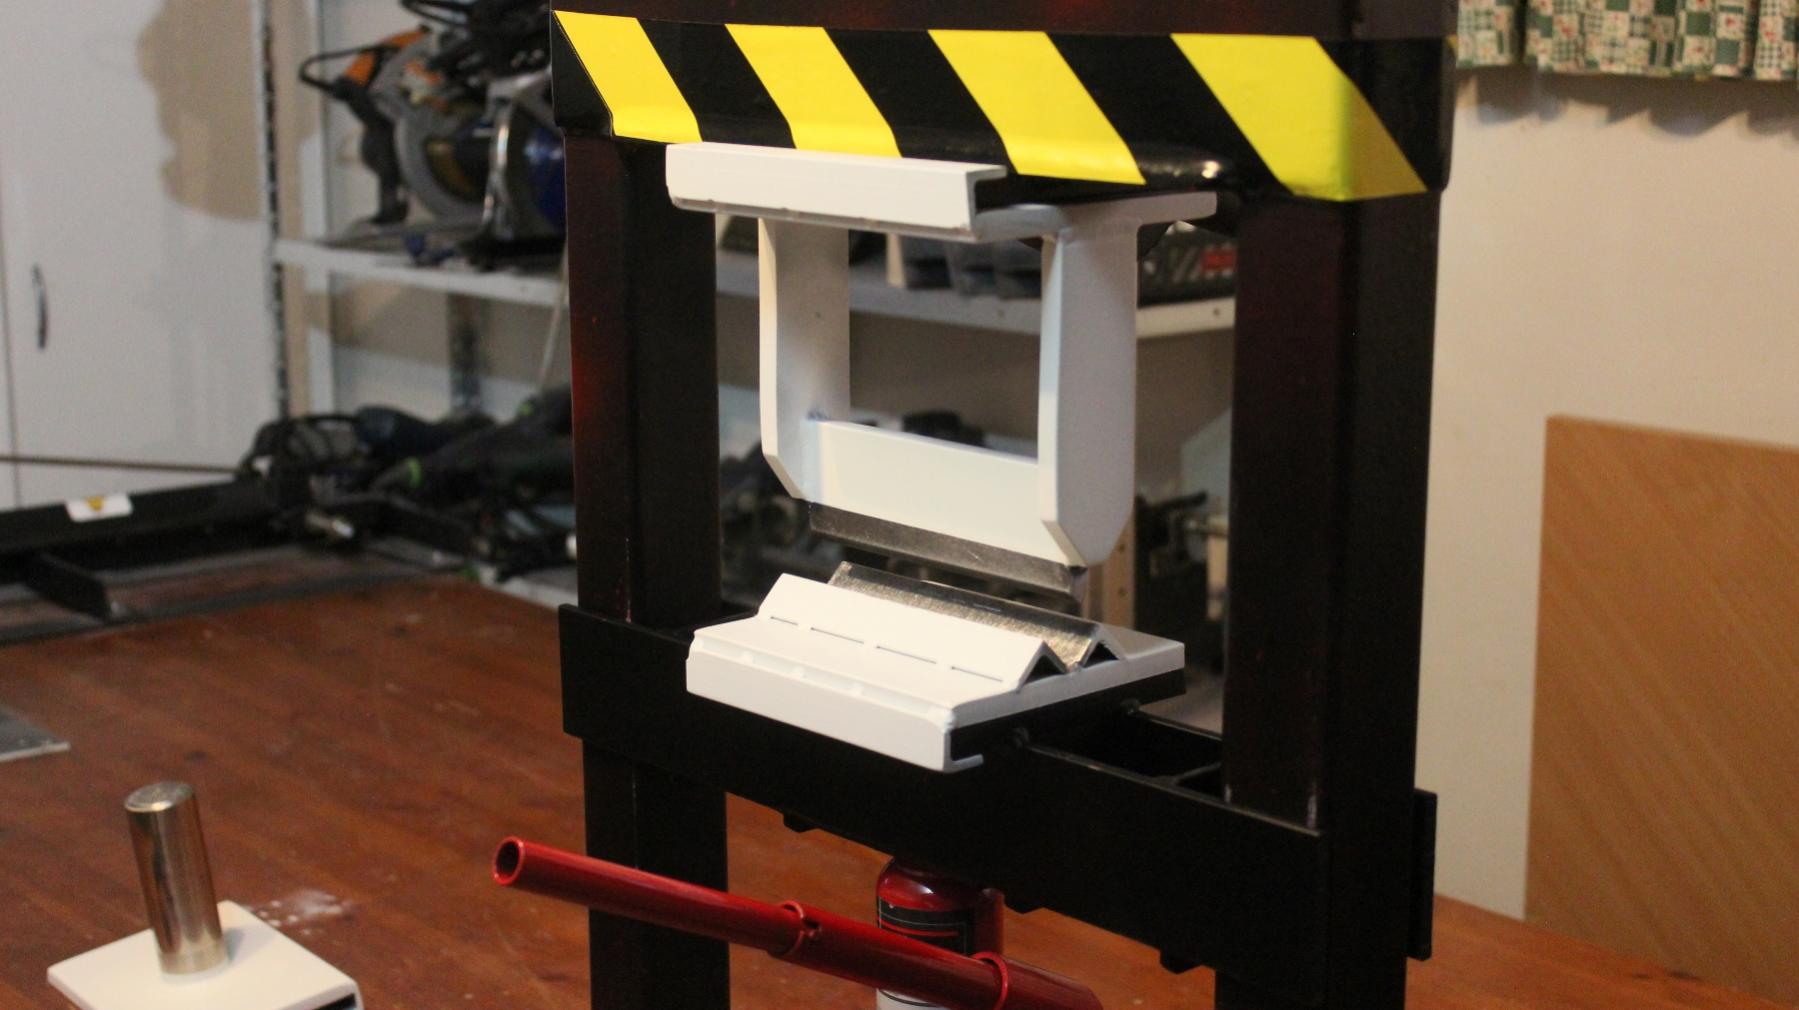
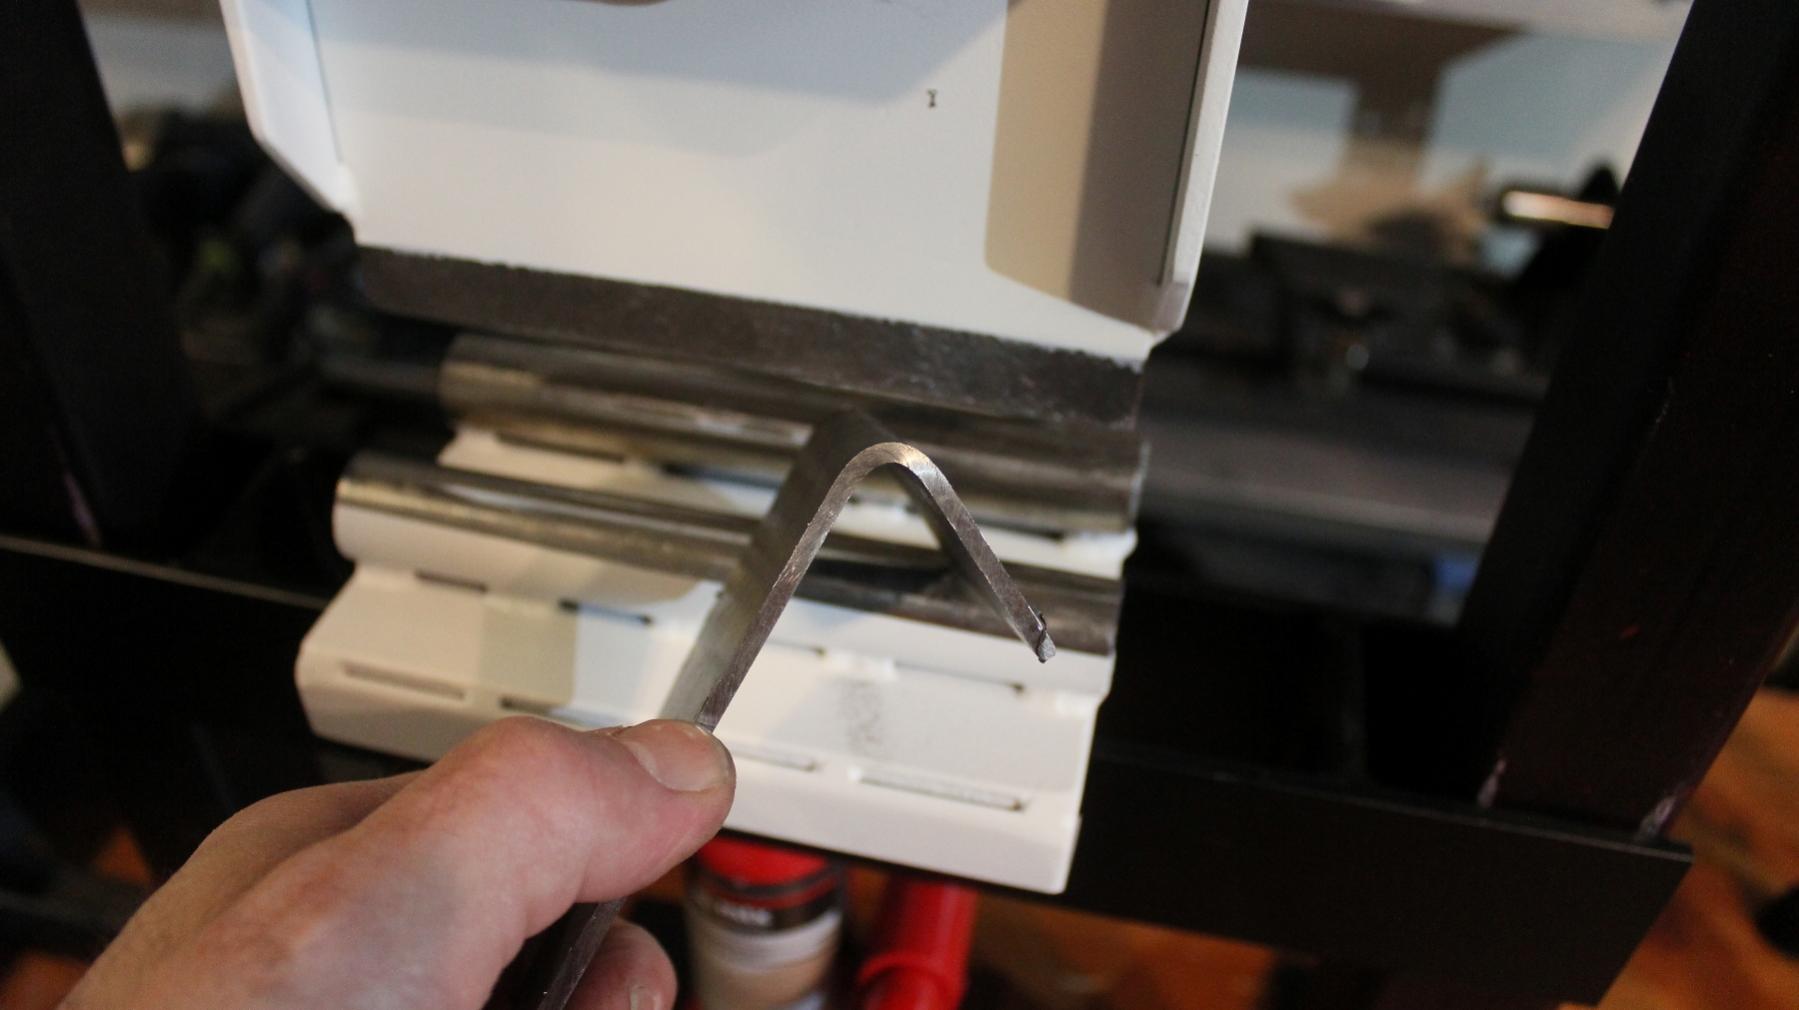
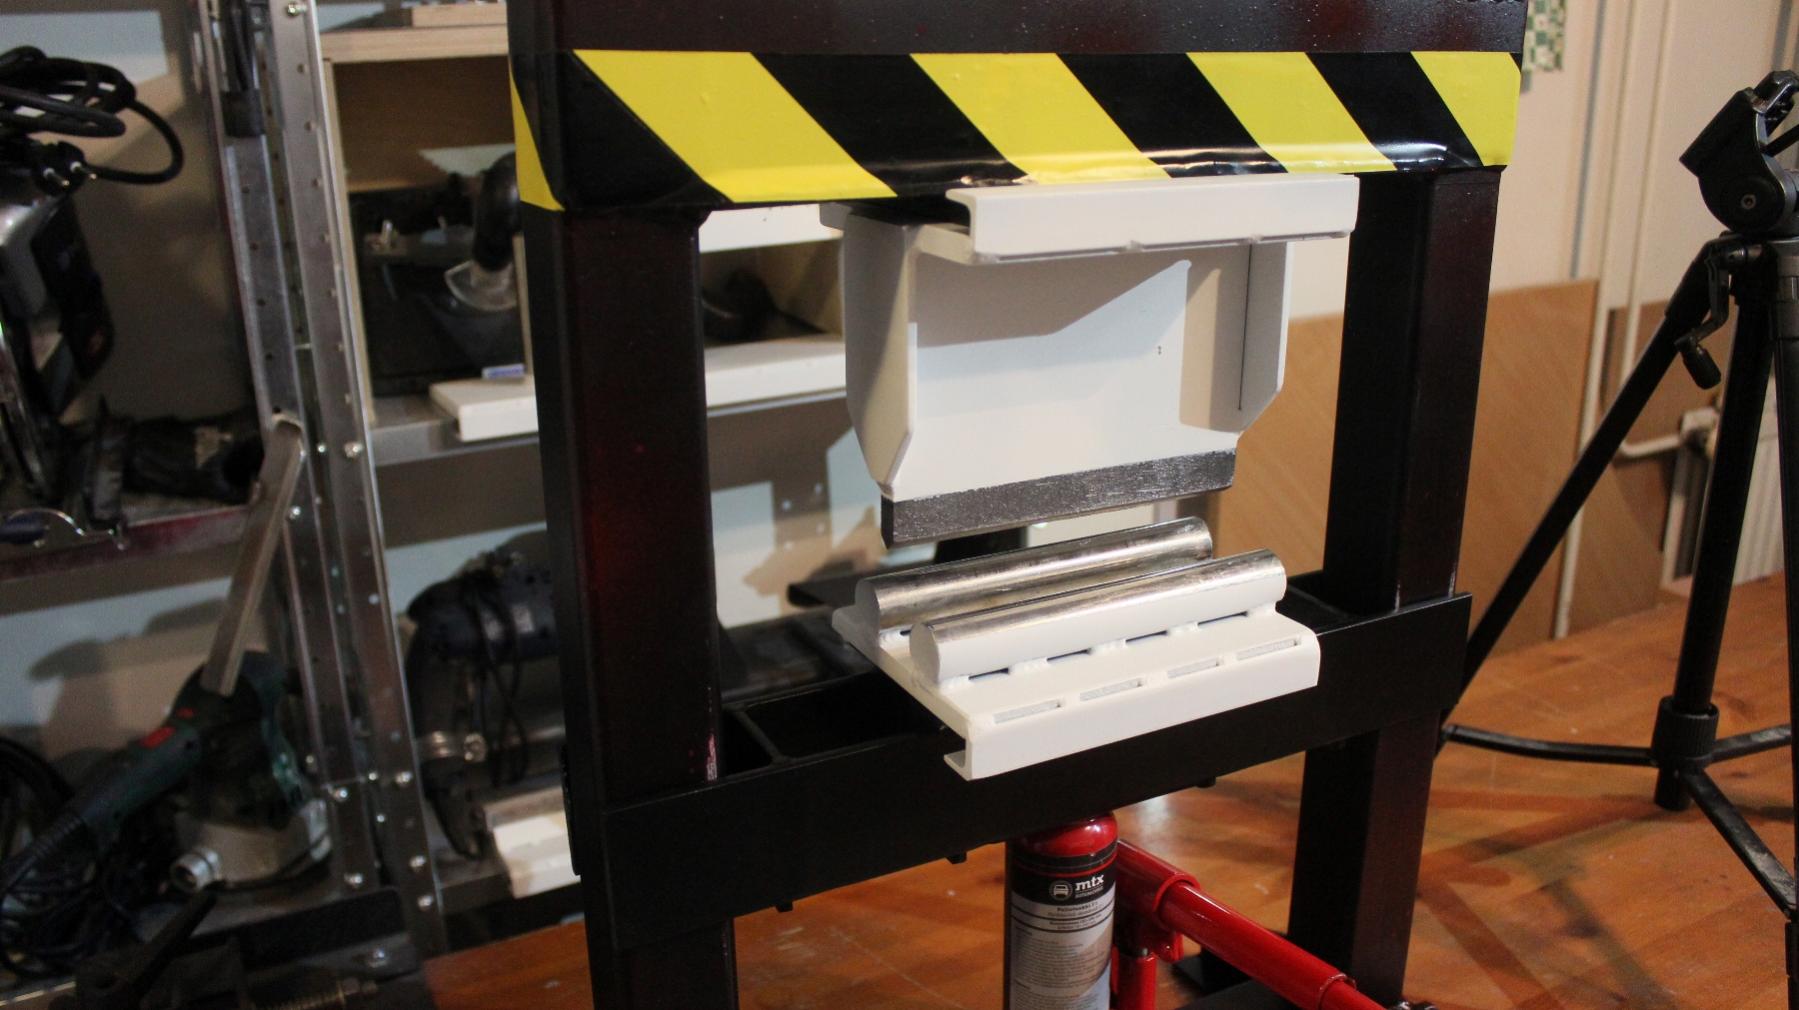
Bending brake.
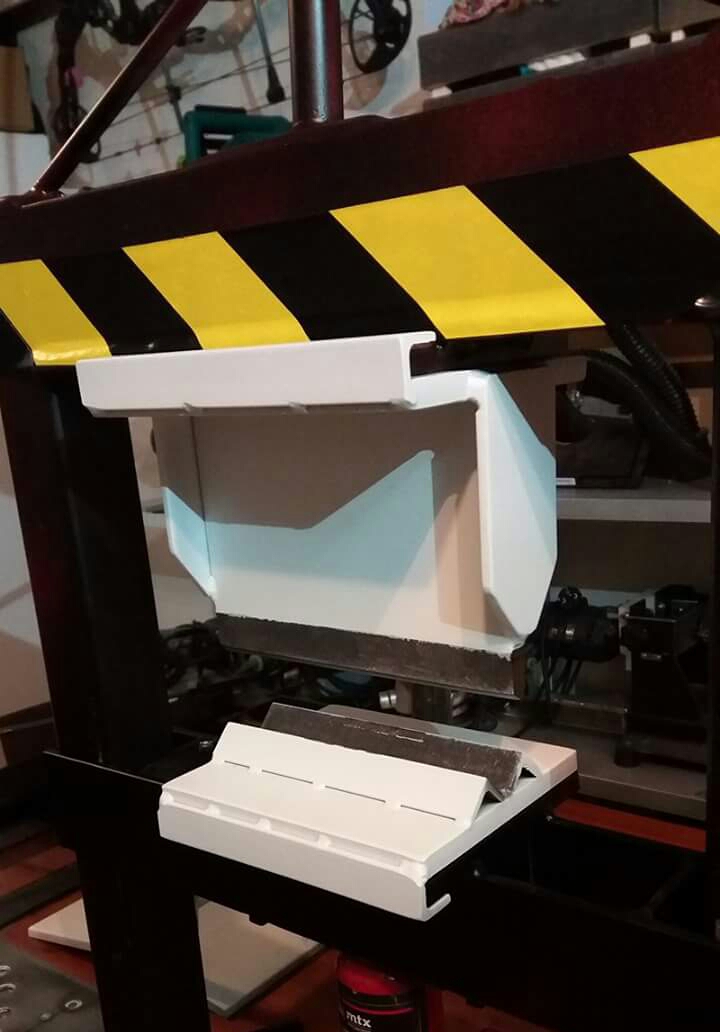
Opening in the blade allows me to bend u-shaped parts.
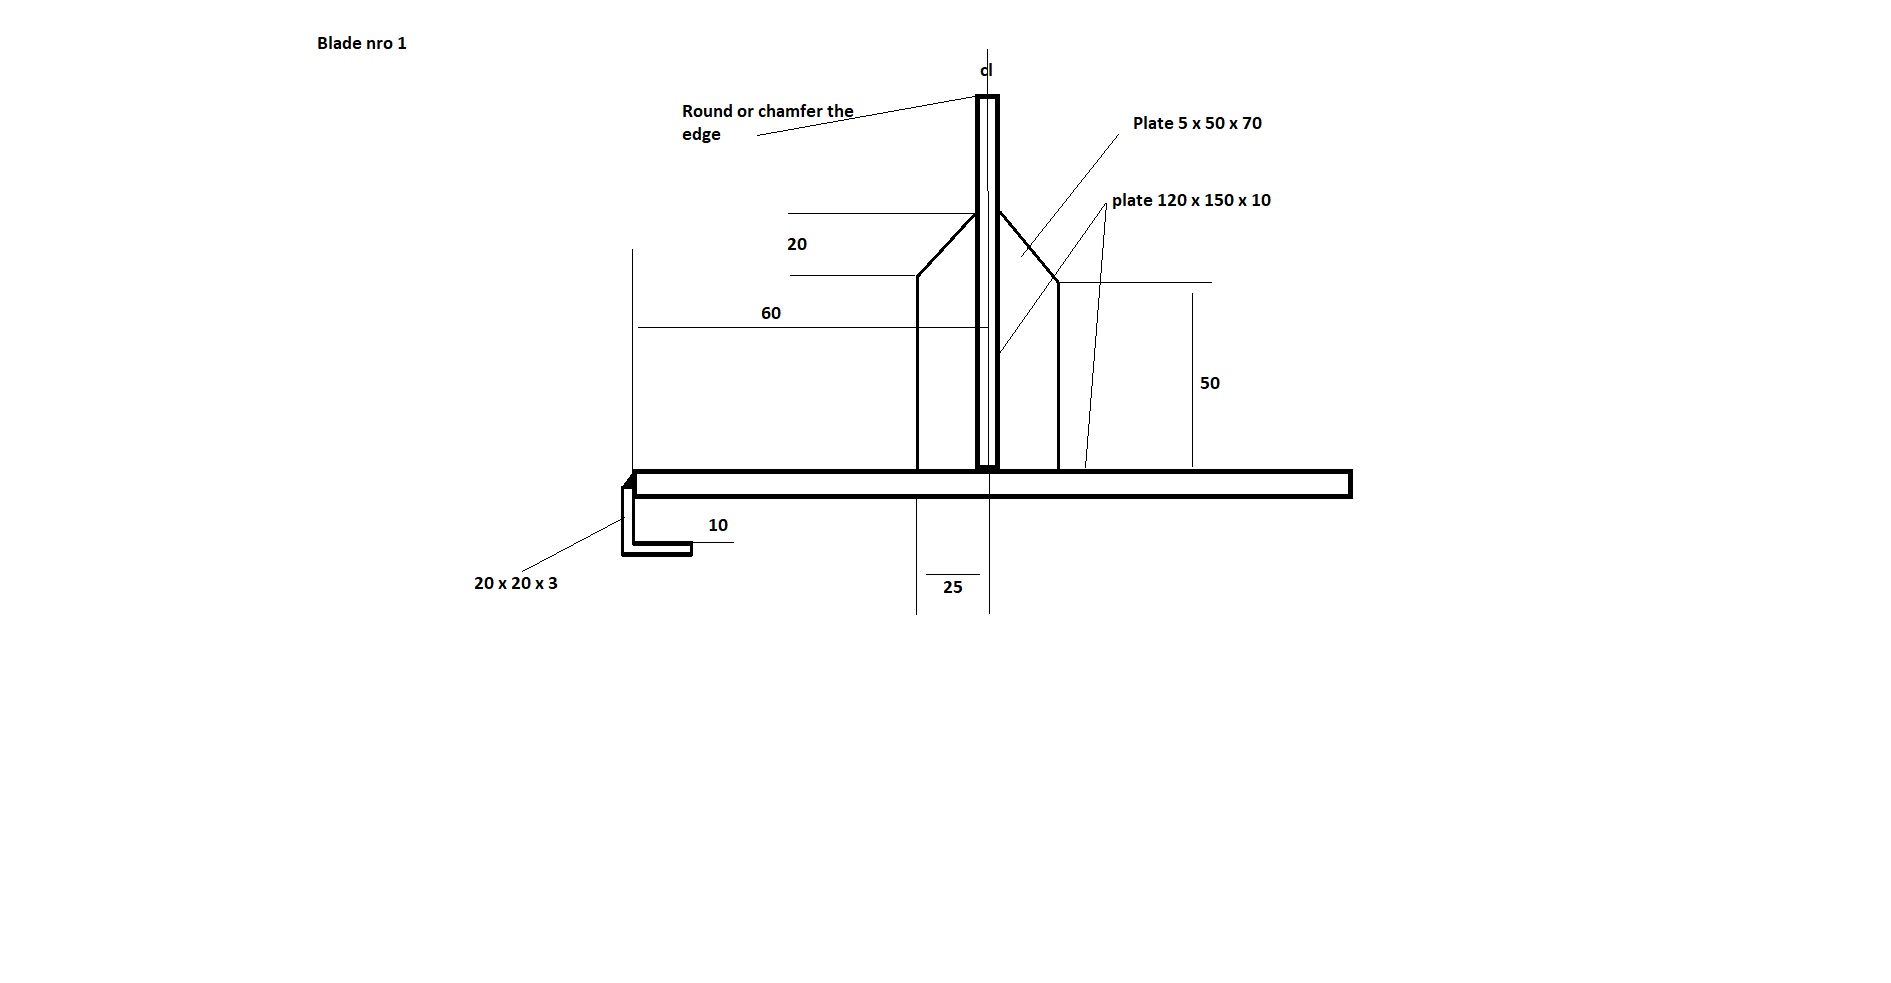
Another blade without opening, for thicker materials.
Easy to change and mix blades and facings for desired radiuses.
Material: 10mm steel plate, 3x 30x 30mm L-profile, 40mm axle
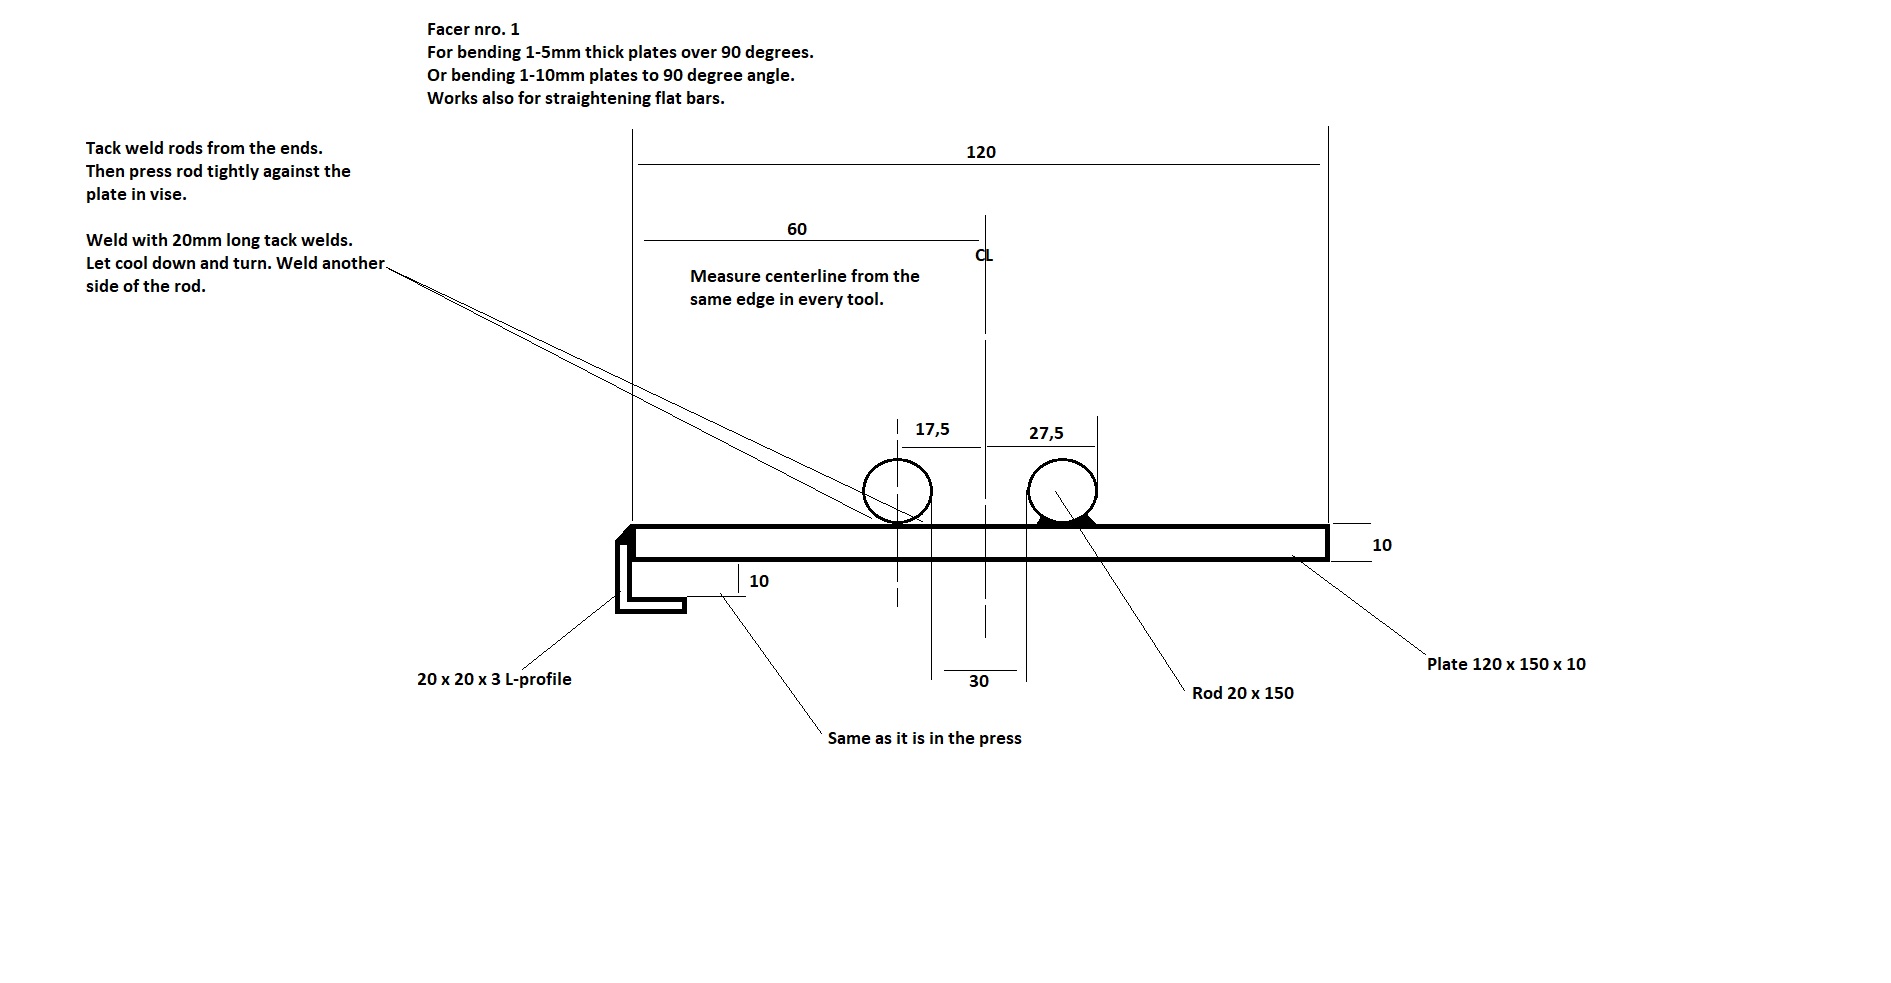
Another facing. Clearance between rods is 15mm. Radius of the rods 20mm.
For bending over 90 degree angles to plate between 1-5mm, and 90 degree angles for plates between 1-10mm.
Suits also for straightening.
Plans for two tools as an example.
Video shows the use:
Brake works nicely:
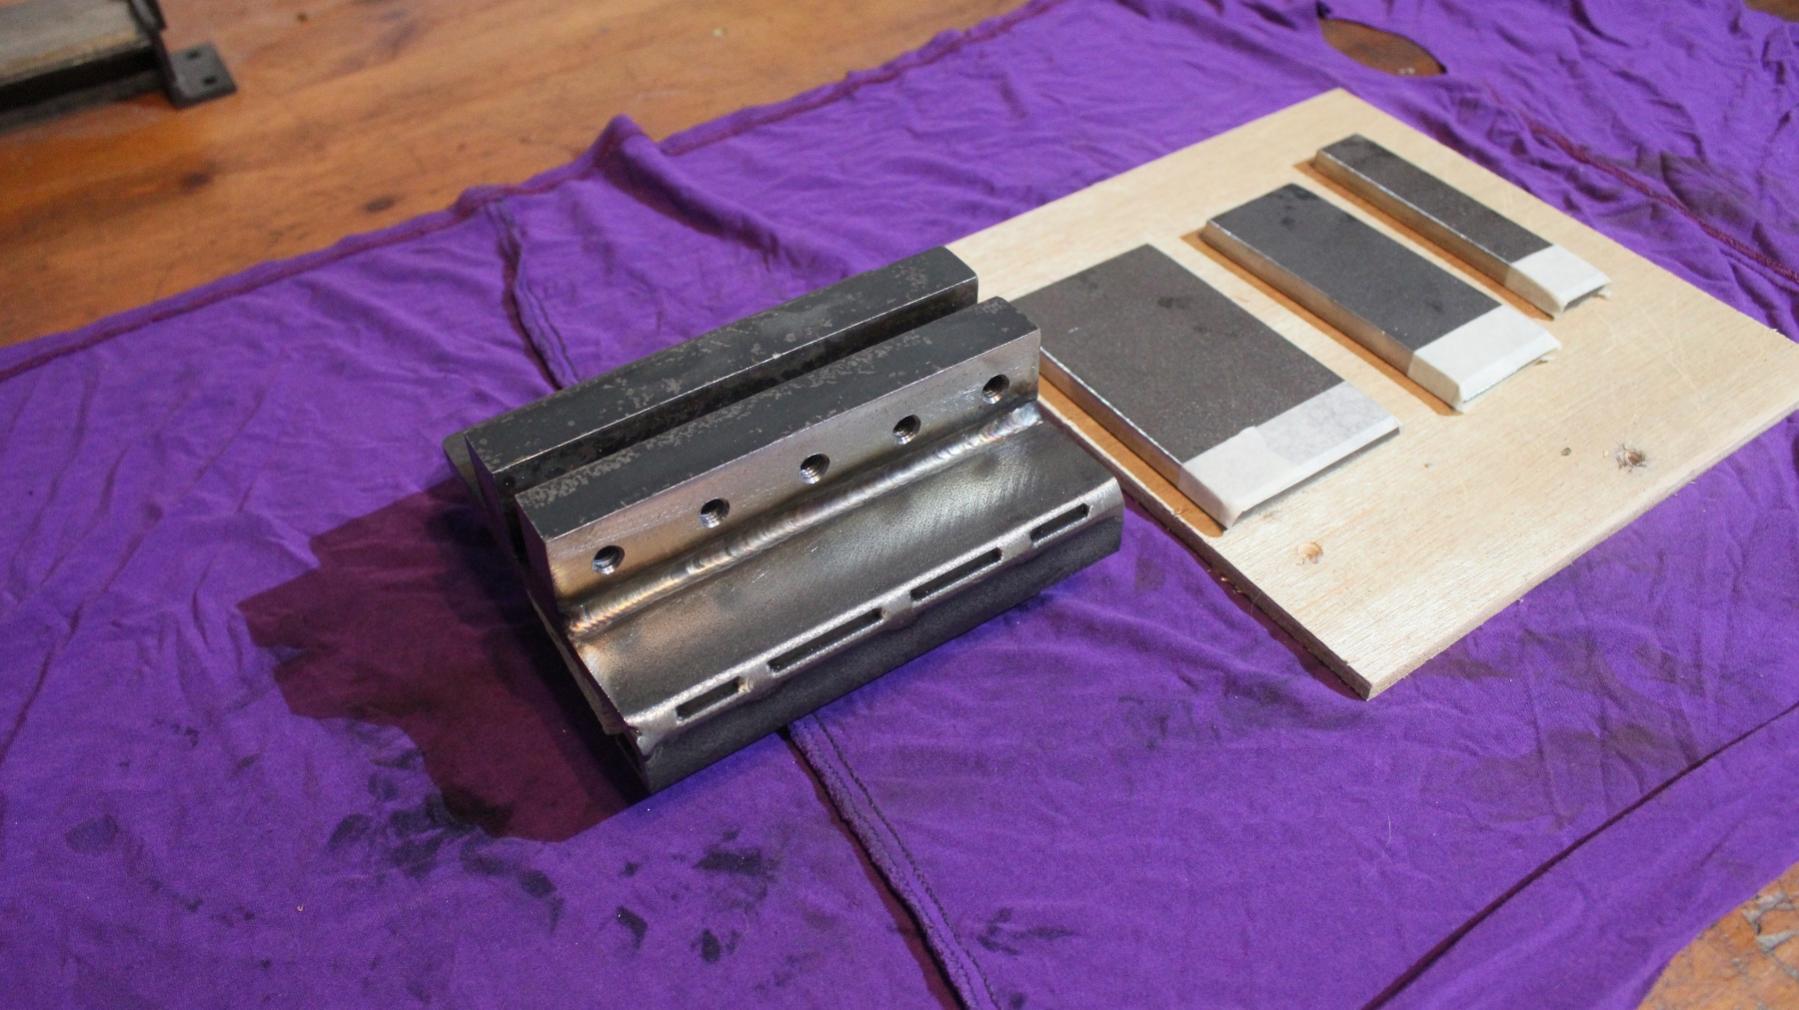
Finger dies.
1,2 and 3" wide dies. Gives somewhat enough possibilities to mix needed widht.
10mm plate with 20mm x 20mm bar on both sides.
Dies are placed between bars and secured with M8 bolts.
Intentionally too long bolts, i like its easier to tighten/ loosen over long bolts with ratched.
Dies are also 10mm plate. Bending edge is grinded to 45 degree angle from both sides and slightly rounded, to avoid deep marks on workpiece.
Material is mild steel, and dies medium carbon steel AISI 1029
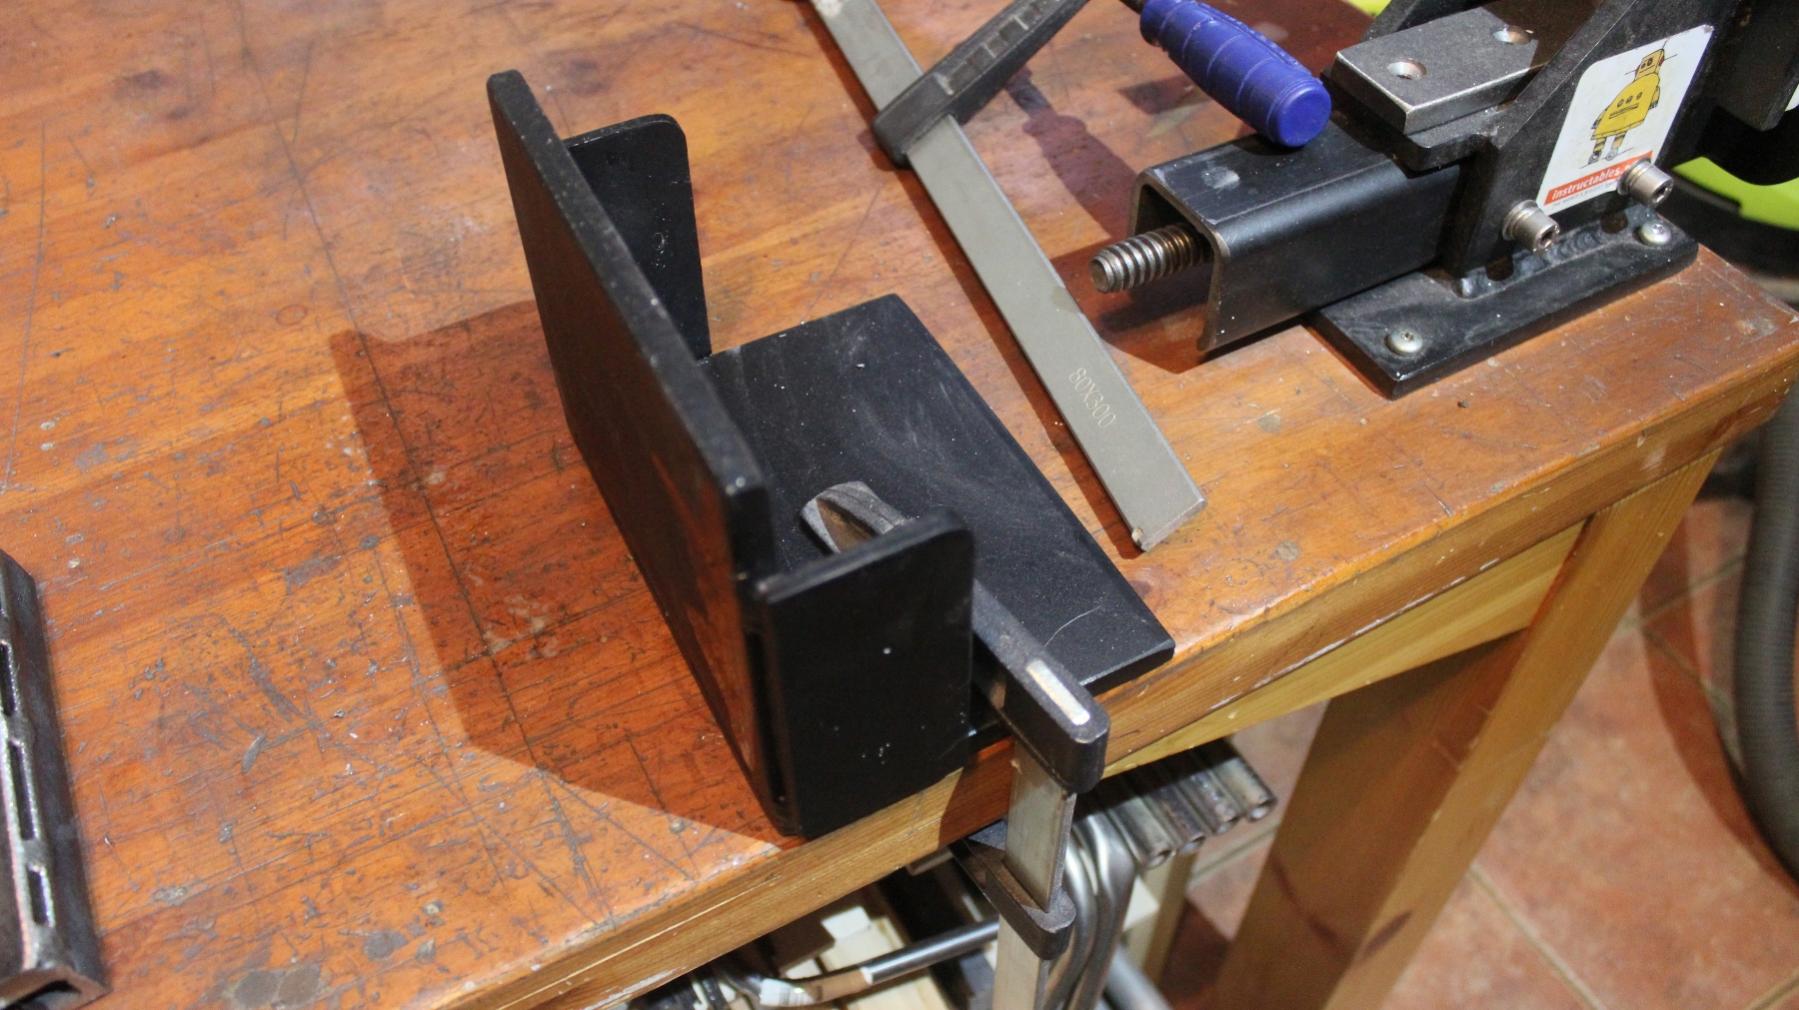
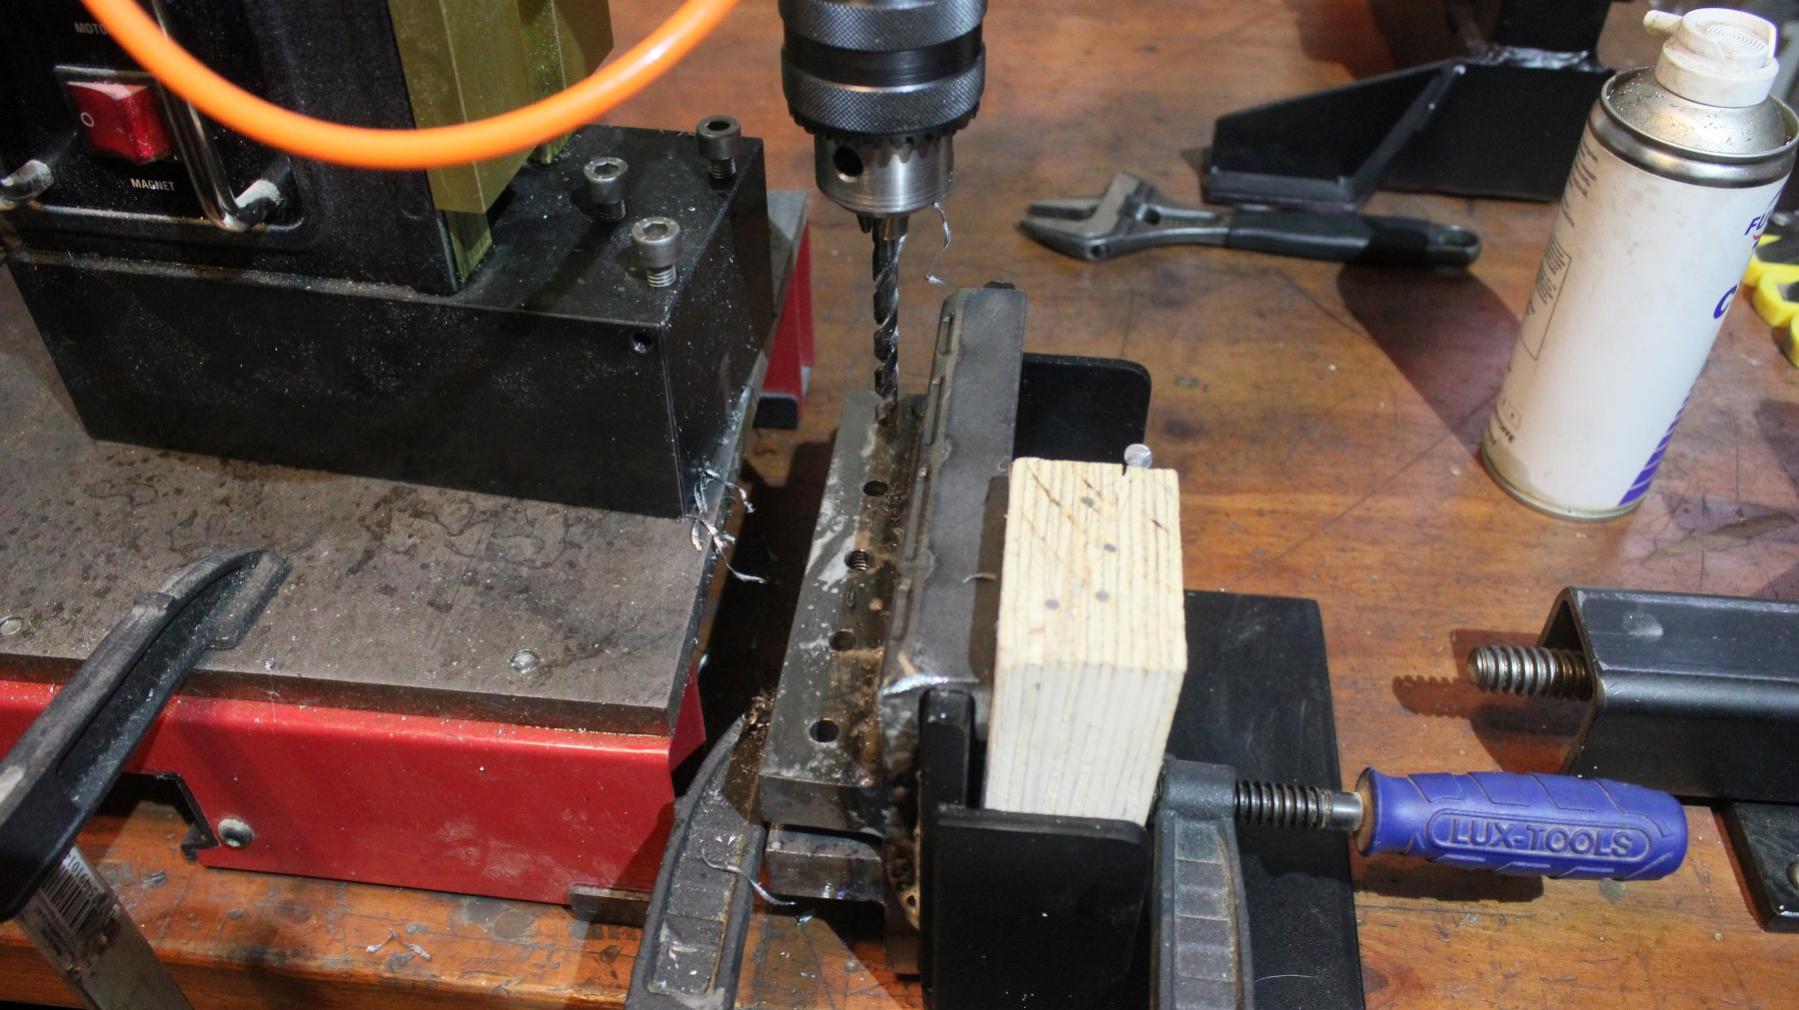
Made this tool some time ago. Its for drilling to the edges of the plates.
I marked placement of the holes before welding. Straightened the baseplate with press after welding.
Then drilled 6.8mm holes
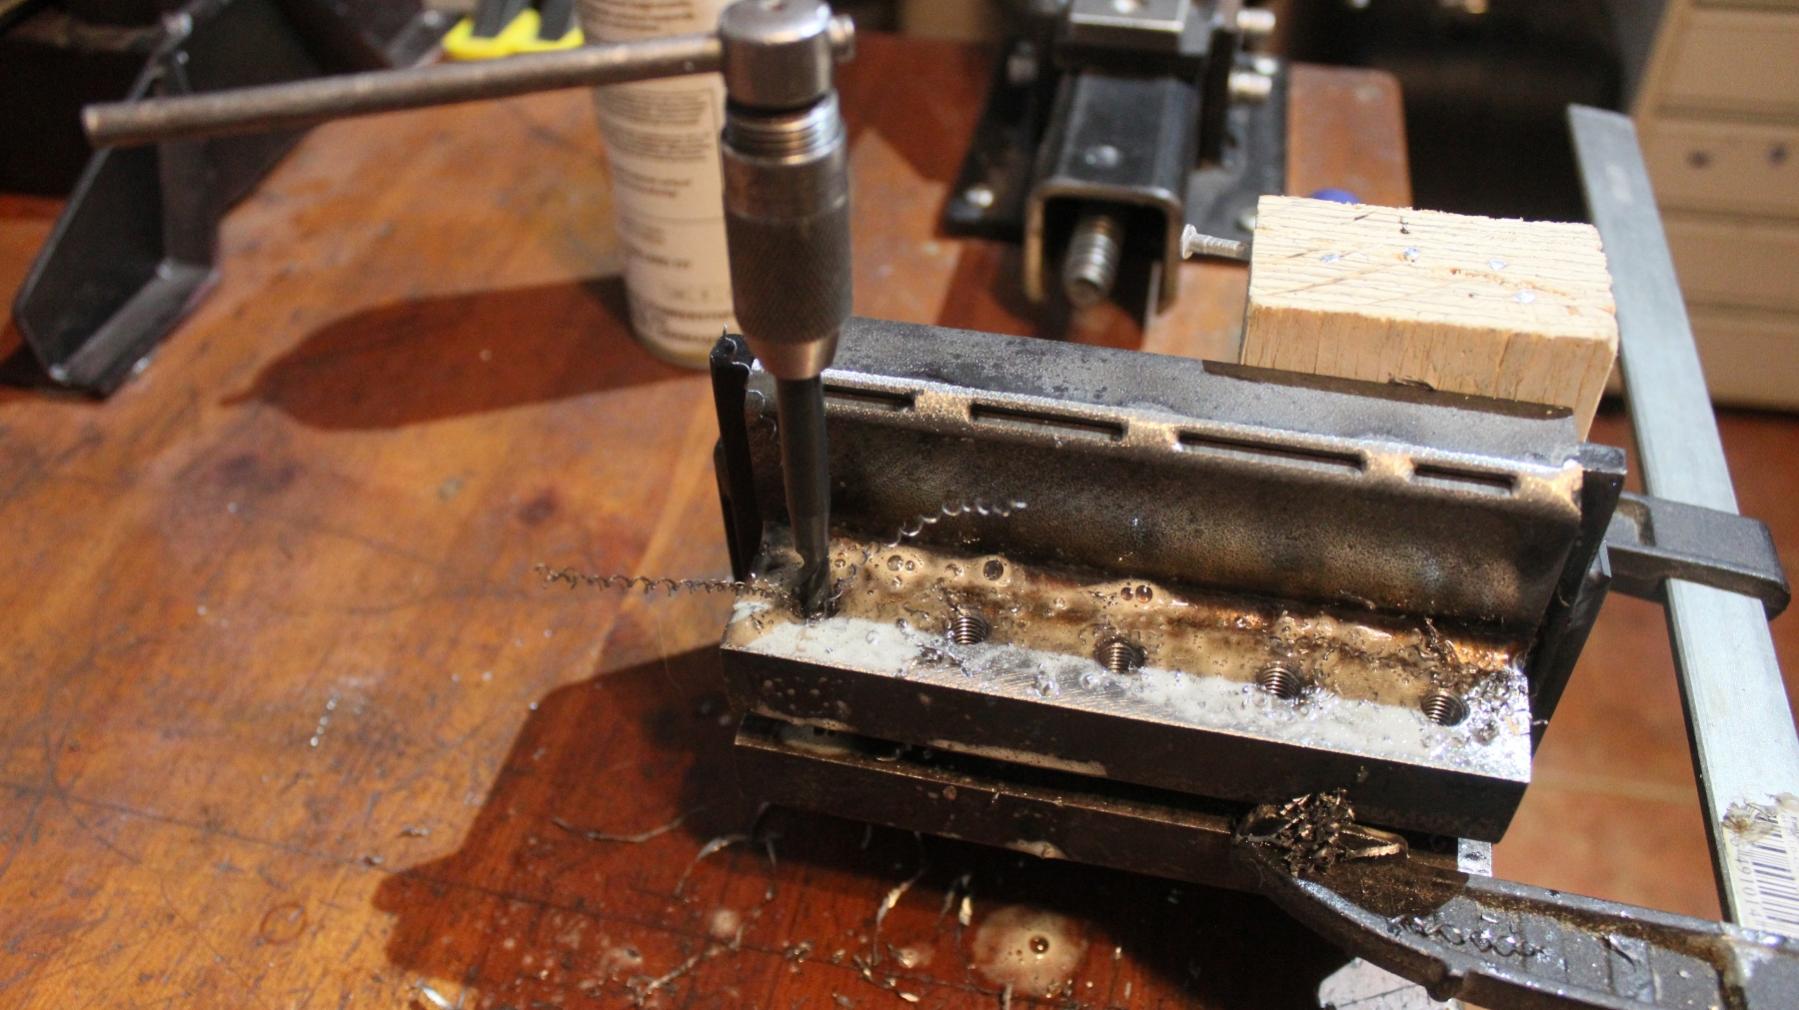
Threaded with M8 tap.
Cleaned and painted.
Simple pipe bending attachment.
Material:
Surplus steel, nylon replacement heads from the dead blow hammer, bolts.
It can be used to bend pipes and rods to 12mm diameter. ( grooves on the dies are with 12mm diameter )
Same idea works with bigger pipes too, radius of the center die needs to be bigger than this one tough.
Next add is a roller bender.


 Reply With Quote

Bookmarks