
 LinkBack URL
 About LinkBacks


I only clamp up my joinery in the morning, never at the end of the day.
The usual method of getting a carcass square under clamping pressure is to measure the diagonals and if they are unequal, shift the clamps a bit. This can take some time! Sash clamps are heavy and the work needs protection, with pads, which probably fall off when pressure is slackened.
Proper preparation is imperative, including a dry run to ensure the components fit satisfactorily. There will always be some distortion and thin sides visibly bend. This old oak seems brittle, so the jig prevents breakage.
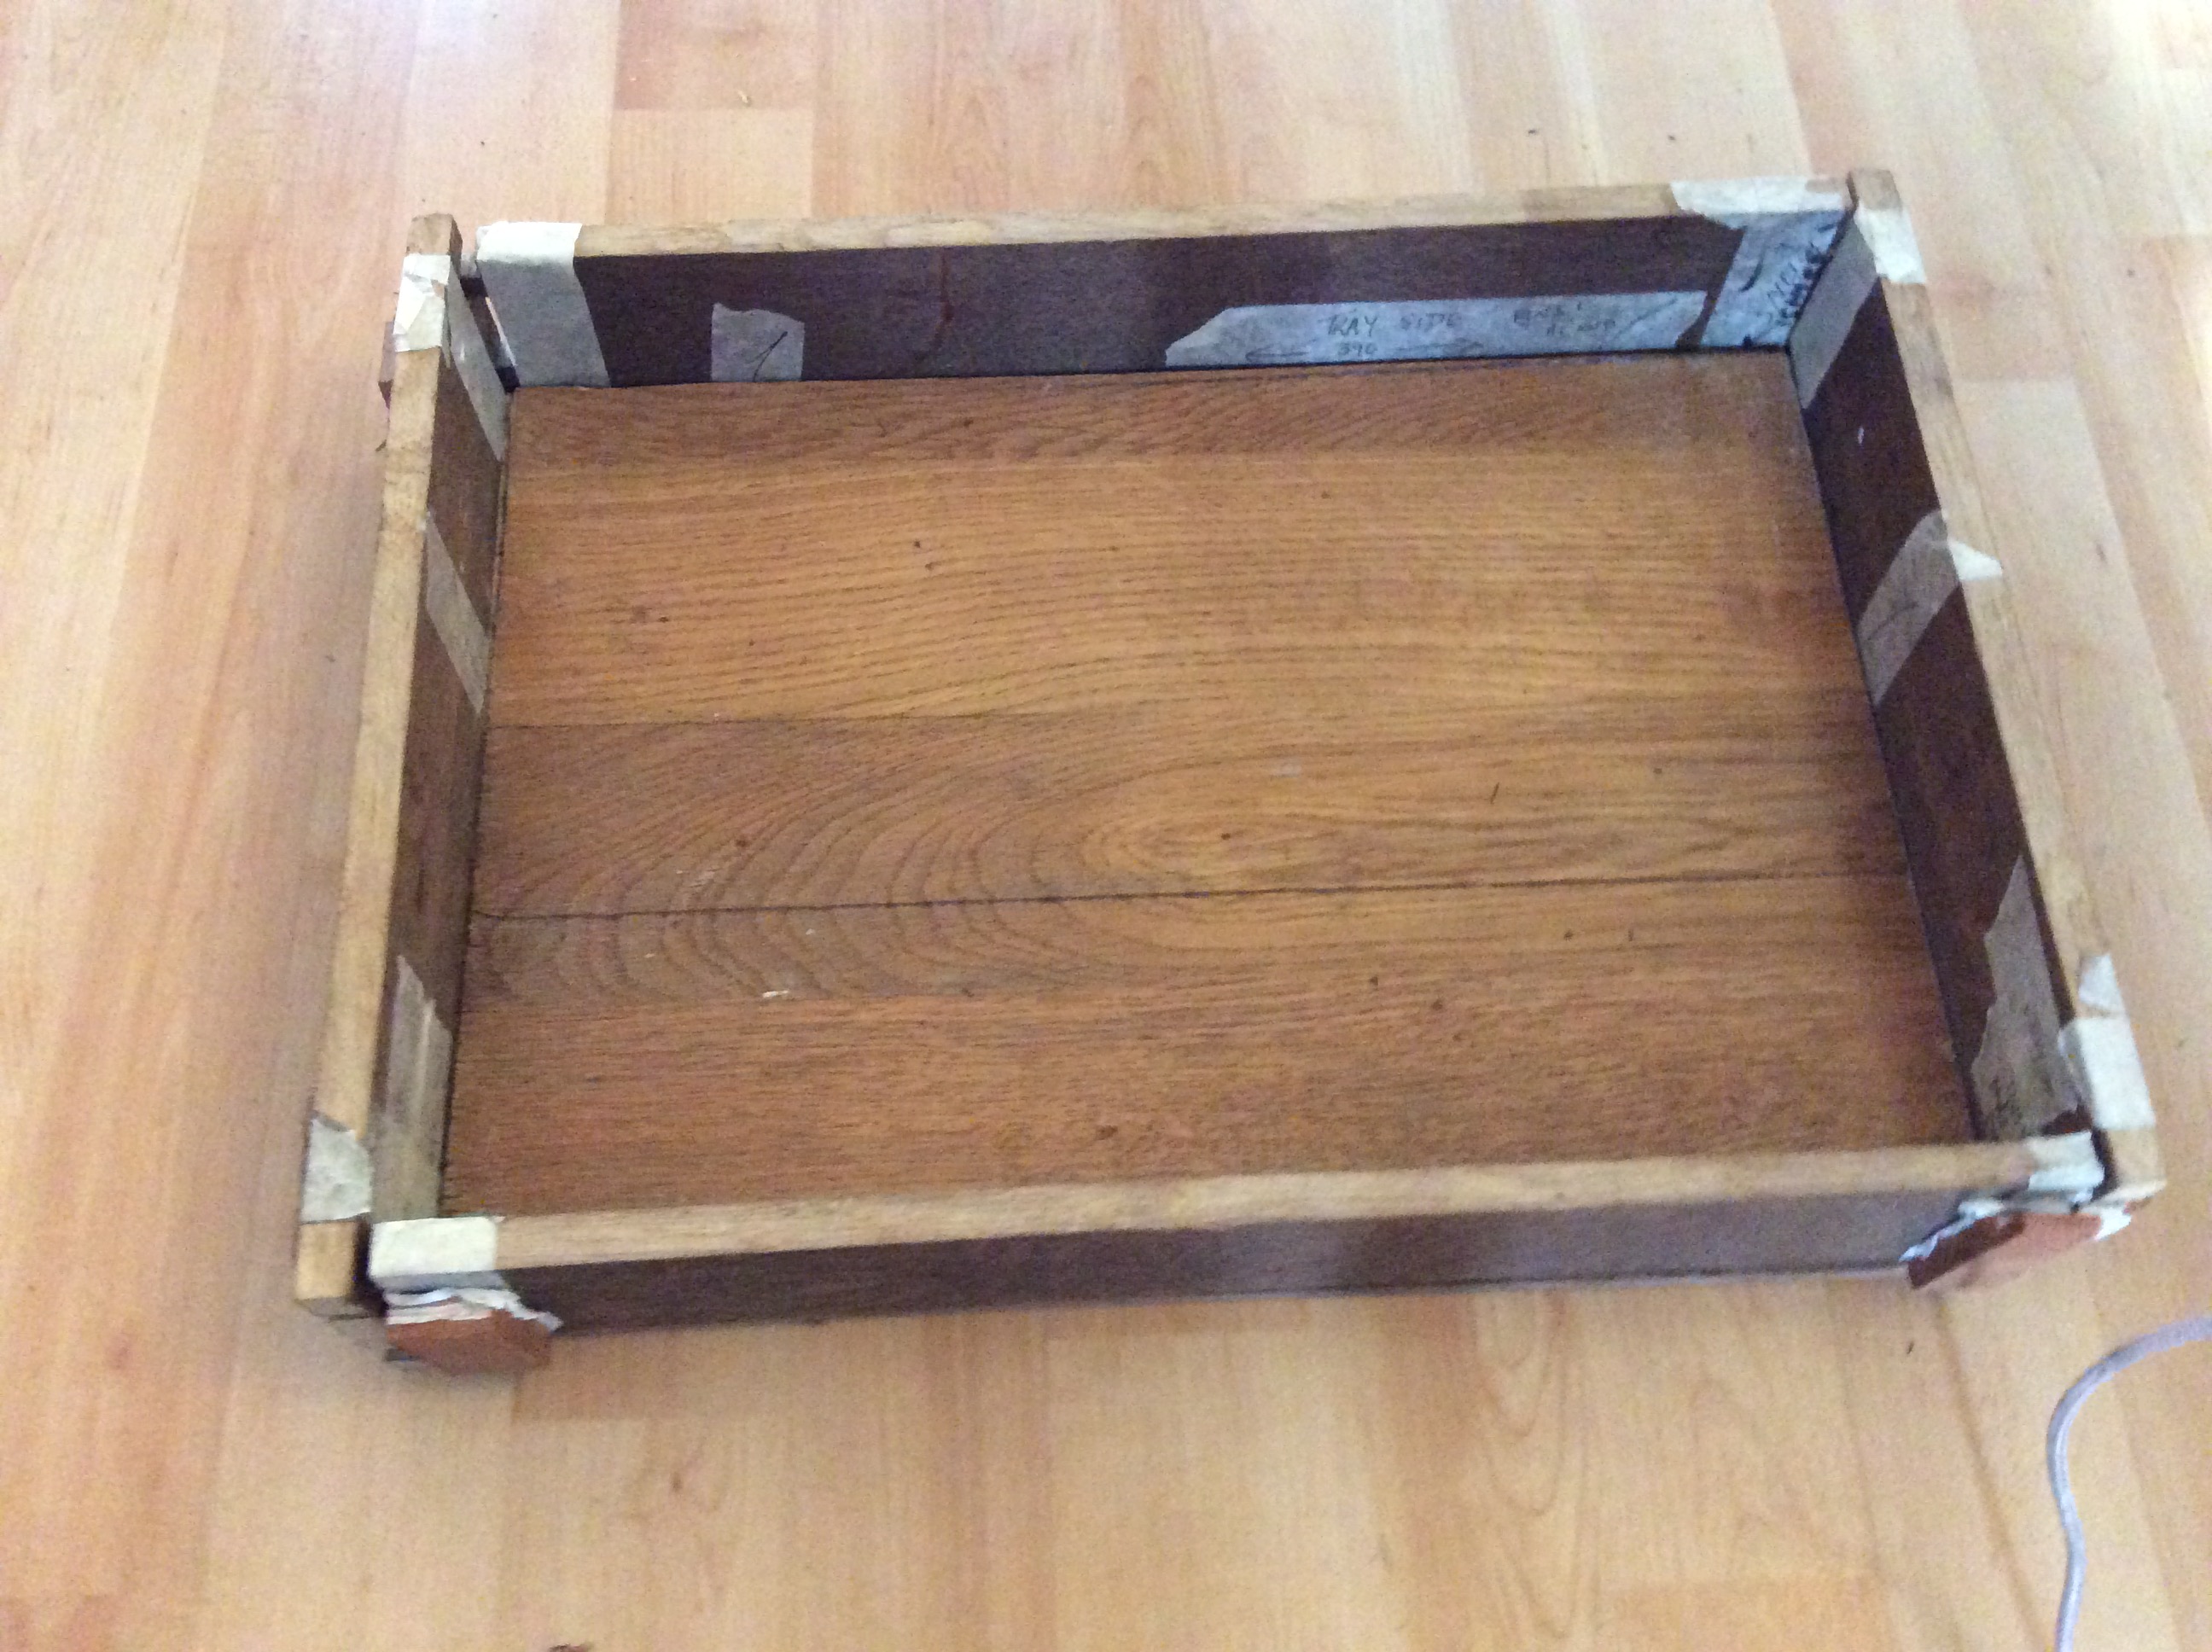
What is showing here is a small box with integral lid, rebated into the sides. This is reclaimed antique oak, and it has to fit into another box, so it has to be square, and no planing off the sides. Simple through dovetails, the projecting tails and pins will be sanded off. (Well, alright, I might plane them a bit.)
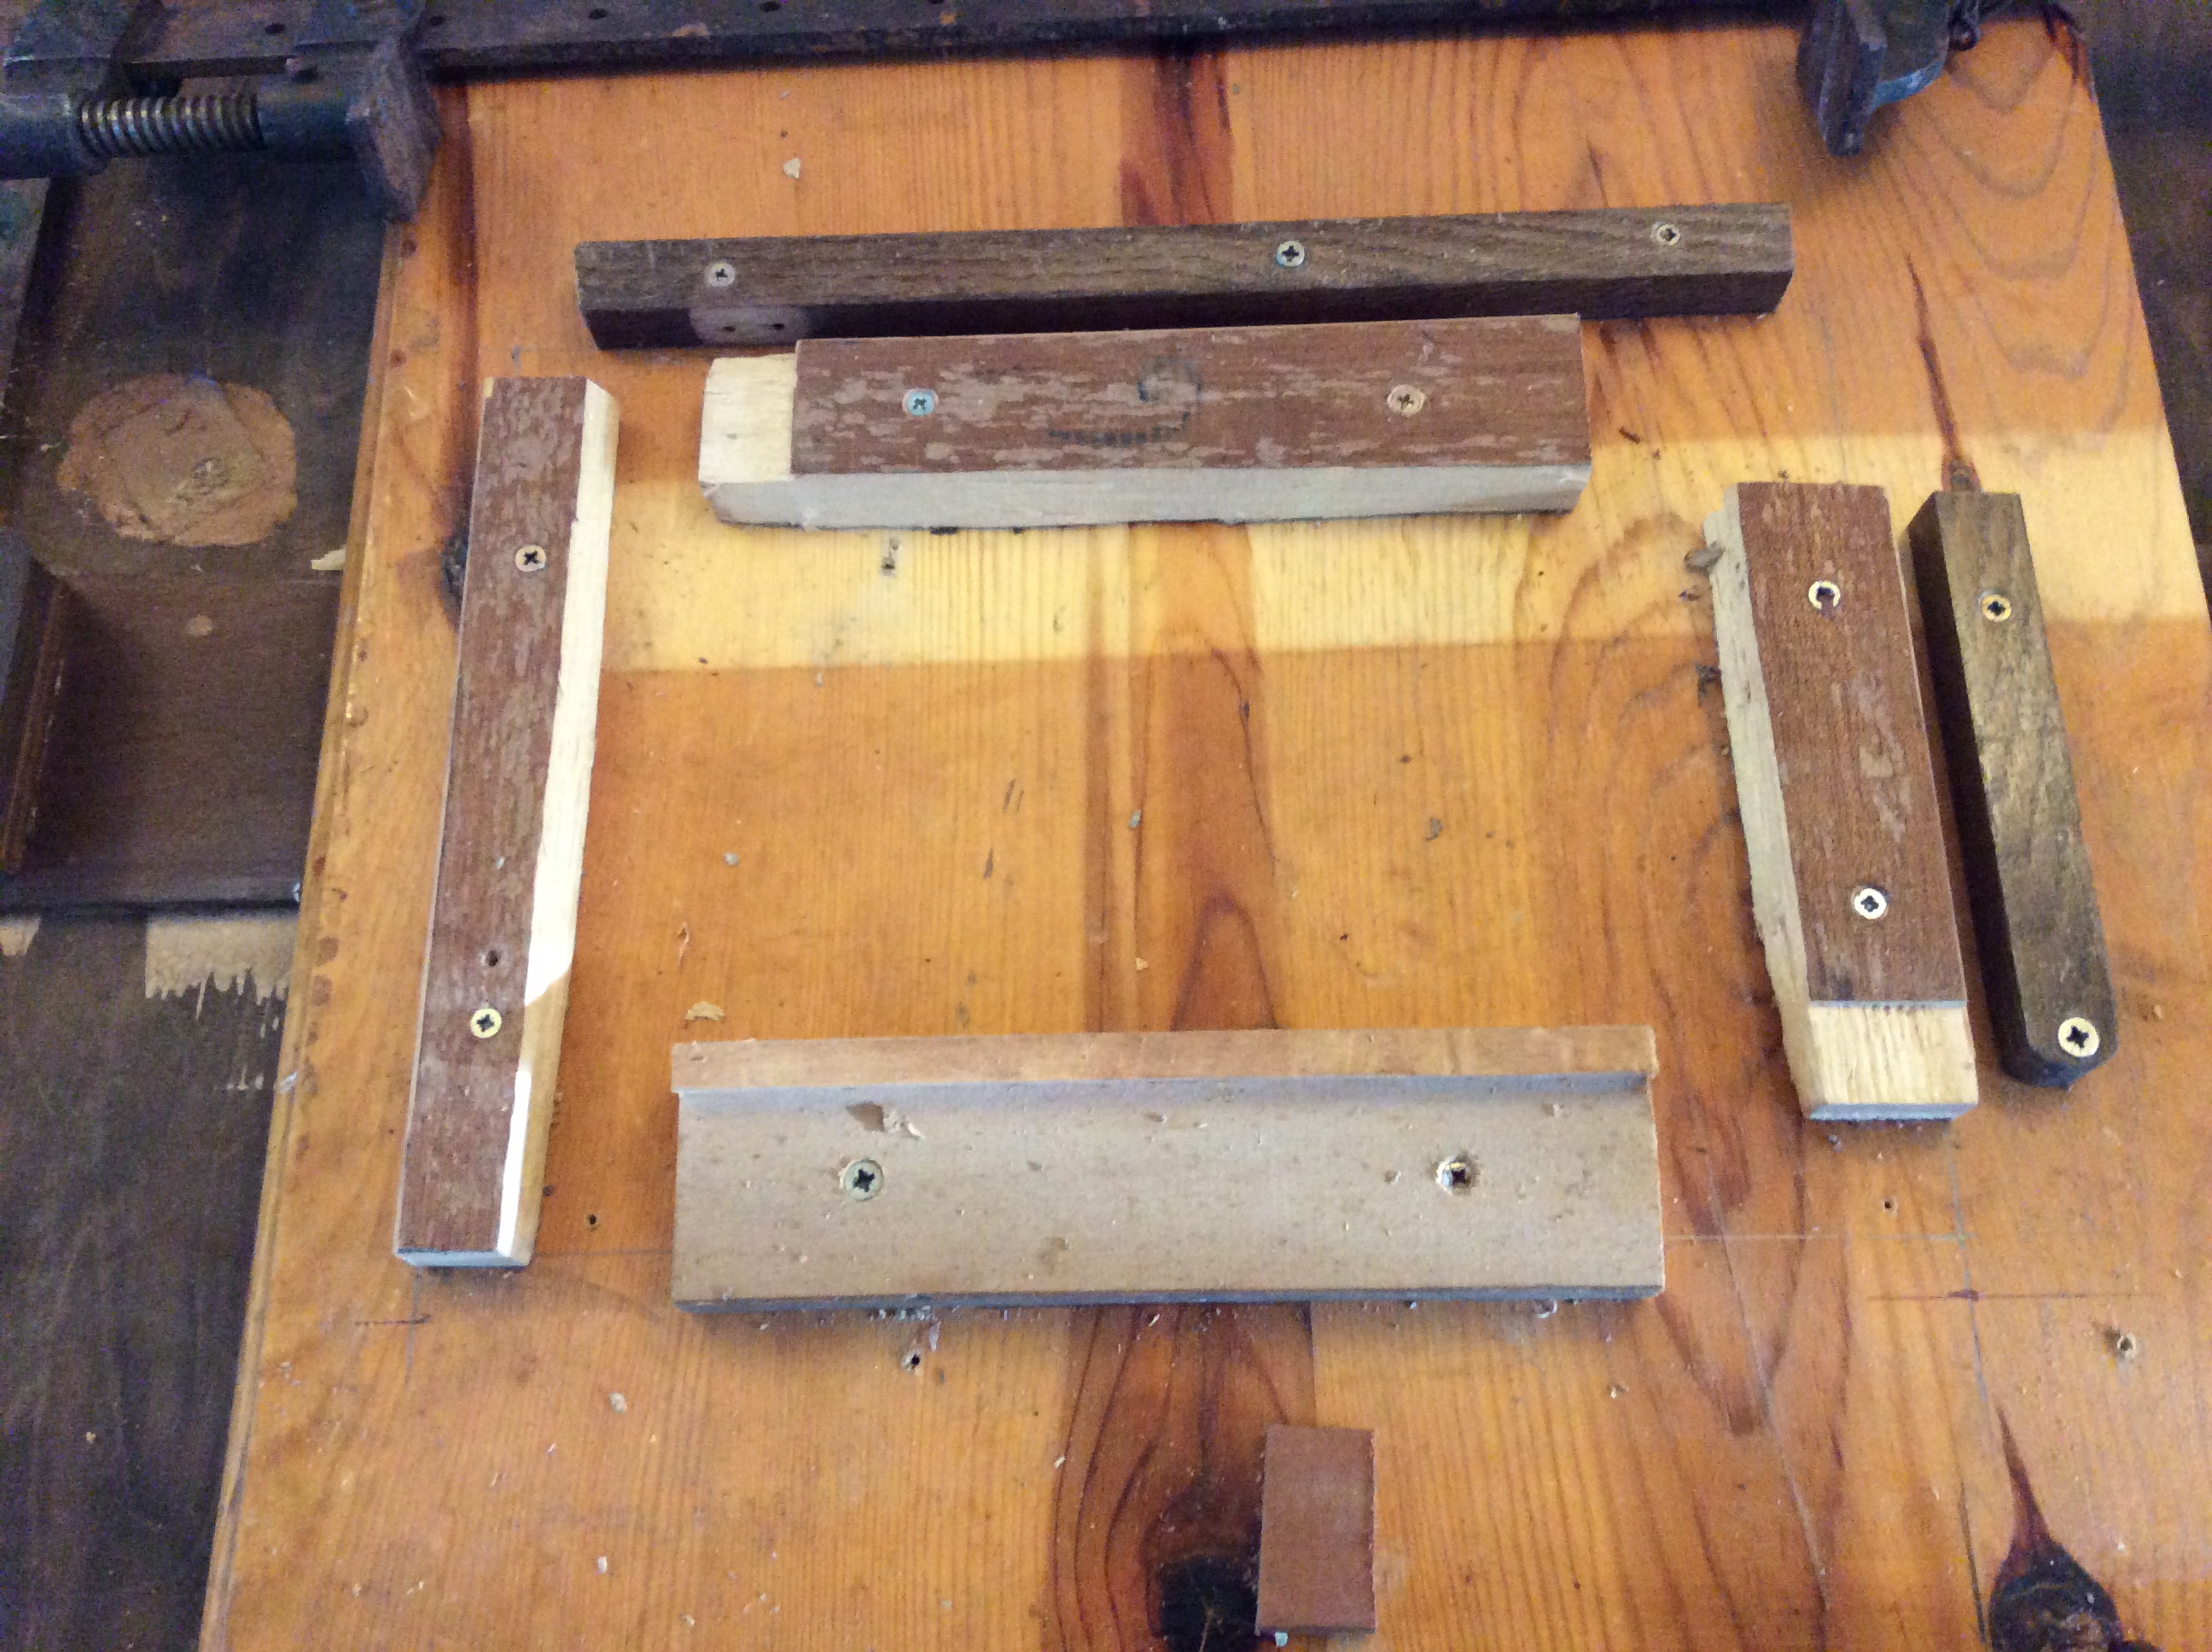
To ease the difficulties I made a jig to hold the sides vertical and square to each other
Next, the carcass is tried in the jig. You can see masking tape all over the place. This helps to orient the pieces, and lots of instructions have been written on them prior to cutting, which I MUST read, or I will do something wrong and have to cut some more material. The tape also protects against glue stain. And on that subject, I wear disposable gloves. Or the stains on fingers last for days.
And then with lid on (actually the bottom, sorry)
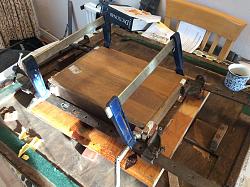
I had two goes at positioning the clamps. I have attached pads to the sides using double sided tape.
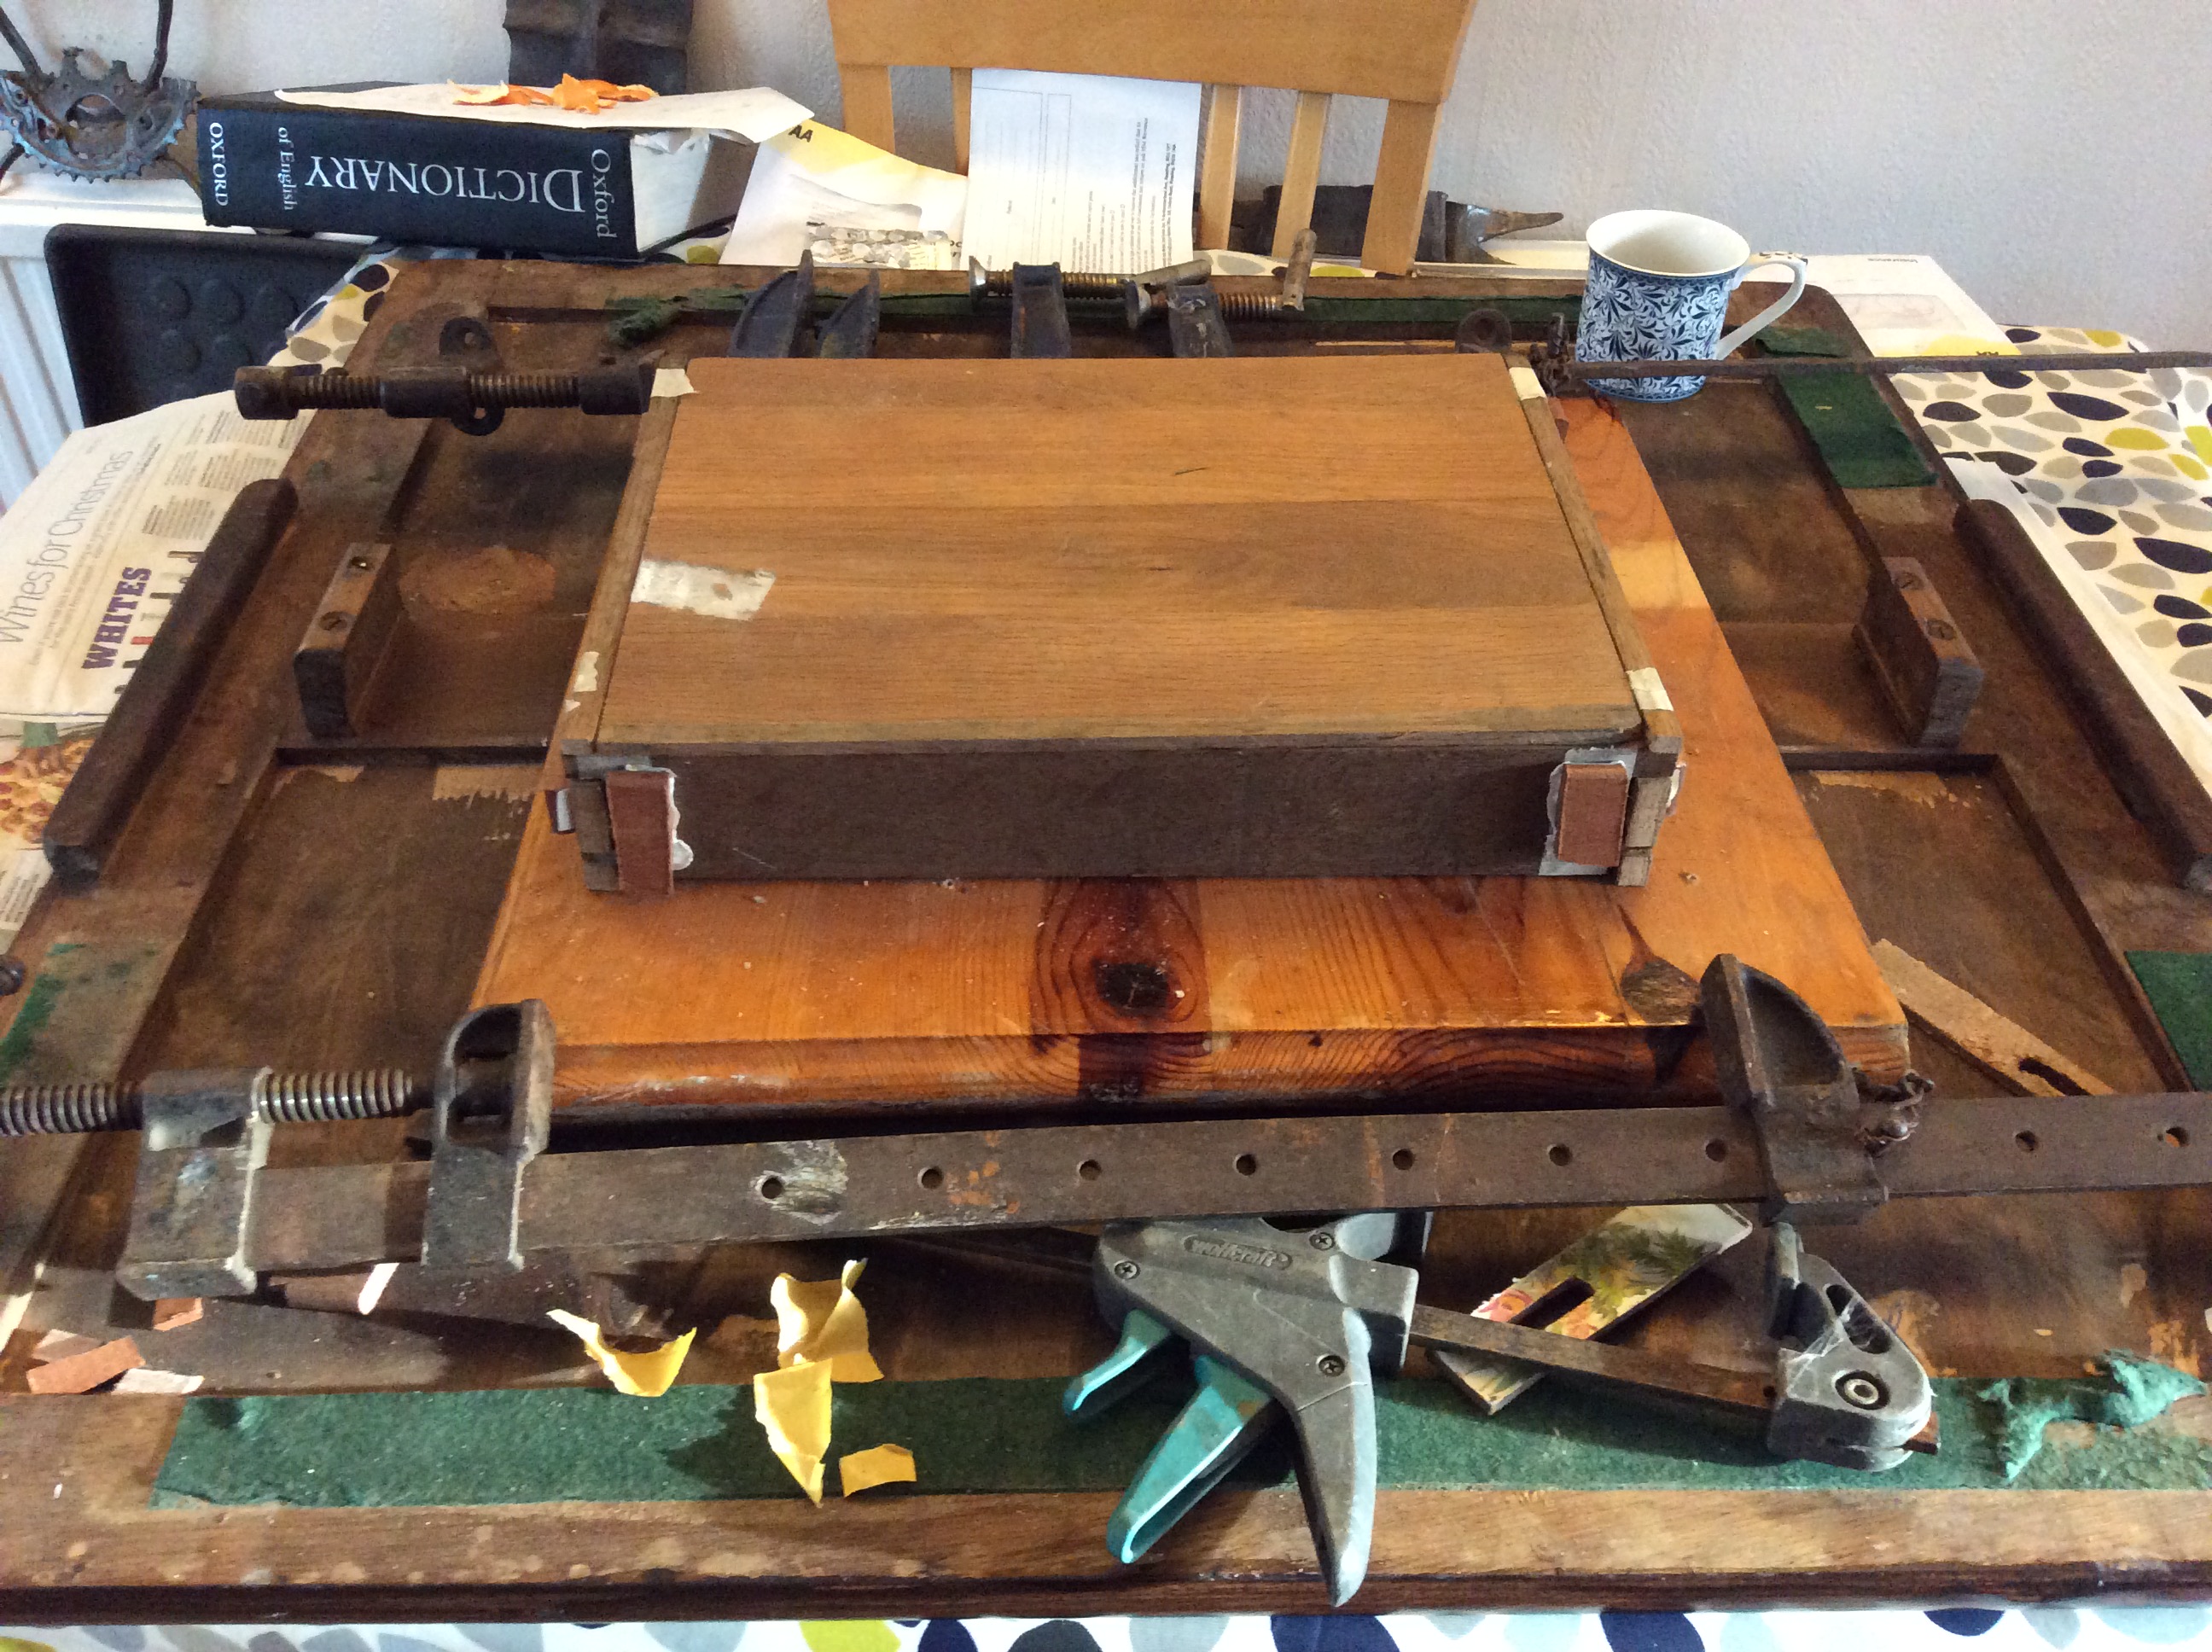
That was a dry run.
Now glue has been applied, clamps set, and fingers crossed.
NB another way to mitigate stress is not to use the dining table. But the weather is cold and wet, so I can countenance potential discord.


 Reply With Quote

Bookmarks