Free 186 More Best Homemade Tools eBook:  
New: 300+ fresh build posts/day from 275 forums → BuildThreads.com

User Tag List

Results 1 to 10 of 412

Thread: Took the first step towards building my shop

Threaded View

  1. #11
    Supporting Member Frank S's Avatar
    Join Date
    Aug 2015
    Location
    Peacock TX
    Posts
    12,615
    Thanks
    2,677
    Thanked 11,105 Times in 5,388 Posts

    Frank S's Tools
    At the rate I'm going by the time I'm 90 I'll have my shop finished
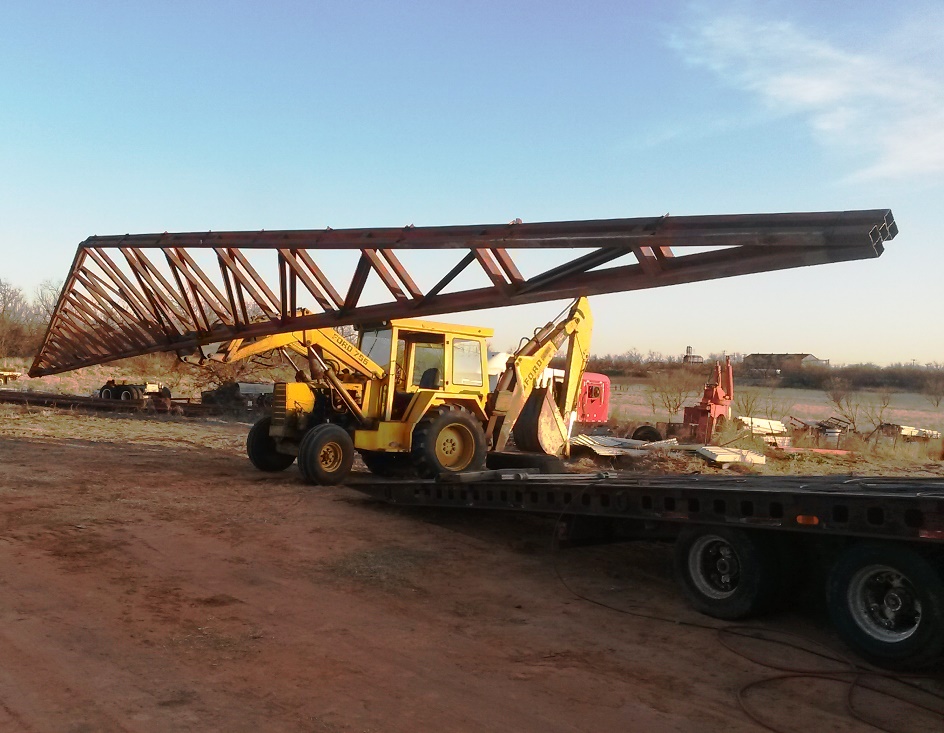
    I now have most of the trusses made no 2 are exactly the same for reasons which will not be apparent until the building is complete
    this one will be 1 of the center trusses A full double truss that later I will be able to hang a beam on to become 1 rail of a bridge crane
    It is 68 feet long 6 feet high and stiff enough to be carried while laying flat
    Click image for larger version. 

Name:	20190212_180037.jpgas.jpg 
Views:	358 
Size:	225.4 KB 
ID:	28624
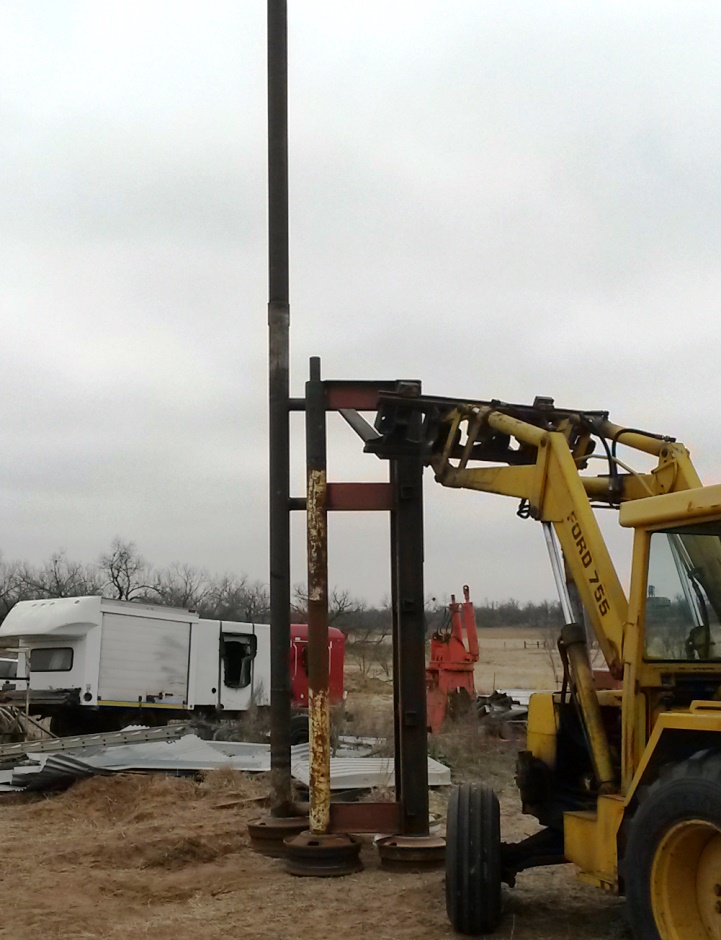
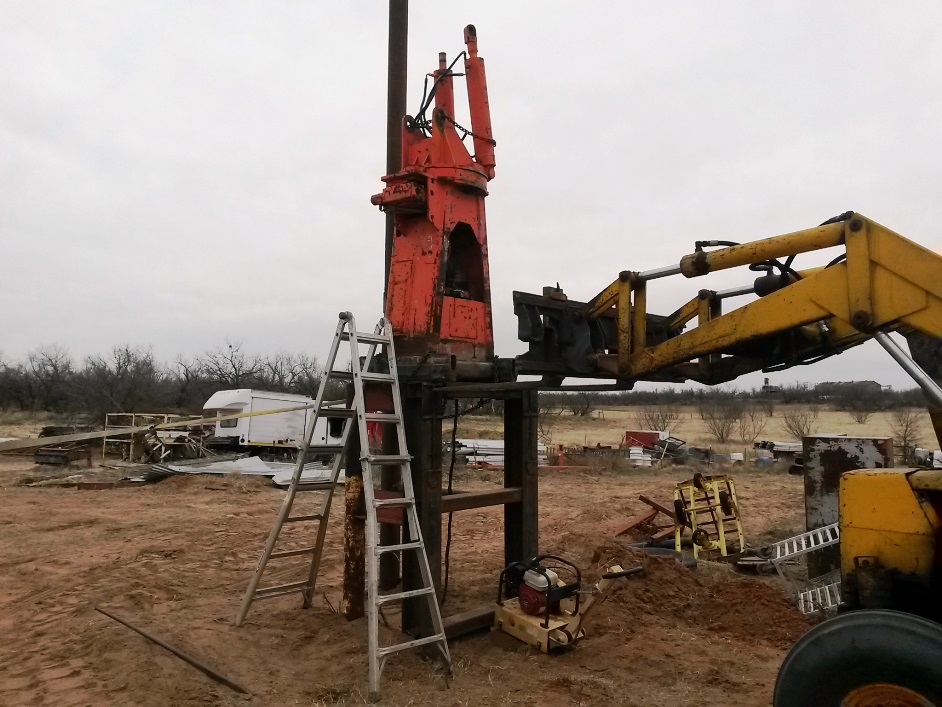
    This is the master corner column I will be mounting a crane on it which will be able to swing from outside to inside the building.
    the crane is an old brick crane removed from 1 of the trailers I rebuilt Instead of sending the crane to scrap I figured I'd use it some day
    Click image for larger version. 

Name:	20190302_134403.jpgas.jpg 
Views:	364 
Size:	318.3 KB 
ID:	28625

    Click image for larger version. 

Name:	20190302_153221.jpgas.jpg 
Views:	358 
Size:	182.5 KB 
ID:	28626
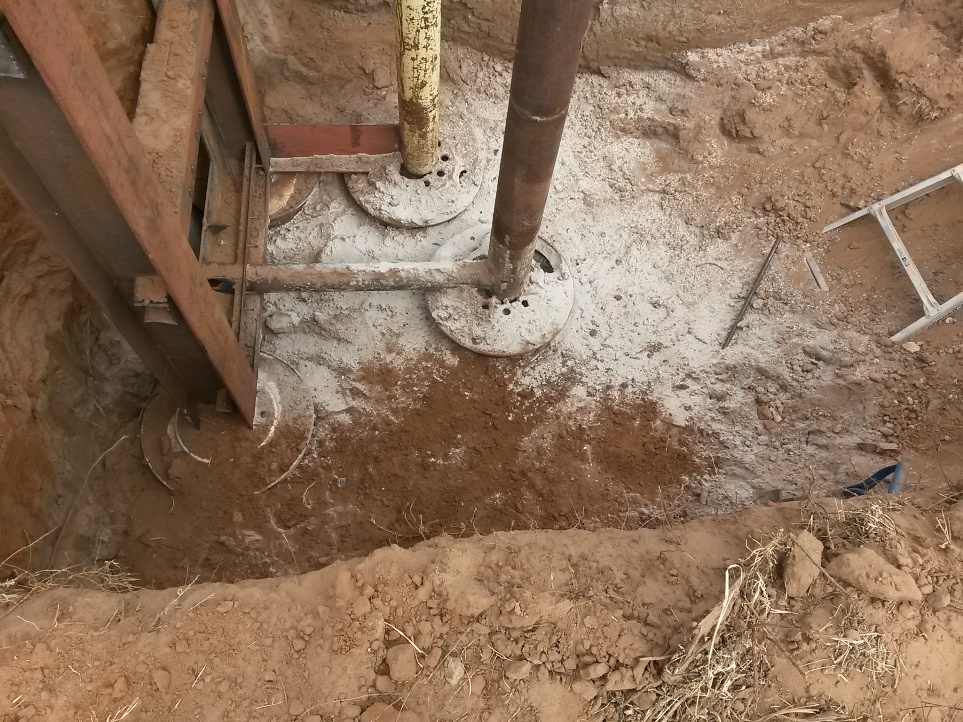
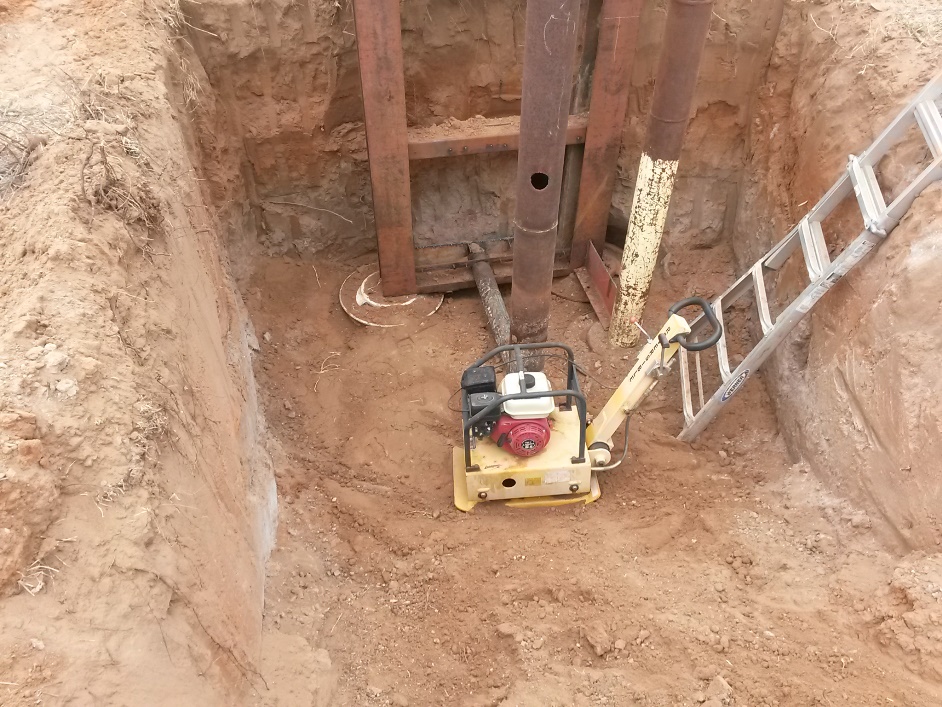
    The hole is almost 8 feet deep here I am filling the cavities in the wheels with a mixture of dry cement and clay the clay is moist so once I have them tamped full the cement will absorb the moisture
    Click image for larger version. 

Name:	20190307_112232.jpgas.jpg 
Views:	324 
Size:	366.4 KB 
ID:	28627
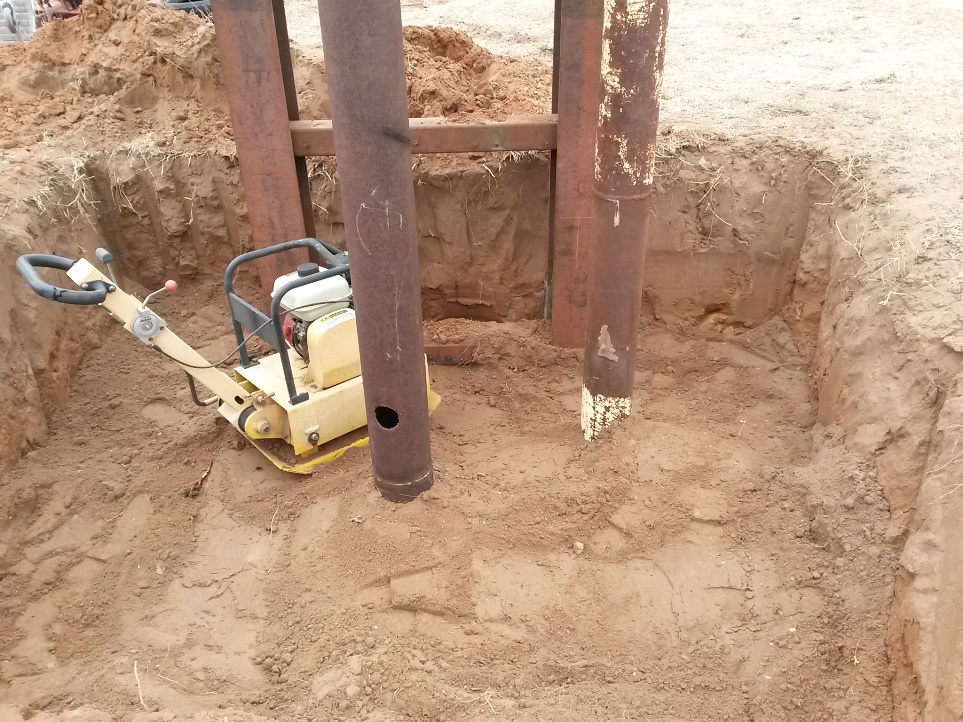
    Now begins the filling and tamping clay rock and some cement is used in each 6 inch layer then packed down to 3 or 4 inches
    Click image for larger version. 

Name:	20190307_144201.jpgas.jpg 
Views:	348 
Size:	315.6 KB 
ID:	28628
    Click image for larger version. 

Name:	20190307_164224.jpgas.jpg 
Views:	312 
Size:	354.5 KB 
ID:	28629
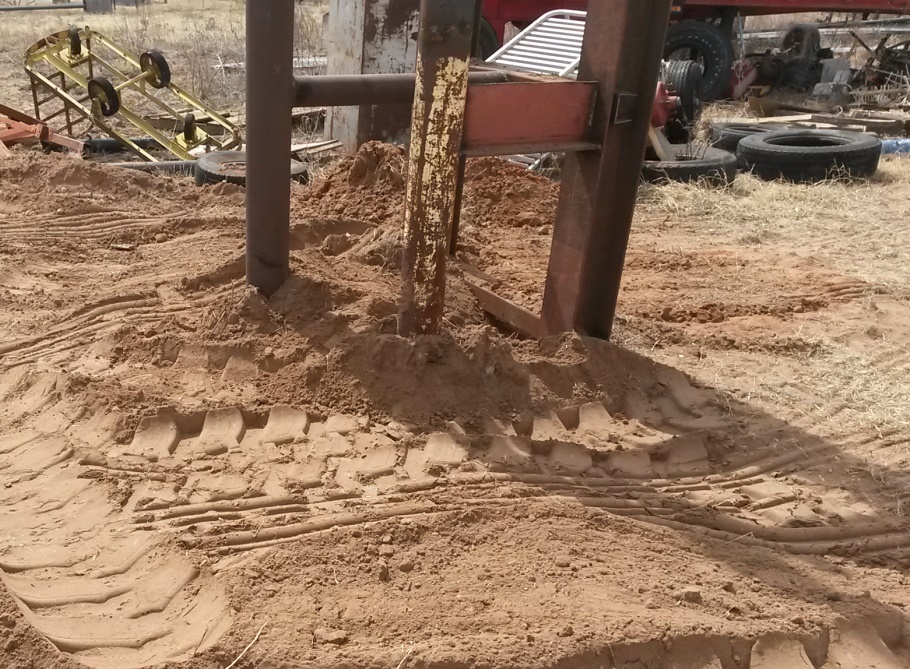
    The final layer is just clay and dirt since eventually when I get ready to pour a concrete floor I may have to remove some of the fill
    Click image for larger version. 

Name:	20190308_123037.jpgas.jpg 
Views:	334 
Size:	337.0 KB 
ID:	28630
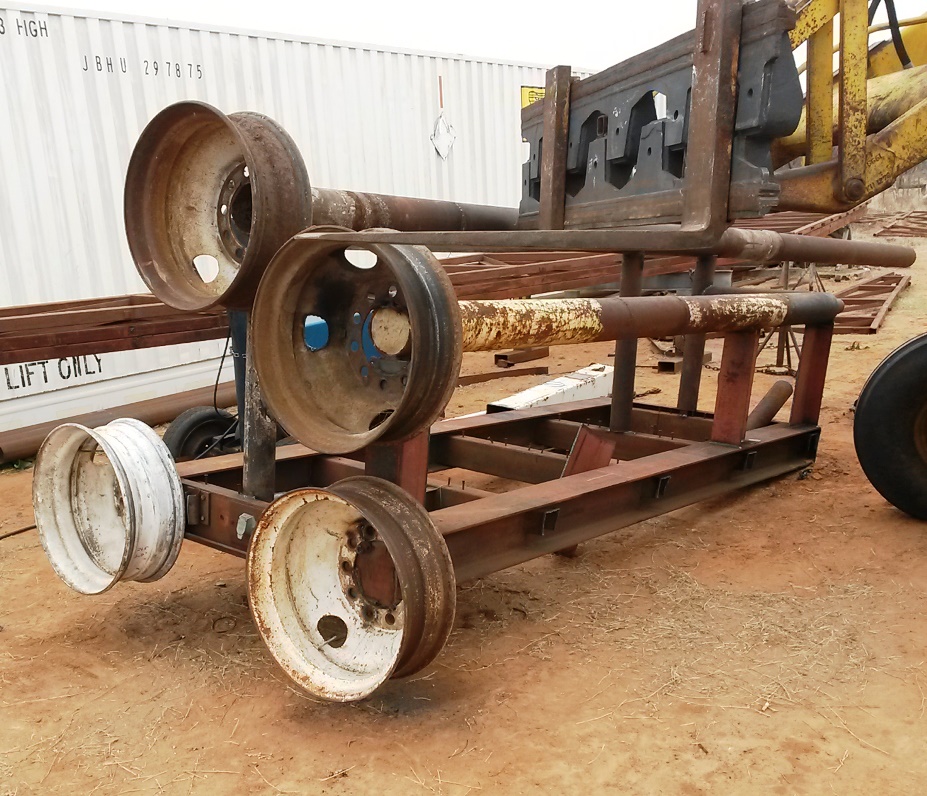
    Now for the crane pedestal
    Click image for larger version. 

Name:	20190308_144436.jpgas.jpg 
Views:	399 
Size:	213.2 KB 
ID:	28631.
    The next step will be to establish the 2 remaining corners see you in another 4 months LOL
    Never try to tell me it can't be done
    When I have to paint I use KBS products

  2. The Following 5 Users Say Thank You to Frank S For This Useful Post:

    baja (Mar 9, 2019), KustomsbyKent (Mar 10, 2019), Scotsman Hosie (Mar 9, 2019), Seedtick (Mar 8, 2019), volodar (Nov 3, 2019)

Thread Information

Users Browsing this Thread

There are currently 3 users browsing this thread. (0 members and 3 guests)

Bookmarks

Posting Permissions

  • You may not post new threads
  • You may not post replies
  • You may not post attachments
  • You may not edit your posts
  •