
 LinkBack URL
 About LinkBacks


the same stuff but not foil backed this stuff has a 1/16" thick water resistant paper cladding on both sides you can hold a piece of it under water for days and it will not dissolve the paper or absorb hardly any of the water.Originally Posted by metric_taper

You can support a 4"thick panel on saw horses at the ends and 2 men can stand in the middle of it.
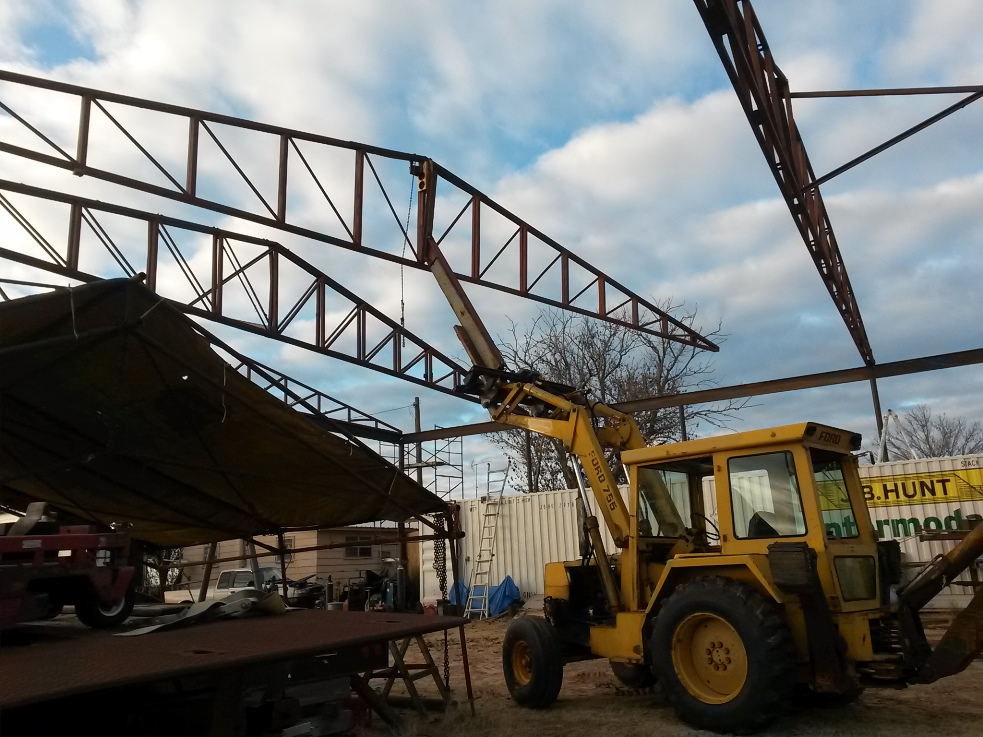
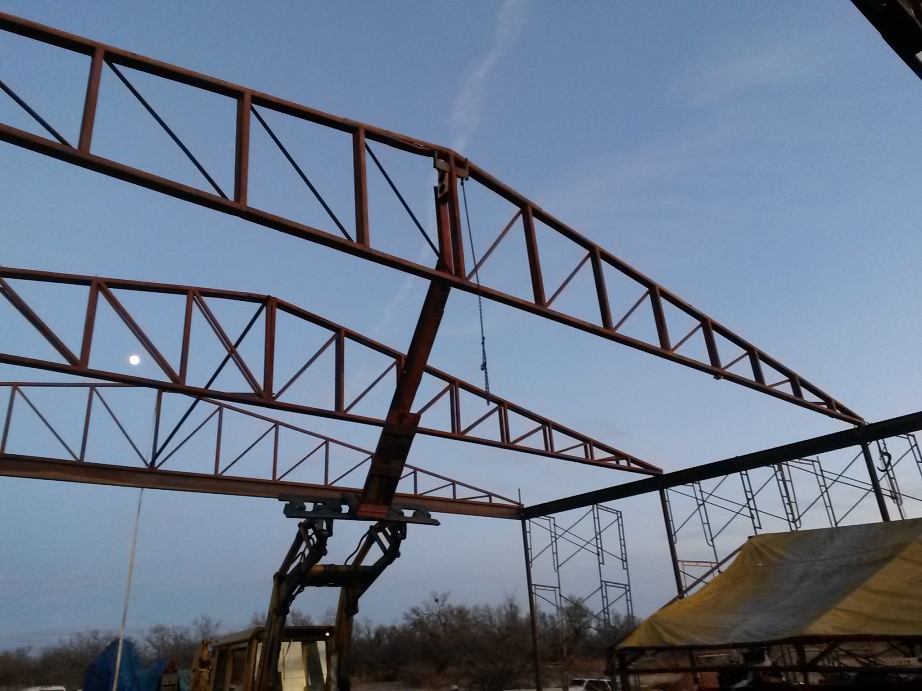
it weighs .878 lbs per sq ft and will be just over 3,600 lbs weight added to the roof or about equal to a double layer of the vinyl clad roll insulation
this stuff has an "R" value of between 7 & 8 per inch. deducting a few percent for probable gaps and heat transference of the steel purlins I expect I will have an approximate total R value in the roof of around 26 to 28 the walls and doors will be insulated with the same stuff so the building should be cozy enough


 Reply With Quote


Bookmarks