
 LinkBack URL
 About LinkBacks


Originally Posted by Frank S

Frank, you must have edited out something in the earlier post showing your truck ladder rack loaded with steel, as Toolmaker must have seen something that said you didn't haul the load. Unless he was joking about hauling the whole supply warehouse home.
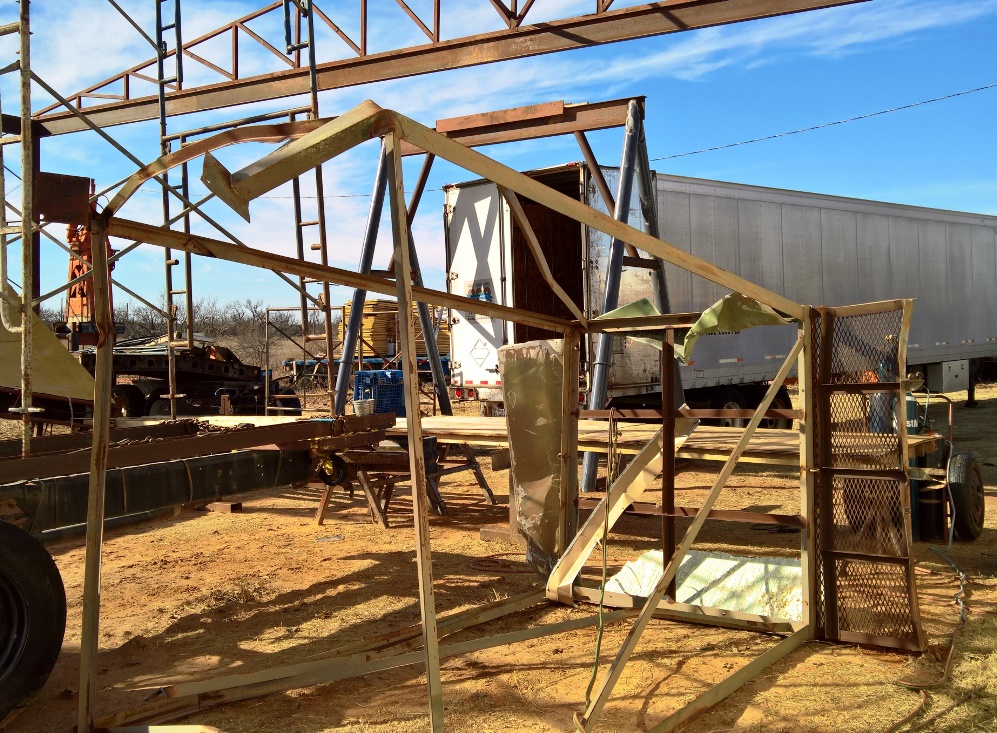
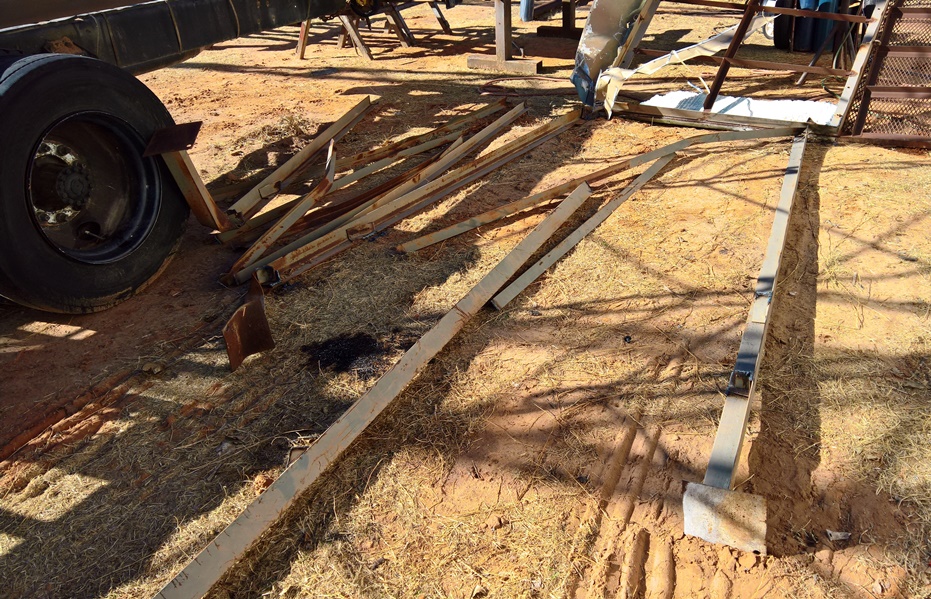
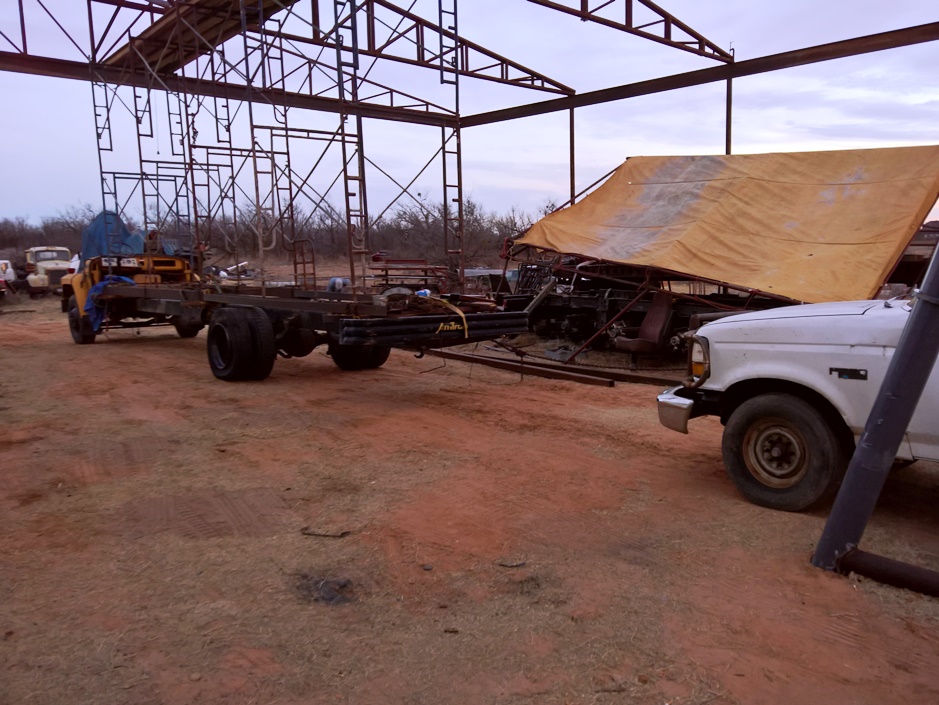
These perlins look like 2x4 rectangular stock. Not sure, as your photos didn't show the ends. So how heavy is each one of these 'sticks' to put up on the trusses? I assume you are welding them in place. I think you wrote somewhere that you salvaged all the tin from the original building.
At least you can keep working this through the winter.


 Reply With Quote


Bookmarks