Free 186 More Best Homemade Tools eBook:  
Get 2,000+ tool plans, full site access, and more.

User Tag List

Results 1 to 9 of 9

Thread: Vacuum degassing chamber

  1. #1
    Supporting Member Canobi's Avatar
    Join Date
    Mar 2016
    Location
    Shrewsbury, Shropshire (UK)
    Posts
    181
    Thanks
    92
    Thanked 361 Times in 98 Posts

    Canobi's Tools

    Vacuum degassing chamber

    Hi all

    I got into making custom and replica props as a hobby which in no small part, involves moulding and casting.

    In most cases, resins and silicones come in two parts that need mixing together. This is more than slightly problematic as it introduces a heap of air bubbles into the mix which needs to be removed before using or they can cause all kinds of deformities and weaknesses in the moulds and castings. To do that job, I was going to need a vacuum degassing chamber, preferably of adequate size in case I ever decided take on a large project.

    One thing I learned quickly though is that many materials may be affordable, but the equipment needed to use some of them properly often aren't. In this case, a purpos made chamber matching the size I had in mind can cost around £600 minus pump, so I set about making my own. I also set myself the challange of making it for as little cash as was feasibly possible.

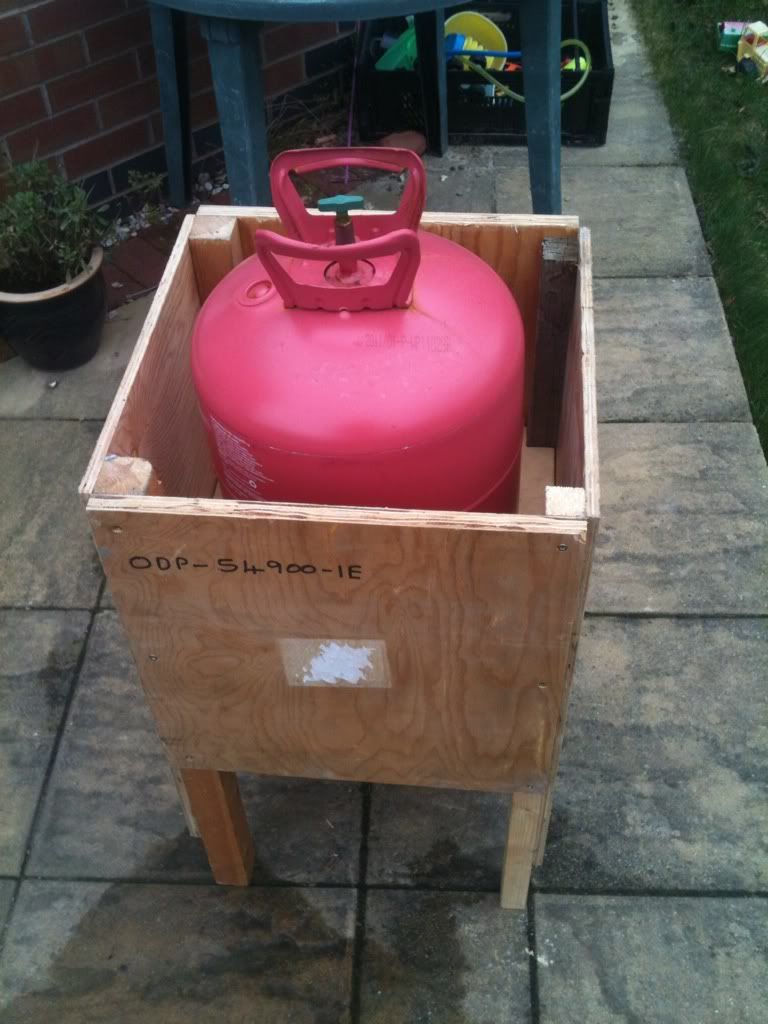
    I looked at a plethora of items that could be used or converted, including very large pipe couples, butane bottles and pretty much anything around the 12" x 12" size I was after but in the end I chose a helium bottle as it was free, already empty and met my size requirements. They're also rated to over 200 bar (3000psi) and absolute vacuume is a meagre -1 bar so knew the bottle could easily handle it.


    ---------
    "The build"
    ---------

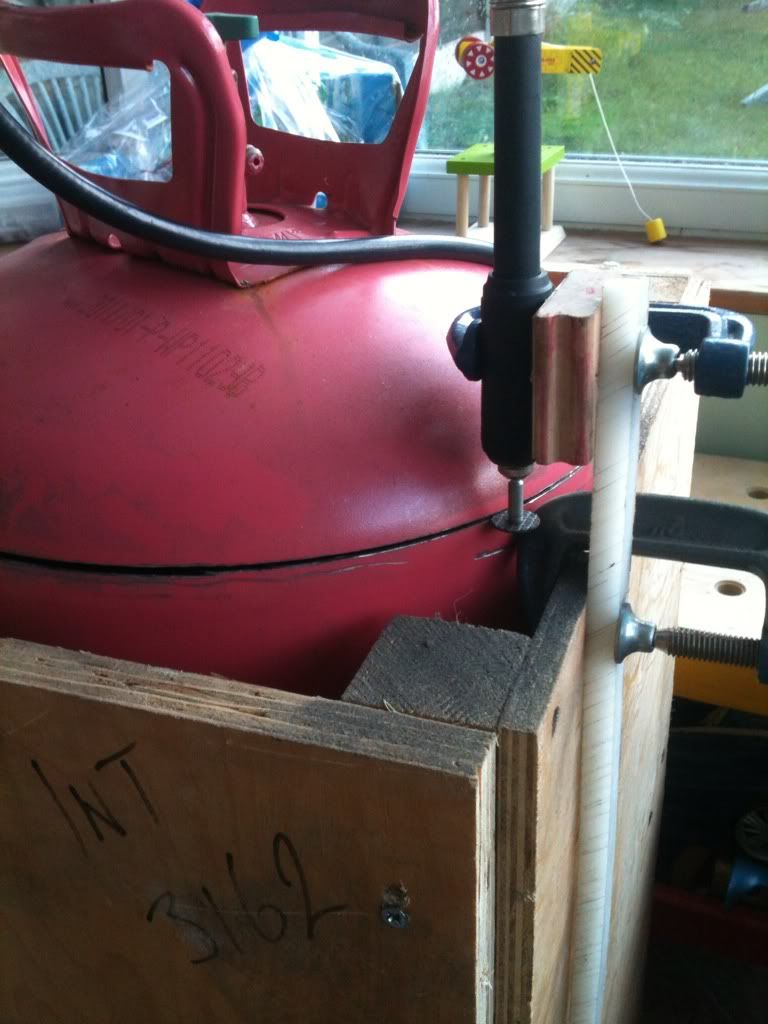
    Not being overly equipped with tools, I needed to find a way to cut the top off the bottle, after a bit of hard thinking and fiddling about, I came up with this cutting jig for my dremal:


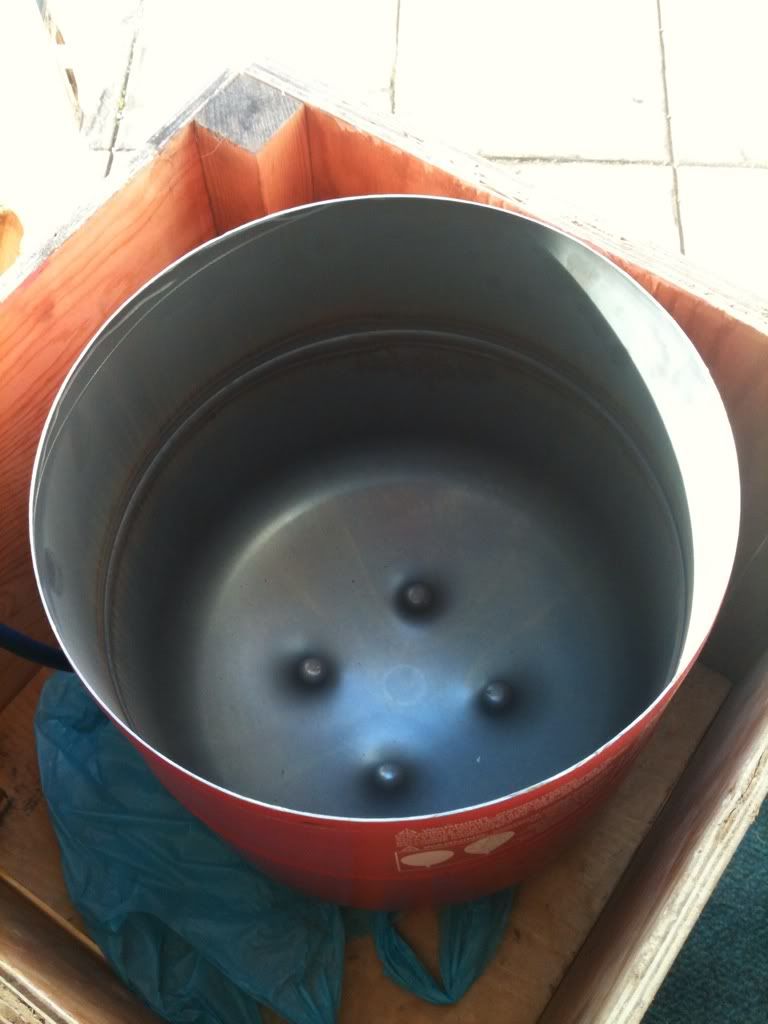
    2 metal cutting discs and 5 standard ones later.... job done:


    One of the chest of drawers in my kids bedroom was in need of replacing and that provided the perfect opportunity to make a work unit for the chamber and pump.


    All striped down


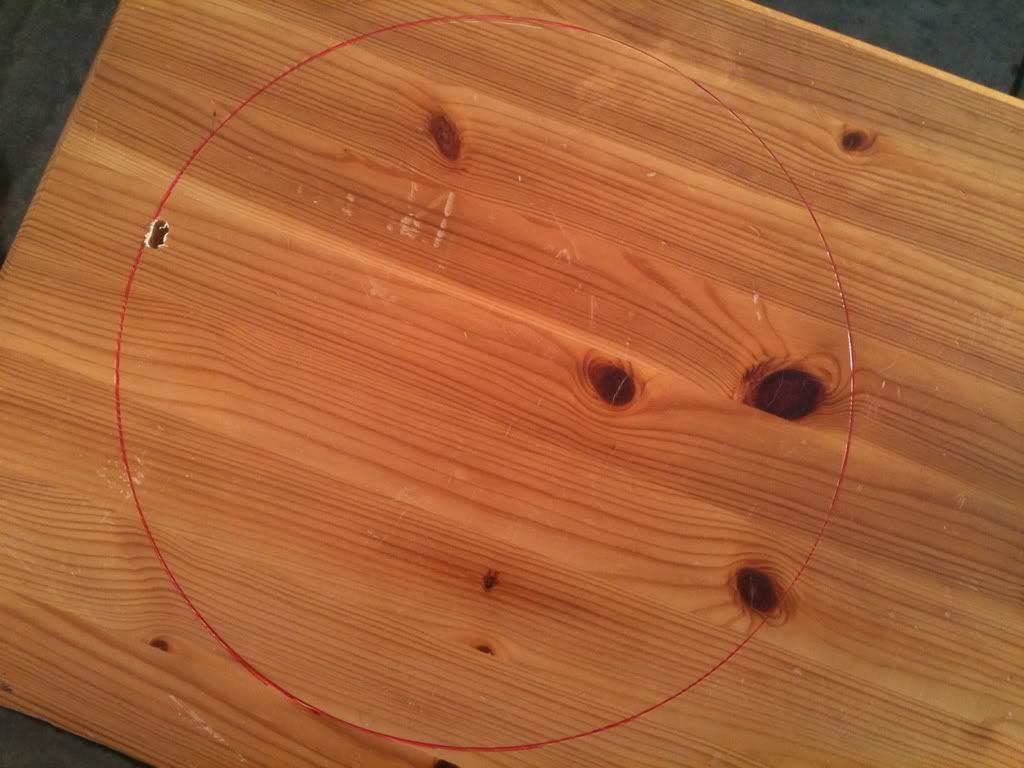
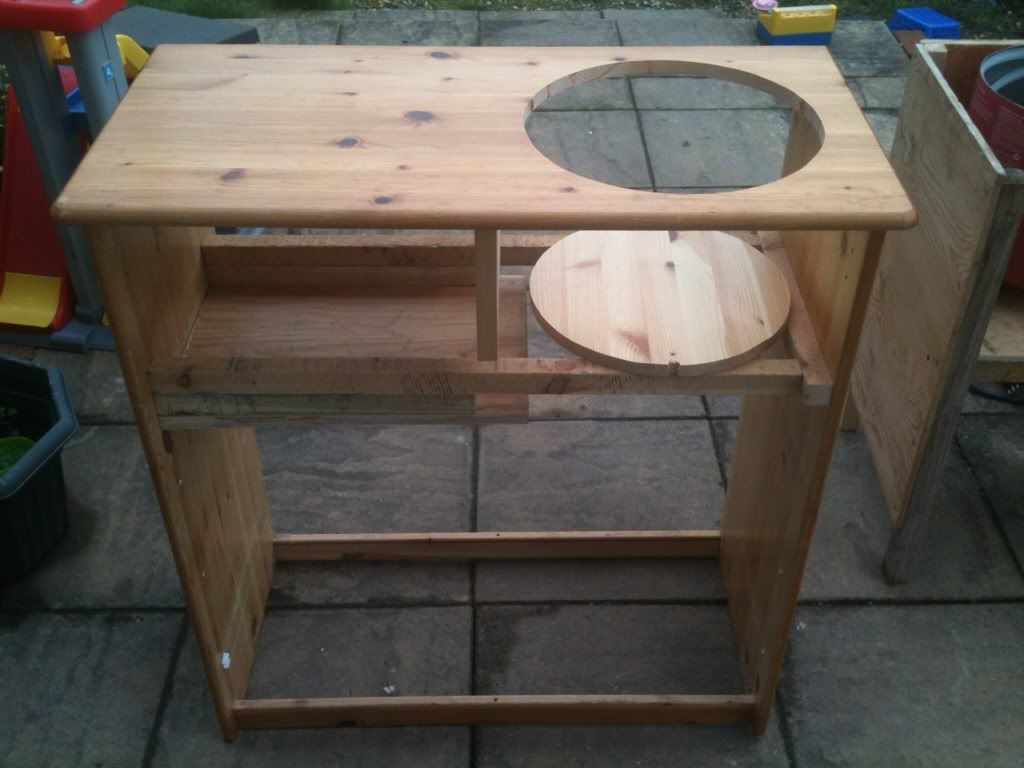
    I then drew around the chamber lip and drilled a pilot hole for the jigsaw


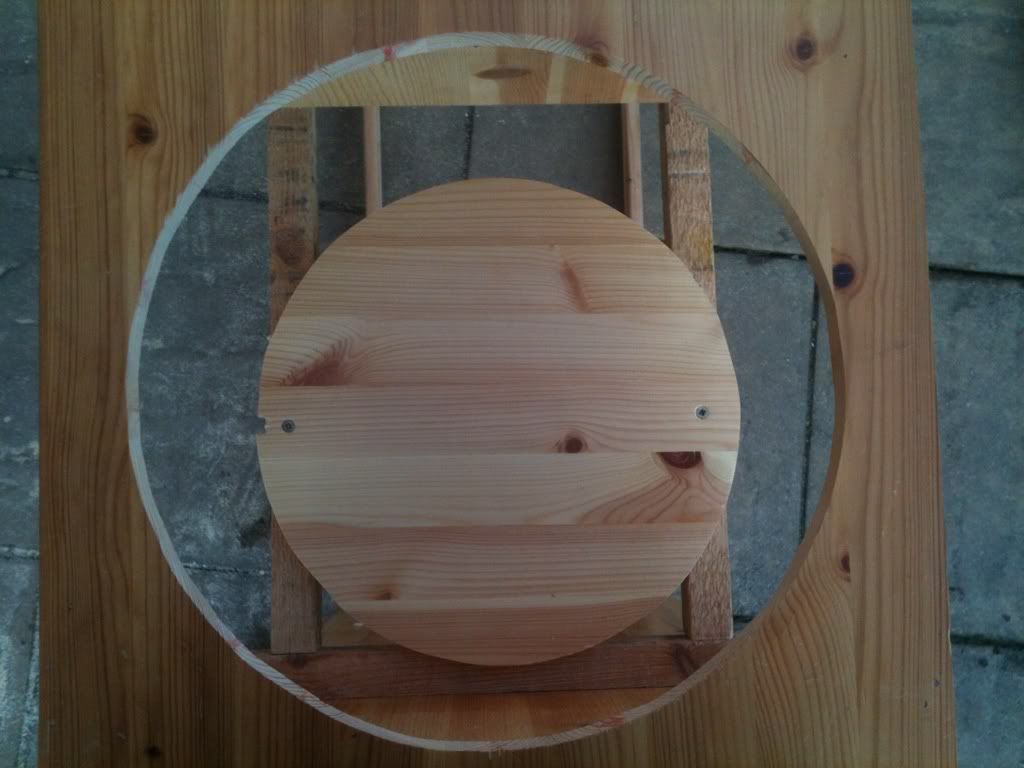
    Hole cut, then the plug secured to a couple of cross bars added to set the hight of the chamber (and add a little extra structural integrity)


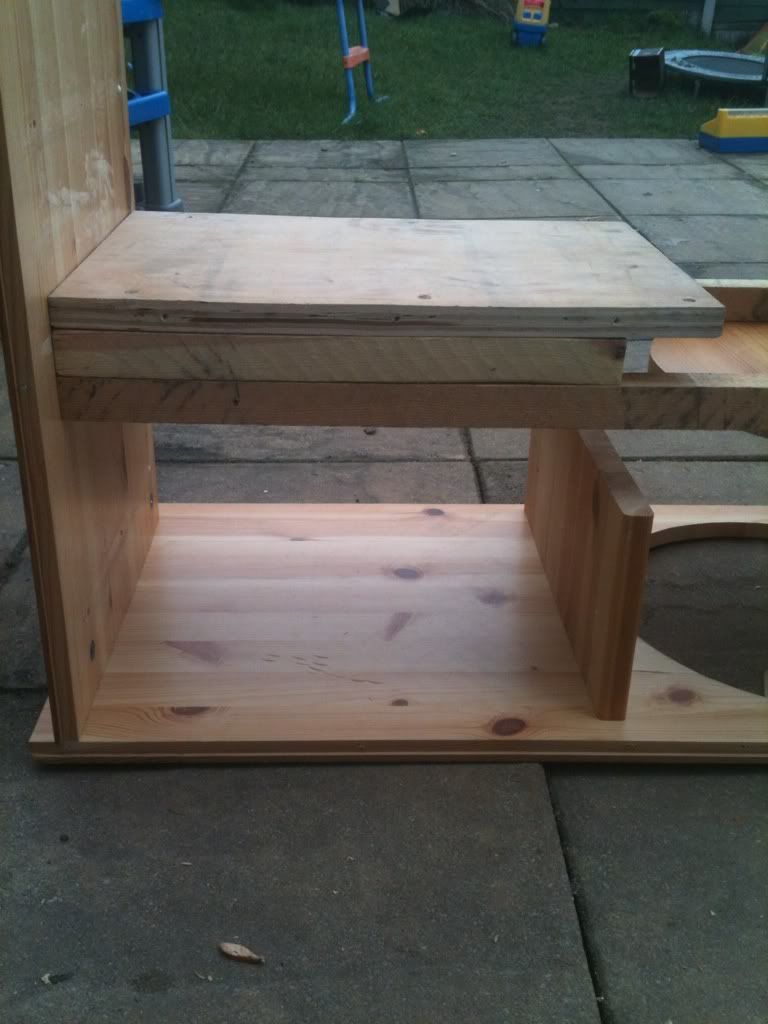
    I then added a shelf for the pump underneath the worktop
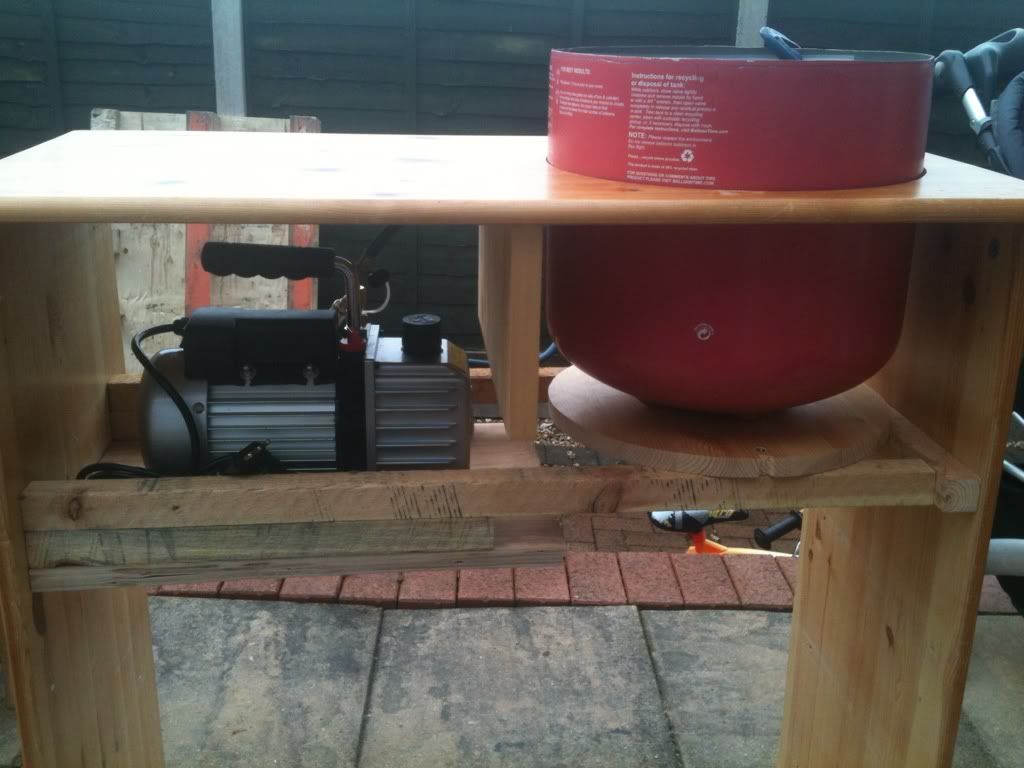


    A quick test fit:


    And as a neat touch, a bit of acoustic foam I had lying about from my old recording studio that fit the gap perfectly, no cutting needed.


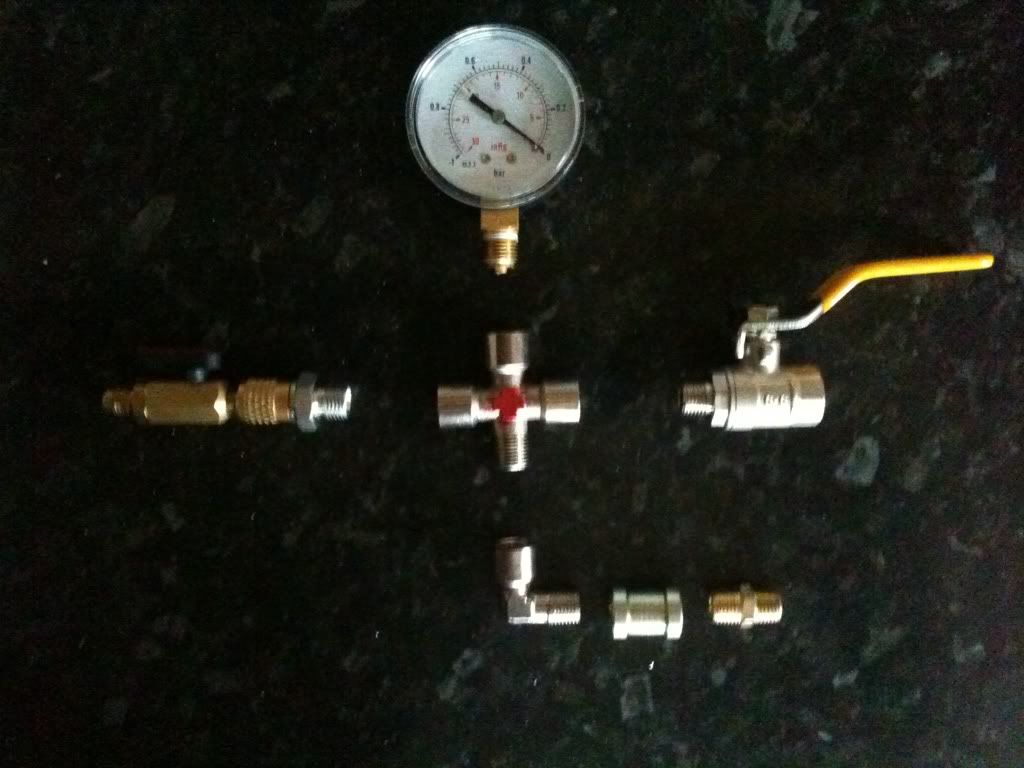
    I then set about acquiring a vacuum gauge and other fittings:


    After assembing the parts I used a bit of JB Weld as a thread locker. It was then supported till it was stiff enough to move to a warmer place to cure:


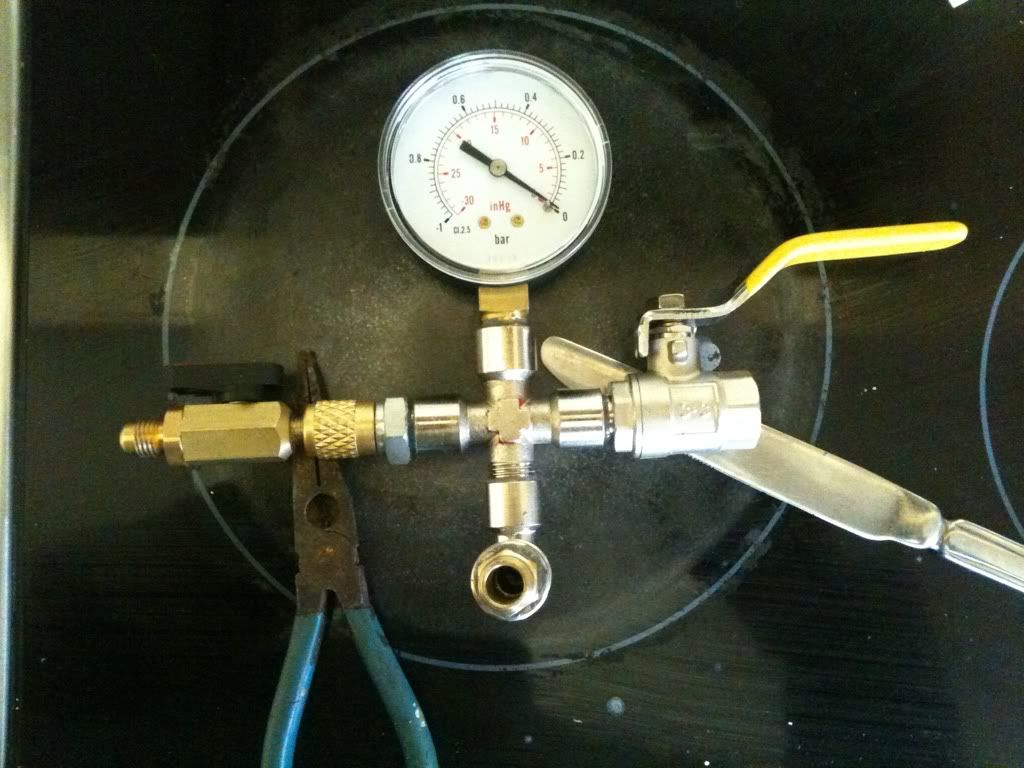
    I then drilled a hole near the top of the bottle for the inlet/outlet and test fitted the assembly:


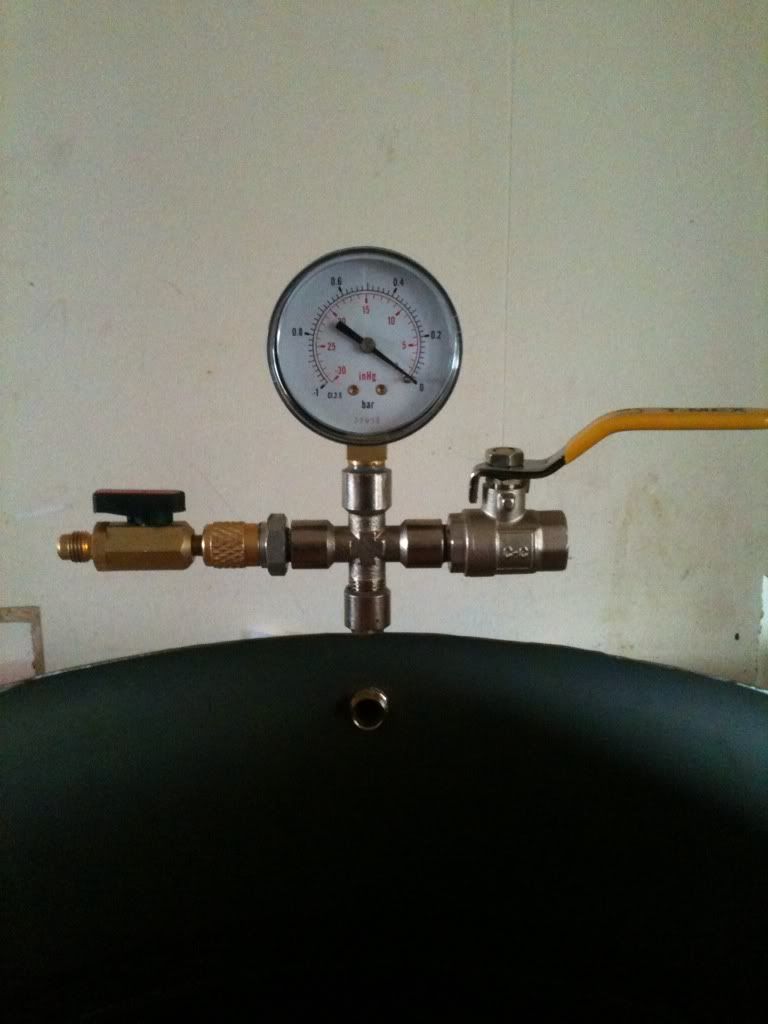
    Once the flange was welded on and valve assembly fitted properly, the chamber and pump were installed into the work unit to finish the build:


    <edit> found a pic of the gasket I made with clear caulking. I used a spare piece of acrylic with soapy water to flatten it. The soapy water acts as a release agent that prevents the caulking from sticking to most surfaces (inc fingers)


    And this one with the guage showing the chamber at near full vacuum:


    Well, that it for this one. Thanks for looking

    186 More Best Homemade Tools eBook
    Last edited by Canobi; May 16, 2016 at 09:11 AM. Reason: added pics edit
    It's not the destination but the journey you take to get there that matters.

  2. The Following 4 Users Say Thank You to Canobi For This Useful Post:

    Christophe Mineau (May 9, 2016), DIYSwede (Jul 9, 2019), Jon (May 8, 2016), Paul Jones (May 10, 2016)

  3. #2
    Supporting Member Christophe Mineau's Avatar
    Join Date
    Jul 2014
    Location
    France, Brittany !
    Posts
    913
    Thanks
    825
    Thanked 1,687 Times in 481 Posts

    Christophe Mineau's Tools
    Fine !
    what kind of pump did you use ?

    2000 Tool Plans
    Cheers !
    Christophe
    ________________________________________________________________
    Visit my Website : http://www.labellenote.fr/
    Facebook : La Belle Note
    All my personal works, unless explicitly specified, are released under
    Creative Commons BY-NC-SA license.

  4. #3
    Content Editor
    Supporting Member
    DIYer's Avatar
    Join Date
    Aug 2013
    Posts
    3,056
    Thanks
    772
    Thanked 1,850 Times in 1,652 Posts


    Thanks Canobi! We've added your Tank Cutting Jig to our Miscellaneous category,
    as well as to your builder page: Canobi's Homemade Tools. Your receipt:


  5. #4
    Content Editor
    Supporting Member
    DIYer's Avatar
    Join Date
    Aug 2013
    Posts
    3,056
    Thanks
    772
    Thanked 1,850 Times in 1,652 Posts


    Thanks Canobi! We've added your Vacuum Degassing Chamber to our Miscellaneous category,
    as well as to your builder page: Canobi's Homemade Tools. Your receipt:


  6. #5
    Supporting Member Canobi's Avatar
    Join Date
    Mar 2016
    Location
    Shrewsbury, Shropshire (UK)
    Posts
    181
    Thanks
    92
    Thanked 361 Times in 98 Posts

    Canobi's Tools
    Quote Originally Posted by Christophe Mineau View Post
    Fine !
    what kind of pump did you use ?
    Hi Christophe


    I used a 3CFM vacuum pump (the sort used for air cool systems). I did find it to be slightly under powered as pullung a completed vacuum can take up to 3 mins. It's not a problem for most silicone rubbers as the catalytic procress doesn't start till about 20mins after mixing. Resins are a different ball game with some only taking minutes before they start turning, or "gelling".

    The pump itself is a good unit and can't really justify getting a replacement as they get more expensive the more CFM they can pull.

    One workaround I'm looking into is a secondary chamber to use as an air dump for the main chamber. I could then just use the pump to reach the required negative pressures in a much shorter time.

    As a bonus, most gas bottles can be used as the secondary since it only takes the right fittings to connect the two chambers and as such, no potentially dangerous modifications to the bottle are required.
    It's not the destination but the journey you take to get there that matters.

  7. The Following User Says Thank You to Canobi For This Useful Post:

    Paul Jones (May 10, 2016)

  8. #6
    Supporting Member Ed ke6bnl's Avatar
    Join Date
    Mar 2012
    Location
    So. California high desert
    Posts
    78
    Thanks
    1
    Thanked 14 Times in 11 Posts

    Ed ke6bnl's Tools
    so you put the product in the can and set the clear acrylic on top and pull a vacuum that helps to seal the plastic to the silicone
    1950 F1 street rod
    1949 F1 stock V8 flathead
    1948 F6 350 chevy/rest stock, no dump bed
    1953 chevy 3100 AD for 85 S10 frame going for a 4BT cummins motor, NV4500
    1968 Baha Bug with 2.2 ecotec motor, king coil-overs,P/S
    2000 National Sea Breeze 5th wheel trailer
    1998.5 Dodge 2500 4x4 Cummins,

  9. #7
    Supporting Member Canobi's Avatar
    Join Date
    Mar 2016
    Location
    Shrewsbury, Shropshire (UK)
    Posts
    181
    Thanks
    92
    Thanked 361 Times in 98 Posts

    Canobi's Tools
    Quote Originally Posted by Ed ke6bnl View Post
    so you put the product in the can and set the clear acrylic on top and pull a vacuum that helps to seal the plastic to the silicone
    That is indeed correct good sir.
    It's not the destination but the journey you take to get there that matters.

  10. #8
    Supporting Member DIYSwede's Avatar
    Join Date
    May 2019
    Location
    Stockholm, Sweden...
    Posts
    634
    Thanks
    415
    Thanked 799 Times in 319 Posts

    DIYSwede's Tools
    Excellent illustrated writeup and clever use of limited resourses,
    I just might borrow this entire concept for our (private) vacuum needs at work,
    in particular for re-casting potted transformers when rebuilding vintage audio gear.

    Thanks, and keep up the good work!
    Cheers

  11. #9
    Supporting Member Canobi's Avatar
    Join Date
    Mar 2016
    Location
    Shrewsbury, Shropshire (UK)
    Posts
    181
    Thanks
    92
    Thanked 361 Times in 98 Posts

    Canobi's Tools
    Thank you for the compliment

    The only thing I'd change if I did it again would be to install the valve essembly into the lid and not the tank.

    Good luck with your build, do share some pics too


    186 More Best Homemade Tools eBook
    It's not the destination but the journey you take to get there that matters.

Thread Information

Users Browsing this Thread

There are currently 1 users browsing this thread. (0 members and 1 guests)

Bookmarks

Posting Permissions

  • You may not post new threads
  • You may not post replies
  • You may not post attachments
  • You may not edit your posts
  •