Hi All
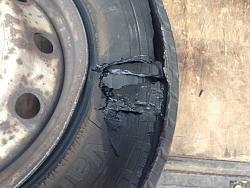
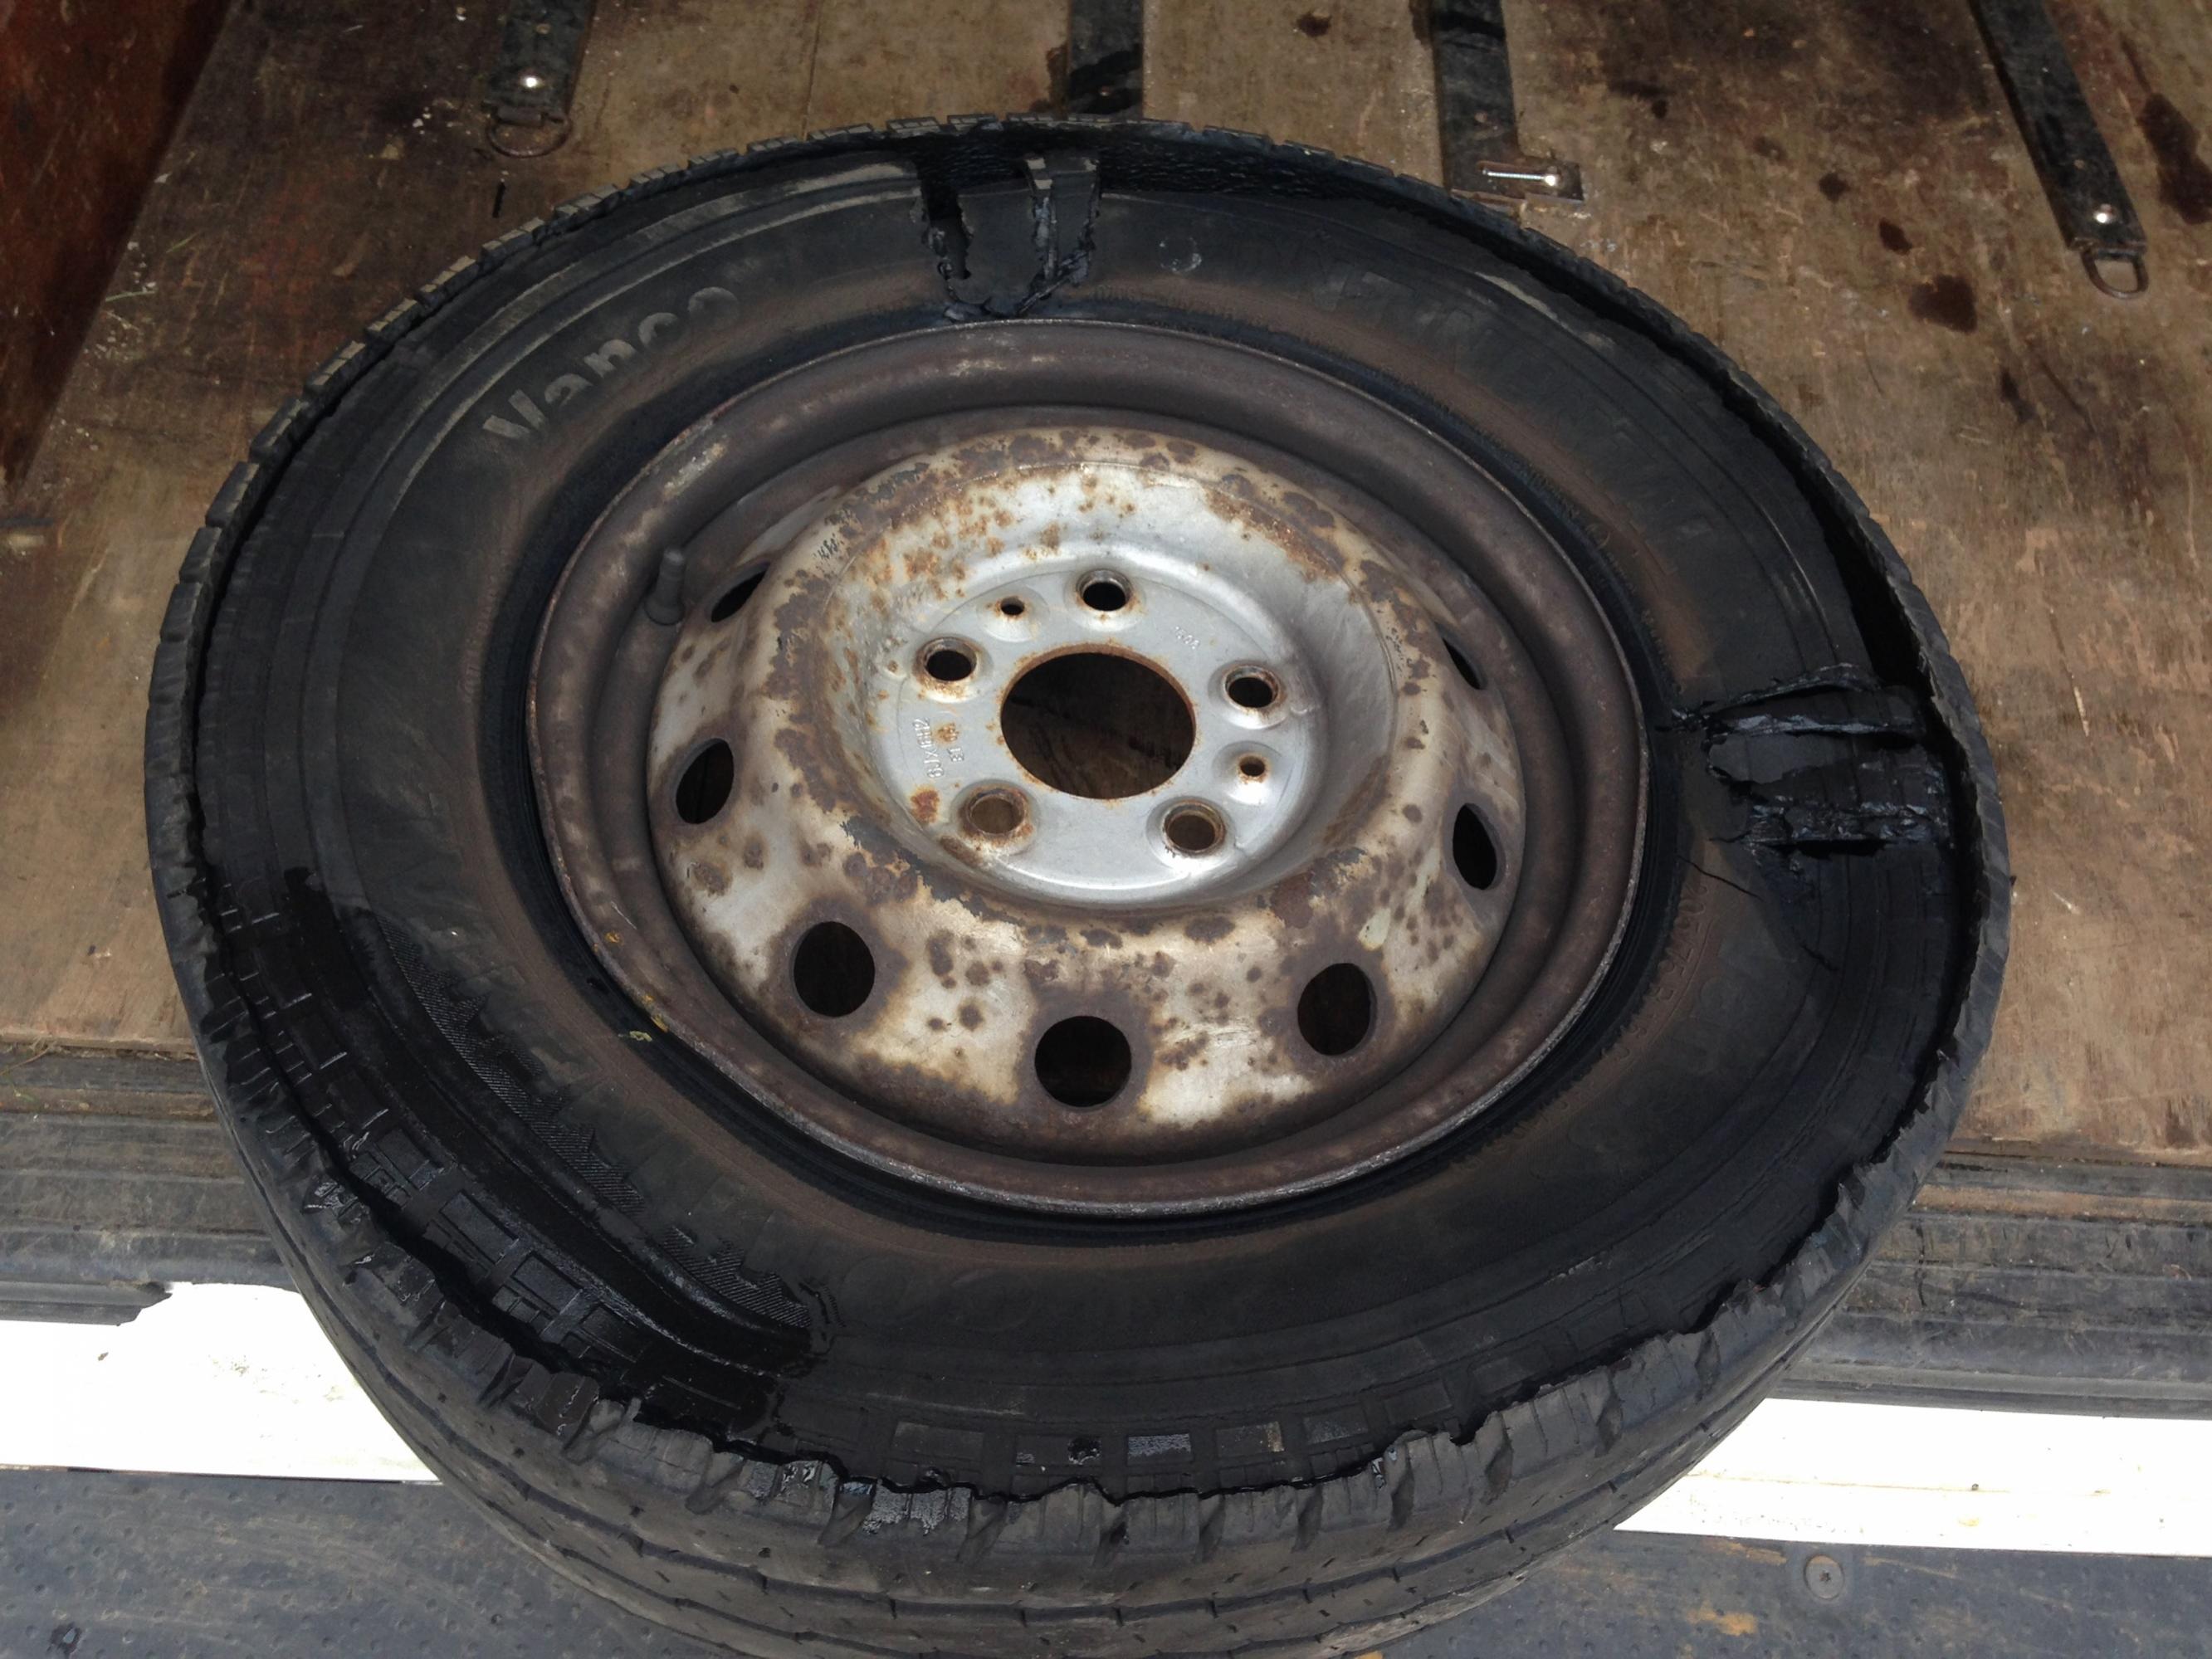
I have made these stands after a tyre blowout on a motorway (see photo below).
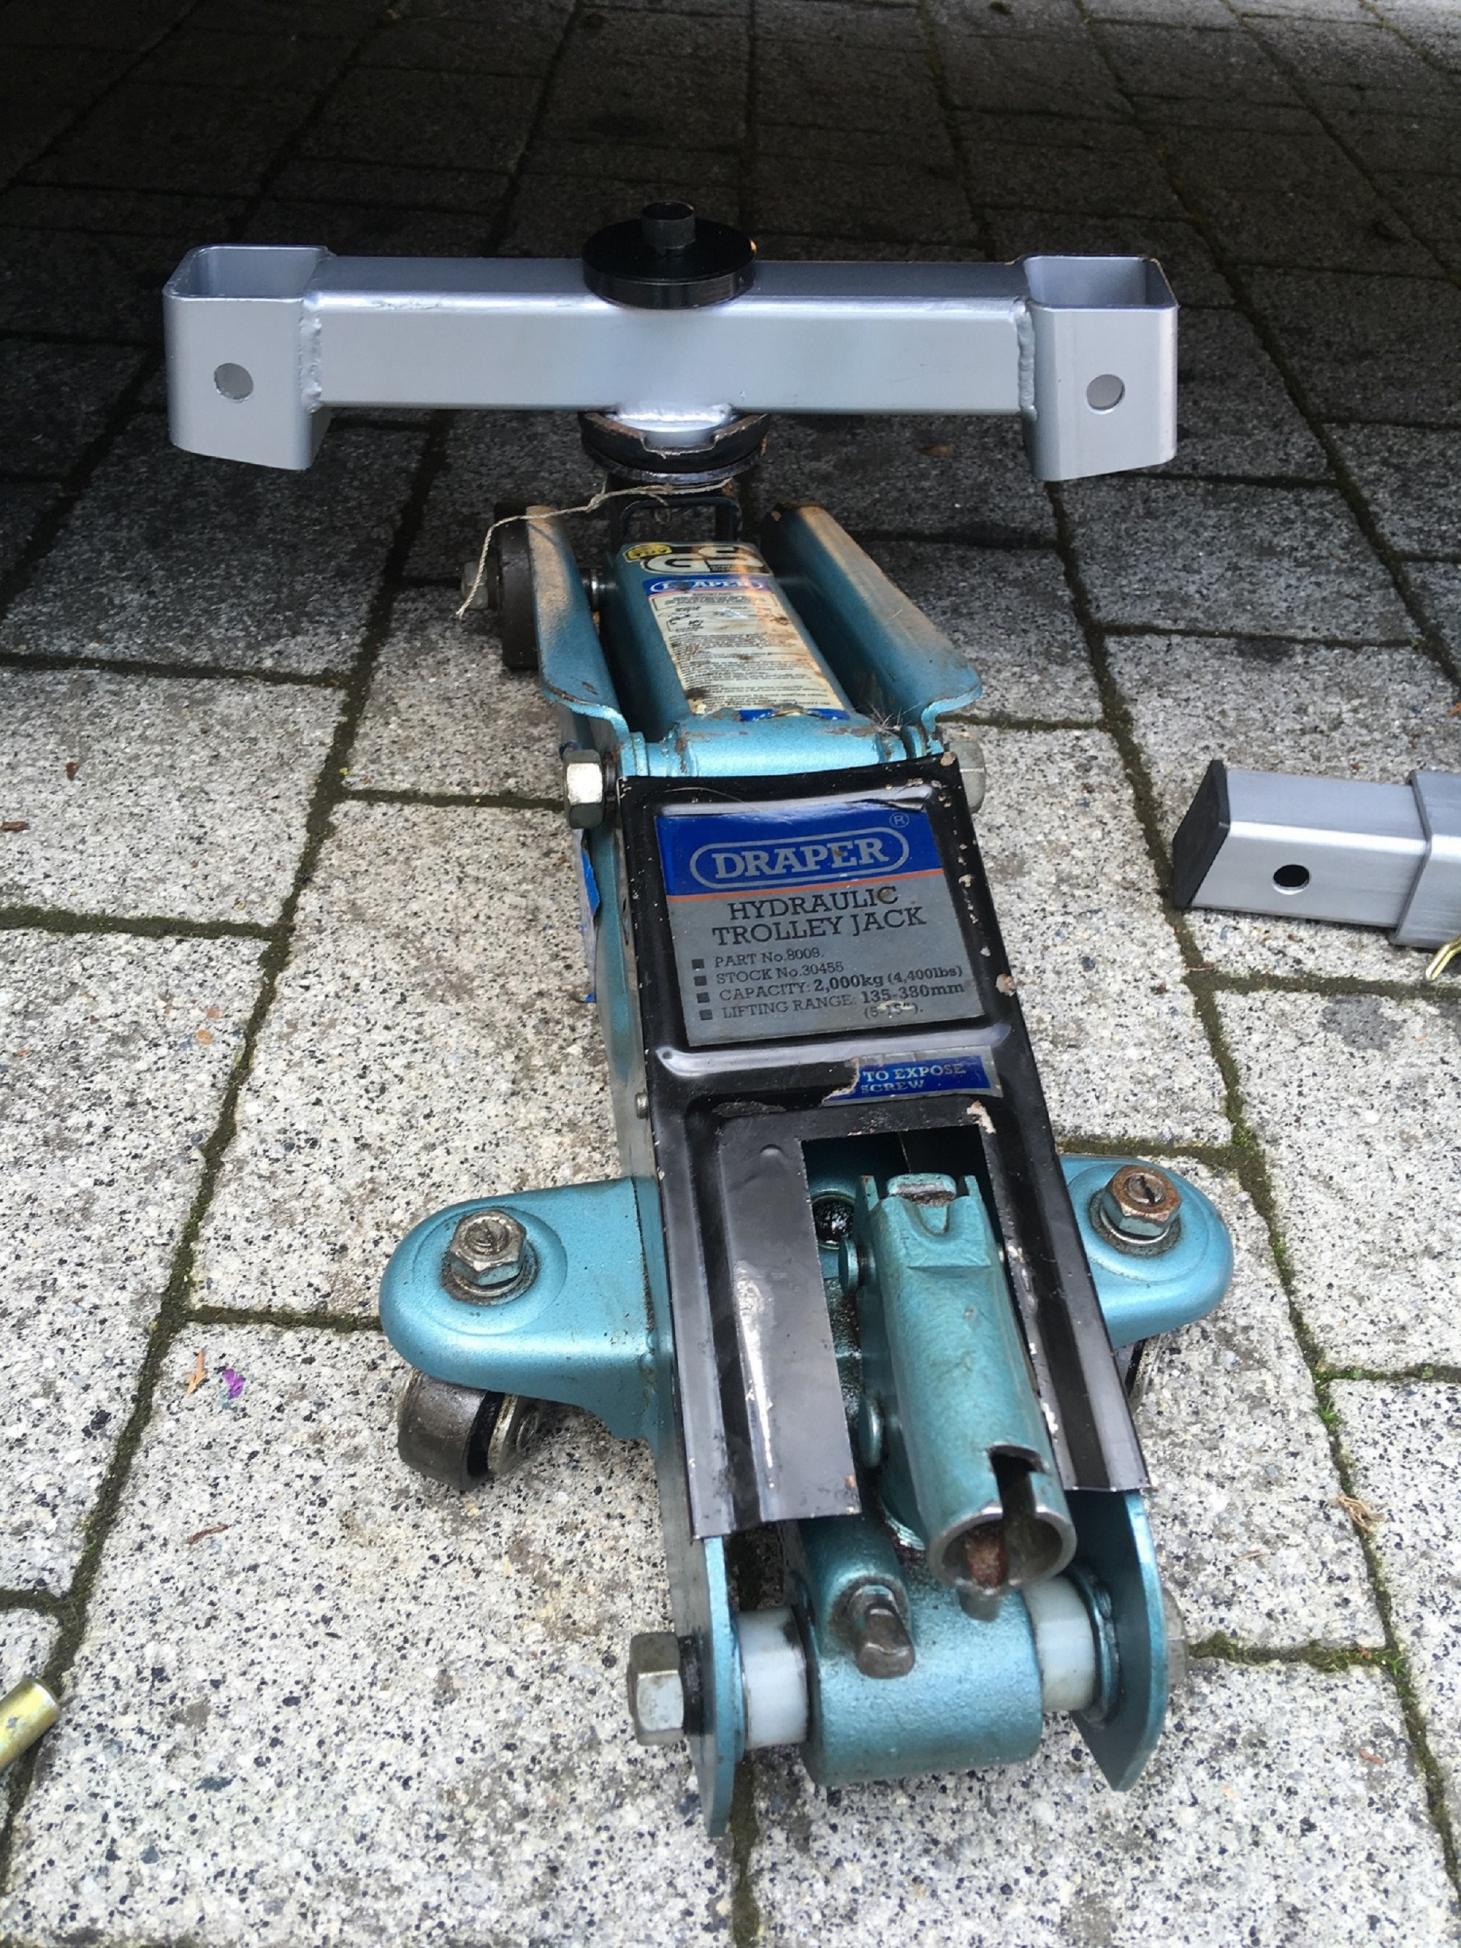
The standard jack broke when trying to lift my van, which was empty. This is the second Fiat jack that has failed on me. I always carry my hydraulic trolley jack, but on this occasion, this also failed but I was able to pump it up about halfway before running out of oil pressure and travel. I manged to find some blocks of wood to enable me to lift it high enough to change the wheel.
However, with the van being propped up in a precarious position and being buffered by large lorries whizzing by and rocking the van I decided I needed a better stable solution for the future. If the van had fallen of the jack I would have been in all kinds of trouble let alone the safety of myself while changing the wheel.
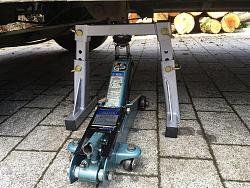
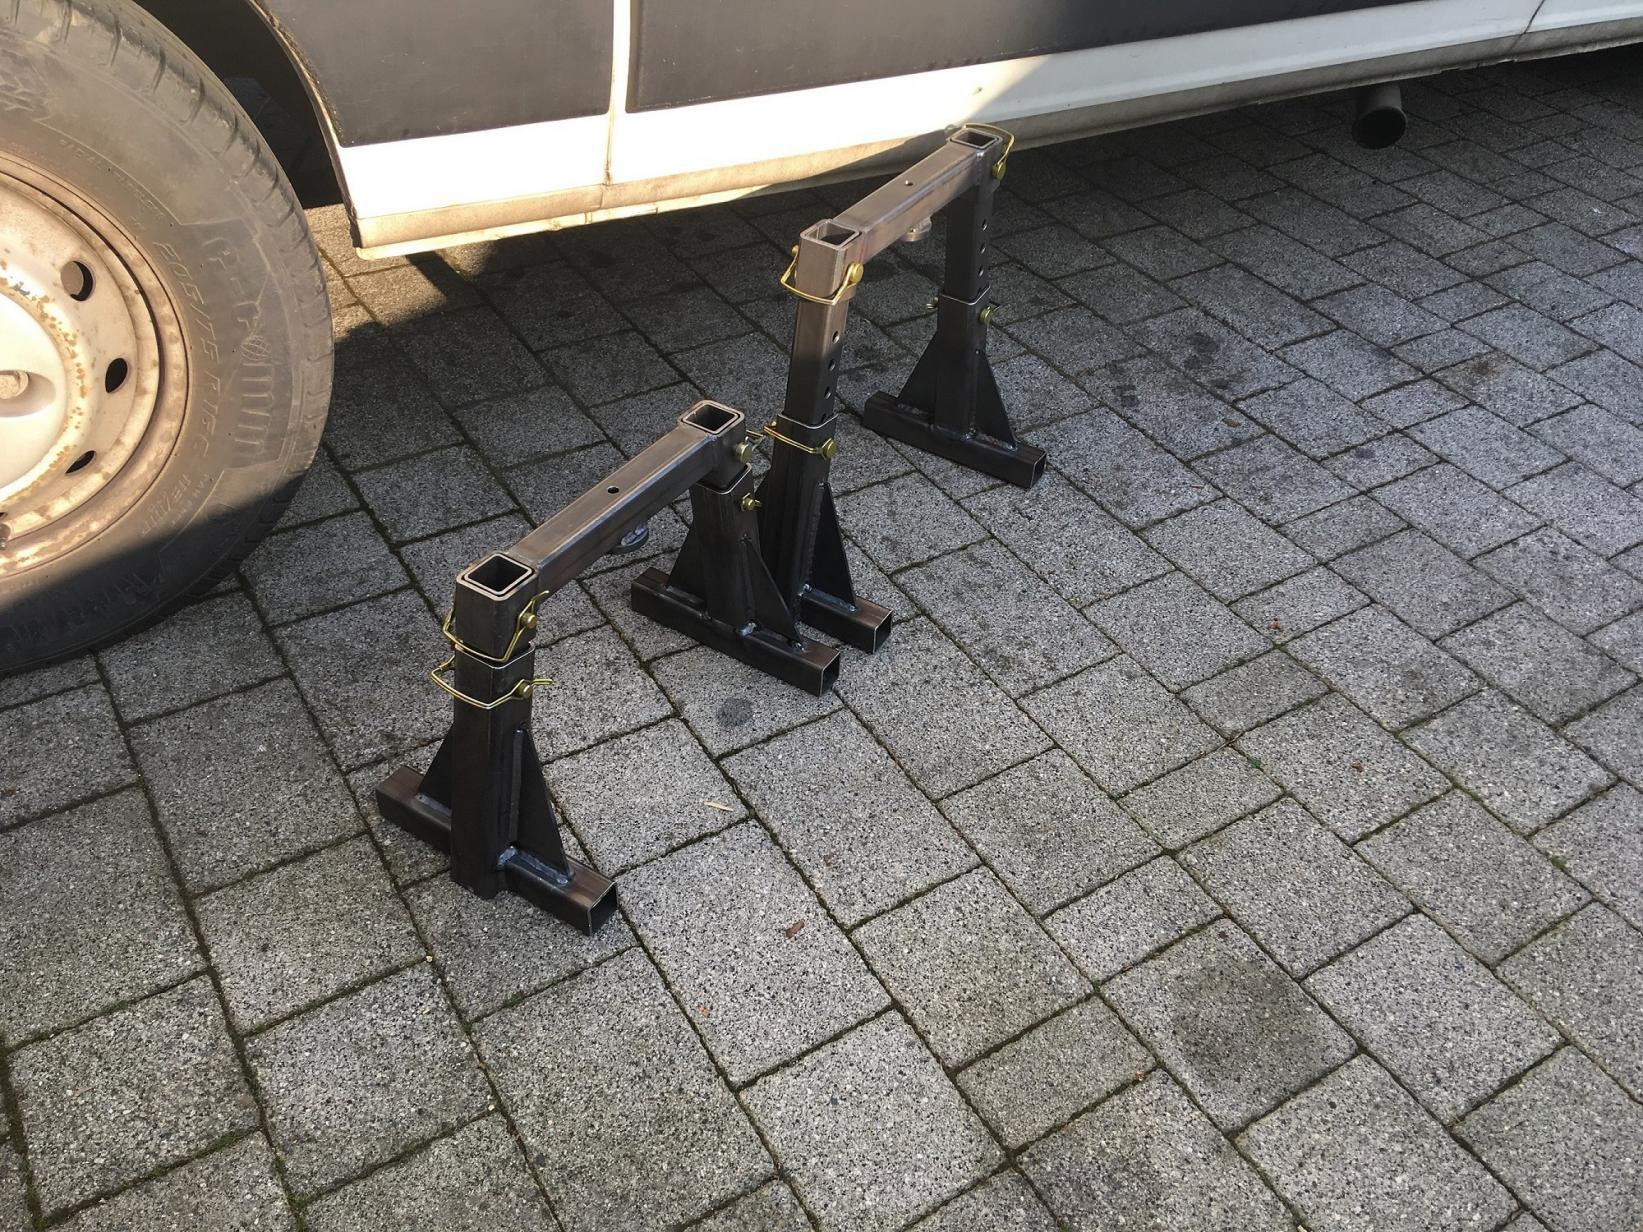
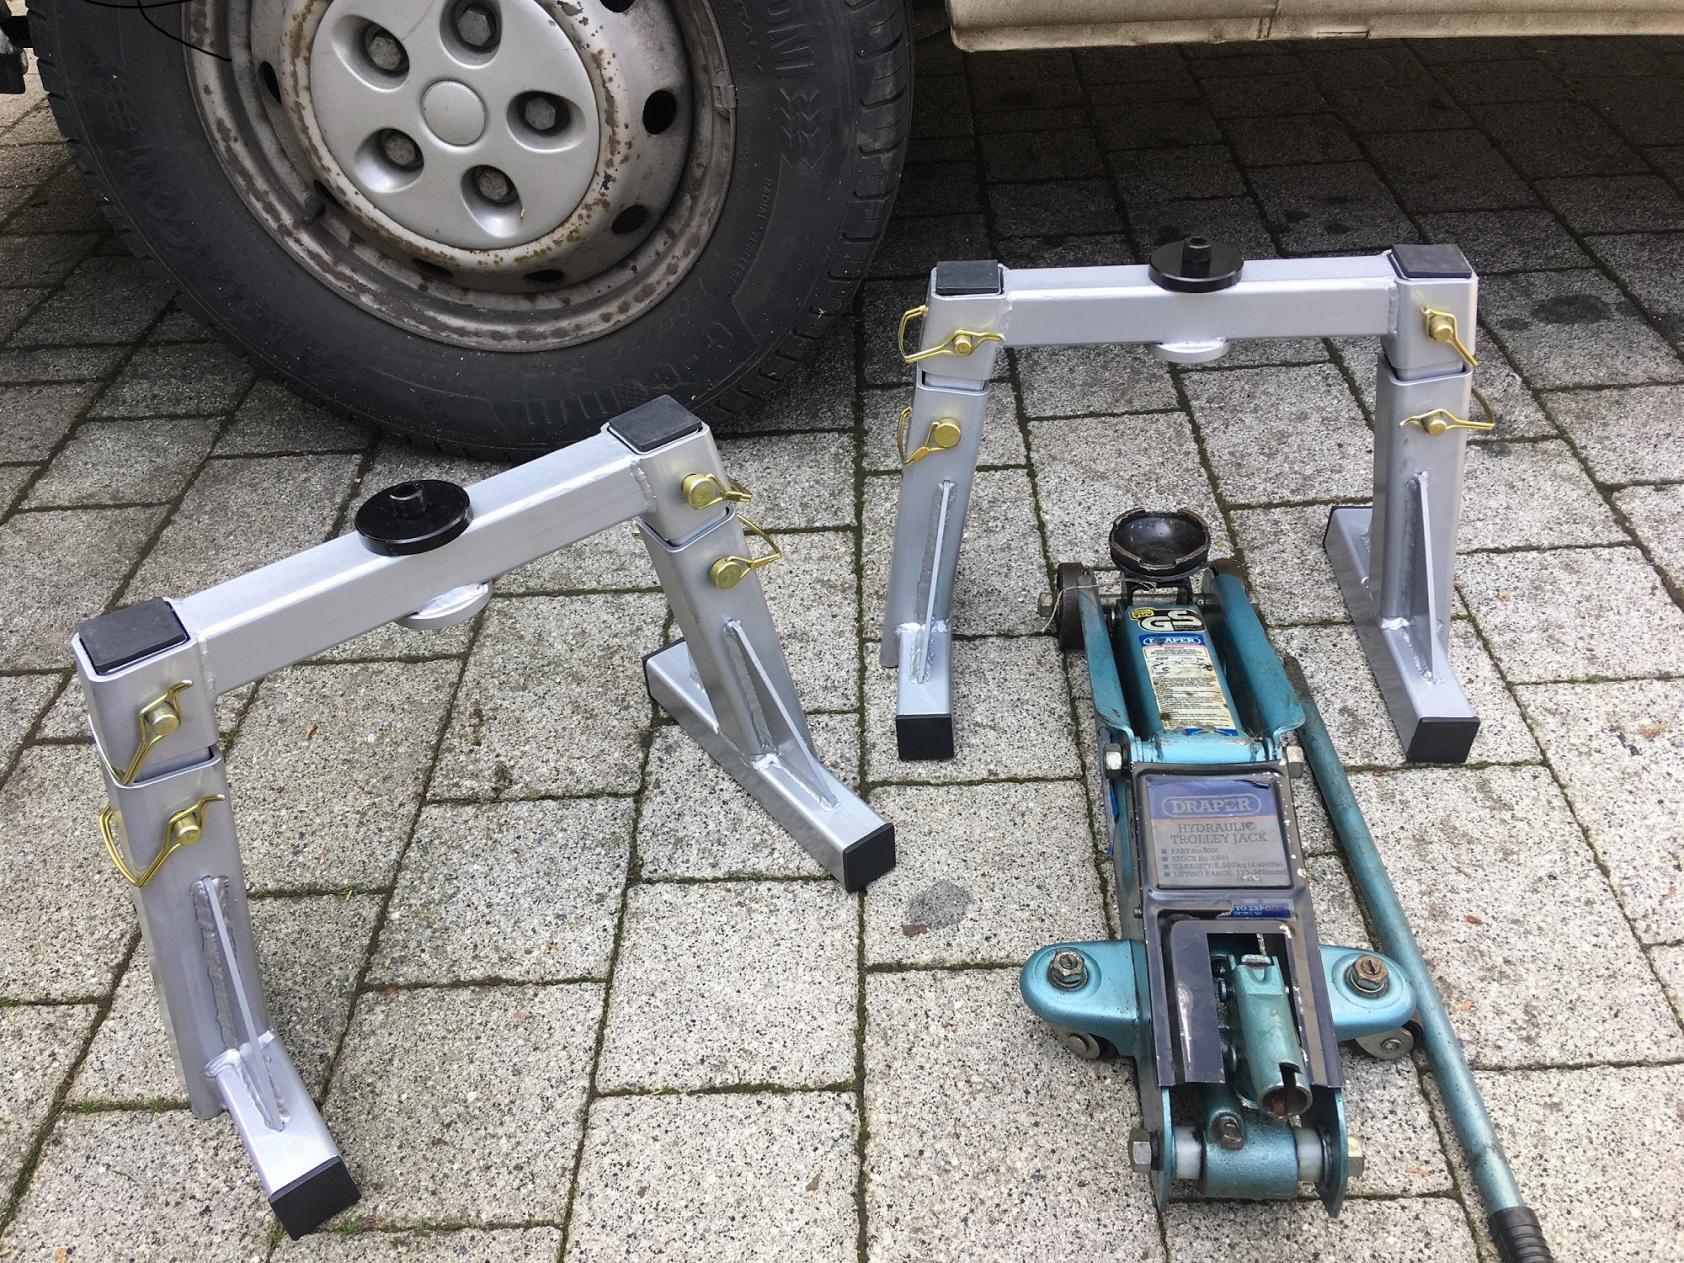
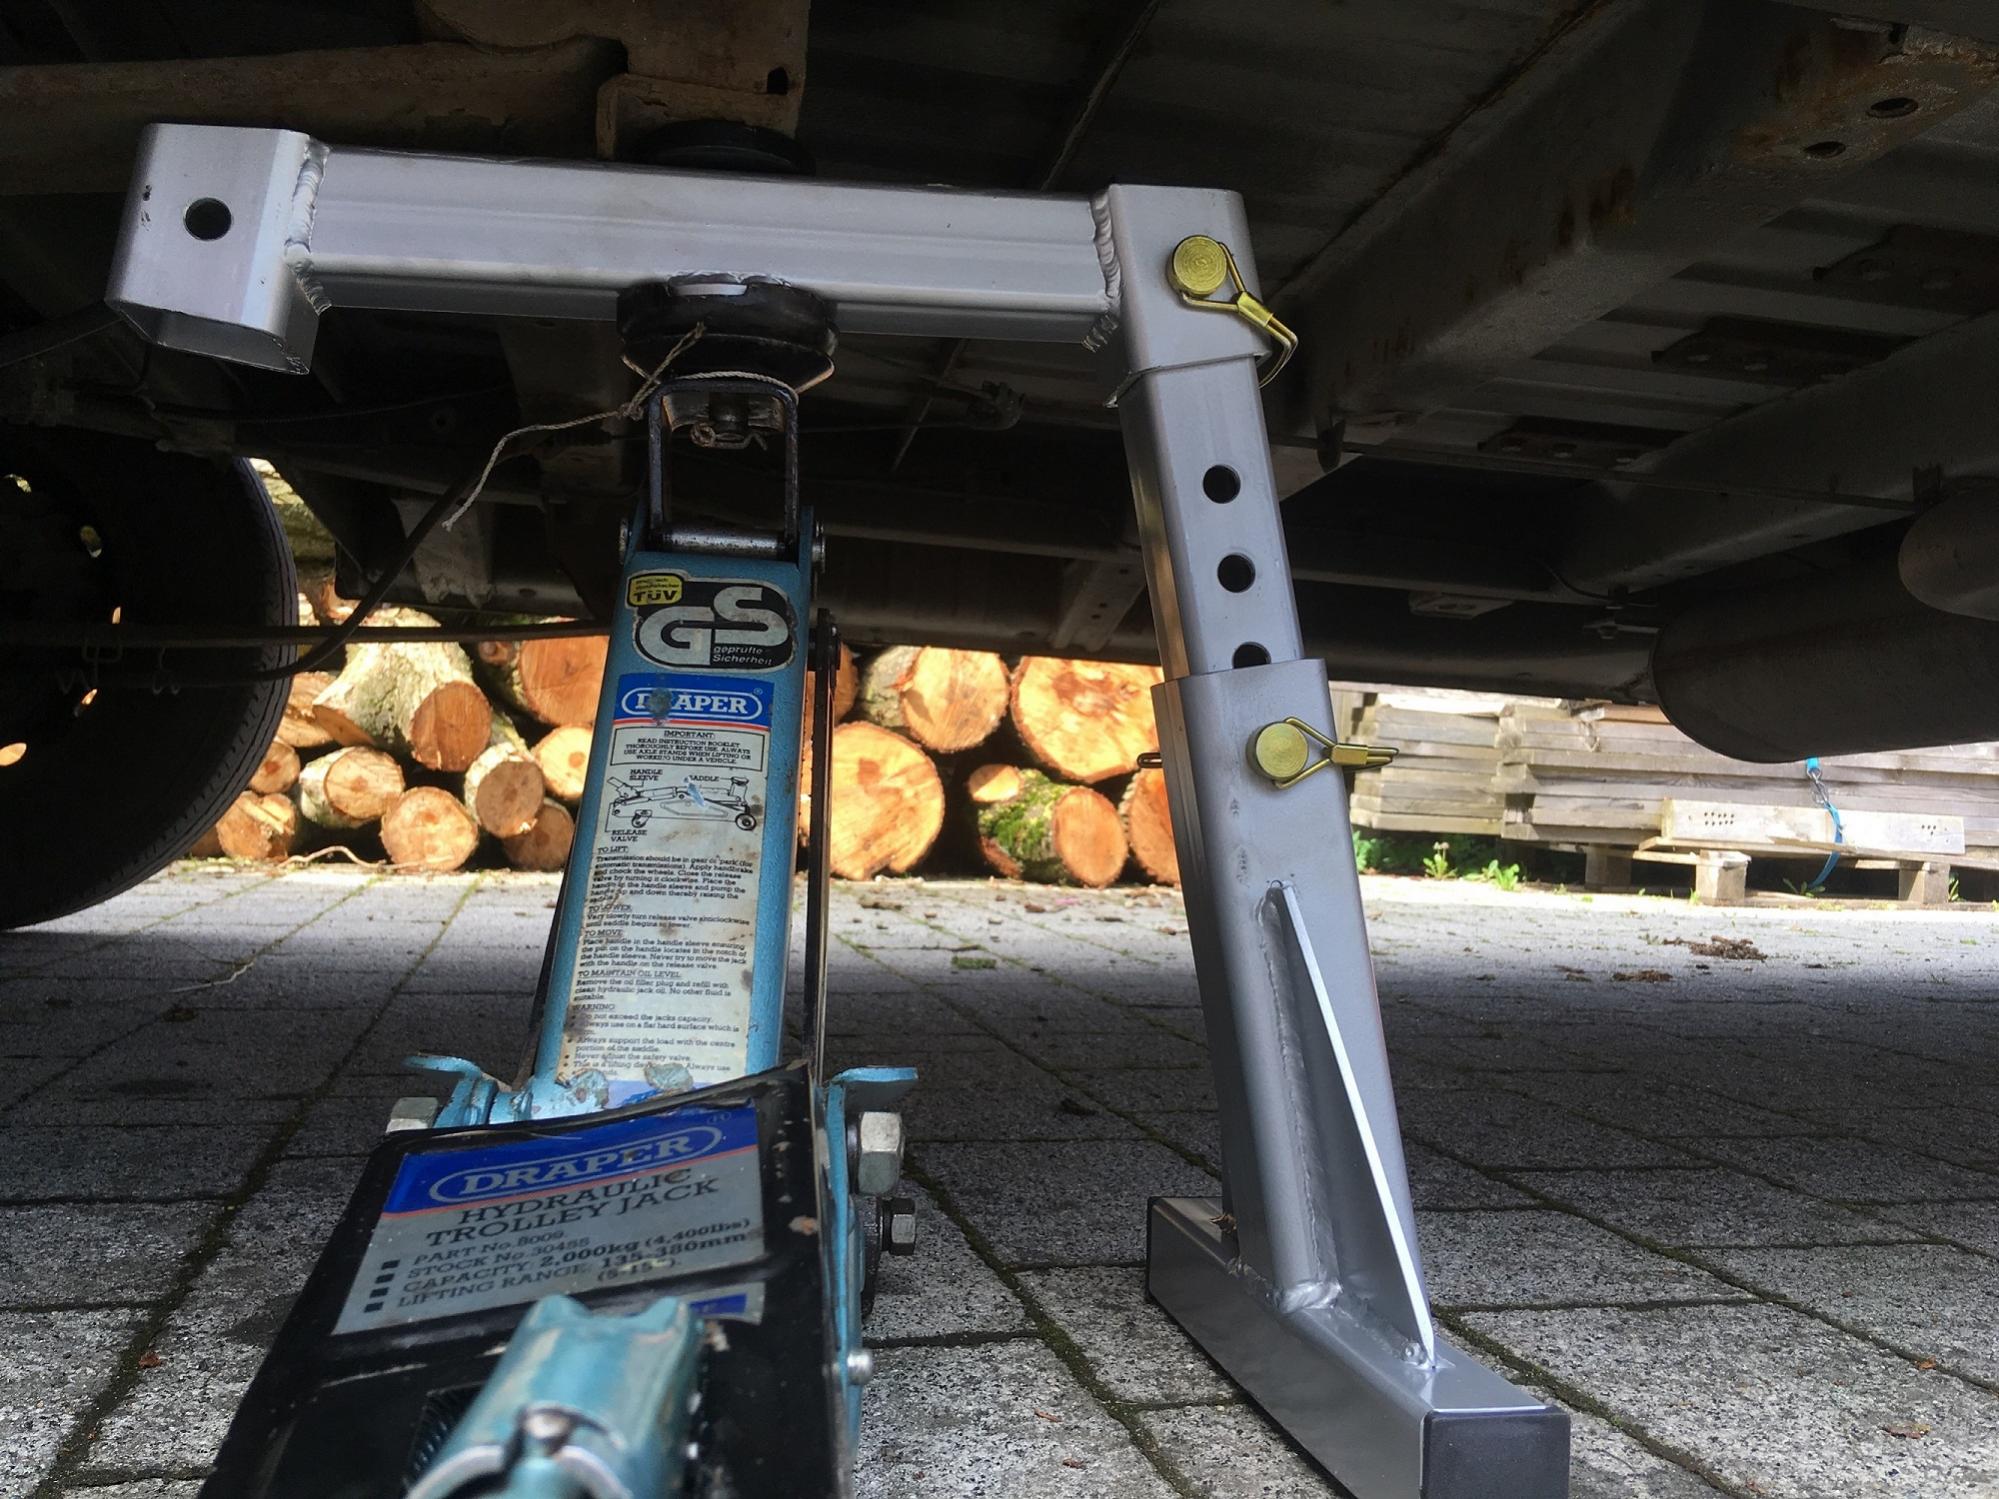
My solution was to service the trolley jack and build some stands based on the Safe Jack design that would work in conjunction with the jack. The van is then able to be lifted and support by the trolley jack and the stands together. The Stands are a second safety measure just in case the jack was to fail or creep with the weight of the van especially if loaded up. These will also be very useful if working on the van as these give great height when working under the vehicle.
The box section I used was 50mm x 50mm x 5mm and 40mm x 40mm x 3mm and the pins are 12mm diameter
The Safe Jack are very expensive (in my oppinion). To purchase a pair at £280 plus delivery is out of my budget range, so for about £40 of materials and a bit of effort this made for an enjoyable and interesting fabrication project.
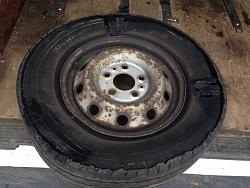
Damage to tyre
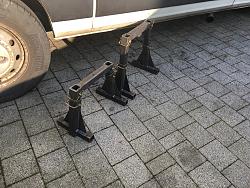
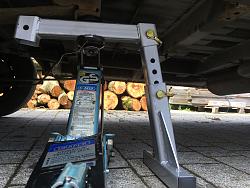
Unpainted stands at the lowest and highest settings

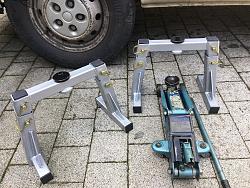
Completed and painted stands ready for test.
Stand being used

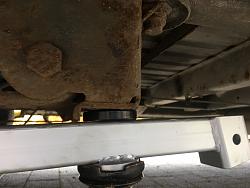
Stand in position.
Thank you for viewing
The Home Engineer

 LinkBack URL
 About LinkBacks

Originally Posted by thehomeengineer
 Hi All
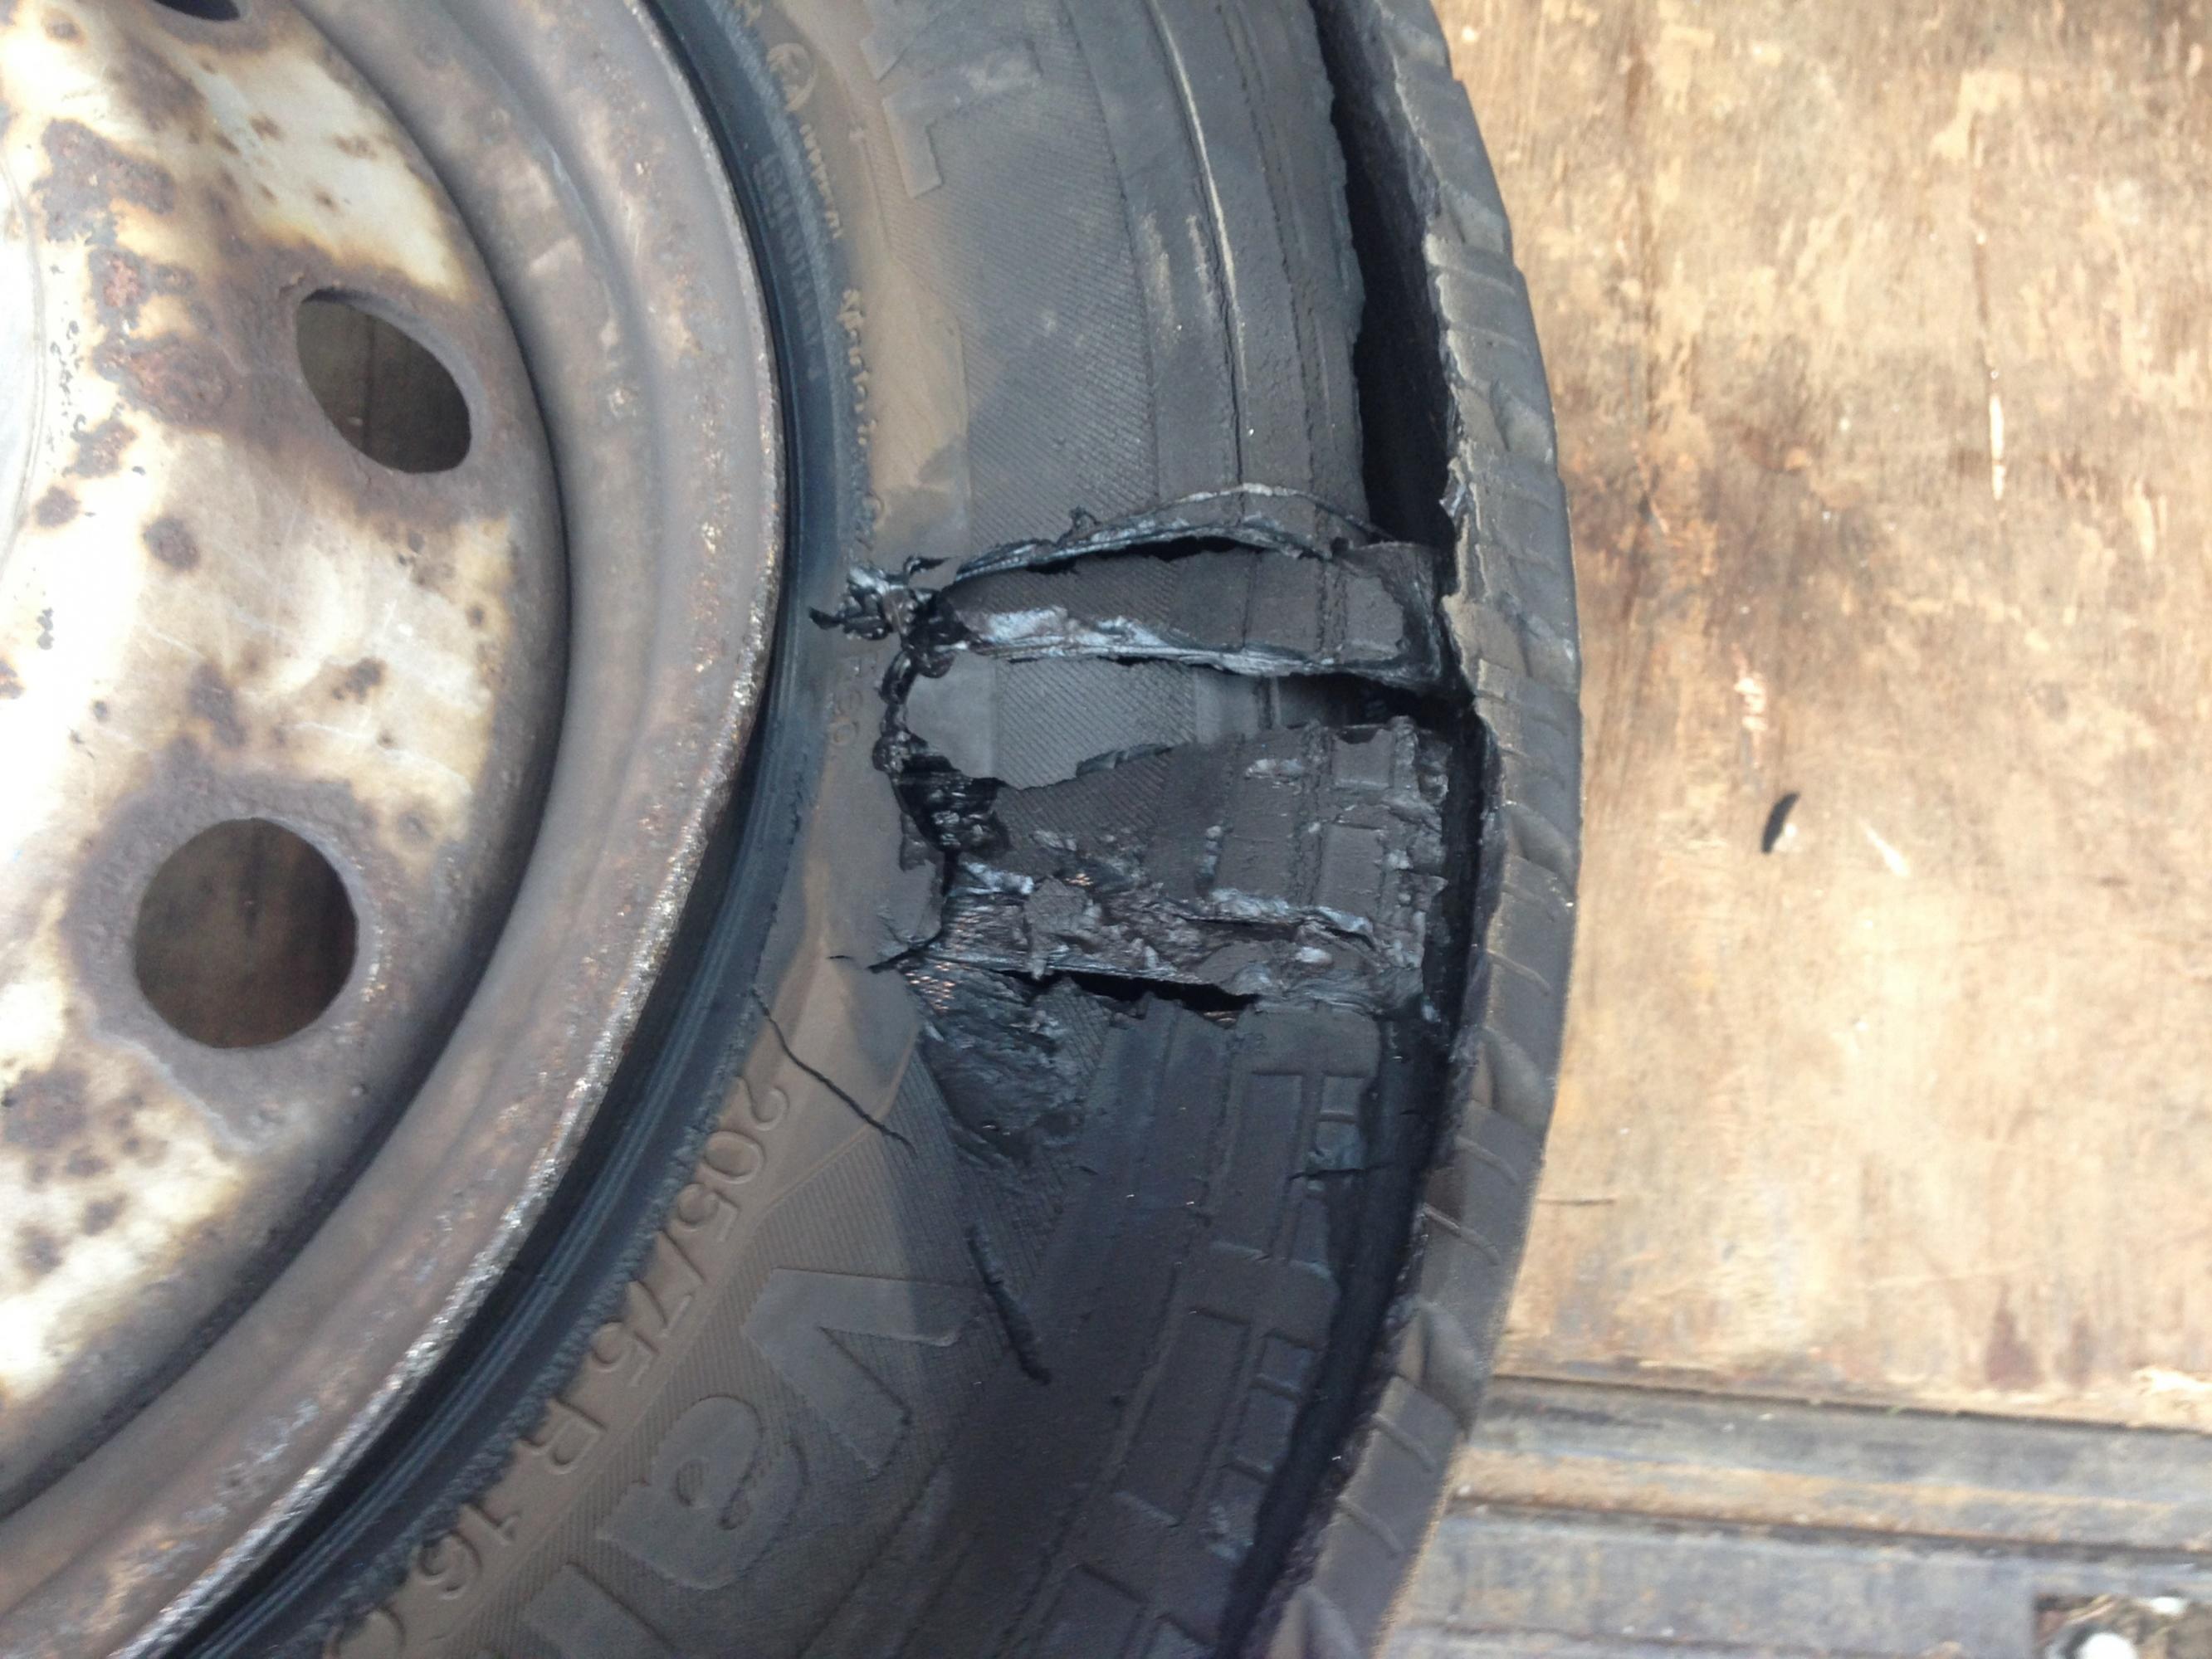


 Reply With Quote

Bookmarks