 LinkBack URL
 About LinkBacks
Wishing you the best.


Wishing you the best.

Thanks. We didn't plan to constantly be the exception to rules, but it seems to be what happens.Originally Posted by mr mikey

Going way back in our history we've seemed to be the exception in lots of things, like finding bank statements that don't balance. "Nobody's ever noticed before that the balances are crazy numbers (deposit $100 and the balance drops by $60,000)"
Haven't posted for a while, due to political issues we were out of town for a long time. But, we're back with papers now that say we're not going anywhere. We've spent the last year+ catching up on all the stuff we should have done while we were gone. We did a lot of work inside the house, got all but short the door wall of a greenhouse built (block walls partway up, then steel frame above). We're just about ready to order the polycarbonate sheets for that. Finished our bedroom (laminate, built a big closet, painted) and moved into it. And assorted other projects (my wife Sharon below painting downstairs):
Anyway, here's some recent projects in the shop...
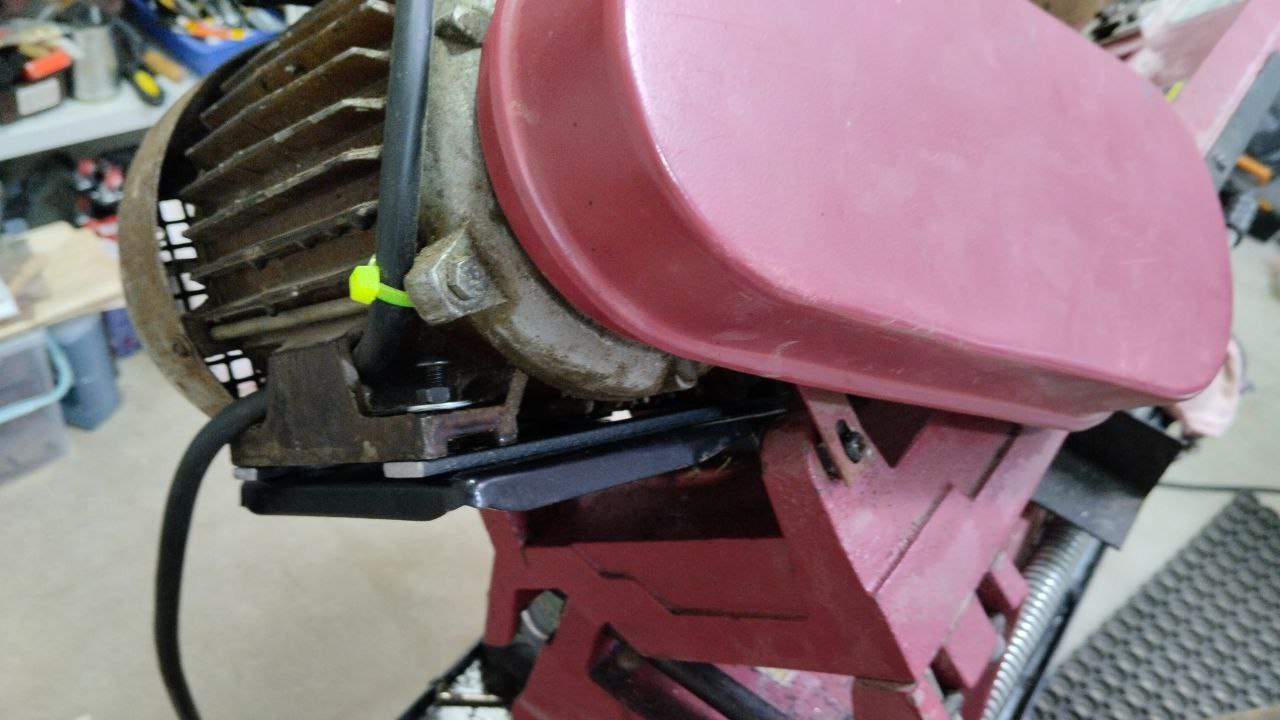
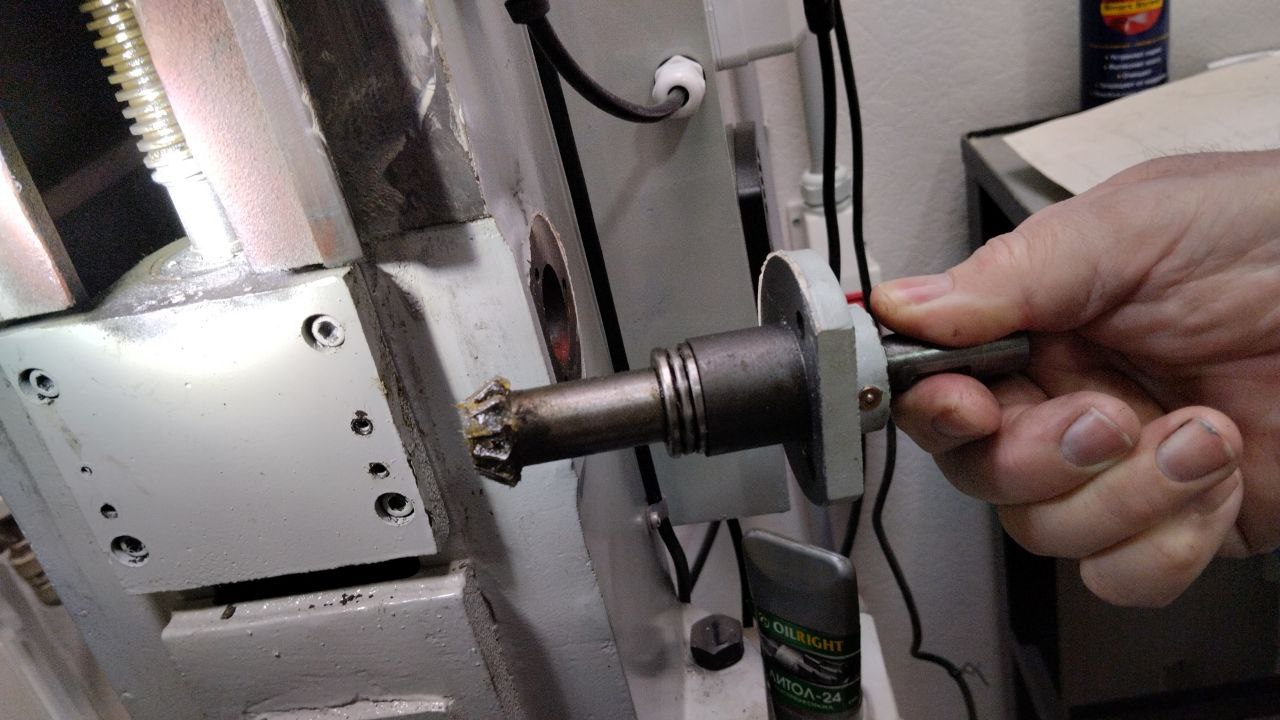
We brought the bandsaw with us from California, but of course left the motor and stand behind. A friend here gave us an old Soviet era motor which pretty much fit with a bit of duct tape and bailing wire. Well, I finally made an adapter so the motor fits the original mount (just straps drilled and tapped in the right places) and got the belt cover on. We'd made the cart for it when we first got here.
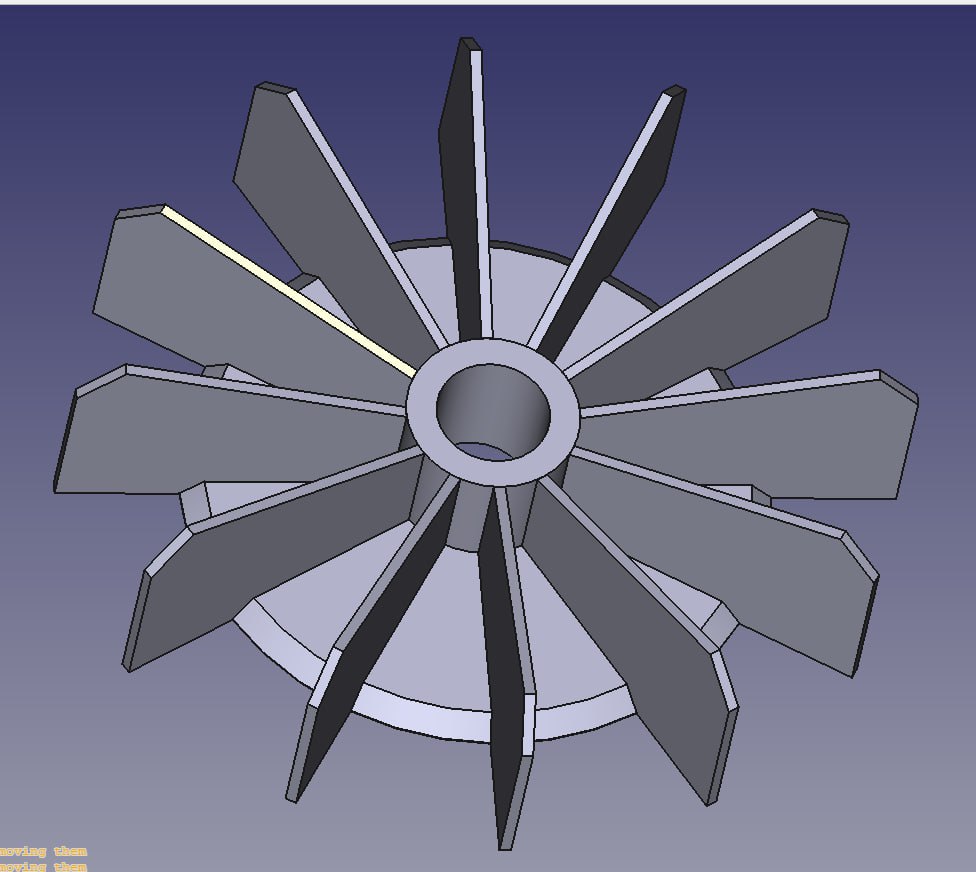
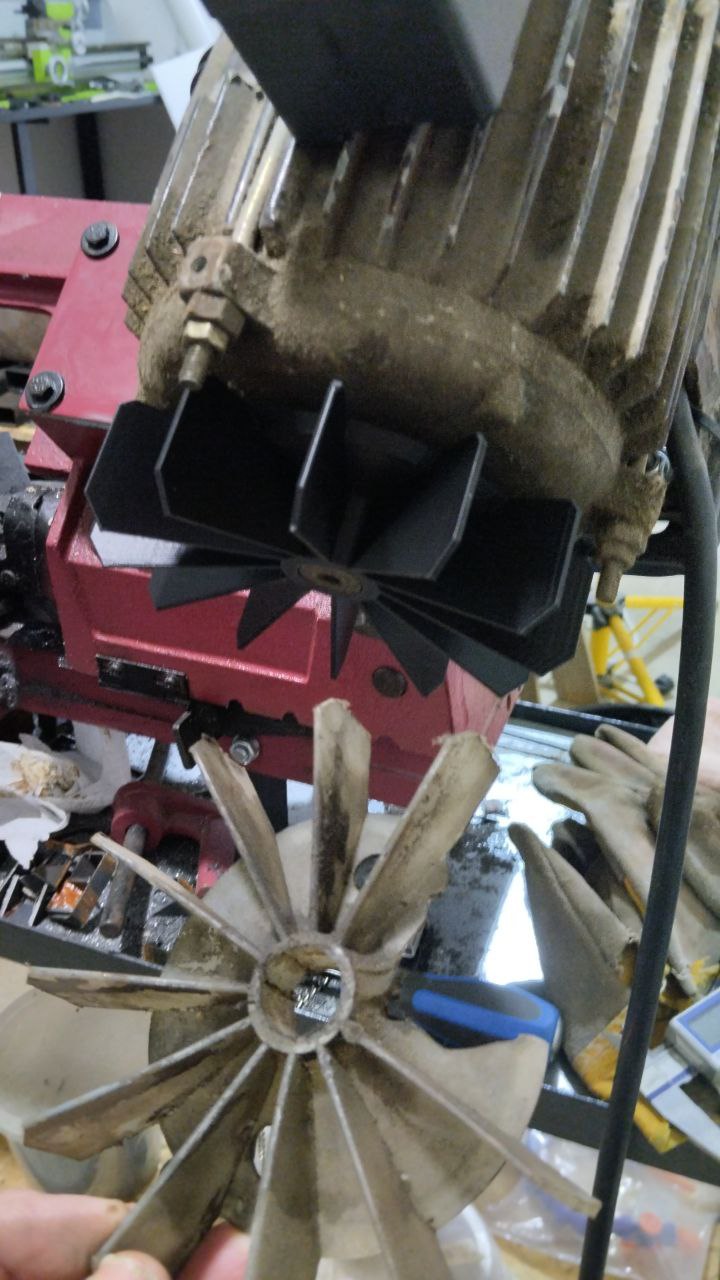
The fan in for the motor (TEFC) had two missing blades, so I 3D printed a new one and installed it.
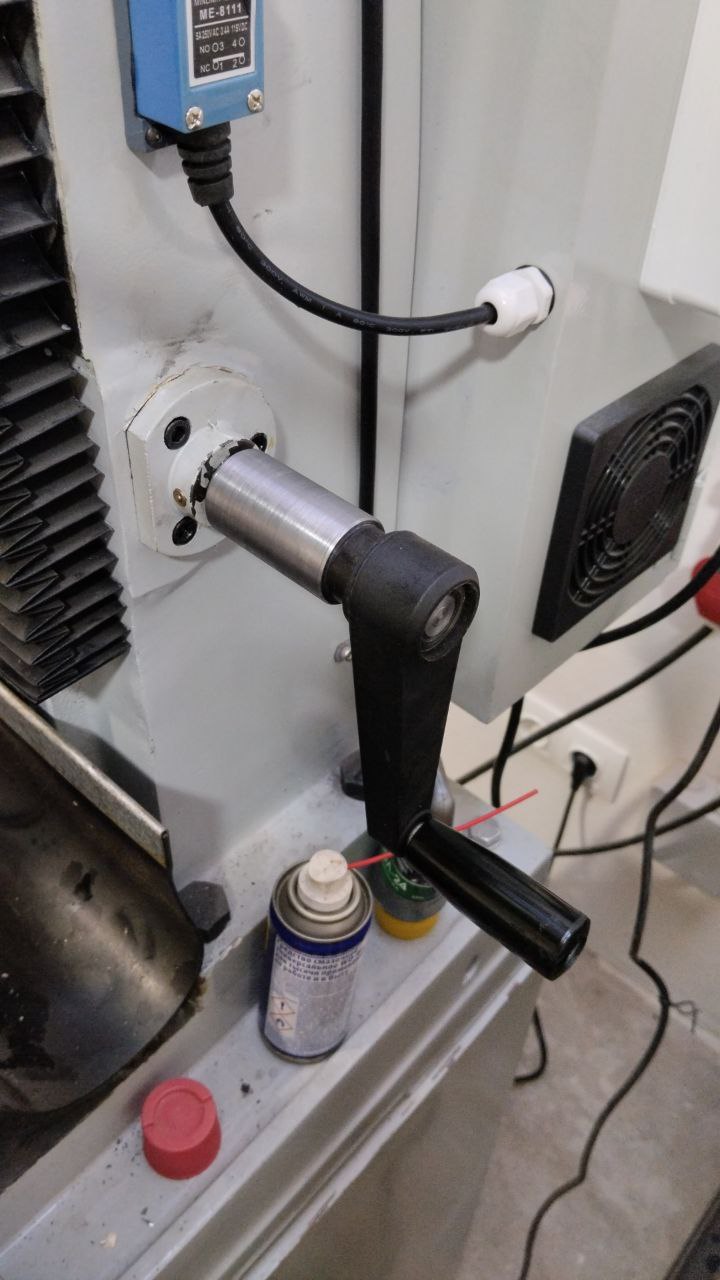
On my milling machine, when I moved the head up/down the lower gearbox for the manual crank made a lot of noise. Not liking noise, I started a search of how to get into it. I found it had been greased in a typical production way, toss a blob in the general direction of the gears and close it up. There was also a lot of axial play in the shaft. Spacer added, greased and installed. Fixed
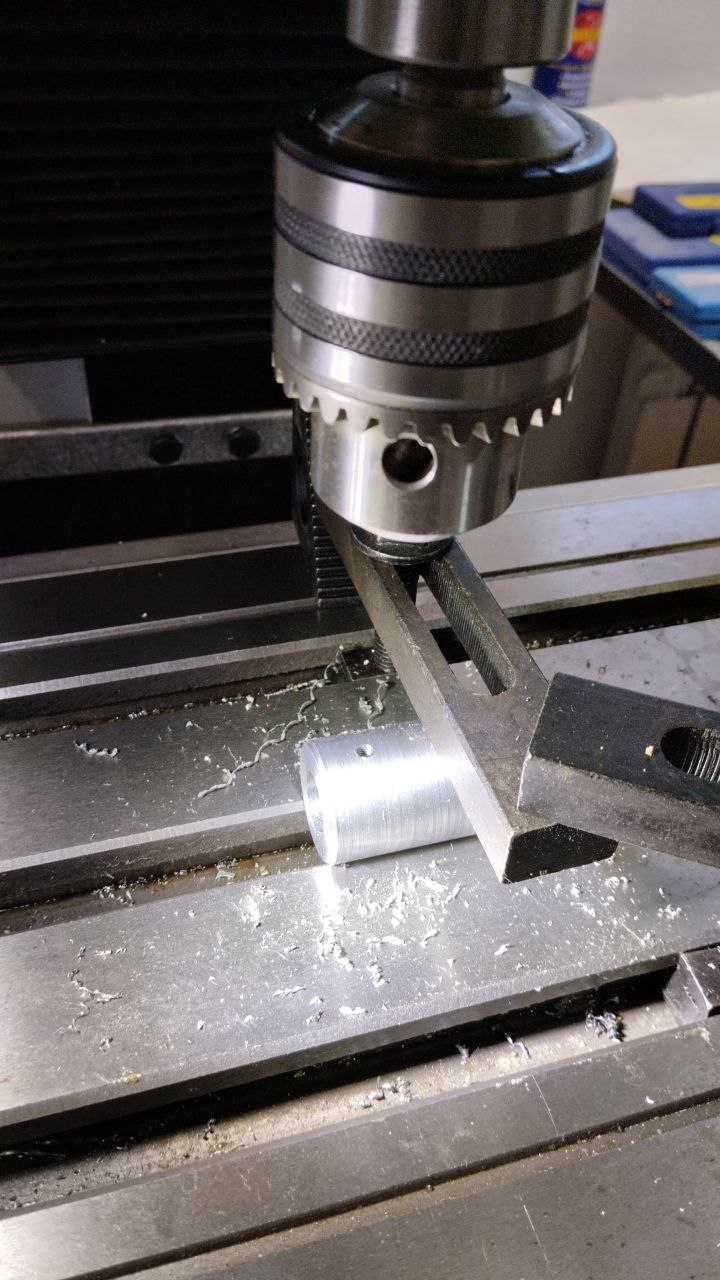
The manual crank handle was set too close to the machine, so I made an extender out of some scrap bar I have. Clear paint and that job is done.
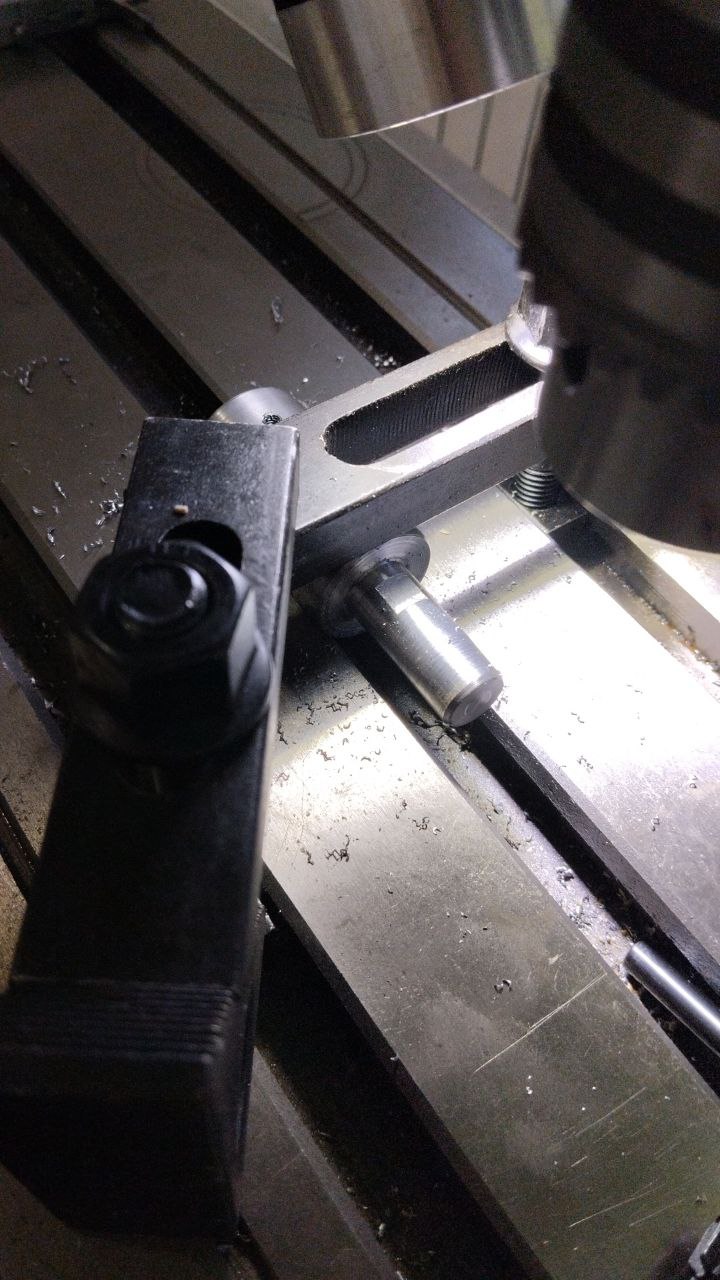
test fit
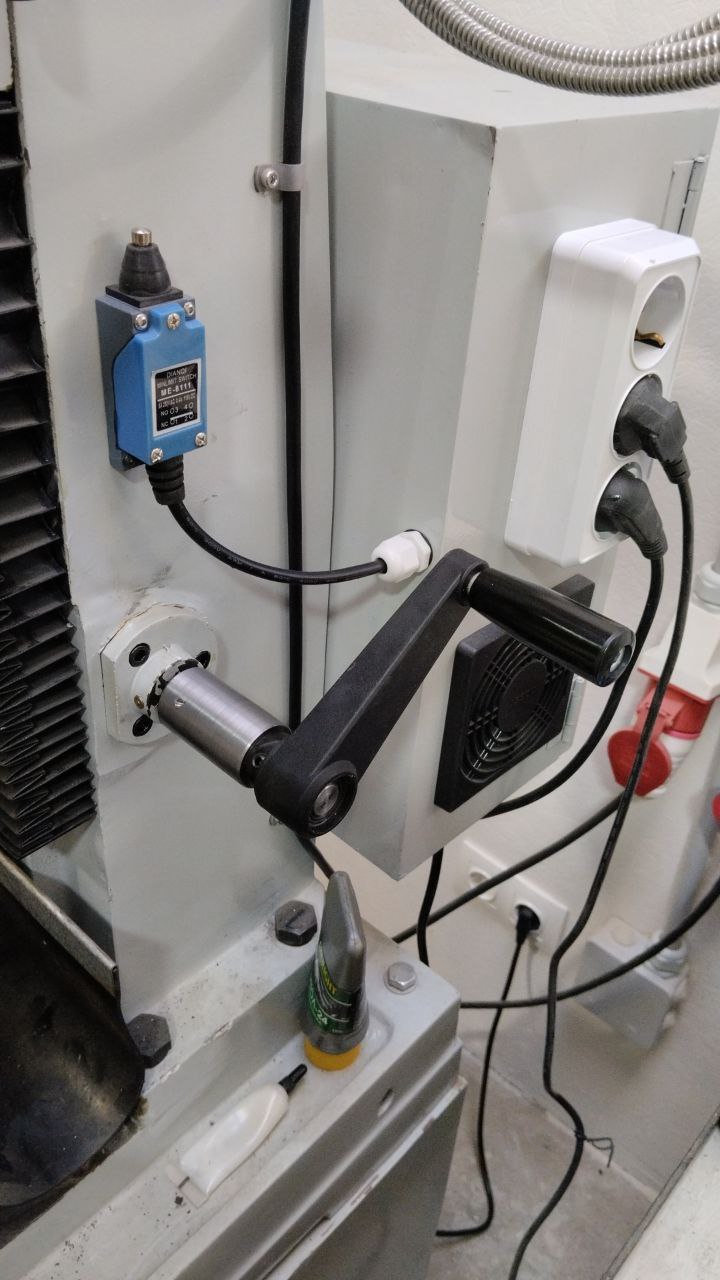
Two other modifications in the last picture:
The blue limit switch, for some reason they didn't put a down limit on this. With an ER chuck holder you can lower the head far enough to damage the bellows, so I added this.
Also the white power strip: It's powered through a relay I added in the control box, there was just enough space on the DIN rail for a small one. When you turn on the main 380V switch, the relay kicks on and supplies 220V to the power strip for the DRO and X motor on the table.
Inside the cabinet, I added a fan, they just had holes for cooling but it gets pretty hot here in summer. I 3D printed an adapter to match up with the hole they had in the cabinet (not a standard fan size), and hooked up a 24V fan with a diode bridge and capacitor off the 15VAC tap on the transformer inside the case. The transformer is used to power the relays.
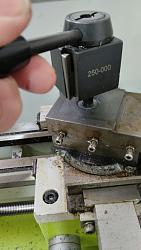
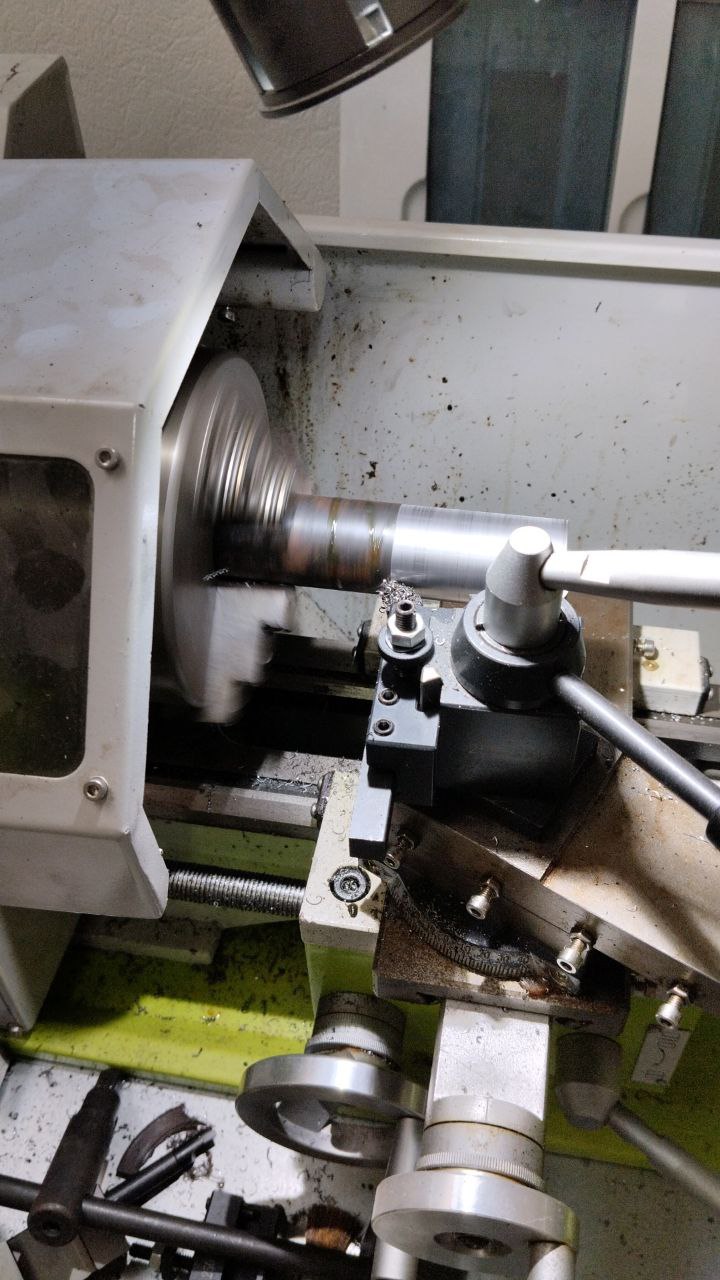
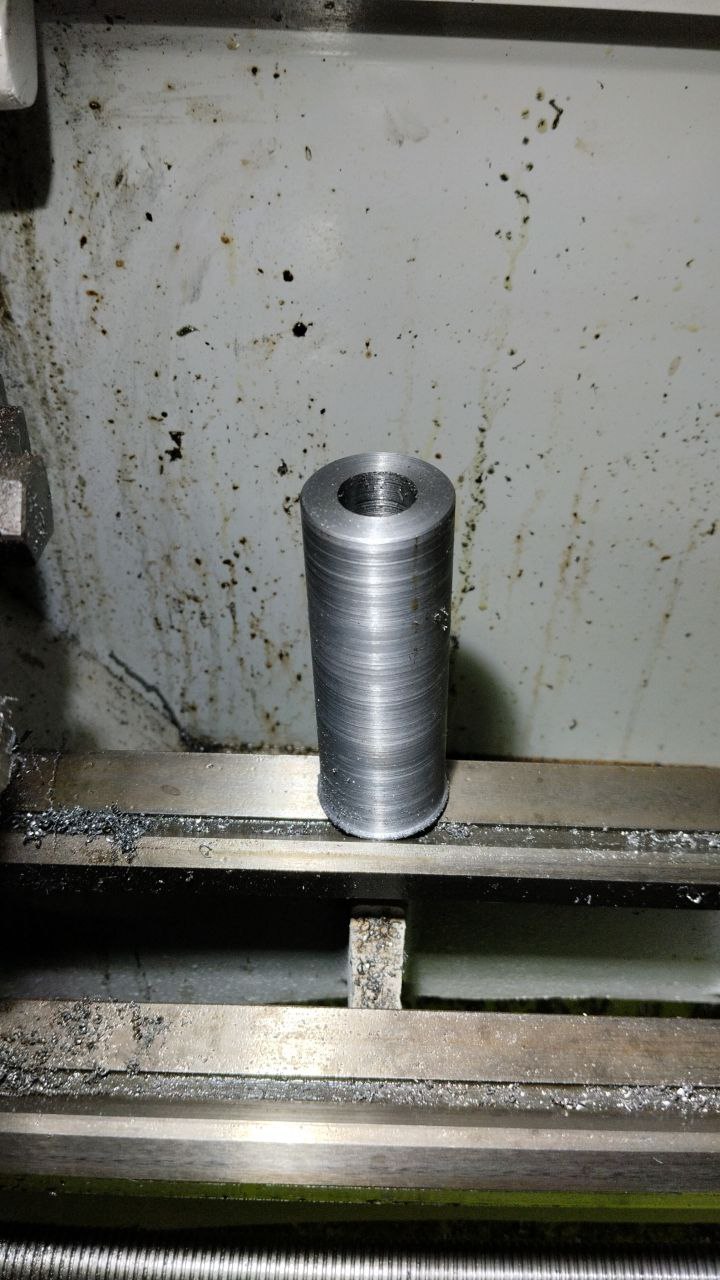
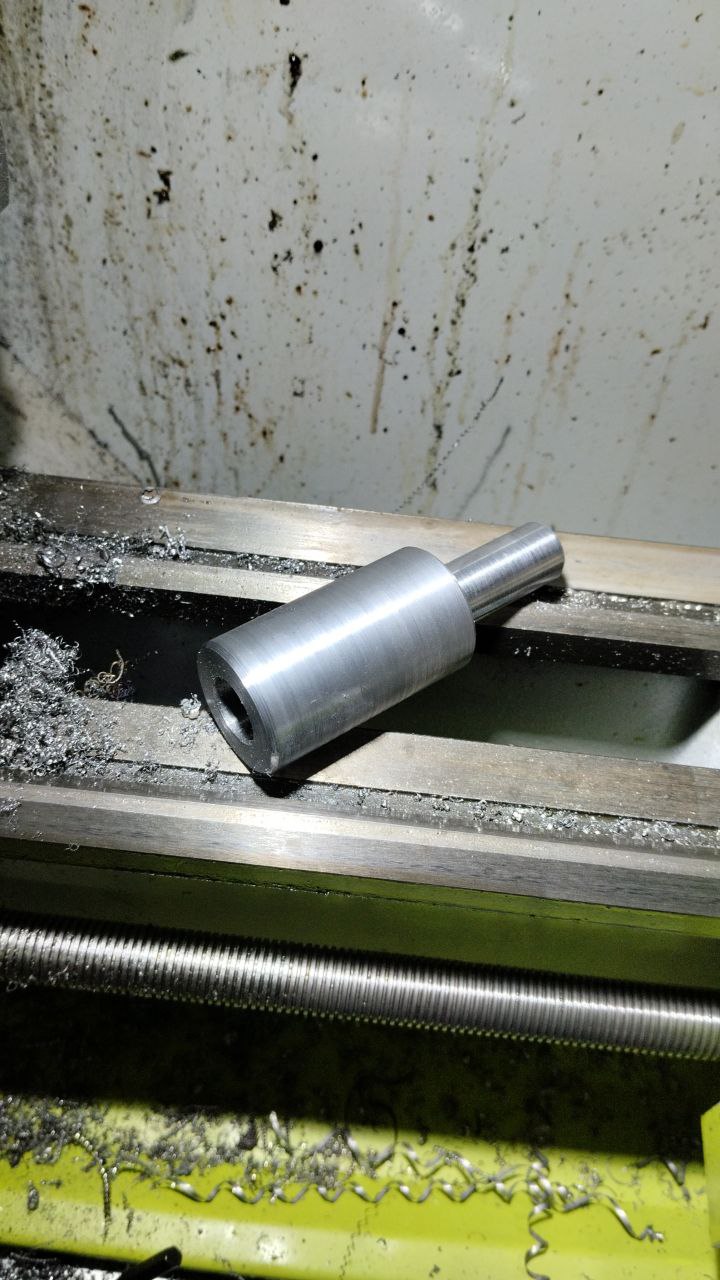
On the lathe, I had gotten a wedge tool post for it but the cross-slide had an alignment protrusion for the original tool post. I had made a quick spacer to get the new tool holder over that but some tools would bottom out and still be a tiny bit high. So today I removed the protrusion, I shouldn't have any more problems with vertical alignment of my tools.
Last edited by jdurand; Mar 14, 2026 at 08:51 AM.
Toolmaker51 (Mar 15, 2026)
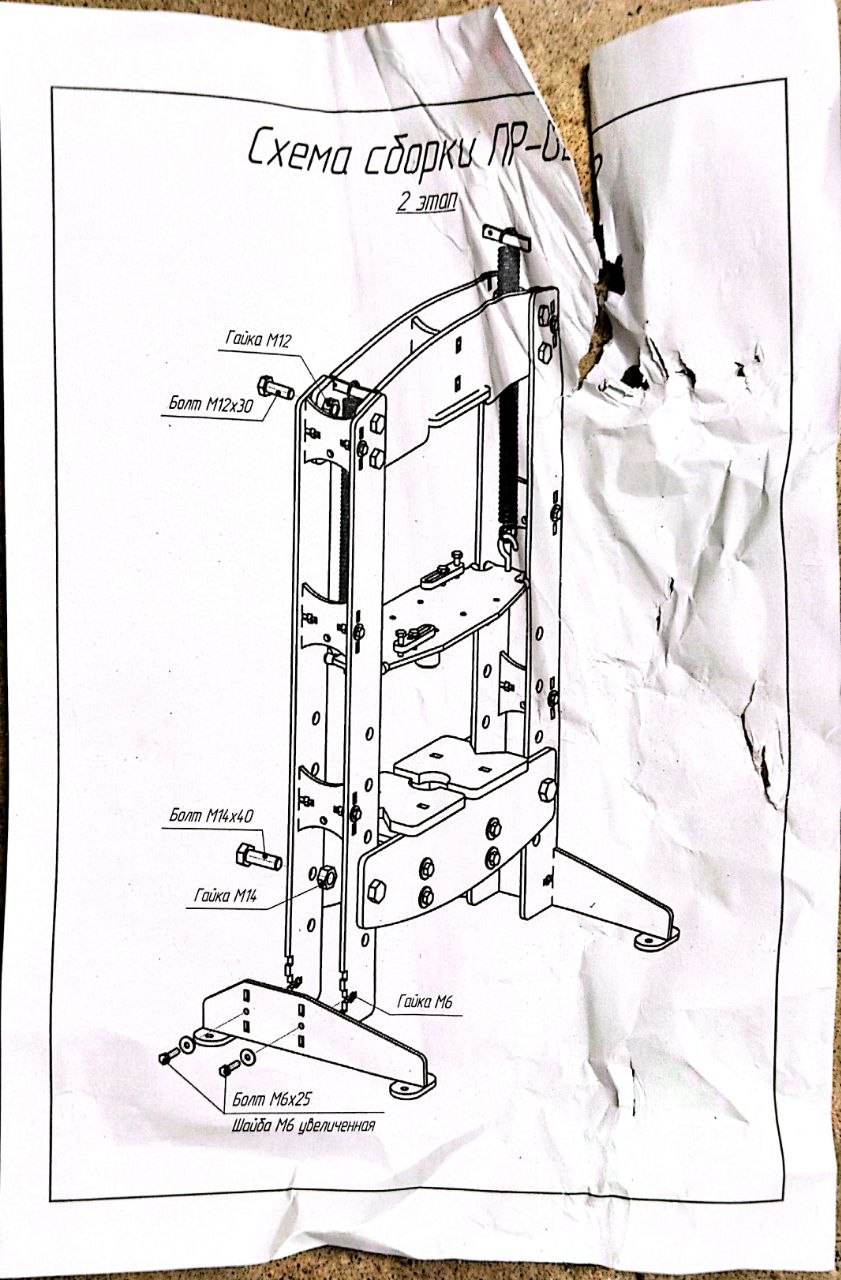
We got to the point where "we need to make a hydraulic press someday" got to "we need one now". So, my wife and I started working out how we wanted to build one, maybe something like the one we had in California only less wobbly.
Well, she happened across a press kit on sale for a price that looked like "maybe we'll buy the kit" instead of calculating and ordering the steel profiles. Around here there's lots of basic hot rolled steel, anything else is special order or poke through the scrap yard at one steel place.
5 star rating, looked like our April 10 ton cylinder would fit fine, made here and not China. Ok, ordered.
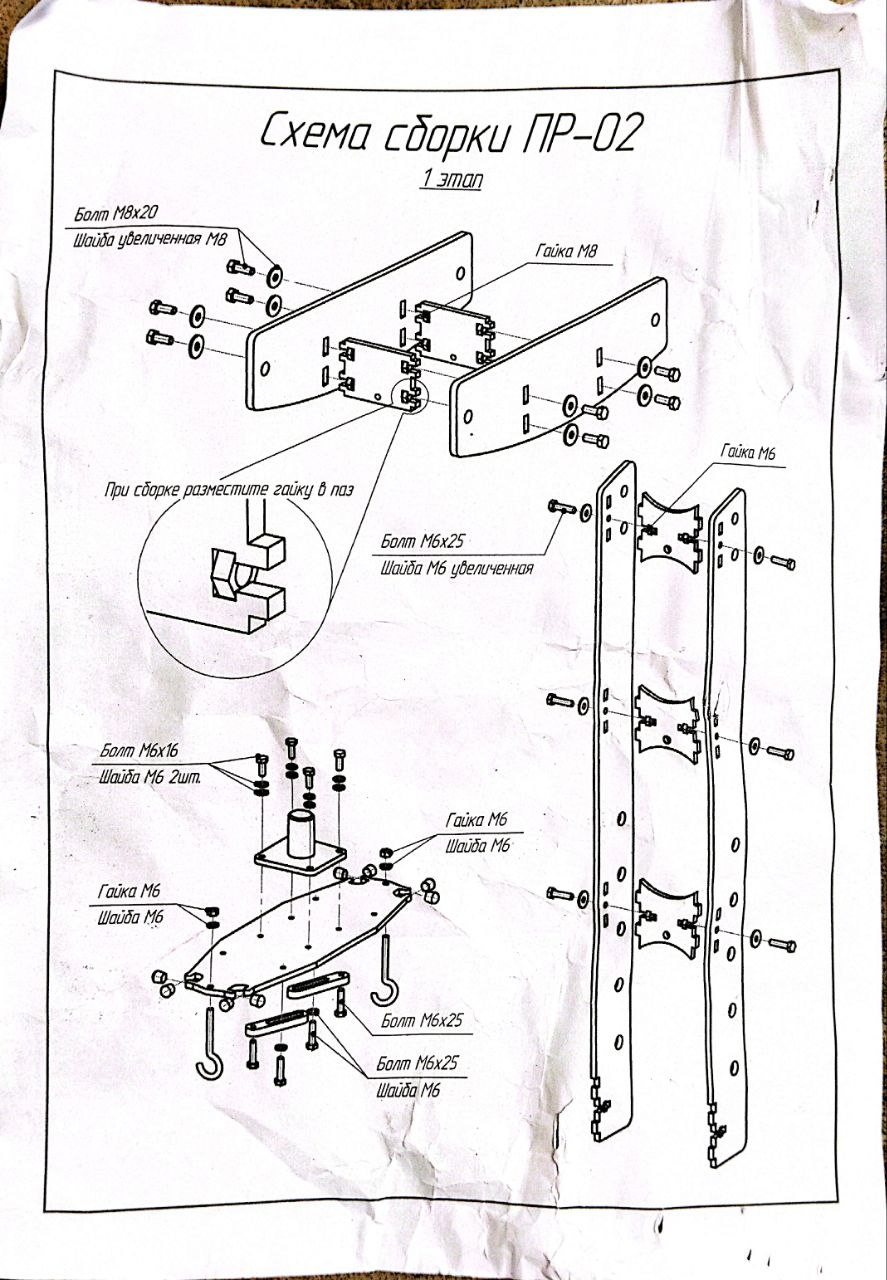
Interesting design, made like the laser cut plastic and thin wood used for various maker stuff. Only this is made of 6mm steel in the verticals and 8mm in the cross pieces. Grade 10.5 bolts.
Seems strange to make it this way, but we'll see
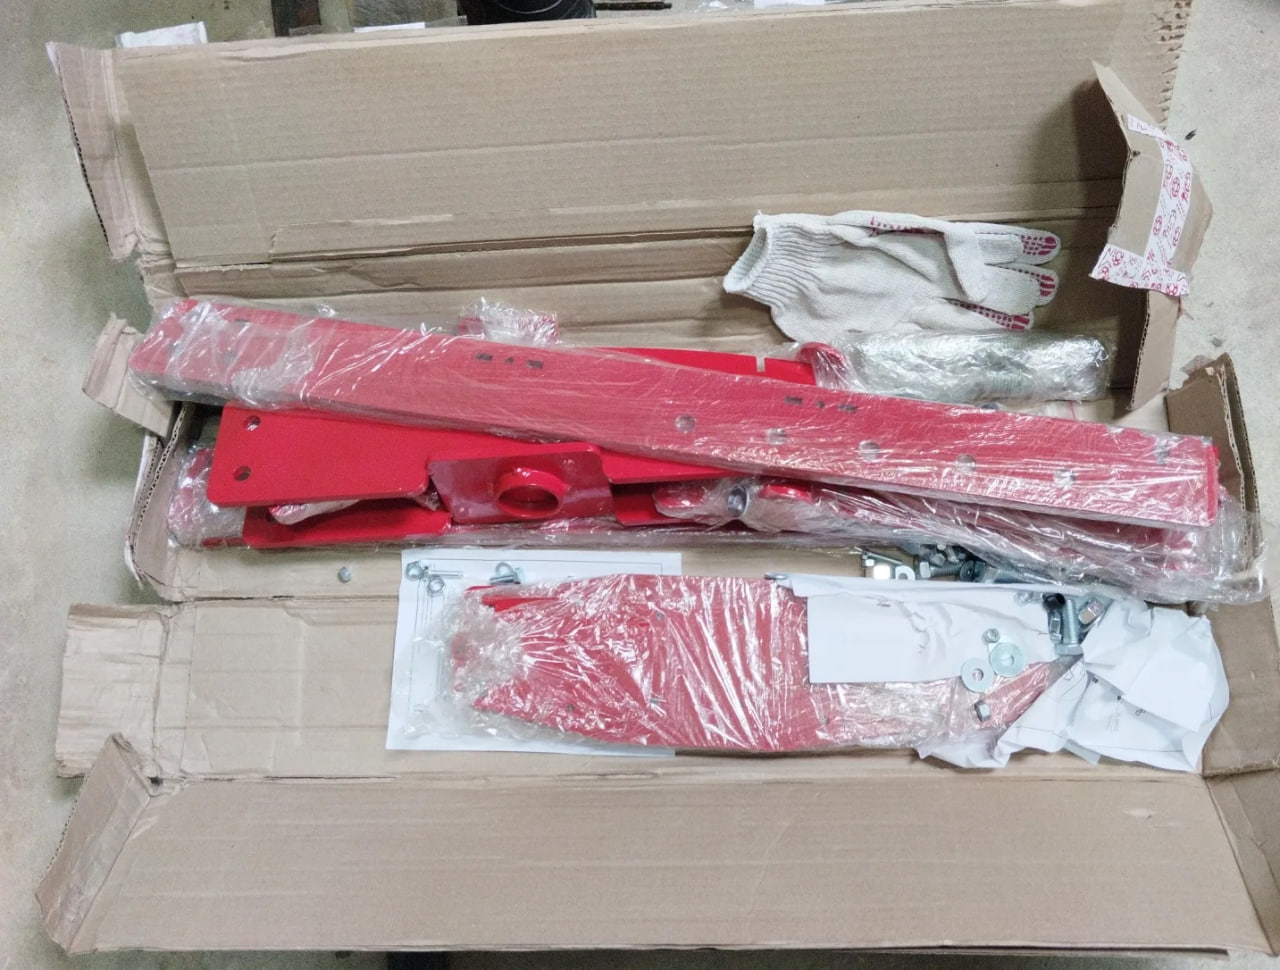
The box arrived a few days early, over 30kg. We took a hand truck to pick it up.
Looks nice, powder coat paint, very clean design.
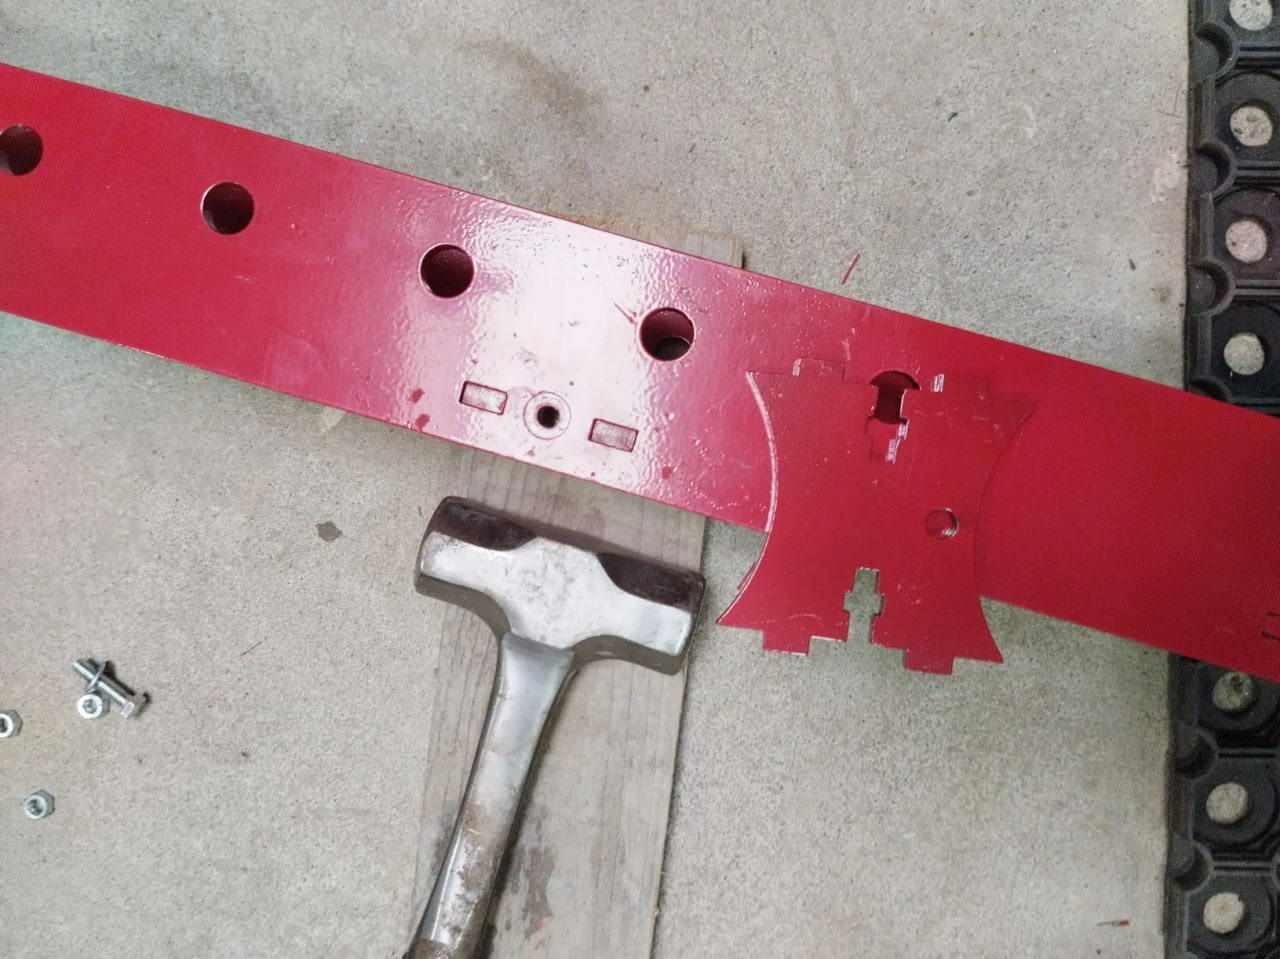
Small problem, the rectangular holes for the pins are too small (after the powder coat paint) so I employed a hand operated persuasive device.
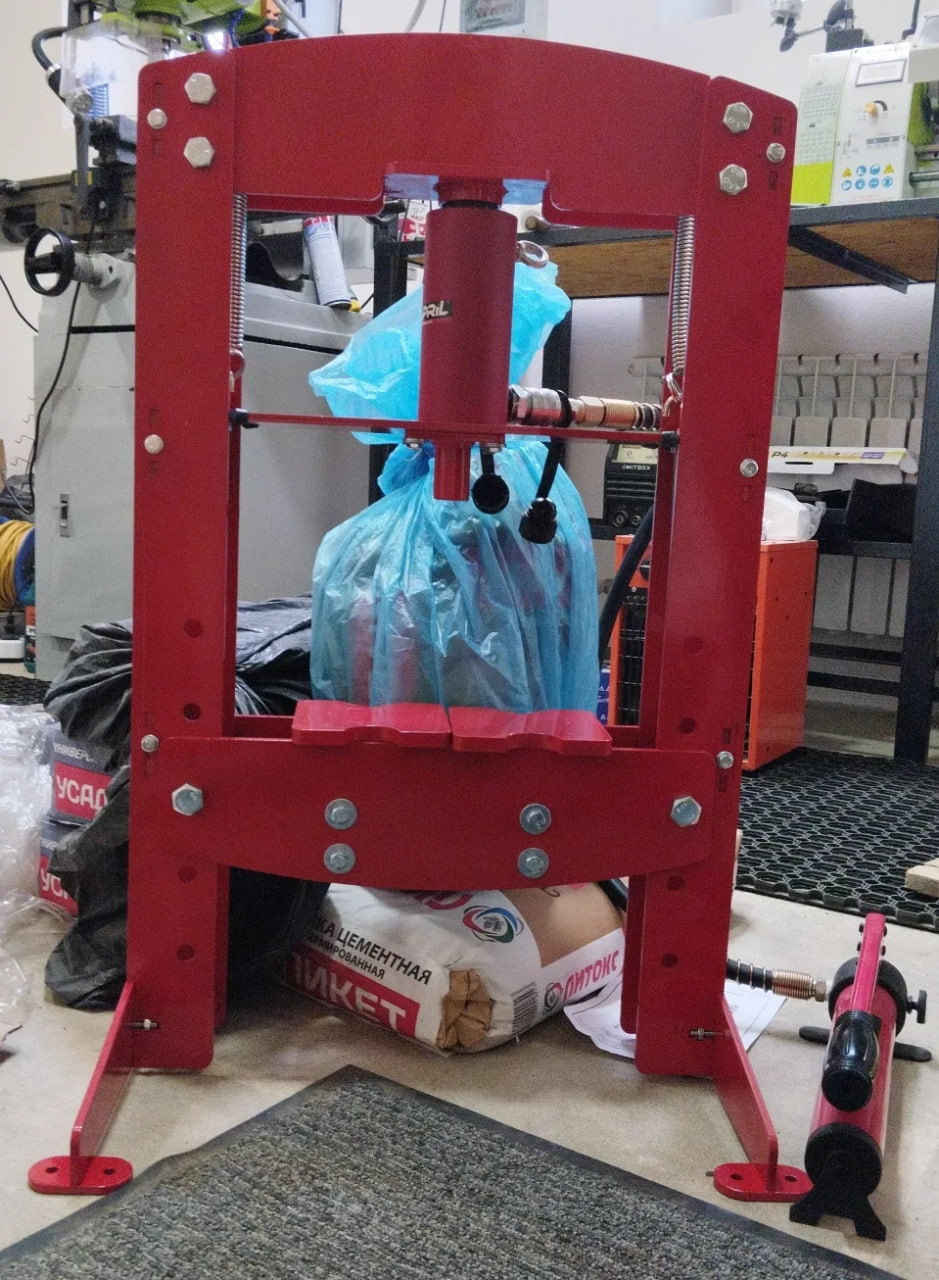
The rest went together with no problem. Here it is assembled with the April cylinder in place.
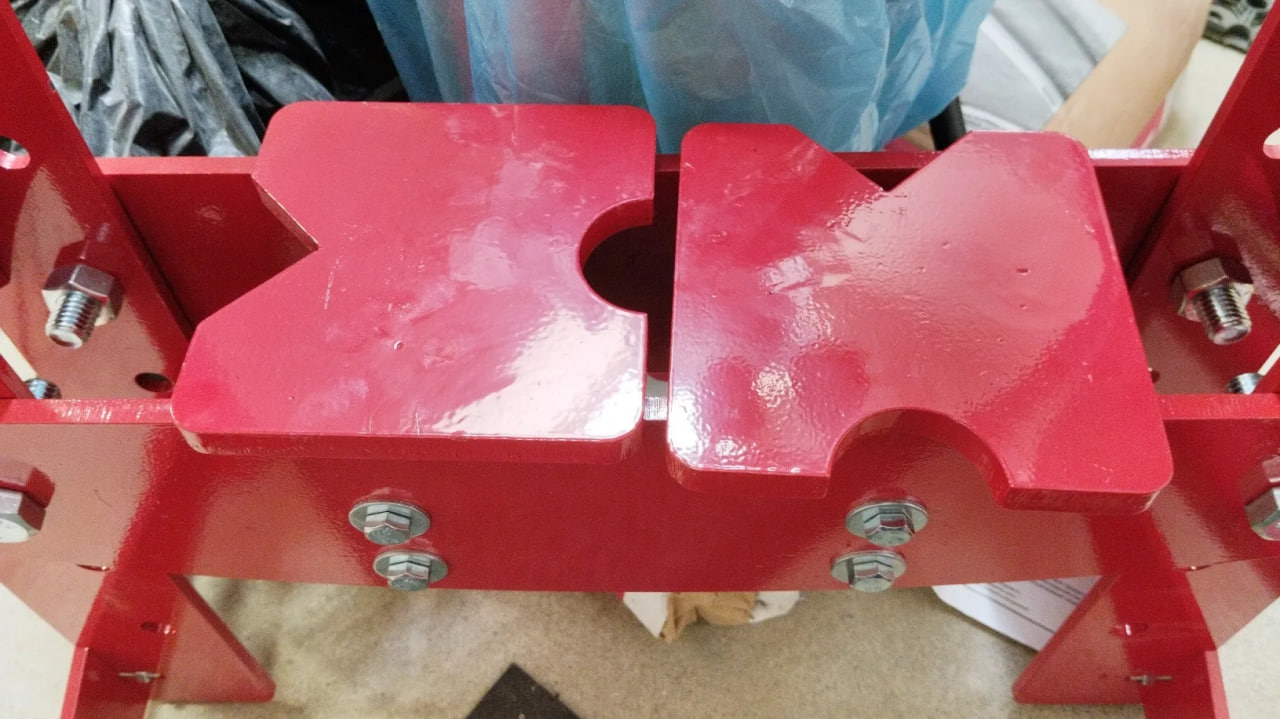
It came with the X plates, they only have two cutouts each but that's ok. The backs have a vertical plate welded on so you can bend/straighten things in them. The side legs of the press being two plates leaves a nice gap if you need to feed something in from the side.
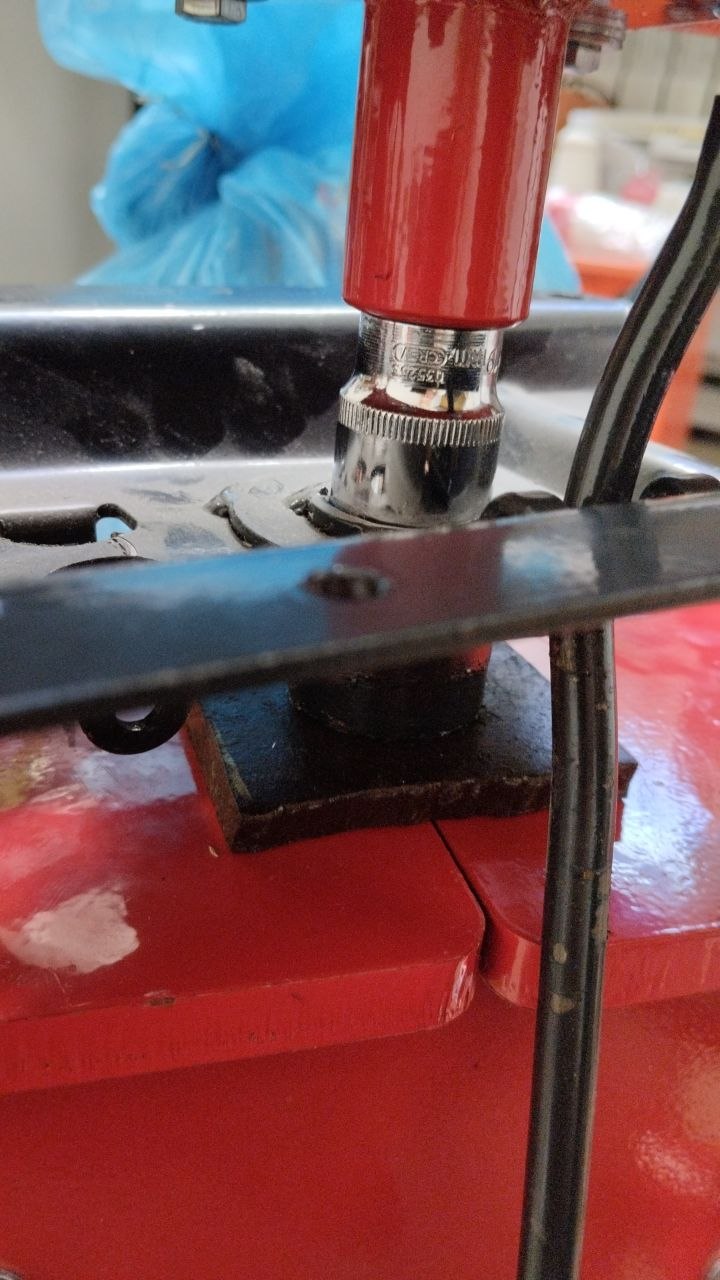
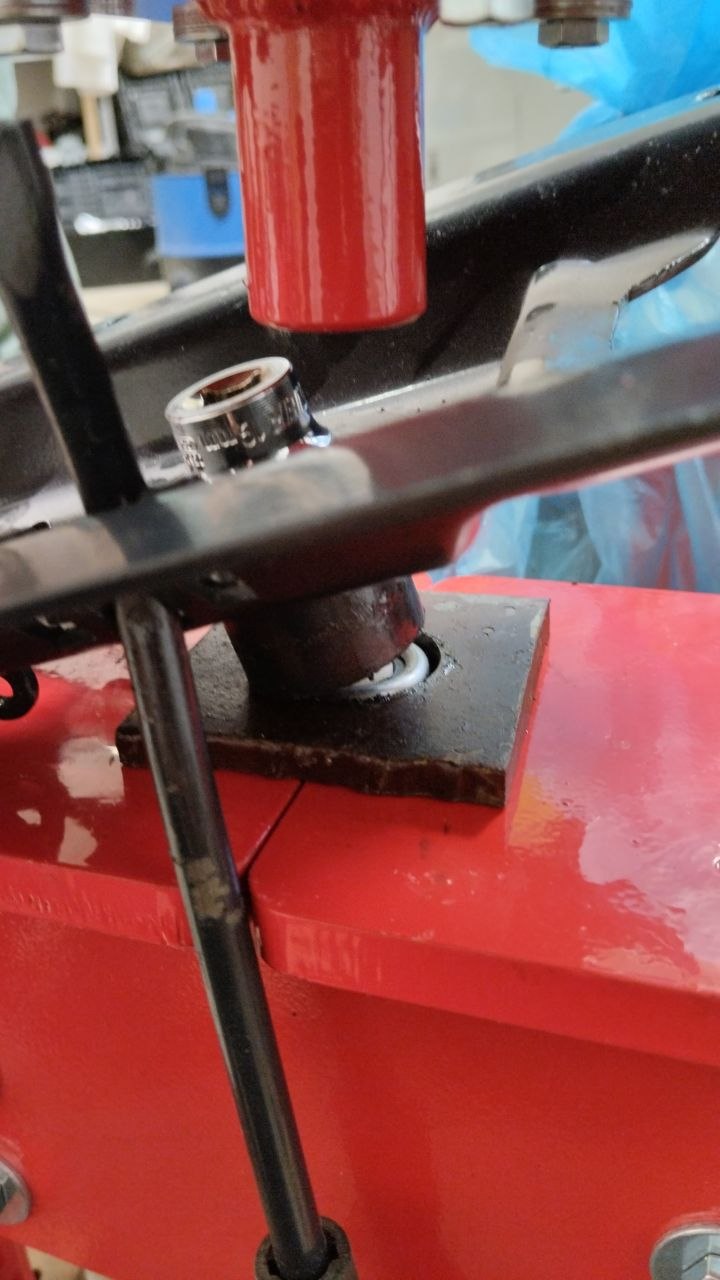
First use, fix my ^%%$#! office chairs, both of them wouldn't stay up for long. The gas springs on them are replaceable... if you have a press for each end. So, here's the first one being popped out using the official press spacer of a 12 point socket.
I haven't connected the gauge to my pump yet, I've been using the cylinder for construction work and didn't need it. But, it felt like a couple of tons of force based on past use.
Since the X plates only have big notches in them, I found the adapter I'd made to press the spring back in my hammer drill worked perfectly. Never toss out scrap!
Looks good, overall pleased. The hole size is a beginner mistake, they forgot paint thickness. But this method of assembly makes a strong, wobble free press.
Anyone with access to a laser cutter might consider this funny looking but functional way of making things.

There are currently 1 users browsing this thread. (0 members and 1 guests)
 Posting Permissions


 Reply With Quote
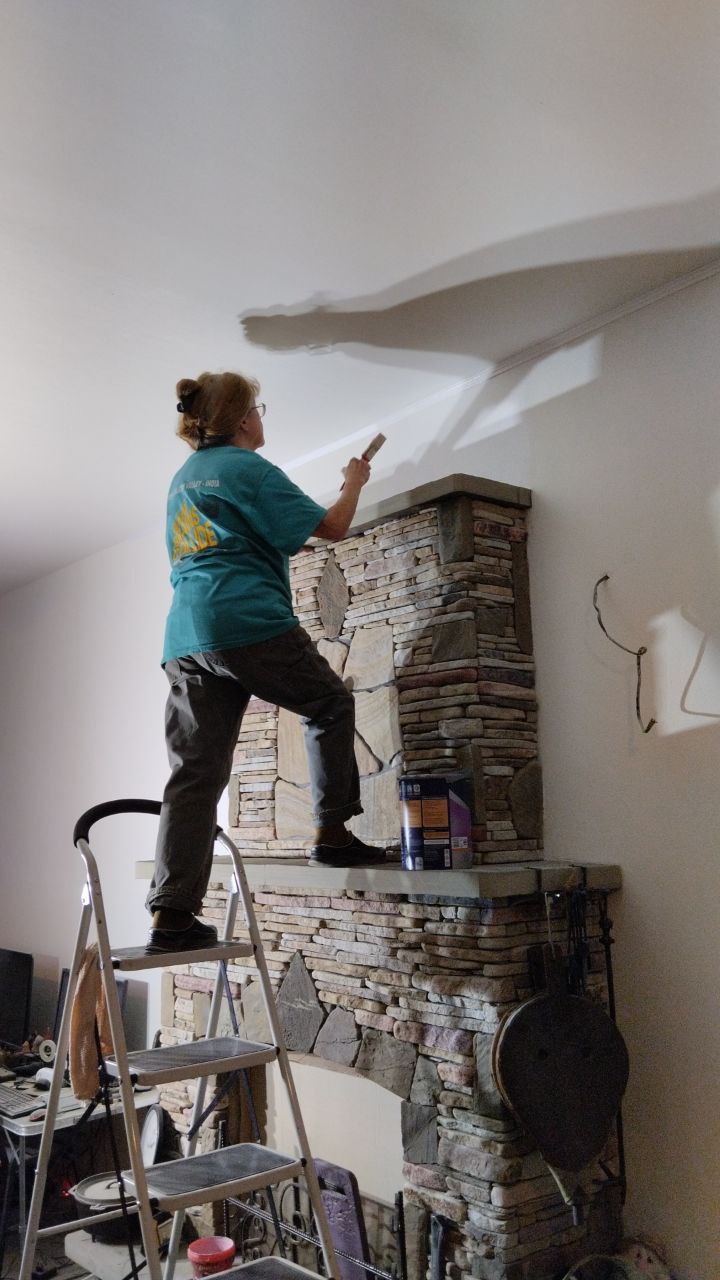

Bookmarks